@vicious1 I’m printing my XZ Plate Right and I noticed this inside. It’s not all just infill, but there are solid lines. Is that just an artifact of Cura Slicer, or did you do something in the model, maybe to add stiffeners between the linear rails and vertically along the right side? If so, how’d you do that? All I can guess is maybe a really thin void - a hollow tube - that the slicer wraps with solid walls.
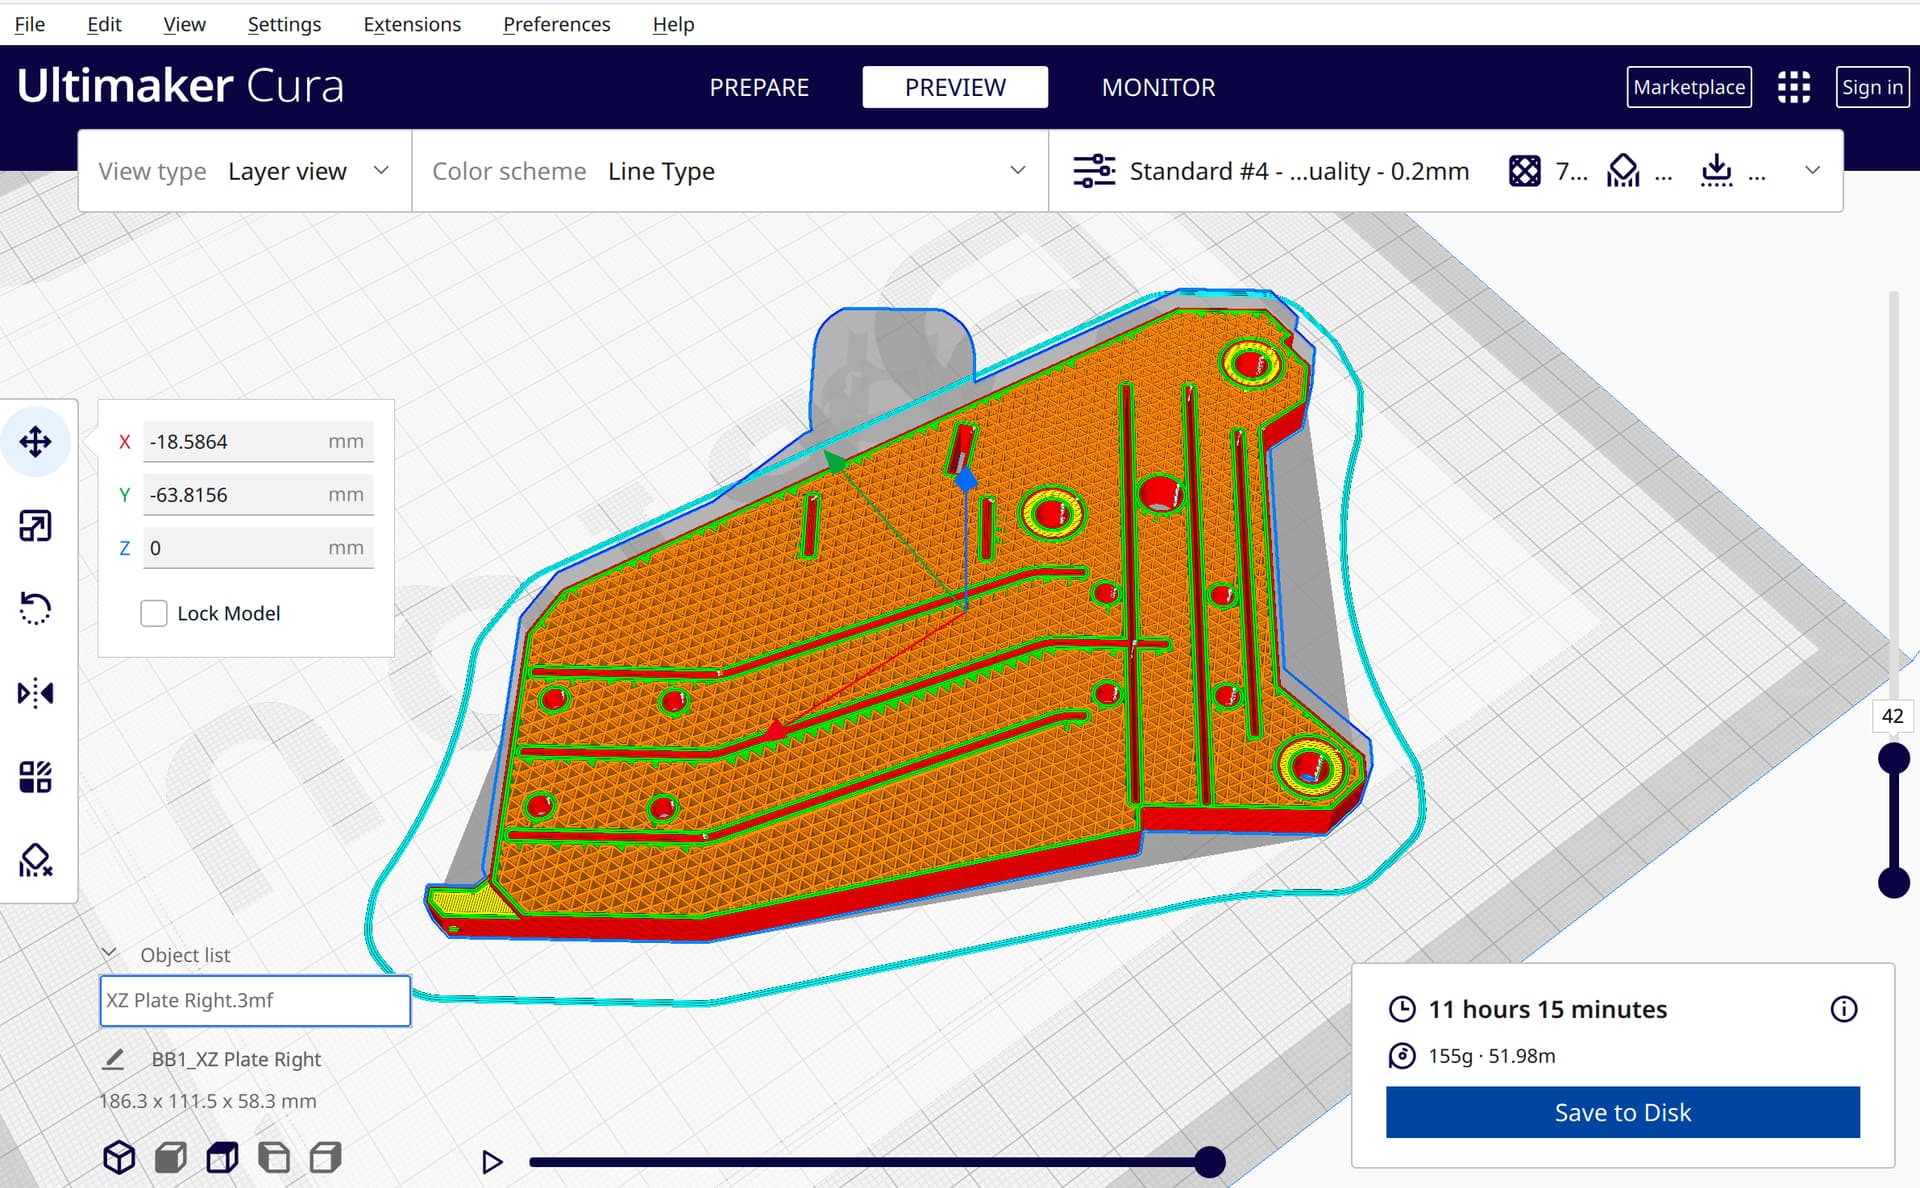
That is an intentional void in the model. The part is stronger with those pieces surrounded by perimeters. It wasn’t in the first iteration, but it was added in before the beta test.
1 Like
Yup exactly
That’s really cool. I also noticed the short ones on either side of the lead screw nut mount – the ones that extend perpendicular to the face of the part.
Oh - one more thing I noticed. On the underside, you have recessed wide holes for screw heads, and they drop down to the size of the screw shank. Stepping through the sliced model, I see they first close in on opposite sides of the smaller hole, then perpendicular to those fills/bridges, then down to a circle. Clearly the way to do it if you’re avoiding supports, but you want a (nearly) flat-bottomed hole on the underside.
Is that something you have to do manually in design, or is there a quick technique for that?
1 Like
Manually, it is a bummer to do but super worth it. Lots of tangent, parallel, and perpendicular constraints. Each with a 0.4 step to make sure it works on most any printer layer. I saw it on a youtube video a handfull of years back. We used to just print them and let the first circle or two fall out. They usually actually print okay without it but perfect with it.
2 Likes
I’m not all that advanced in Fusion360 yet, but it seems there should be a way to write a macro or something for that.
The parts fairy keeps visiting me!
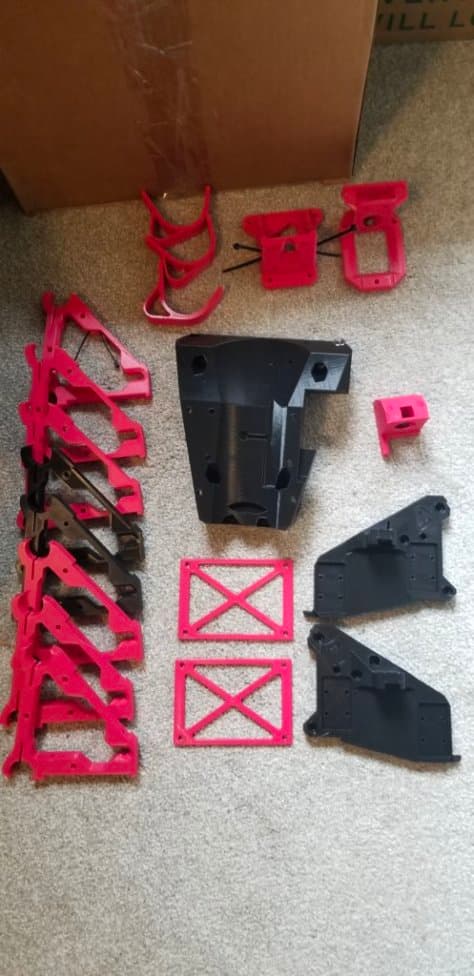
When printing overnight, I feel like I’m in the old story of the elves and the shoemaker.
7 Likes
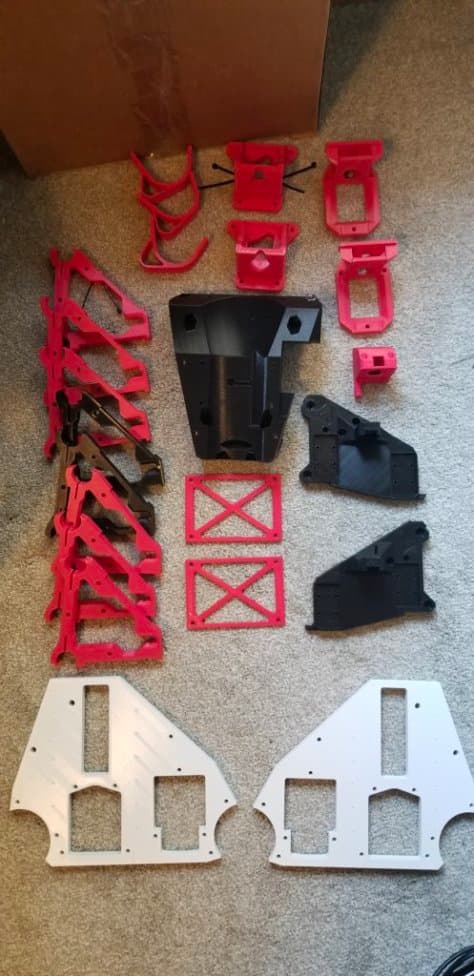
Y & Z drives complete, got a couple of nice YZ plates now, too!
I’m actually now at the point where I could start assembling a few parts of this thing. I need to study the instructions better so I don’t assemble something out of order that’s in the way of something else I should have done earlier.
1 Like
Skill, or blind, dumb luck?
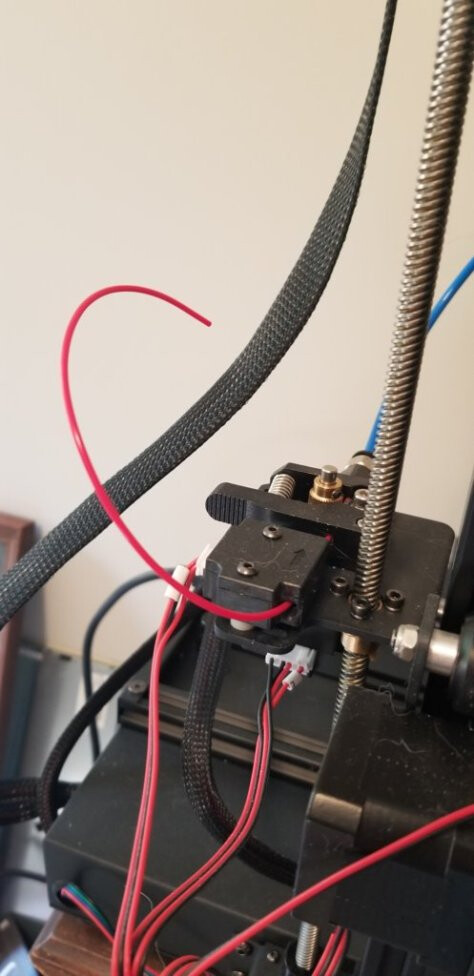
I gang-printed the two Bearing Wheel Brackets during work today (I work from home). Cura called for 28.31m of filament, and I knew that I was starting to run low on my first spool of red, though I had a backup in that color.
I’ve never had to change spools in mid-print, so when I was pulling the white this morning to load the red, I tested that process by just cutting the white about 2" from the feed roller. The filament detector did its thing, paused the print, parked the print head to the side, and when I loaded the red, I hit resume, and it went on its way. I canceled that print because it was just a test of the process, and that part now had mixed colors.
I then started the print of the two Bearing Wheel Brackets with a print time of close to 6 hours. Well, the farther along it went, the more I began to sweat. I could see the spool running really low, but I knew that the parts tapered toward the top, so the higher it went, the less material it needed per layer. This just might work!
Sometime before the top mounting holes printed, I could see the core of the spool. This doesn’t look good. A little quick math… the core is close to 4" in diameter… that’s about 1 foot per turn, 3 turns per yard, roughly one yard per meter… so I have around 7 meters left. Maybe, MAYBE that’s enough after all.
Then I realized that the parts weren’t just mirror images of each other. One was taller. Oh, no. We were printing the top mounting hole on the shorter piece, but there were only a few turns left on the spool. I went ahead and removed the spool, just letting the dwindling coil of filament dangle. I loaded the next spool, planning the transition to make it quick before things could cool off too much and risk a layer adhesion failure right at the part’s mounting point. Worst case, I’ll have to reprint the taller one.
But with the short piece now done, each layer took much less filament to print. And the taper helped. And the mounting hole spared some material. In the end, I had about 6" of filament left hanging out of the run-out detector. Whew! Called it! Just like I planned. 
4 Likes
This kind of estimation was something we did all the time in physics. Just get an order of magnitude approximation. You may be wrong by 25%, but you’re not wrong by 25x.
2 Likes
Same here. My dad was amazing at this kind of thing. I remember as a kid hearing him do the rough math on the delay between seeing lightning and hearing the thunder to get the distance in miles.
In my case today, there would also be a big difference in just being 6" under vs 6" over. Still shaking my head that it worked out like it did.
1 Like
That is a great feeling!
Once and a while if I run the printers overnight I will come out to near miss. I think the best I had so far was a couple inches to spare. I put it on instagram or facebbok or something, I was so excited.
2 Likes
The flip side is I will come out to everything printed except the last 3 layers…that is a bummer.
1 Like
I was straight up hanging off the edge of my seat reading that. Bravo!
I have marlin setup to keep the bed warm during pause for that exact reason.
2 Likes
I have two German Shepherds (and a wife, of course) that help keep my bed warm.

Seriously, though, I’m not sure what my Biqu 3DP is running, but it is configured to keep the bed warm on filament break/runout, but I assume the higher off the bed you’ve printed, the less that matters when changing filament spools.
Just by my gut, I was planning to slow down the print speed % and heat up the nozzle 5-10deg before hitting Resume after changing spools. My thought was that I wanted to give that first “new” layer every chance of bonding that the first layer would have on the glass, and I figured having the extrusion softer should help make it stickier. And make sure the part cooling fan is off.
Any advice on this from you folks who’ve been doing this longer?
2 Likes
You have a gorgeous pair of dogs there.
Oh I see what you mean… sorry a while back I had a paused print pop off a cooled bed when I was learning to configure pause features. I agree slower and hotter should help if that was a problem. I never had issues with adhesion on top after a long pause though. I wouldn’t worry too much about it.
1 Like
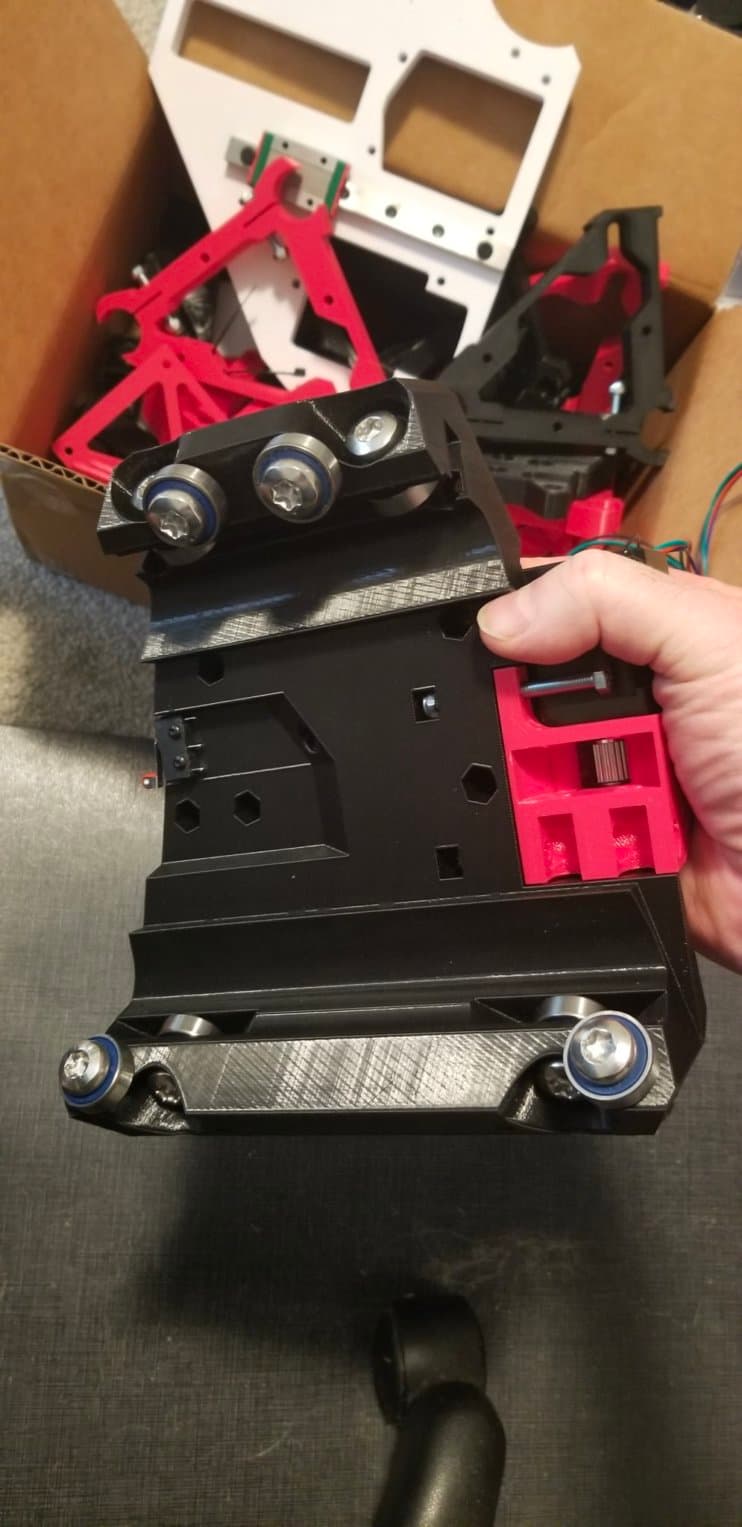
Assembly has begun in earnest!
My linear rails arrived on Friday from AliExpress. Only 11 days after I ordered. I was pleasantly shocked.  That meant that I needed to get my other hardware pulled together fast! When I was playing with my own designs in 2020, I had bought some hardware, including 12 M8*40 bolts and 100 M8 nylock nuts, plus 20 bearings. That’s enough to get started with.
I had just a few #4 x 3/8" wood/metal screws on hand, so that let me attach my rails to the XZ plates. An Amazon order for the remaining missing hardware was delivered on Sunday, most notably missing my 100-pack of M5 screws (though I got the nylock nuts). Well, the M3 screws let me mount my motors, drive pulleys, and linear rail carriages. The M2.5 screws let me start mounting the micro switches. It’s all coming along nicely… but I need those M5s. C’mon, Amazon!
2 Likes
Looks good so far.
The linear rail in the background is too low, I am pretty sure. like one screw hole off maybe?
Yeah, I discovered that after this photo. The top layer of that print had obscured the top pilot hole. I’ve now taken a 1/16" drill bit and manually opened up the tops of those holes before putting the screws in.
Nice catch!
1 Like