Got back into town tonight and started working on endstops. Got the mounts for Z and part of X 3D printed, and I snaked the wires through the cable chain. This week I think I’ll have her homing. I think it’s time to mount a pen in the spindle and see how square she is (or isn’t…)
Nice to know my Ender3 still works. I don’t think I’ve used it in nearly a year
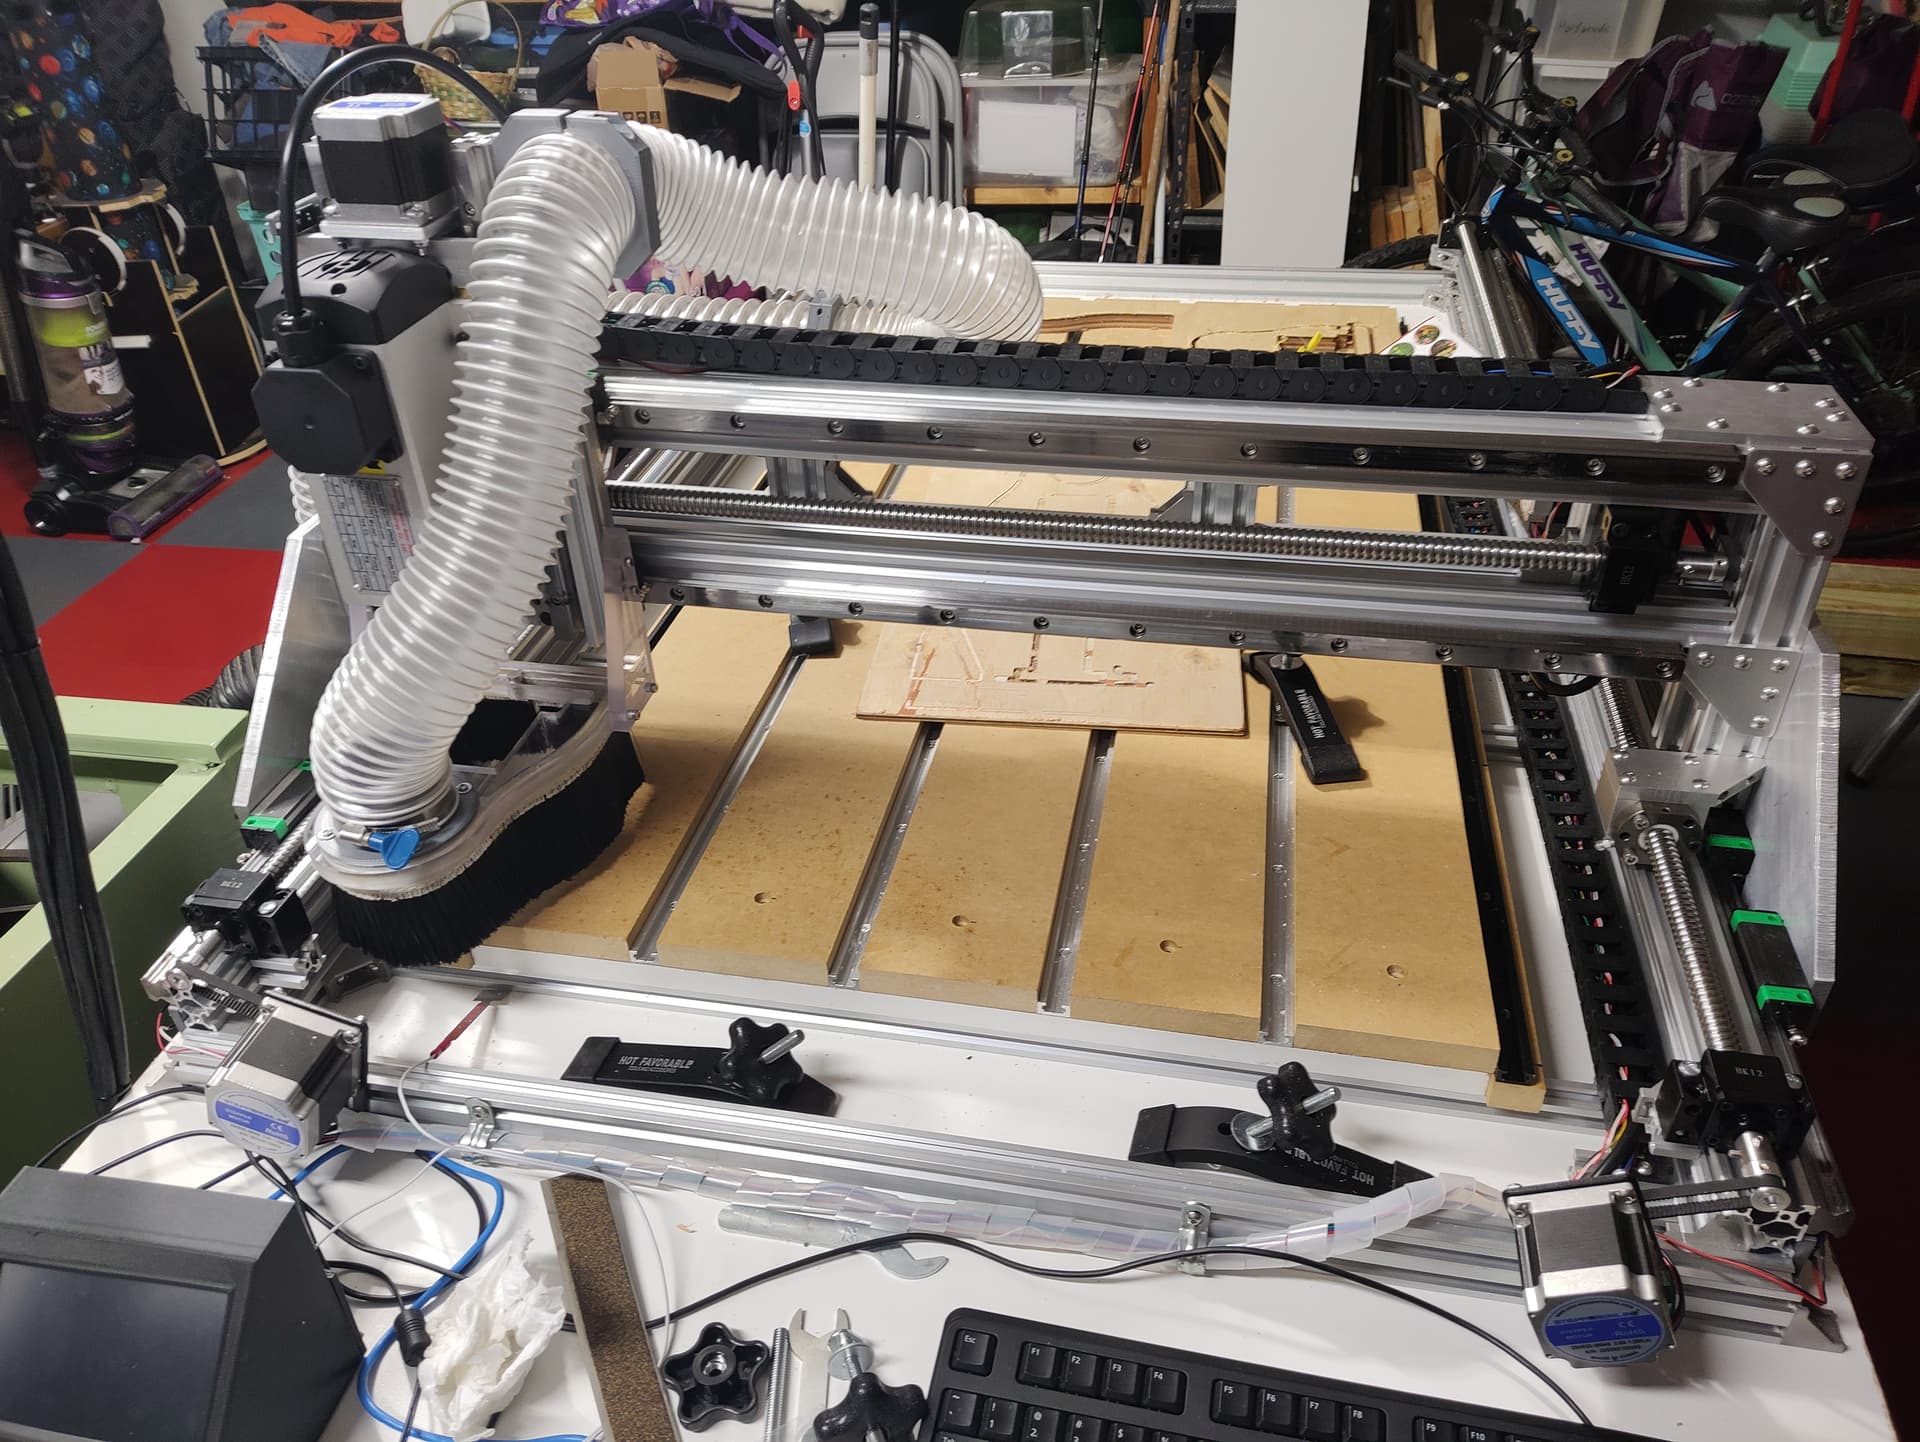
getting super close. X and Z endstops are in and working wonderfully. I installed the Y stops but the design was half baked. I need more adjustability.
My frame isnt square. I know this, and basically came to the conclusion that it doesn’t matter. As long as the Y rails are parallel to eachother, and a consistent height off the table, I should be good. Both of those criteria have pretty much been met, to the extent I am able to measure.
However this became a problem when locating the Y endstops at the end of the C-beams. The out-of-square frame meant that one endstop needed to be just a bit further from the end of the C-beam than the other. So one was triggering, then the gantry bound up before the other one triggered.
I tried to put the endstops at the end of the beam to not steal any travel from the Y. Instead I will give up about an inch or so and mount them to the outside of the c-beam, so I can move them along the extrusion and dial in the position to keep the gantry square. Hopefully tonight. I am so close to chips its driving me nuts, lol.
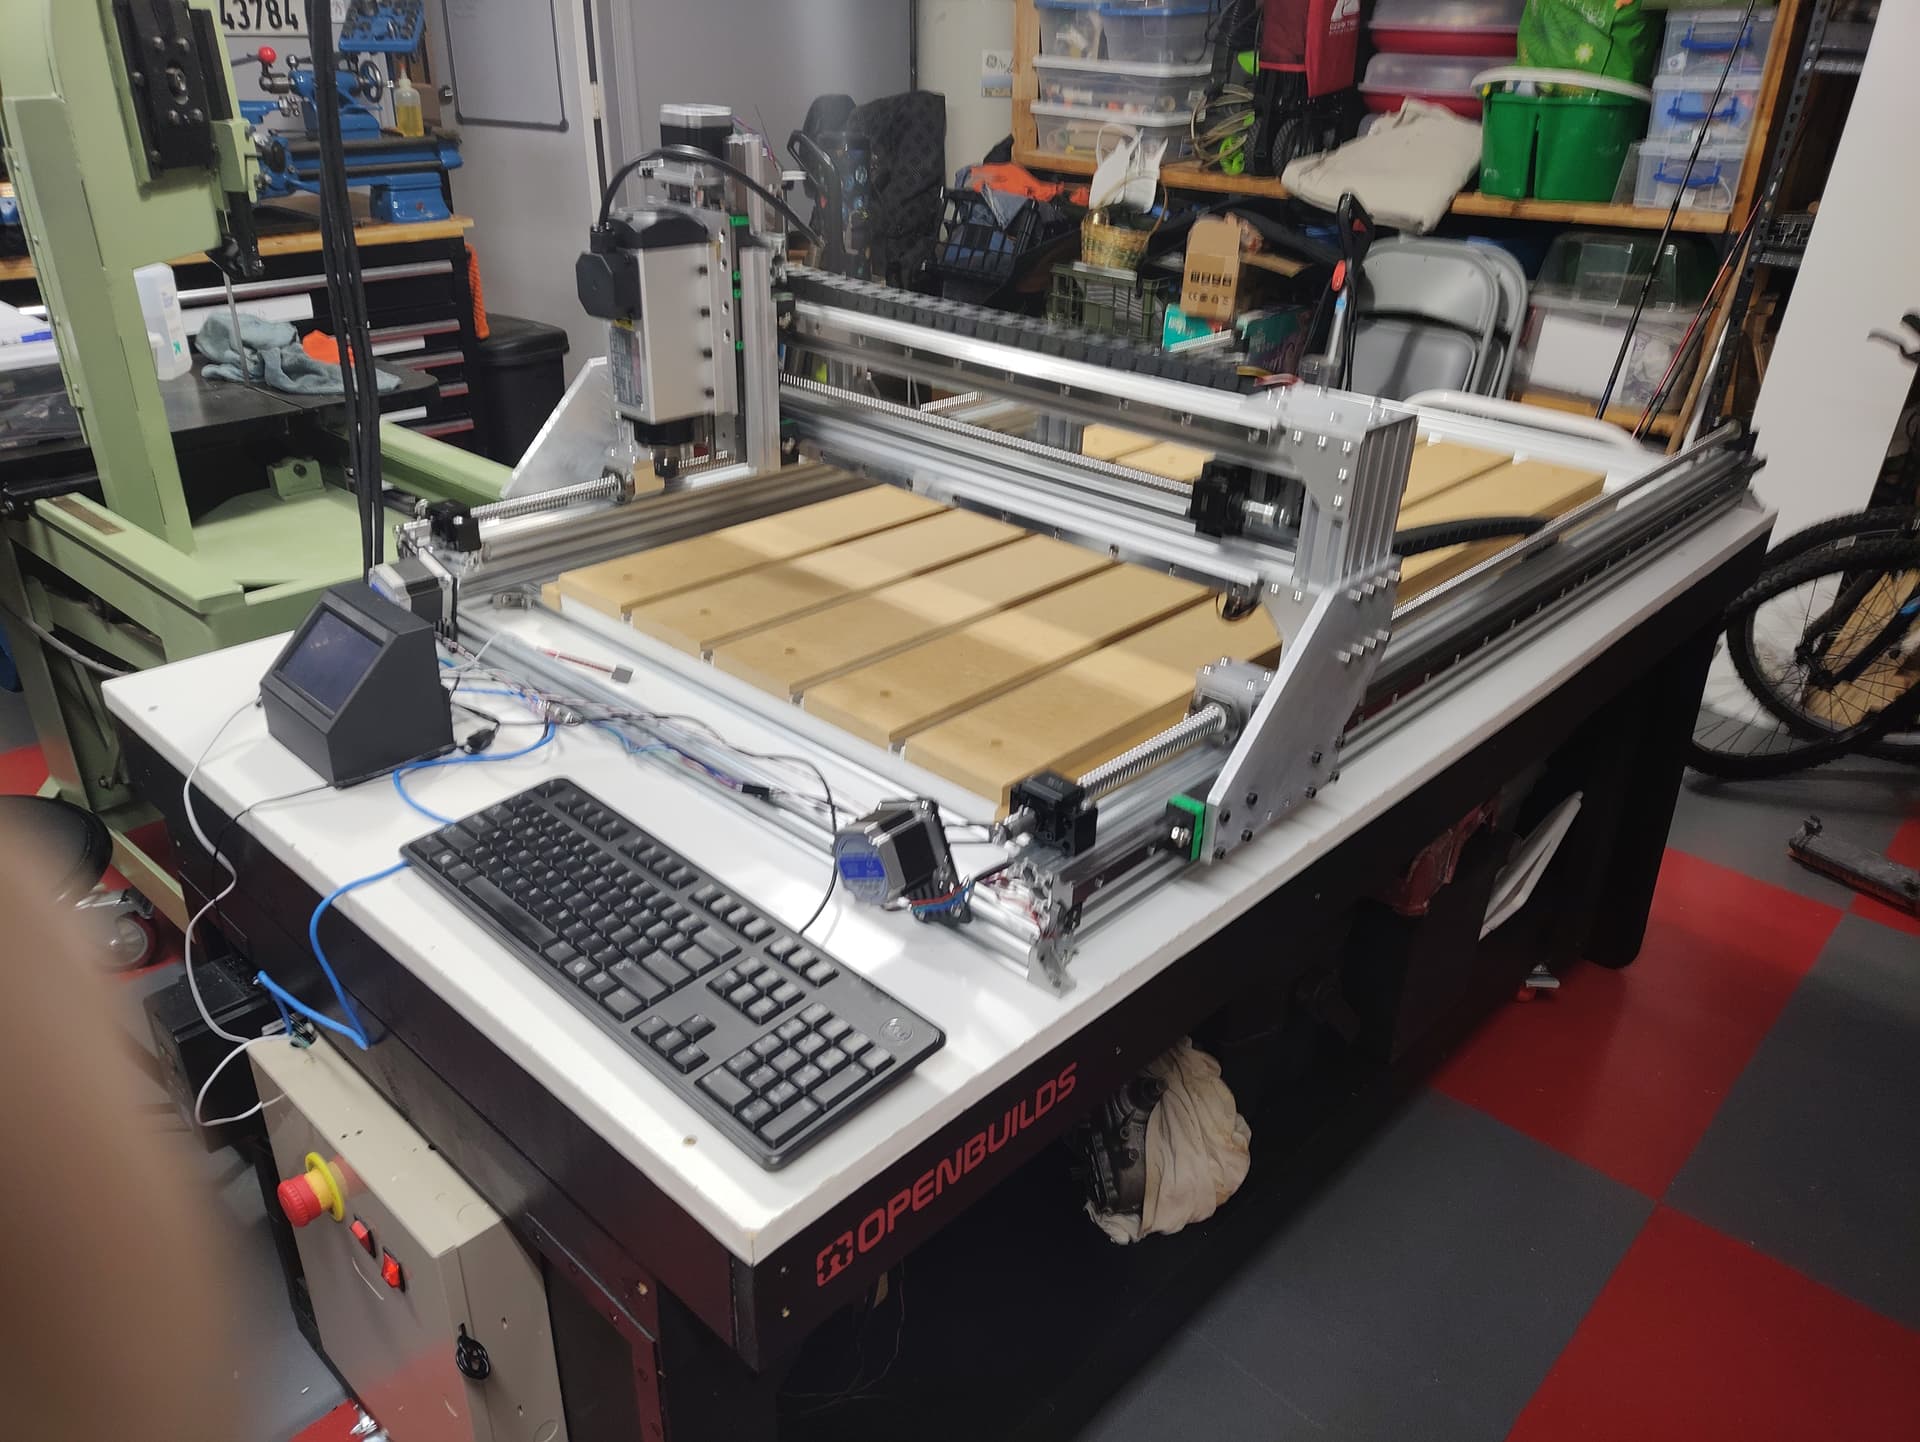
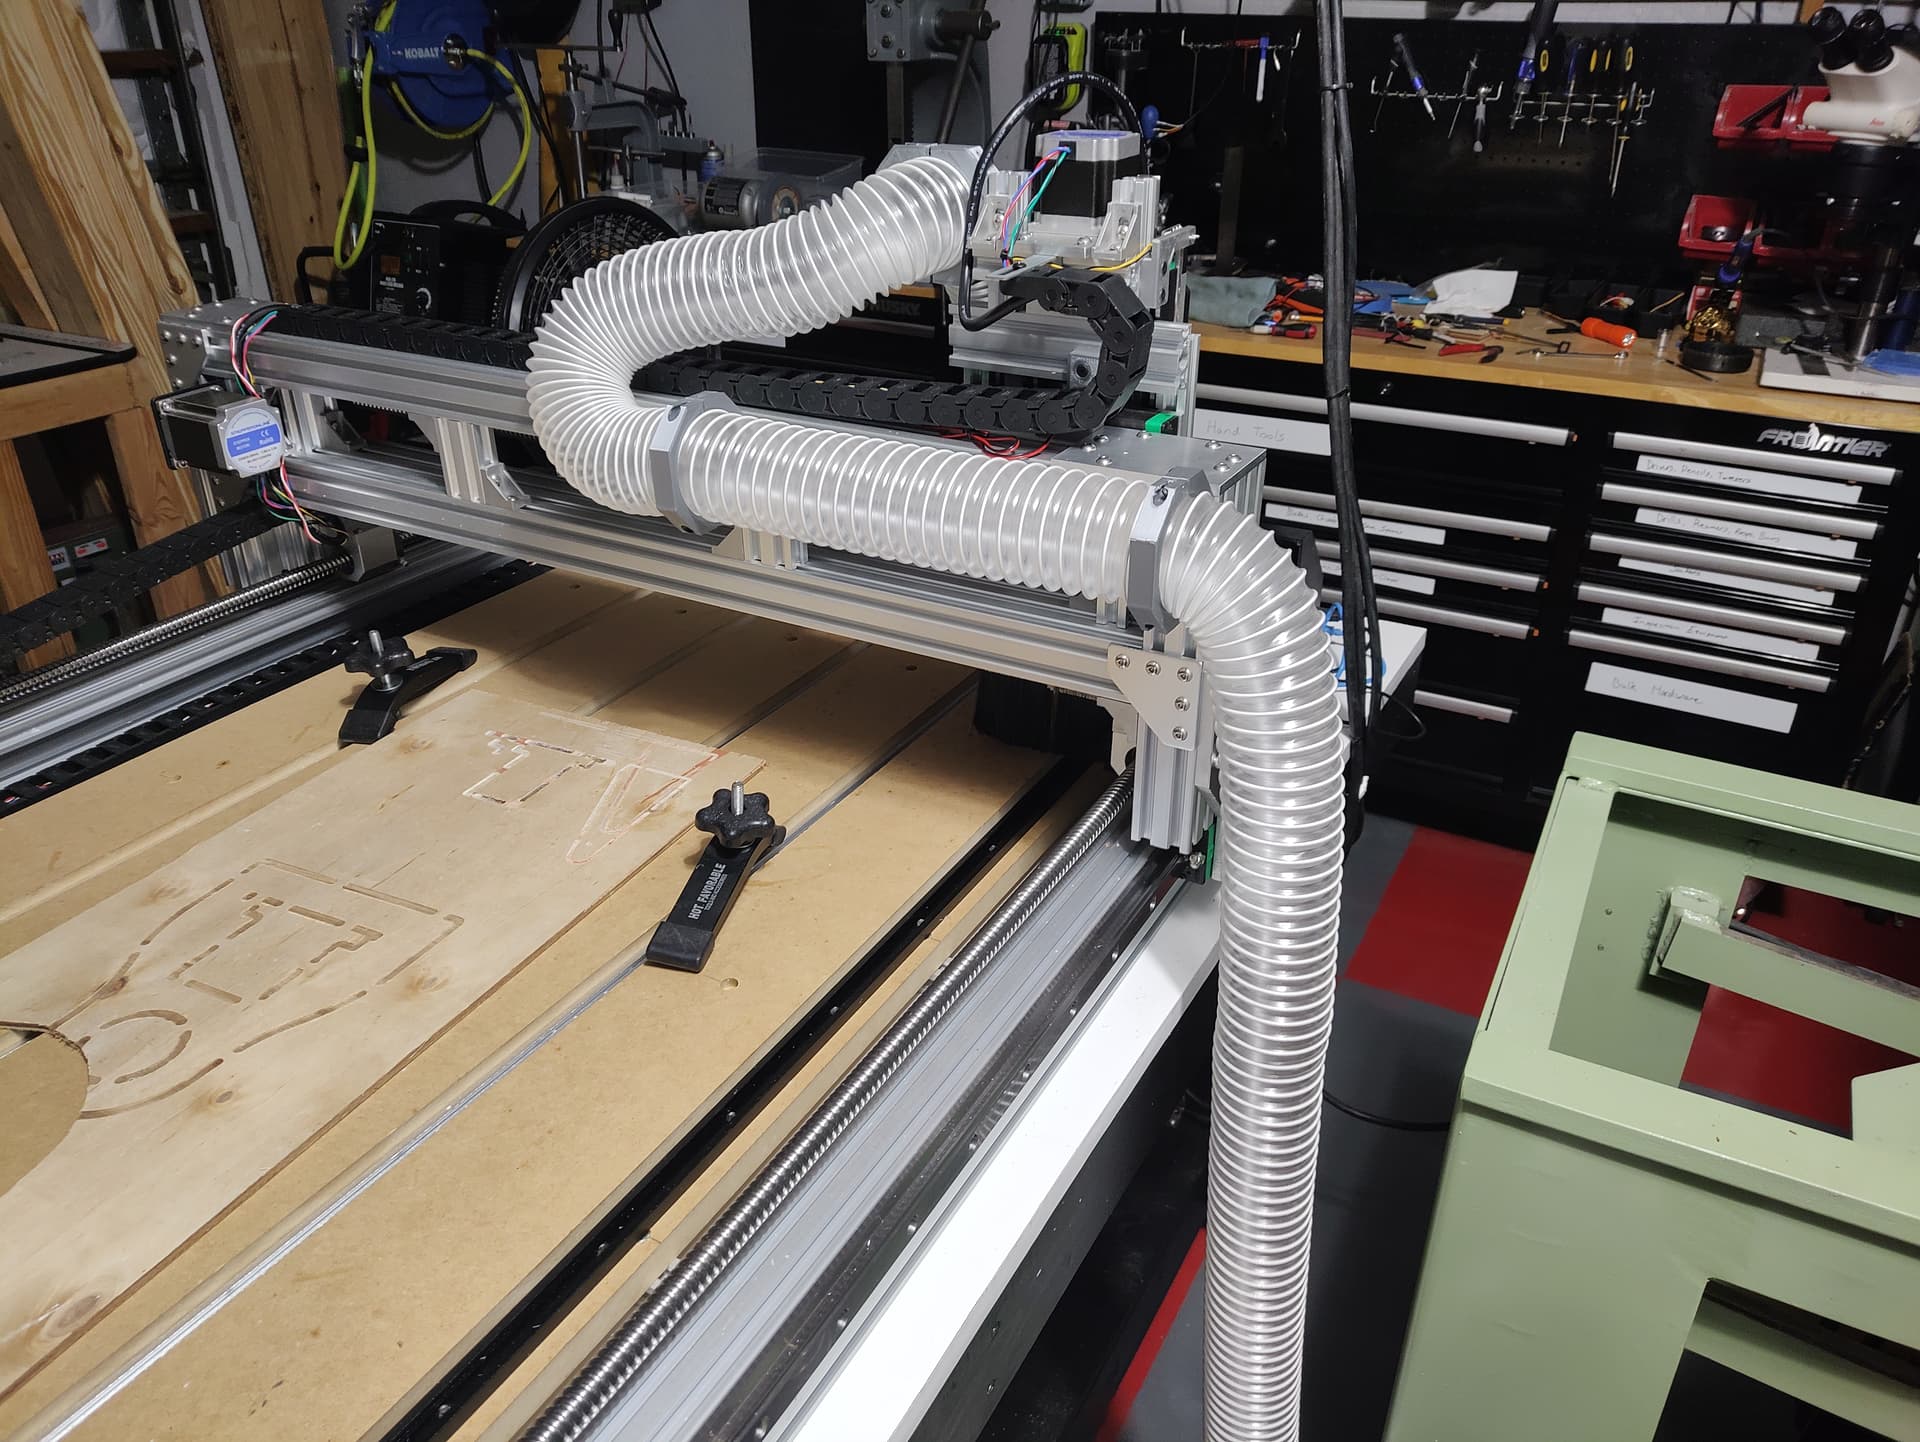
It’s “done”! Of course the quotes are because I still need to figure out dust collection and enclosure…but the machine in terms of what I would have received in a turnkey system is basically complete. The final price tag to this point is $1,715.99. this does not include the table/bench or any little bits and bobs I had on hand (limit switches, wire, the electronics enclosure I salvaged from an old alarm system.)
Of course I also need to do testing and alignment. I didn’t include a system for tramming, it’s all shims and a few taps with a rubber mallet. I might add that later as well.
I tried to draw some squares but I need a proper, spring loaded pen mount. I ruined a sharpie by ramming it into the table already. Hoping to get to all that this week and into the weekend. (Perhaps some more cable management too)
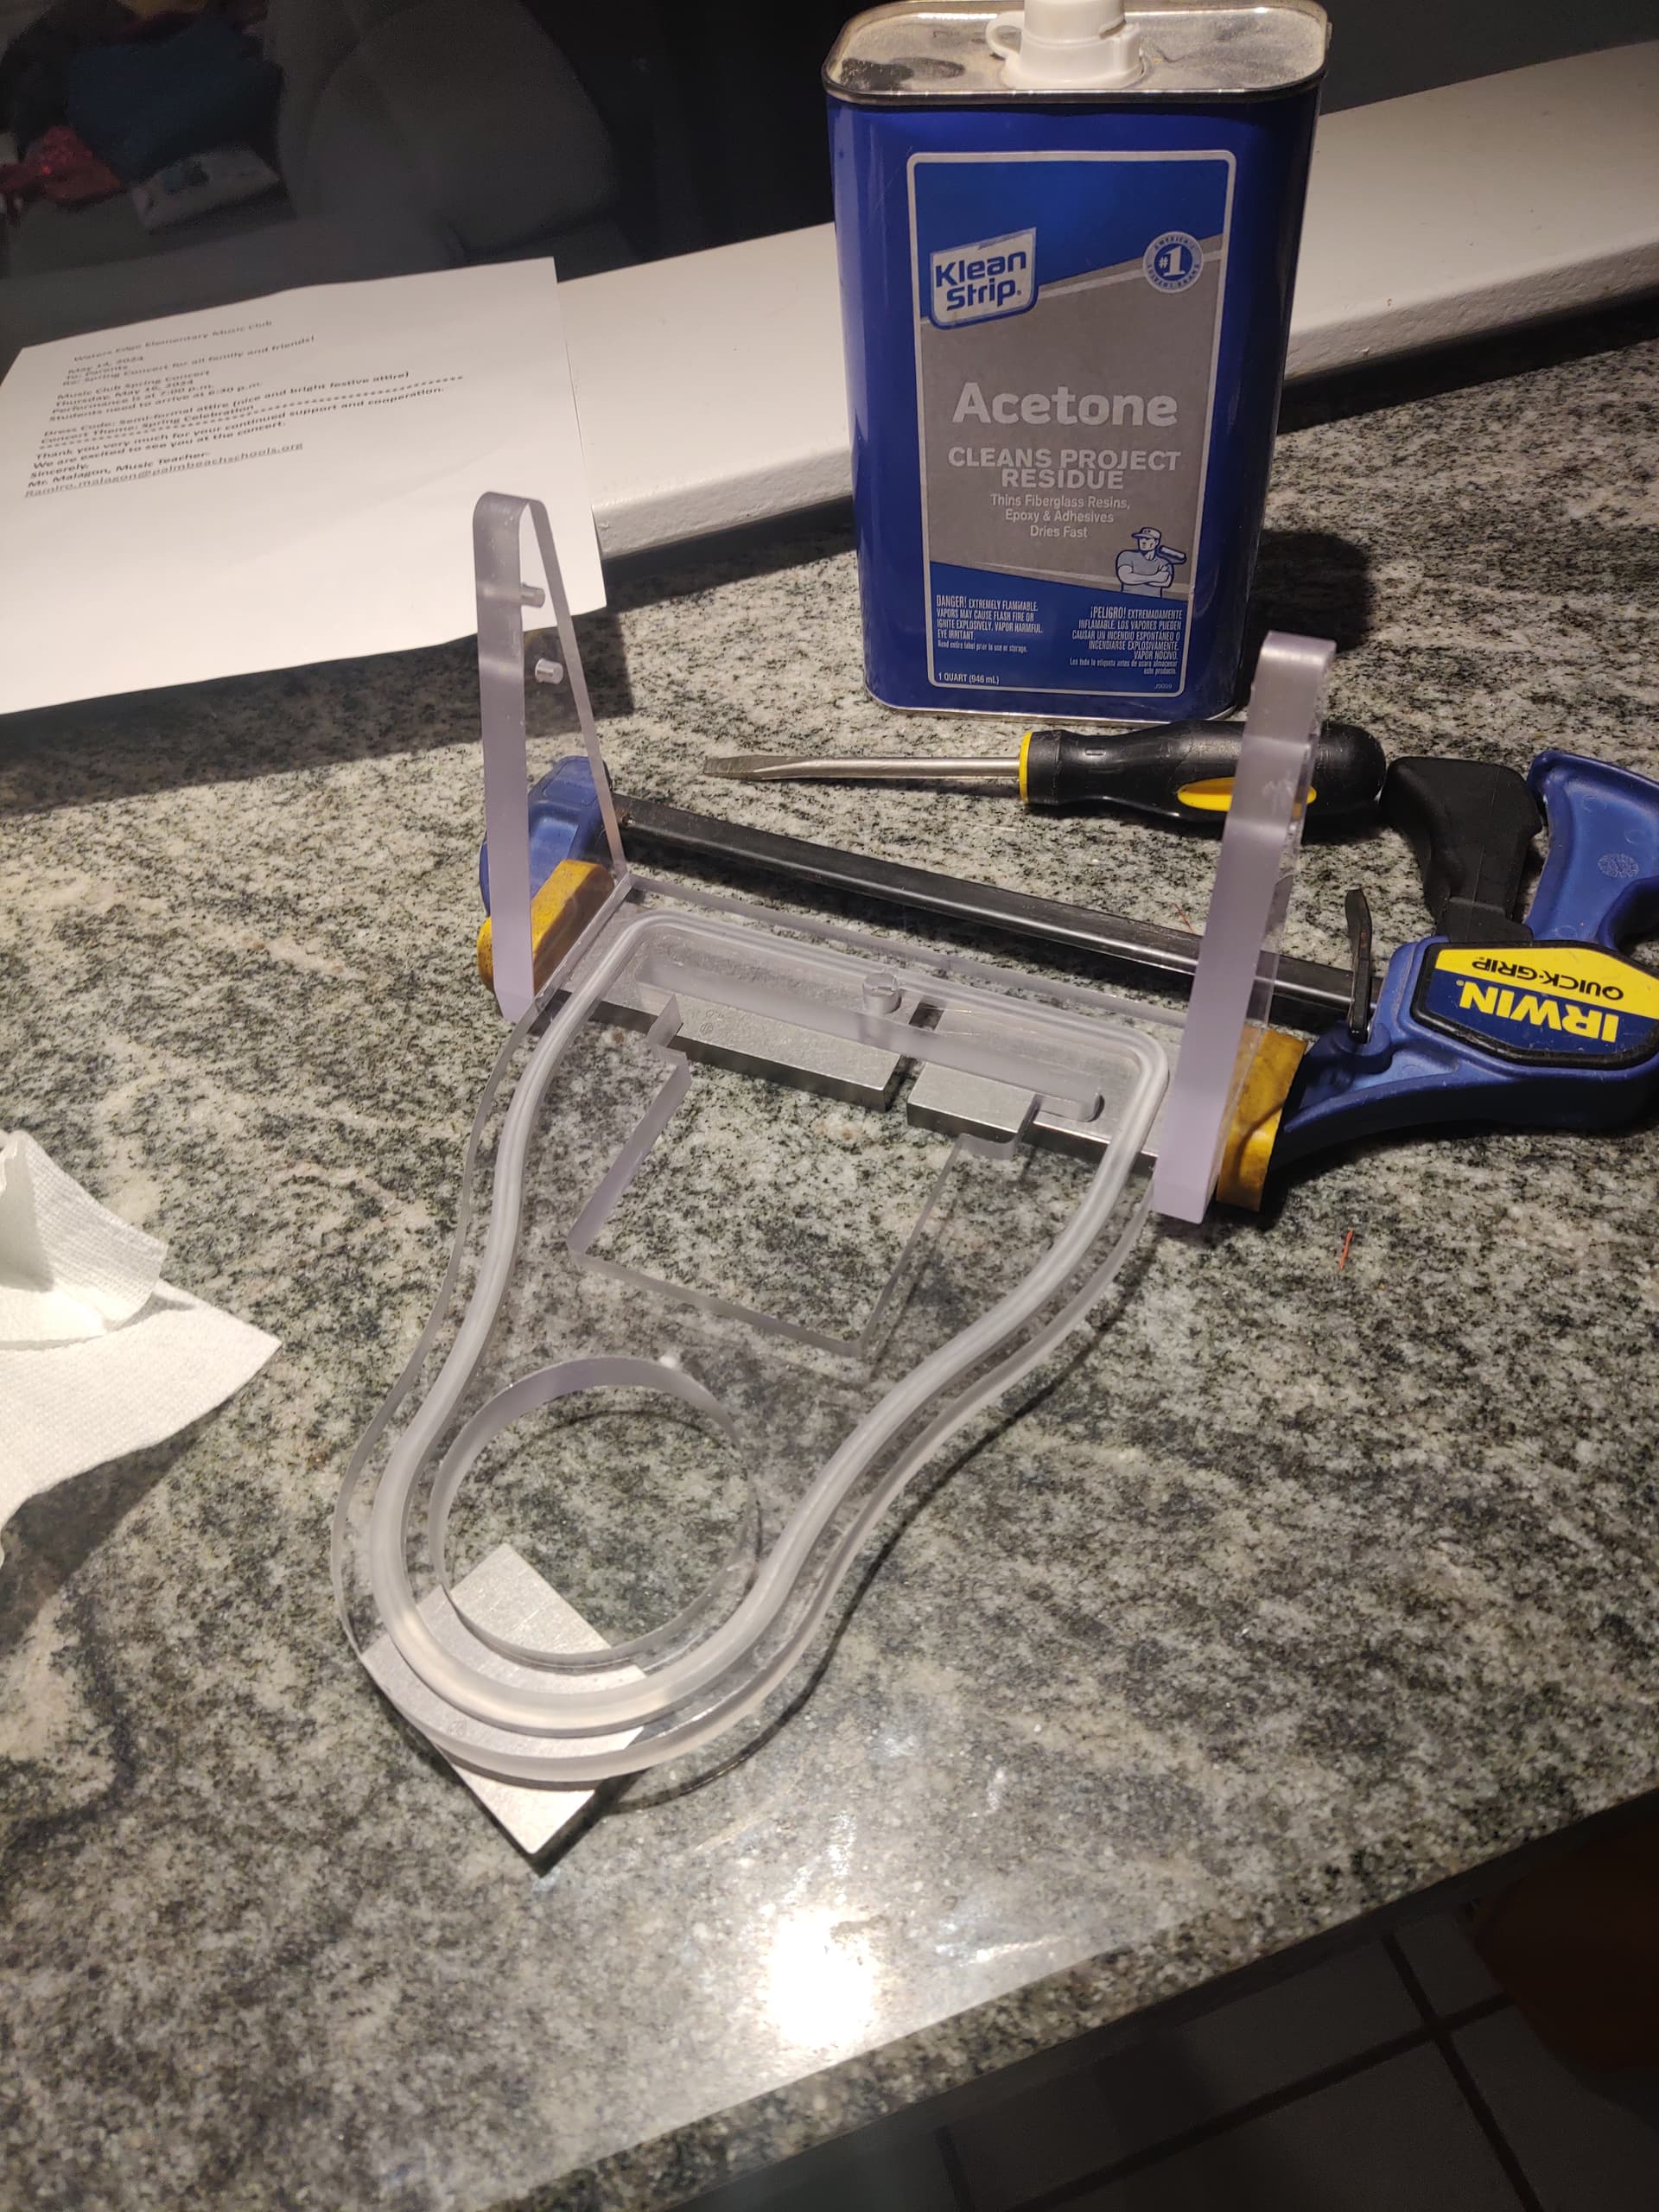
Ok, after banging my head against the wall last weekend and fixing my pin assignment oopsie, its time to finally make some stuff. Starting with a dust boot. Did it in wood first for test fits:
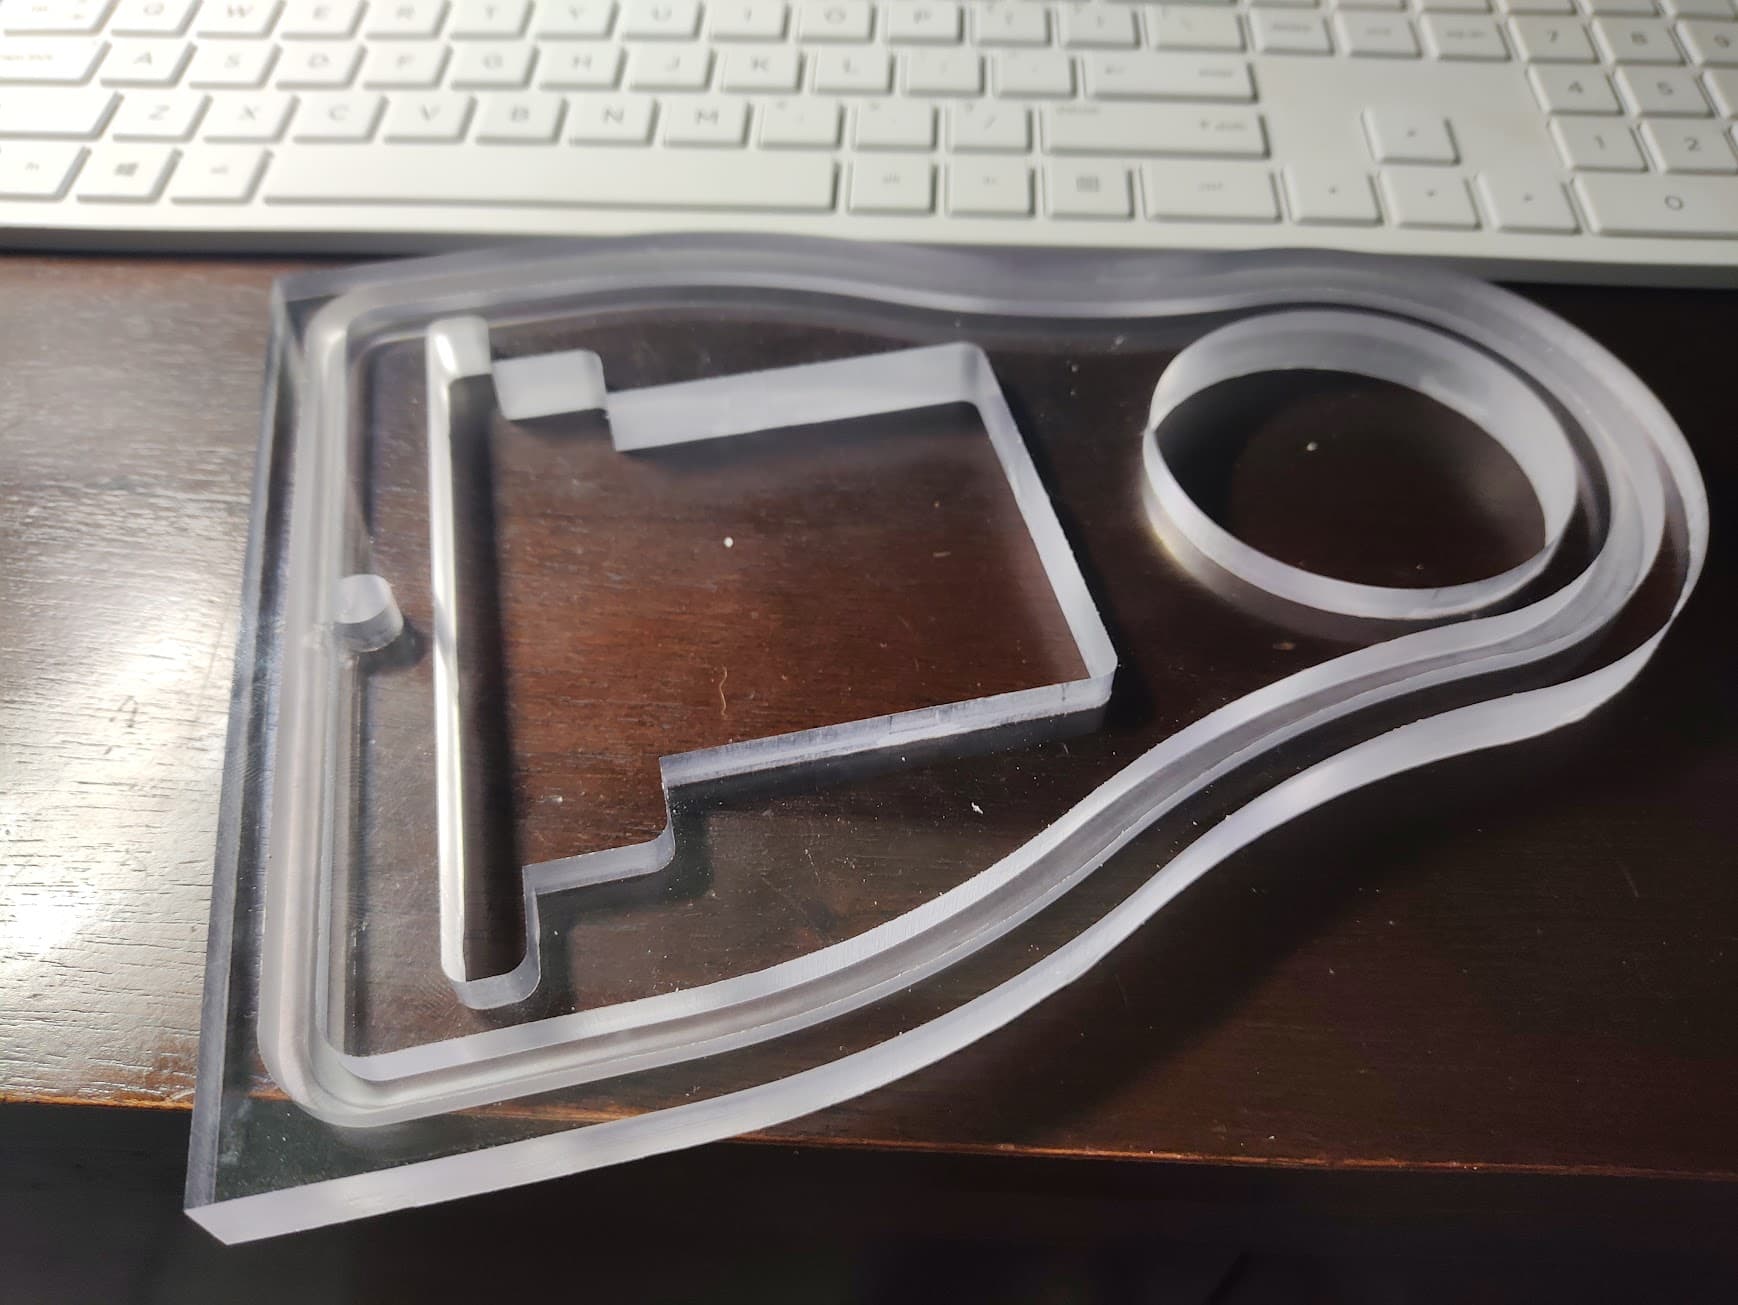
Final piece in acrylic/polycarb:
Running a 1/8" single flute at 350SFM, 14IPM, and 1/16" ADOC. The cut is noisy, but the surface finish is outstanding so far. The chips are perfect with no re-weld. I think the noise has more to do with my table and the fact that I am using thin ply under the workpiece to preserve the spoilboard (yes, I know this is dumb.) I could probably push the speeds more, but the cuts look good, even if they don’t sound great.
Looking forward to checking the accuracy once the part is off.
Well I don’t know yet if it’s repeatable as I’ve only run the one job. However, don’t get me wrong I’m definitely not complaining with that accuracy. I’m quite pleased. This entire project started because I could not hold tolerances with my Burley that were appropriate for woodworking joints.
I’m not blaming the burly either. I know I built it large and probably asked a lot of it it’s just that this is closer to where I wanted to be
The uprights were nearly perfectly to size. I sped up the rpm and feed a little bit, and things went smooth. Still a lot of vibration. I am a little worried how the vibes will affect metal cutting, but we’ll see.
So I’m happy. The biggest issue was accuracy and so far so good. I probably could have fixed or built a new mpcnc that performed better, but I don’t have any regrets about this path. I’m under $2k and otherwise where I want to be performance wise.
Interestingly, other than rigidity, the other quality of life upgrades that I’m really enjoying could be implemented on an mpcnc, if not already used by some of you:
the t-track. My burly I just screwed material down to the waste board. The ability to use clamps, or even clamp a vise down is a huge convenience
endstops. I didn’t have them before. Homing the machine every time it starts, defining software endstops, and working in g54 has made job position easy and collisions much less likely.
the spindle. I know not everyone can implement a spindle easily with the controller or 220v power, but my goodness it’s a luxury. Having torque all the way down to 5k rpm, programmable speed control, and auto on/off is really nice to have. And the noise (or lack thereof). It’s SO much quieter than my old dewalt. If you can swing it, do it.
The vibration/noise could just be the stock itself and not the machine. I had the same with the modded Workbee after upgrading to leadscrews and linear rails and I was disappointed at first in the rigidity. But then I realized it was just the heavier cuts lifting and flexing the plywood and makin a lot of noise.
Yet another area where the MPCNC can be considered well balanced. It’s in the same continuum with the all the rest of usual “improvement” ideas.
It needs Nema 23 → it would need wider belts → it would need stiffer rails/conduit → it would need beefier plastic parts → “it” would need fancier workholding than just 4 screws at the corners of a sheet of plywood
It also occurred to me that maybe I’m only noticing the harsh cutting noise now because the spindle is quiet enough for me to hear it. I couldn’t hear anything over that DeWalt at 30k, lol
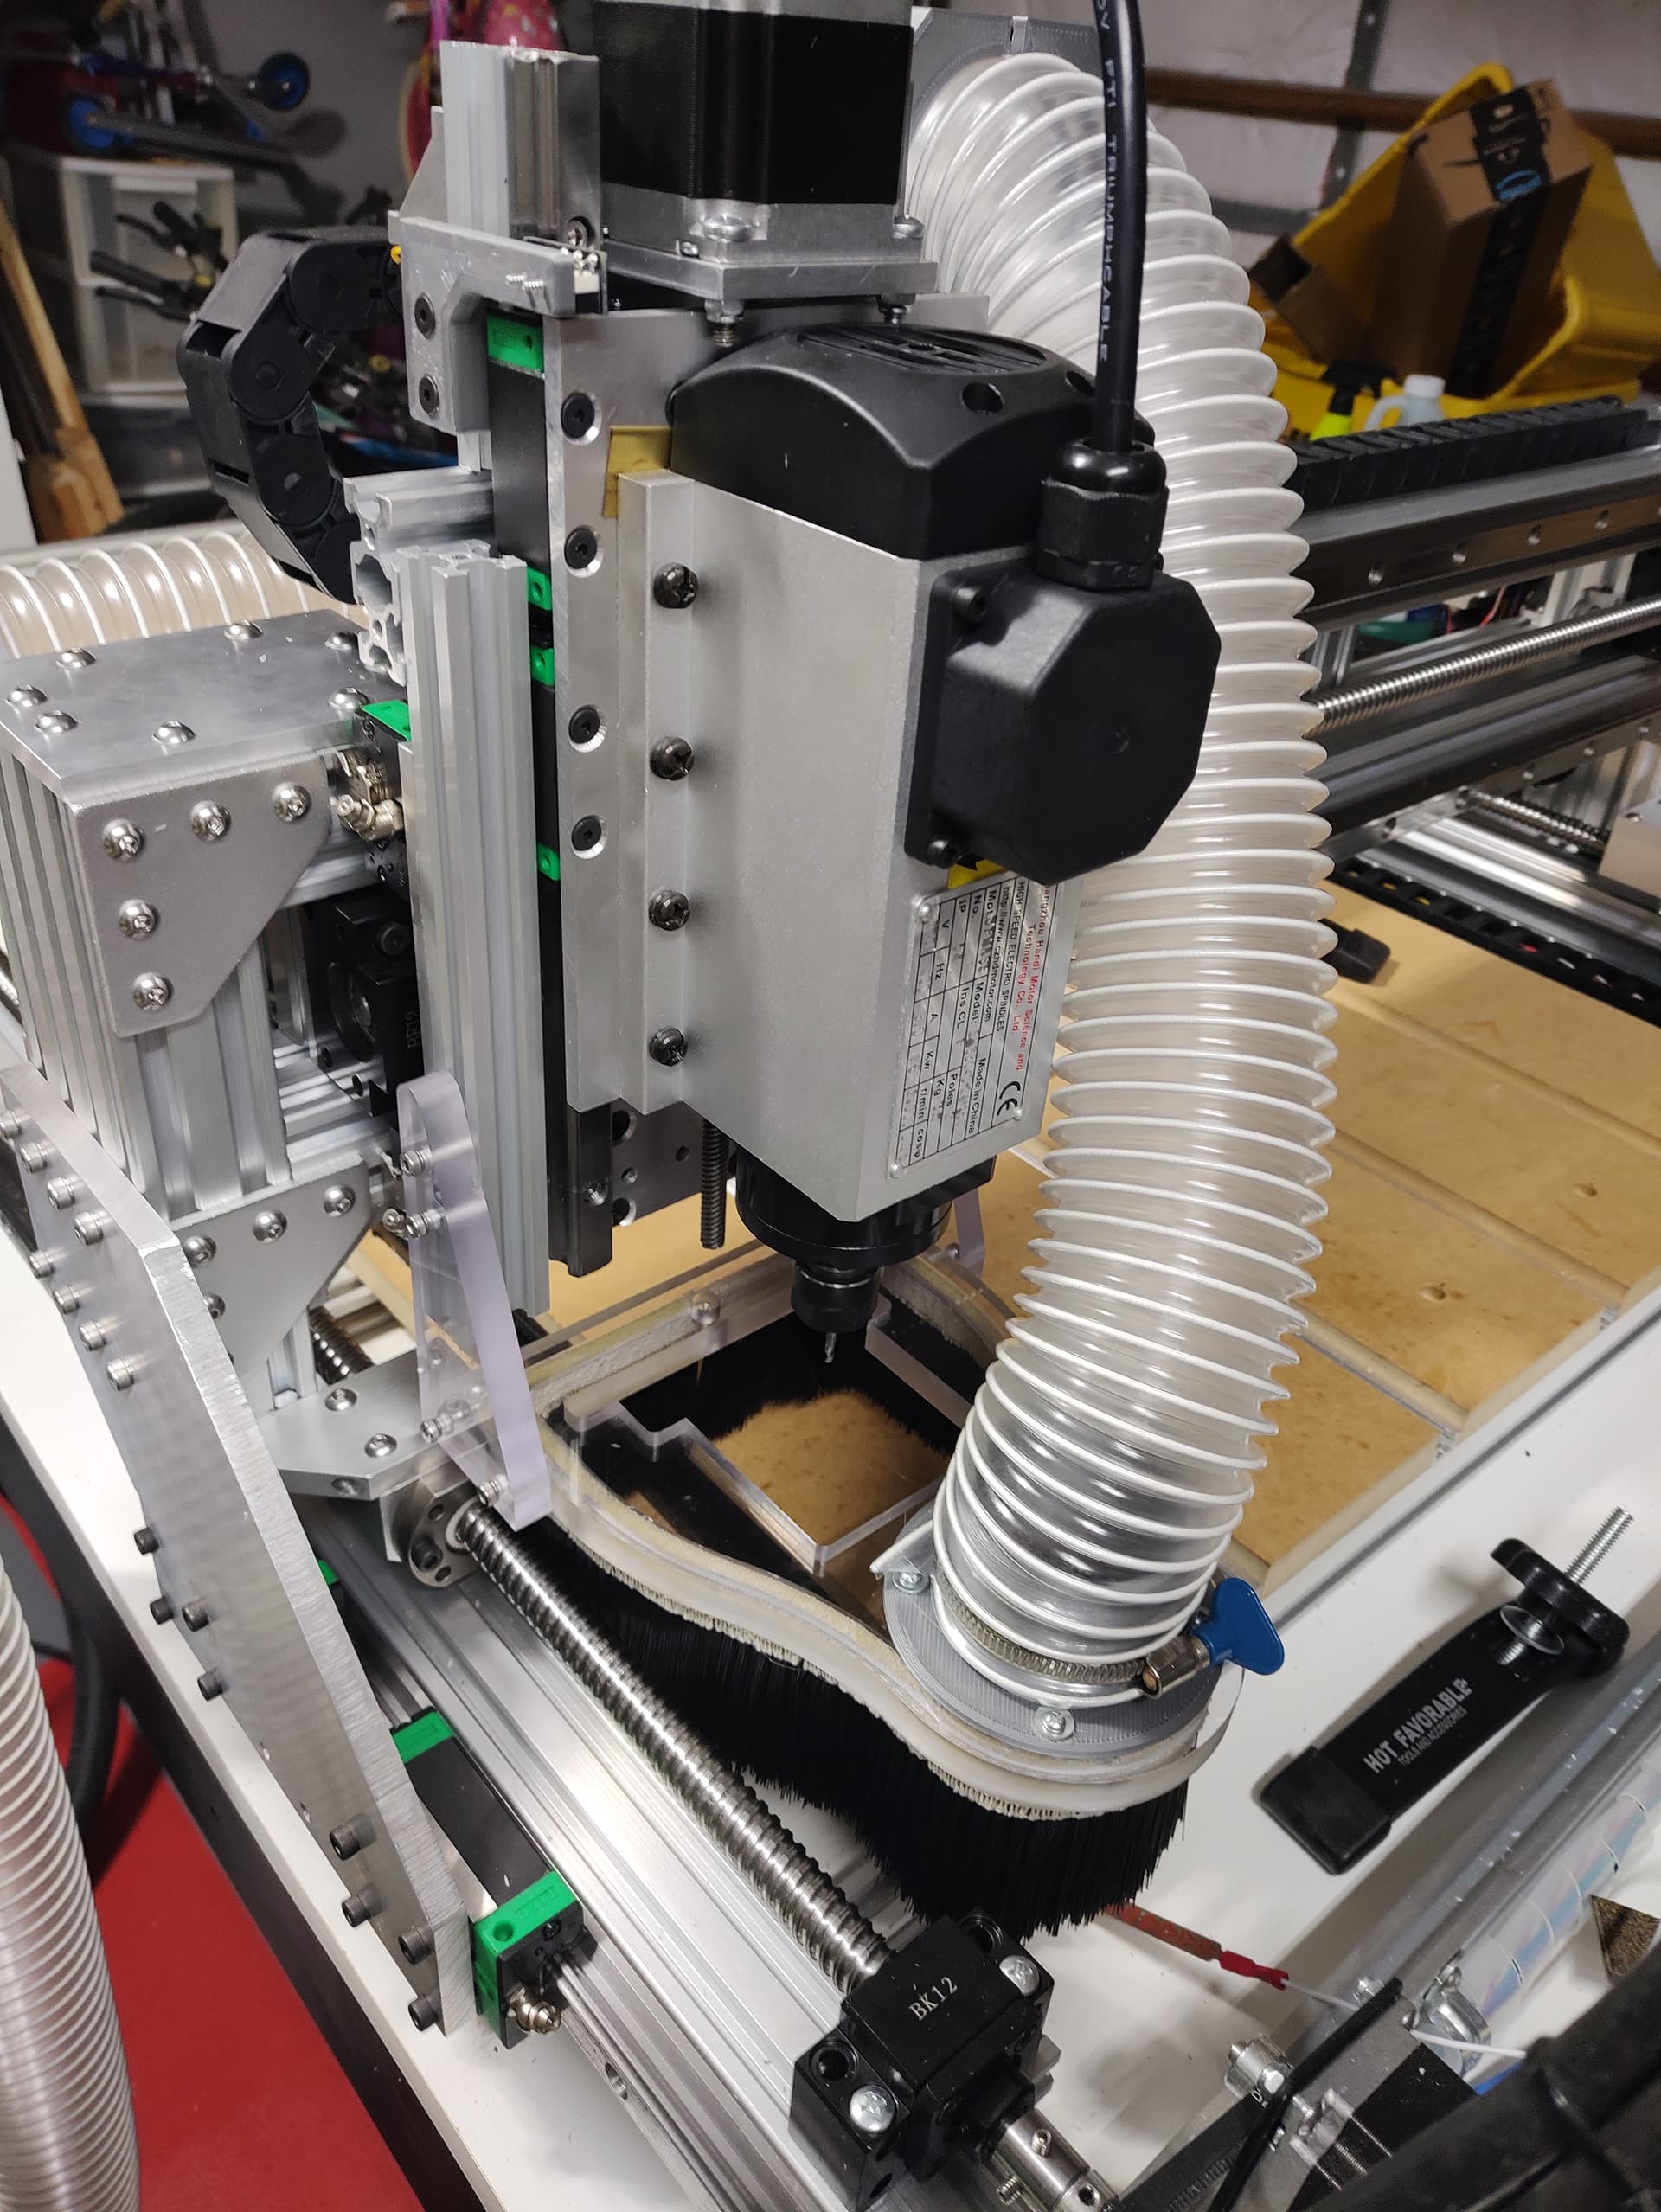
Dust boot finished and installed. I love the way The boot itself came out, but I have to admit it is a little bulky. It’s adjustable in height but I discovered that if I have it at its lowest setting where the brush is just touching to spoil board then I will have a collision when homing X between the acrylic bracket and one of the ball nut housings.
Now most of the time I’ll be cutting material that is thick enough that the brush at its lowest non colliding setting will touch the material, what time will tell.
Also not sure how well it performs yet, as I haven’t cut anything and this whole thing is just running on a simple dust deputy and shop vac set up for now.
I built a printnc and spent time on their discord. There was a guy who spoke very well of the MPCNC, and lauded it every time anyone would start the bashing.
As far as I can tell, most of the animus seems to be with people who built an MPCNC expecting it to cut at MRRs of the big boys. Lots of experience with the MPCNC in that group, just seems like most of them either gave up before dialing it in or expected more than it could give.
Most of them do seem to agree that the MPCNC is good for what it is, at least. They just disagree on what that is, lol.