Some five years ago i started to build my first CNC. It was a really cheap wooden contraption with a lot of 3d self printed parts. I found the design on the internet. Although it worked, it never was , even after numerous design changes satisfying.
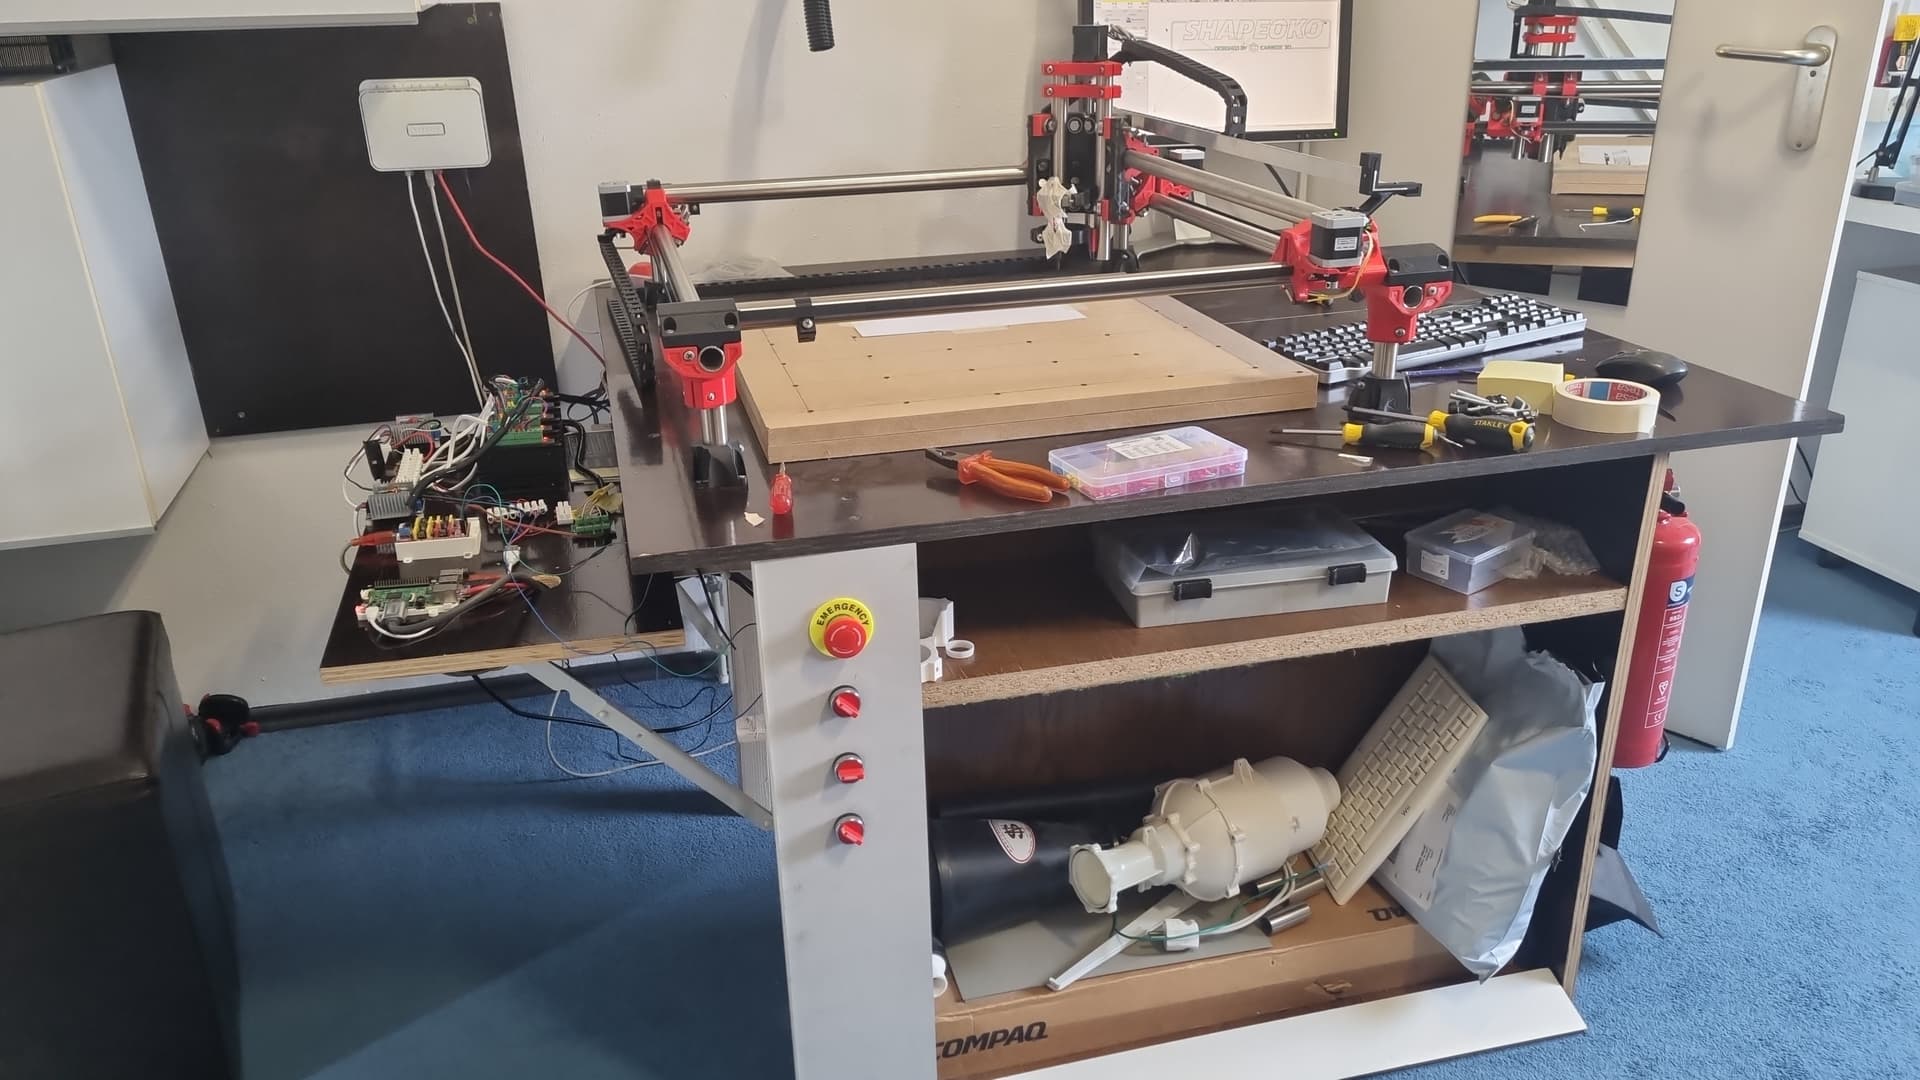
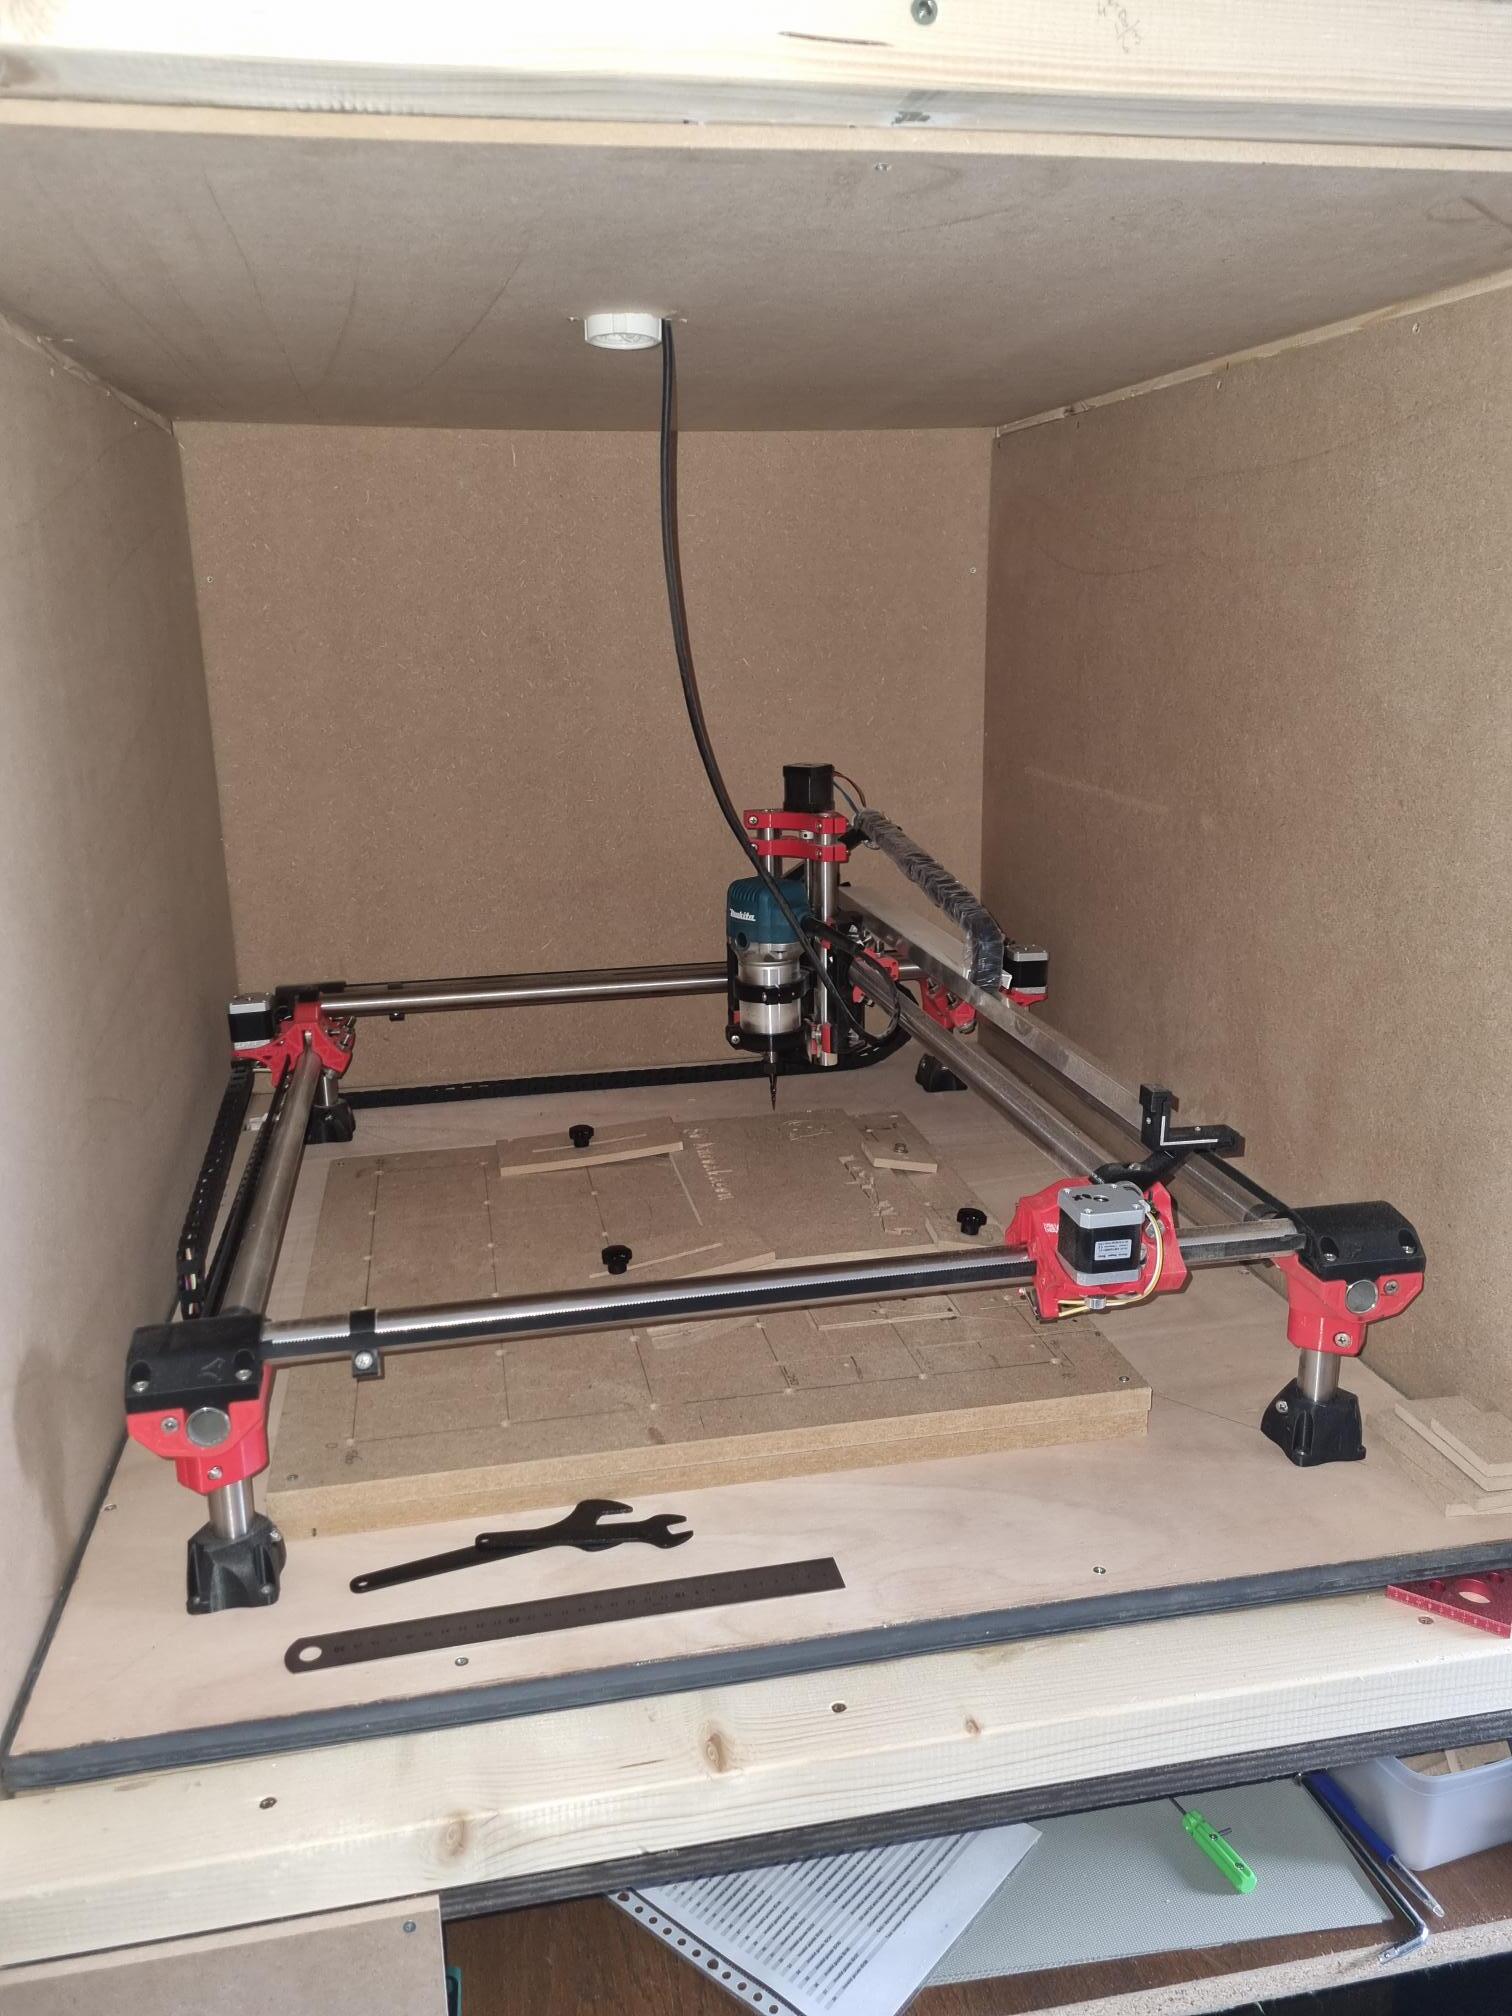
Two years ago i found this nice MPCNC and started a new build al over again. Learned from the previous extensive 3d prints, I ordered now the 3d printed parts from 3D Druckservice-Allgäu in Germany. These parts where delivered some 2 years ago.
I also moved my previous cramped home hobby space to a new spacious room, but it took a very long time to complete… . Finally some weeks ago i found more time and a lot of energy and last week i “glued” the MPCNC together. I was completed.
I used my complete mechanical, electronics, software tool-chain from my other CNC. (Linux / open source based) :
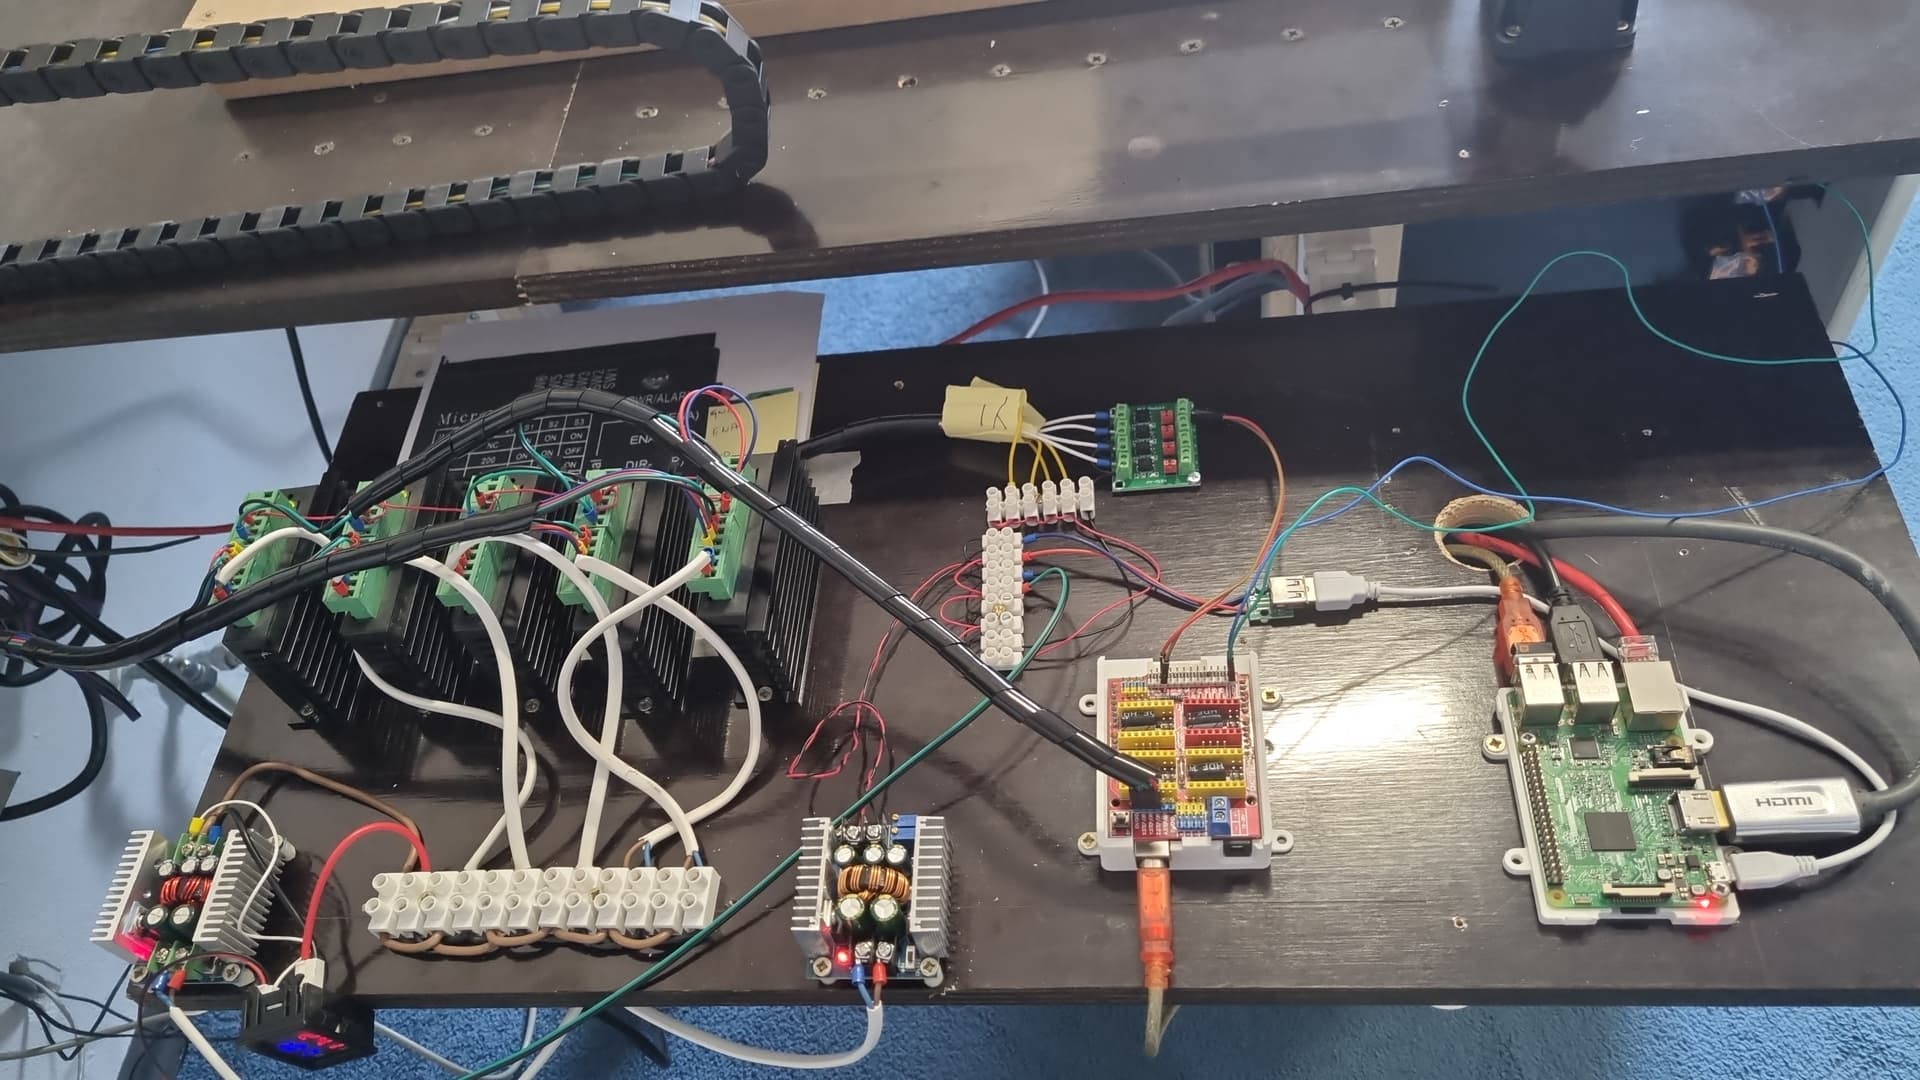
Hardware tool-chain : Raspberry PI 3B → Arduino UNO → Protoneer CNC shield → 5 * TB6600 (clone → 5 Steppers (X and Y combined pairs)
Sofware Tool-chain : Freecad + F-engrave + Inkscape → bCNC 0.9.14 → Grbl 1.11
I have used Freecad before with my 3D printer.
Powered by : 36 v transformer (on the back) and 2 stepdown adapters to 24 volt for the steppers and 5,1 volt for the rest.
Routers : Dremel 4000 and Makita RT702 (new birthday present)
Plans for the near future :
clean up…
a dust collection system
a cabinet with camera
auto leveling and camera aligning
Usage : make own signs , tools , parts for projects etc
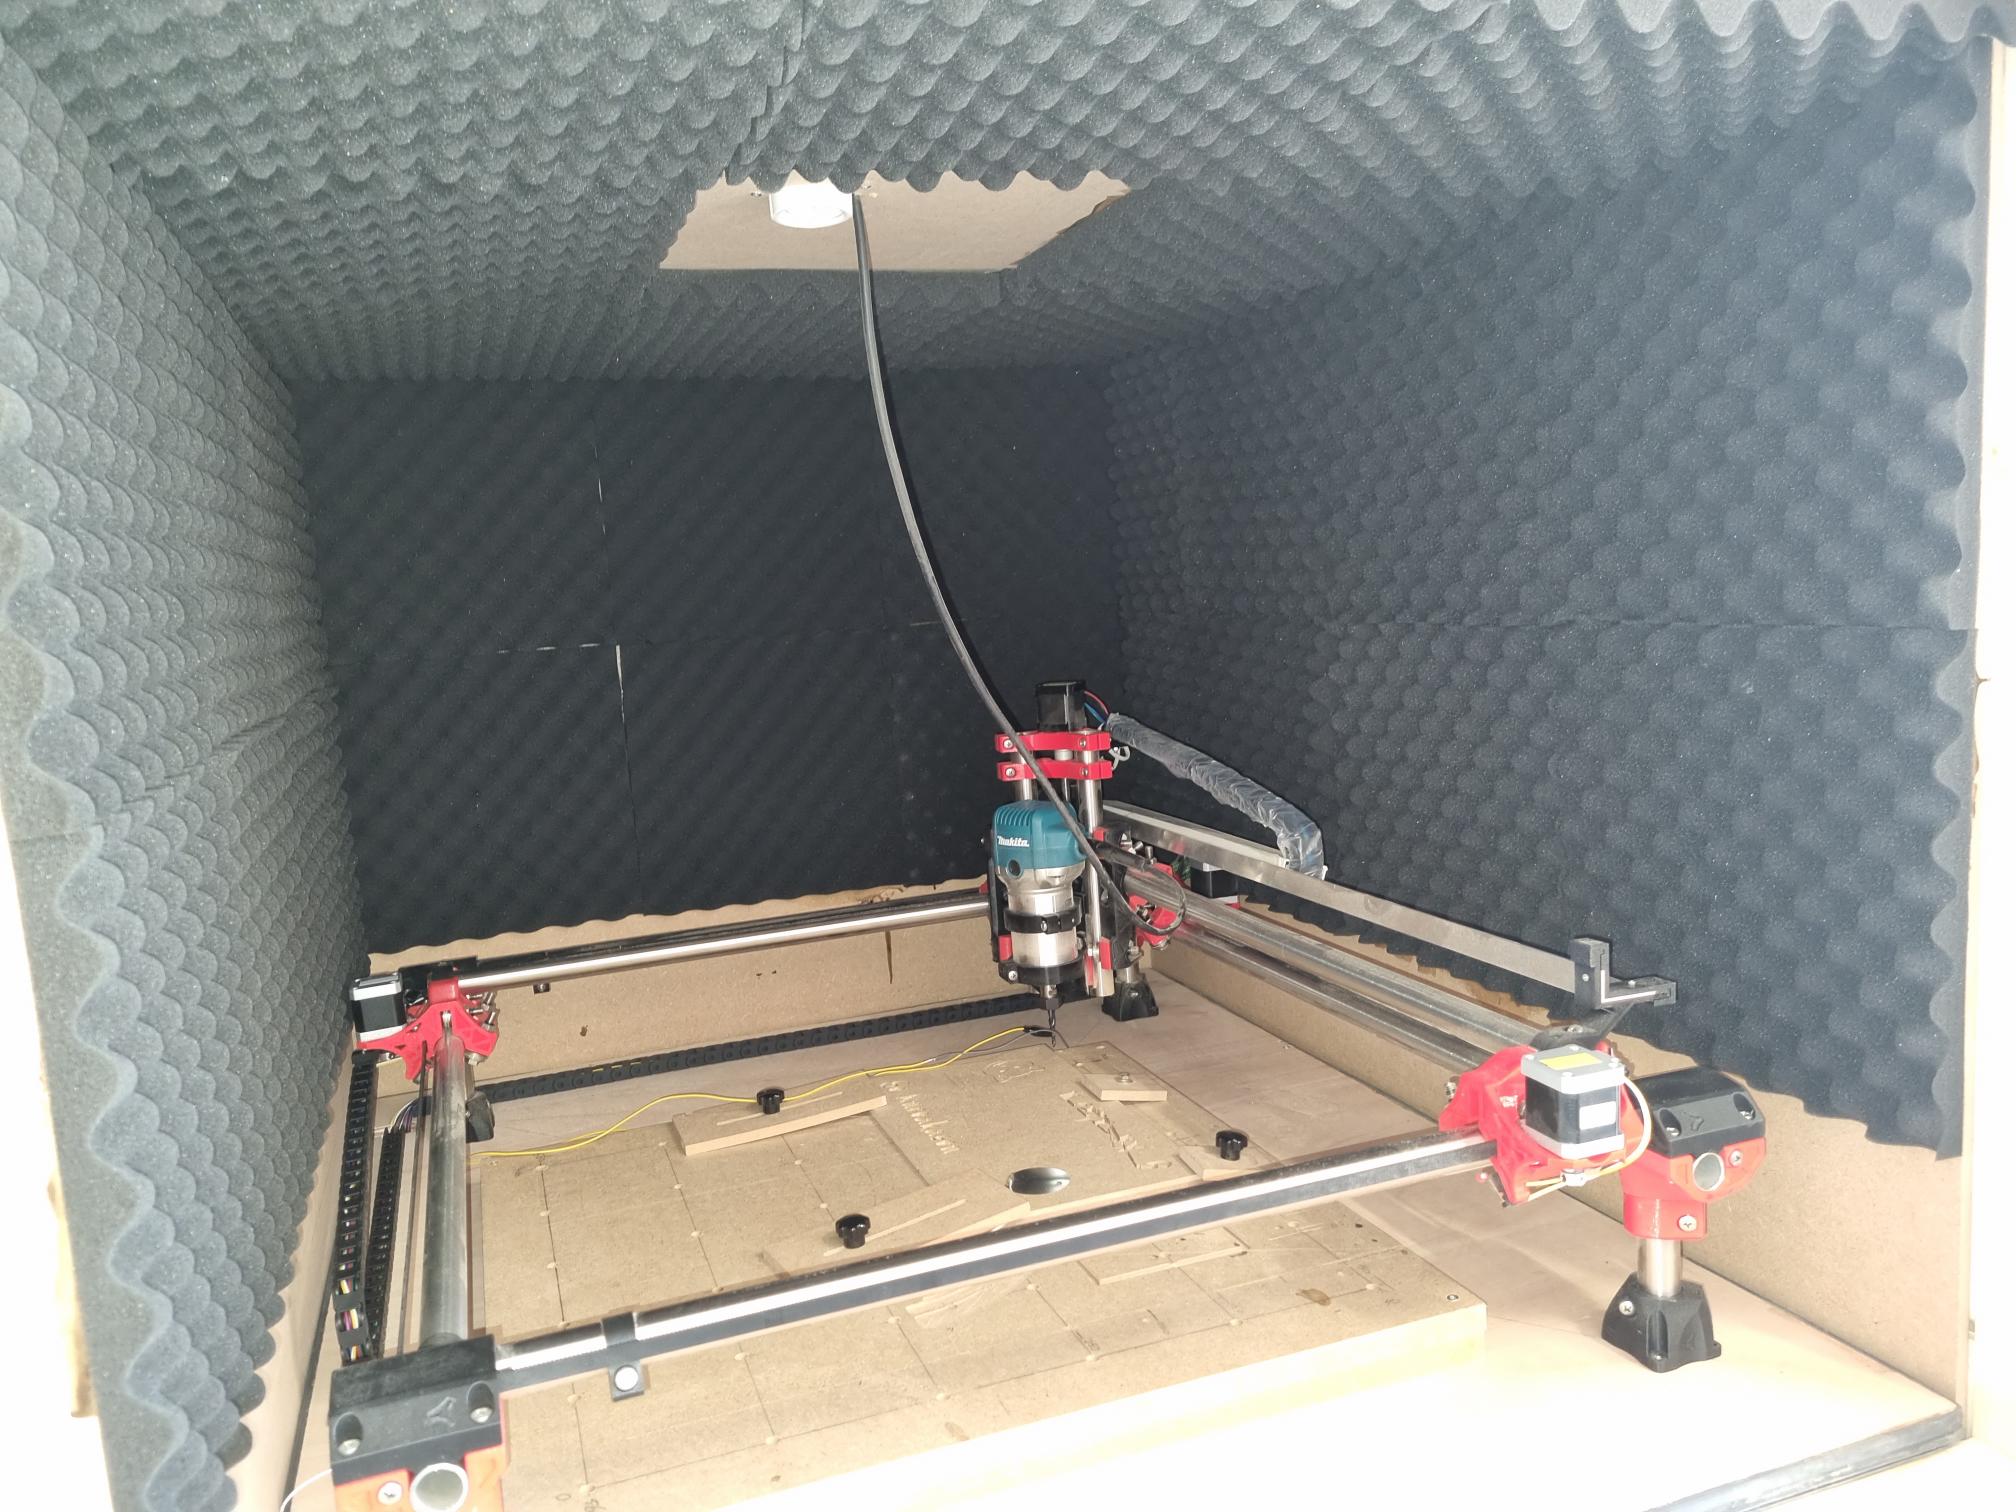
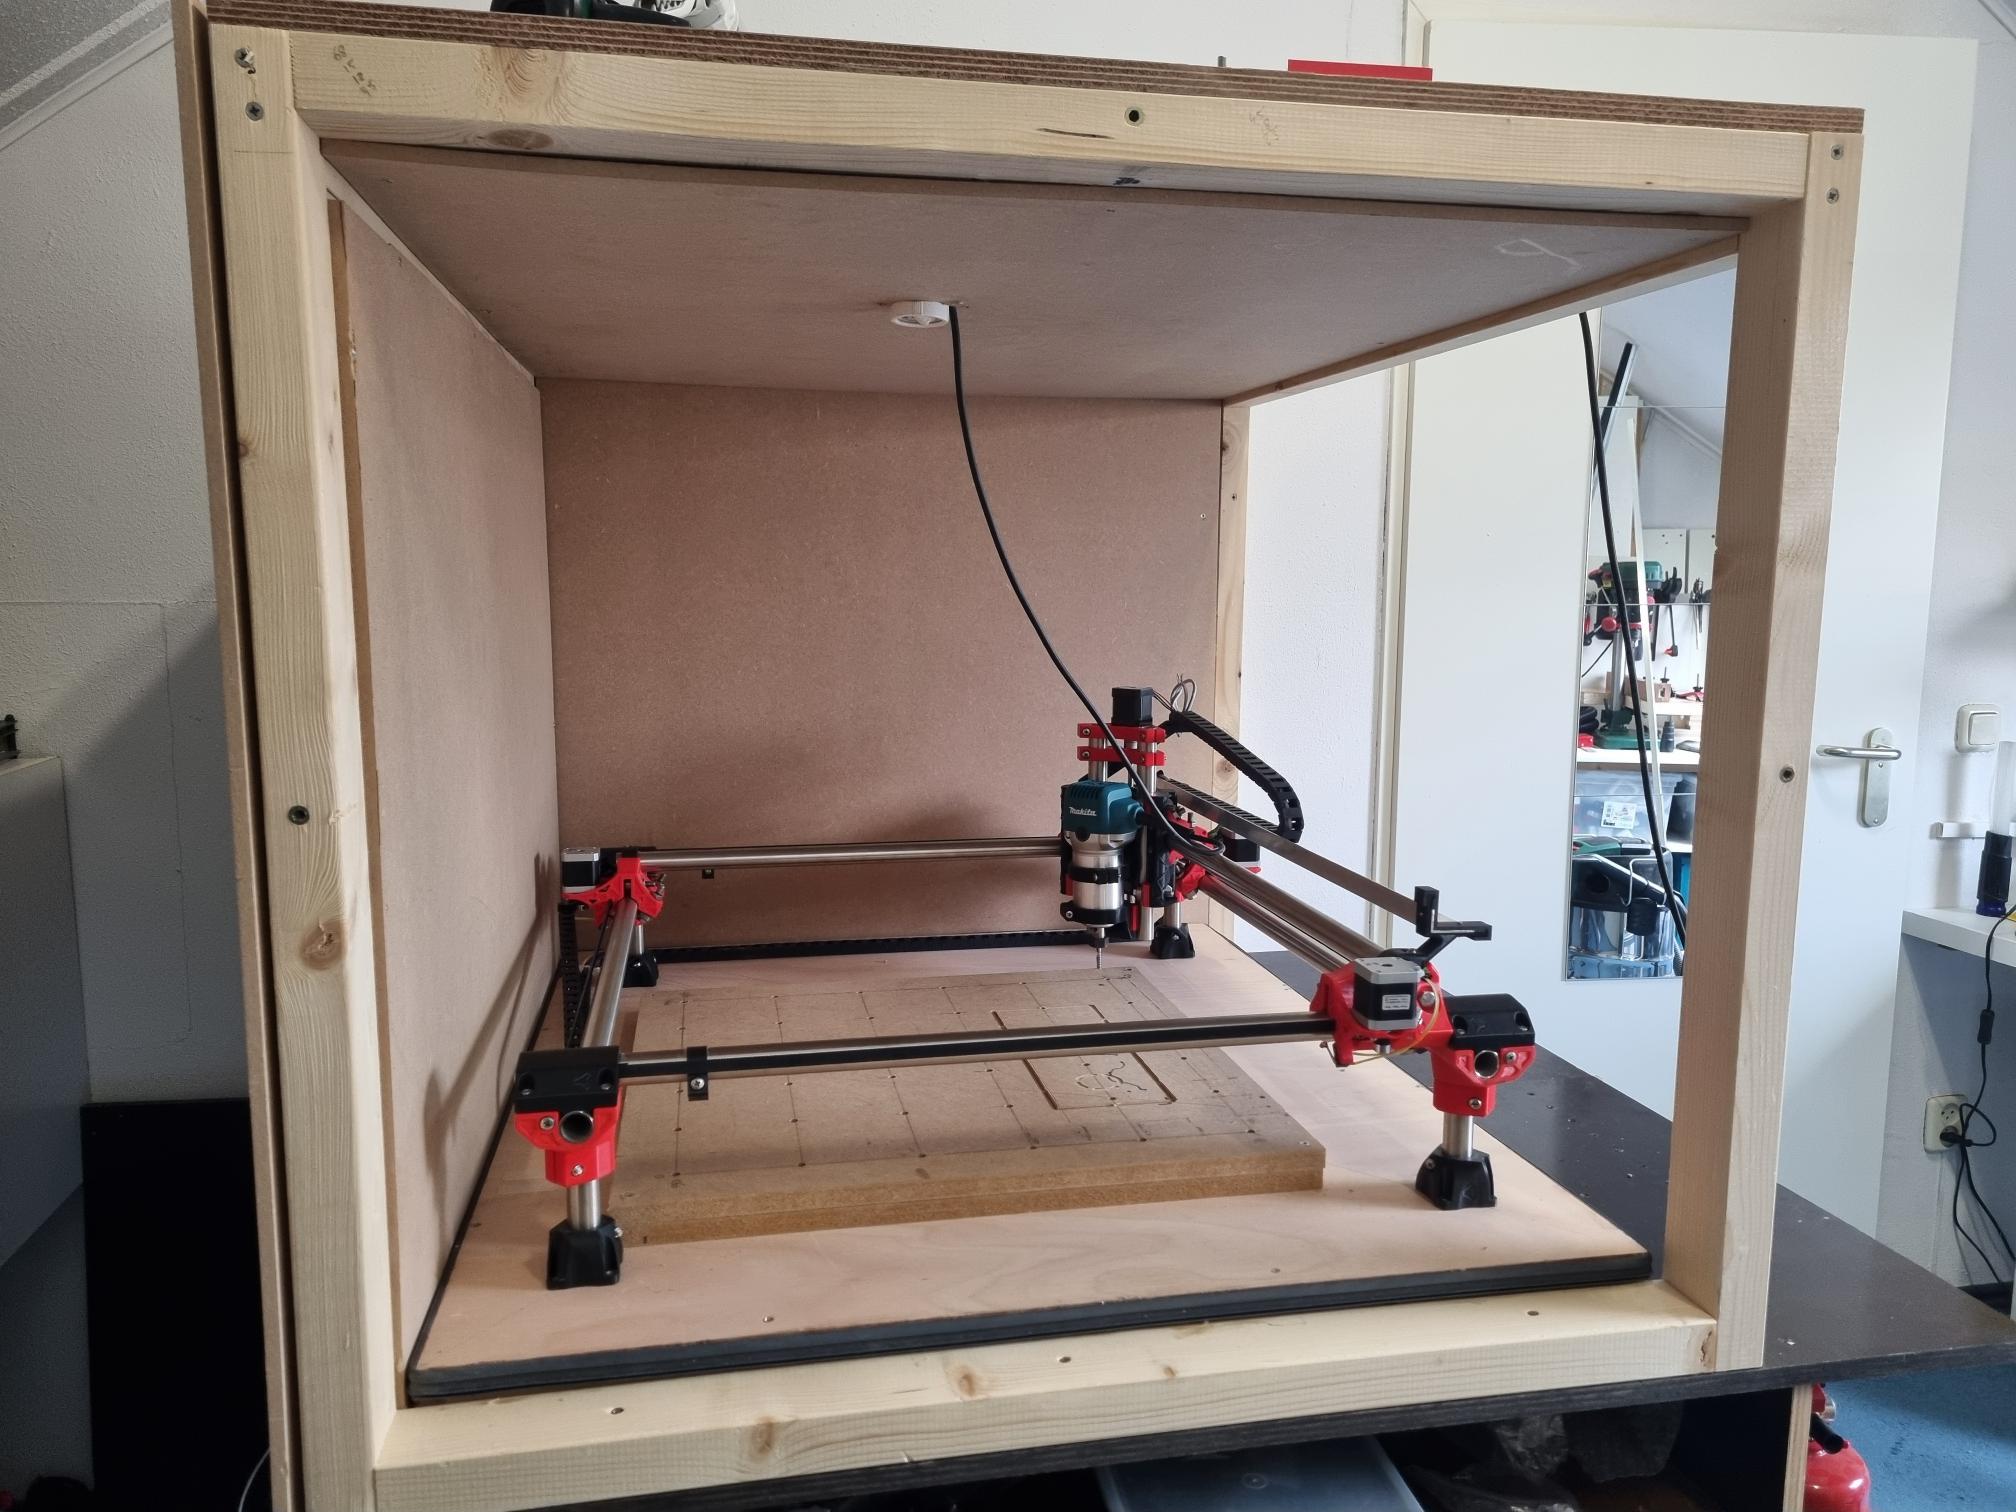
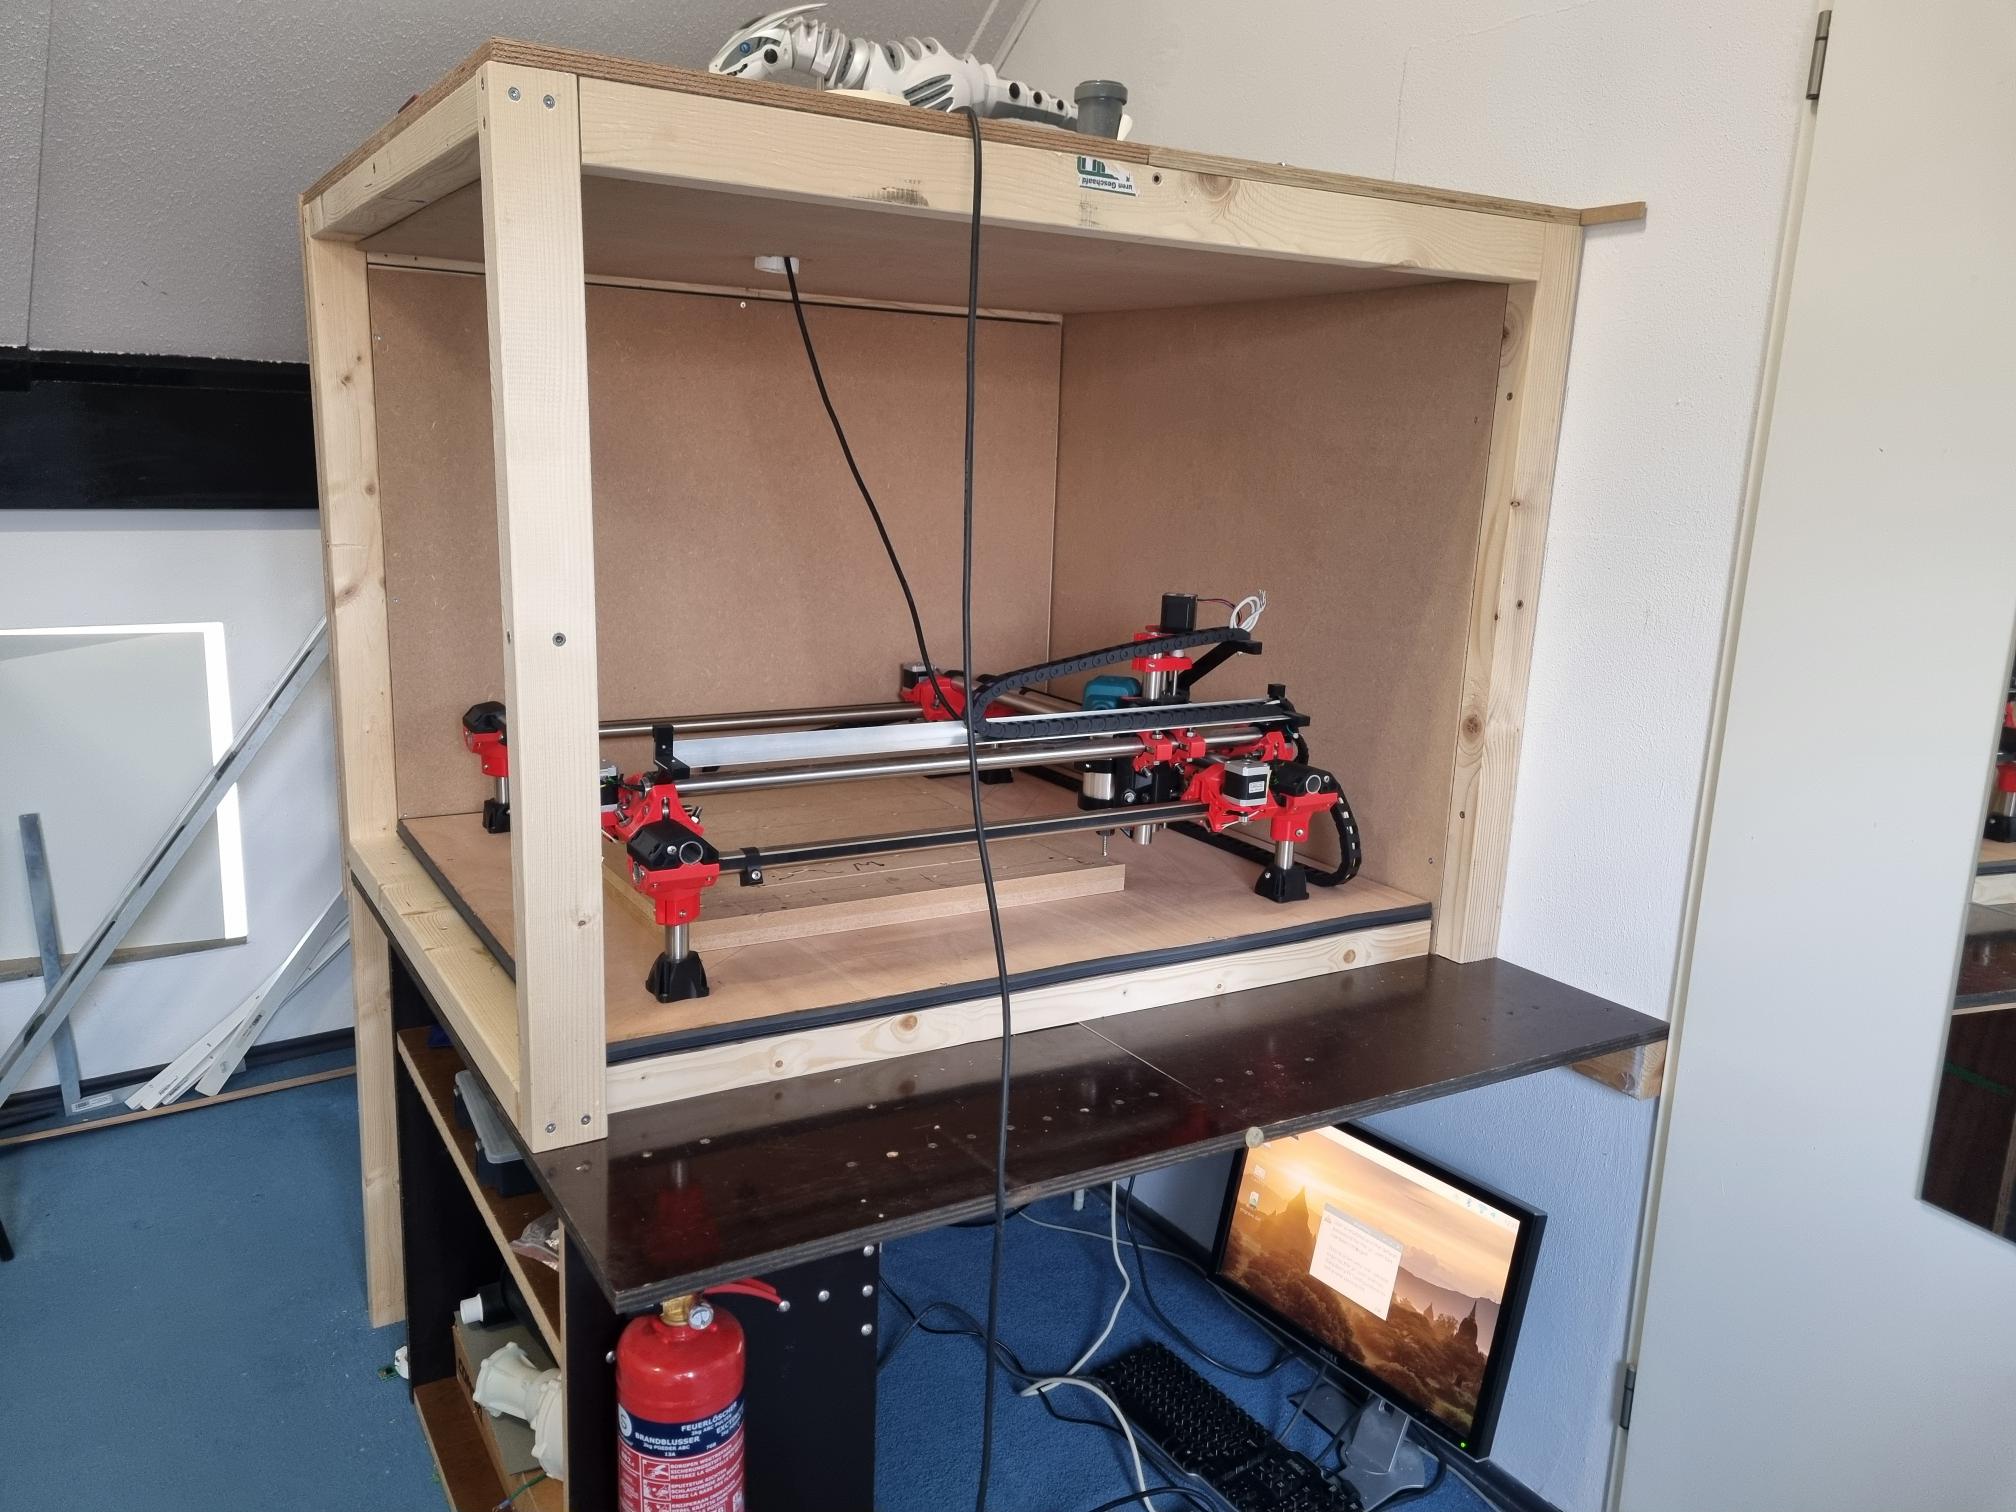
I finished my enclousure for my 900 * 800 mm MPCNC (Net working 570*470 mm).
I watched the build of a lot of CNC enclousures online and i learned some things from that
Heavy
Maintenance unfriendly
Expensive
Most tests of sound reduction are done with a music source, well i did that too, but that is nothing compared to my Makita…
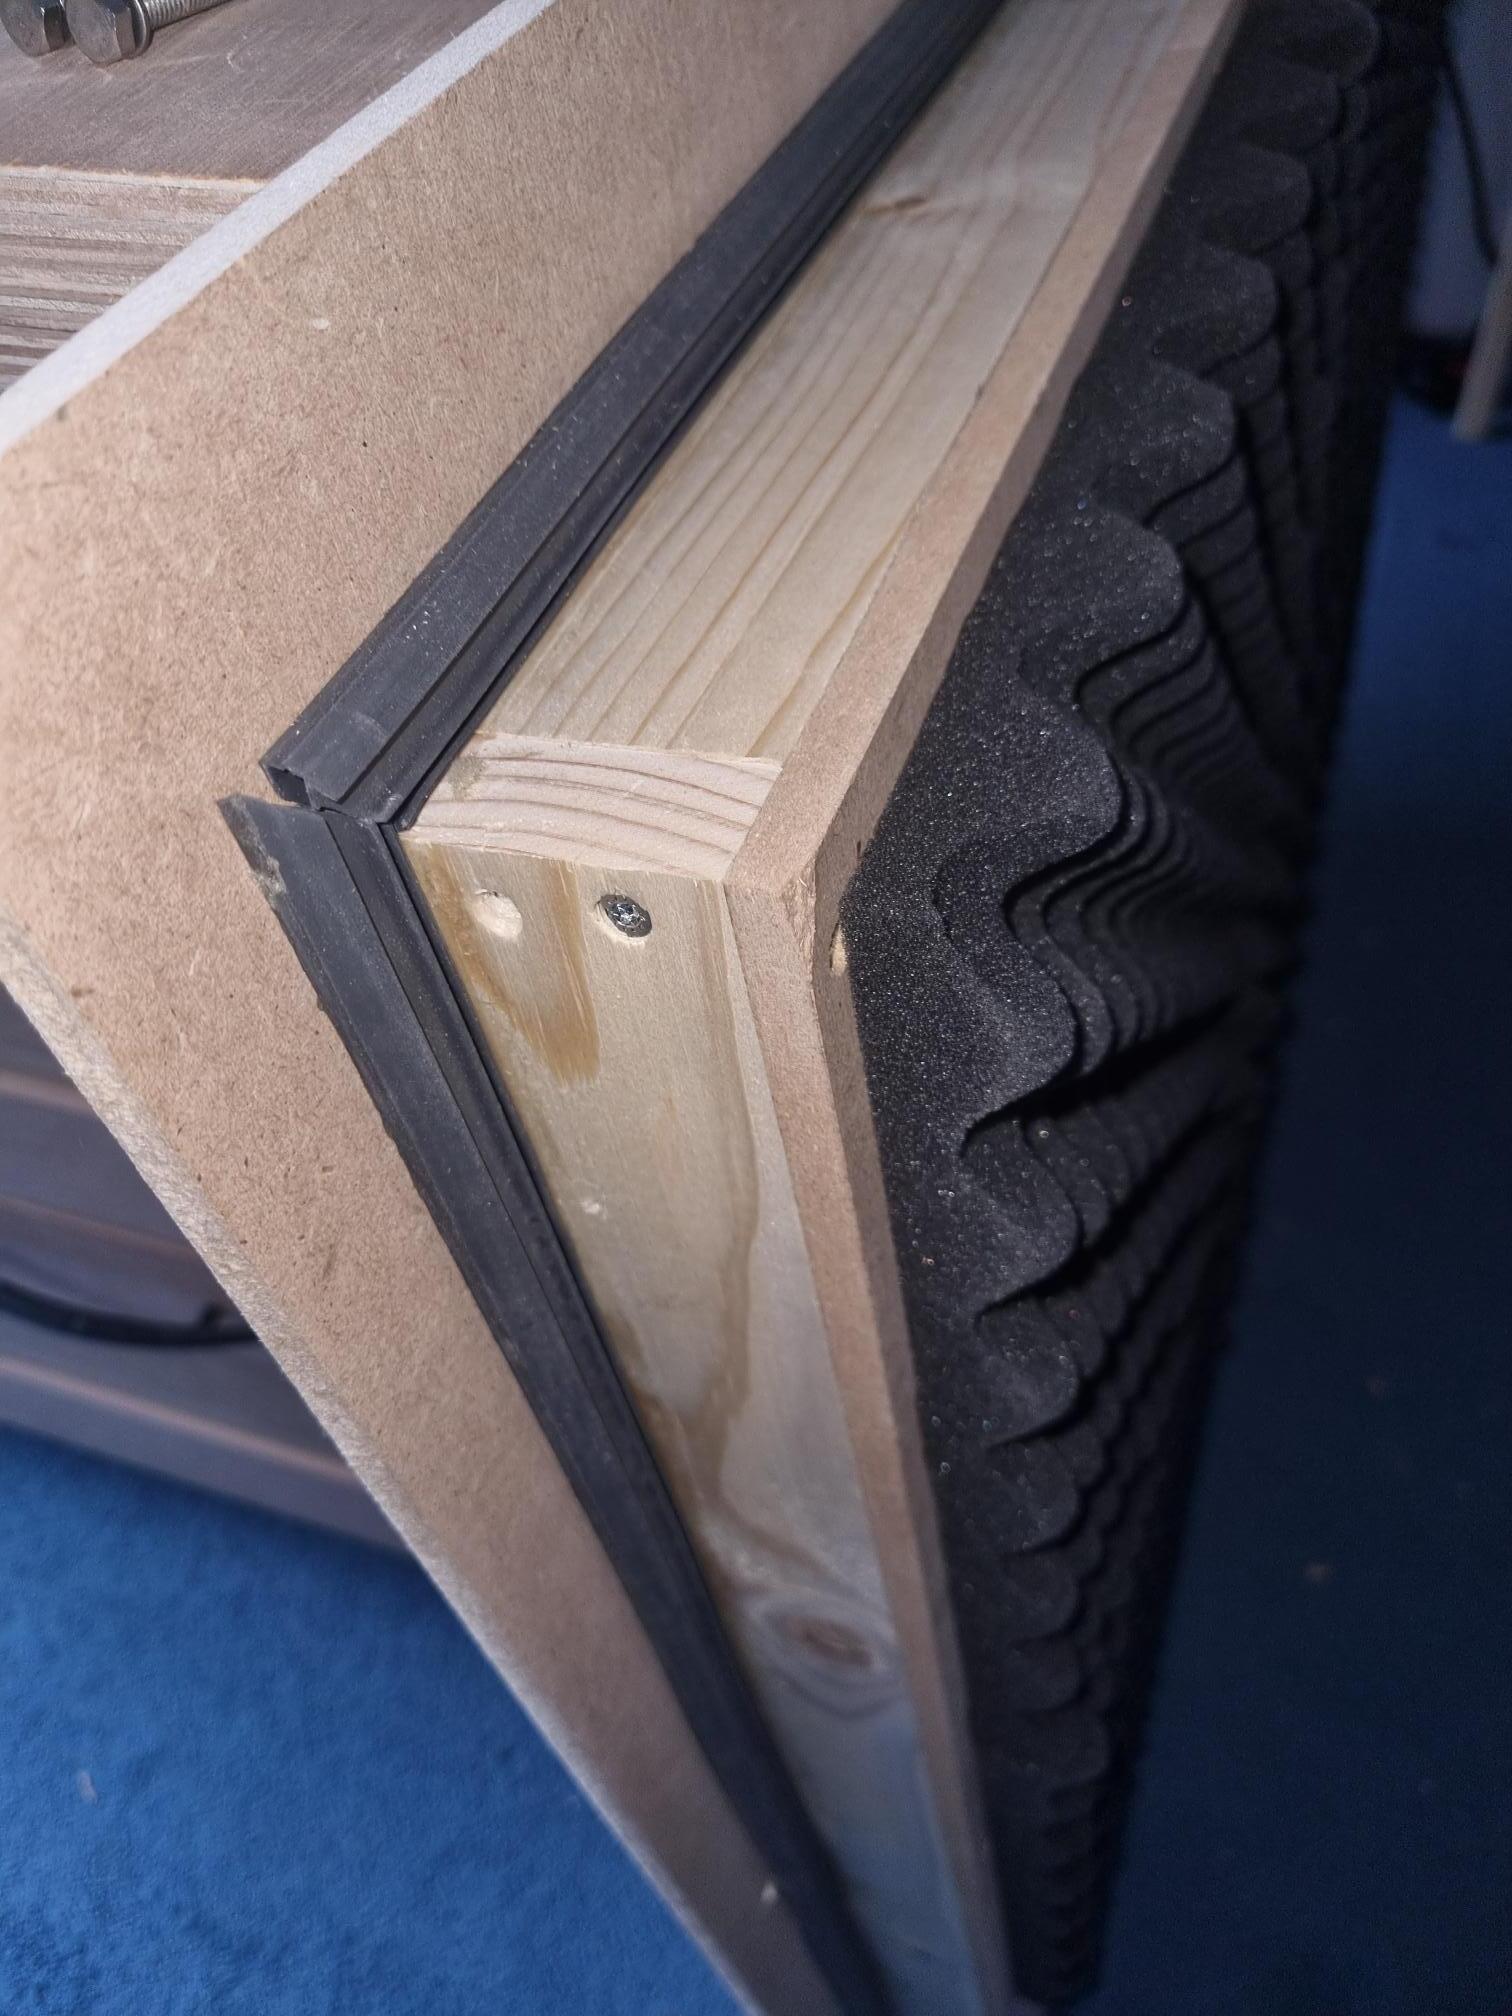
This is my solution for an 6 sided noise damping enclousure of 1250 * 1070 * 970 mm outside.
MDF 9 mm : 4 full sheets 2440*1220 mm = € 60
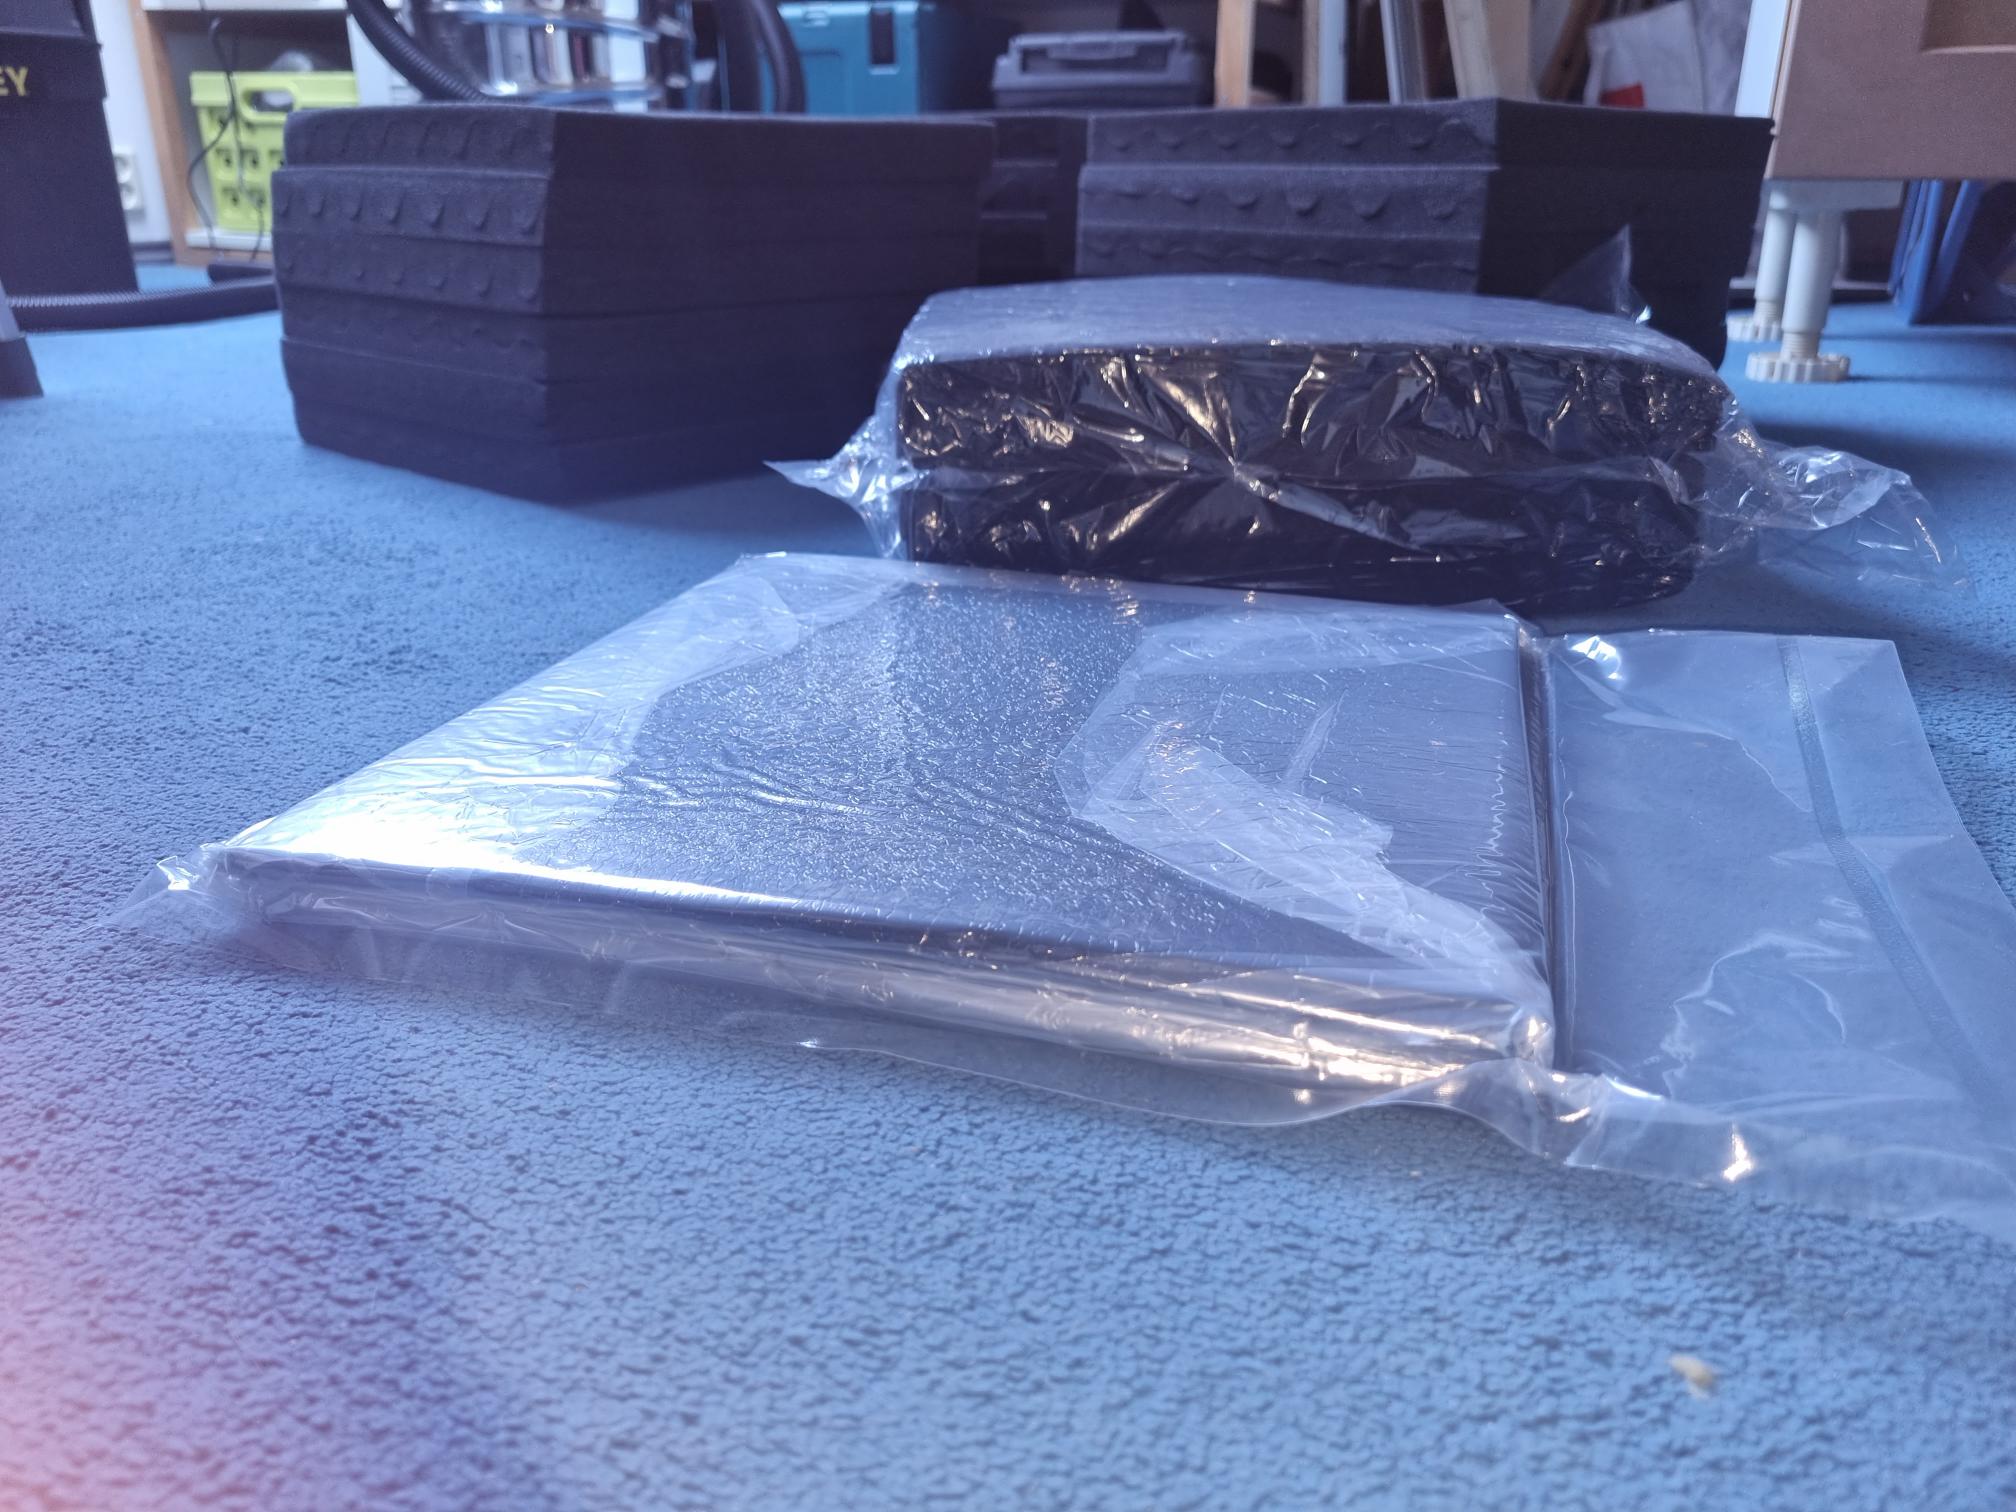
Rockwool 45 mm * 1000 * 600* pack of 10 = € 30
Wood for frames 70 * 45 mm : € 20
Wood for door frames 45 * 22 mm : € 17
48 Acoustic panels 300 * 300 * 30 (Temu) = € 32
M6 Bolts and wood screw inserts (24-40 sets)
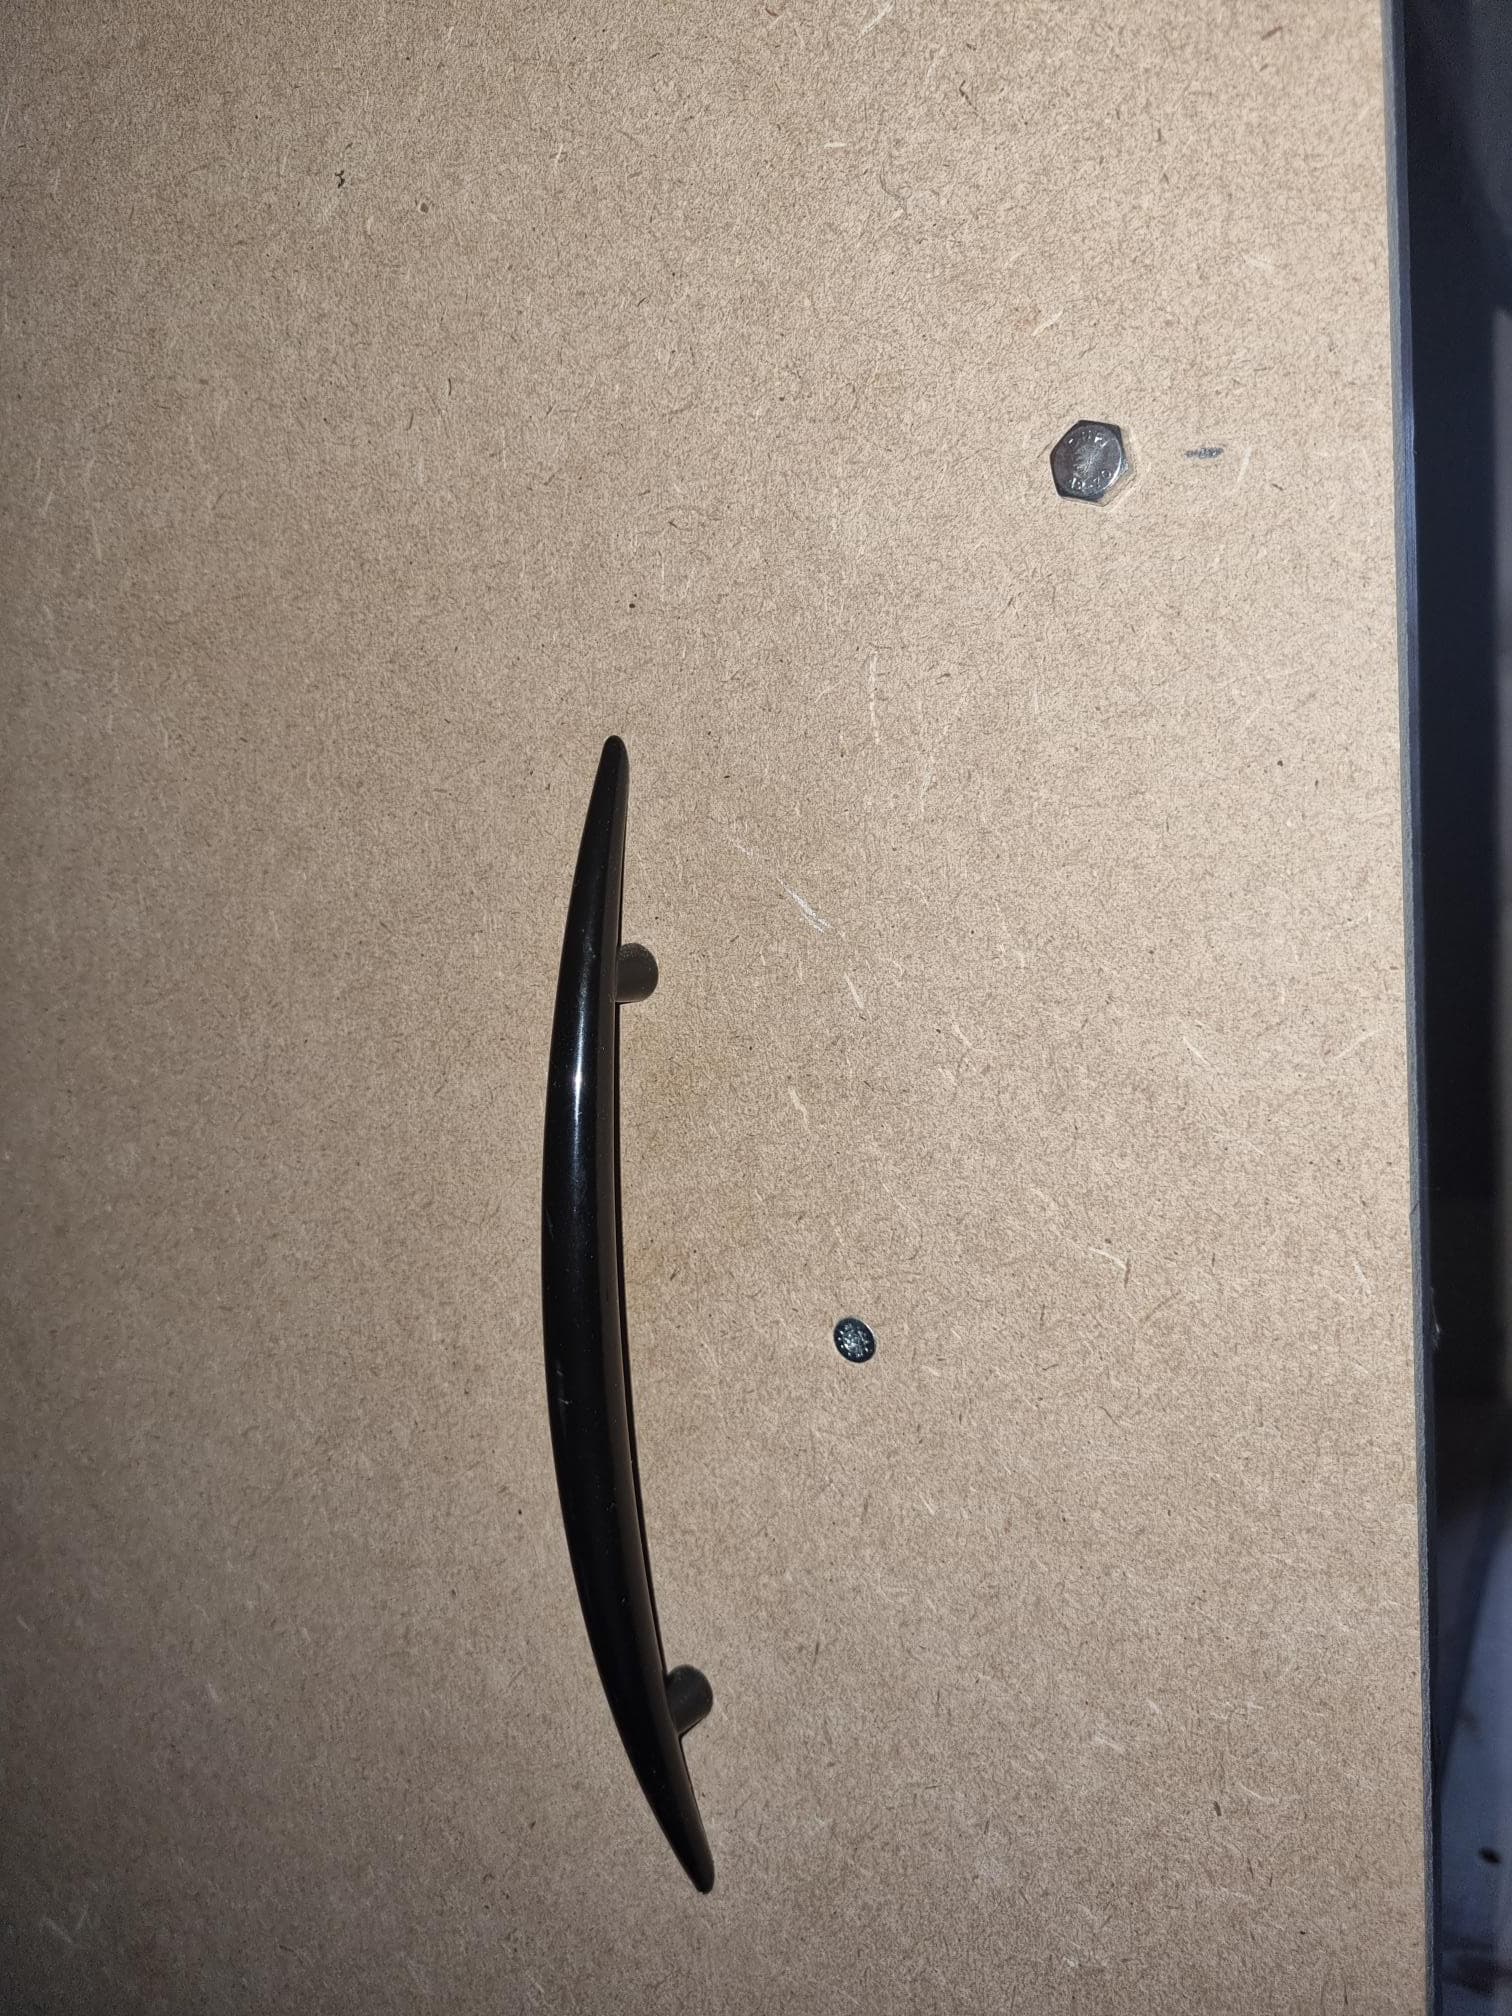
Doorgrip (diy)
Other screws (can be cheap)
Glue for rubber
Rubberband
this other hardware estimated € 40,–
Total cost for this enclousure < € 200,-- (table not included)
MDF was cut to size for free at the hardware store. A lot of rest pieces can be used.
I choose MDF 9 mm because plywood is 3 to 5 times more expensive. Plywood is not needed in this case, MDF is more than enough, just don’t drive screws/bolts in too fast / deep.
The walls are fast and easy removable and can be managed by me. All sites have at least 45 mm rockwool insulation and the upper part of the enclosure is padded with cheap acoustic panels.
The noise reduction is > 20 db and ends up between 50-60 db.
Next step :
camera (stand) from Raspberry Pi
dust collection out and cooling/fresh air in (from center of working plane)
fire and heat warning
portable video and emergency stop (via home automation)
The panels can also be equipped with a small window if wanted.