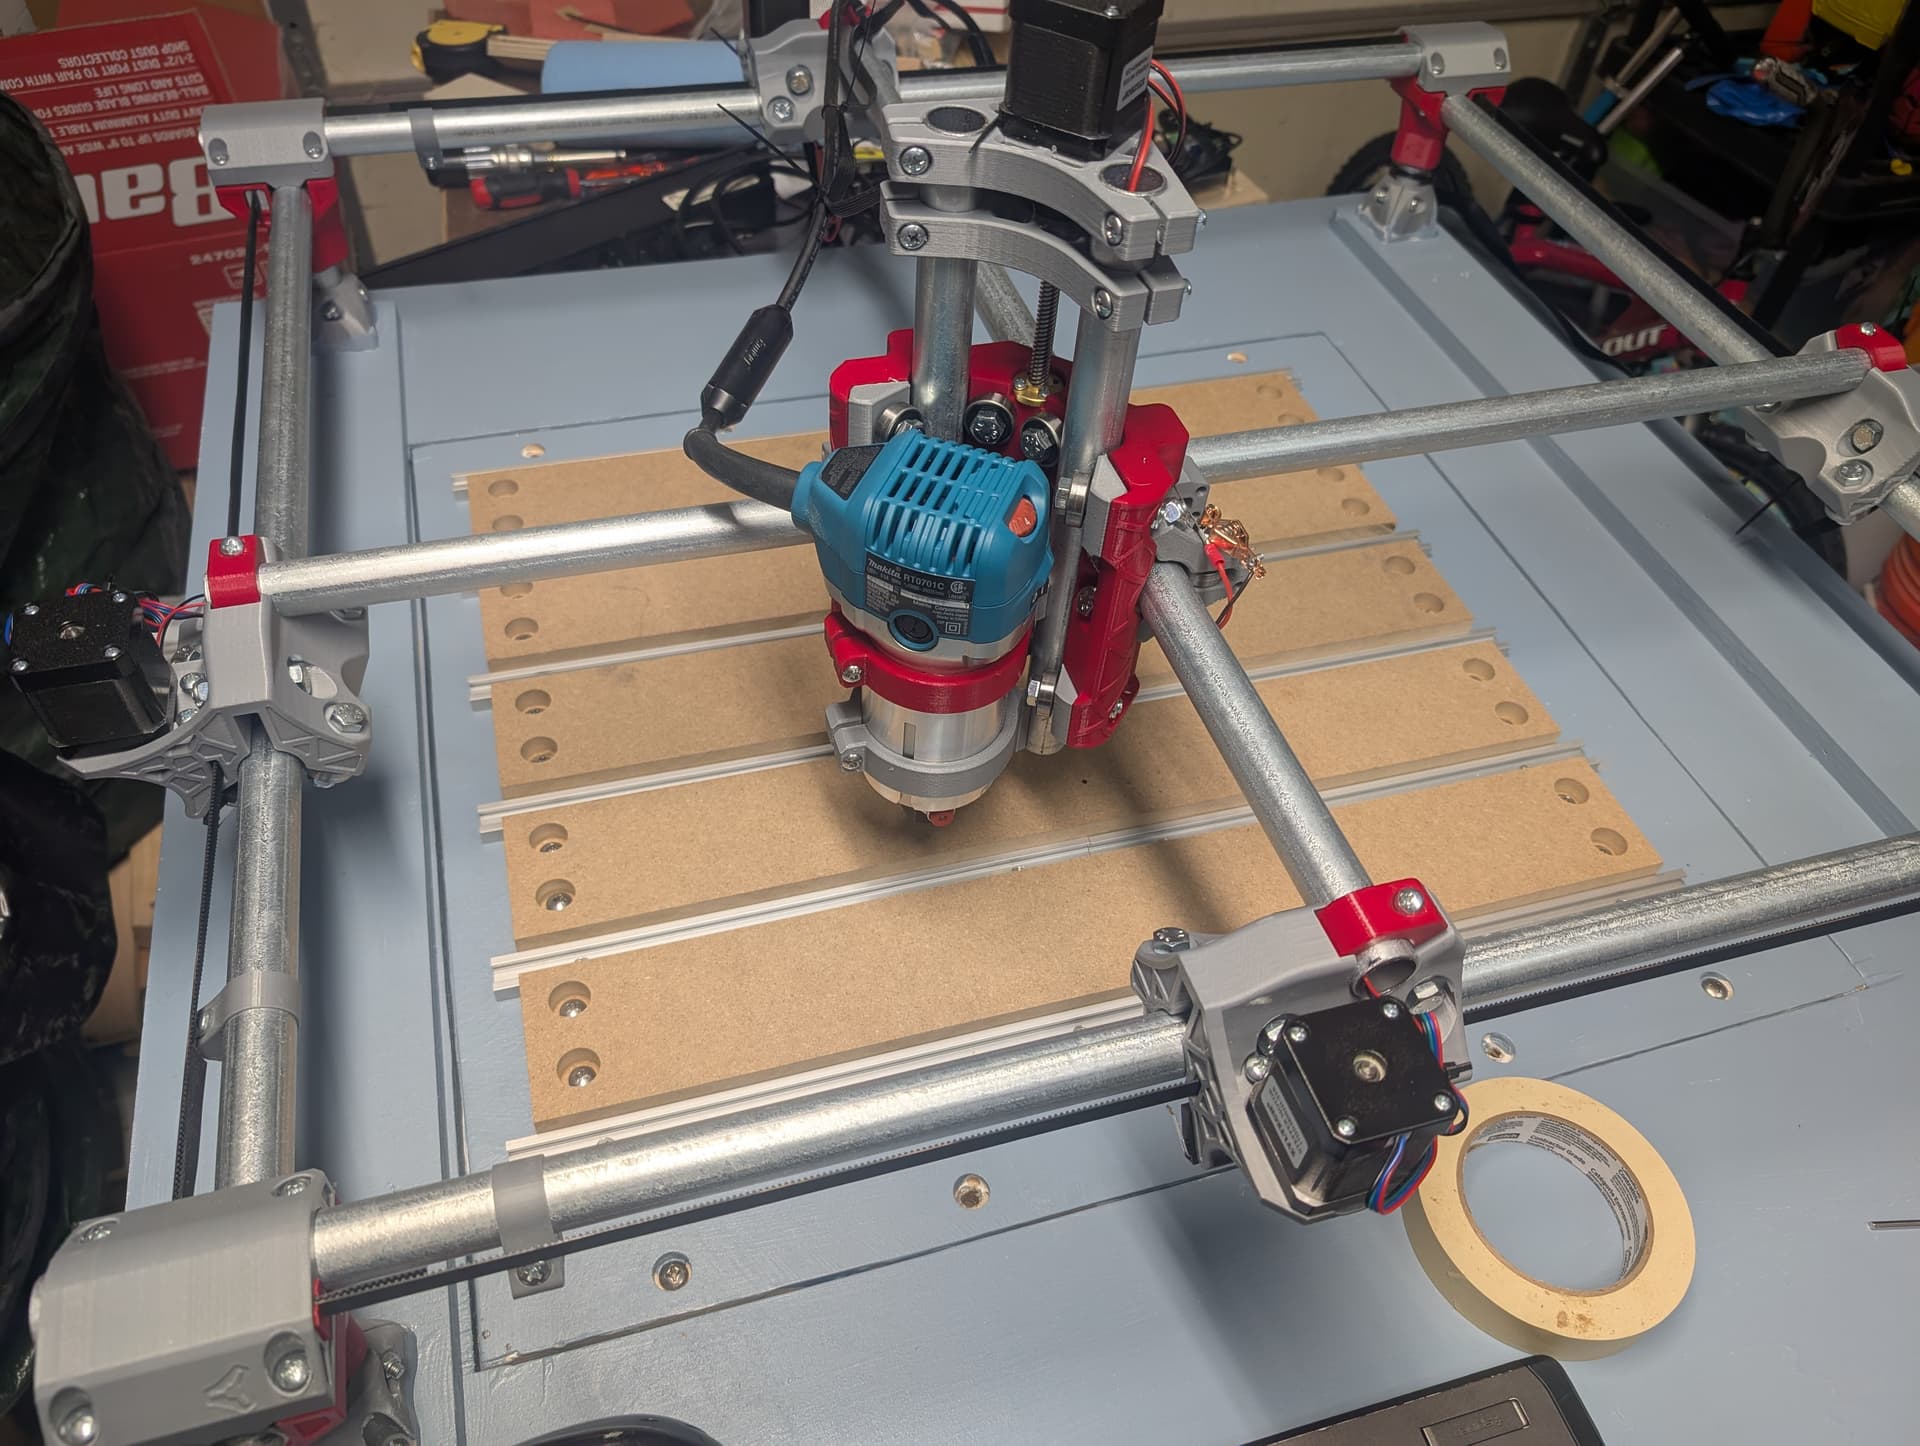
After months of planning, I have made progress on building my MPCNC Primo. The workspace area is 22.5" by 18" and I plan on focusing primarily on word projects. Mainly cribbage boards since drilling 361 holes by hand gets repetitive.
For some background, I have been woodworking for a decade now and 3d printing for a few years. I first thought that a cnc would just be another tool like my table saw but building really has been like getting into a whole new hobby. Very exciting but a lot to learn.
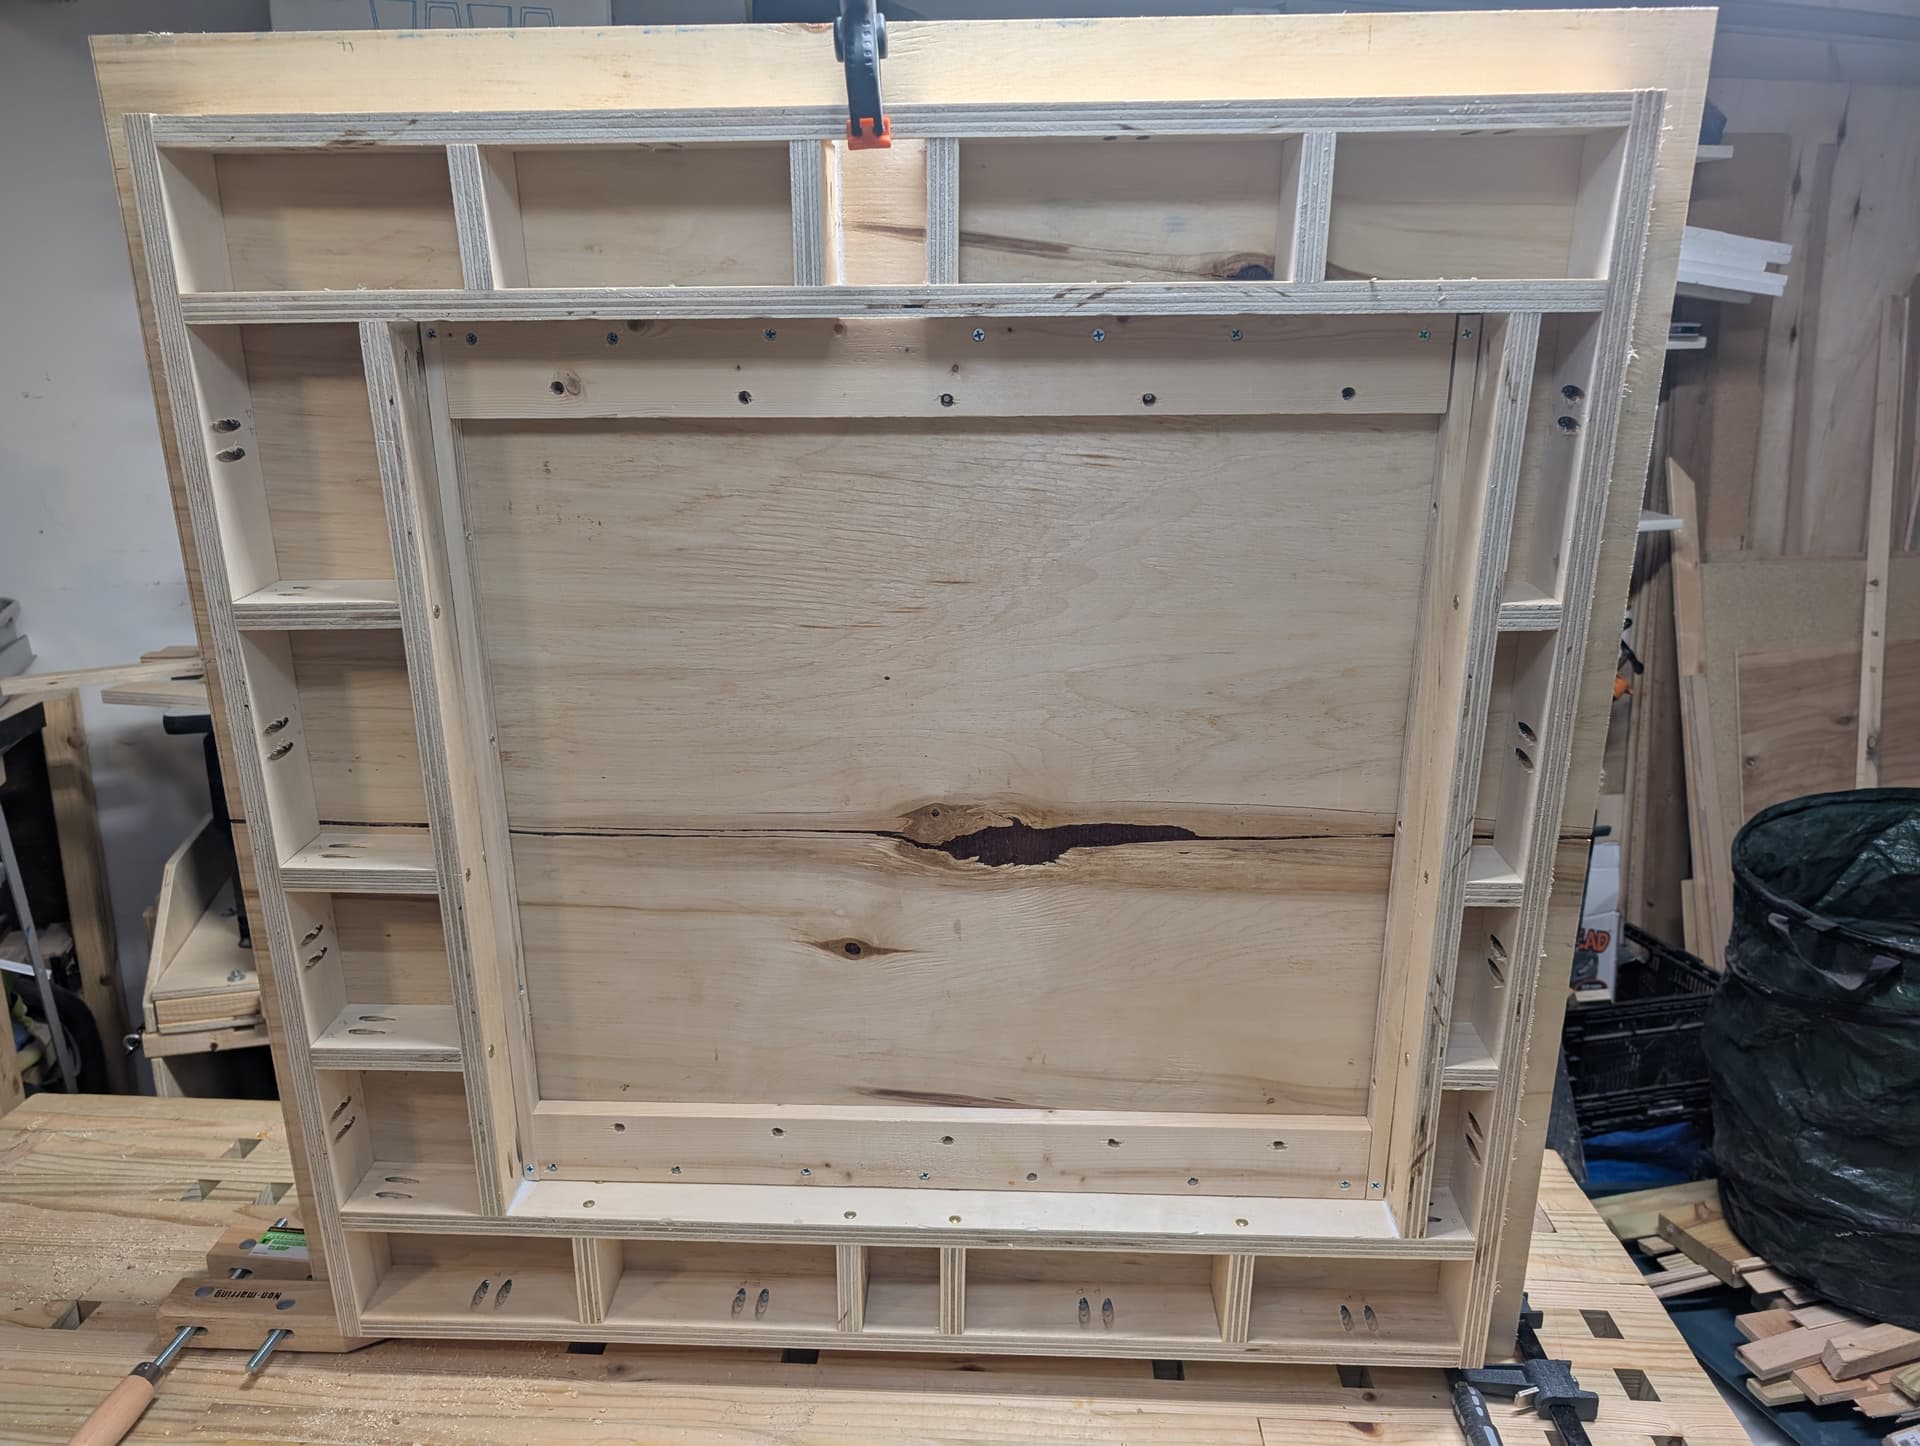
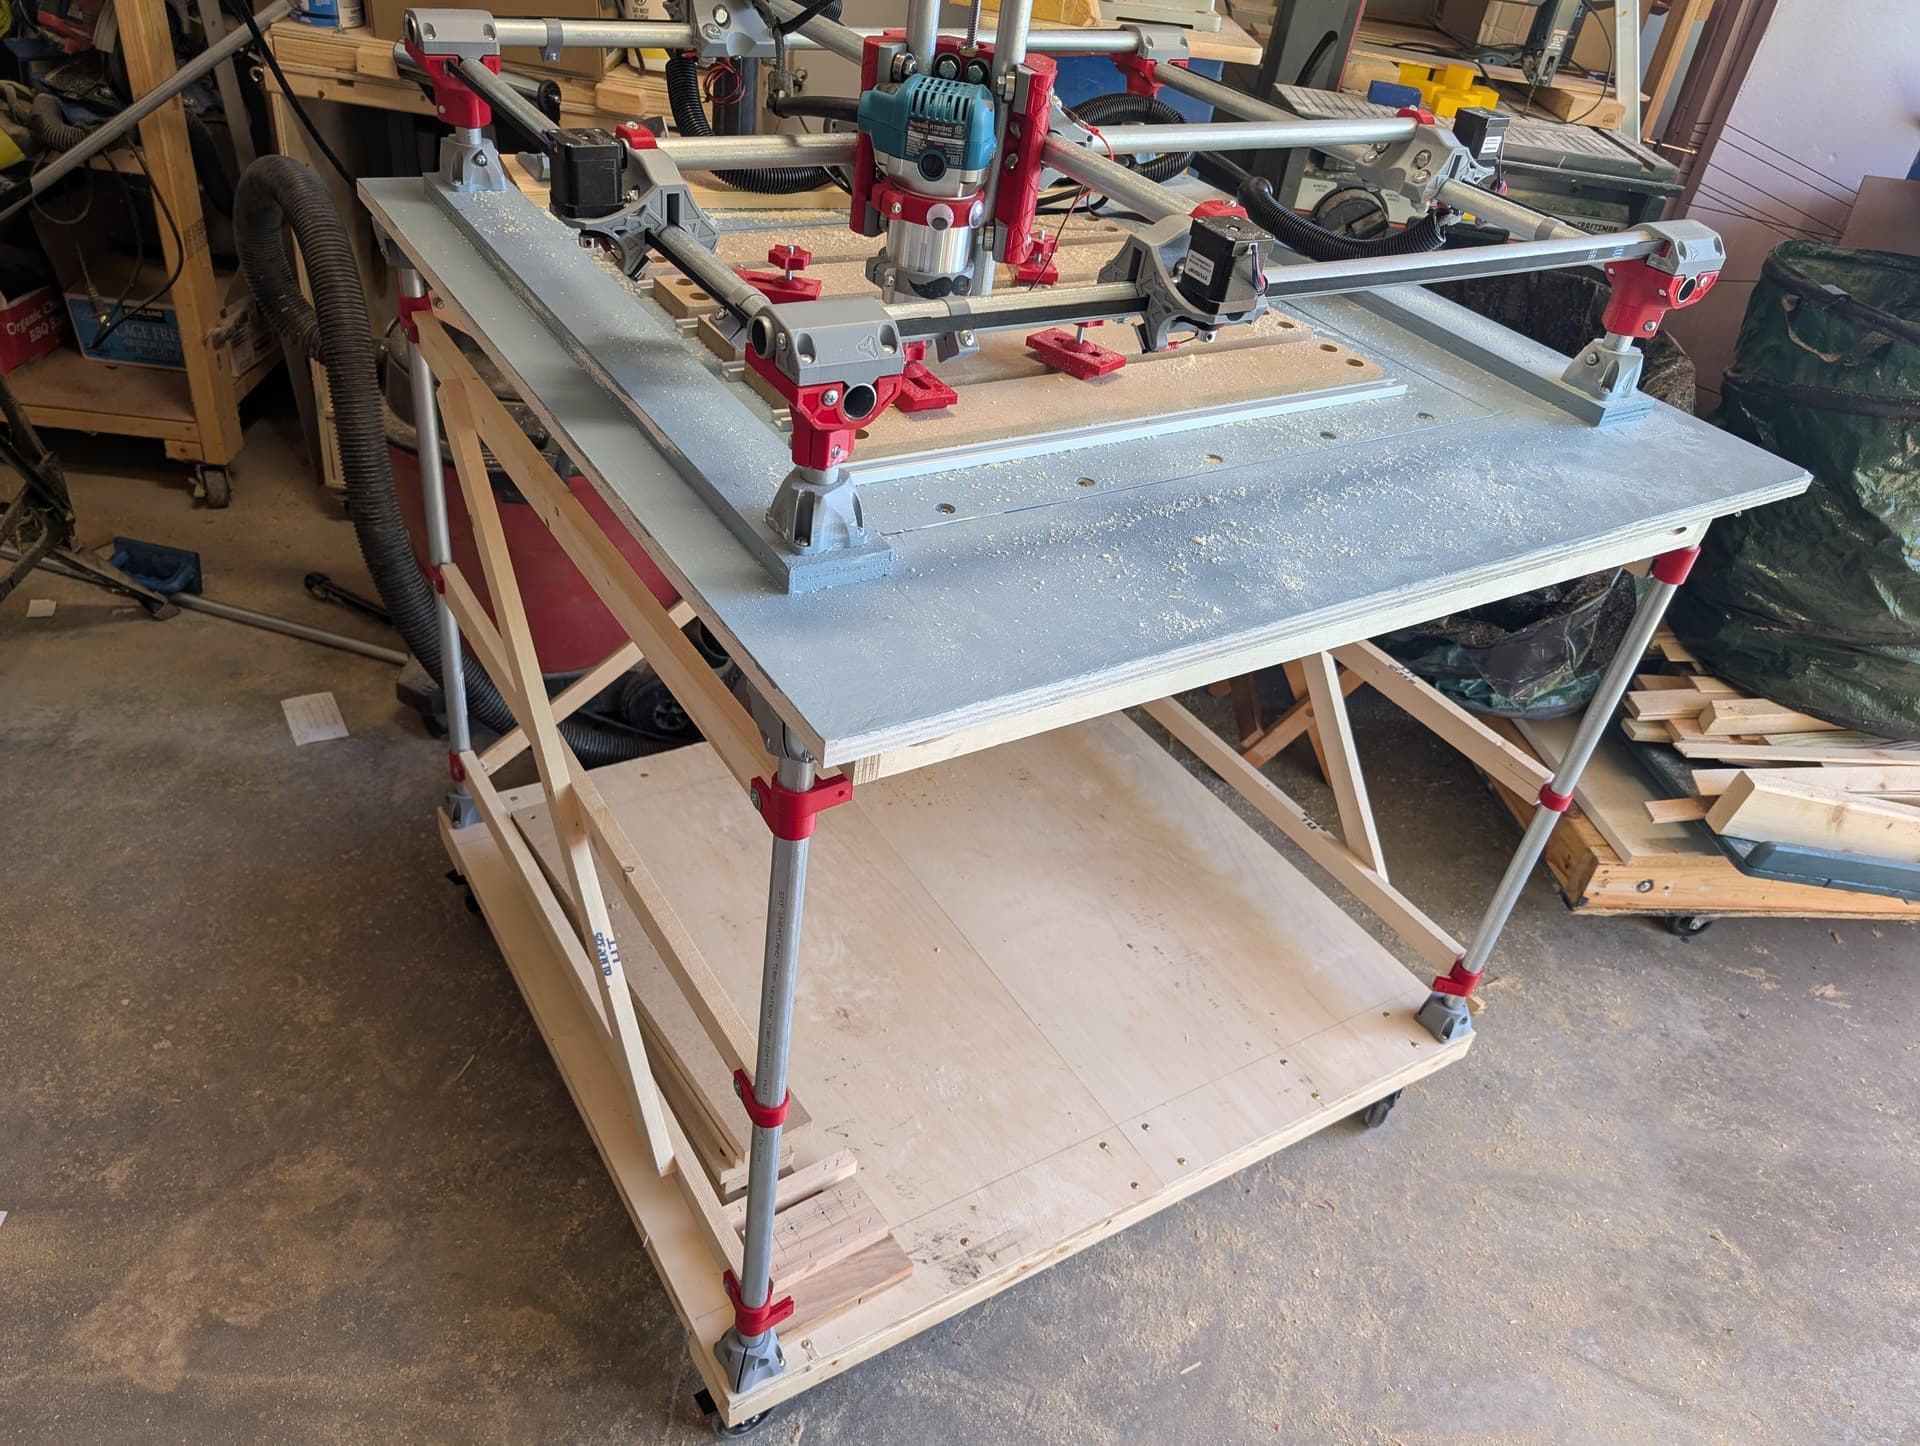
My table is probably a bit over done but knowing my history, if I built in just on a flat board, it would stay that way until something breaks. This way I am a bit future proofed in case I want to incorporated either a vacuum bed or drop table.
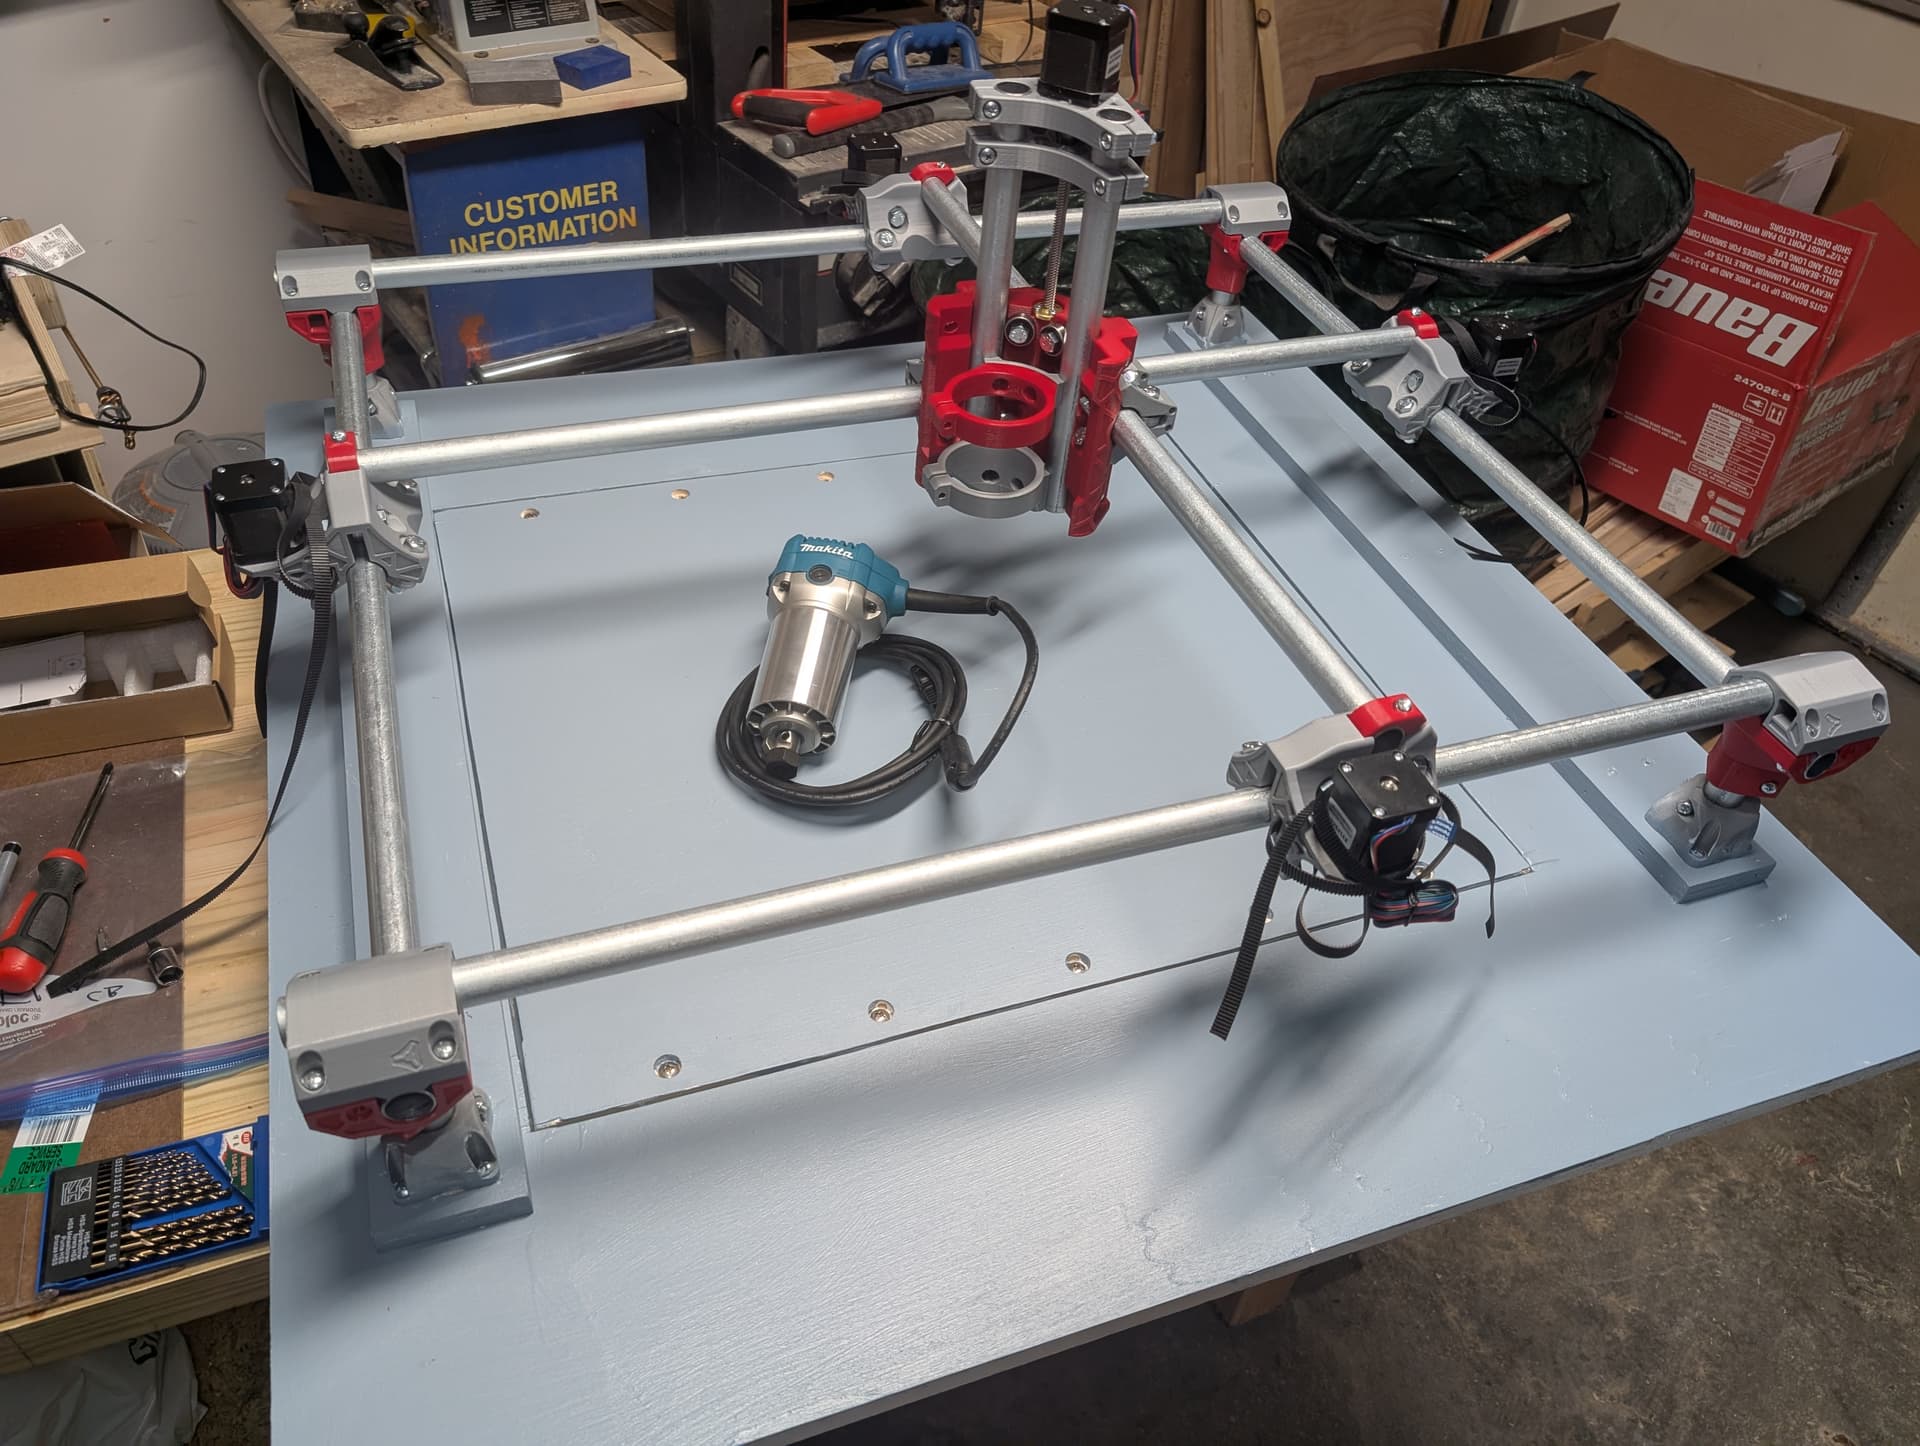
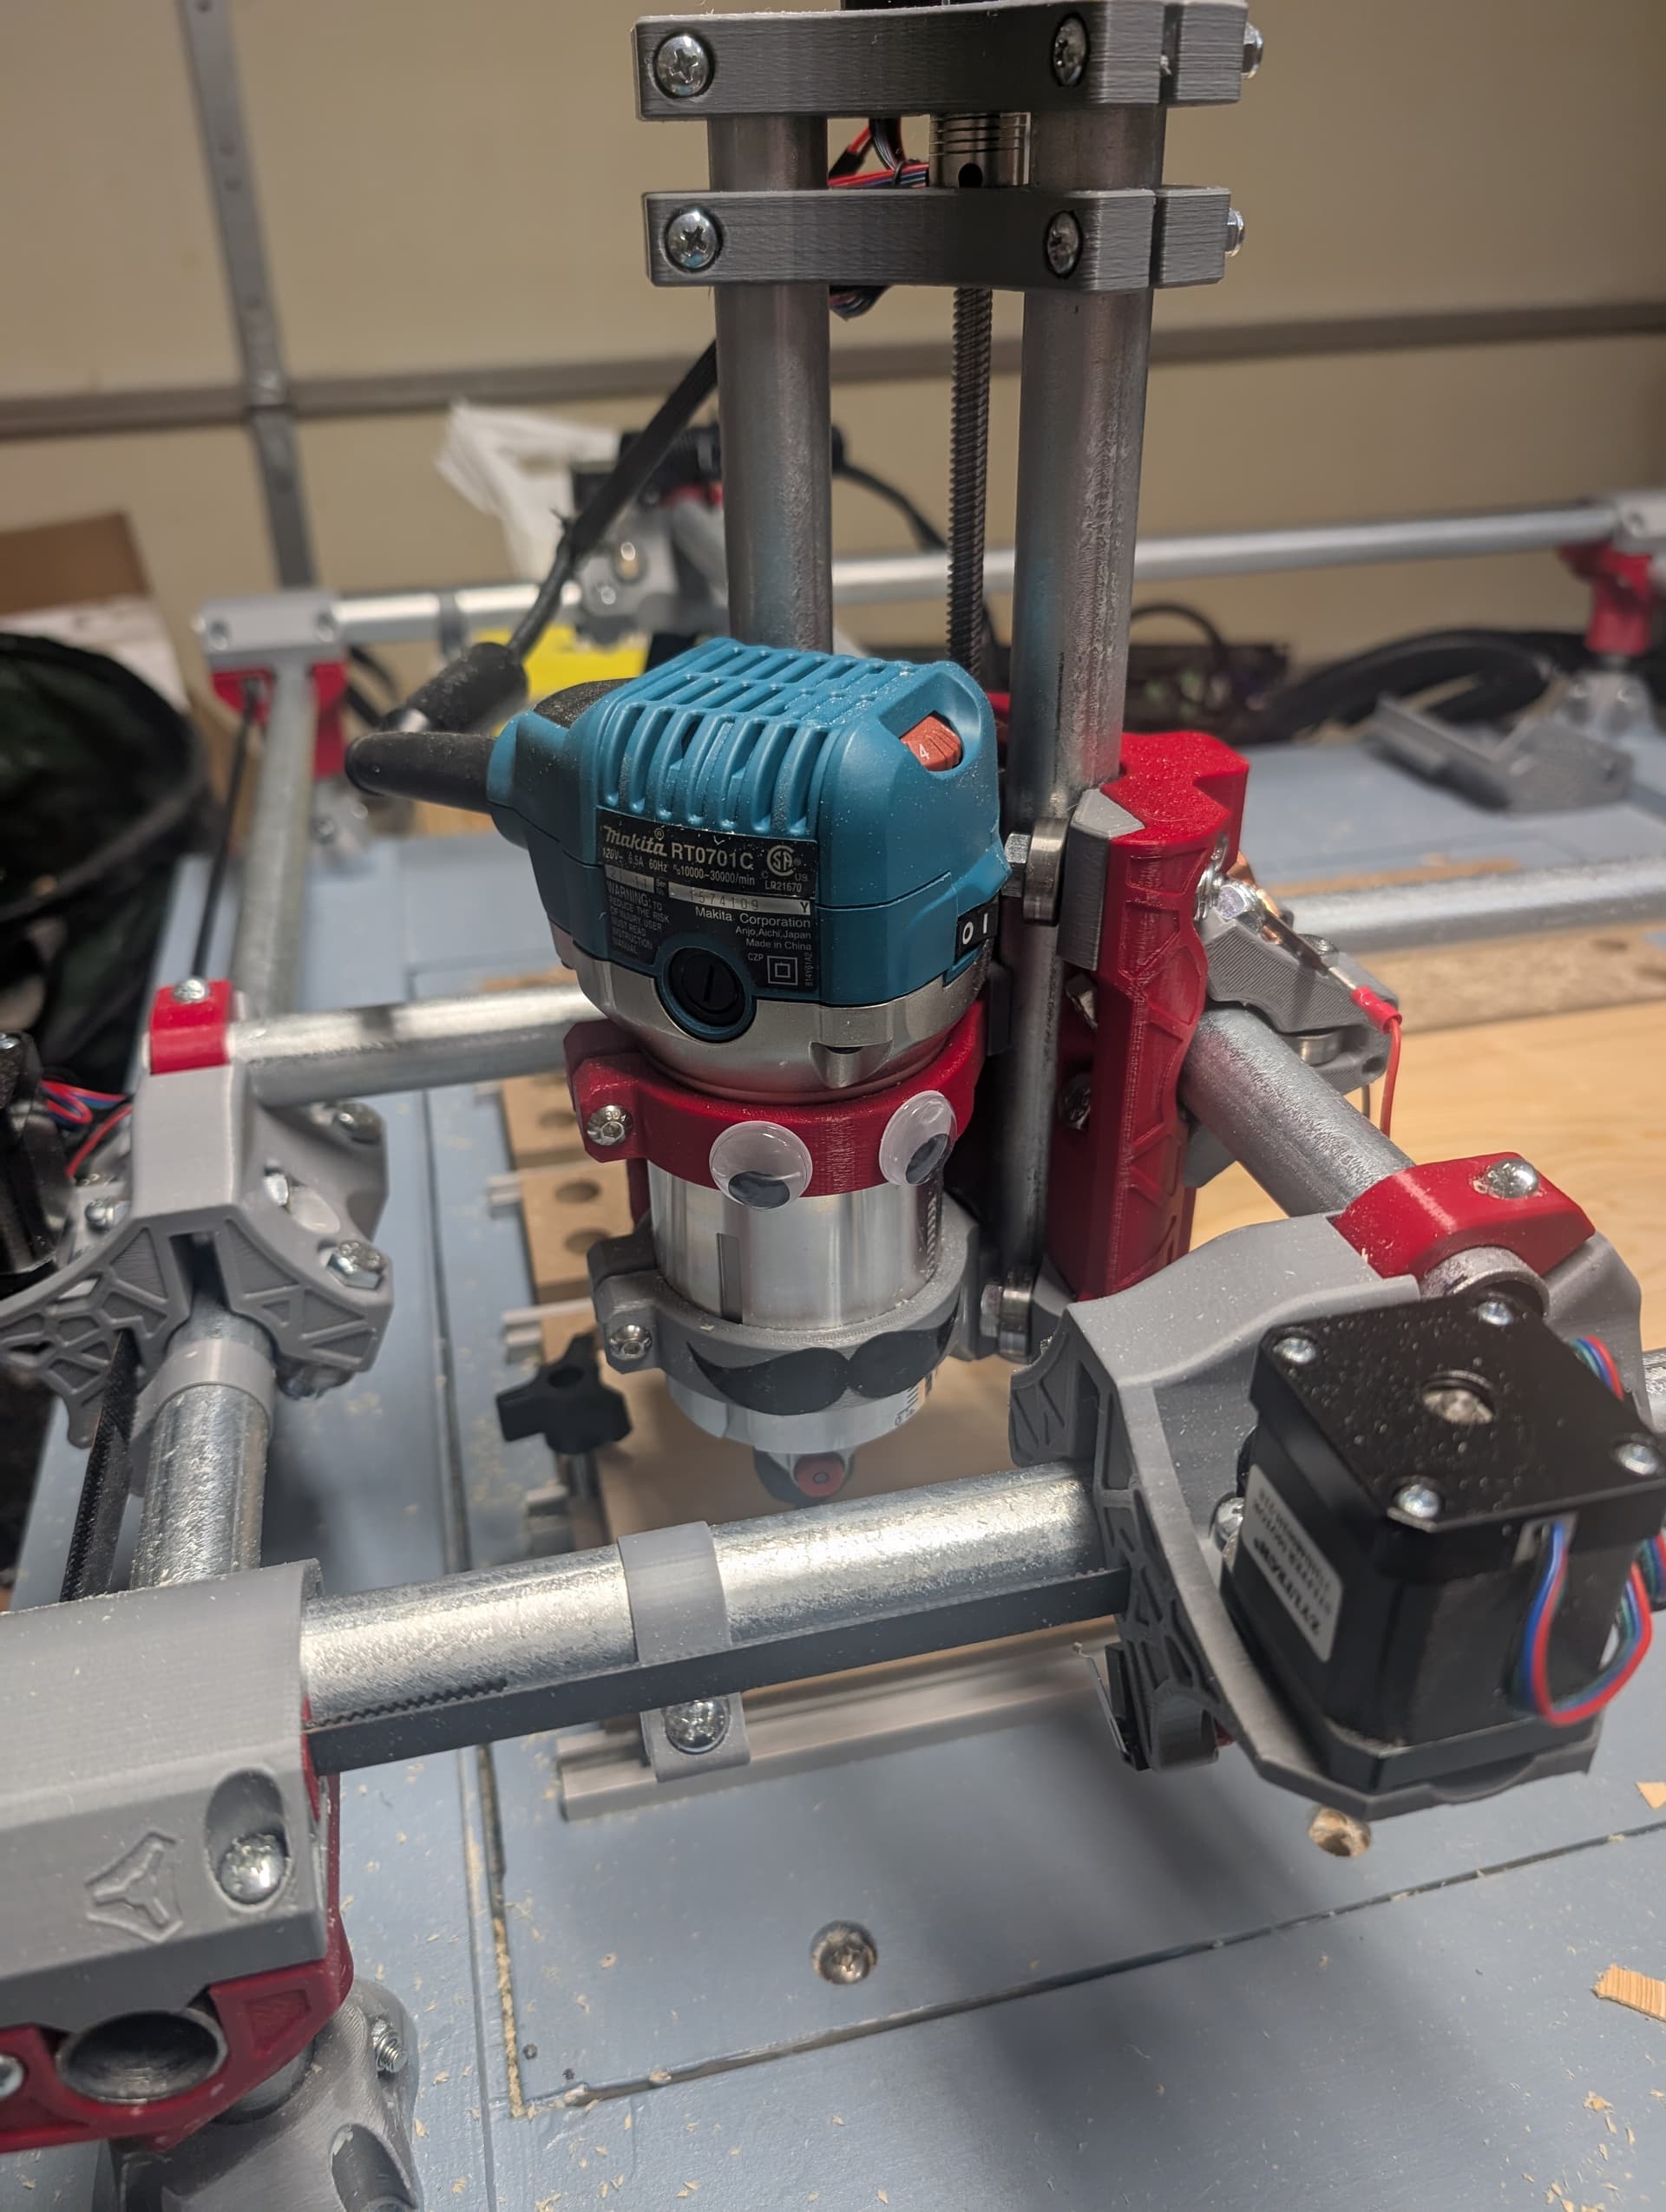
I was pleasantly surprised by how smooth the build went once I started putting the plastic parts and metal together. I probably almost have the documentation memorized by how carefully I was following it but it really did clear up the steps to go.
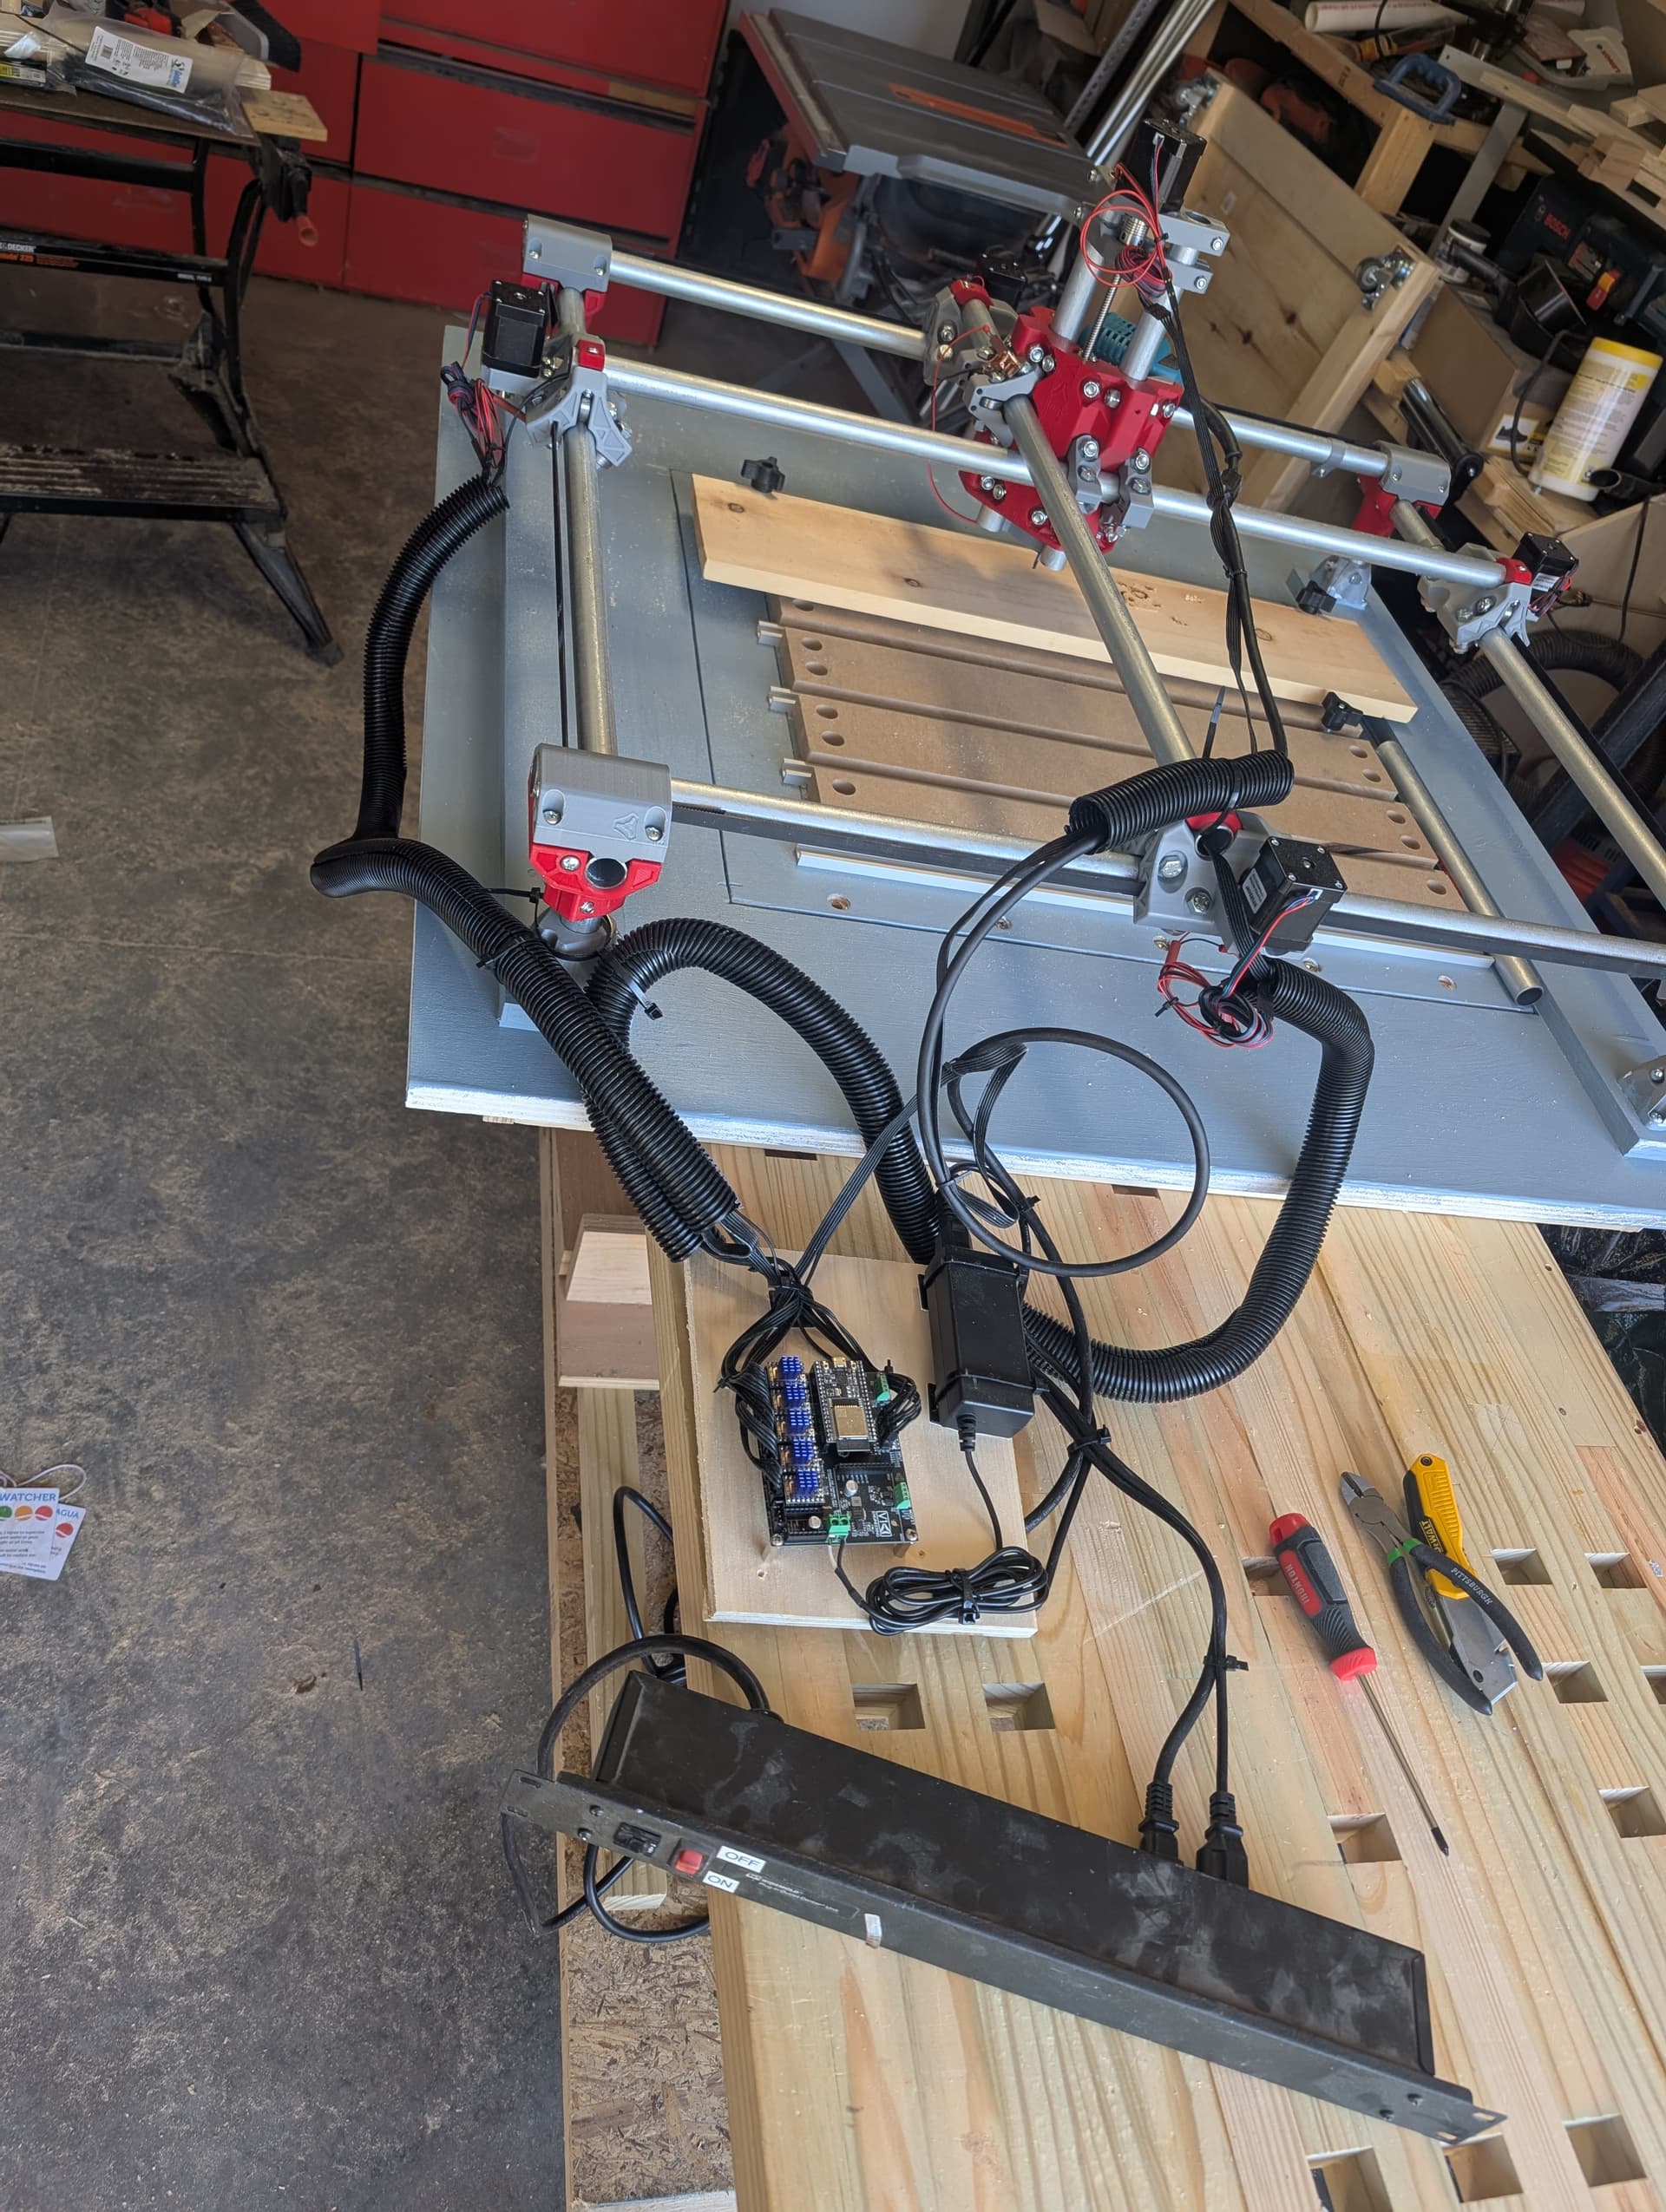
Once things were all wired up, I was pretty nervous about first movements. My daughter stood by the e-stop just in case but thankfully I only had to flip a couple of stepper connection before it was moving correctly. I am very happy with the Jackpot board.
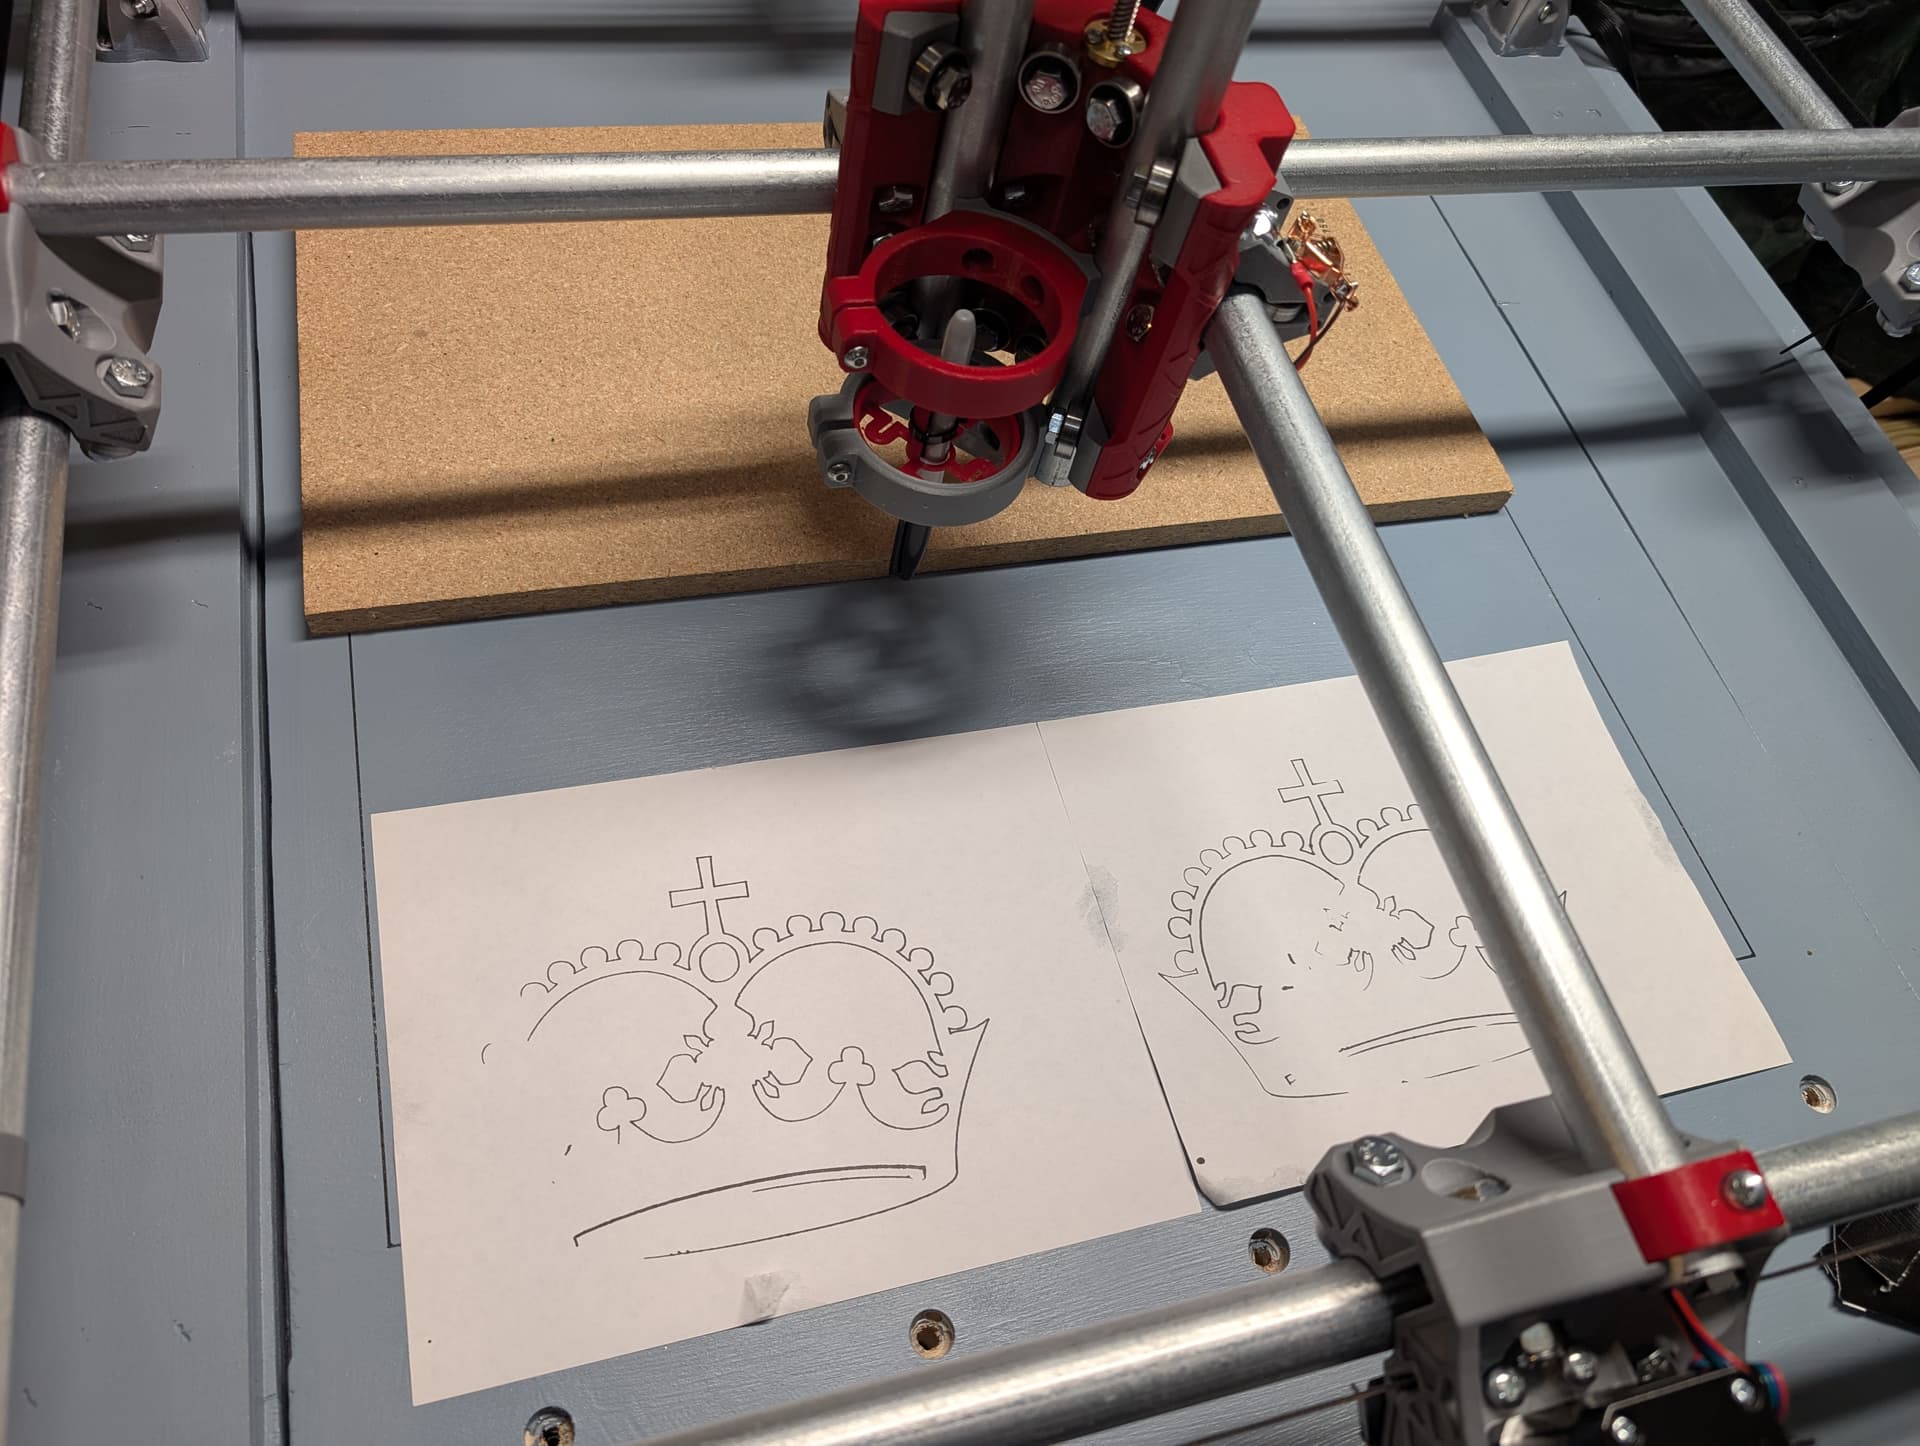
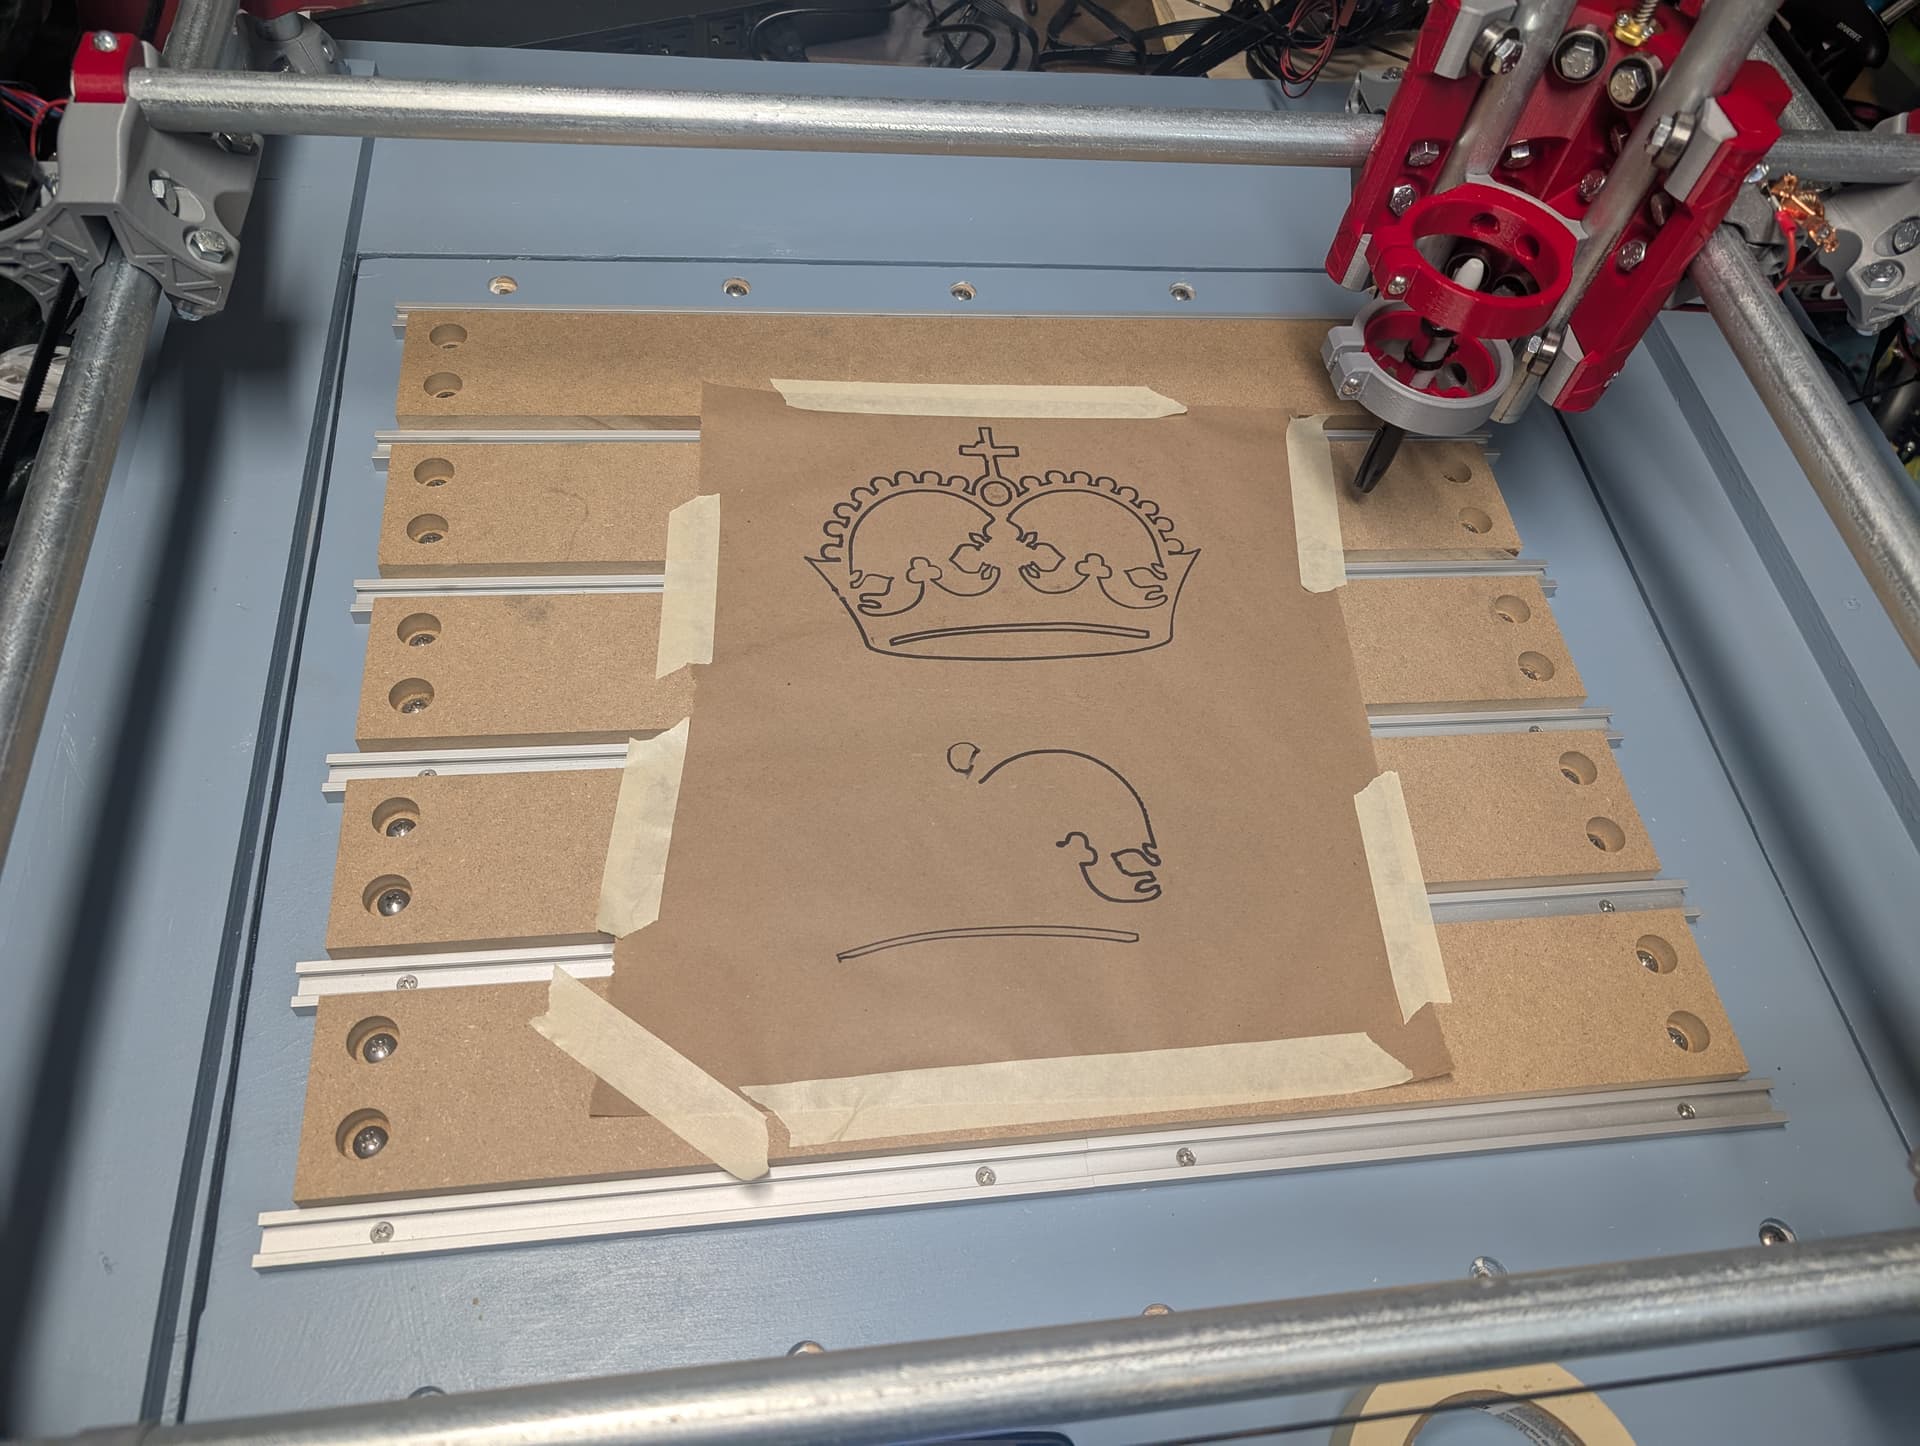
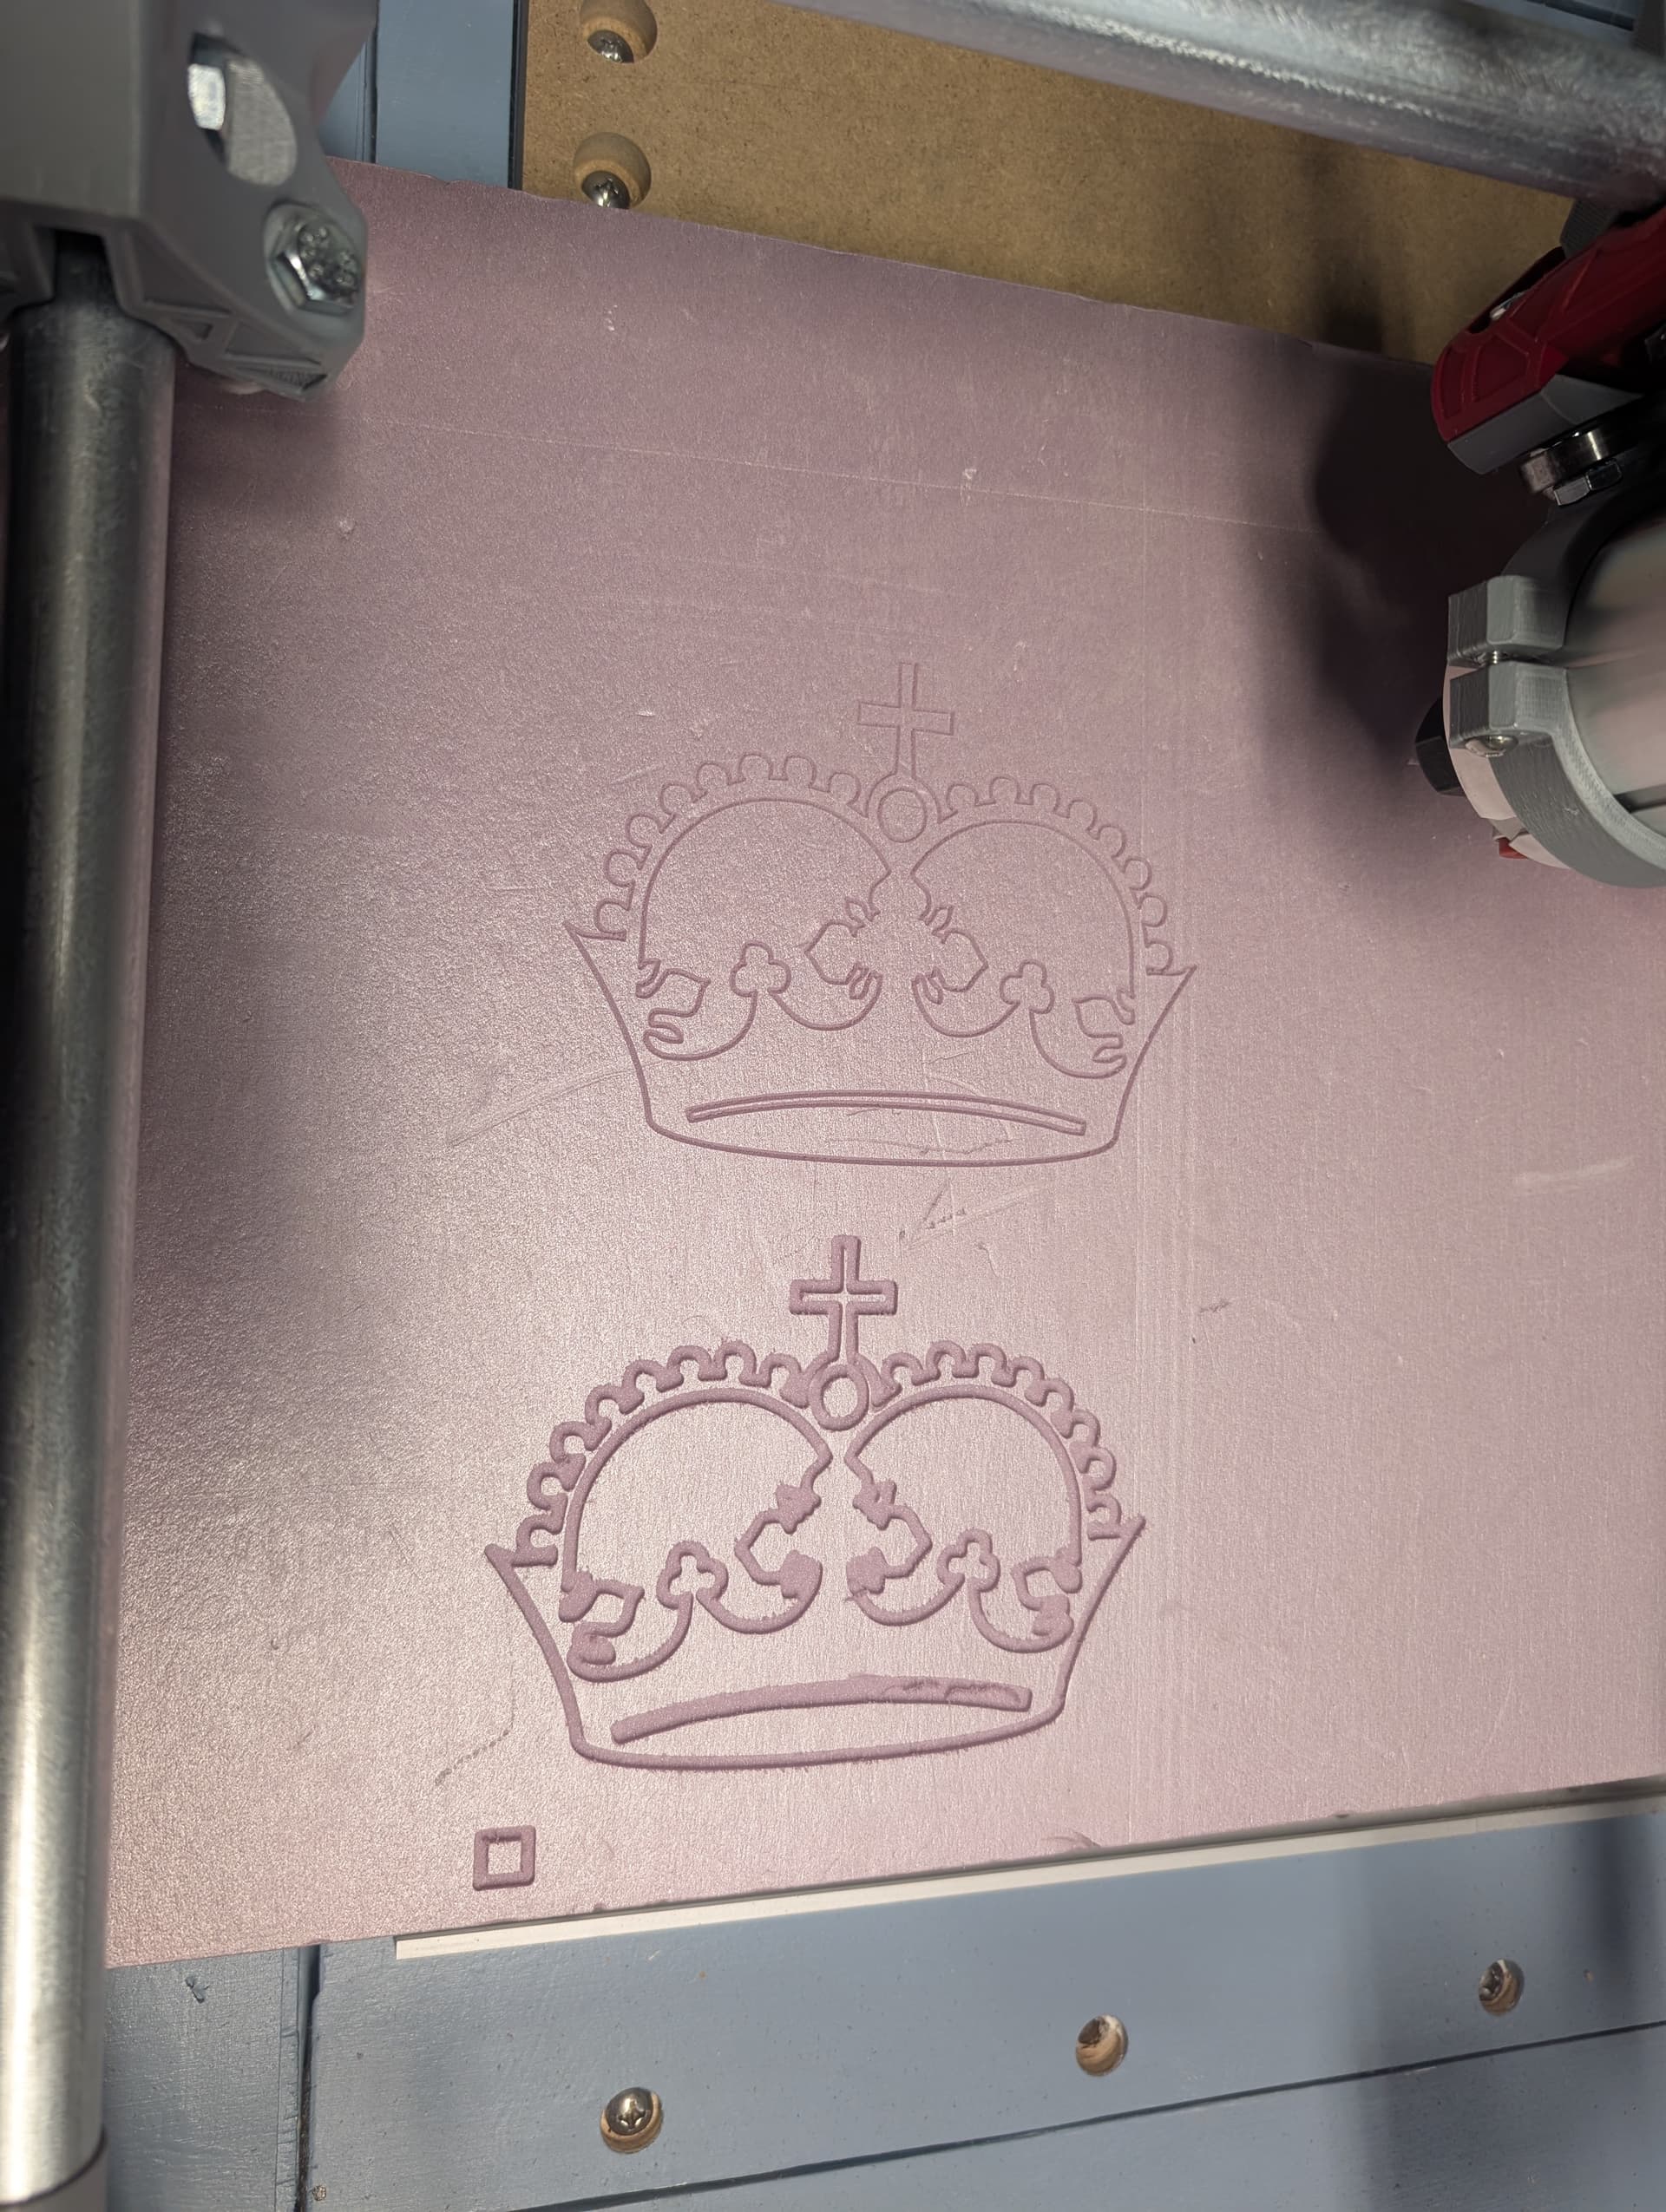
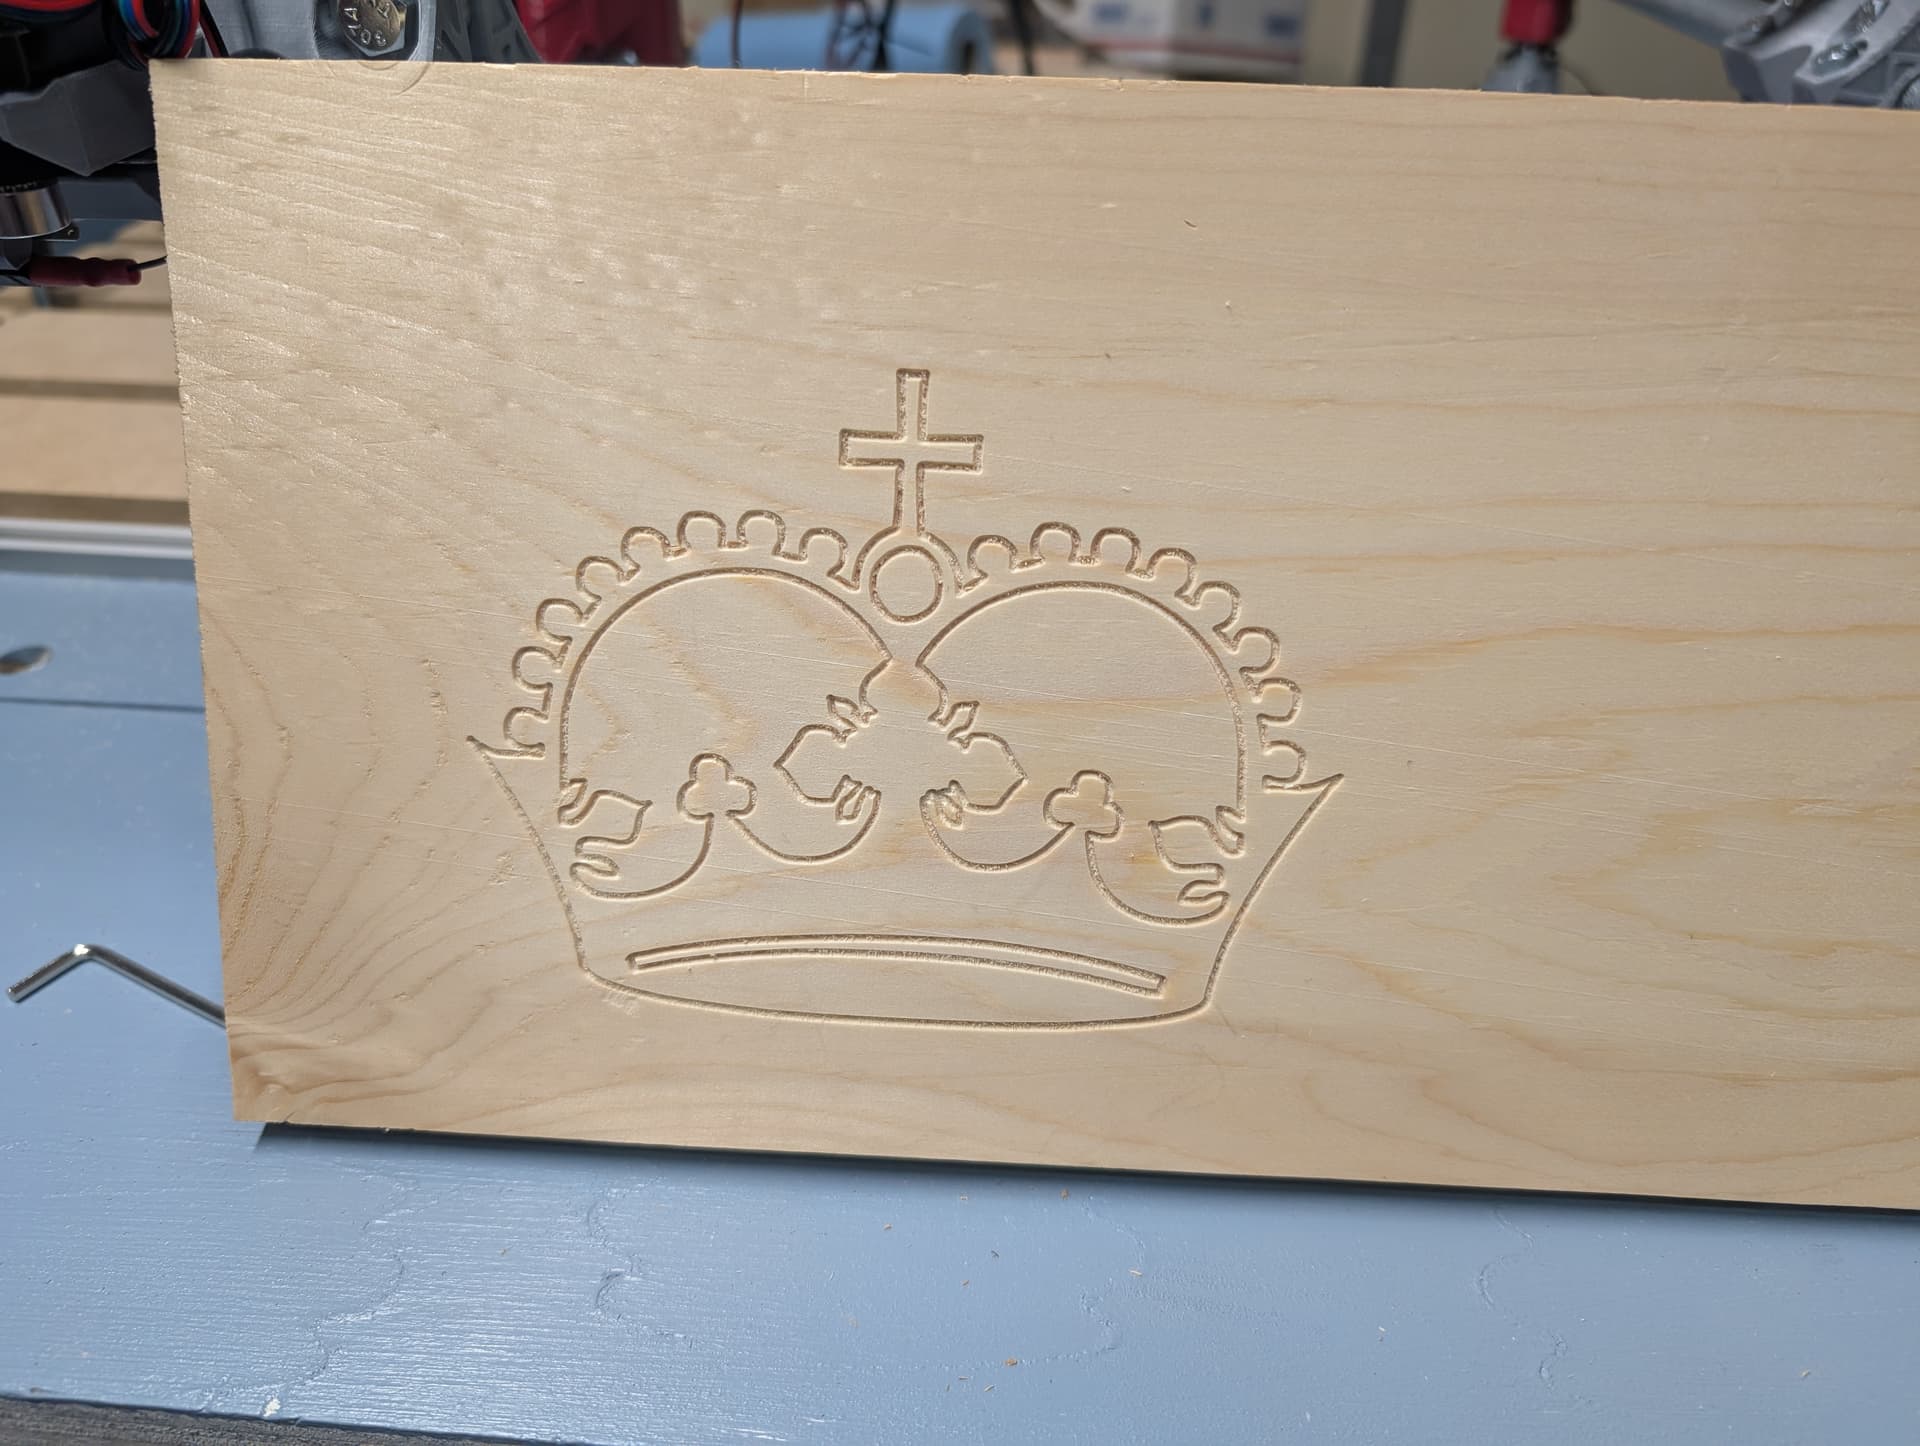
The Test Crown with sharpie moved fine but it looks like I was not getting consistent connection with the page. My theory is that the temp spoil board was not flat. That said I am satisfied enough to move on to making my long term spoil board with t track set up.
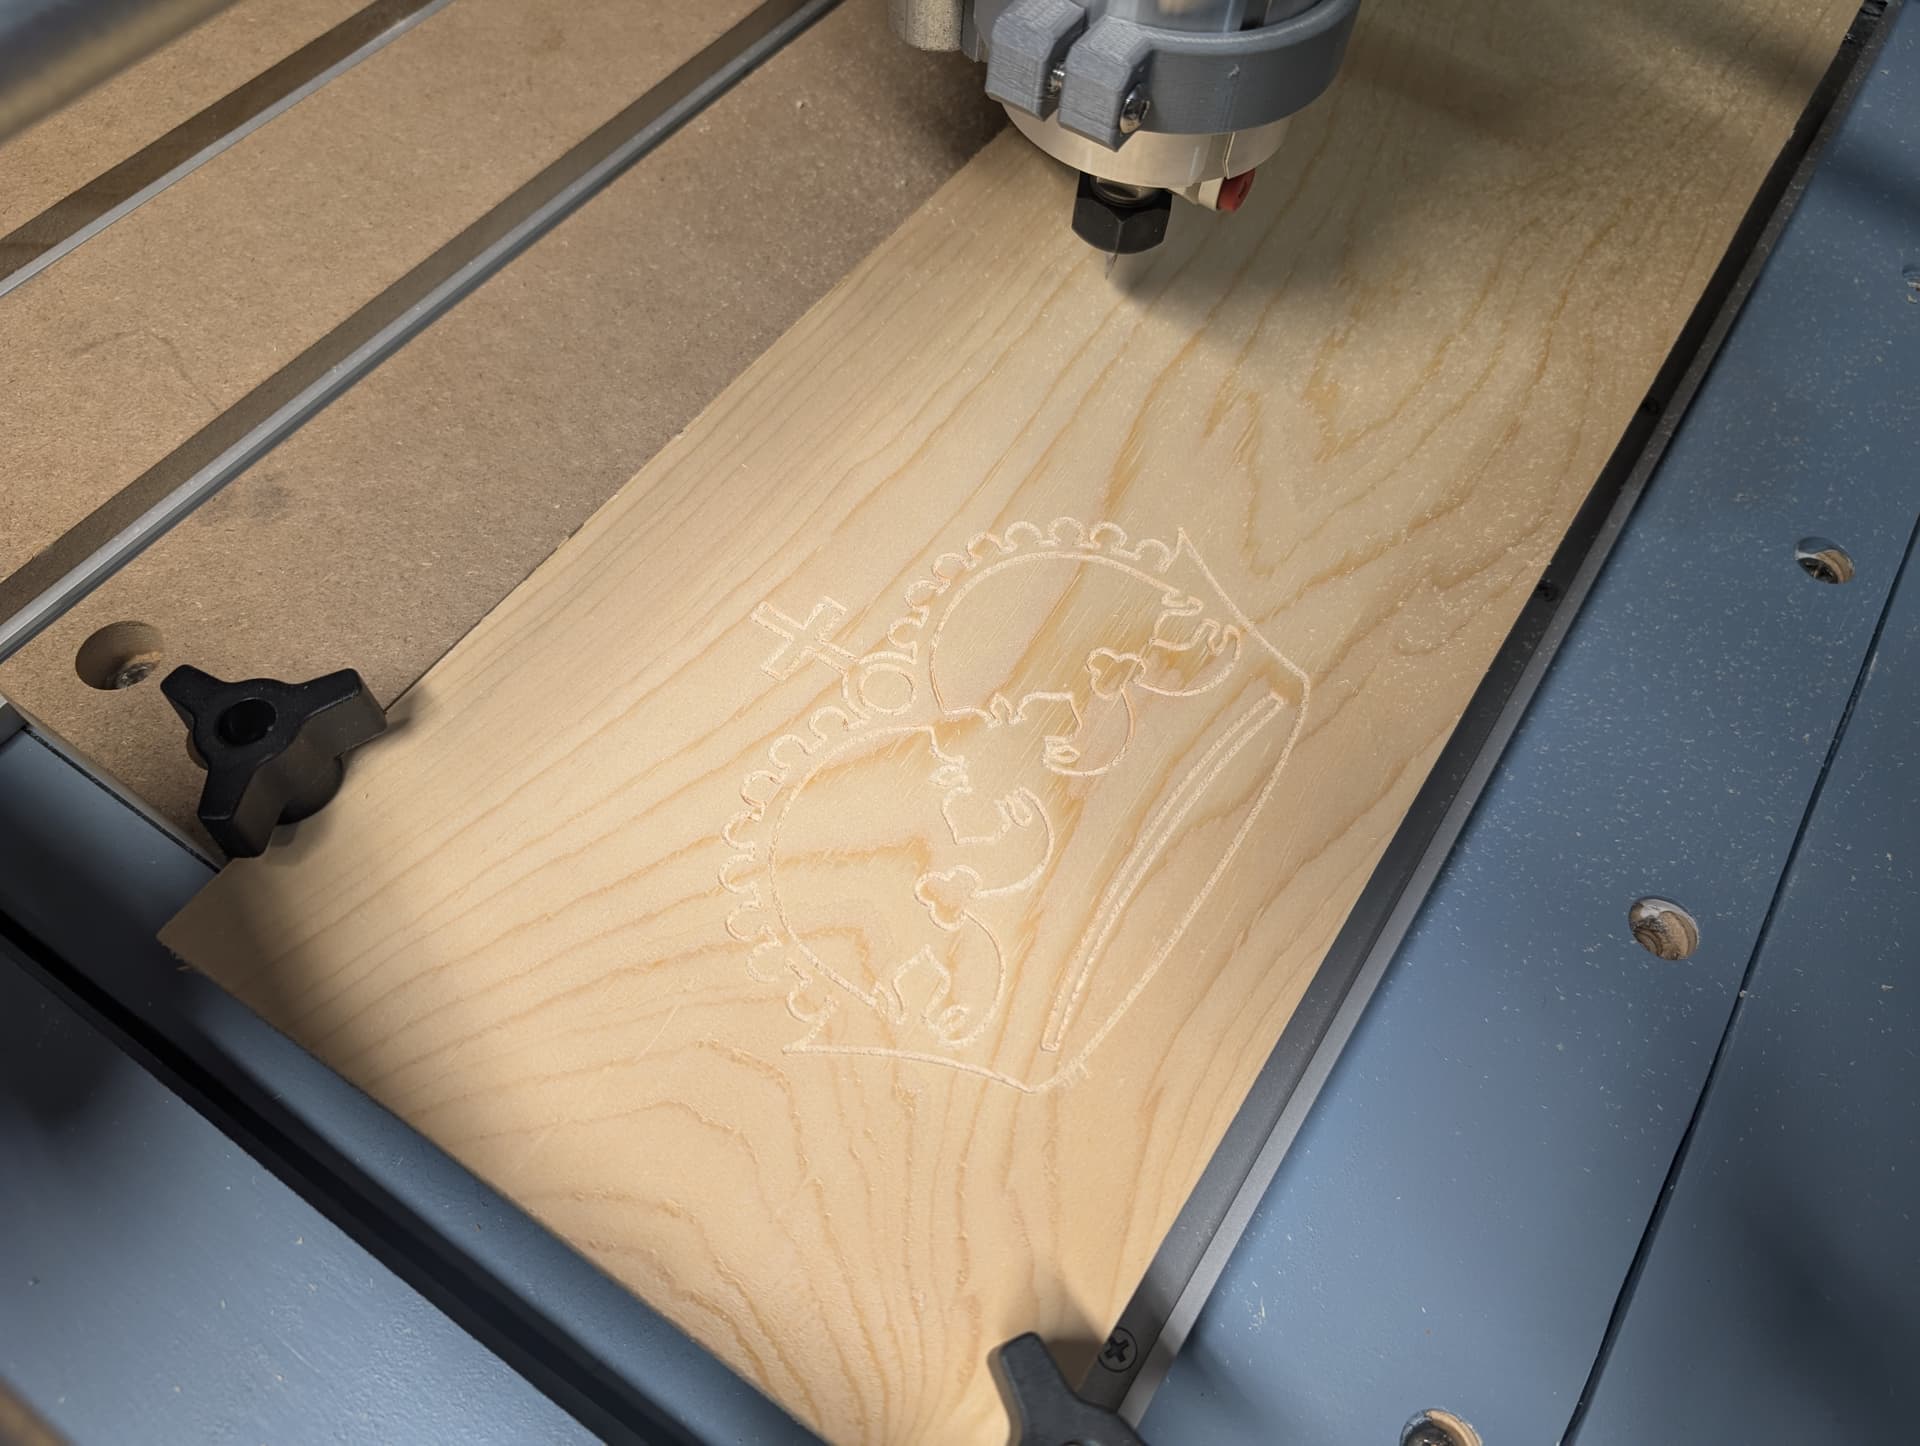
Once I surface the spoil board, I plan to redo the crown with marker again and if smooth then move on to foam then wood. I also want to clean up the wires and make a stand alone cart so I can get my work bench back.
It feels like next I should be getting the spindle running but I am not sure what to do first.
Use a surfacing bit to level out the spoil board but I am not sure that is necessary since it is not as out of level as I thought. Plus I am not super stoked about my first live wood action being with a 1" wide bit.
Accept the levelness of the spoil board is good enough for this stage and do some practice carves on foam. Then move to wood and surfacing if needed.
Either way I need to start diving in to Estalcam.
I am leaning toward the second option but what is recommended?
Many people here have ran their machines years without surfacing the spoil board. I’d consider that a “new” or “advanced” thing people have been doing.
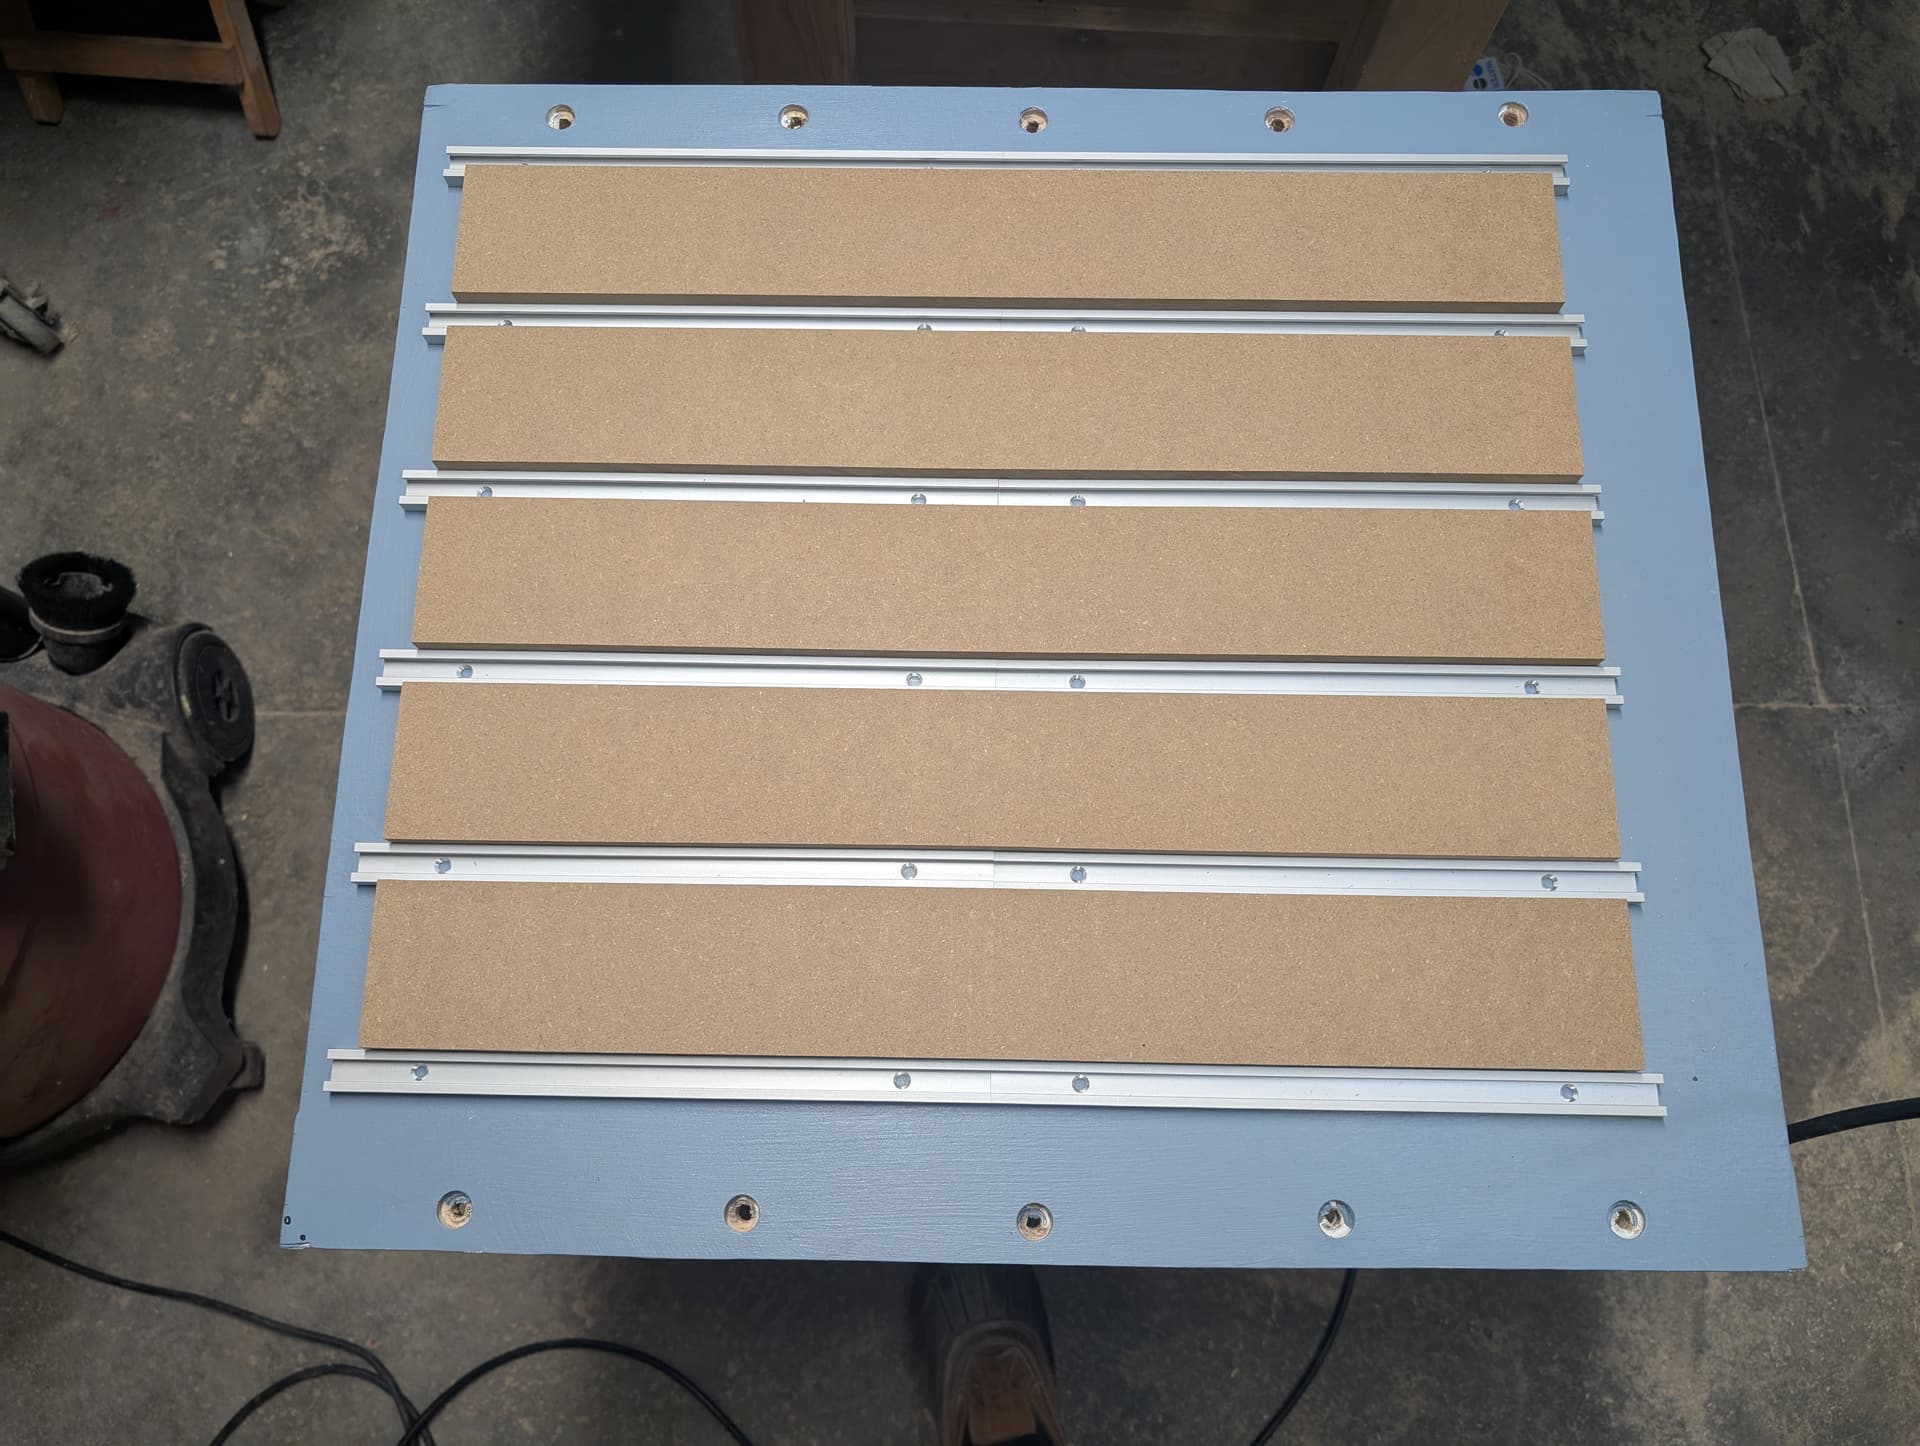
I made use of scrap wood and leftover conduit. I used the V1 Conduit Clamps and that made for a fairly stable structure.
I had attempted to carve out feet for the conduit but they kept cracking along the wood grain. In the end, I just printed more Primo feet and it came together well.
Next up is working on an enclosure to contain the dust while carving.
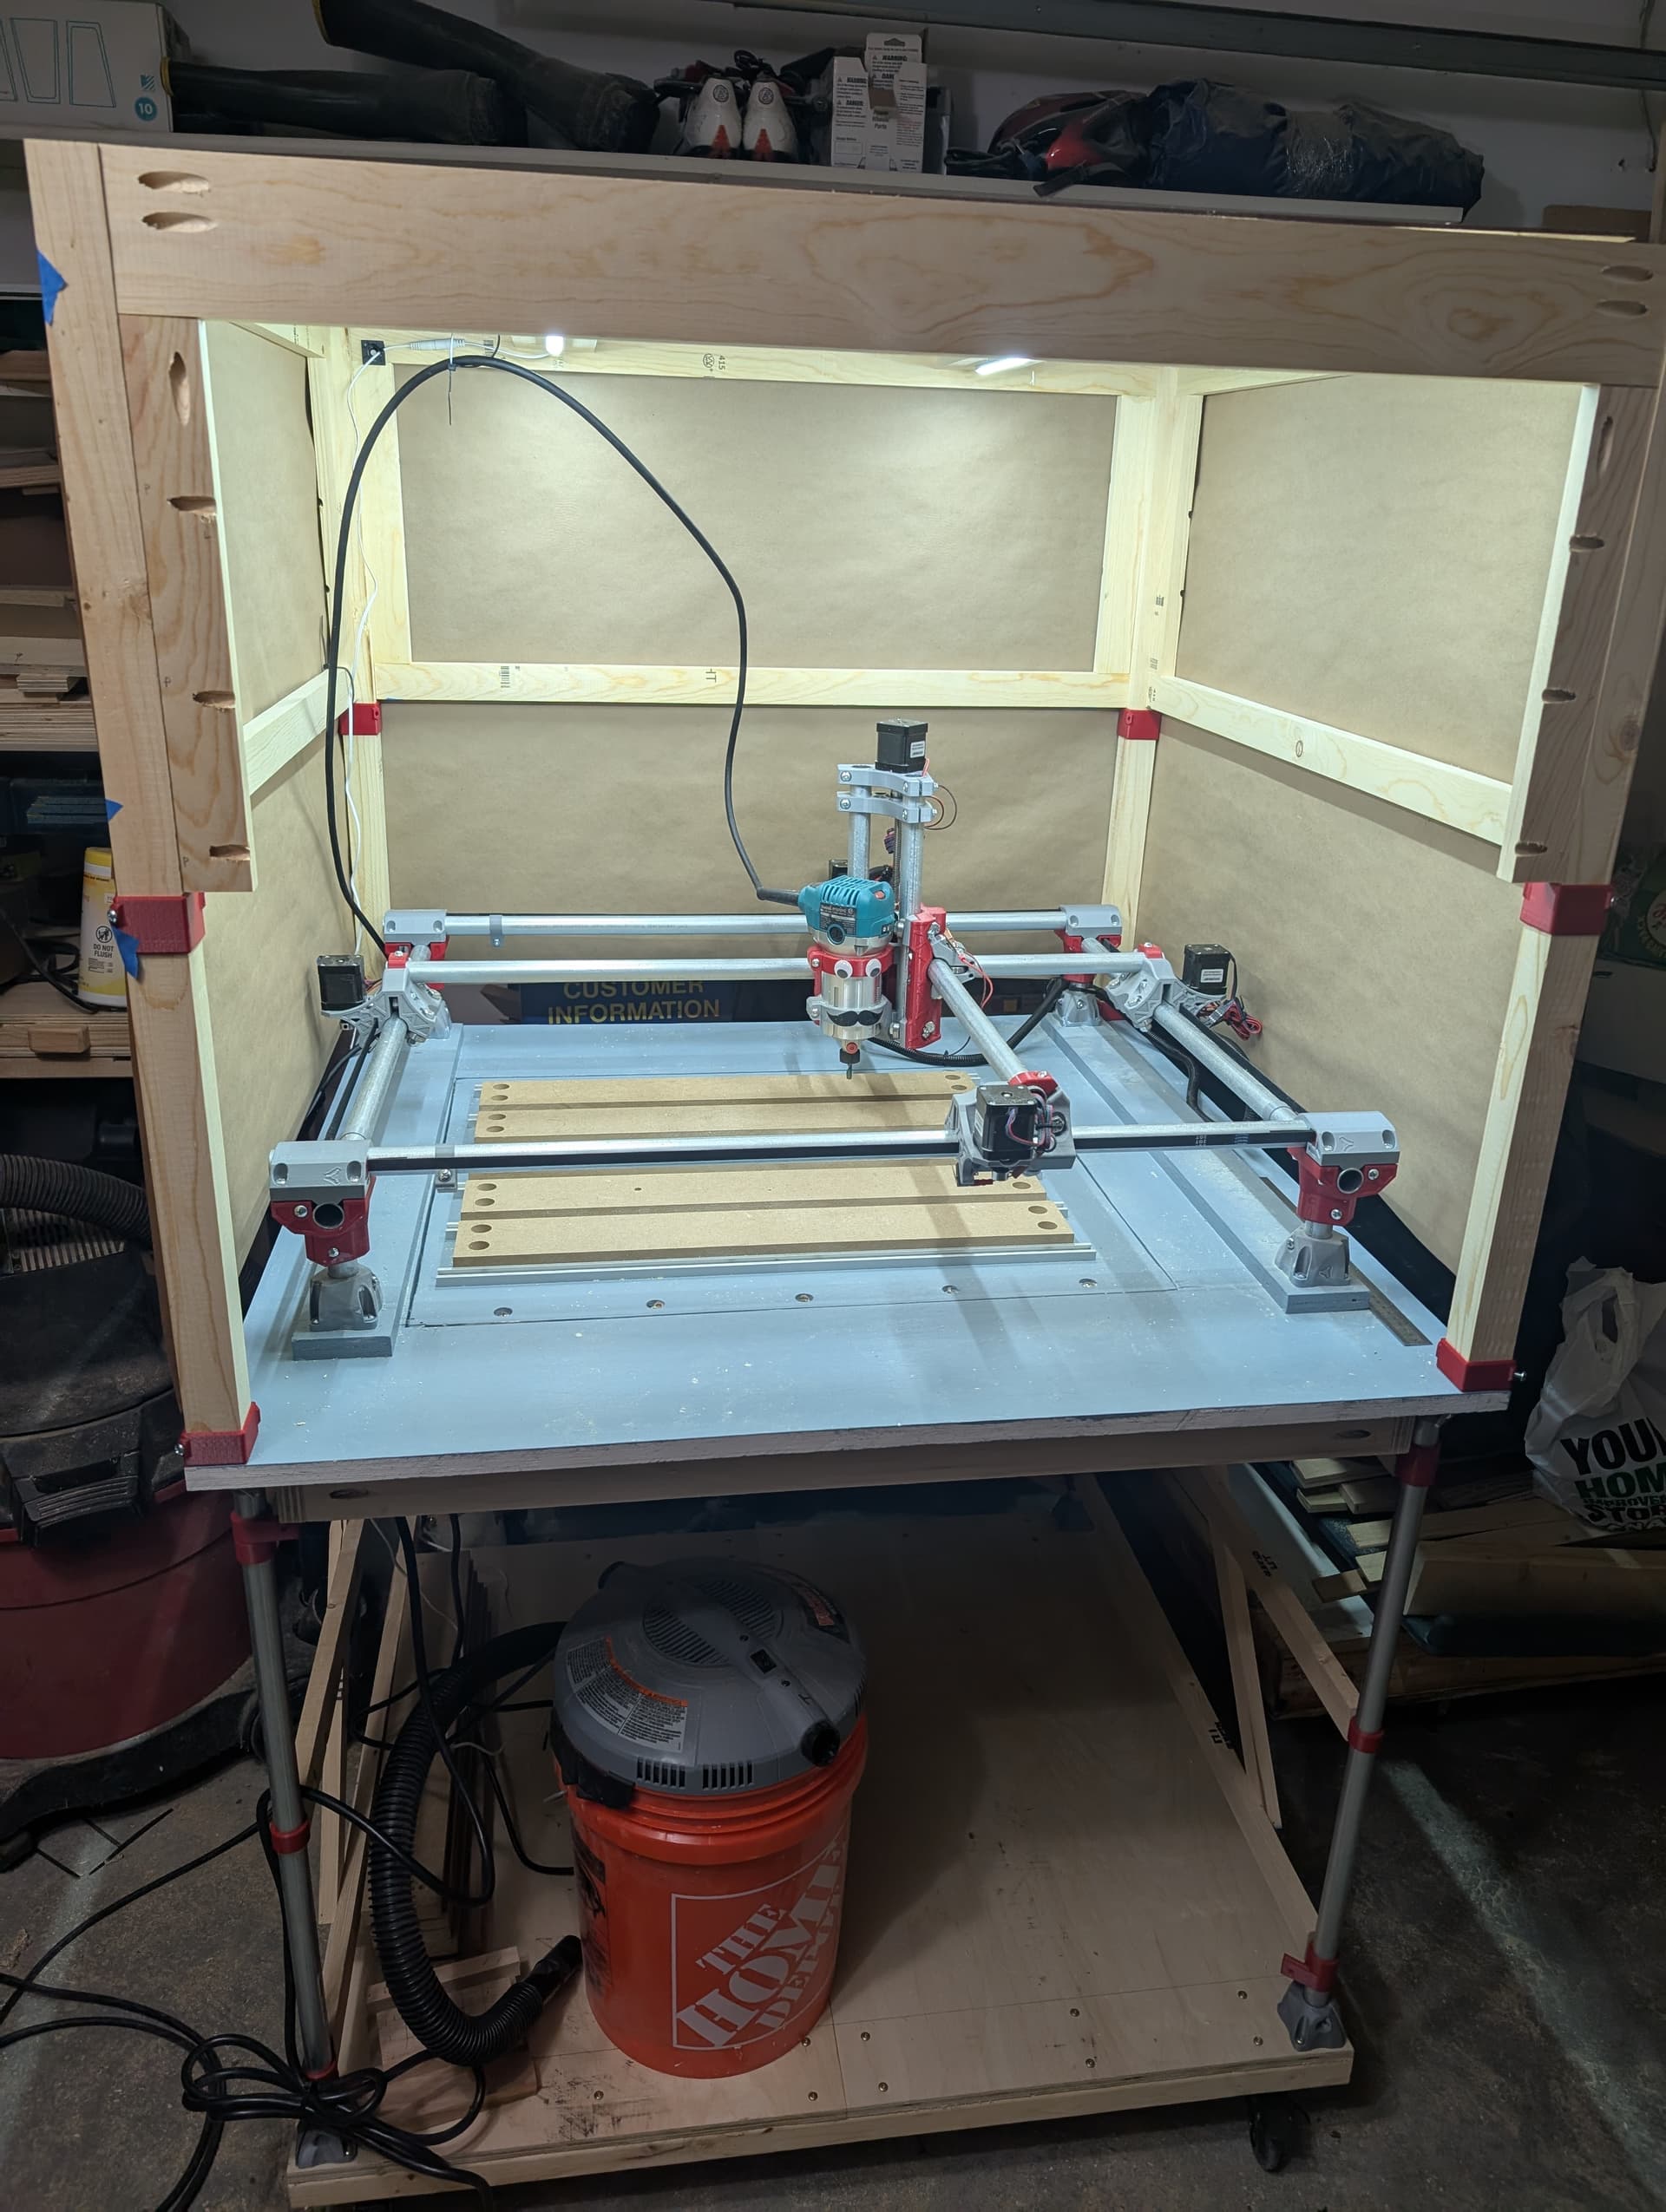
This is a bit overdue but as most of this work was done a month ago but here is the current state of my MPCNC.
Finished photo first.
Currently the walls are made of craft paper taped on, I will eventually make hinged walls from hardboard but the paper worked much better than I planned so no rush on that.
The posts of the enclosure are made from 2x2 furring strips. The bottom ones can be removed and then the whole enclosure can be lowered down for a slightly more compact storage.
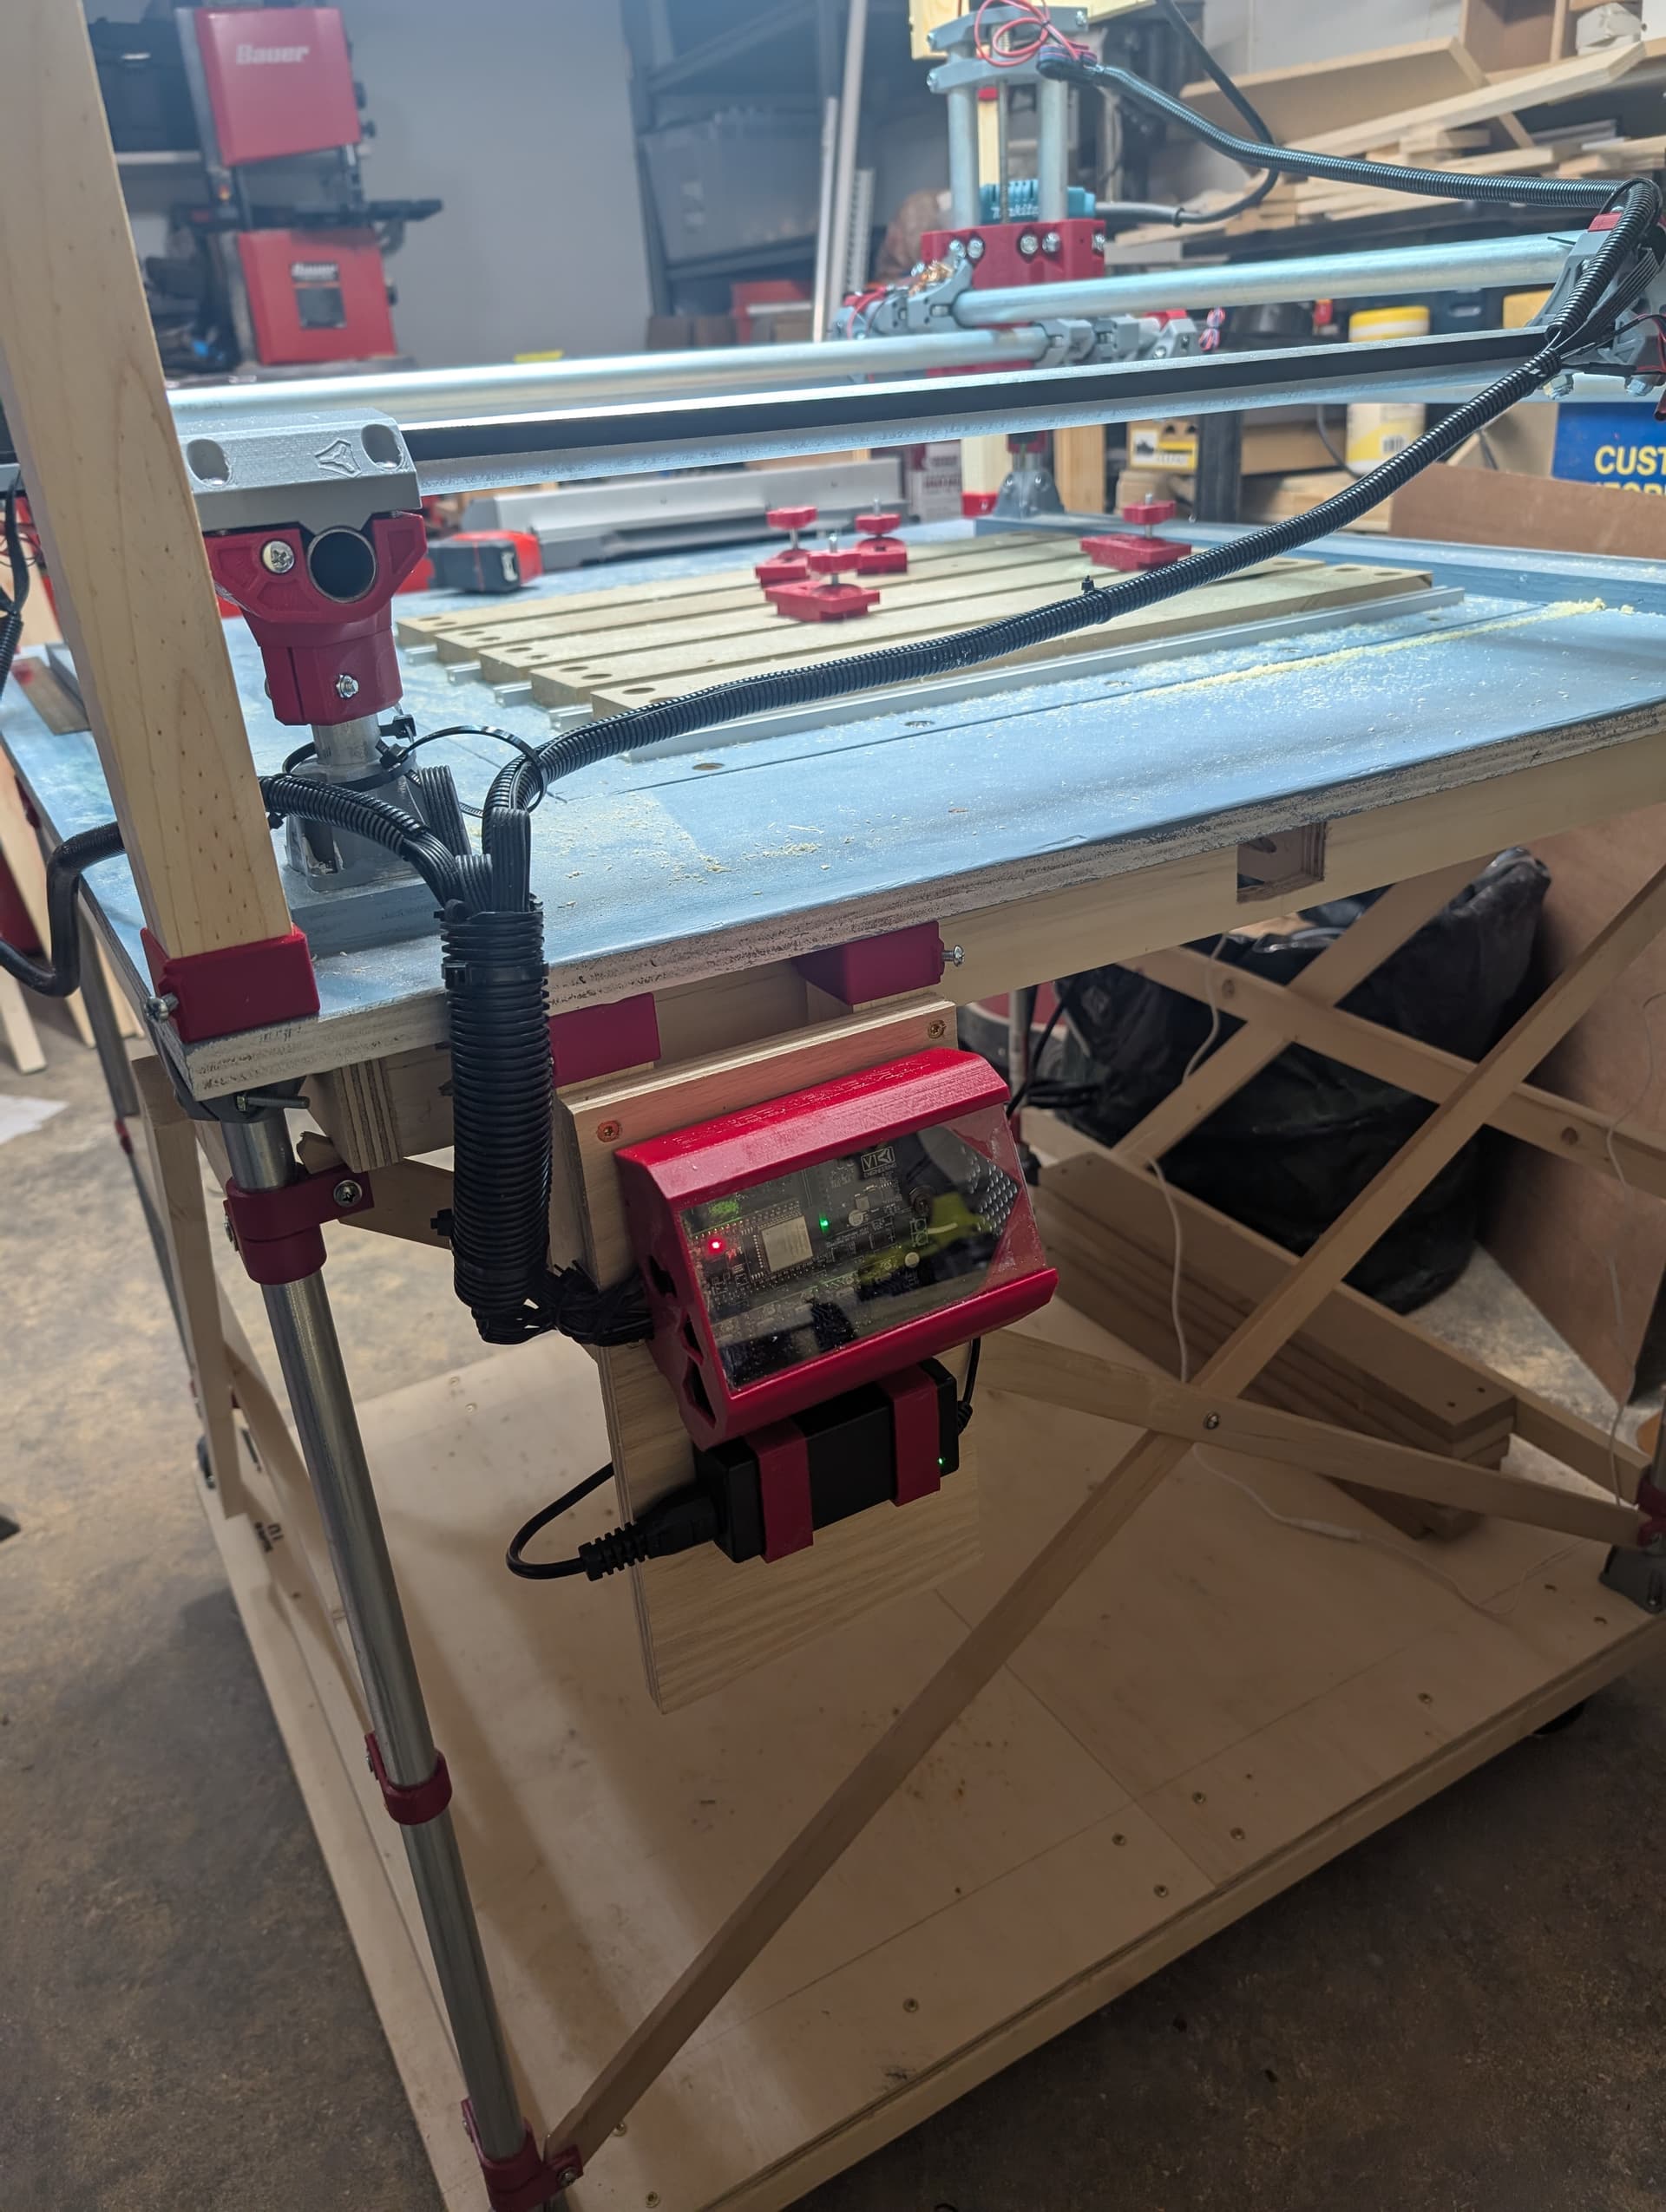
As a part of the clean up, I rewired the components to clean them up and mounted the board and power supply to the table itself.
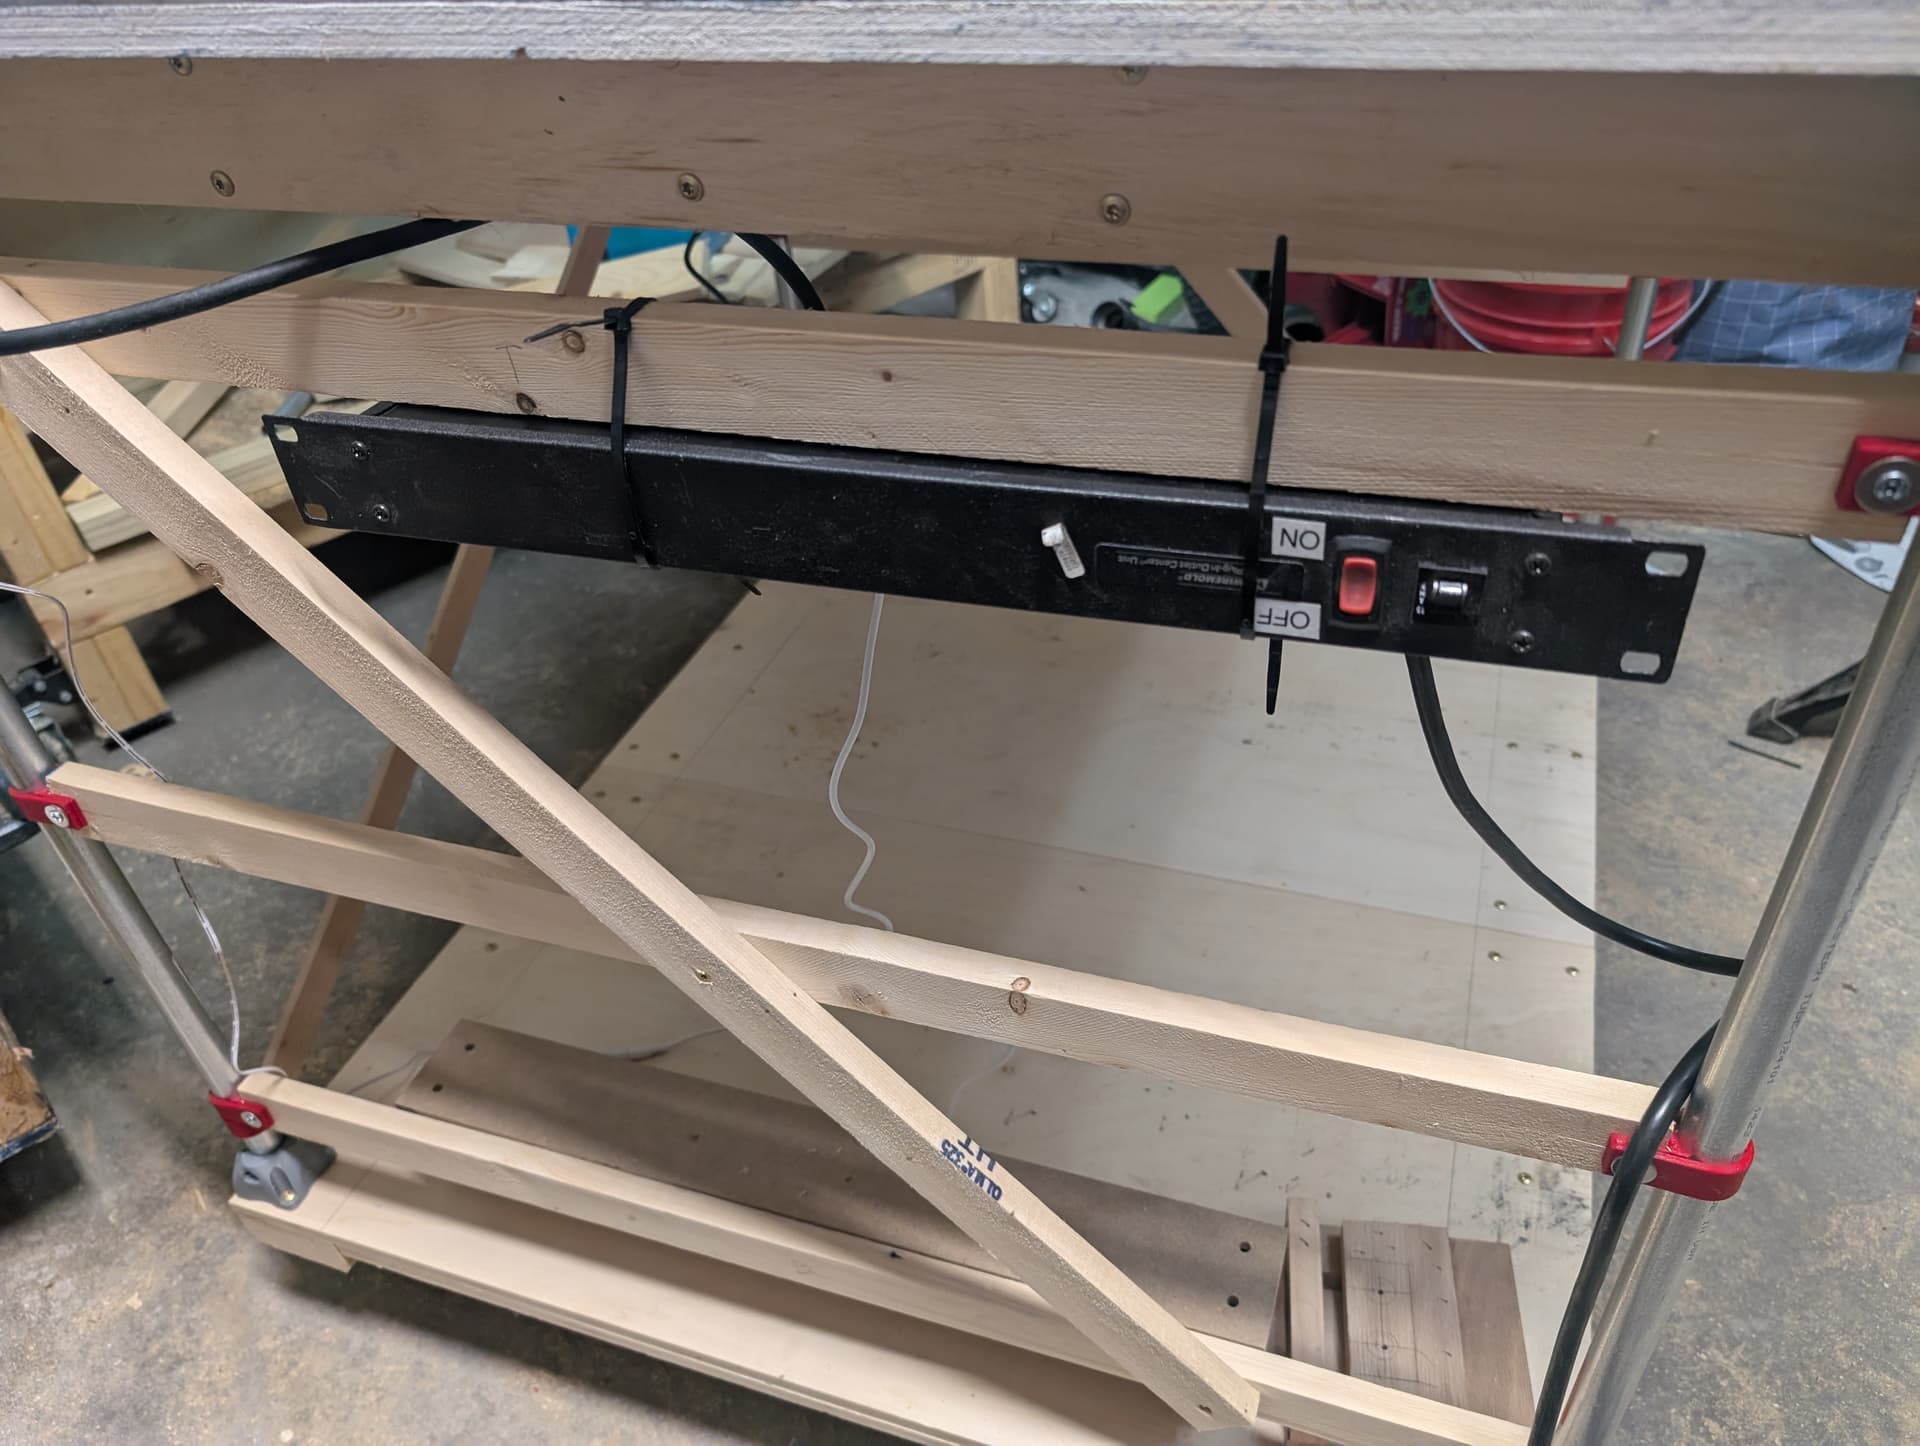
The power strip is temporary held up by zip ties (definitely need to trim the ends). I will eventually mount it to the board above but currently too excited to actually use the CNC.
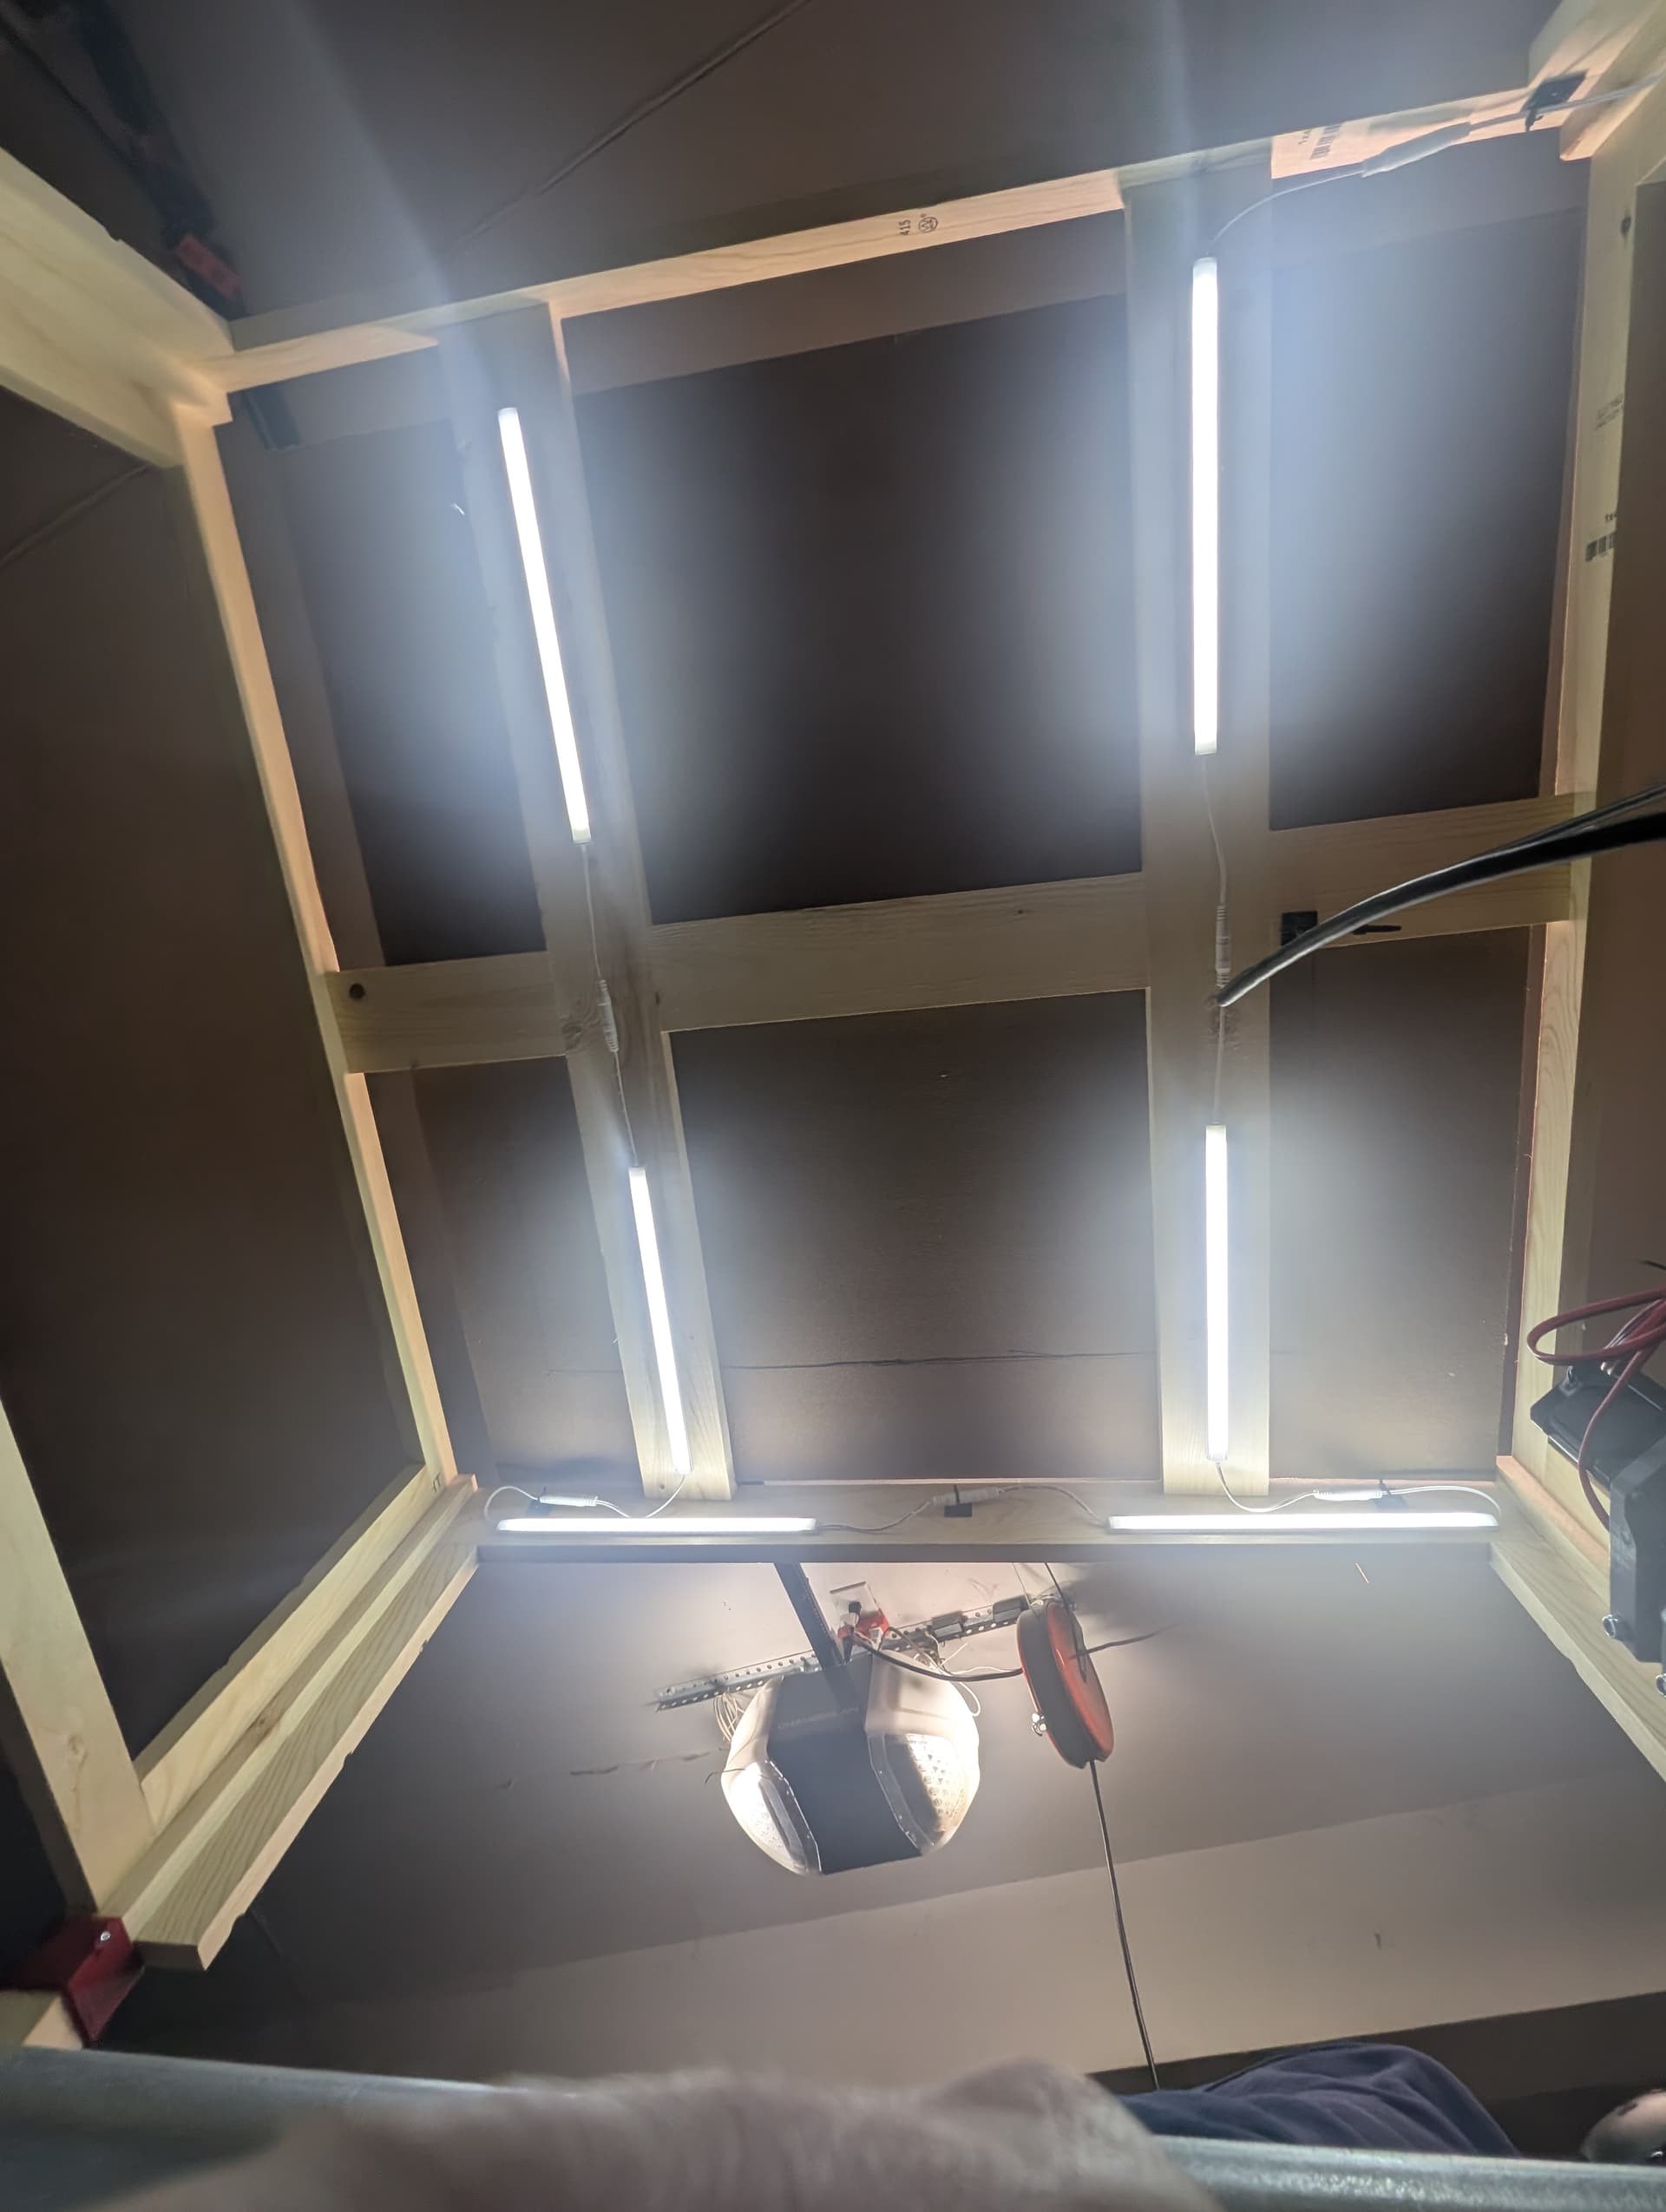
Finally, I added some basic LED strips to the ceiling of the enclosure for lights. They are on the same strip as the board so they also serve as a reminder if I leave the power on.
For the immediate future, I do not see myself making upgrades and I want to spend my time actually using the machine before I have to close up the shop for the winter. (Unheated garage in Minnesota winter is not really good working conditions.)