Hi MPCNC fans,
I’m eager to build a MPCNC, ordered the kit and also the printed parts from v1 shop, exciting!
I have few questions for now and also to start this journey and become a contributing member.
Where can I find a complete 3D/stl model of entire machine? Kind of all the STLs combined, I’m trying to have a reference to all parts connections, exploded view and so on.
Regarding the tubing, I’m using the EMT 3/4" conduit, the question I have is, would galvanized pipe work? It is more stiff and would make the machine base heavy and stable, what do you think?
Tony is right. Ryan’s 3D printed parts are very sensitive to tubing/pipe size. Schedule 40 galvanized pipe is either too small or too large. For example, 3/4" pipe has an outside diameter (OD) of 1.05" (26.7mm). His builds are designed for 23.4mm, or 25.0mm, or 25.4mm OD tubing/conduit. And 1/2" pipe has an OD of 21.3mm, so would be too small for any of his builds.
FYI, typically tubing is measured from the OD, but pipe is measured from the ID.
You are right, since I have the EMT and already printed the 23.5 size which fits, maybe just a start until I figure it out. Not sure how easy to modify the printed parts, will give it a try and also learn more in this area. Thanks!
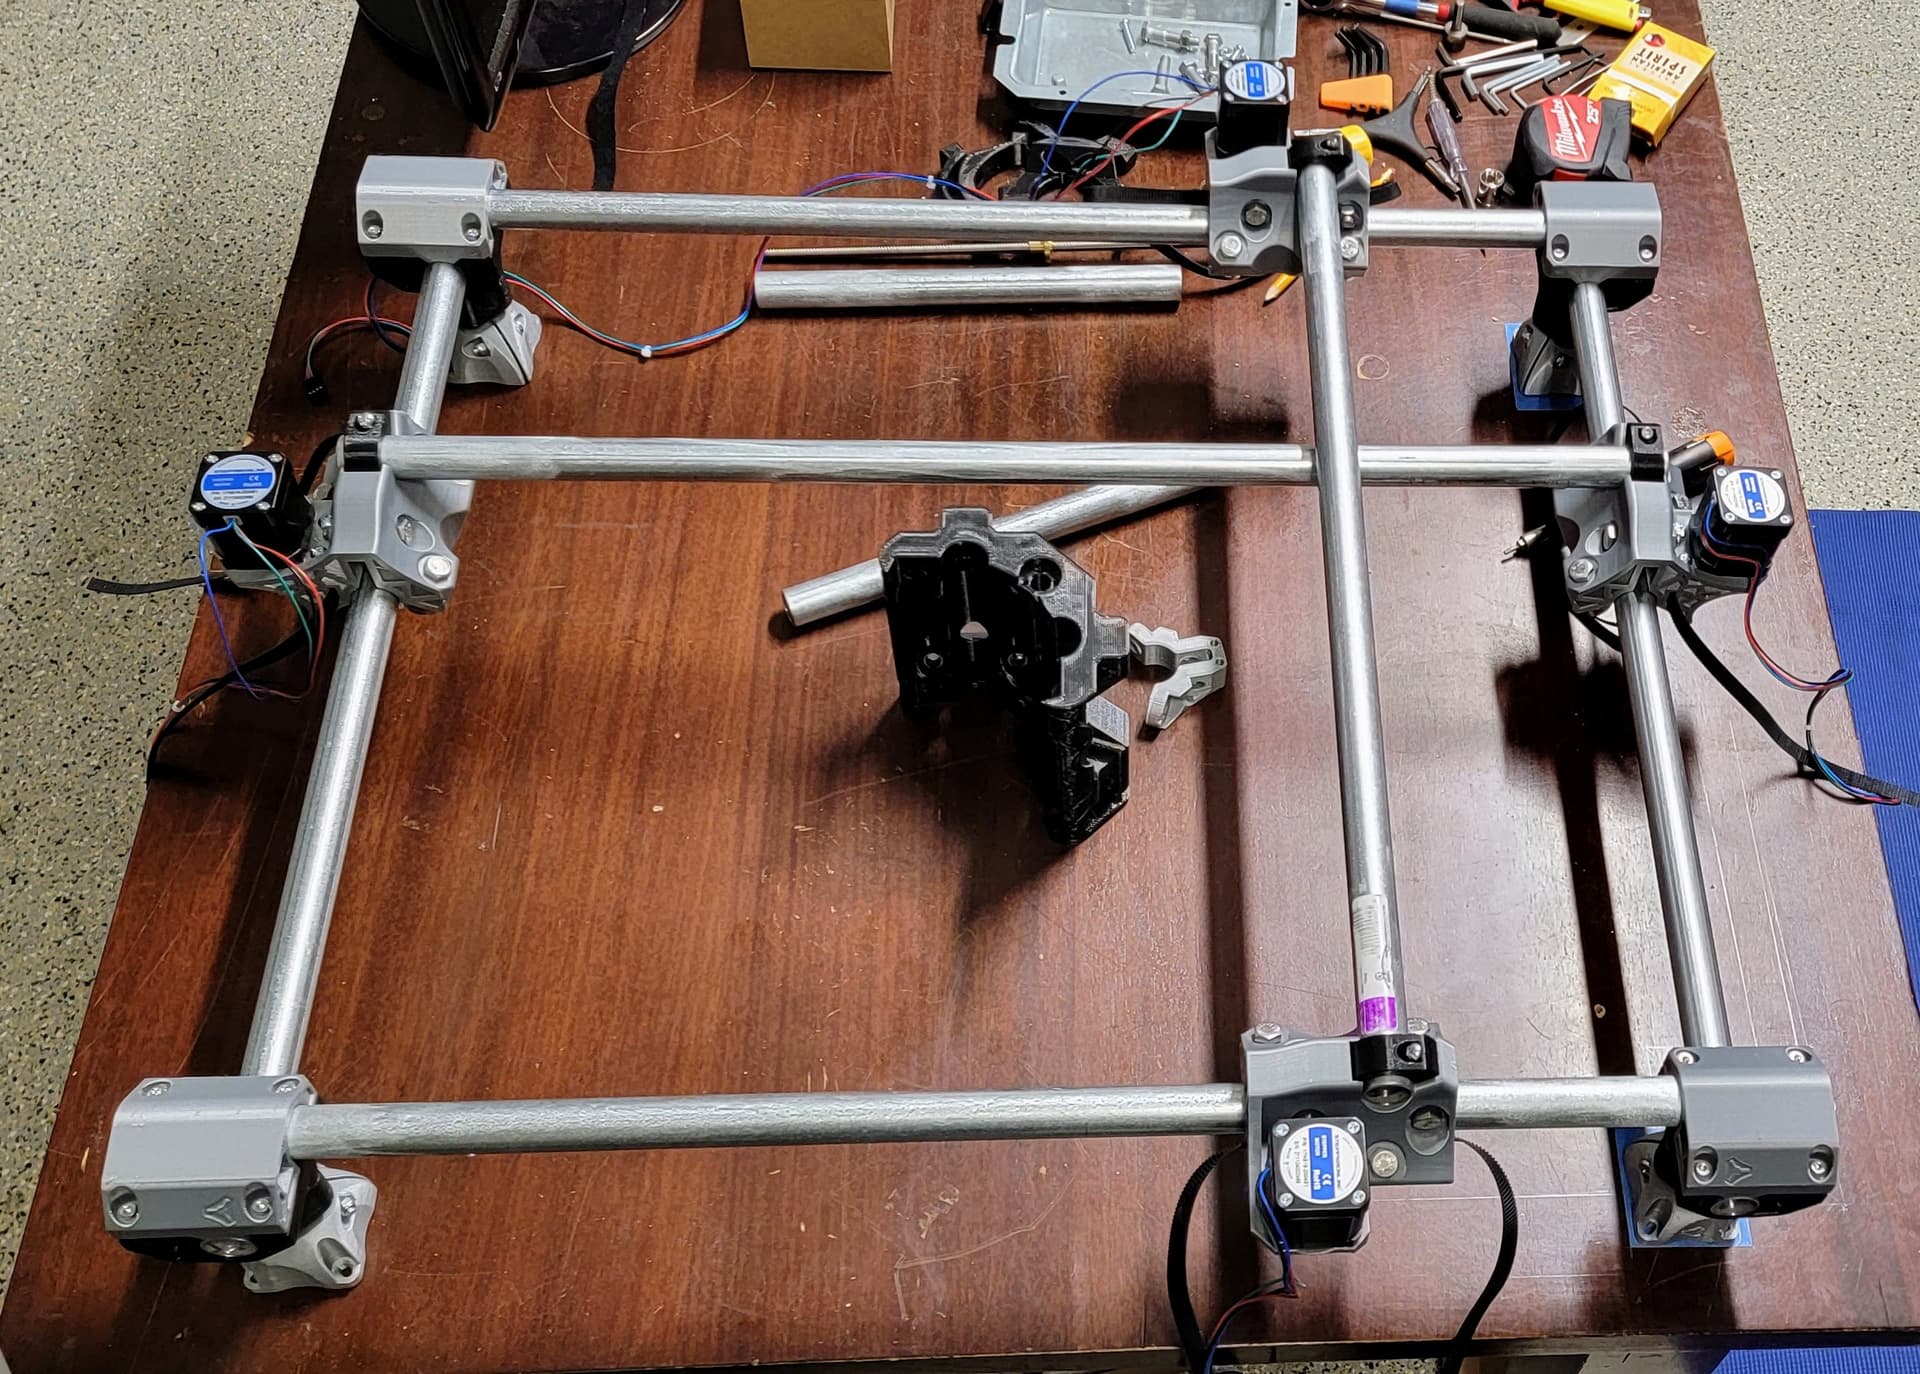
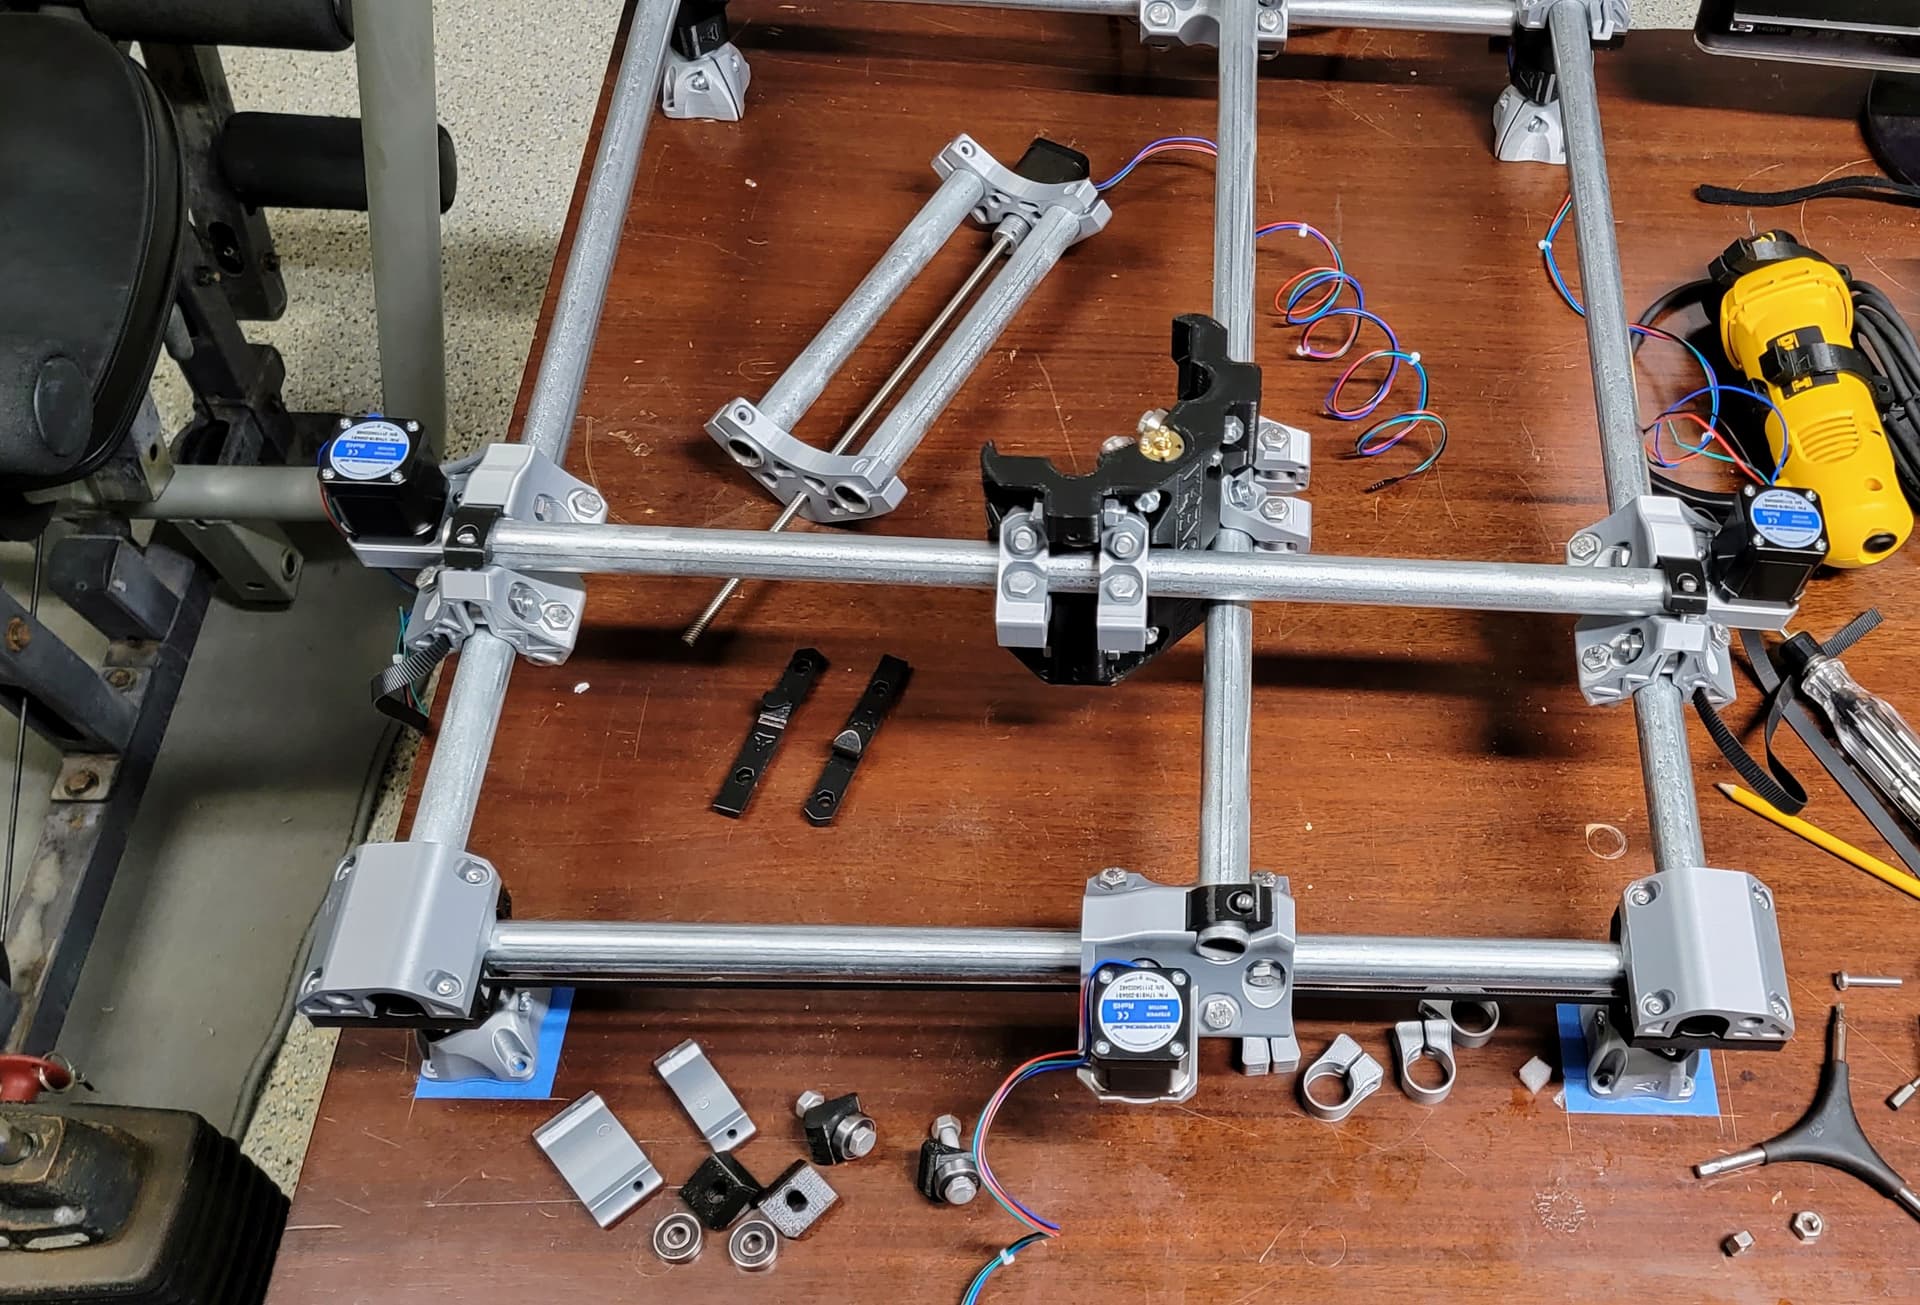
Got the kit, following the guide, almost done with frame, steppers and XYZ axis, next is the electronics part, I’m using RAMPS 1.4 kit, very exciting!!
The more I get deeper into the build the more I appreciate the design, thoughts put behind, great work for the designer/s/community!
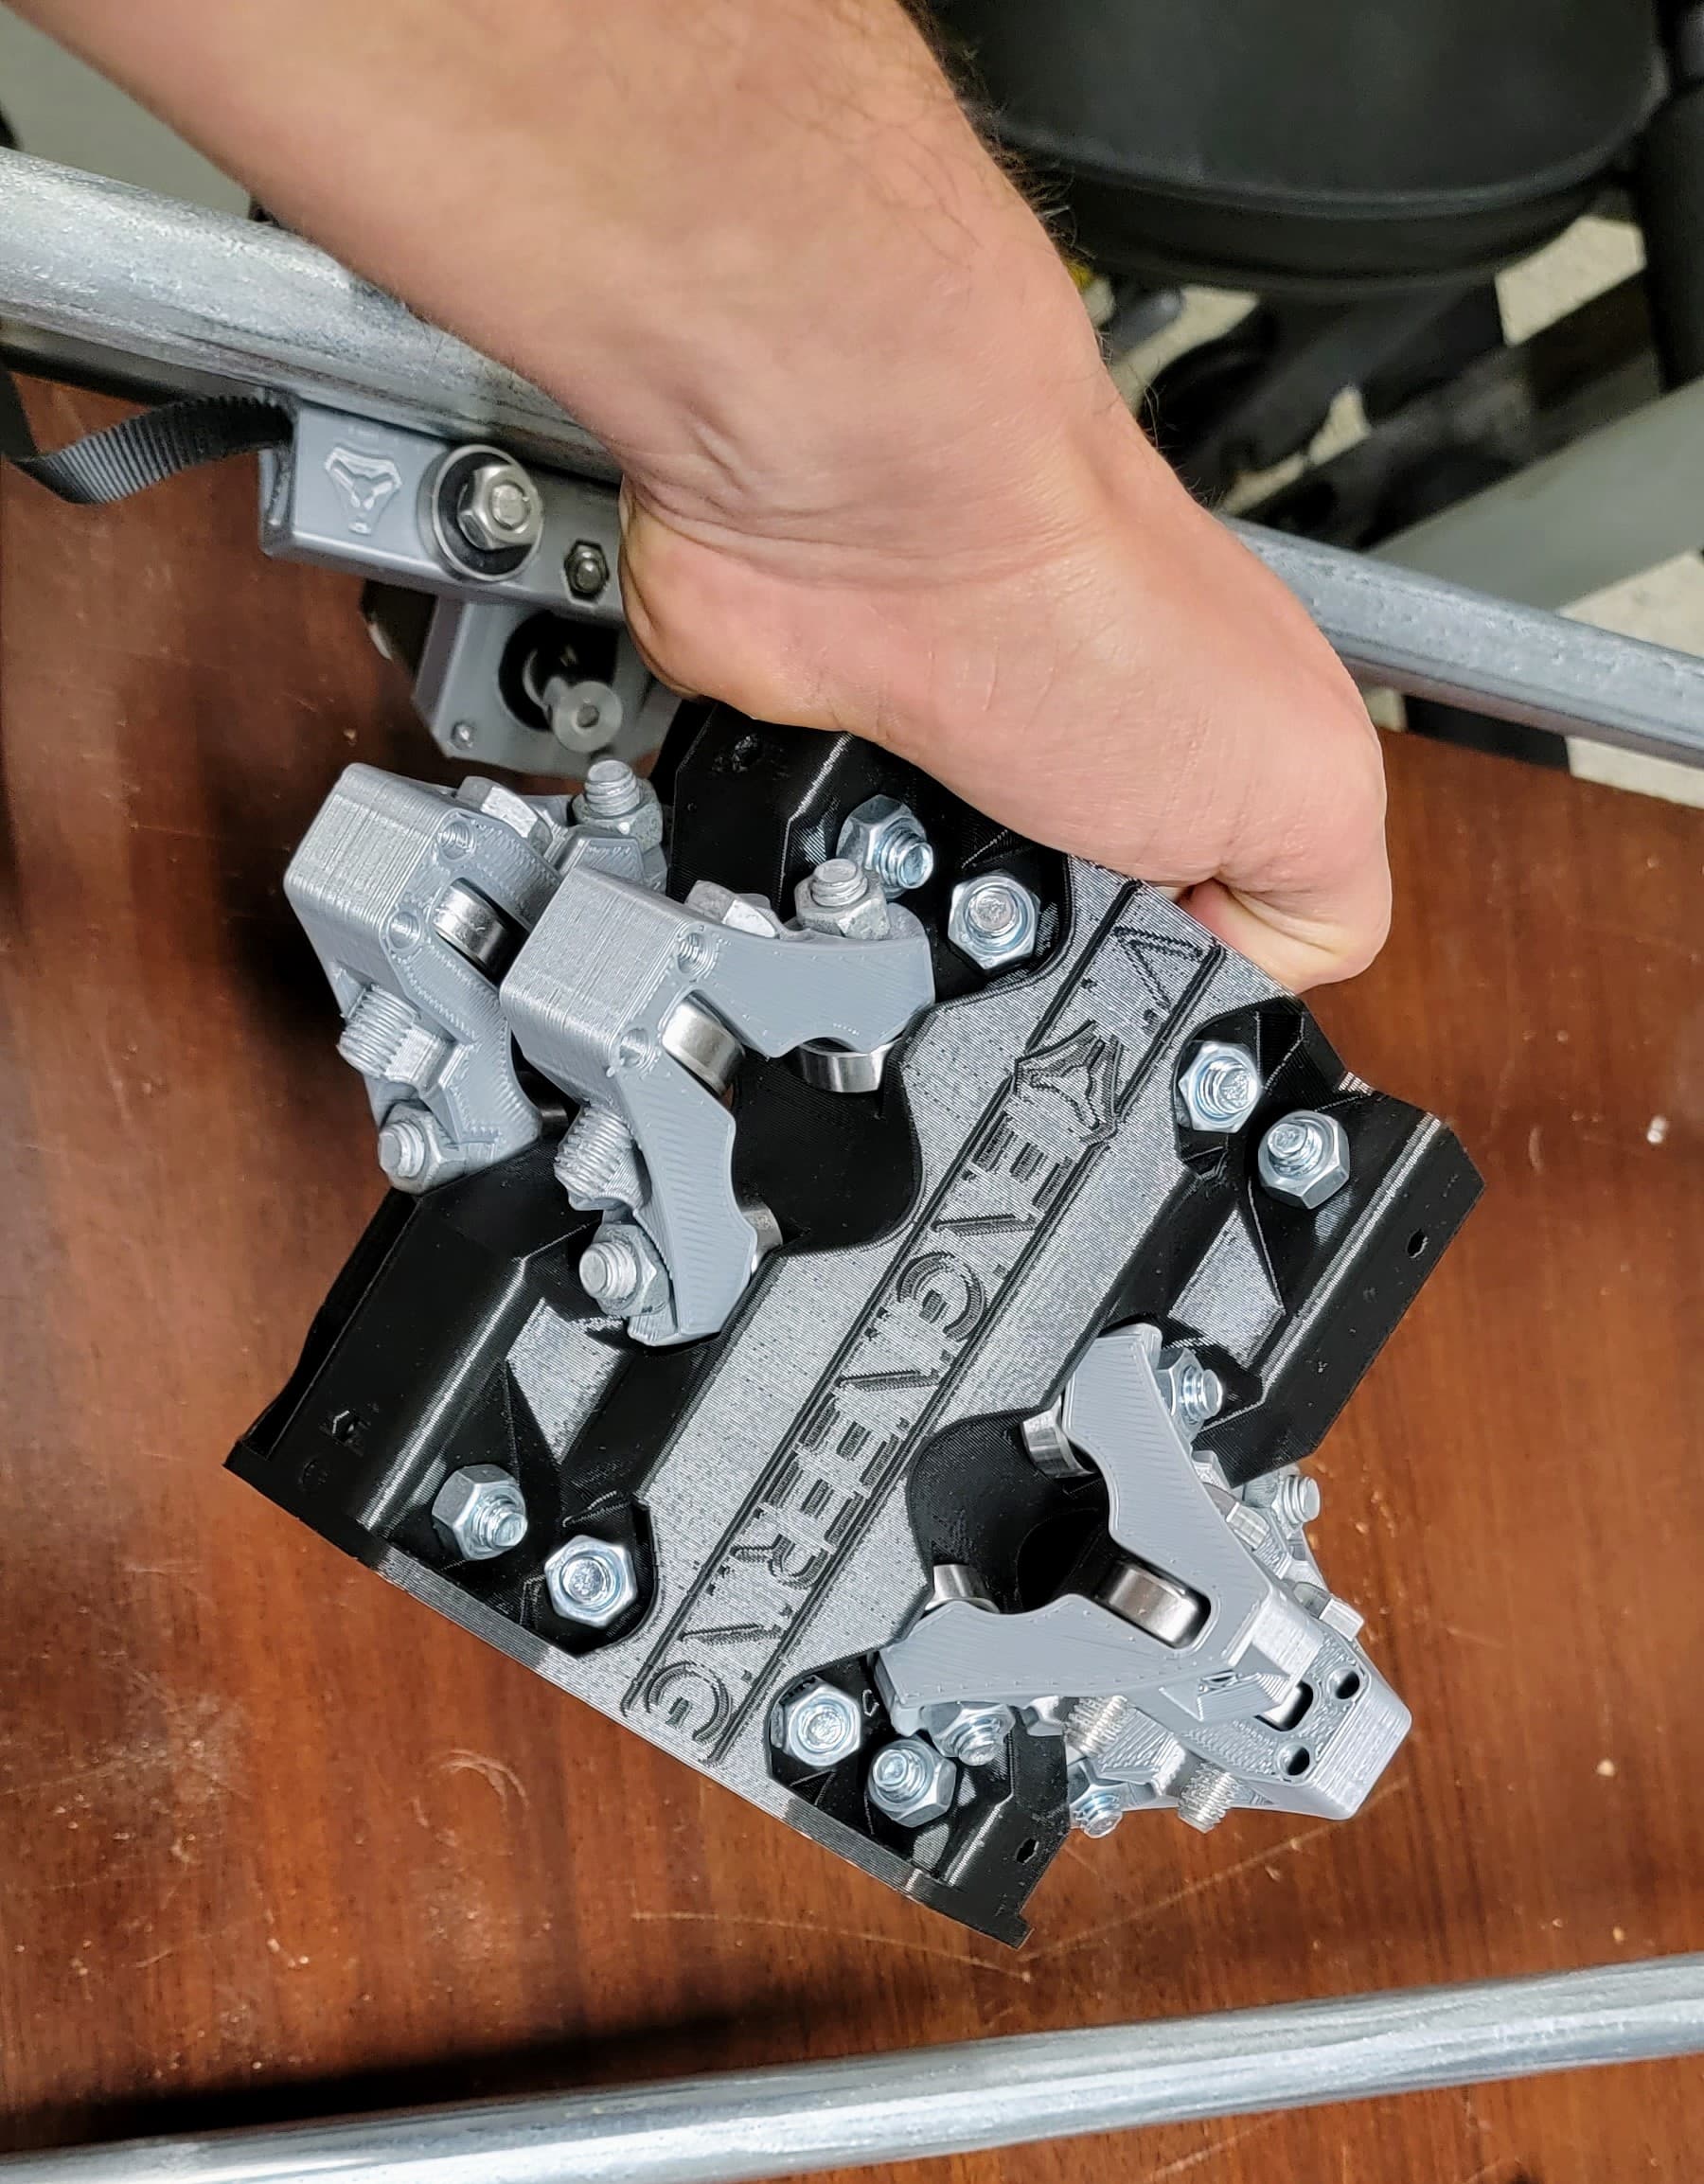
Yes, the core was a fight just to get all bolts in, aligned, bearings alignment …etc so only five points touching the rails, I was worried to run into alignment issues but at the end all sit perfectly and smooth!
Will work on electronics part today, which is my favorite area and know more about, will come back for questions I’m sure, thanks a lot!
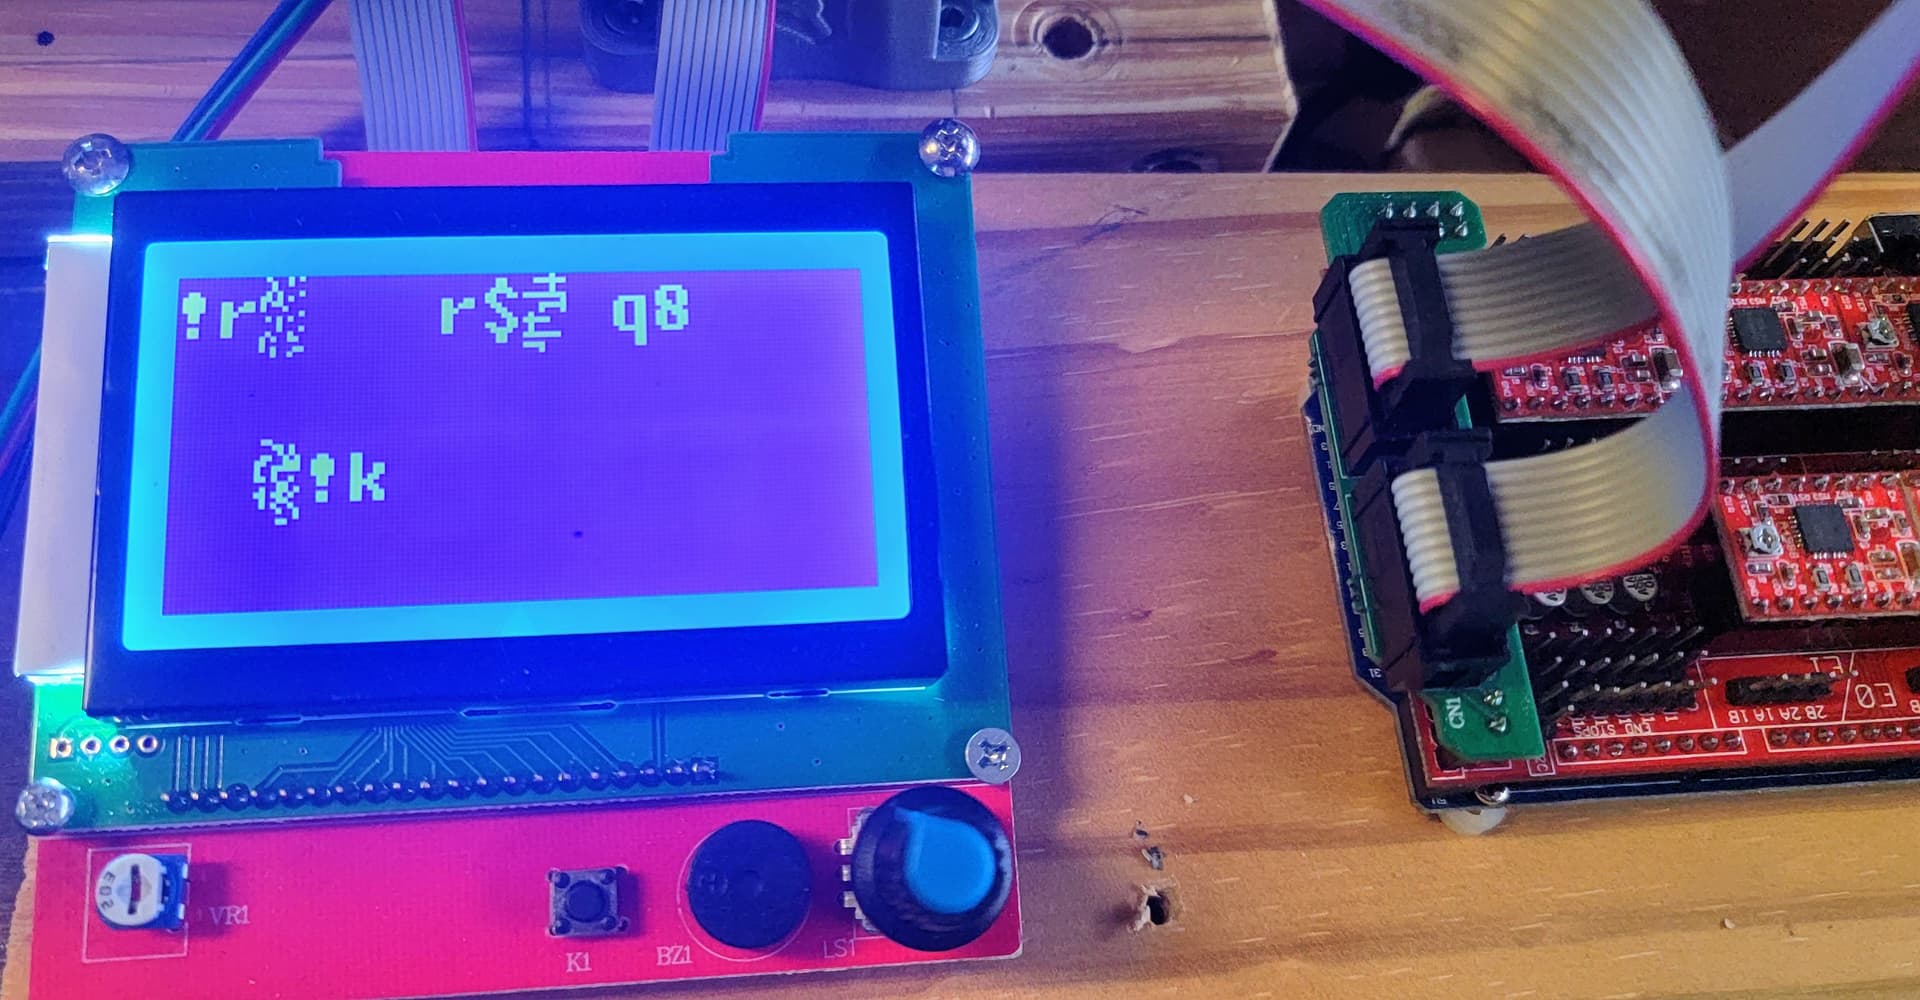
I got it all up and running and then all of a sudden the screen will show some gibberish like Chinese fonts random, I had to power reset, now I’m gett an error when I try to flash the firmware using VSCode and not flashing, I think maybe the board got corrupted.
I did it already, also tried the “Burn bootloader” option and the board is timing out no matter what I do.
Plan B, I have SKR Pro (was planing to explore the MP3DP), I wanted to learn more about the RAMPS world, I did some anyway, time for more fun, hopefully I do not mess it up.
Question: can the Arduino power source used at same time with the power pins in the shield (no jumper cables as mentioned here:
It did work fine uploading firmware, doing initial testing, during the crown example I was navigating the menu on the shield screen then I see random typing on screen, reset was the only option out, it could be the screen part of it.