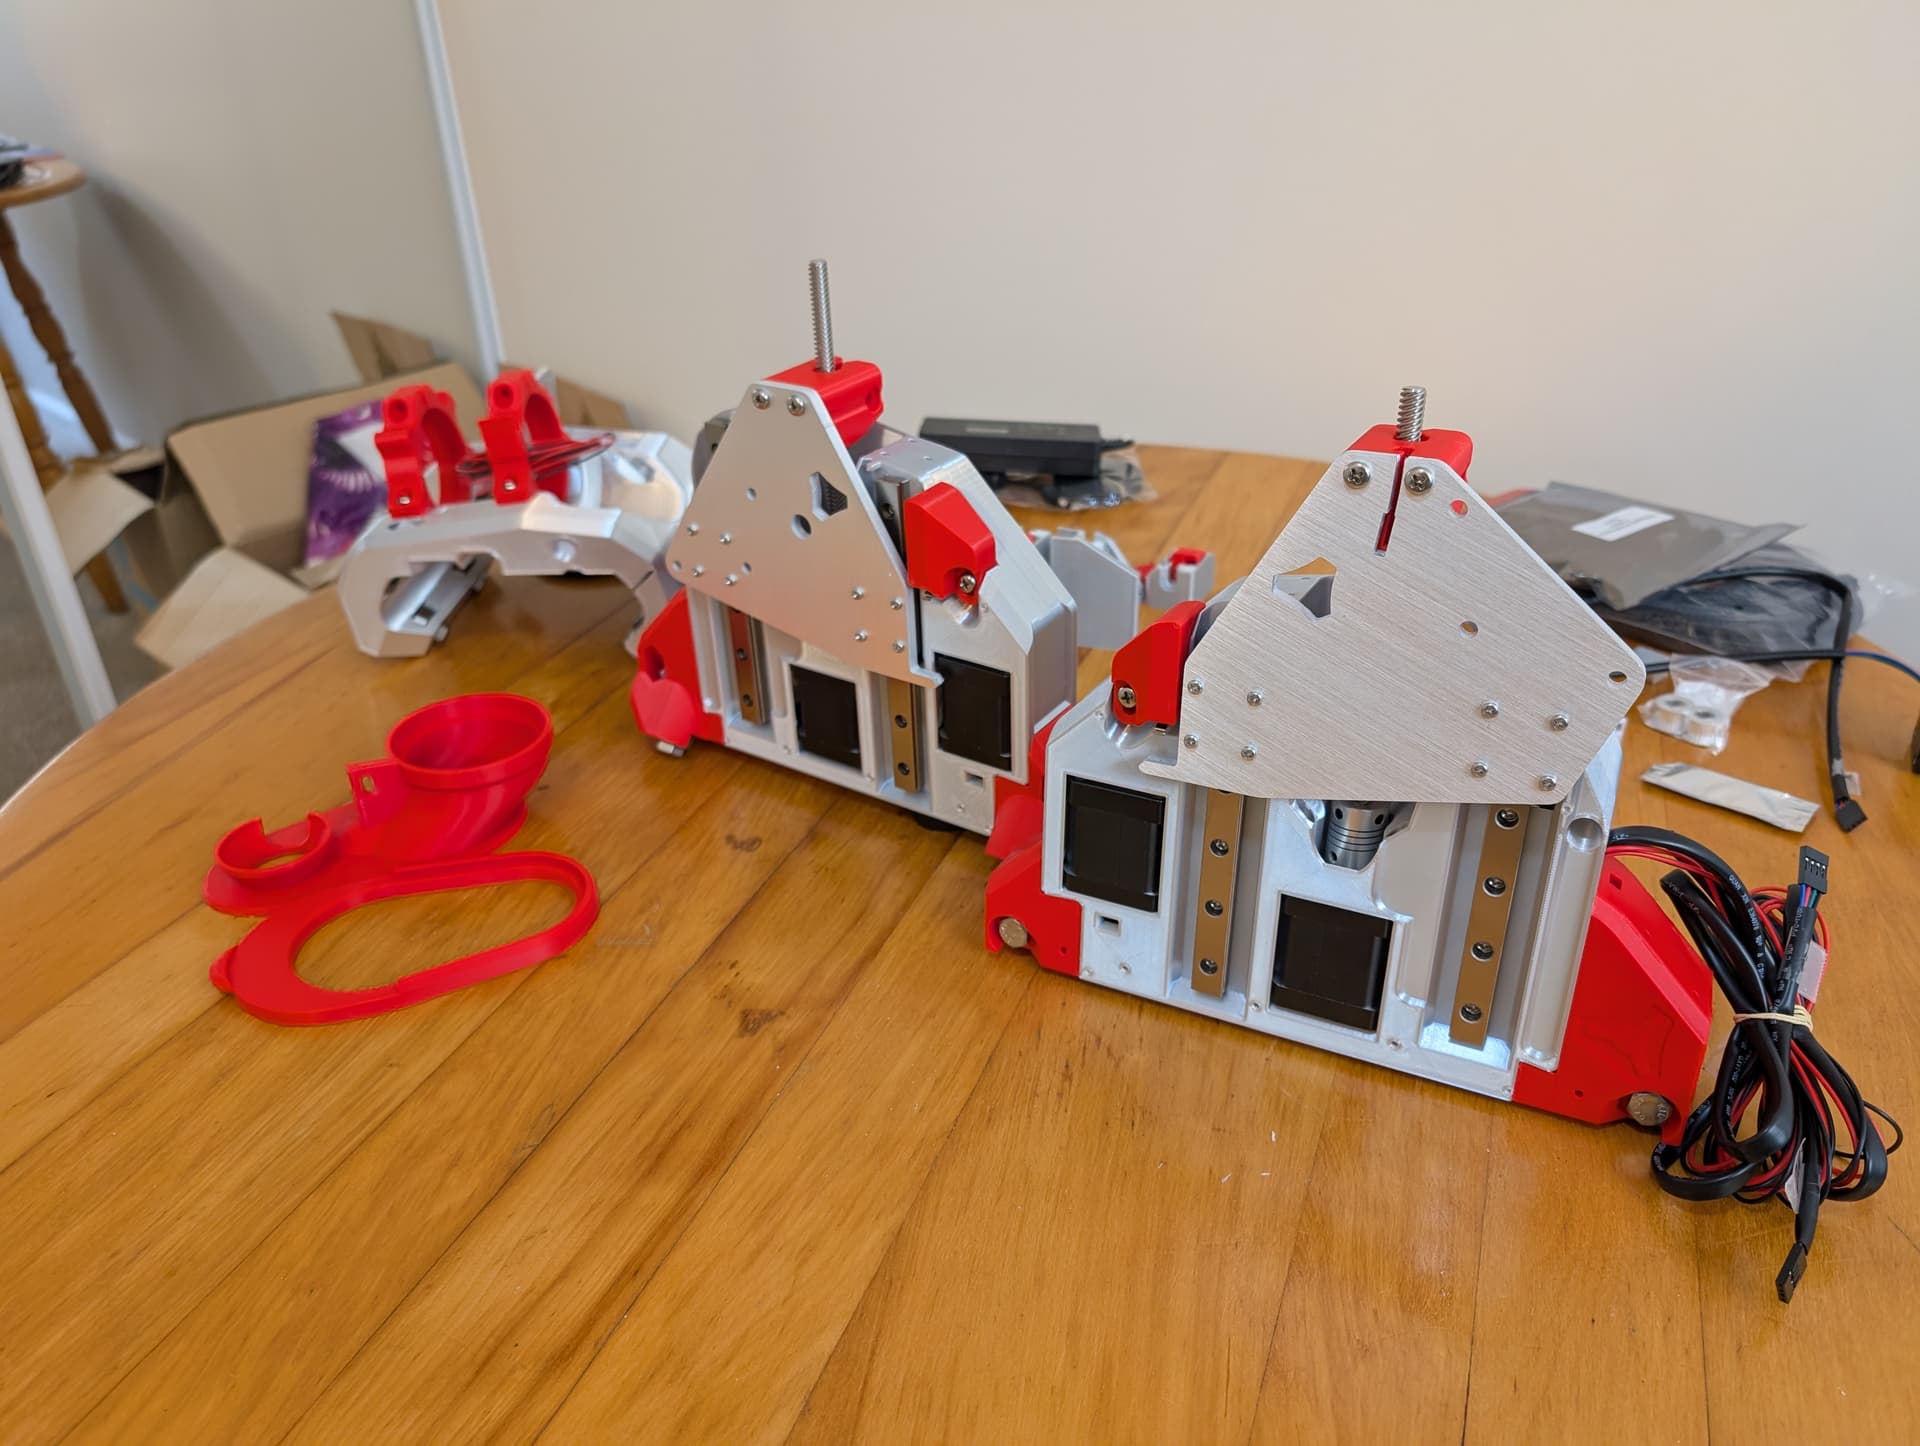
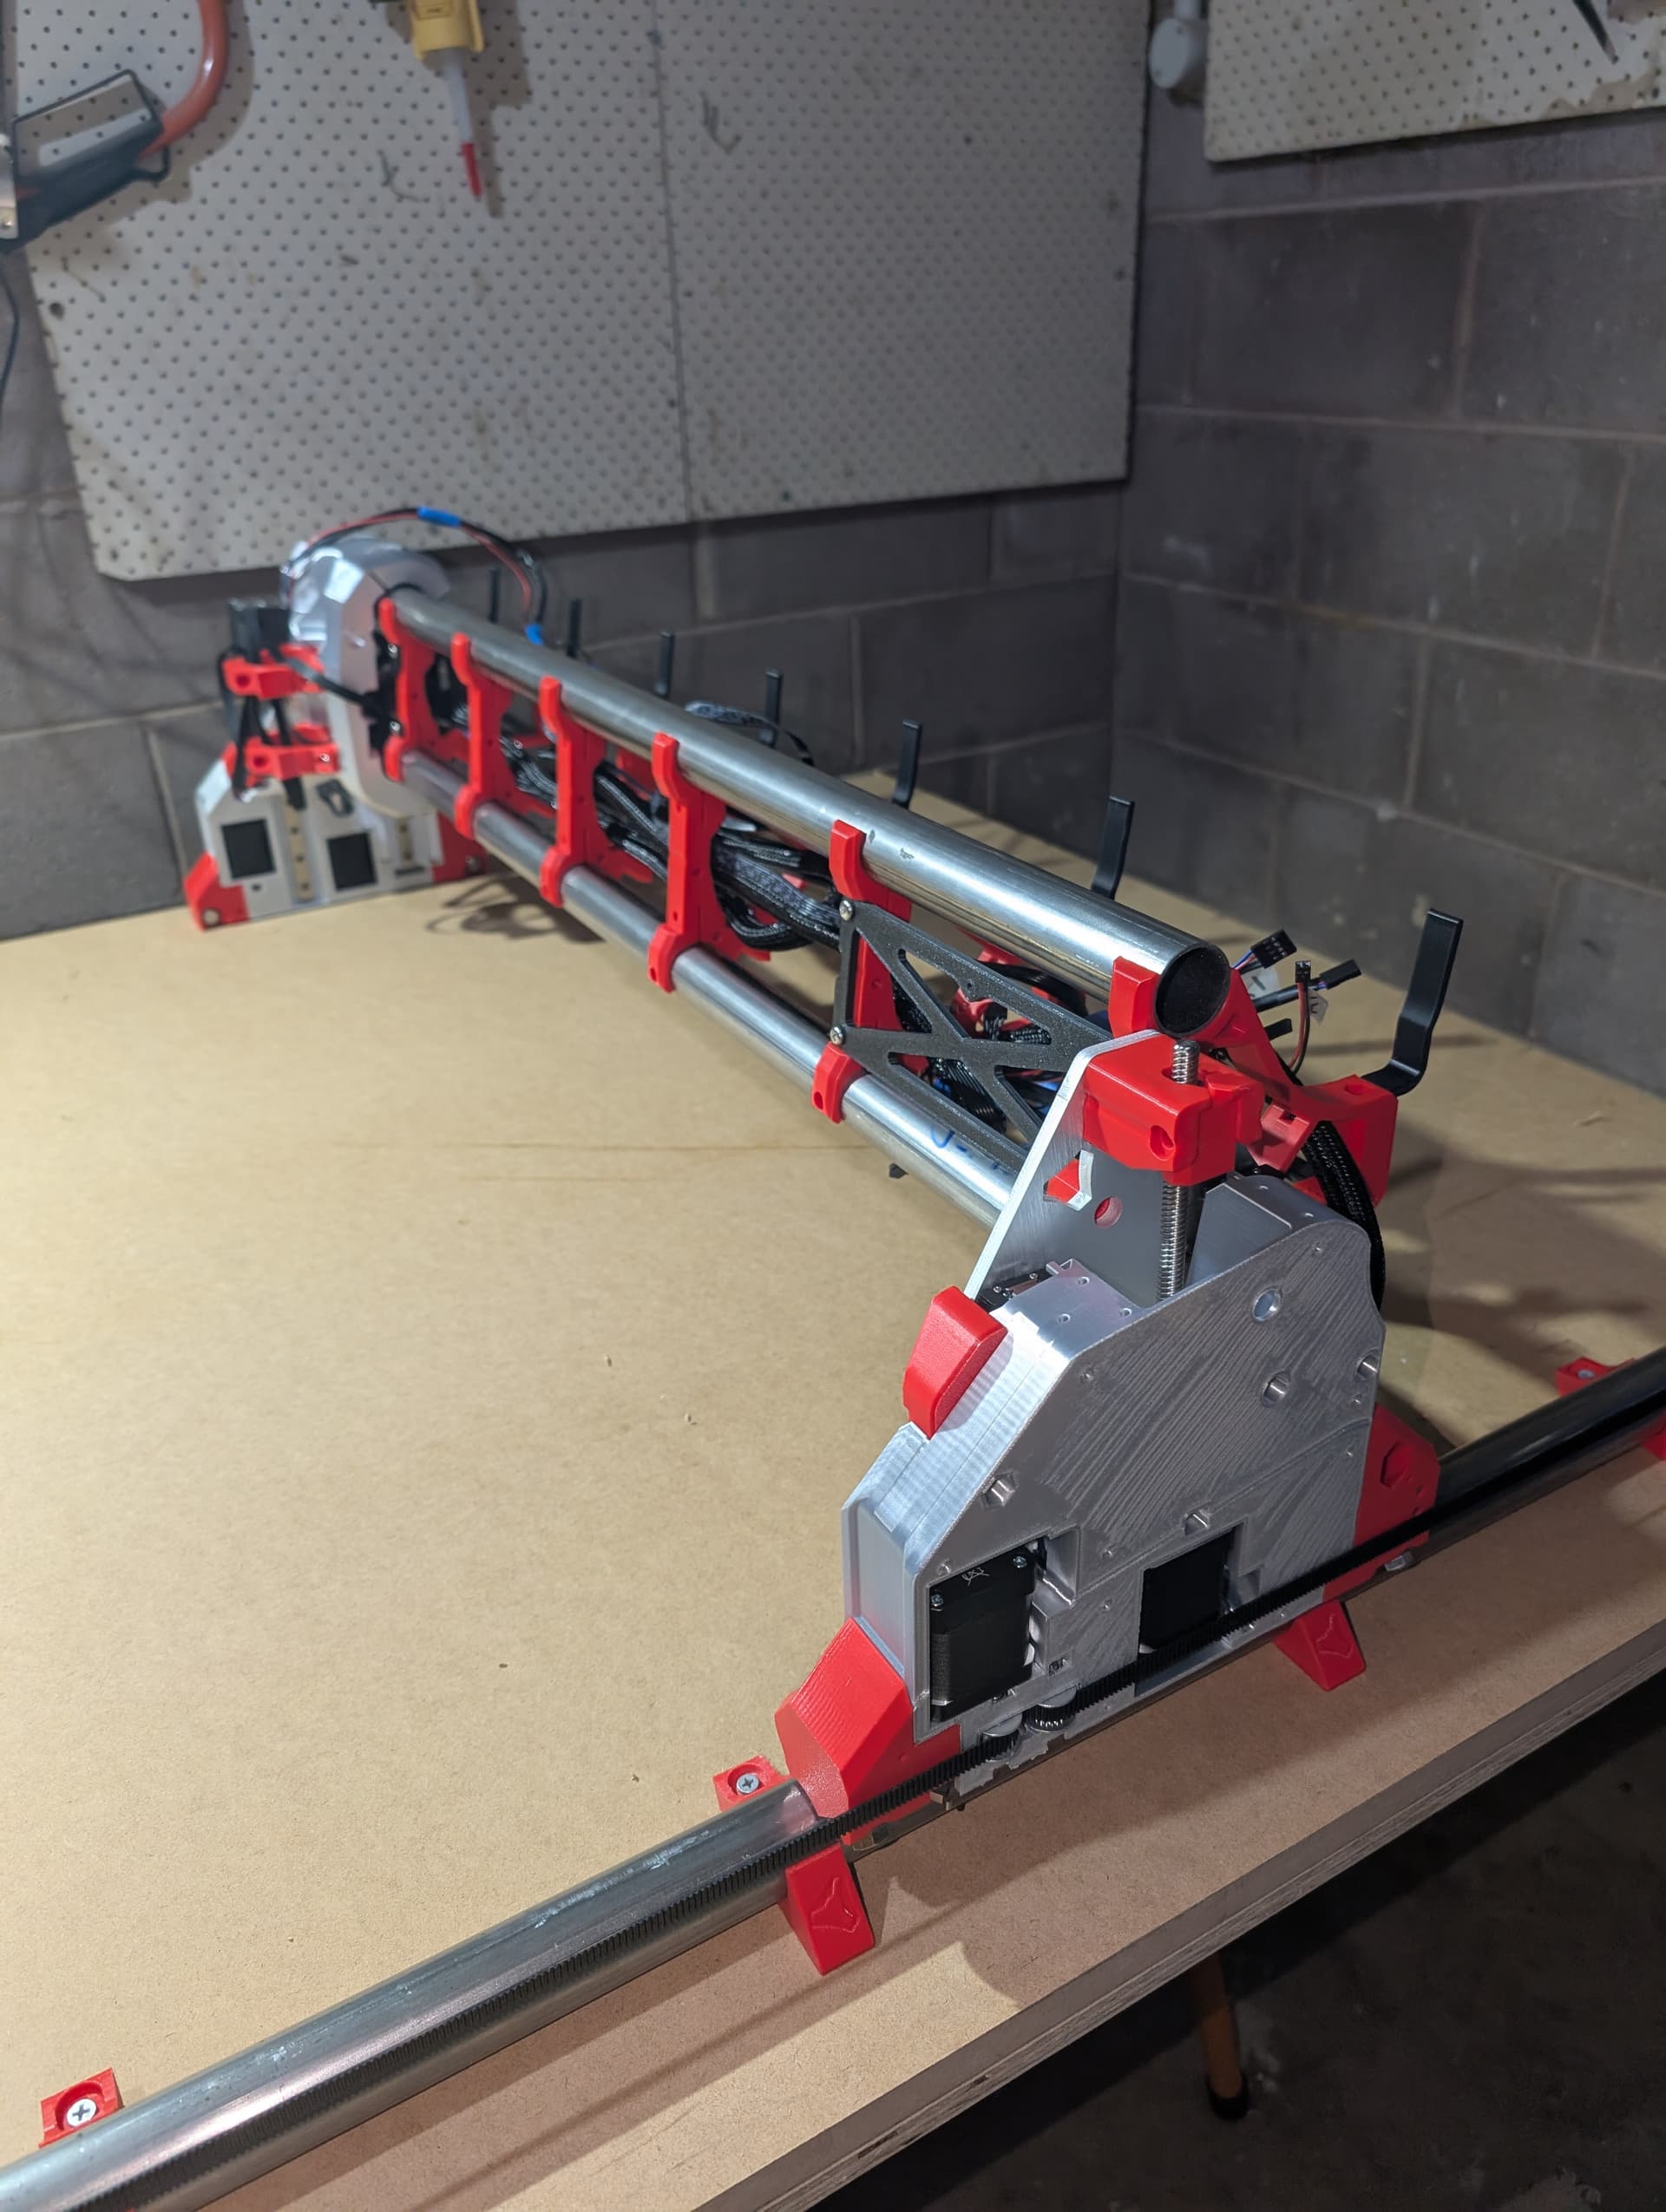
Progress, YZ assemblies complete, core just waiting on the touch plate to arrive so I can run the wires before completing.
Instructions are pretty straight forward to follow. Definately check ALL captive nylocks before fitting. I had one M8 nut (from the purchased hardware kit) that bound up and locked solid after running the bolt through it - would have created a huge problem if I hadn’t checked it first.
Time to get on to that new bench this weekend while I wait for the parts to arrive ex USA.
5 Likes
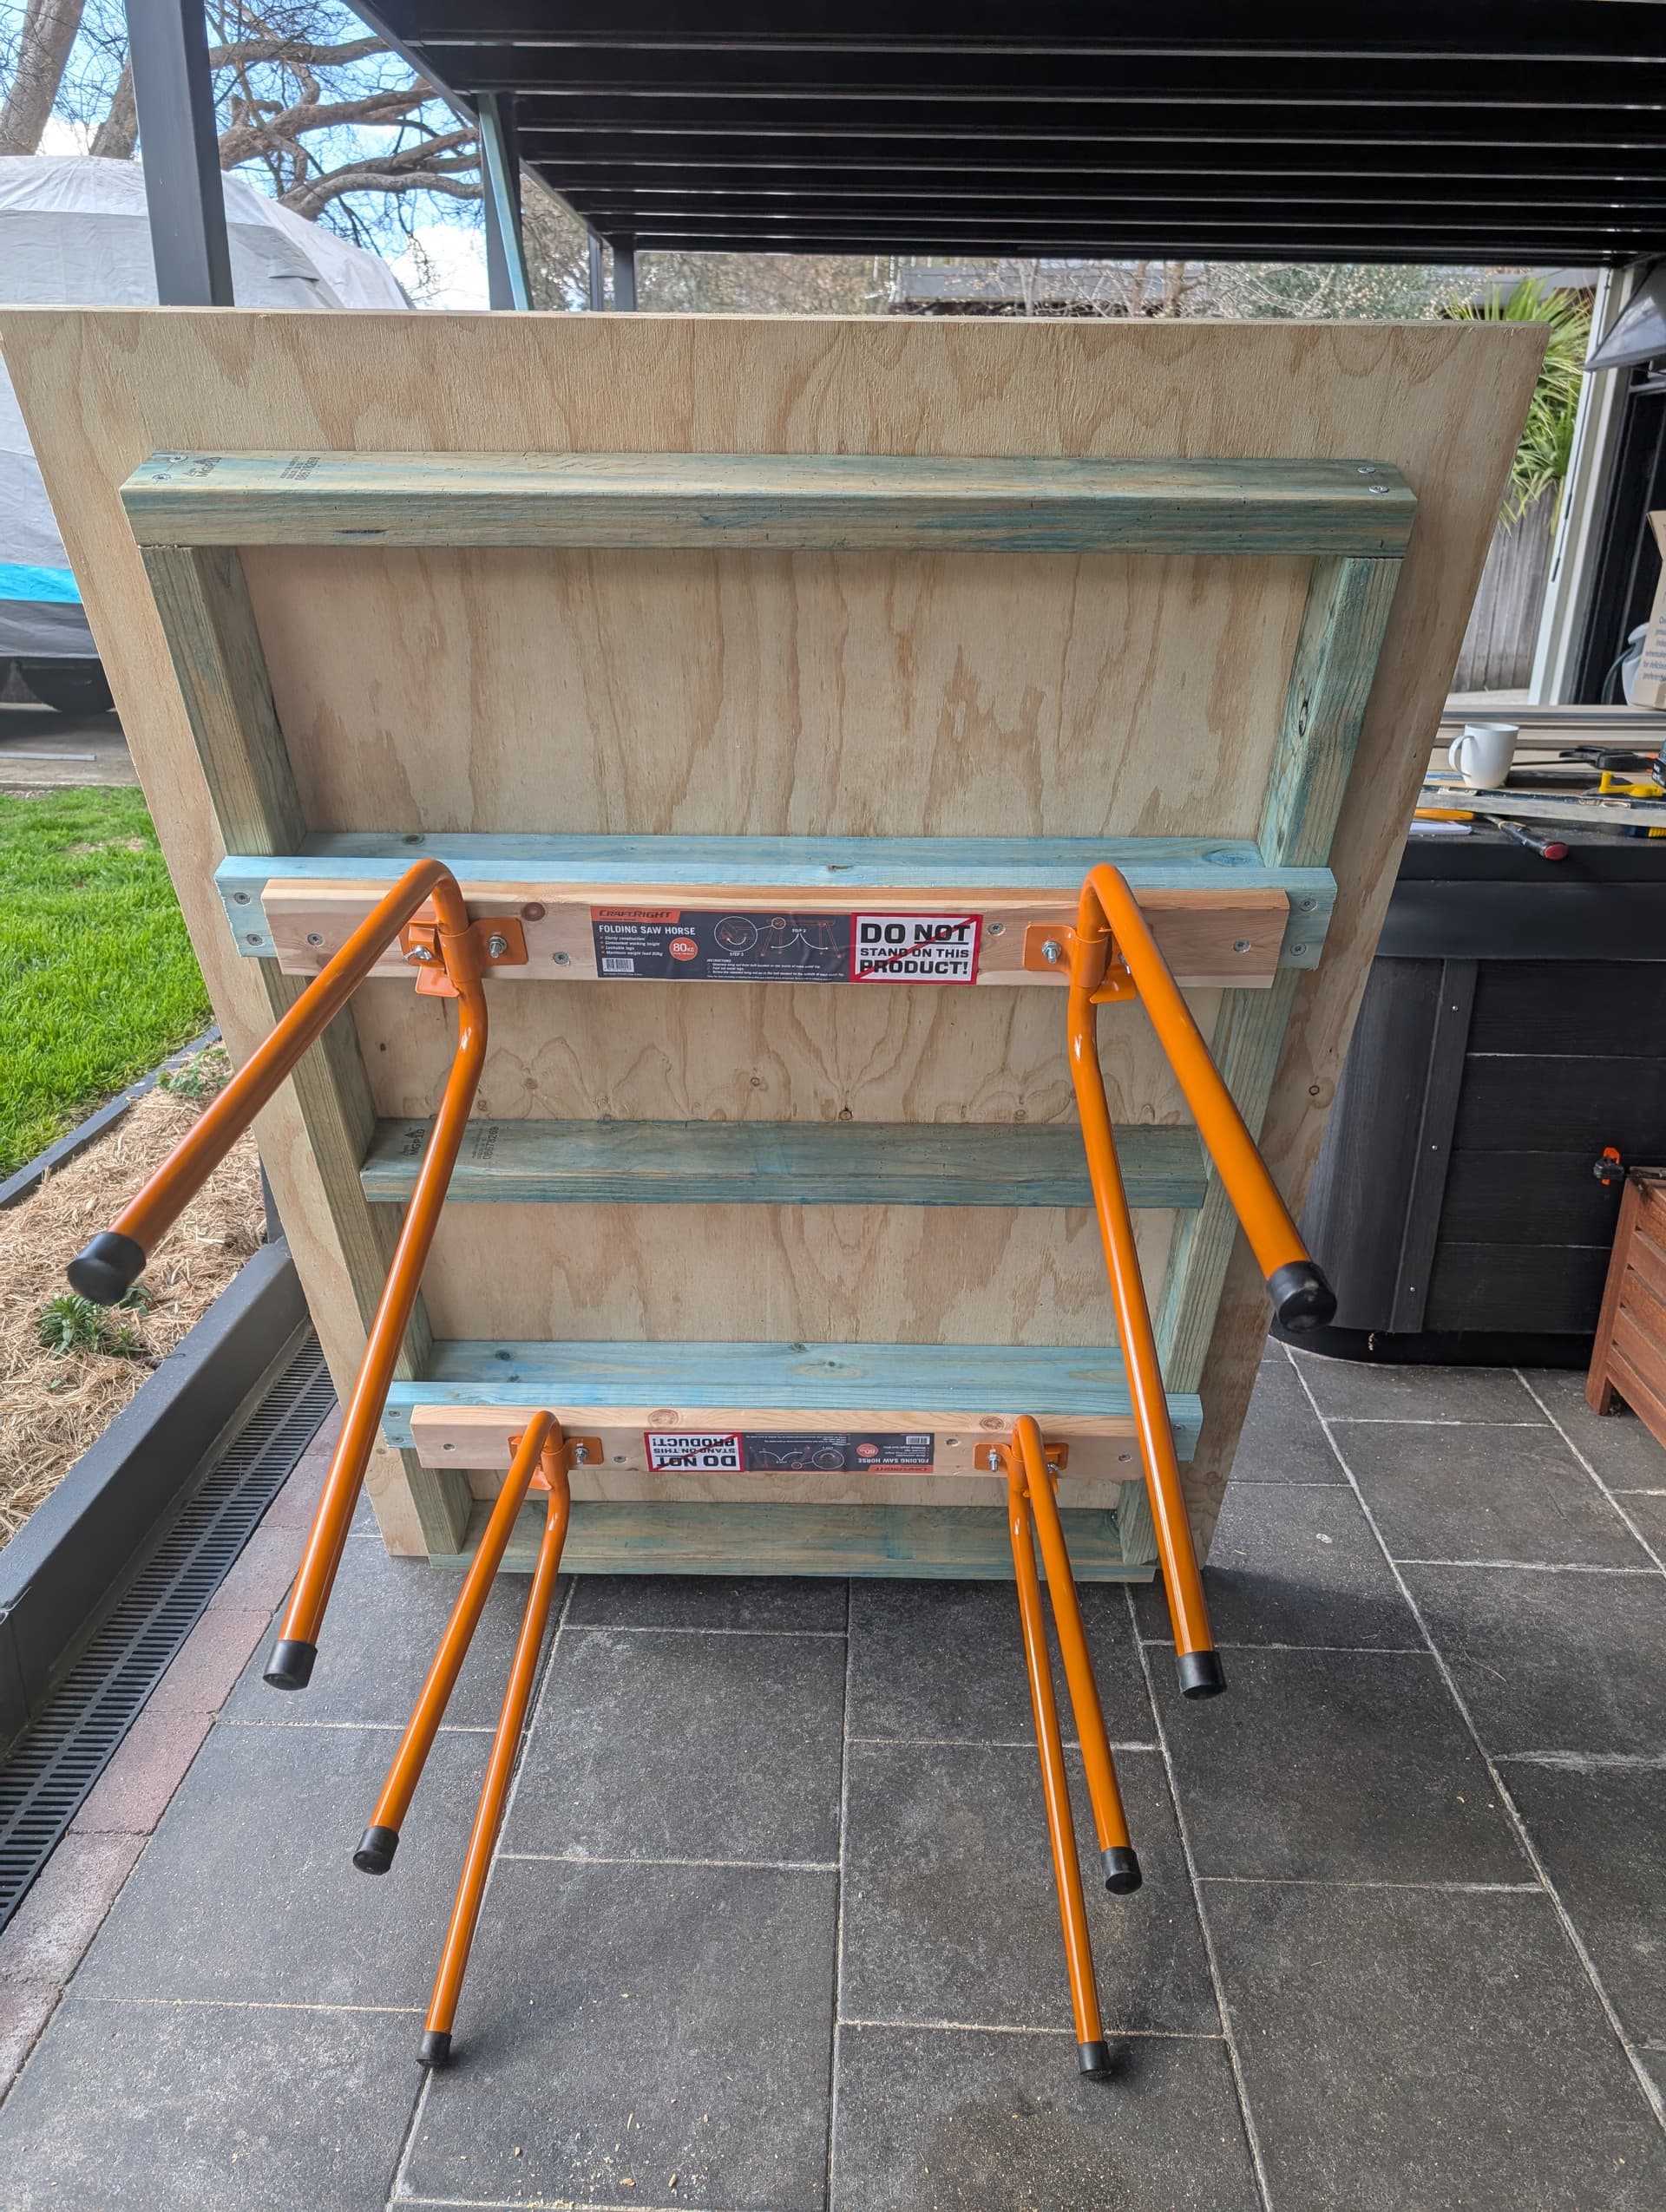
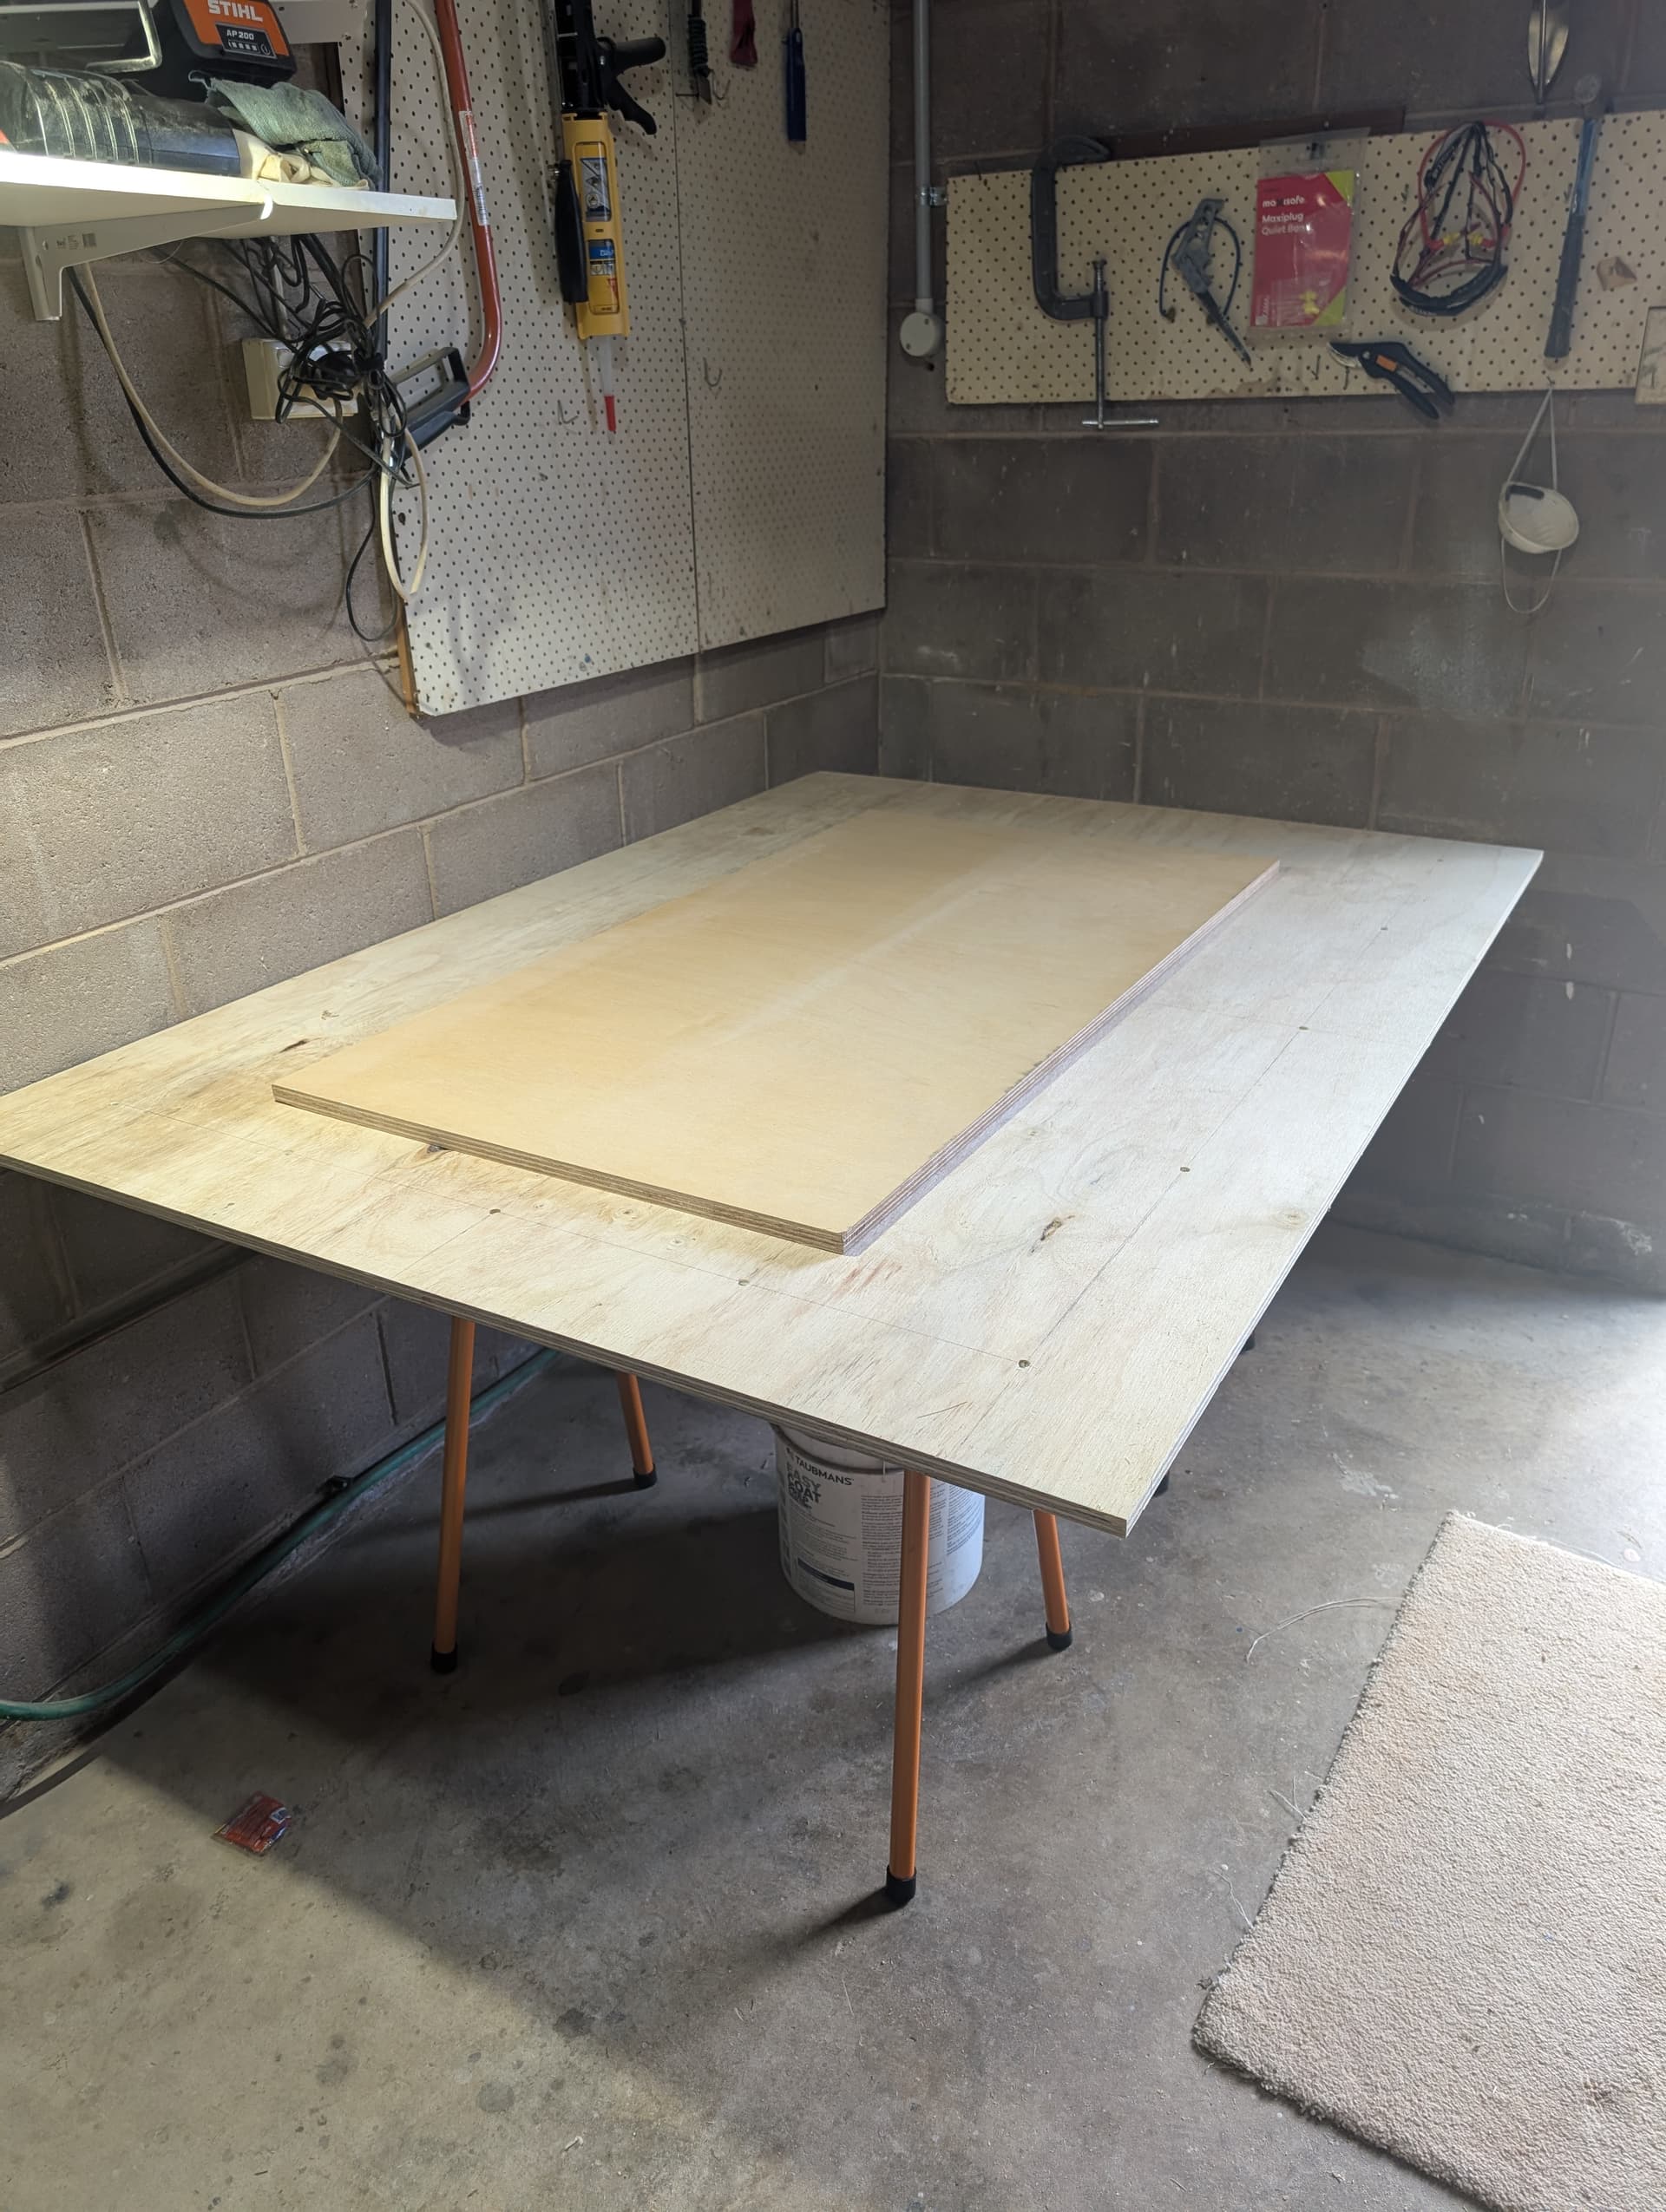
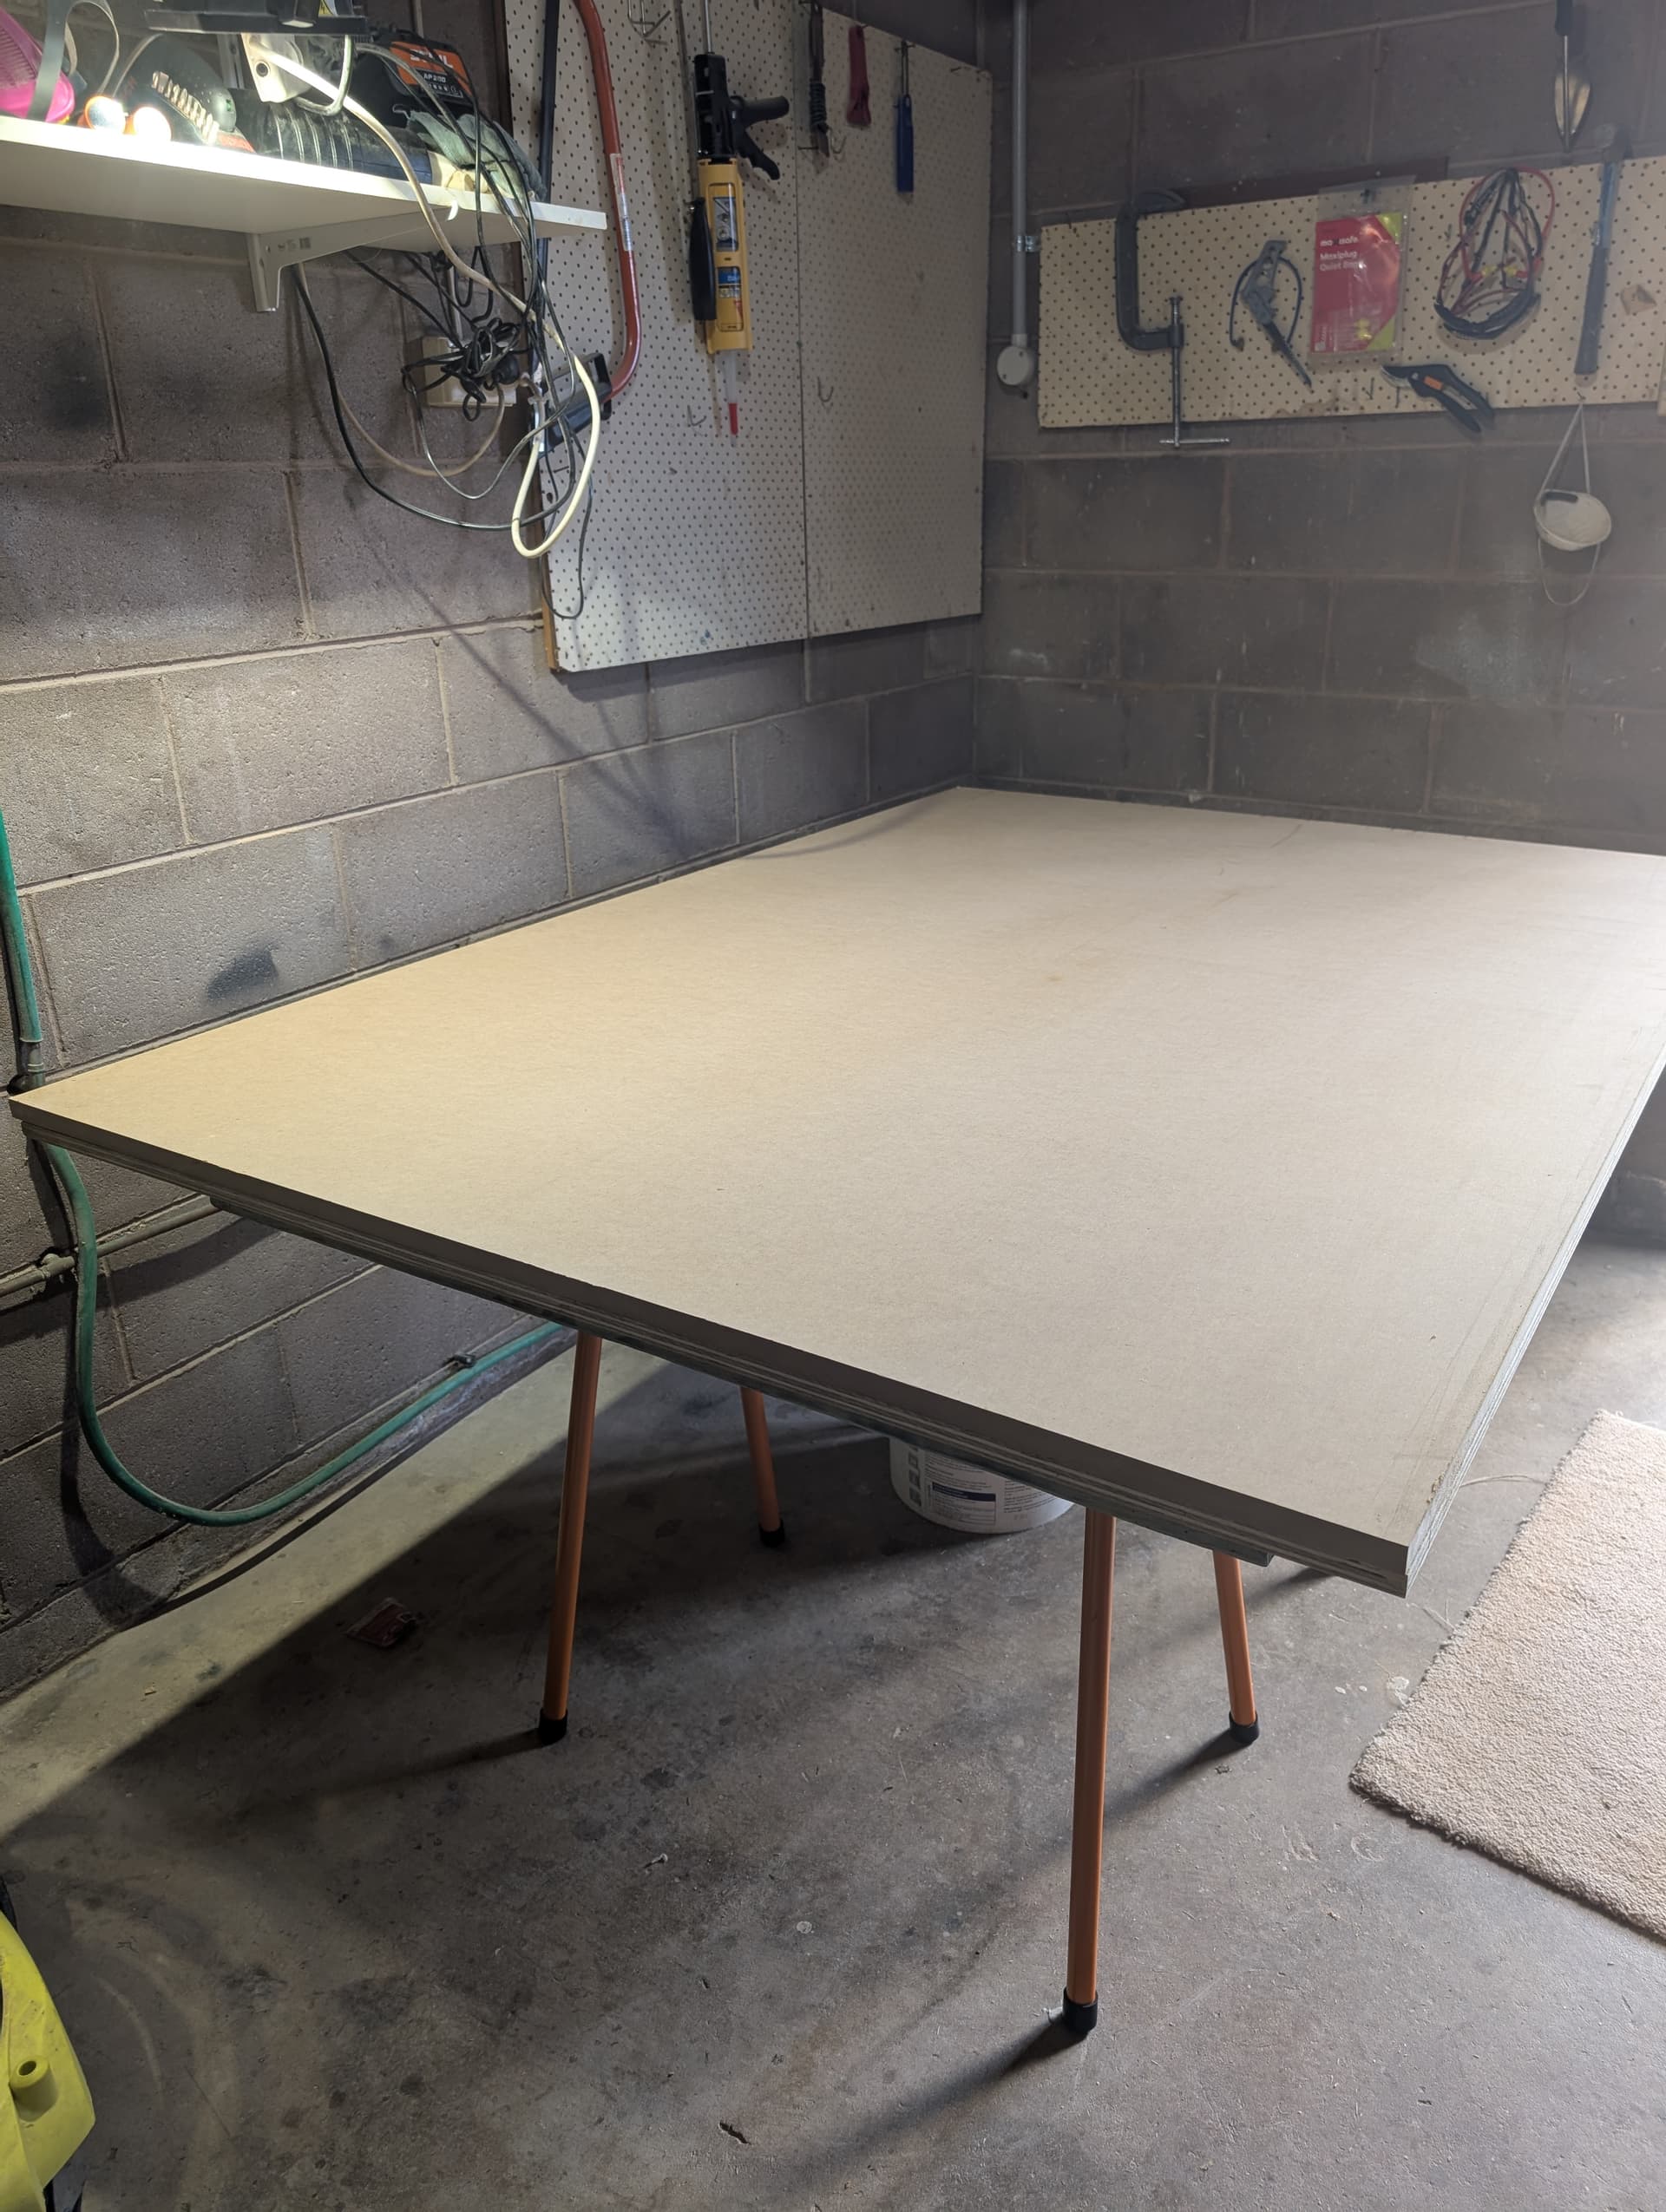
More progress, the table finally made.
I’ve sized for what storage I have in the workshop and to suit some existing projects I have going, so it’s an odd size until I finally get a full sized workshop and expand it to full sheet if I find I have any use for larger.
Folding legs were a must so it can be moved without major disassembly. It weighs a lot! I used 15mm structural ply and 18mm MDF for the spoil board. Worked out at around $250 AUD with the saw horses for legs and 90mm x 45mm for the main table frame.
Still waiting on my delivery from the US, my package went on a 3 week adventure and wound up returned to Ryan, never made it out of the US …
Ryan has been as proactive as he can be, unfortunately I don’t think I’ll be relying on USPS again though. Stand by for actually delivery time, looking like it’ll be more than a month ![]()
4 Likes
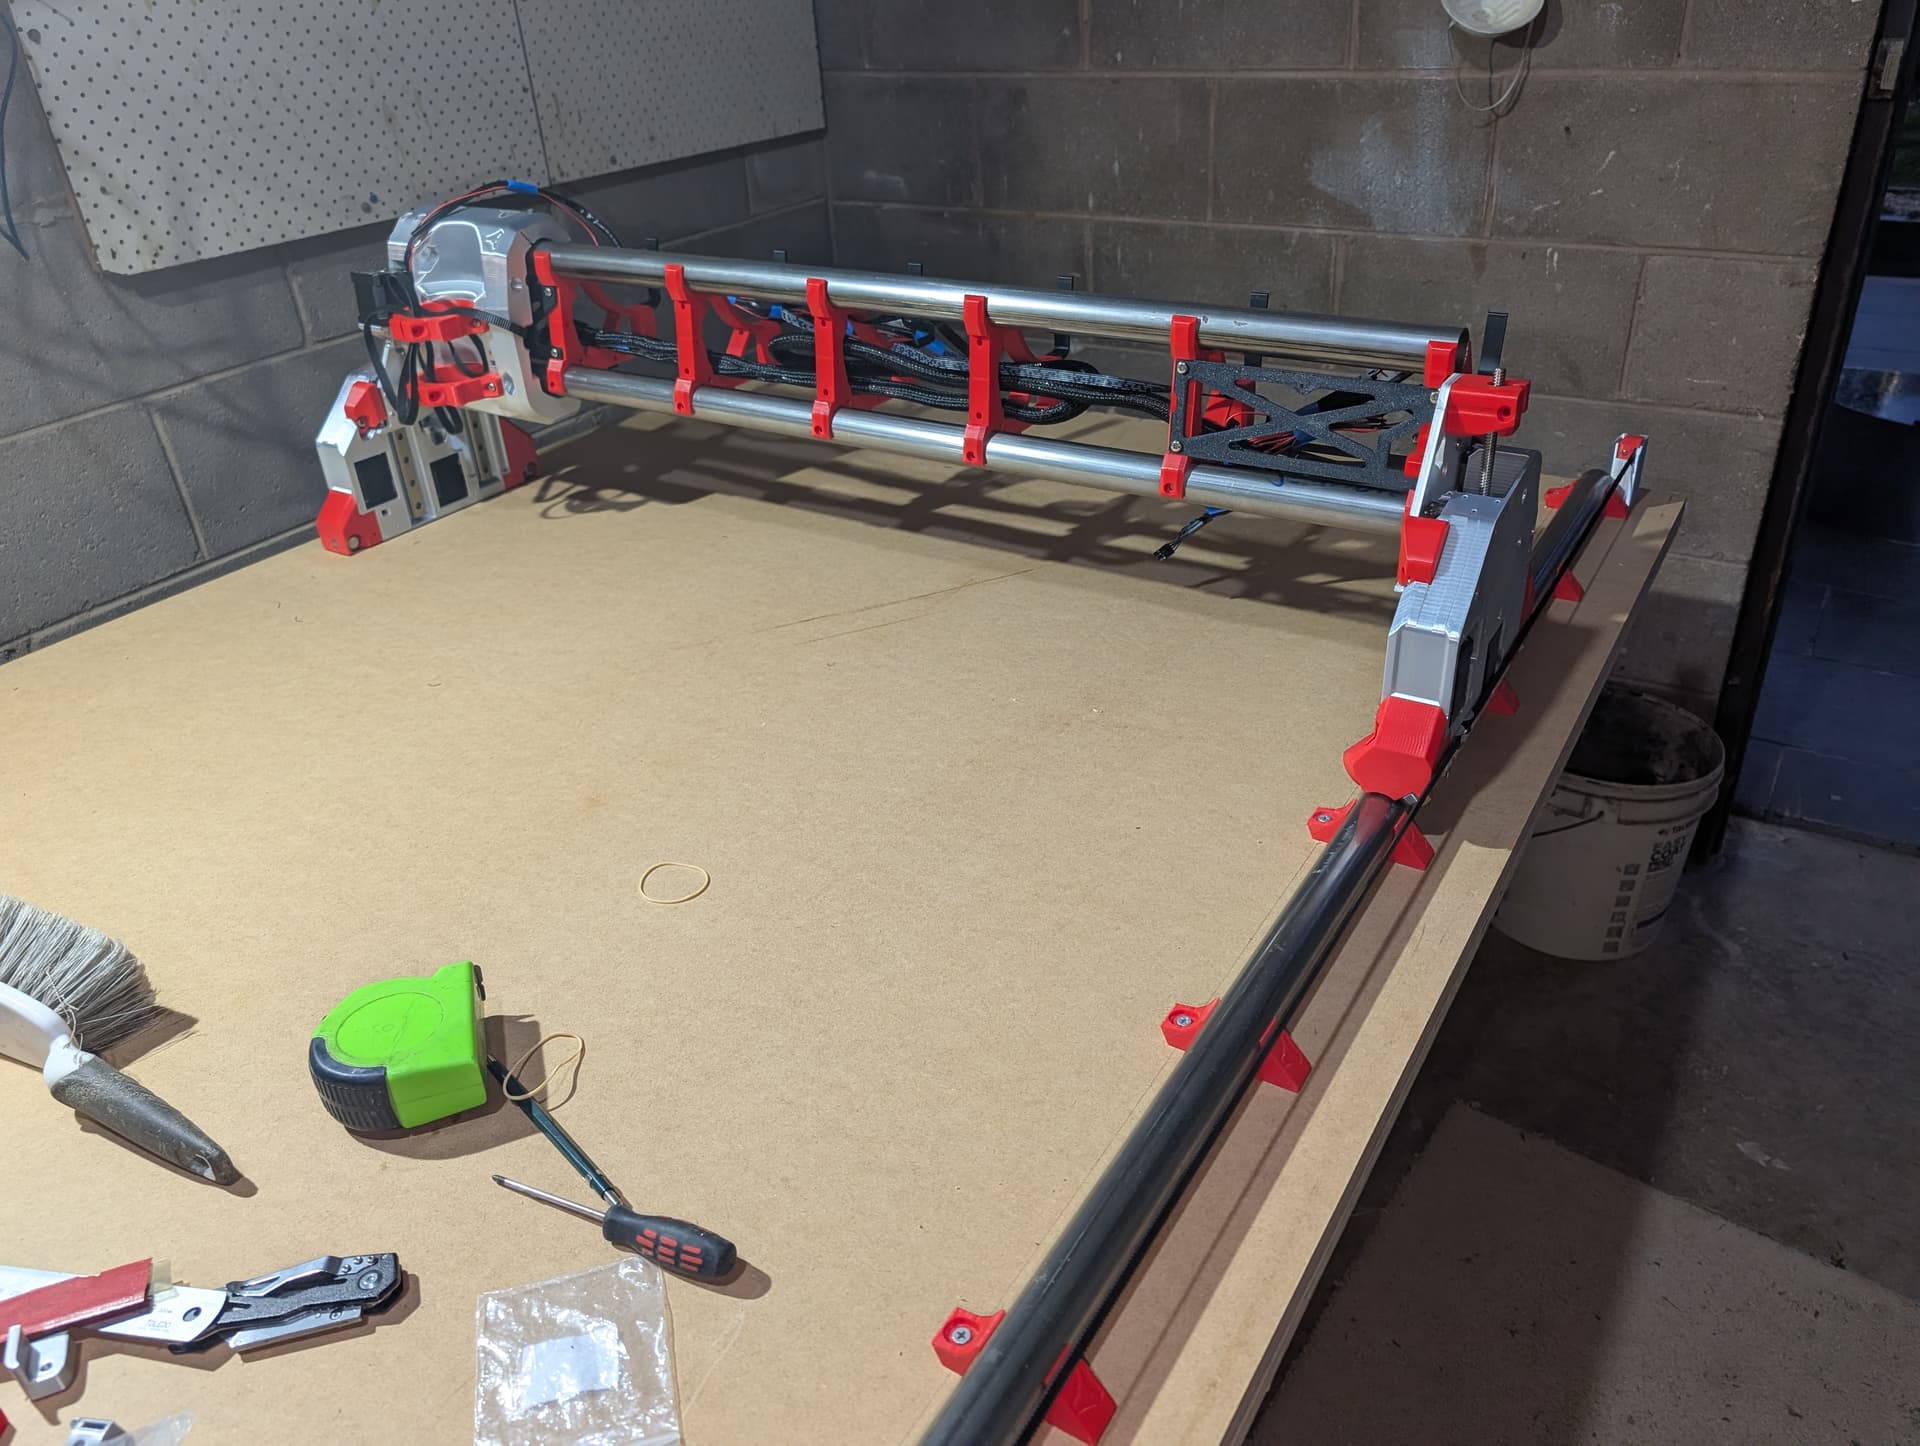
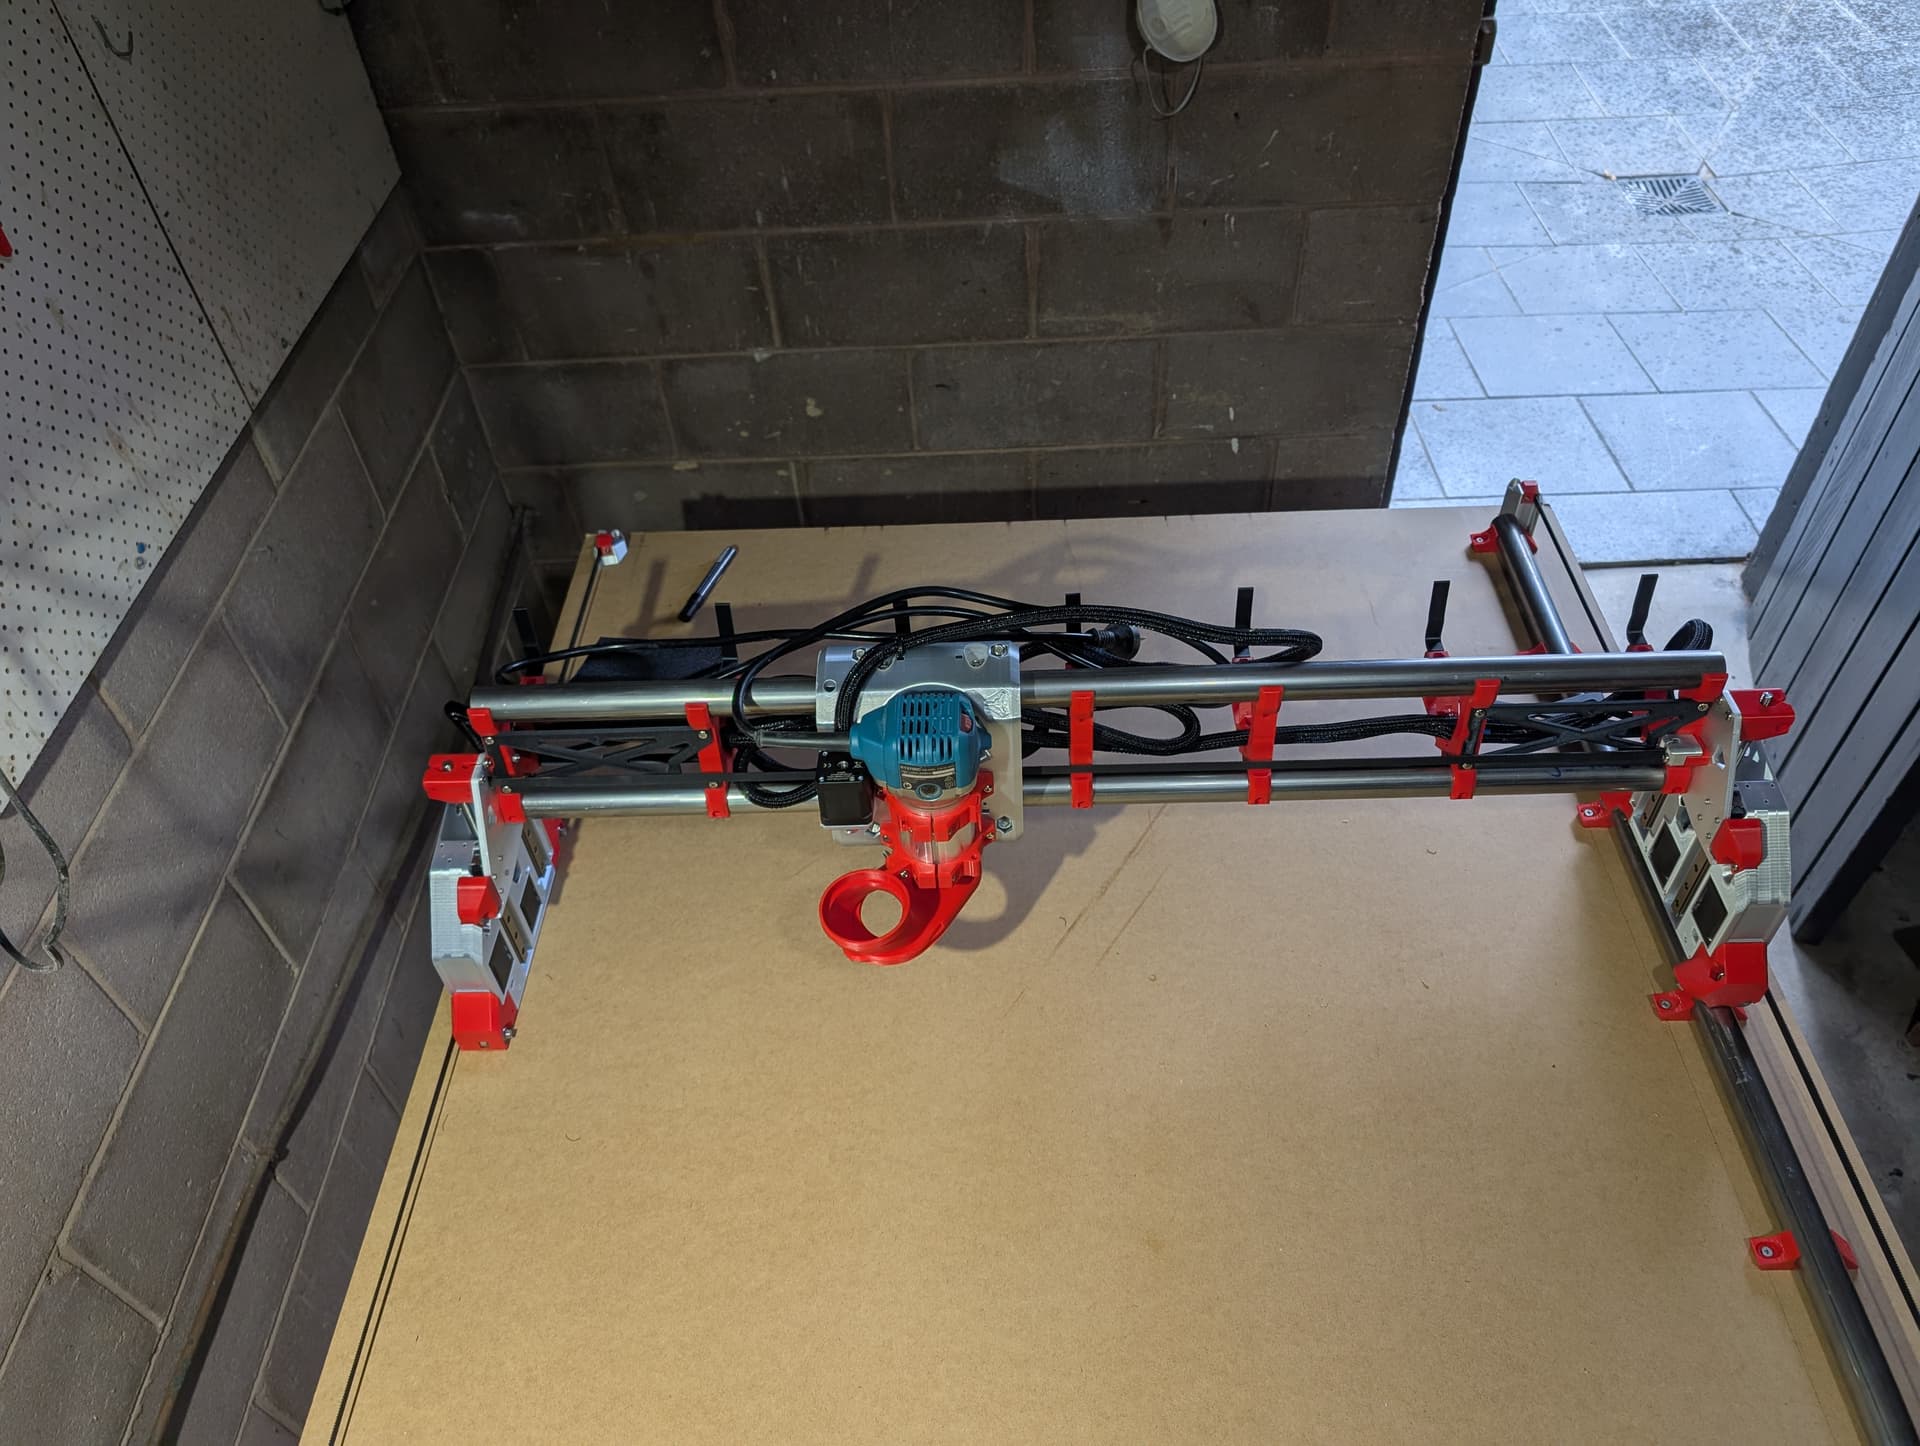
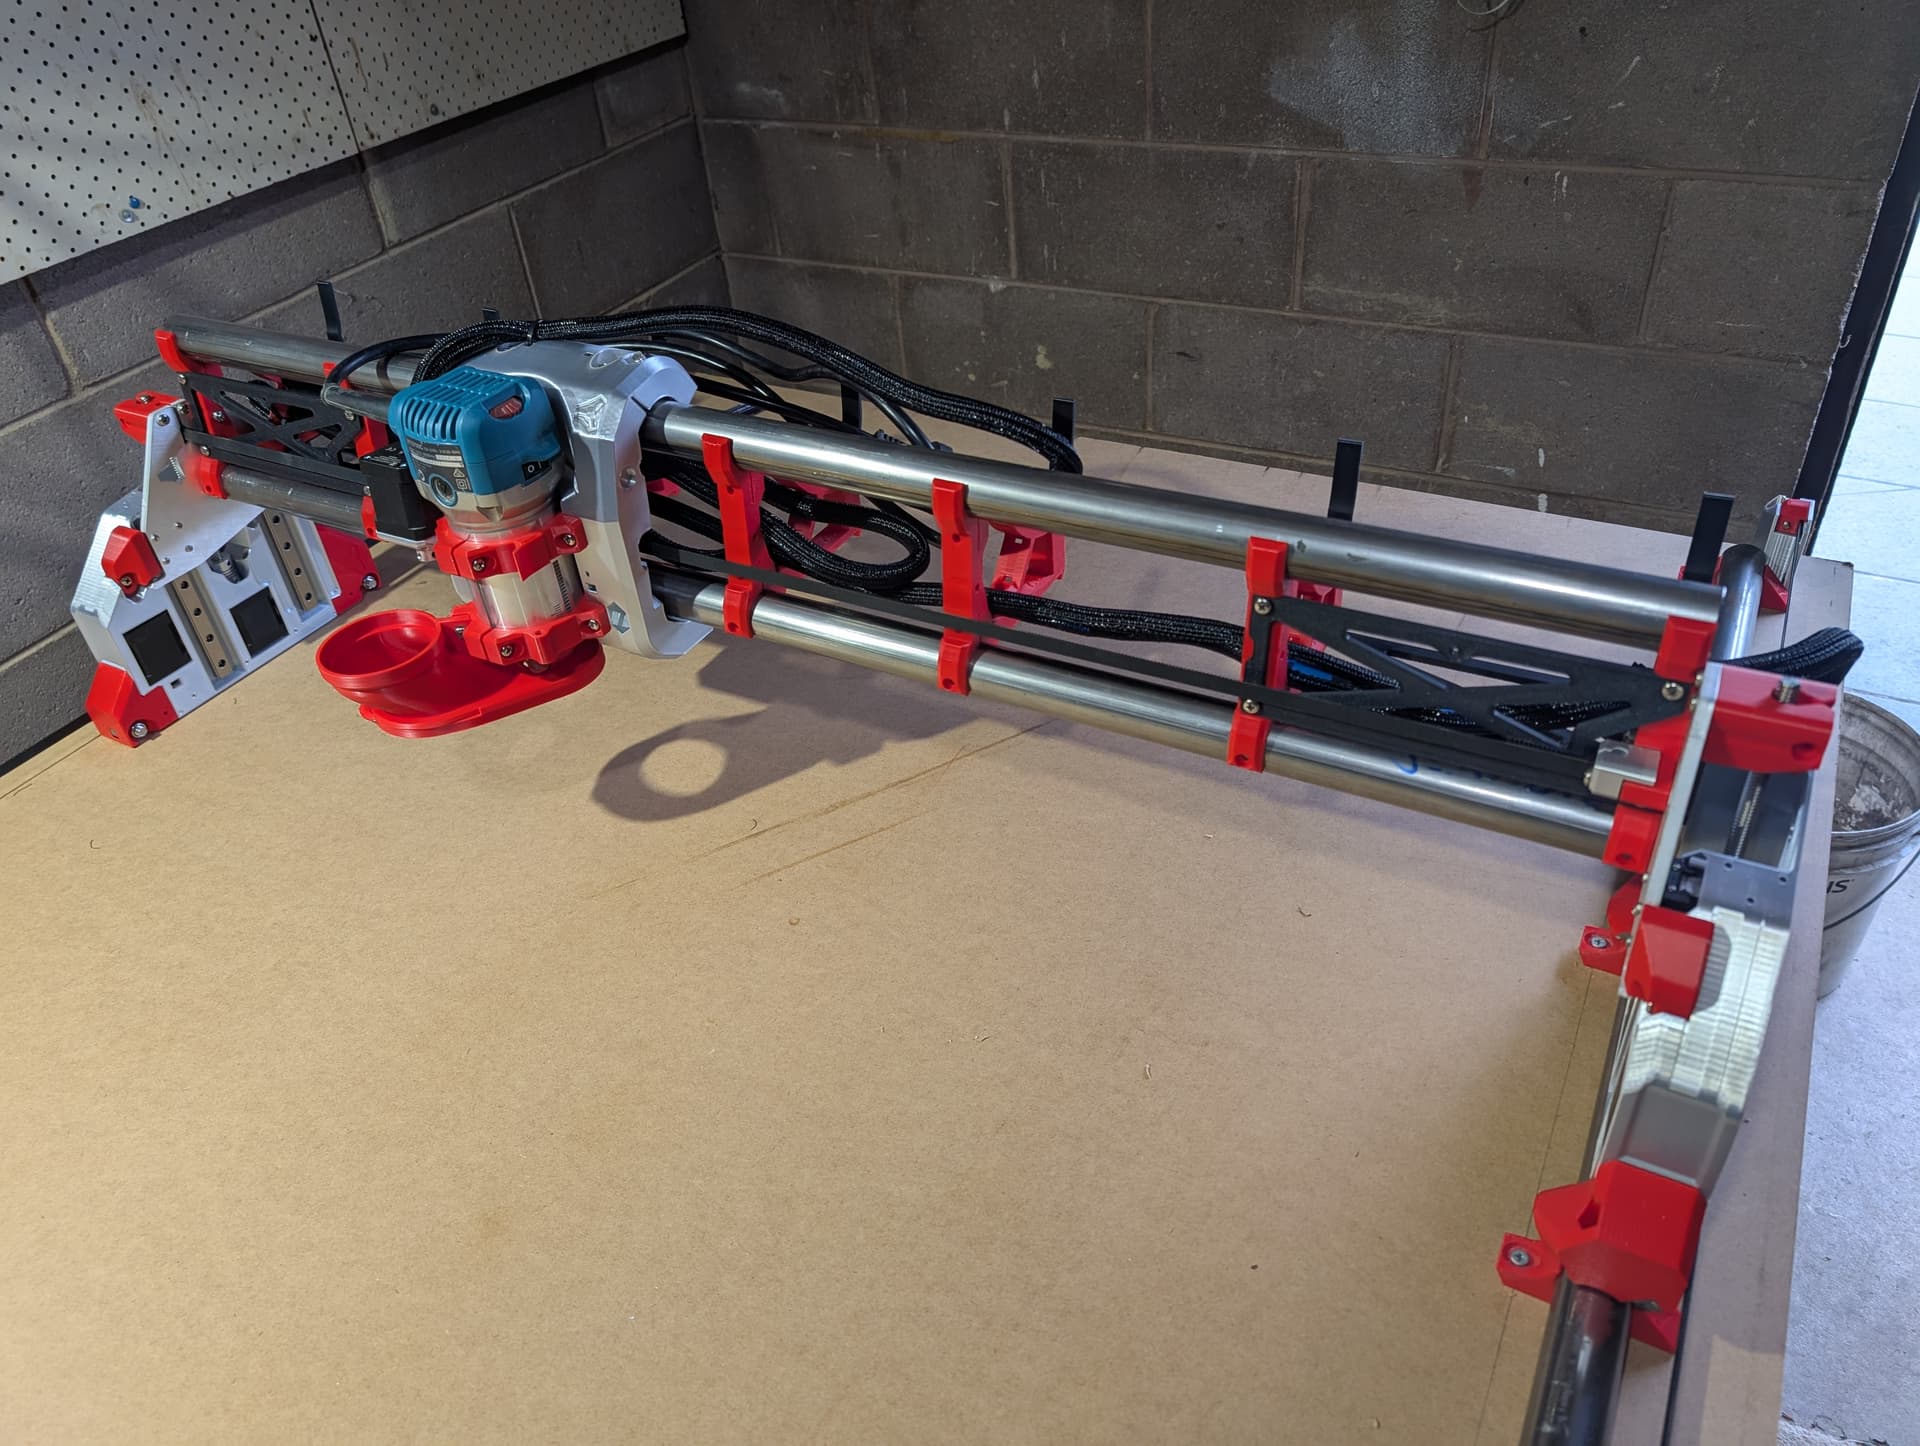
More progress today, it looks like a machine now.
I’ll soon run out of things to do until USPS gets itself organised with my controller and probe.
8 Likes
OK, officially stopped while waiting for the controller now. Time to spend some time in FreeCAD getting my initial cuts ready!
3 Likes
Your builds looks great. What are your initial cuts?
I’ll have all the calibrating to do, then I have some adjustable meditation seats that I currently template route to do in the CNC instead.
Here’s part of what I’m be cutting out of 18mm marine ply
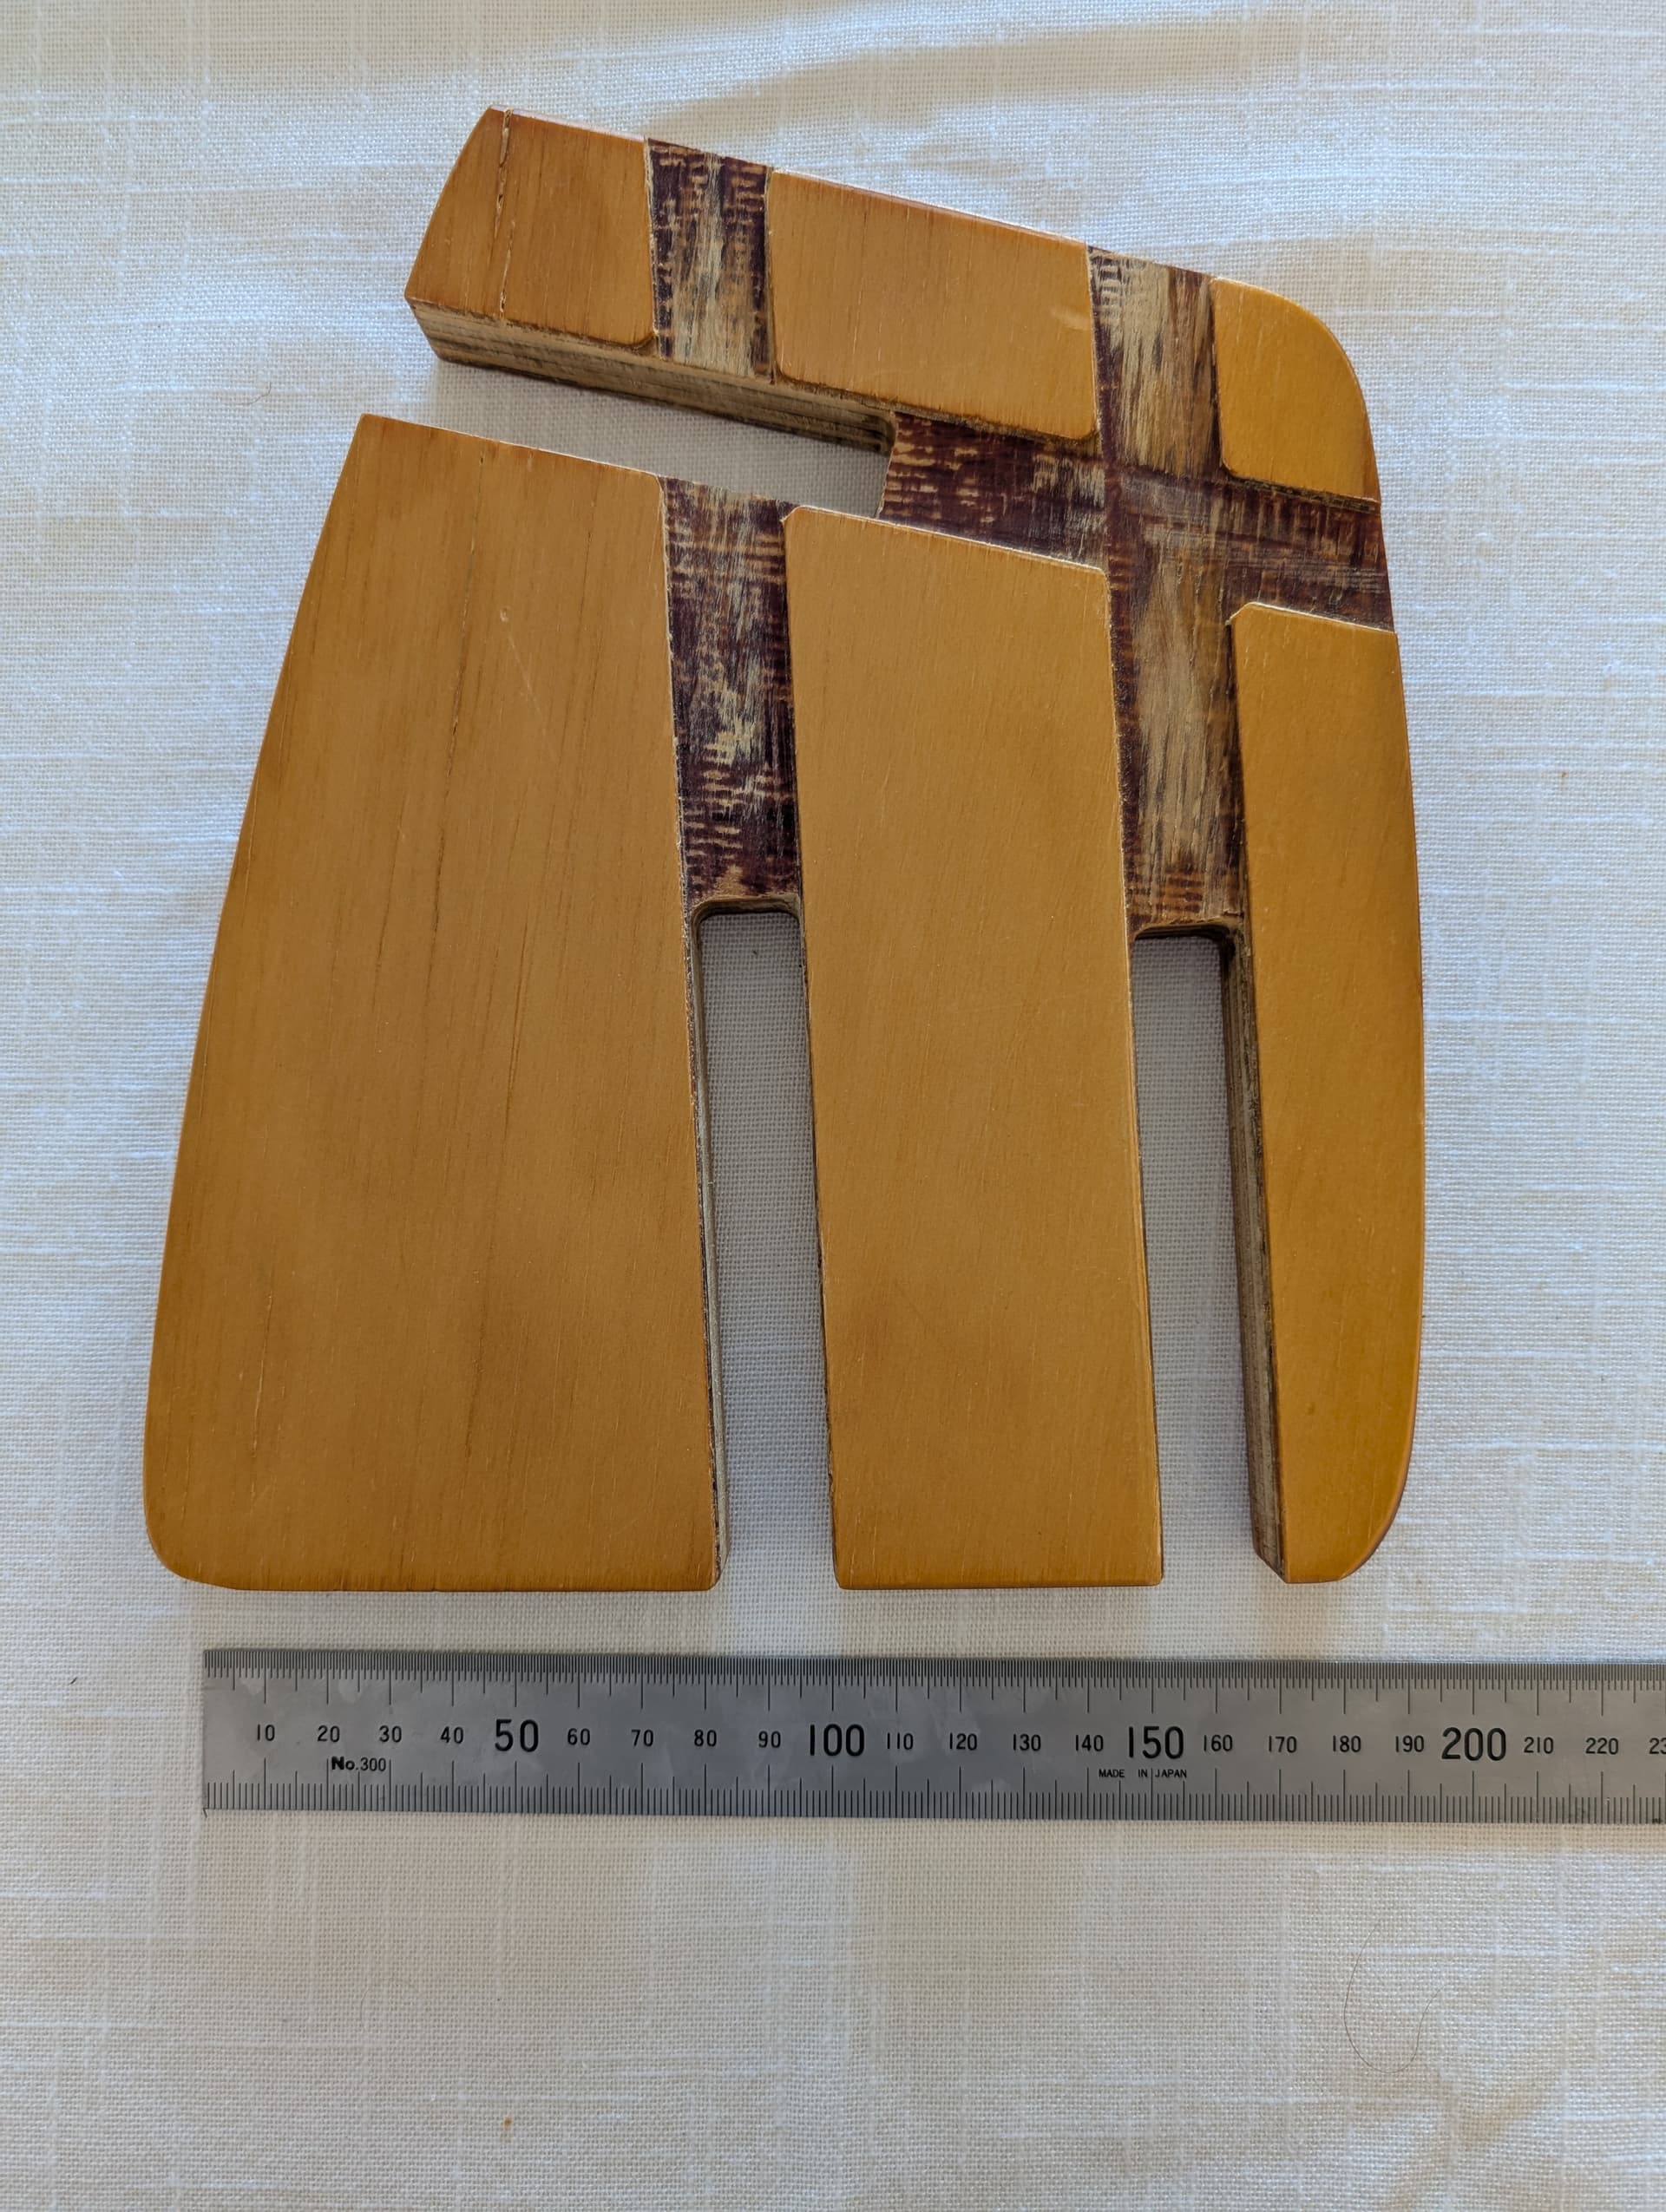
Strut plates first. ![]()
2 Likes
Yep, better get that done first
2 Likes
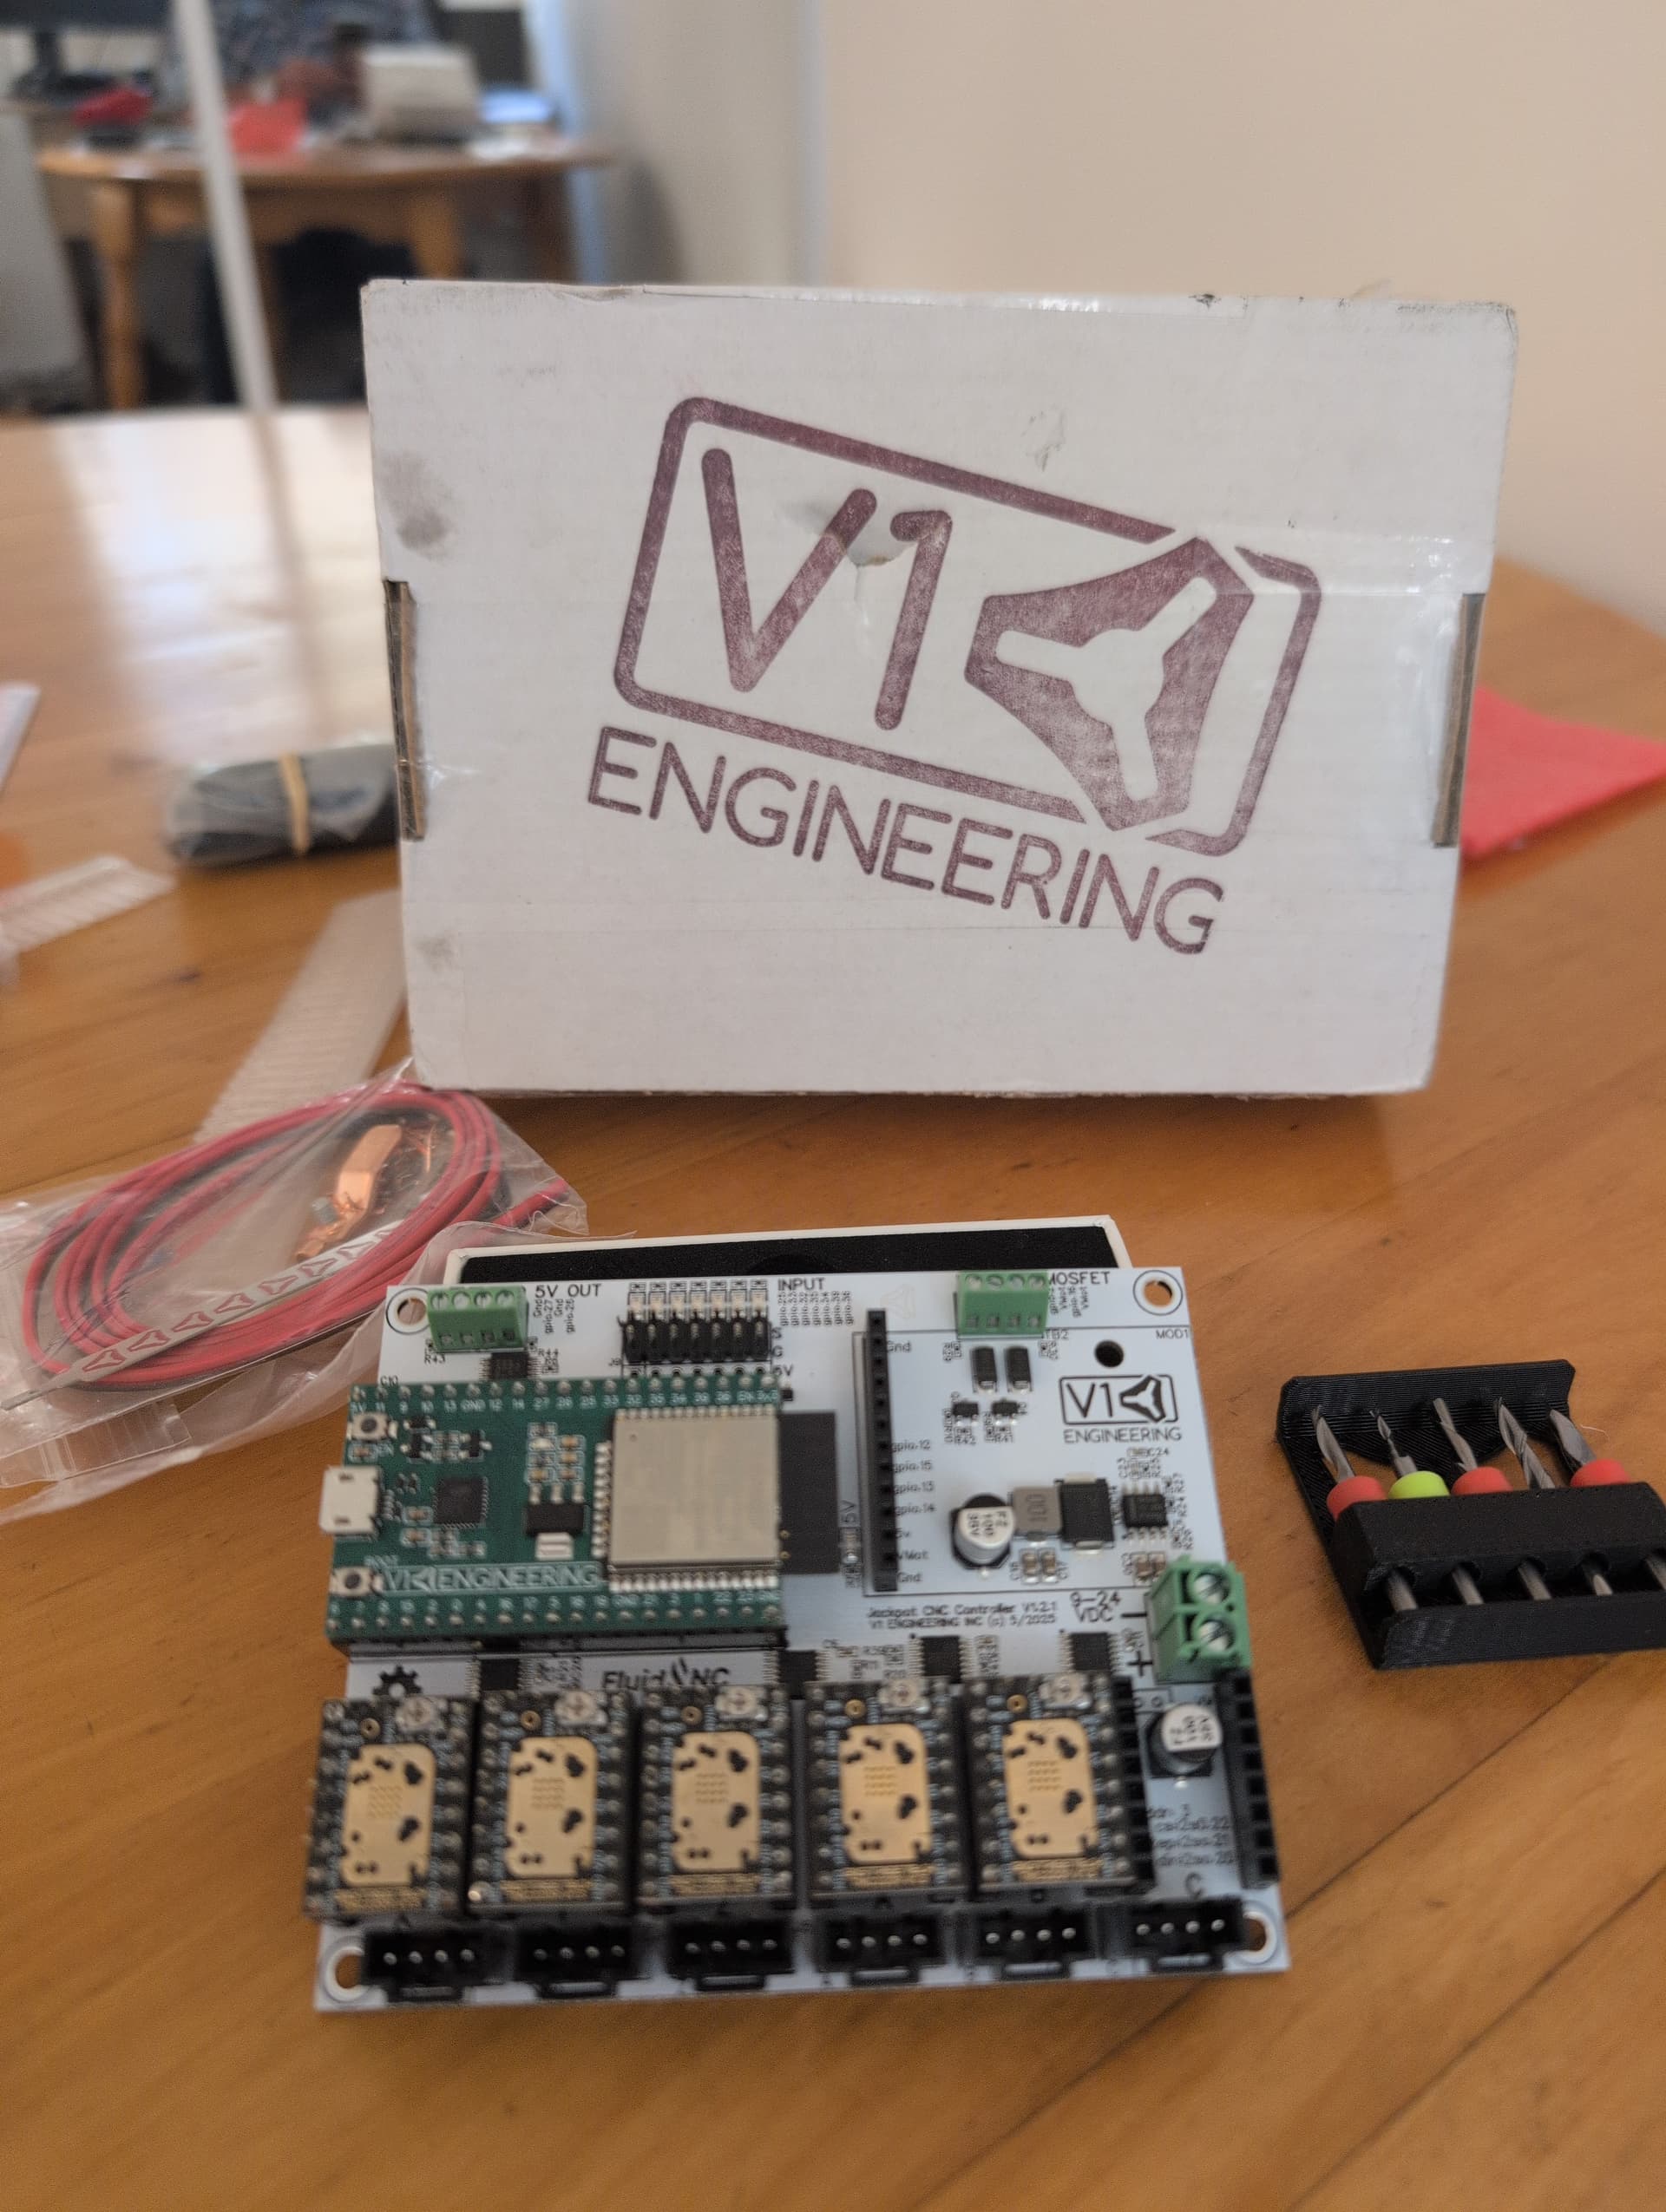
Yay, it finally arrived.
USPS seemed to have had an epic screw up on this one, out took 35 days to make it to Australia, via Pennsylvania, returned to V1E then sent again to me. Totally a USPS problem, @vicious1 was responsive to my queries but was at the mercy of the postal service
Tomorrow will be board install and hopefully zeroing the bench.
7 Likes
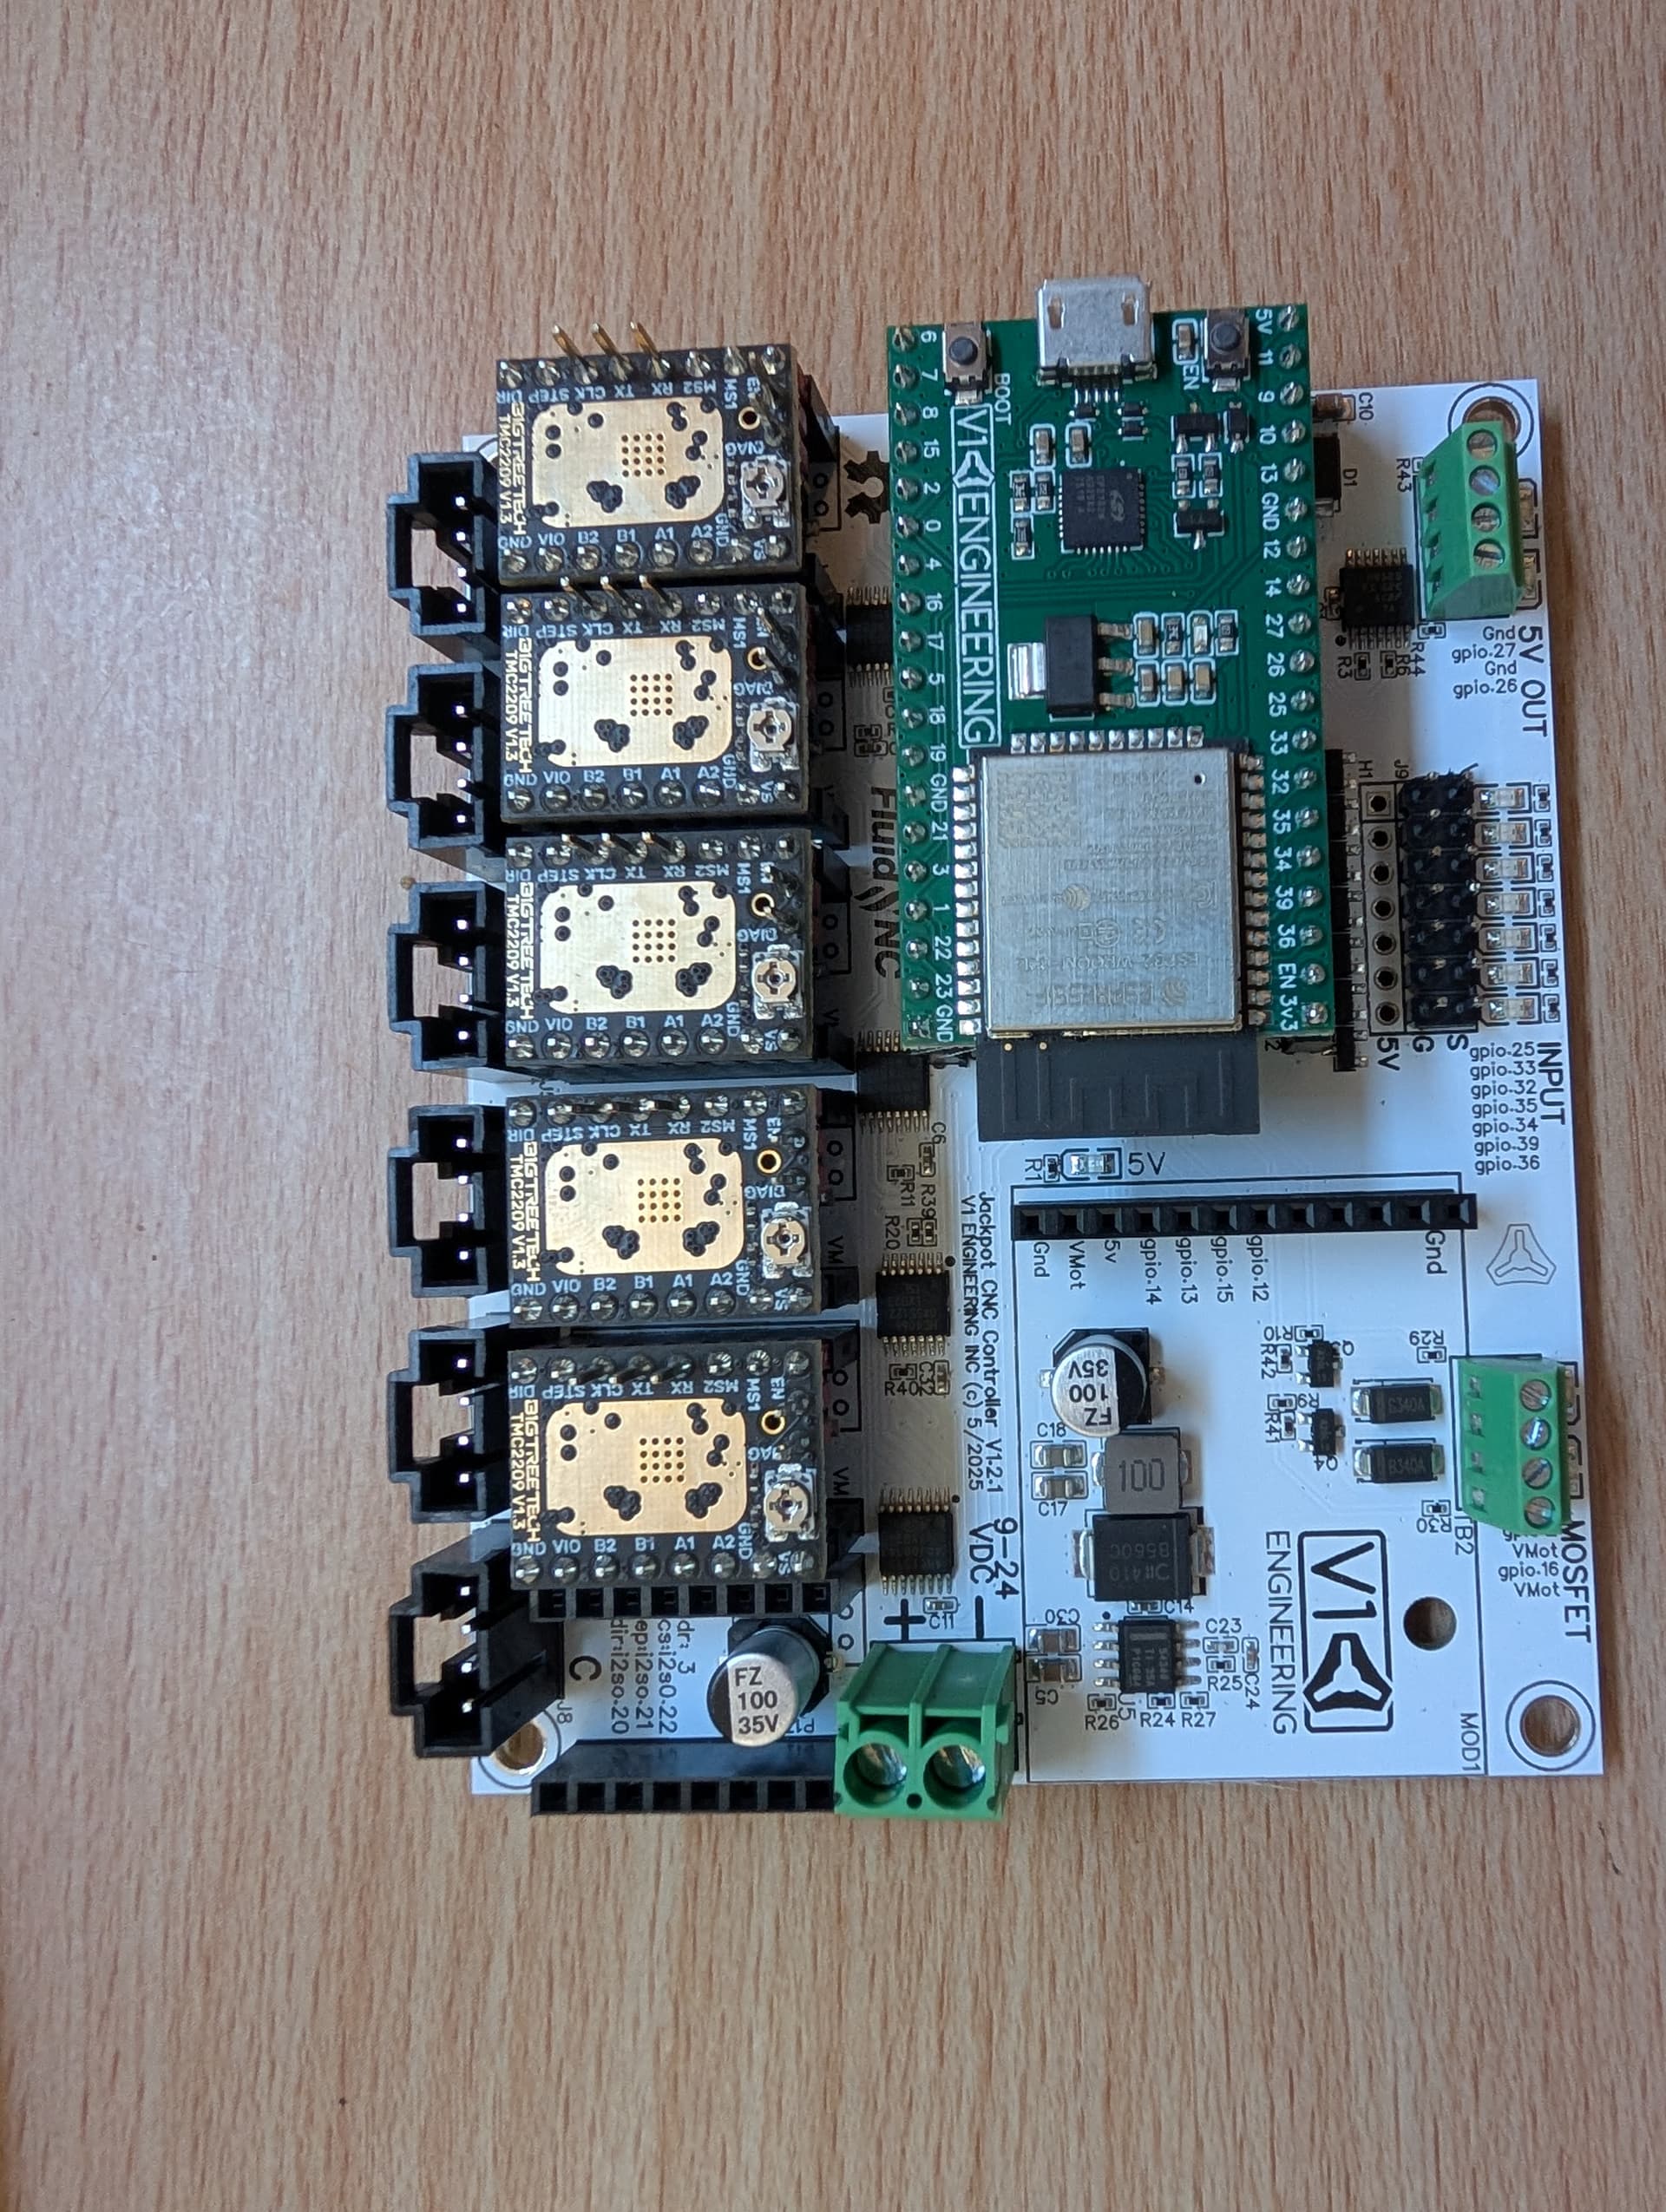
OK, now that the control board is here I have a couple of rookie questions if anyone could help ![]()
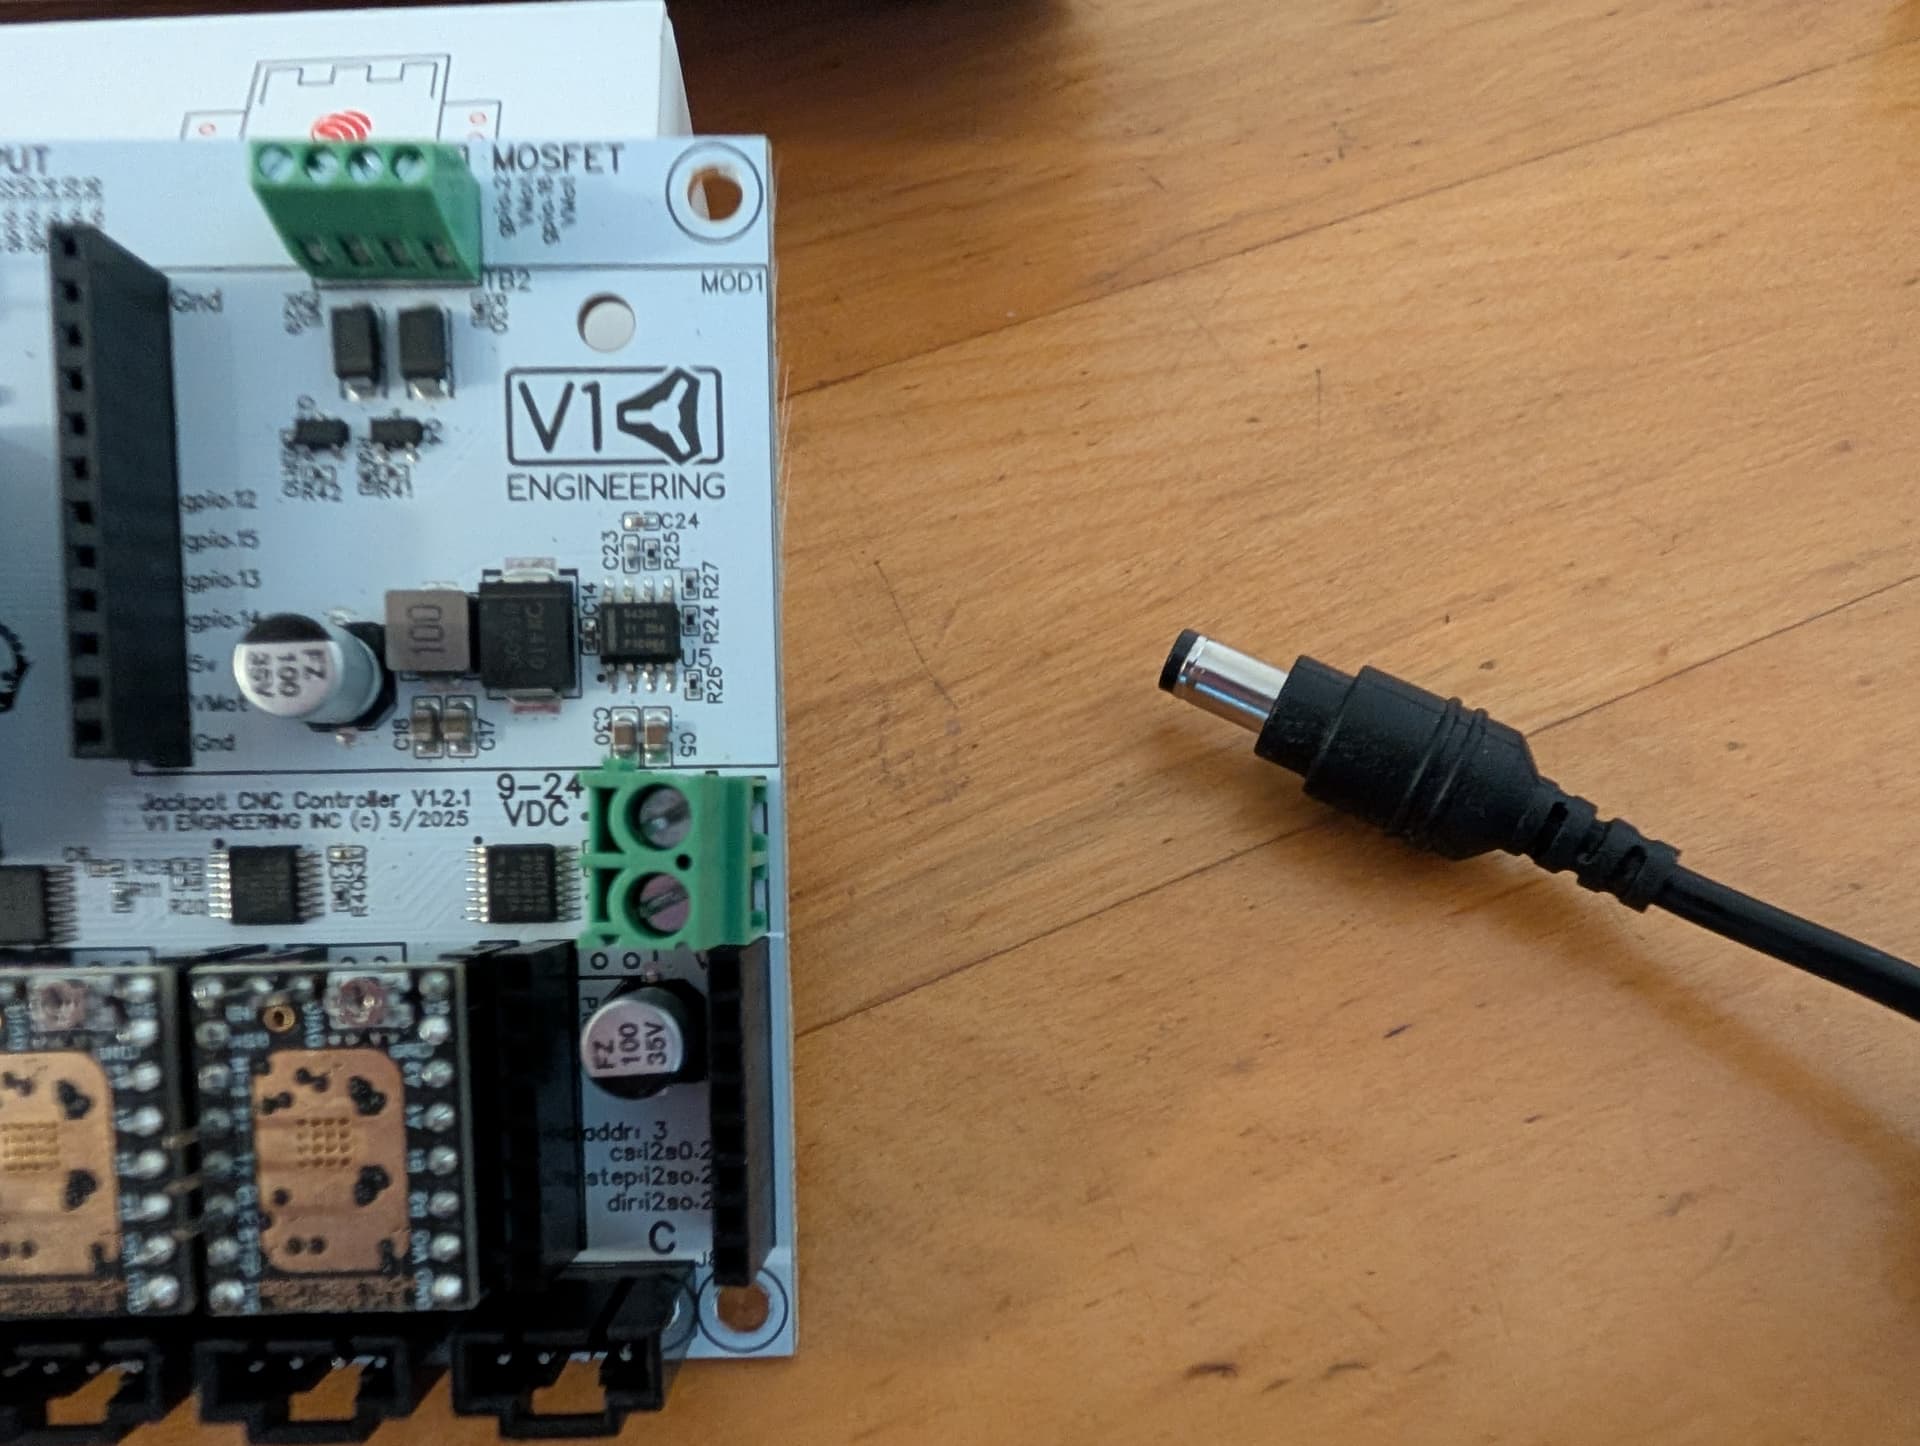
- For powering up the Jackpot controller, do you just cut the plug off the low voltage end of the power supply to expose the positive and negative wires or do people get a female plug and then wire that in so it’s easier to plug and unplug the power supply to the board?
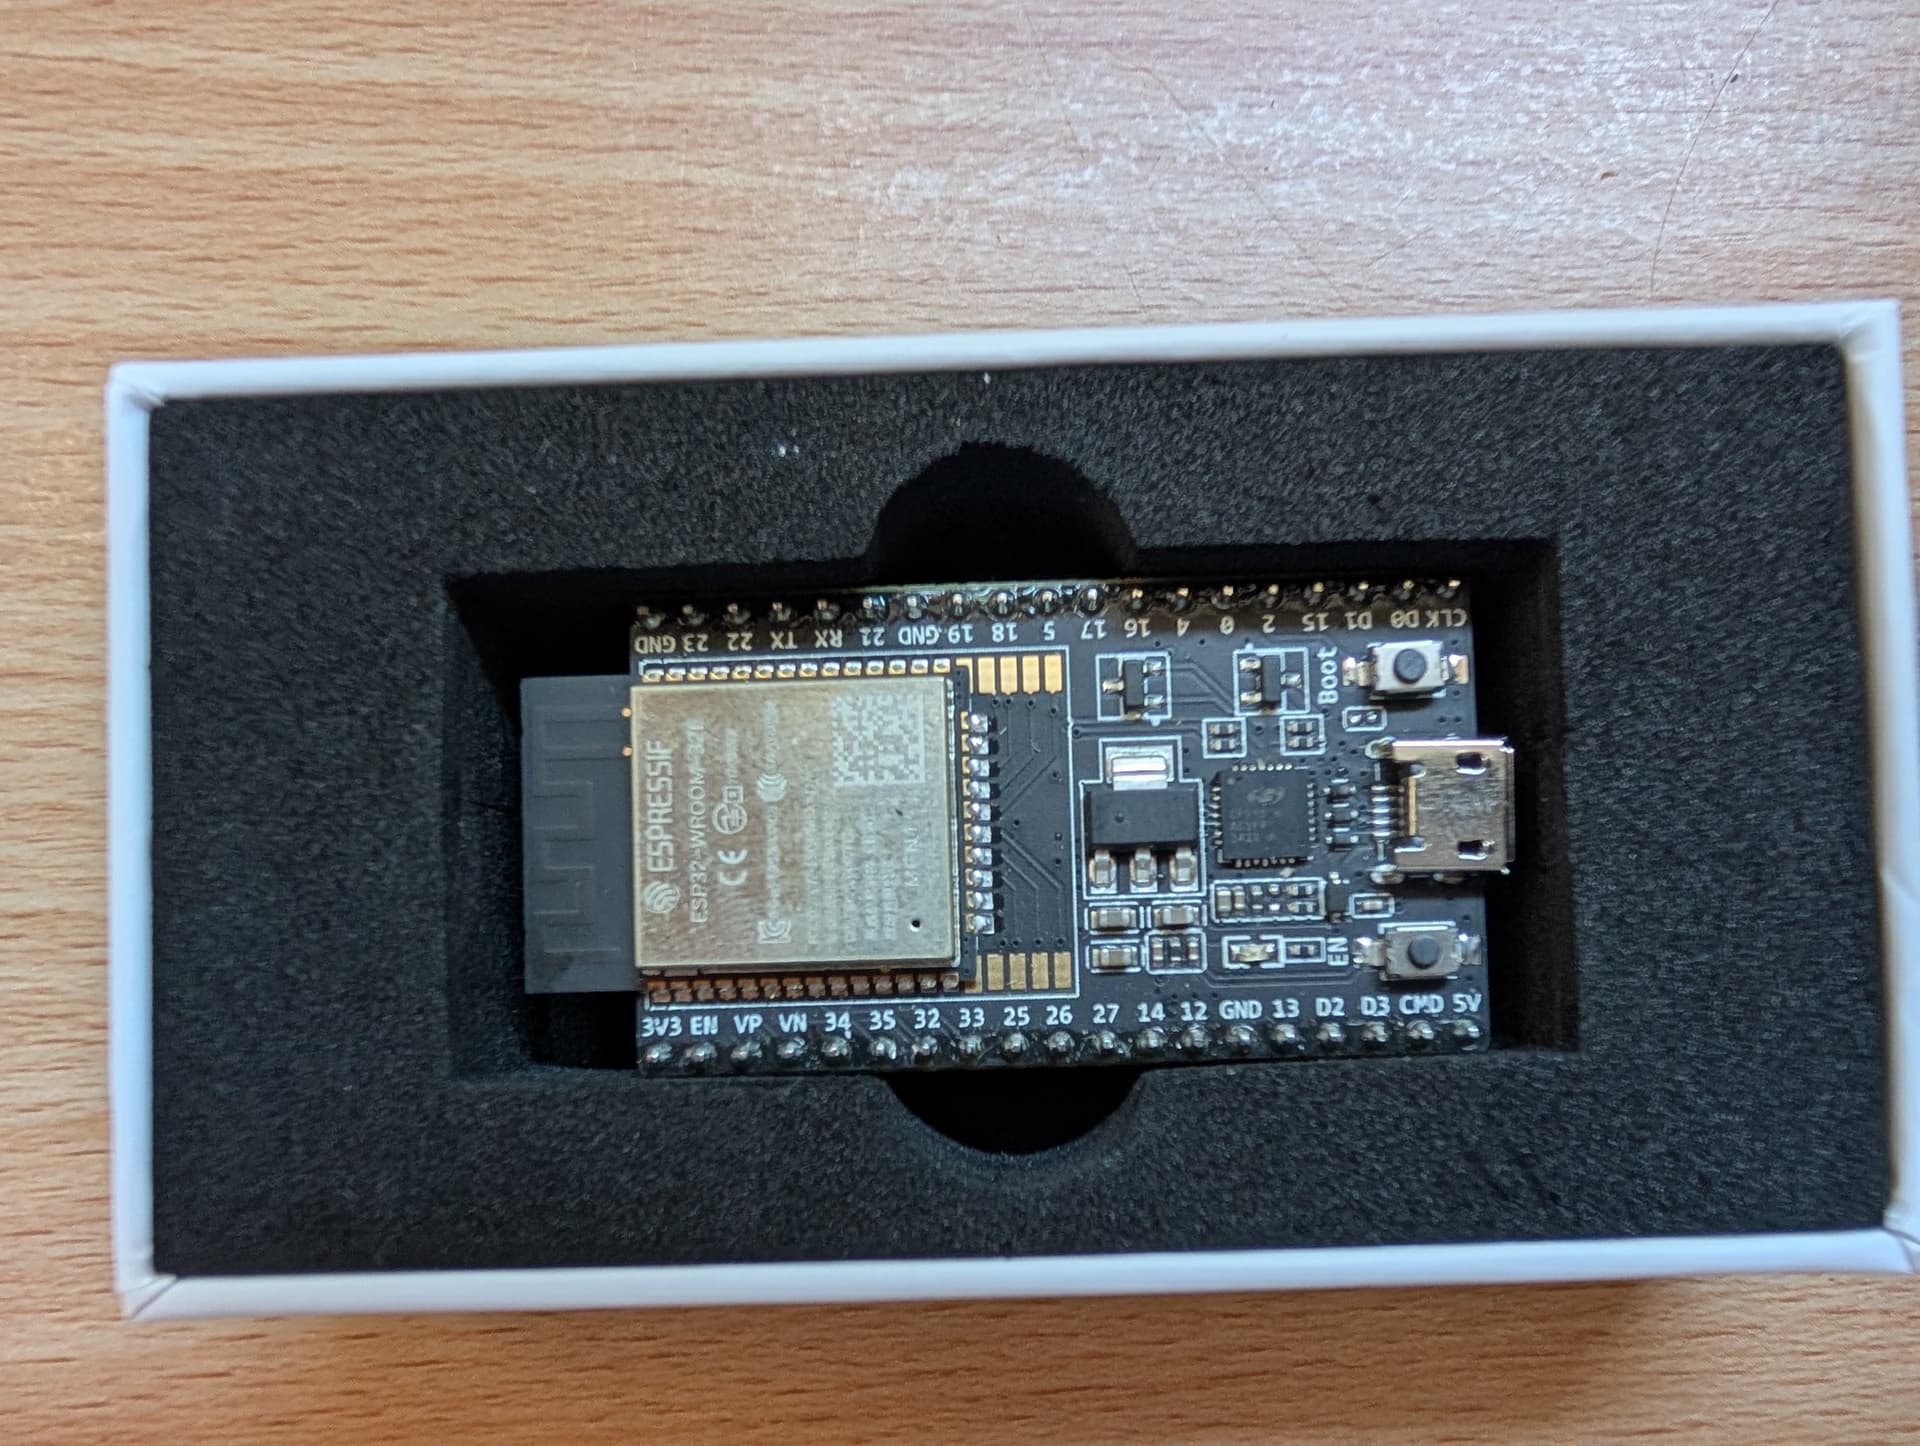
- I ordered a separate DevKitC internal antenae ESP32, don’t really remember why … The Jackpot board came with a ESP32 board already installed. The one on the Jackpot is a genuine Espressif as well. I’m guessing I might have bought and extra dev board by mistake, or is the one supplied and the extra one different? I think I had assumed that the ESP32 was a separate purchase but I’m just just not sure.
Thanks in advance …
Mike
1 Like
-
You’re right, cut off the connector and the +ve and -ve wires screw directly into the terminal blocks. Don’t overtighten
-
Yep you’ve got yourself a spare esp32 board. Handy if you want to put ui v2 on one and v3 on the other and see which you like more.
You might know this already so please I don’t mean any offence if I’m stating the obvious but before use the stepper drivers - the 5 little boards - need to have the self adhesive heat sinks attached to the pads on top, making sure to avoid touching the tops of the pins along each side.
3 Likes
Thanks muchly for the confirmations, and certainly no offence taken, it’s a timely reminder
1 Like
Don’t forget the heatsinks for the drivers, those spiky blue things. Make sure they don’t touch the pins. ![]()
1 Like
G-day from Sydney.
Nice build so far mate.
I built a LR V2 sevral years back and have upgraded to the Jackpot controller. Works fine. Iplan to upgrade to a LR4 in coming week or so.. Am wondering where you sourced your steel tubing ??
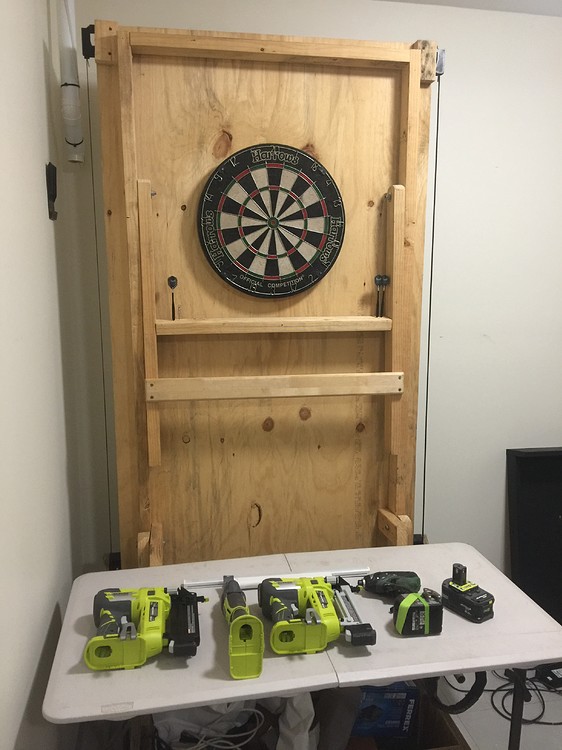
I built a fold down table as garage space was a bit sparse. When foldd up I use the underside for playing darts ![]()
note: last week I picked up an new 3D printer from JayCar ( they have a discount on atm ) .. An Elegoo Centauri Carbon so hoping parts will print smoothly.
table
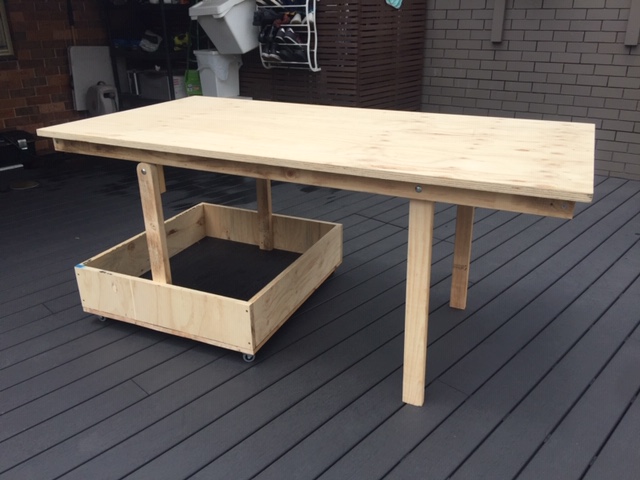
Table Stored

7 Likes
Hey mate, in Canberra I sourced the steel at Herzog steel. I used 32mm (31.8 mm I think) semi bright. Had to make a few calls to find someone with a suitable section and thickness.
I printed all my parts on a new Elegoo Neptune 4 max, they came out sweet with just a few tweaks
Great looking bench you made there!
32mm Steel Electrical conduit available from most electrical wholesalers is the right size.
Not sure how the pricing will be compared to a steel merchant that carries a similar size.
1 Like
Nice one - I’m in Moss Vale and about to start a build, so situated right between you both.
Also just bought a 3d printer from Jaycar to replace my old, dying 3d printer!
That’s a great looking bench, I might have to copy that!!
Cheers!
4 Likes
G’day from the Blue Mountains,
I like the table, a tilt up is on the cards for my V4 soon. Still tidying up loose ends.
I got my tubes from edcon steel I went with the stainless. Lowrider V4 - Australia - rail source - #16 by Tim_87 .
Tim.
3 Likes
There’s an Edcon steel supplier just up the road from me. I’ll check them out. I used gal. tube from Bunnings for my L2v2 worked out great.
2 Likes
Hi @jkroso
Sorry I haven’t had any updates
7 months later I’m just able to start getting my LR4 operational.
Unfortunately, I’m now in Port Macquarie NSW.
I’ll post more as I get it wired up and running]
3 Likes