Good afternoon all! Parts are starting to roll off my printer so it seemed like a good time for an intro and the creation of my build log.
A little about me — During the day I work as a design engineer creating machines for a manufacturing company and spend the nights chasing around my growing family. I ended up full time remote and long distance from my employer so I’ve been craving the hands on building/testing aspect of the design process. Over the past 6 months or so I have been seriously entertaining the idea of building a CNC to scratch that itch and to provide me with the capability to make more things. I was originally settled on a PrintNC but could not justify the cost or additional complexity of that build. Thankfully I discovered Ryan’s amazing work with the Lowrider v4 and was instantly convinced that this was the right path forward. Long term I am hoping to refresh my manufacturing skills, make some killer toys for my son, and potentially start a little side gig with this machine.
Build Log: Lowrider v4 - 117
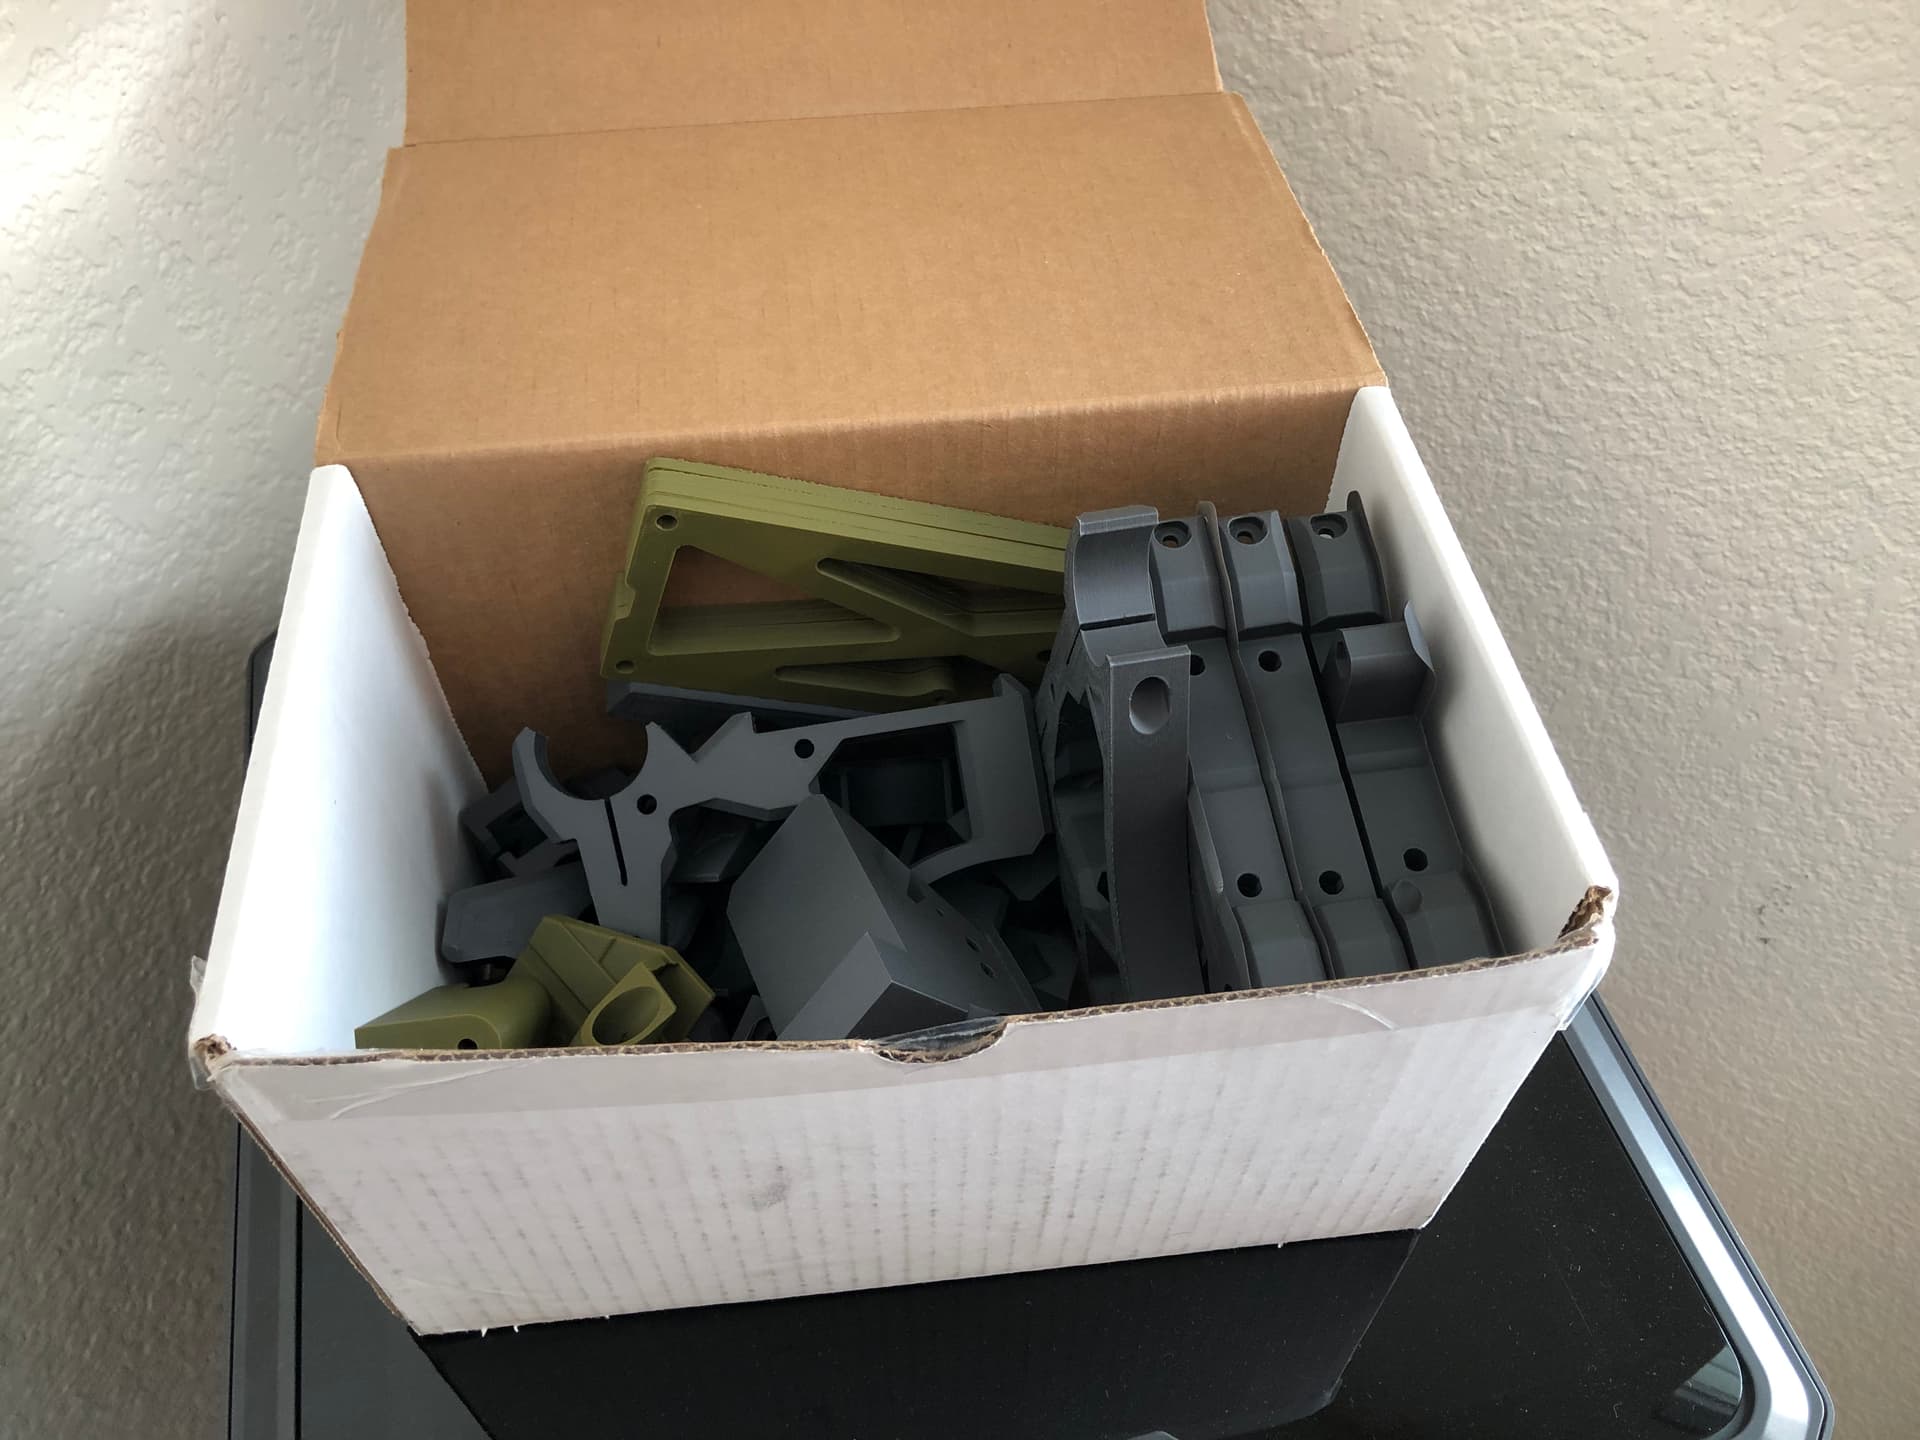
My original printer the OG Ender 3 has been collecting dust for about a year so I’ve officially retired it (mostly for speed reasons) and so I am now the happy owner of “the next Ender 3” an Elegoo Centauri Carbon. Its a wonderful machine and I have been paying my fair share of filament to relearn some lessons forgotten during my absence from the hobby. The PEI bed that comes standard has a smooth side for PLA with is a new thing for me. I had used the recommended bed temp of 30 C that was etched onto the PEI sheet but was getting some corner lift from my braces. My default fix was to add brims to everything, but I just realized that turning up the temp higher to 50 C resolves that. Unfortunately I’ll have to clean brims off of most of my accent parts but its a lesson I will happily learn. I am hoping to be finished with printing parts in the next week or two, the yz plates and core will be last on my list.
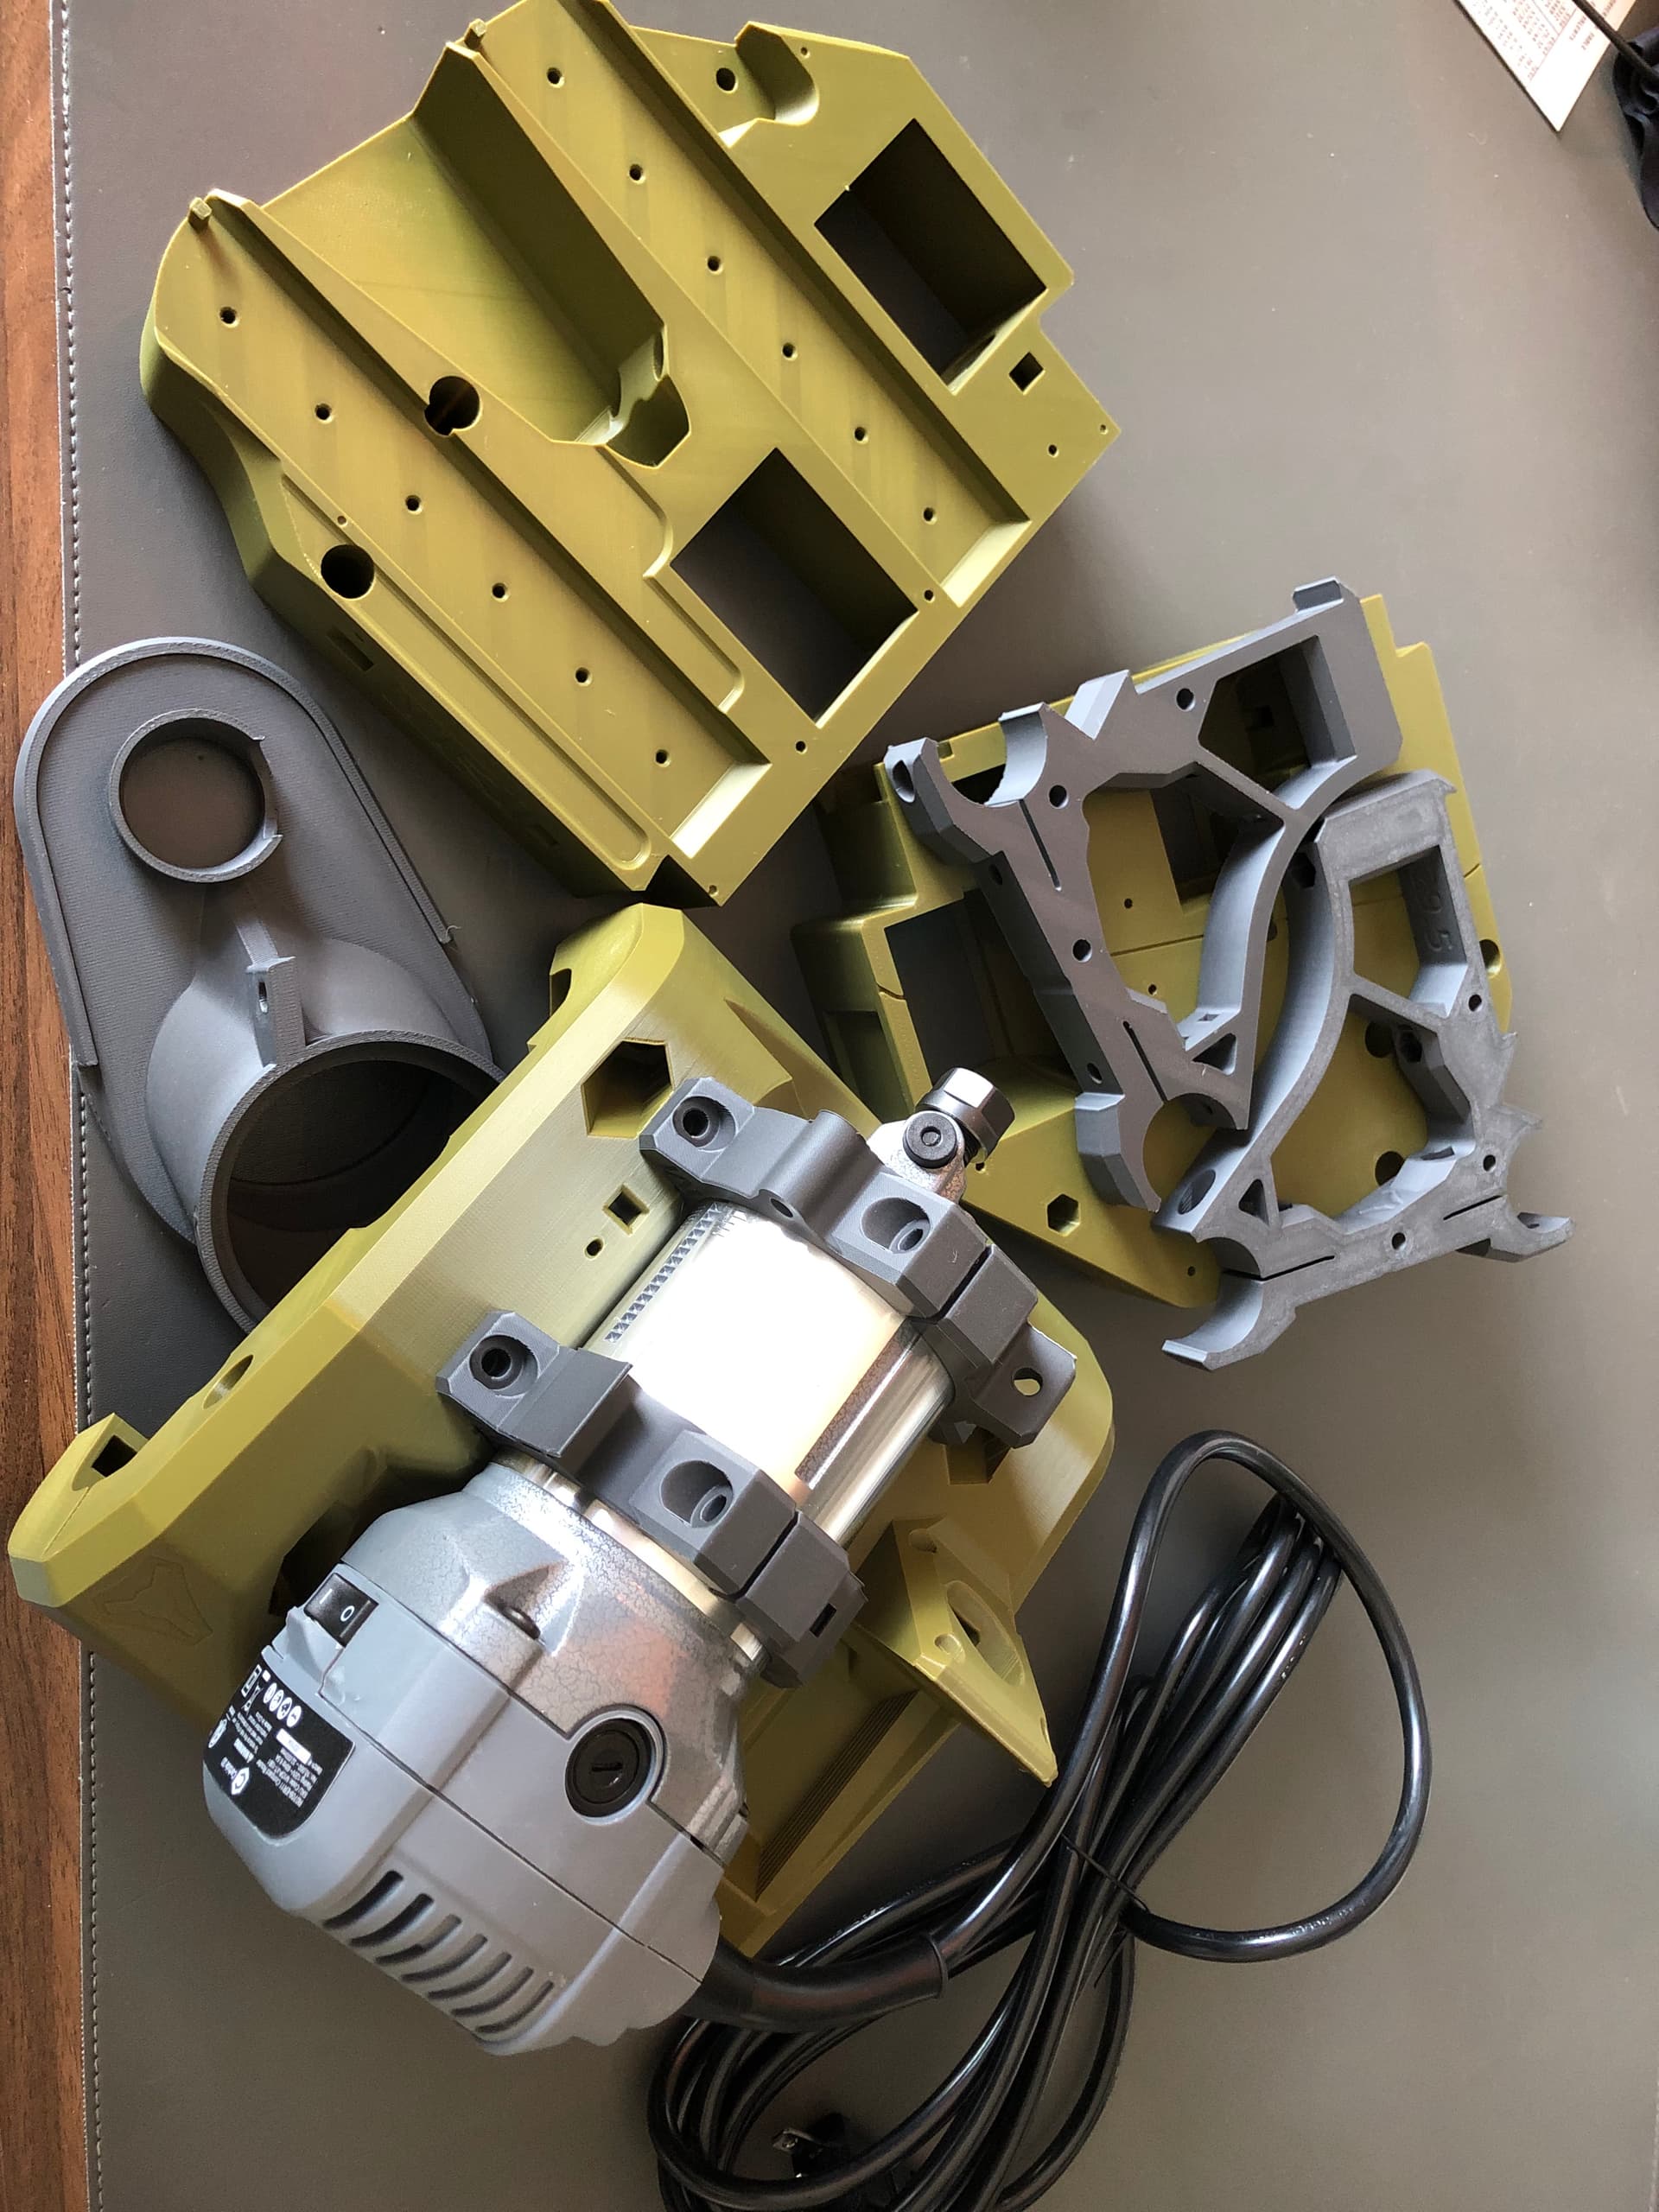
Now a little insight into my build theme. Growing up I was (and still am) enthralled by the storytelling and lore of the Halo Franchise, so this machine is being dubbed LR4 - 117 after Spartan 117 aka the Master Chief. I have thus done my best to apply a color scheme to my LR4 that matches his armor colors. Hoping to get some pictures uploaded soon.
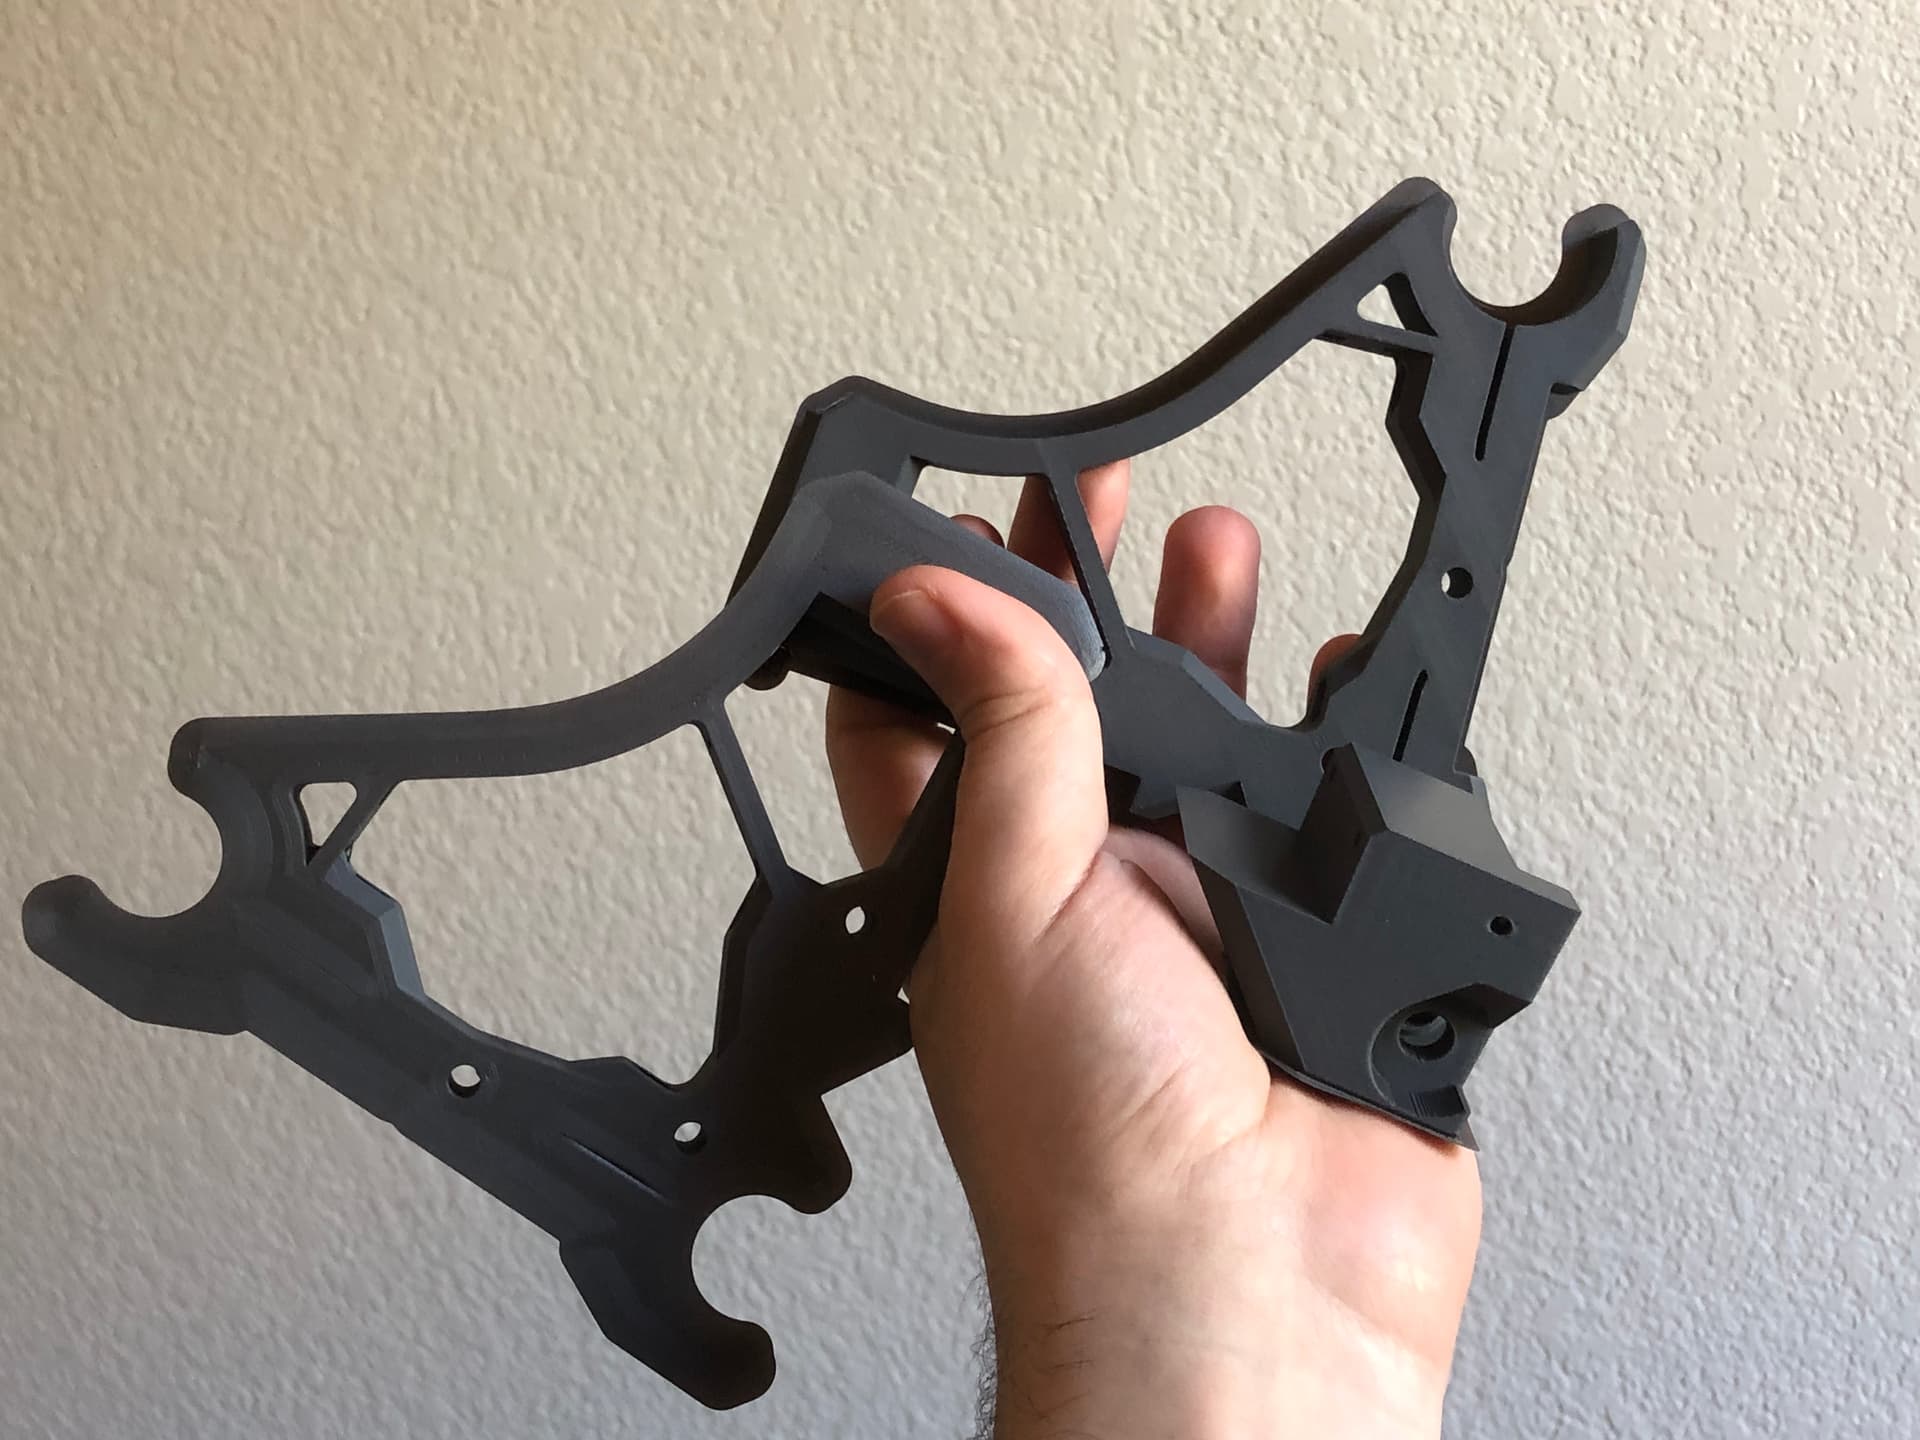
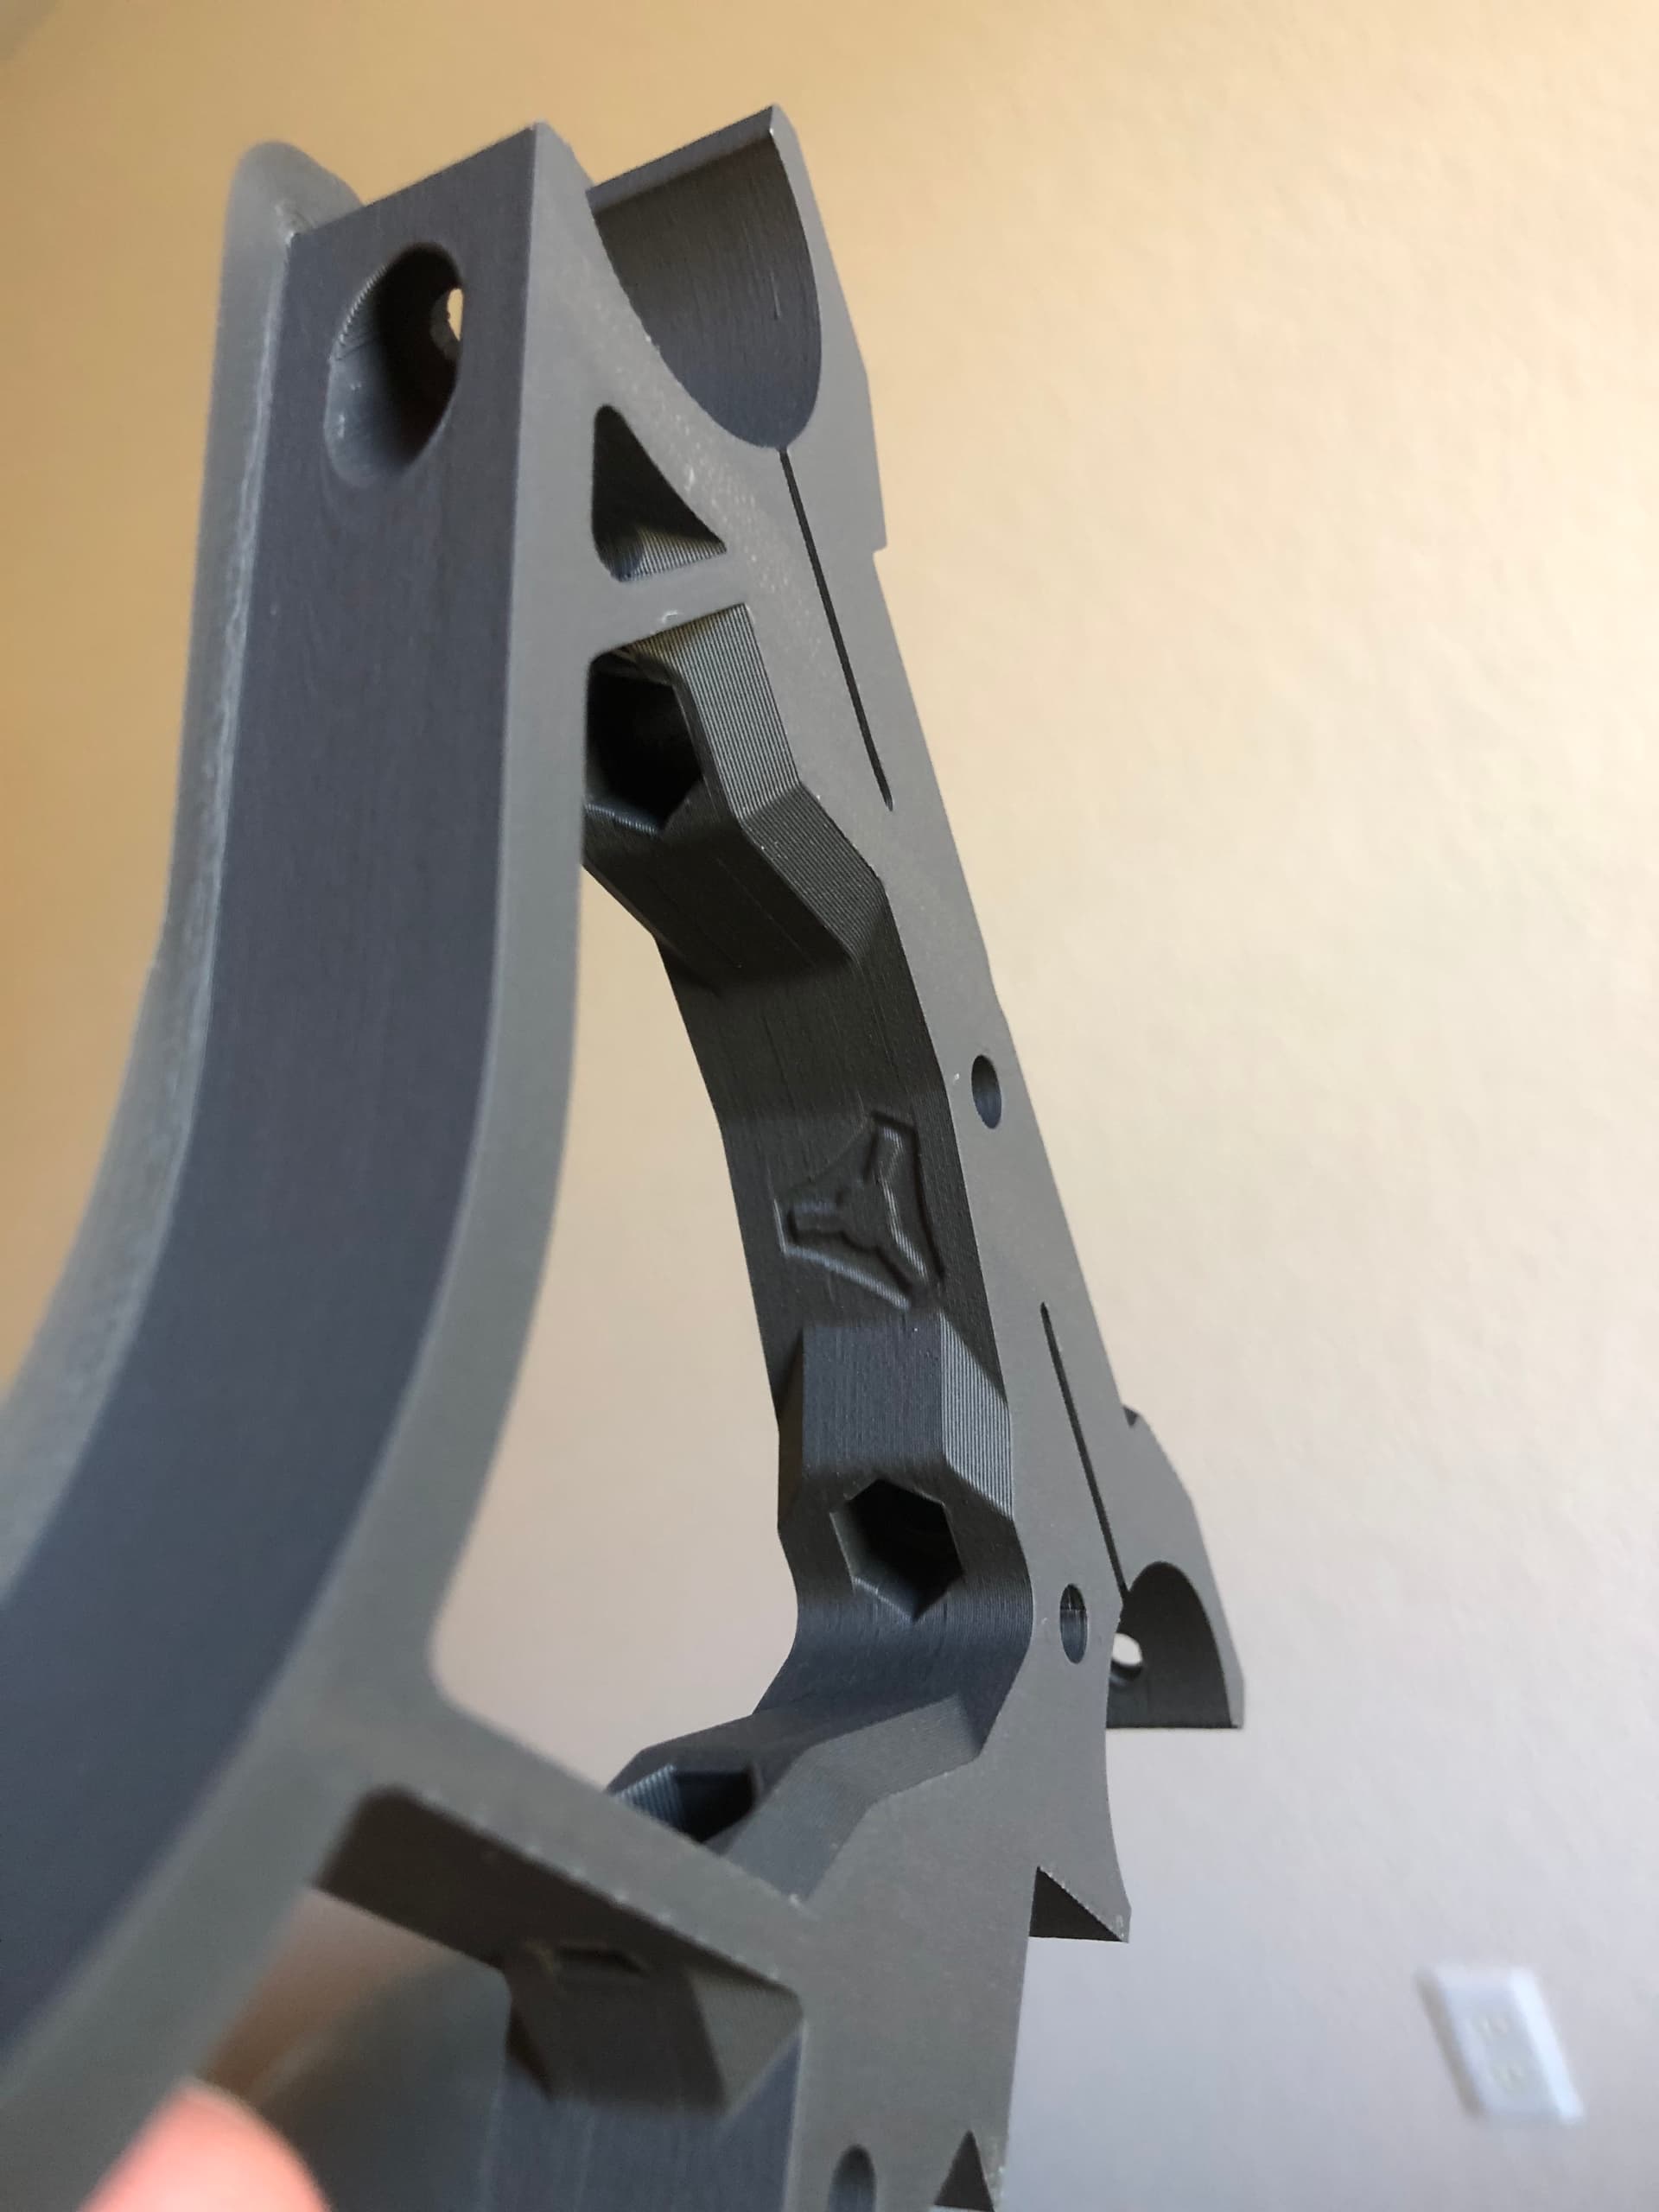
Happy to report that printing is complete! I still need to clean off the brims of the first half of the parts where I included it but should be a short job. The parts all printed incredibly well and I am so thankful that I turned on top layer ironing…icing on the proverbial cake
Going to have to pause progress for a few weeks until I can order the hardware kit. My hobby piggybank is hurting after the Centauri buy so I need to build that back up. In the mean time I will probably do some rough table ideation as a way to learn FreeCAD (Creo power user at work).
Additionally has there been any attempts at making an ATC for these standard trim routers? I ended up with the Carbide 3D ER11 router and it seems like good challenge but I dont know what has been explored thus far.
Definitely getting the Halo vibe with your color choice. Have you decided how wide/long your table will be? I found that deciding that now (maybe the first step before assembling) will save you time.
I don’t have table planned out yet. Tentative plan was to start with a half sheet cutting area and build a modular table for it that could be expanded to full sheet down the road. I was sort of thinking the best order of operations would be to build core, YZ plates, table, rails, beam, etc.
Also had a few questions/comments about the YZ plates:
How freely should the aluminum plate slide along the bearing rails? I have them aligned fairly okay so that there is almost no binding that I can feel when sliding along the full rail length, but when I orient the assembly vertically (its orientation at final assembly) the plate does not free fall the full rail length. Seems like with a tiny bit of force (much less than what I anticipate the beam will weigh) this is not an issue.
The build instructions mention to leave the cross-tensioning screw out of the z nut & z stub connection. Does this mean that the gantry is only lowered by gravity and not driven down?
Check for other binding, not necessarily the rails, but rhe plates should move very freely. You might be OK if the weight is enough, but find out what the trouble is. If you loosen the M3 screws into the rail trucks by about 1 turn and it loosens up, it may be the alignment there. Tighten them back up (1 left side, 1 right side, repeat) and see where/if it starts binding again.
Gravity is the main force downwards. Consider that even if you put that M5 bolt in place what the machine can actually pull downwards is then the 1 or 2 M3 screws into printed plastic that holds the lead screw nut, so it has very limited pulling power available.