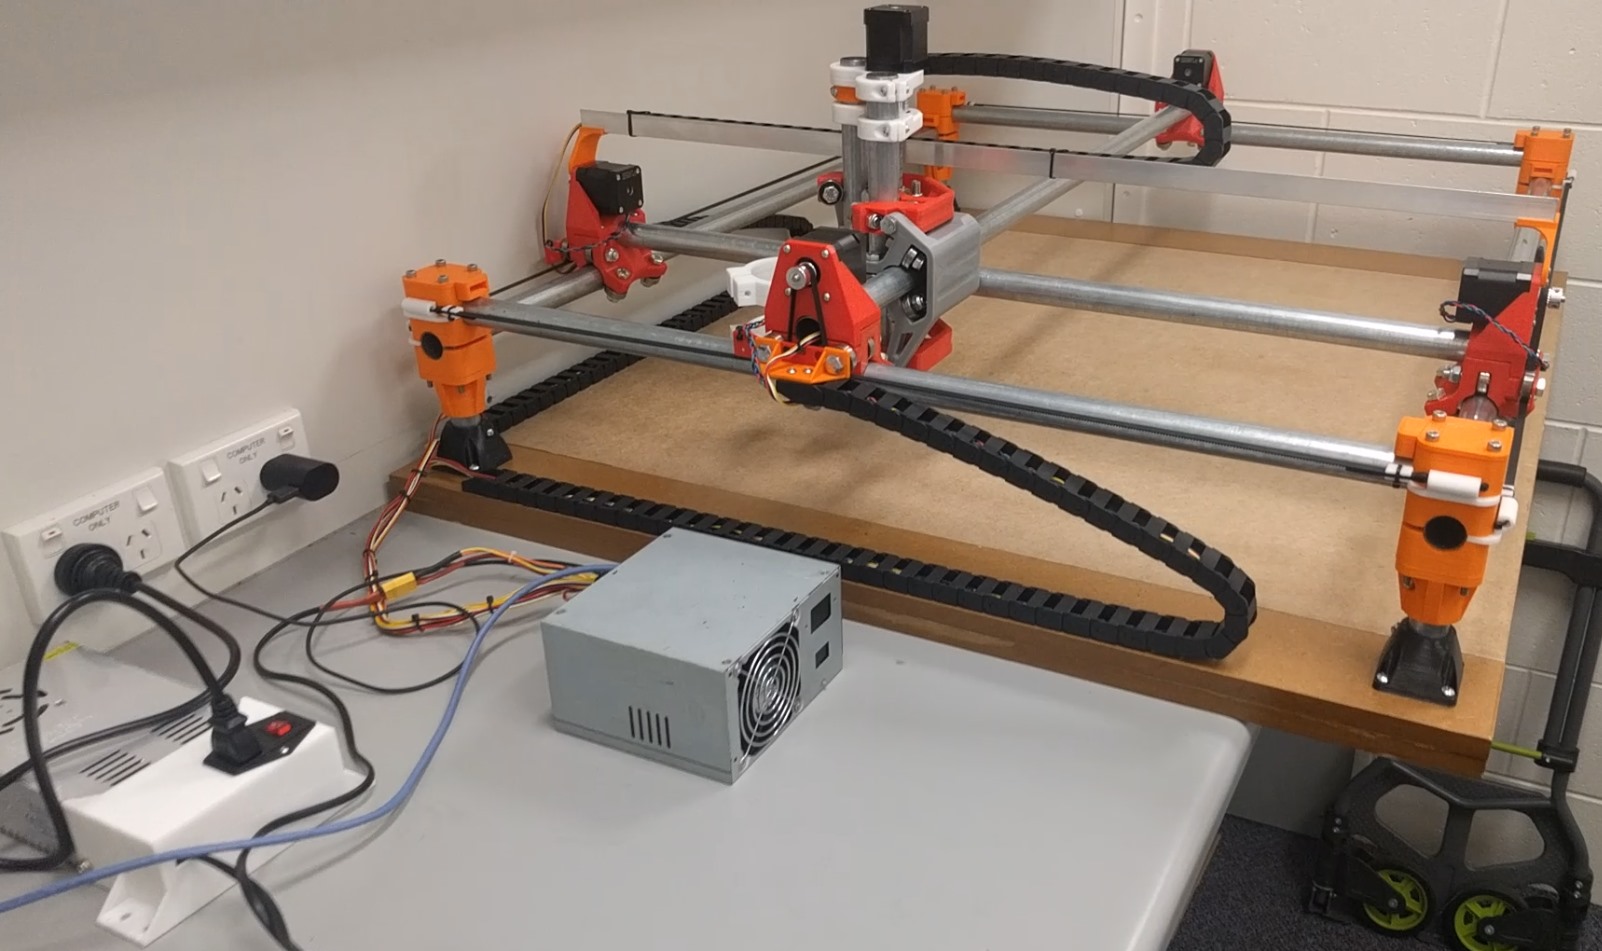
Many thanks to Ryan - impressive work!
Interface board: Raspberry Pi 3 Model B+ running Raspbian Stretch and CNC.js v1.9.20
https://coeleveld.com/mpcnc-part-6/
https://coeleveld.com/mpcnc-part-5/
https://coeleveld.com/mpcnc-part-4/
https://coeleveld.com/mpcnc-part-3/
https://coeleveld.com/mpcnc-part-2/
https://coeleveld.com/mpcnc-part-1/
2 Likes
jeffeb3
June 7, 2019, 6:52pm
2
Step 1. Learn how to 3D print
Haha. This is great. I haven’t read the whole thing, but I will. Thanks for sharing, and great website.
Keeping track of everything like that is pretty awesome. If you have any issues in the future with any of it you have all the details, nice work. Can’t wait to see it dirty!
jeffeb3
June 8, 2019, 5:16am
4
I 3D printed the first 10 layers of the MPCNC foot object to use as a template for drawing the screw holes in the table.
I did that too on my mpcnc. I found it very useful.
