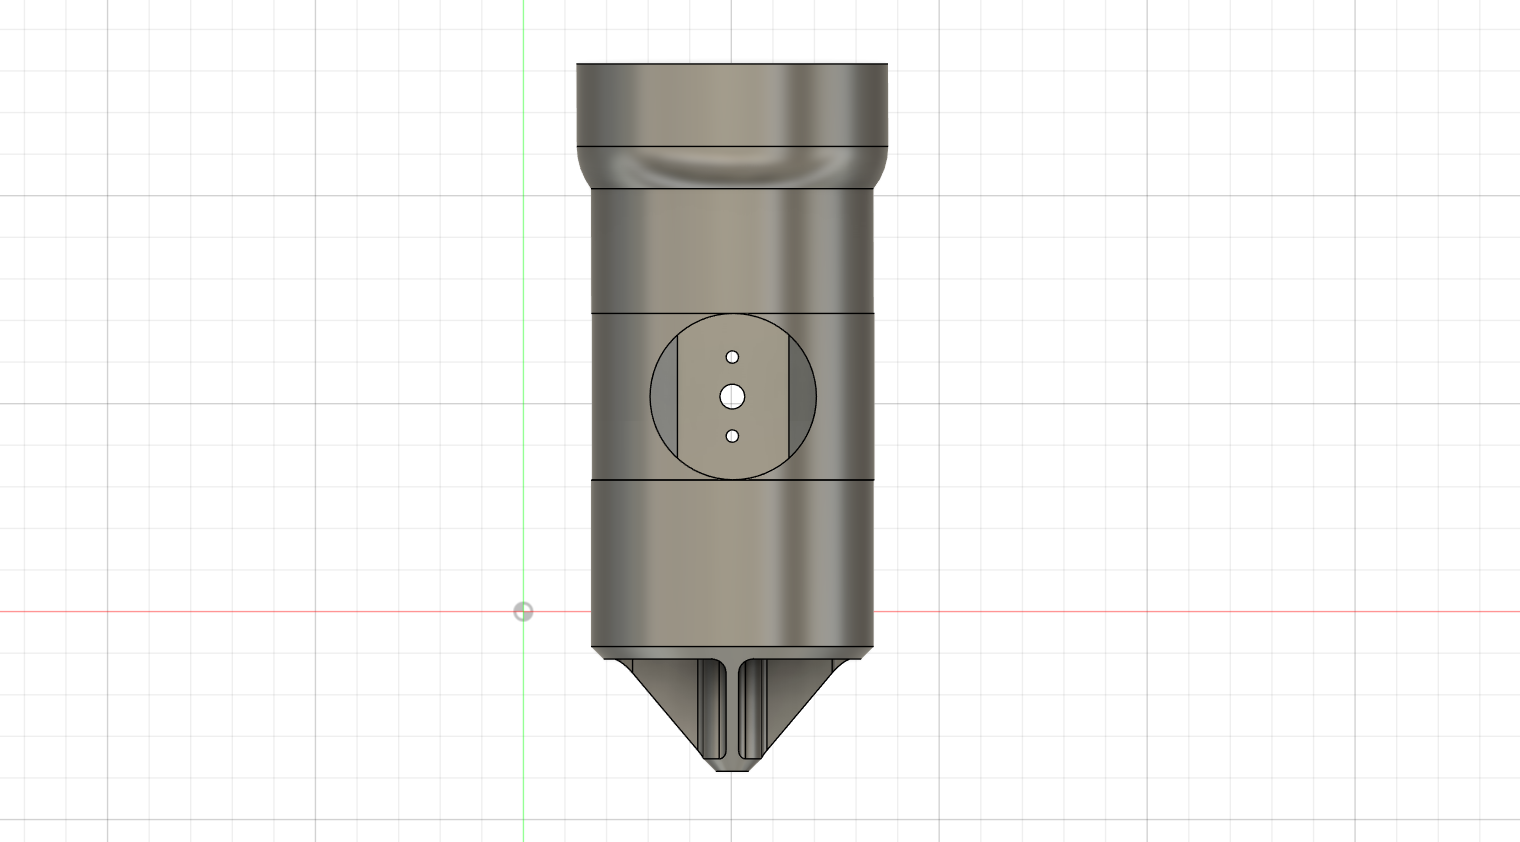
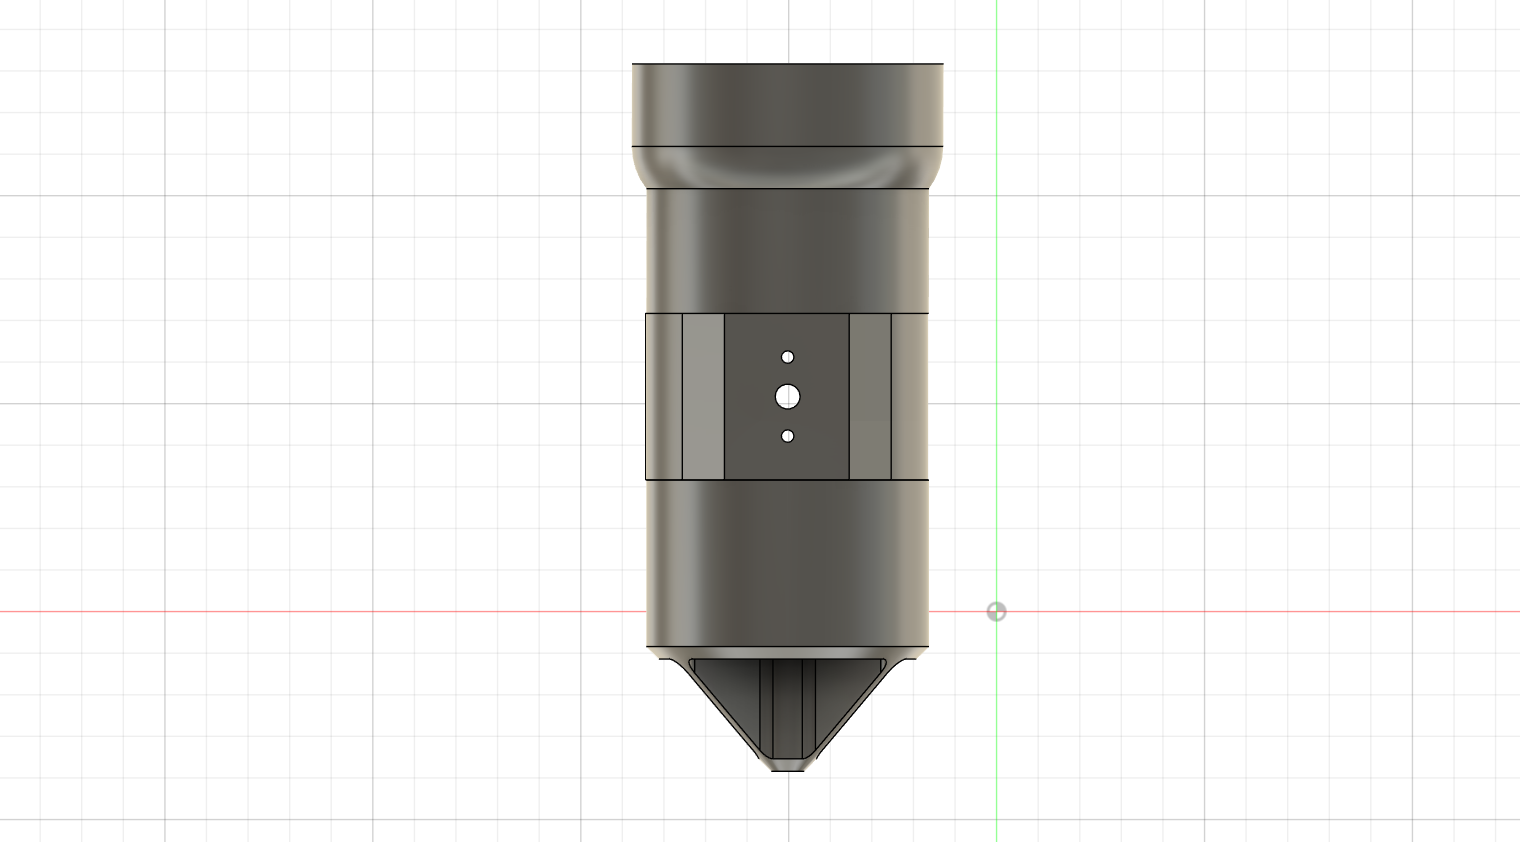
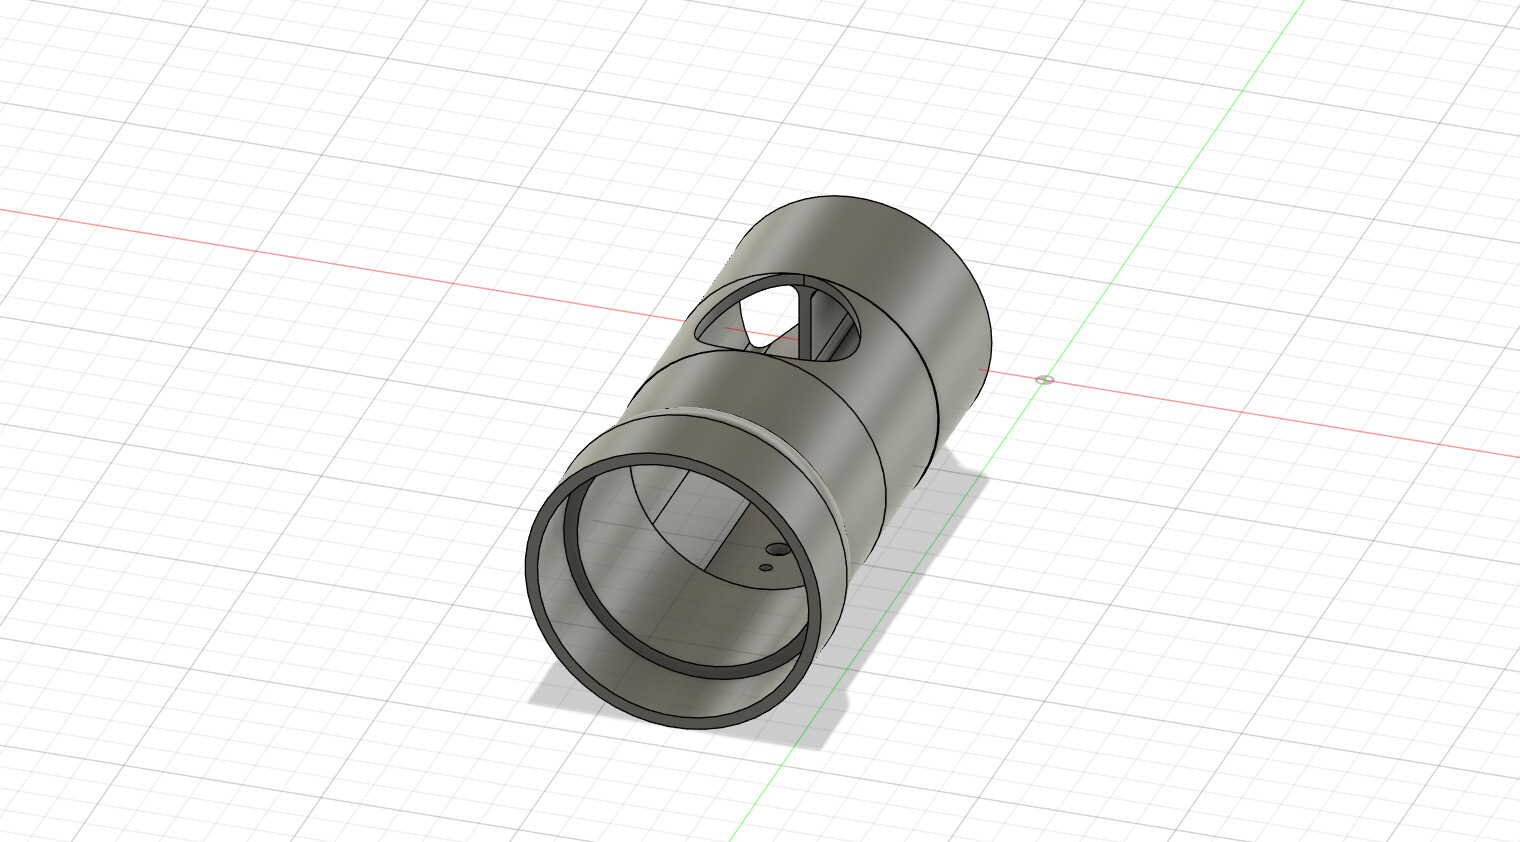
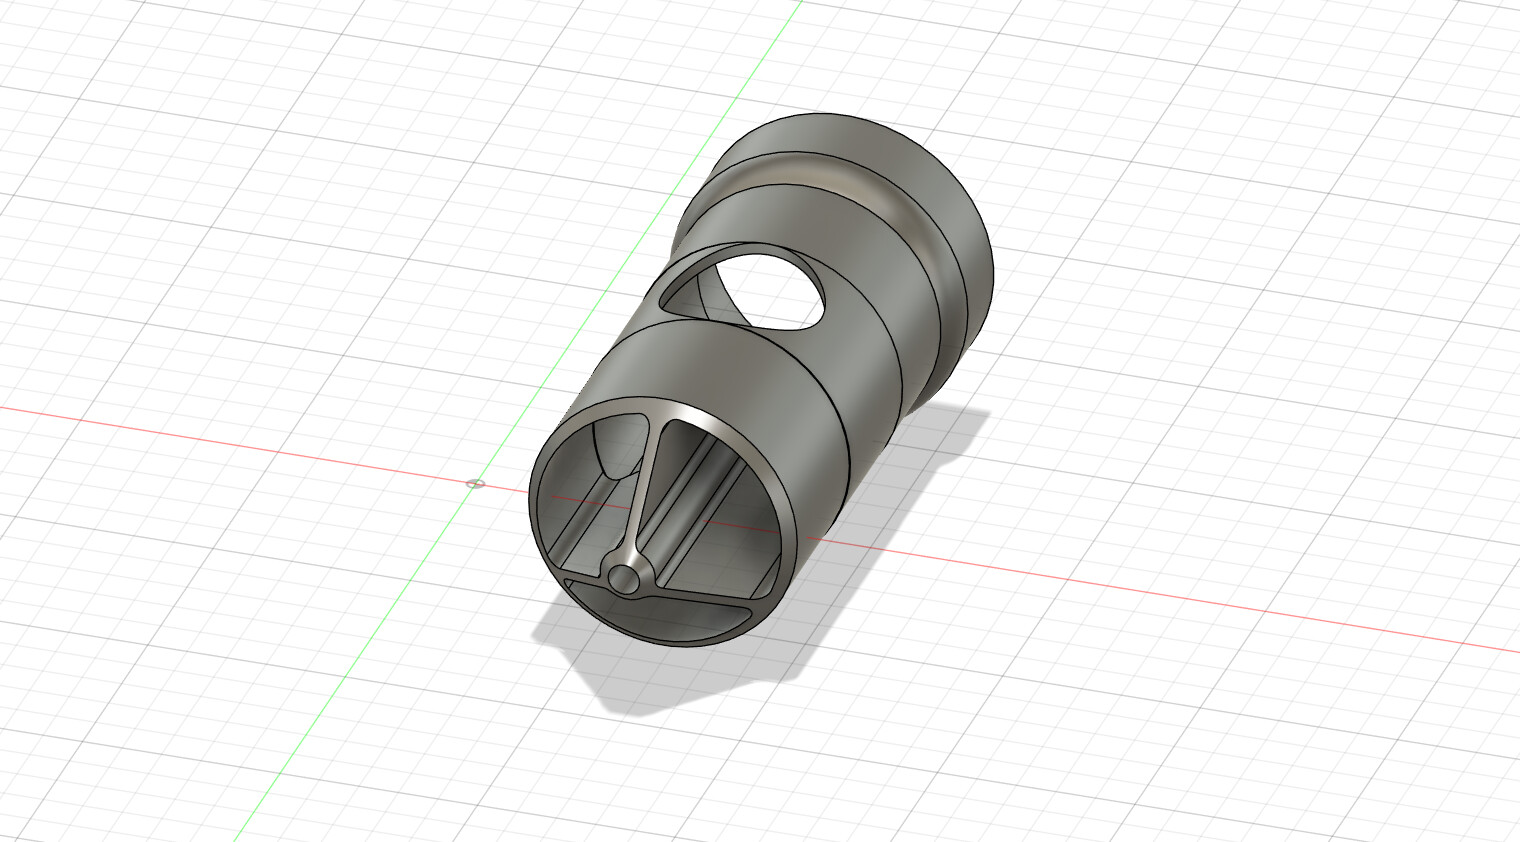
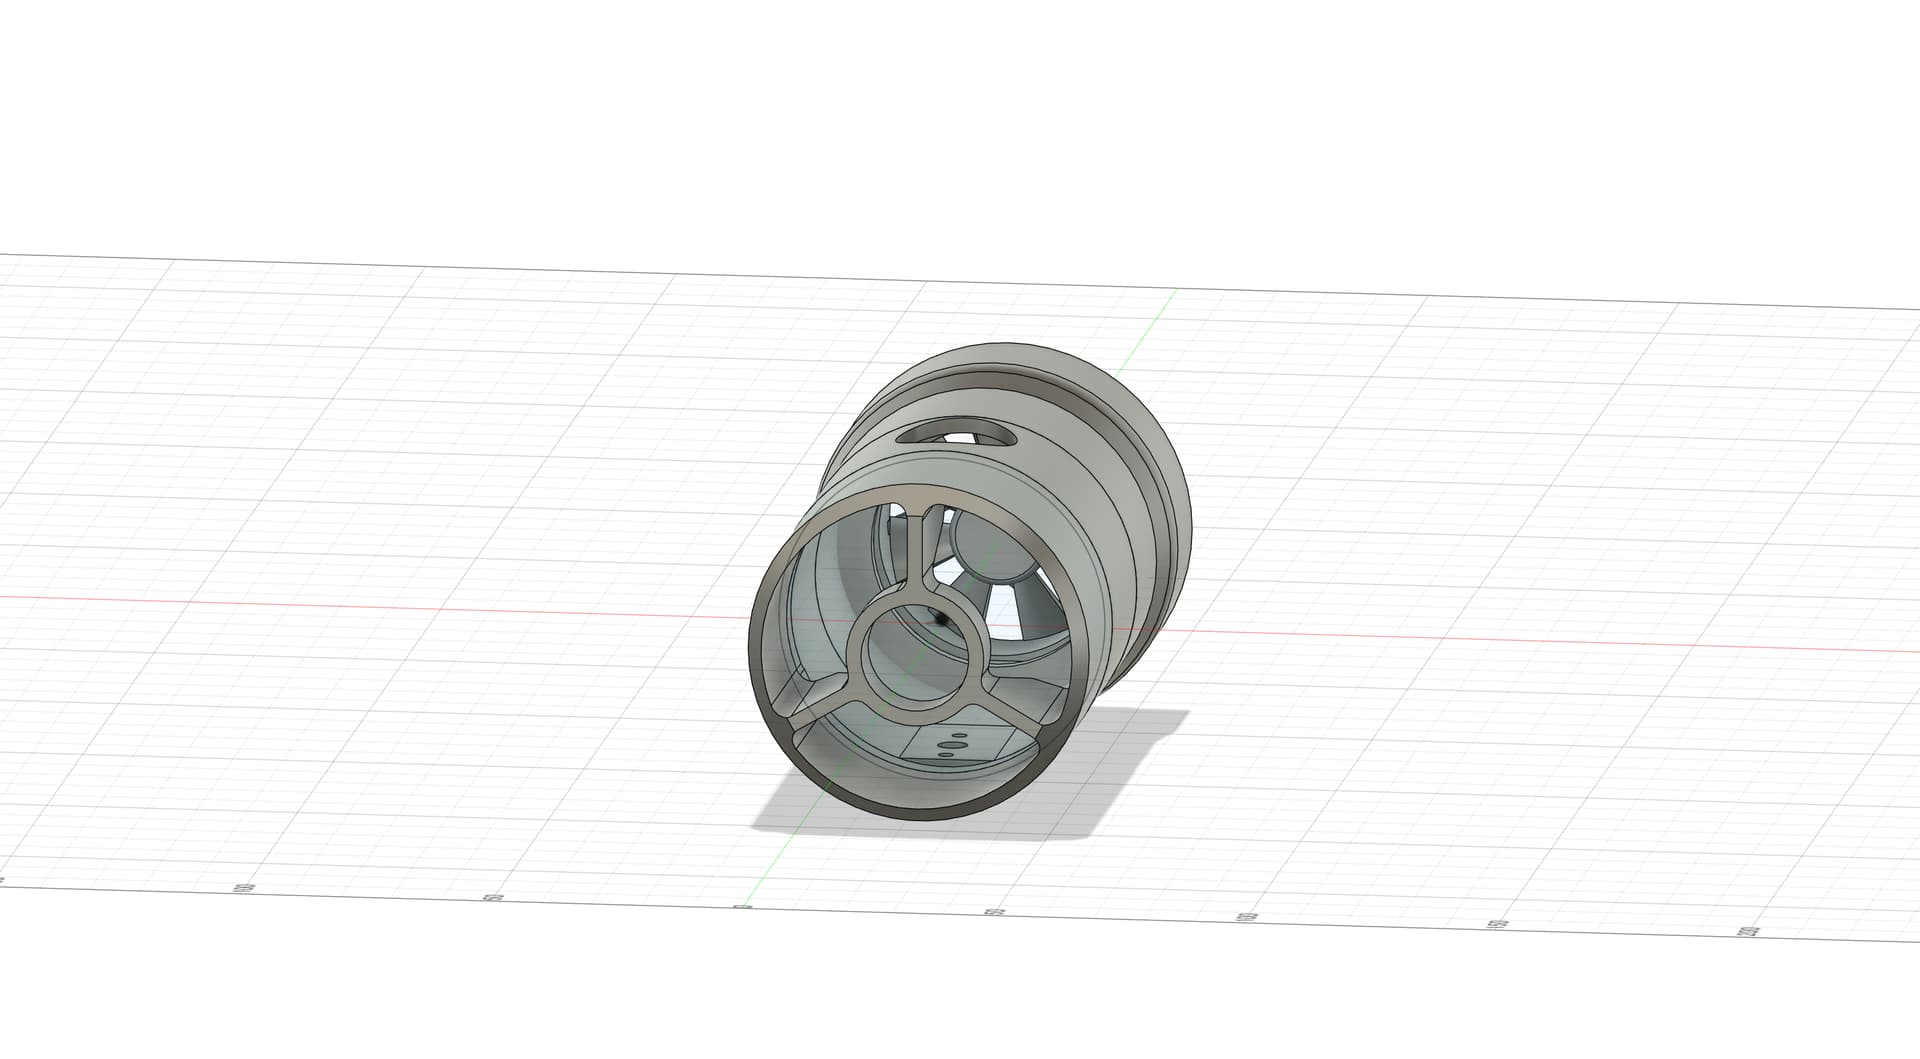
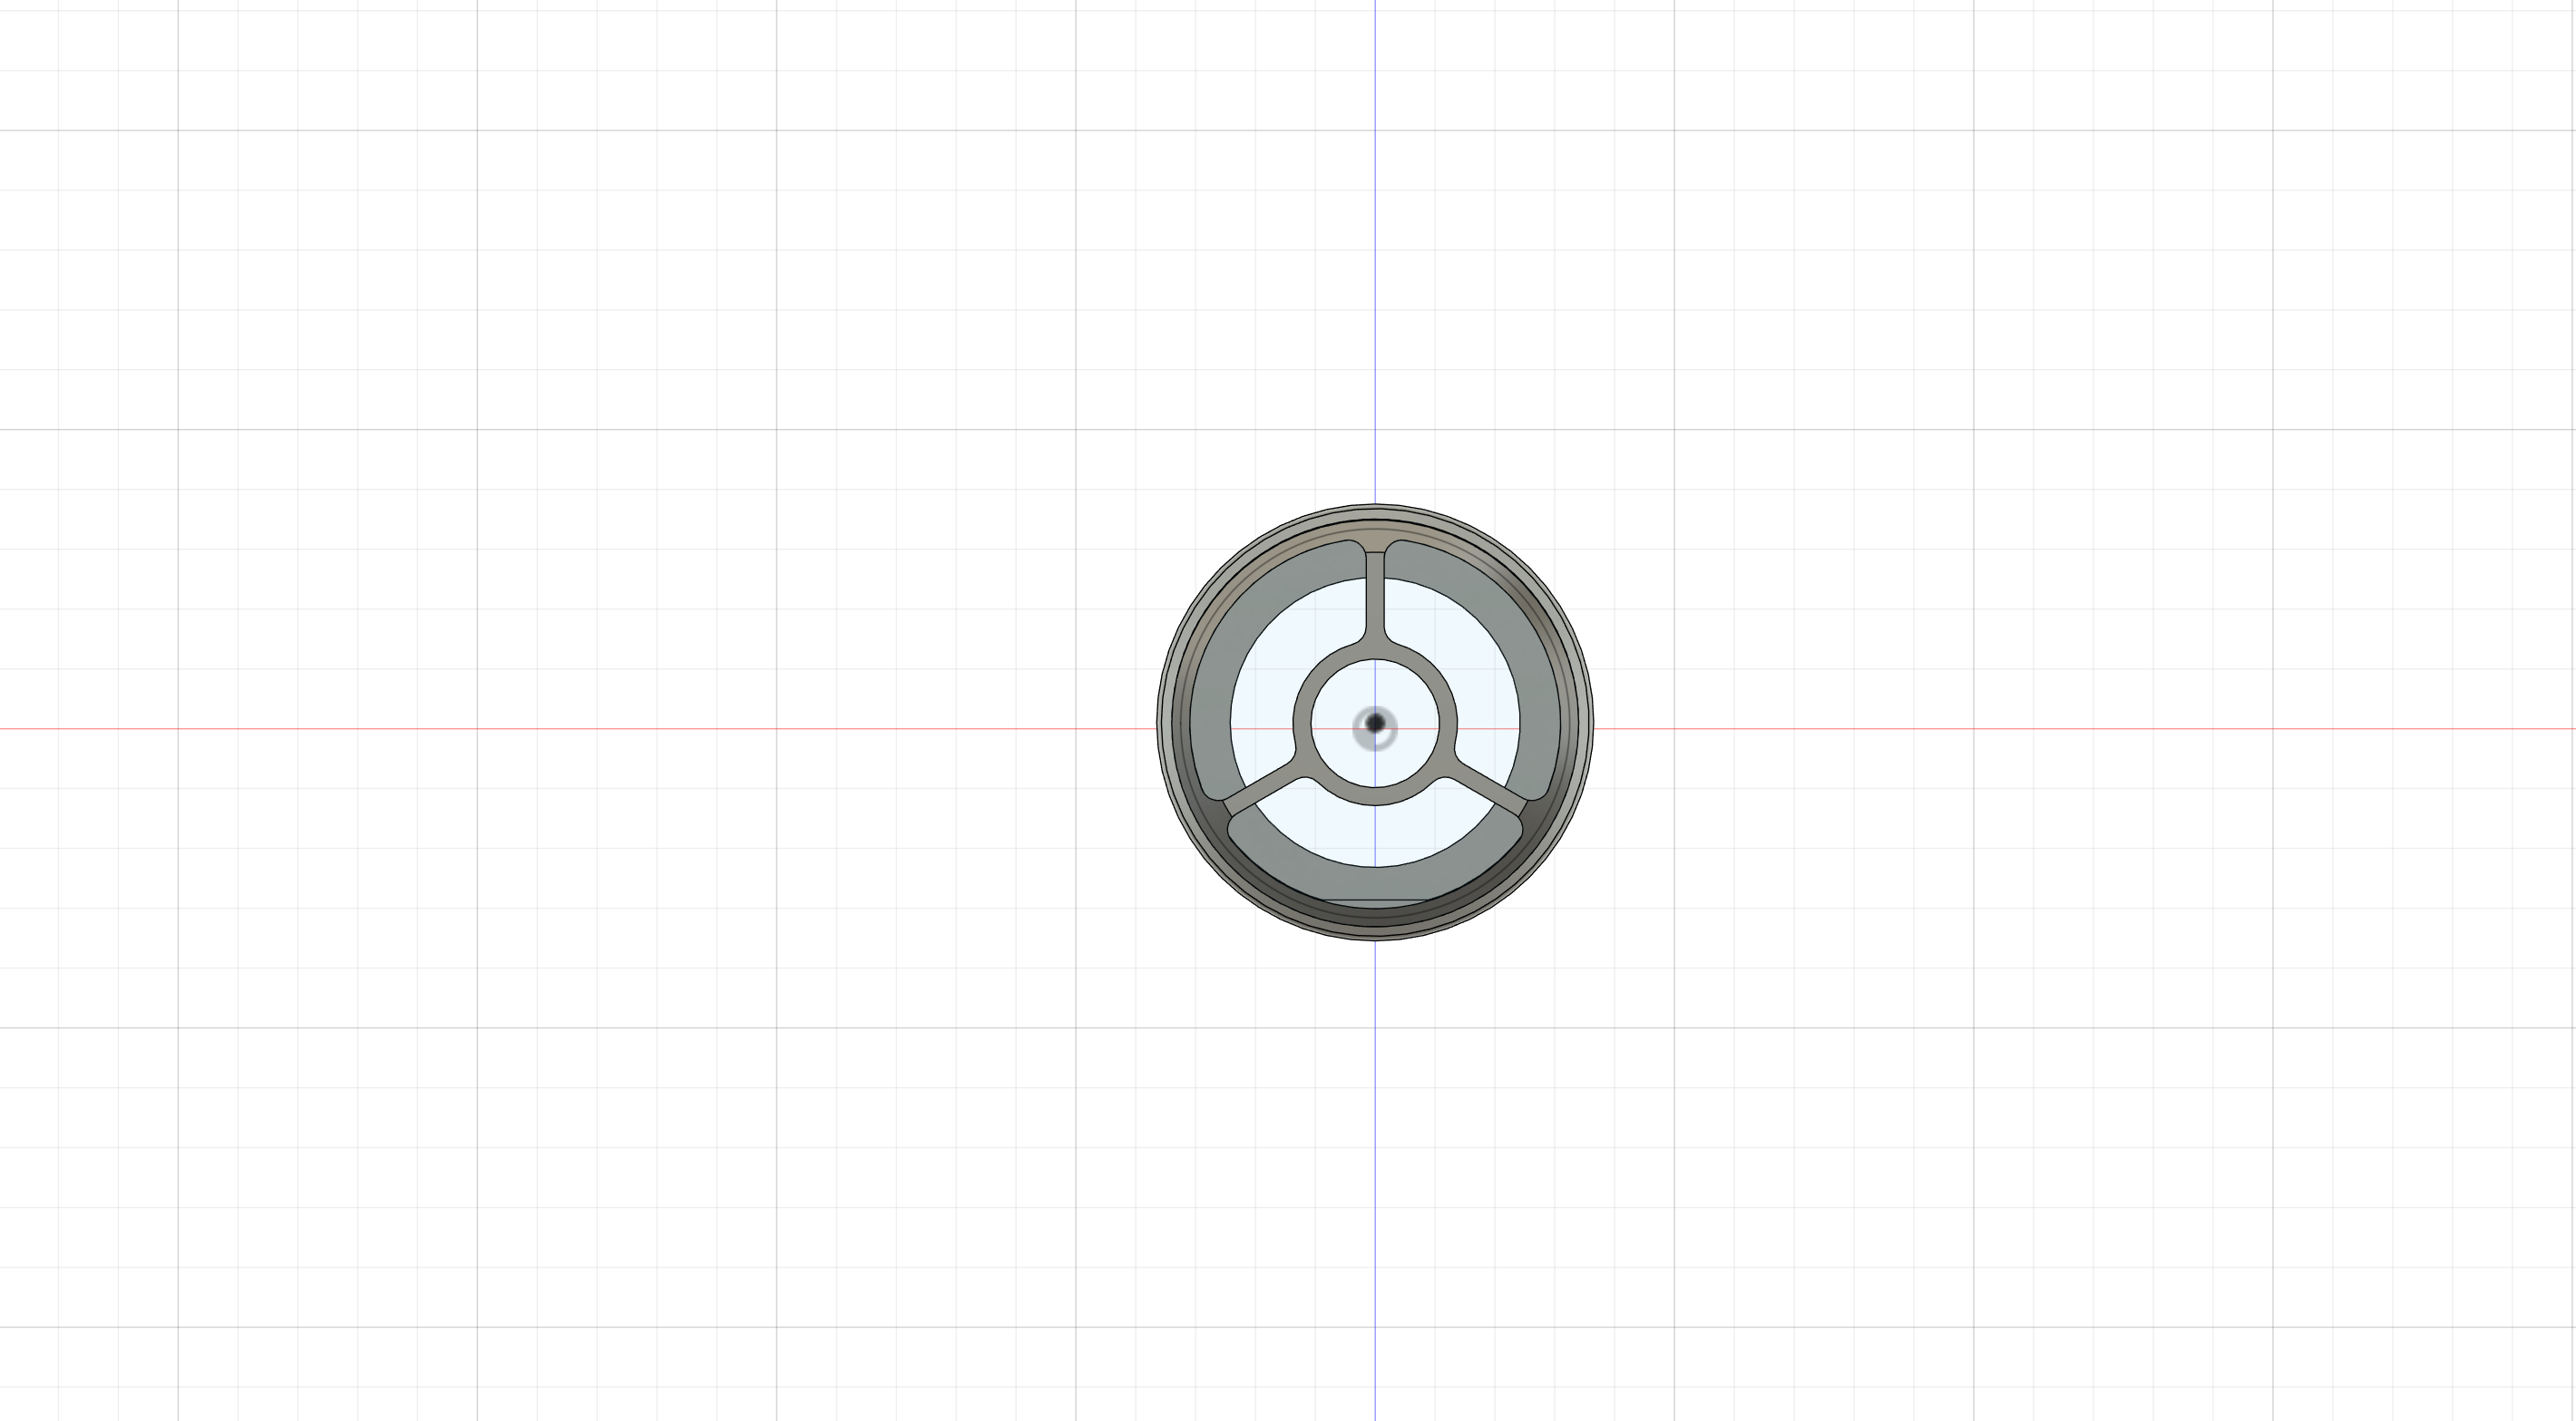
hello everyone. just thought id post my progress so far. ive been designing a needle cutter to mount directly into the LRv4. its designed to use mig welding tips (not visible in the images i posted) as the needle guides and to be connected to a 68mm vacuum hose at the top. the plan was mostly for the vacuum to supply some amount of cooling but until i can print in something that can transmit heat I’m not sure how much good it will do. until then hopefully the welding tips will absorb and dissipate enough heat to keep from falling apart mid cut. time will tell. right now all i have is an Autodesk rendering but a coworker of mine is printing for me this week so i should be able to post a video of the cutter in action some time soon.
id love the input of anyone on this forum with an idea or feedback about what i could/should do to make this design better or if there’s any problems you guys see that im missing to this point.
here’s a link to view online or download if you feel so inclined
For the needls cutter I did, my approach for heat dissipation was to solder a brass tube of the needle guide to a brass plate. The solder has excellent thermal transfer and the plate gives a large radiating surface area.
I also looked at the mig welding tips (and have a bag of them) and thought that they could be screwed into 3D printer heater blocks, which could provide thermal mass and radiating surface area, be bonded to those little chipset heat sinks for more radiating area. The threads aren’t inherently compatable, but a thread tap into the heater block could solve that. The clamp for the heat cartridge could be used to keep it in place.
There are zillions of needle cutters out in the wild… and mounted on myriad machines, including MPCNC and LR2 machines? @rockyboy over on the FliteTest forum built a successful LR2 needle cutter… but I’m not sure he ever published any information/photos about it. @jhitesma also had a hand in designing one for the LR2… maybe the same as @rockyboy’s but I think it simply used the Dewalt 611 bolt pattern to replace the router on the LR2. Here’s another design out on TV that I can’t vouch for… but it appears to be @jhitesma’s Improved Cutter remixed to fit in a 611 mounting clamp. And here’s another, quite similar to what you’ve shown, in action… but I can’t vouch for it either.
The biggest problem with printed needle cutters is heat… anywhere metal touches plastic. The one in the above video is really neat but I’d suspect possible issues with the gears and guides during prolonged operation.
I’ve been out of the needle cutter “business” for years now… but if I were to build one today I might start with my last one and fit it into a printed sleeve similar to yours and/or the one in the video.
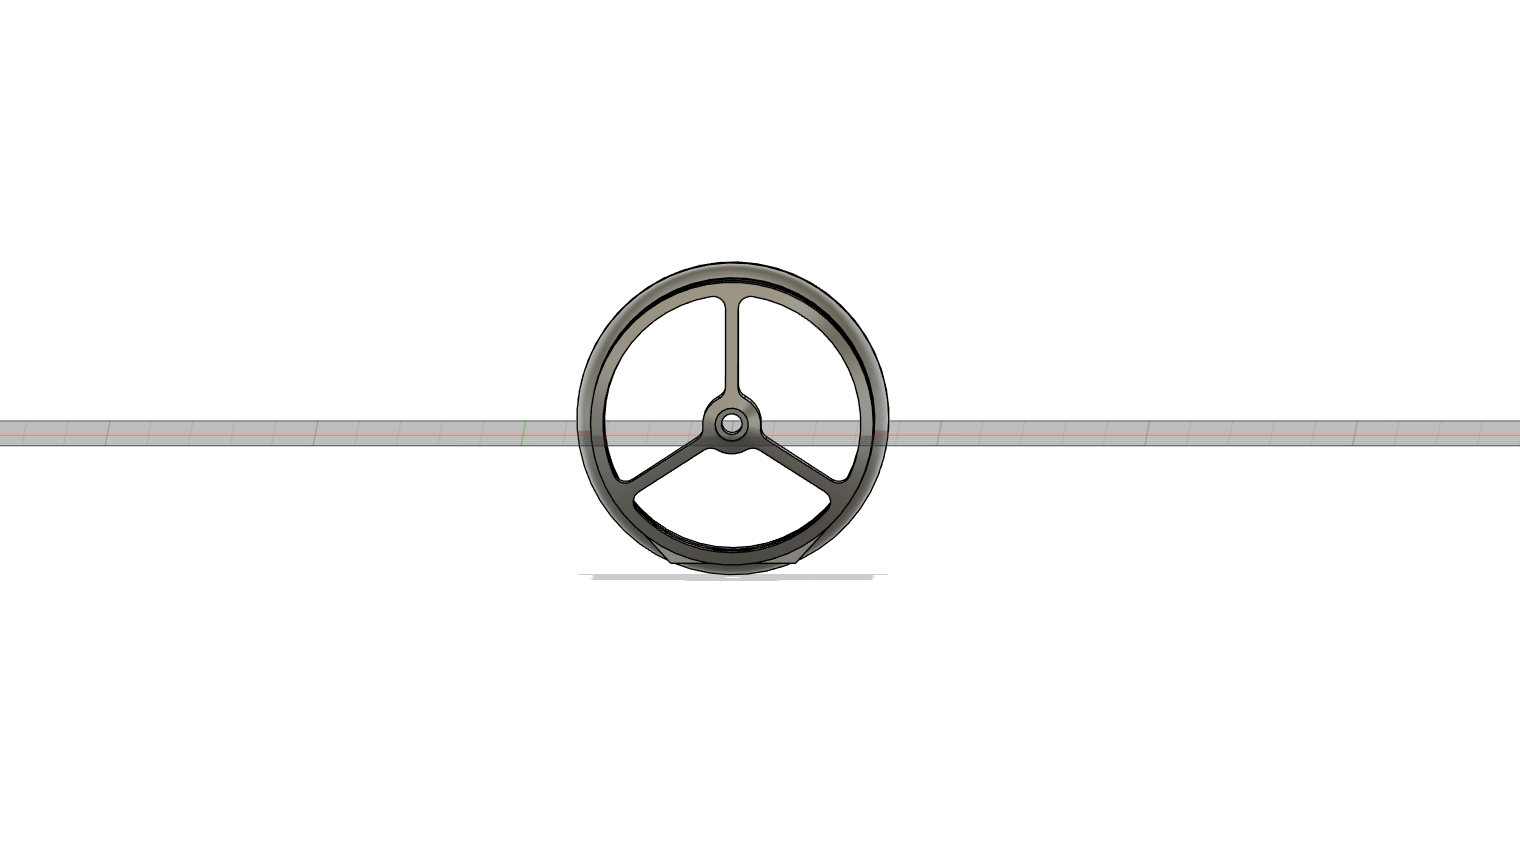
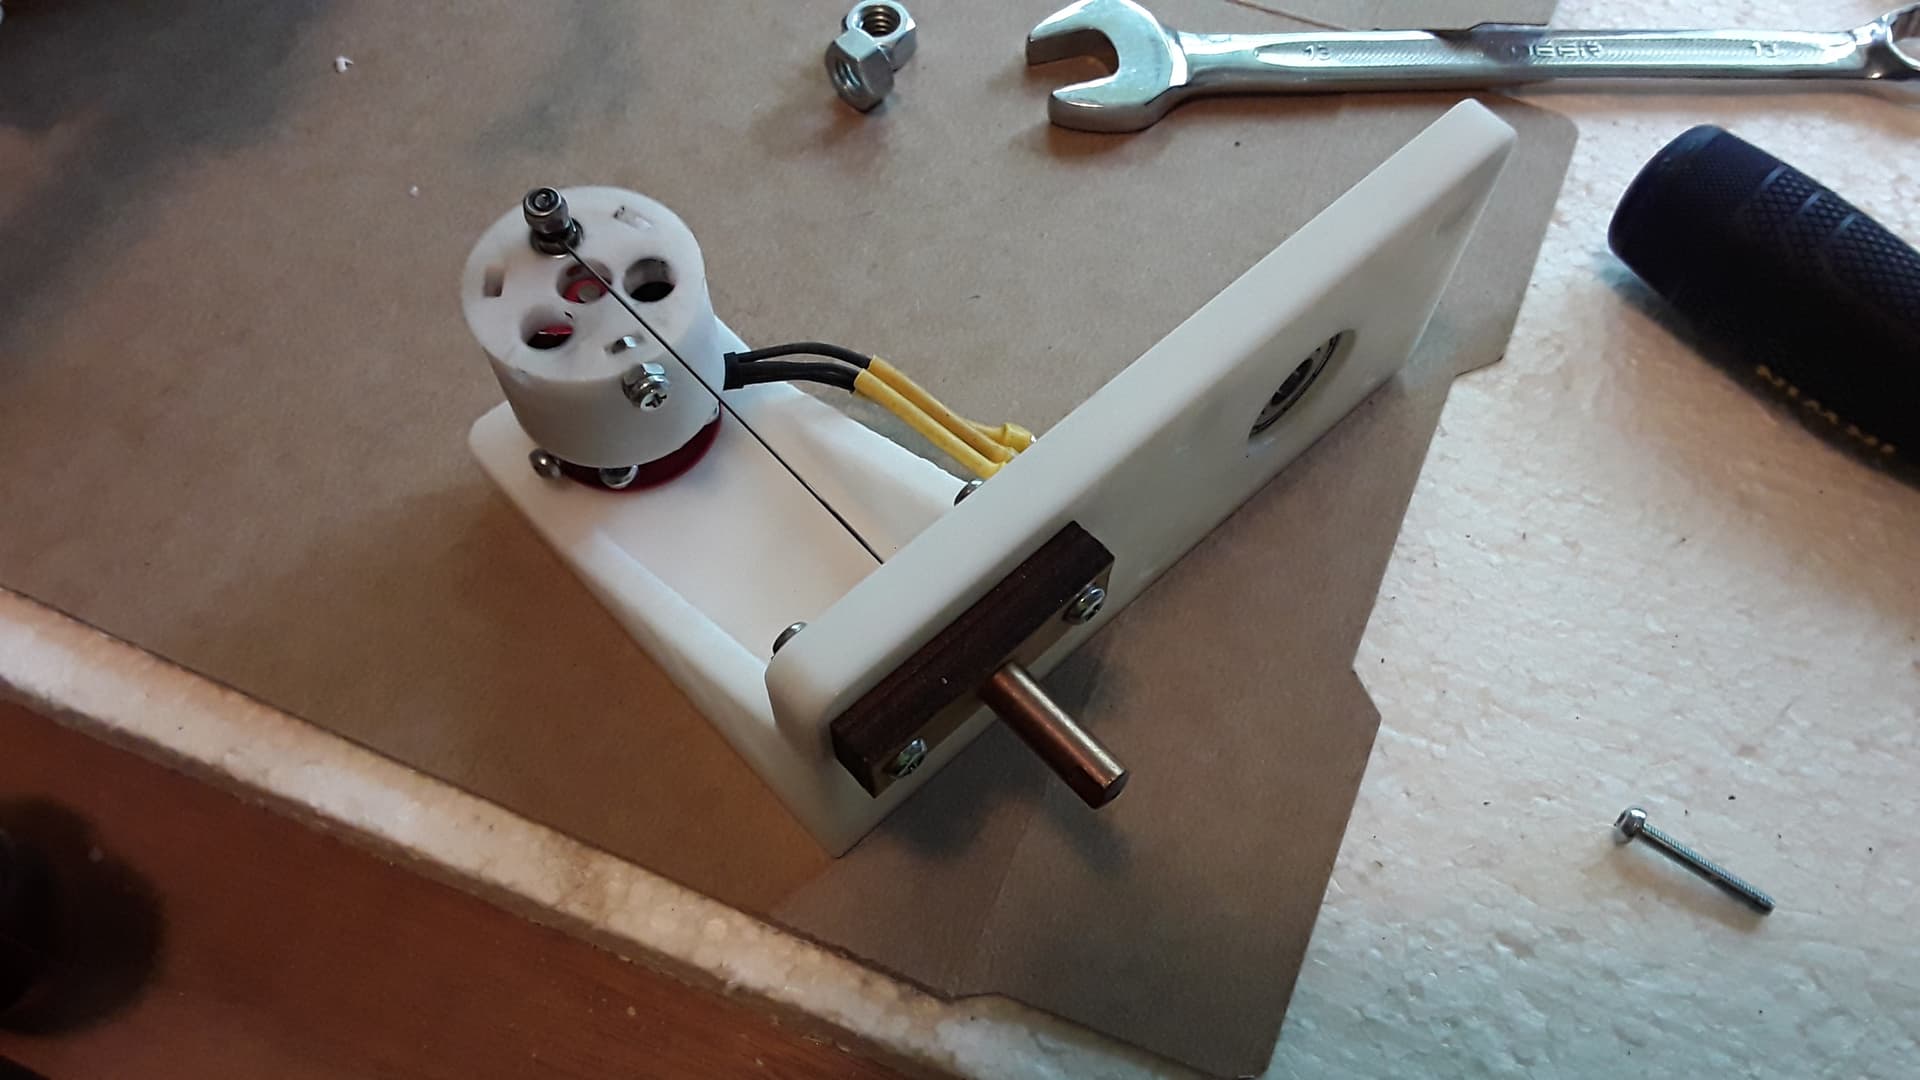
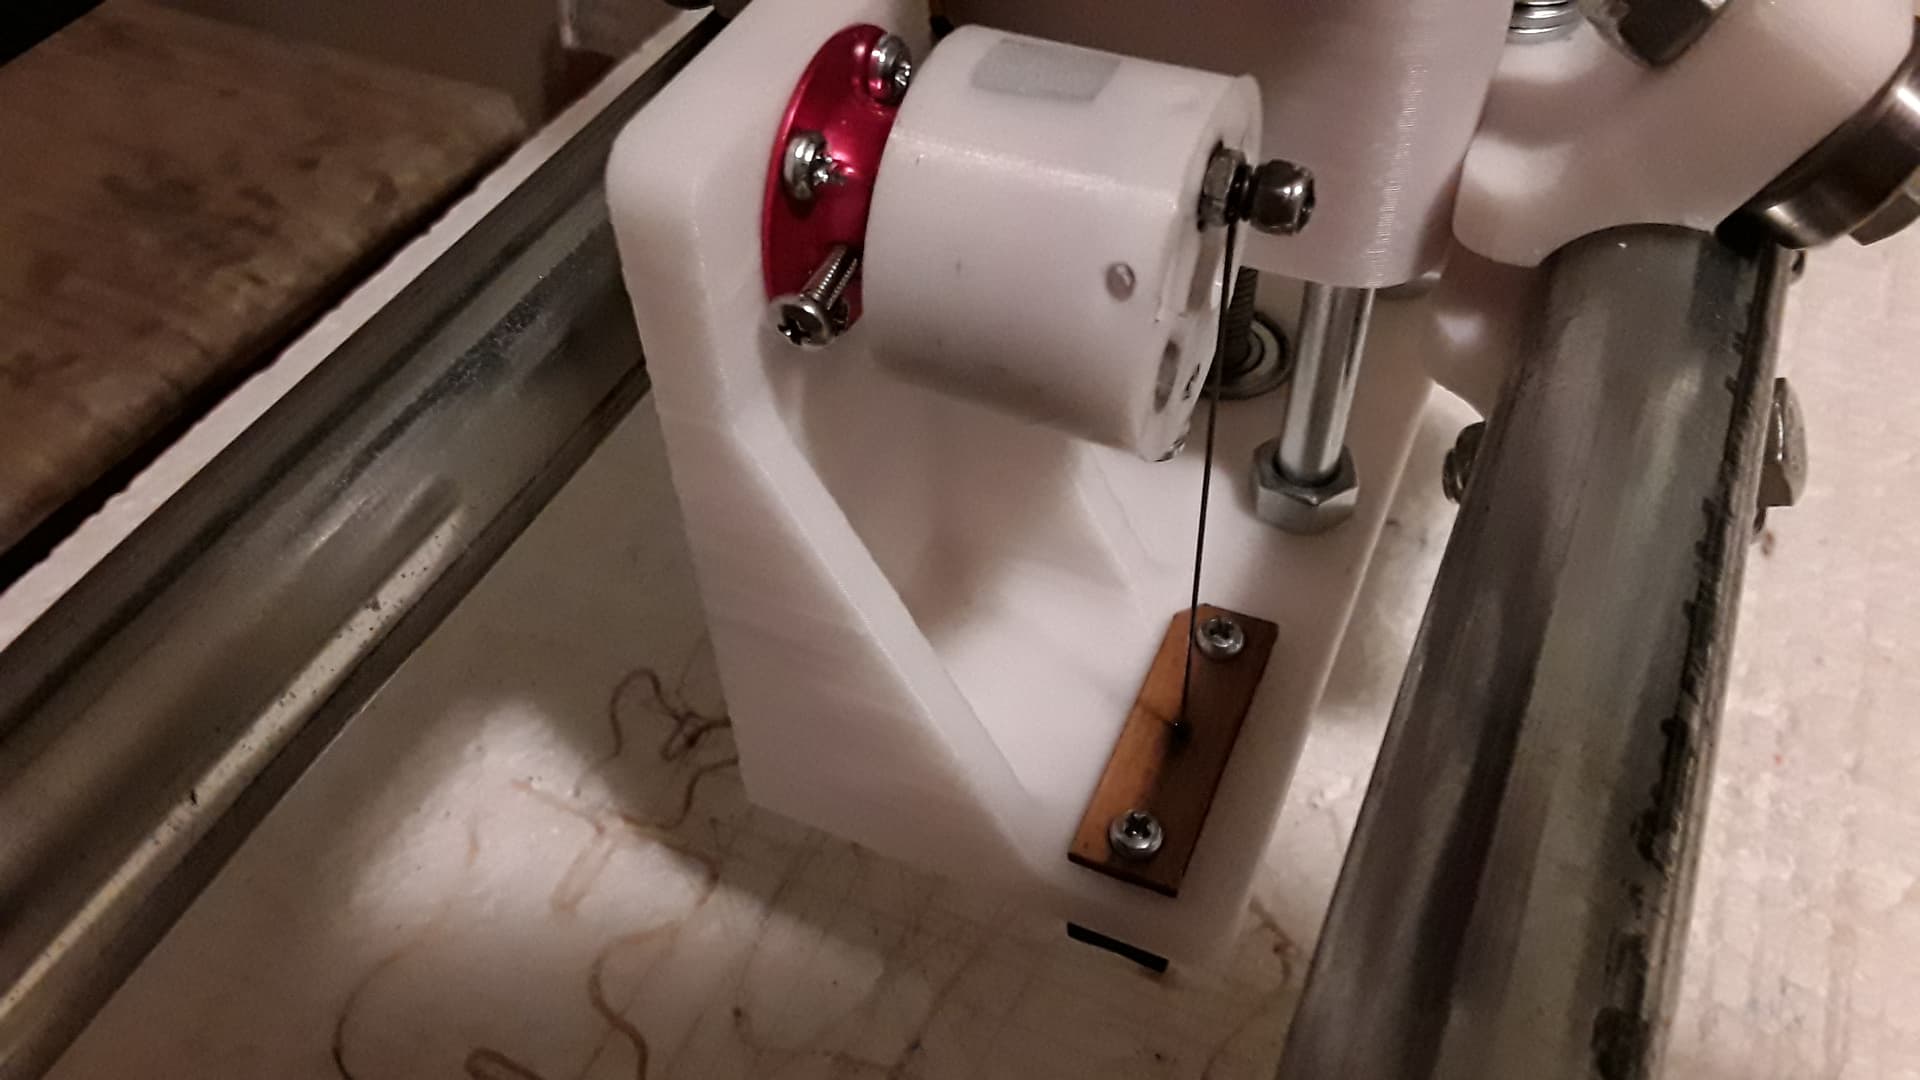
This version ran very smoothly but I never ran it long enough to see if the over-the-motor-bell “flywheel” would hold up over time. A needle cutter doesn’t represent nearly the load that these RC motors are designed for so maybe it can be made to work.
Oh well, tons to talk about but gotta stop somewhere…
I agree that heat is the big issue to watch for with a 3D printed needle cutter. I think the vacuum would be overkill and more of a hassle than a help dealing with the hose. The mig tip I used on my last design seemed to do quite well by itself at handling the heat even from prolonged cutting sessions. But - the mig tip can not be attached directly to the 3D print…it will get hot enough to melt the plastic and fall apart. I used a small piece of wood as an insulator much like yours. The MIG tip screwed into the wood and the wood screwed into the 3D print.
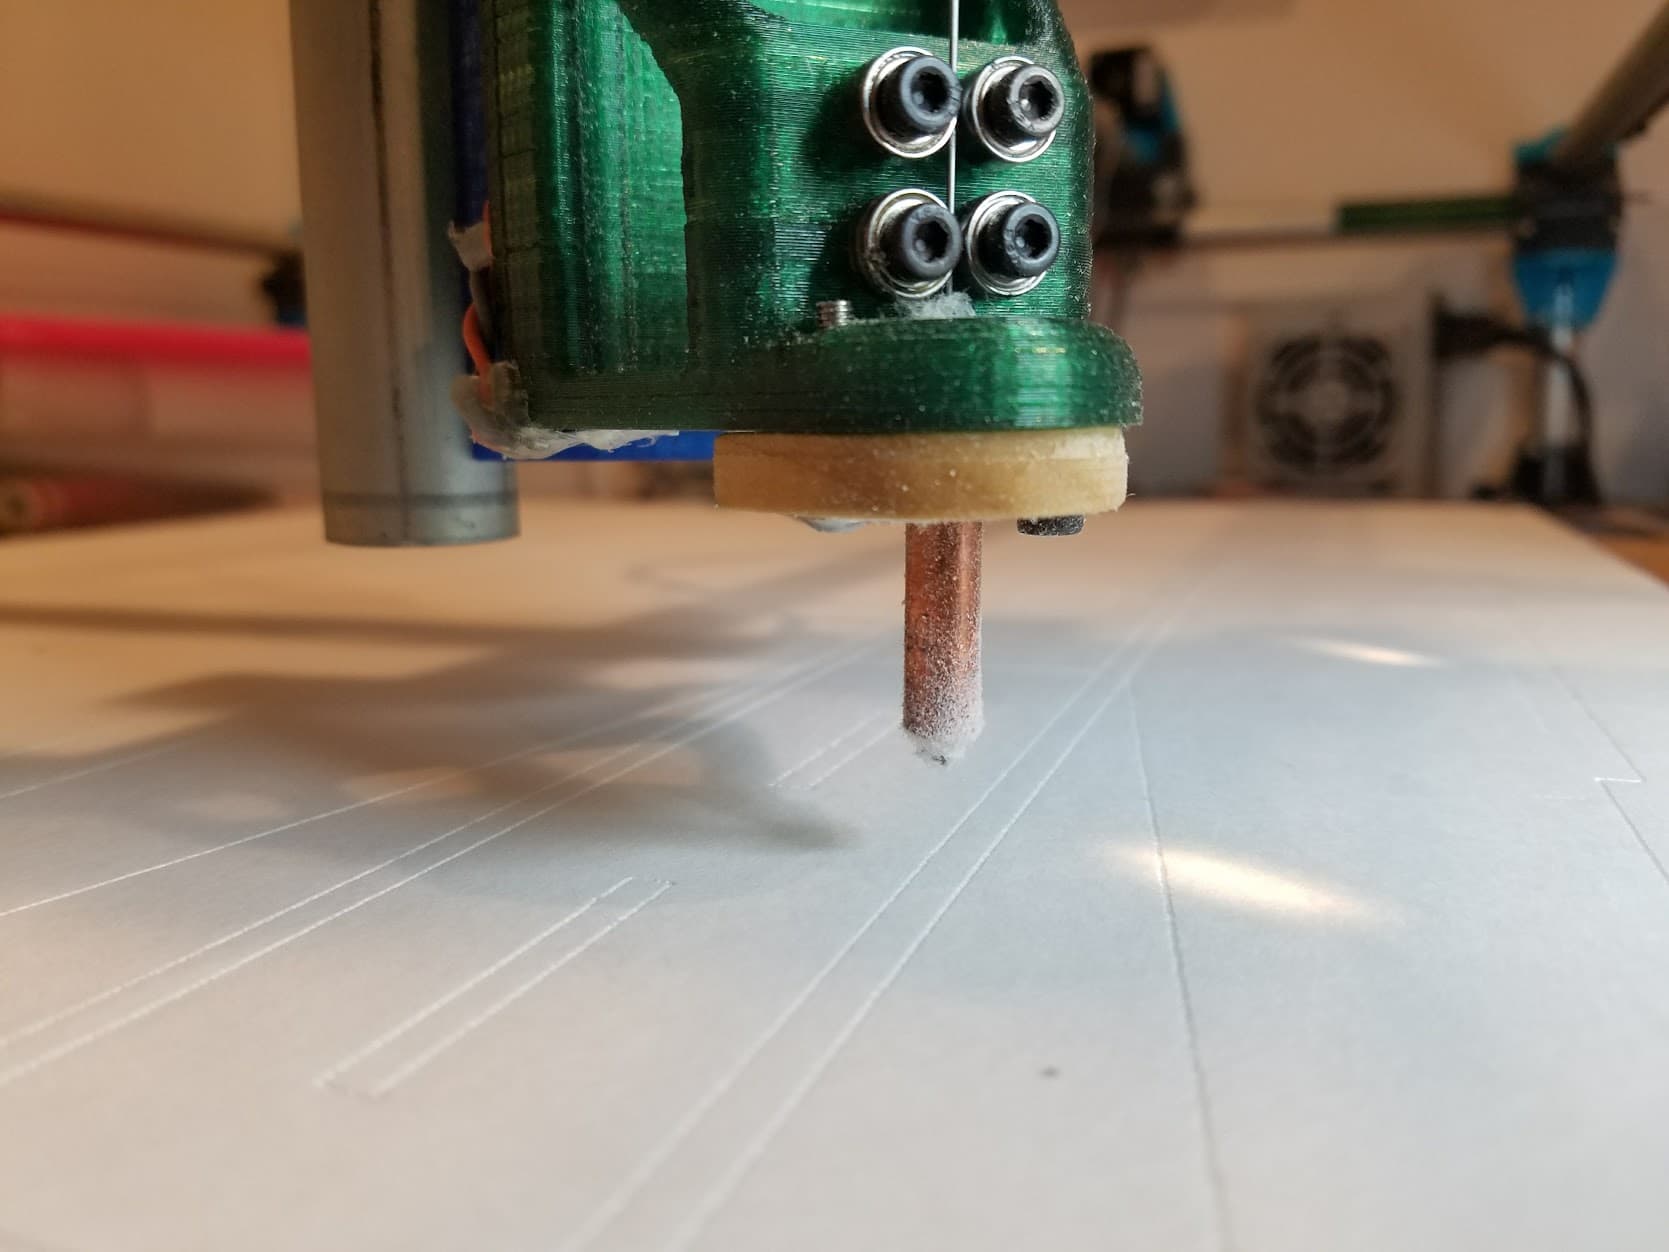
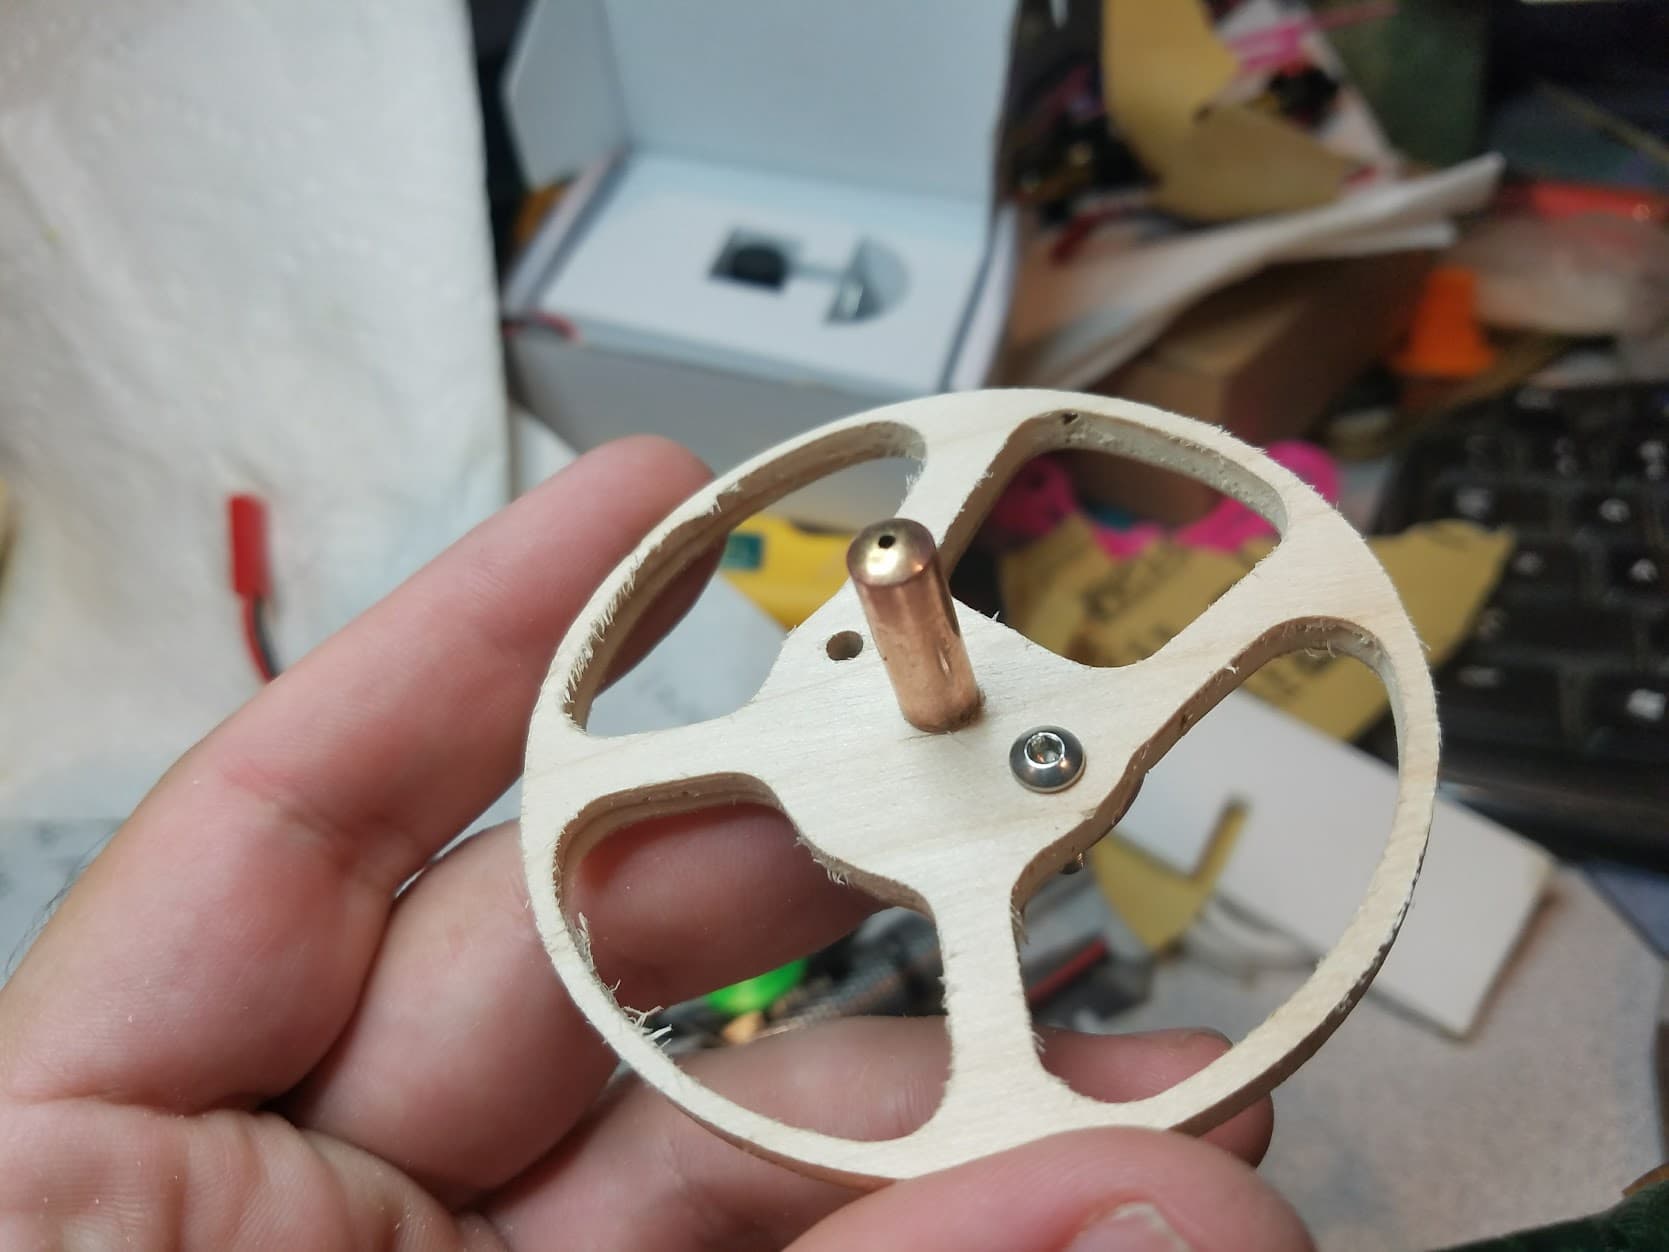
There also aren’t really any chips to clear with a needle cutter. Though - I suppose if you want to be extra careful the vacuum may be nice to help cut down on any micro-particles generated by the cutter. After cutting several sheets of foam back to back my needle would occasionally get a bit fuzzy:
I did help with a version that would fit a low rider - but I’m not sure where the files are. I do see a photo of the wood piece I made as an insulator in my history but that’s about it:
Basically it was just my design with the base tweaked some to fit like a Dewalt 611.
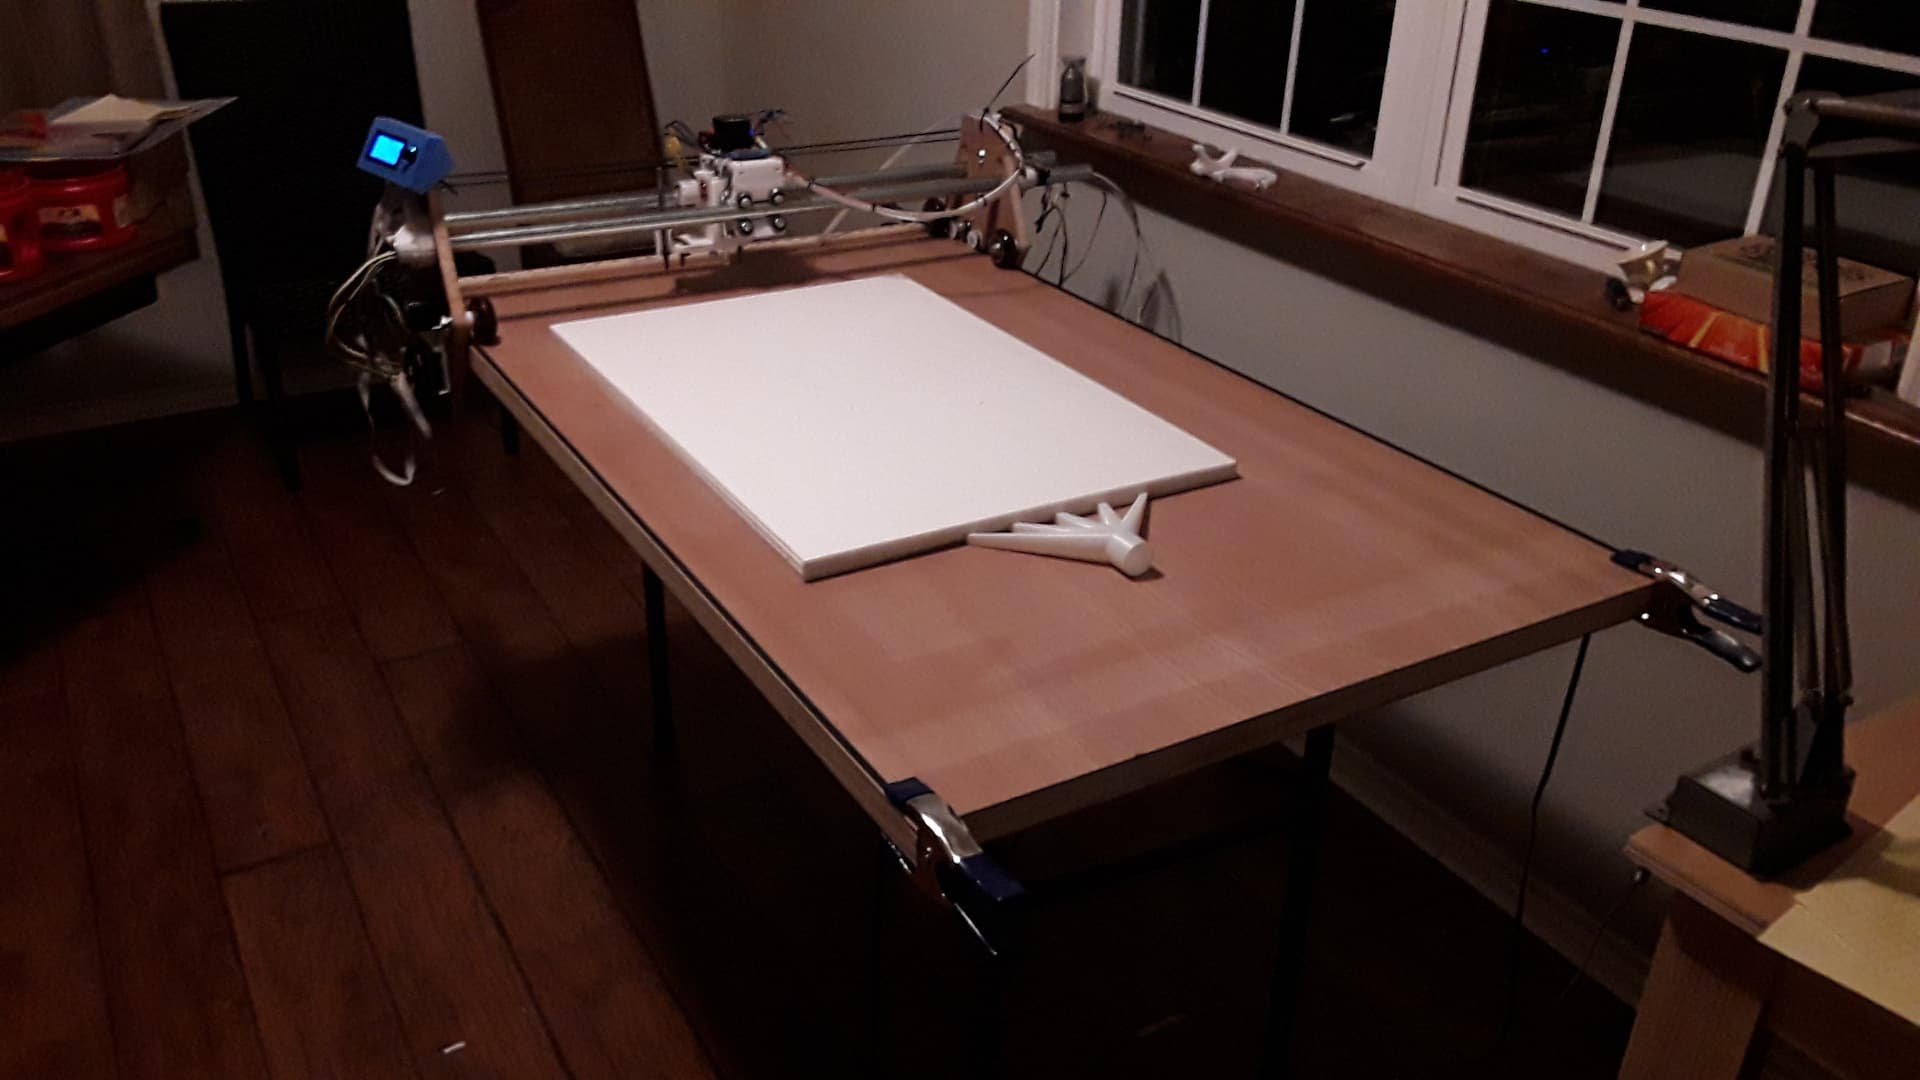
Unfortunately my own MPCNC has been mostly gathering dust the last few years. Suddenly finding myself a single parent of an 8 year old daughter in 2018 left me with very little time to duck out to the shop. And by the time she was old enough I could leave her unattended and sneak out there so much “stuff” had accumulated on the table I wasn’t able to get to the machine anymore.
But…that will hopefully be changing this year.
Last year my new partner and I bought a new house and for the first time in 17 years I actually have a garage again! But…my current 48"x48" MPCNC won’t fit in if I’m going to also park in there. We have plans to build me a workshop in the backyard - but that won’t happen for another year or two. So in the meantime I’m going to disassemble my MPCNC and re-assemble it as a smaller 2’x2’ machine that will fit on my workbench in the new garage. This will also give me an excuse to finally update to the latest designs. (my MCPC is still one of the very early designs with a complex and less stiff Z axis)
Of course…I need to finish moving out of my old house before I can do that. I thought I’d be done with that by now…but the combination of 17 years of accumulated “stuff”, holidays, and moving 2 houses into one has caused far more delays than I expected! I’m hoping to be done with the old house by April now and being able to fully focus on the new house and projects again.
I actually found a box with all the printed parts and hardware for an original LRv1 a week or two ago and am debating what to do with it. I don’t see any point in ever building an old design like that…but there’s a lot of hardware in there I hate to just toss. At the same time I don’t have time to disassemble it from the printed parts right now. Girlfriend is in favor of just pitching it…but I’m probably going to find a corner to tuck it away in until I can separate hardware from plastic
Hey, Jason! So very good to hear from you… and happy to hear that you’re all doing well. Samo-samo here, just getting older and slower. I’ve stopped scratch-building machines and spend more time lasering stuff with store-bought machines that I can pass down to my kids… that they might find useful (they have manuals!) rather than just a pain to dispose of.
I agree with your comments about heat and vacuum considerations. If I were to design and build another needle cutter, I think I’d laser-cut rather than print the bulk of it. I never had heat issues of any kind with my very earliest wood/metal needle cutters that cut tons of bluecore foam and entire fleets of RC foamy airplanes for my late flying/fishing/golfing buddy and me.
I also think I’d lean toward Ryan’s latest LR3/4 machines rather than another MPCNC-based needle cutter… or simply stick with my Moebeast-inspired FoamRipper that incorporates OUR DTFB vacuum-pad system. Lots of fun and good memories…
Exciting to hear about the new house and partner… congratulations! I can certainly sympathize with the pain involved in moving years of accumulated “wealth”. My last couple of moves I had hoped were my “last move”… but I suspect if I ever have to move again, I’ll be going to an “institution” where everything I own fits into a drawer. Hopefully not. I’ll be quite happy to spend the rest of my days right here where I am… surrounded by family and my “stuff”.
I wouldn’t/couldn’t throw out all that hardware. I’ve still got several totes full of hardware and printed parts from various projects… and still, on occasion, find I need a skate bearing, bolt, or short piece of conduit. But I really should start breaking stuff down… if for no other reason than to reduce the clutter my kids will have to deal with after I’m gone.
Anyway, it’s so good to hear from you… and my best to you and yours!
hey guys thanks for responding, always good info from you whenever i get you commenting on a topic. i really like your outrunner over motor flywheel design dkj4linux. ive been brainstorming how im going to make my interaction point between the needle and motor and im probably going to be doping something similar. i was already messing around with the idea of adding a weighted fly wheel. you guys are right though, about the heat. i think im going to remove some more material from the center of my model and plan to insert a wooden of phenolic tube that the welding tips will screw into. i might make a couple small aluminum heat sinks too but i want to keep this as off the shelf as i can so someone else that doesn’t have access to a machine shop and weird materials can make it. ill probably try to find a way to make a heat sink with parts from the hardware isle at the hardware store.
how did you guys power your cutter? ive been thinking on some ideas for this but i havnt landed on anything yet. ive got a really good battery charger that can pretty much output whatever i want but im not sure yet if this is what ill wind up doing.
as far as the vacuum goes it will honestly be more of a pain to remove the hose than to just leave it on and give it something to screw onto even if i dont wind up using it.
no plan survives first contact. so the needle cutter has gone through a couple design changes. let me know what you guys think
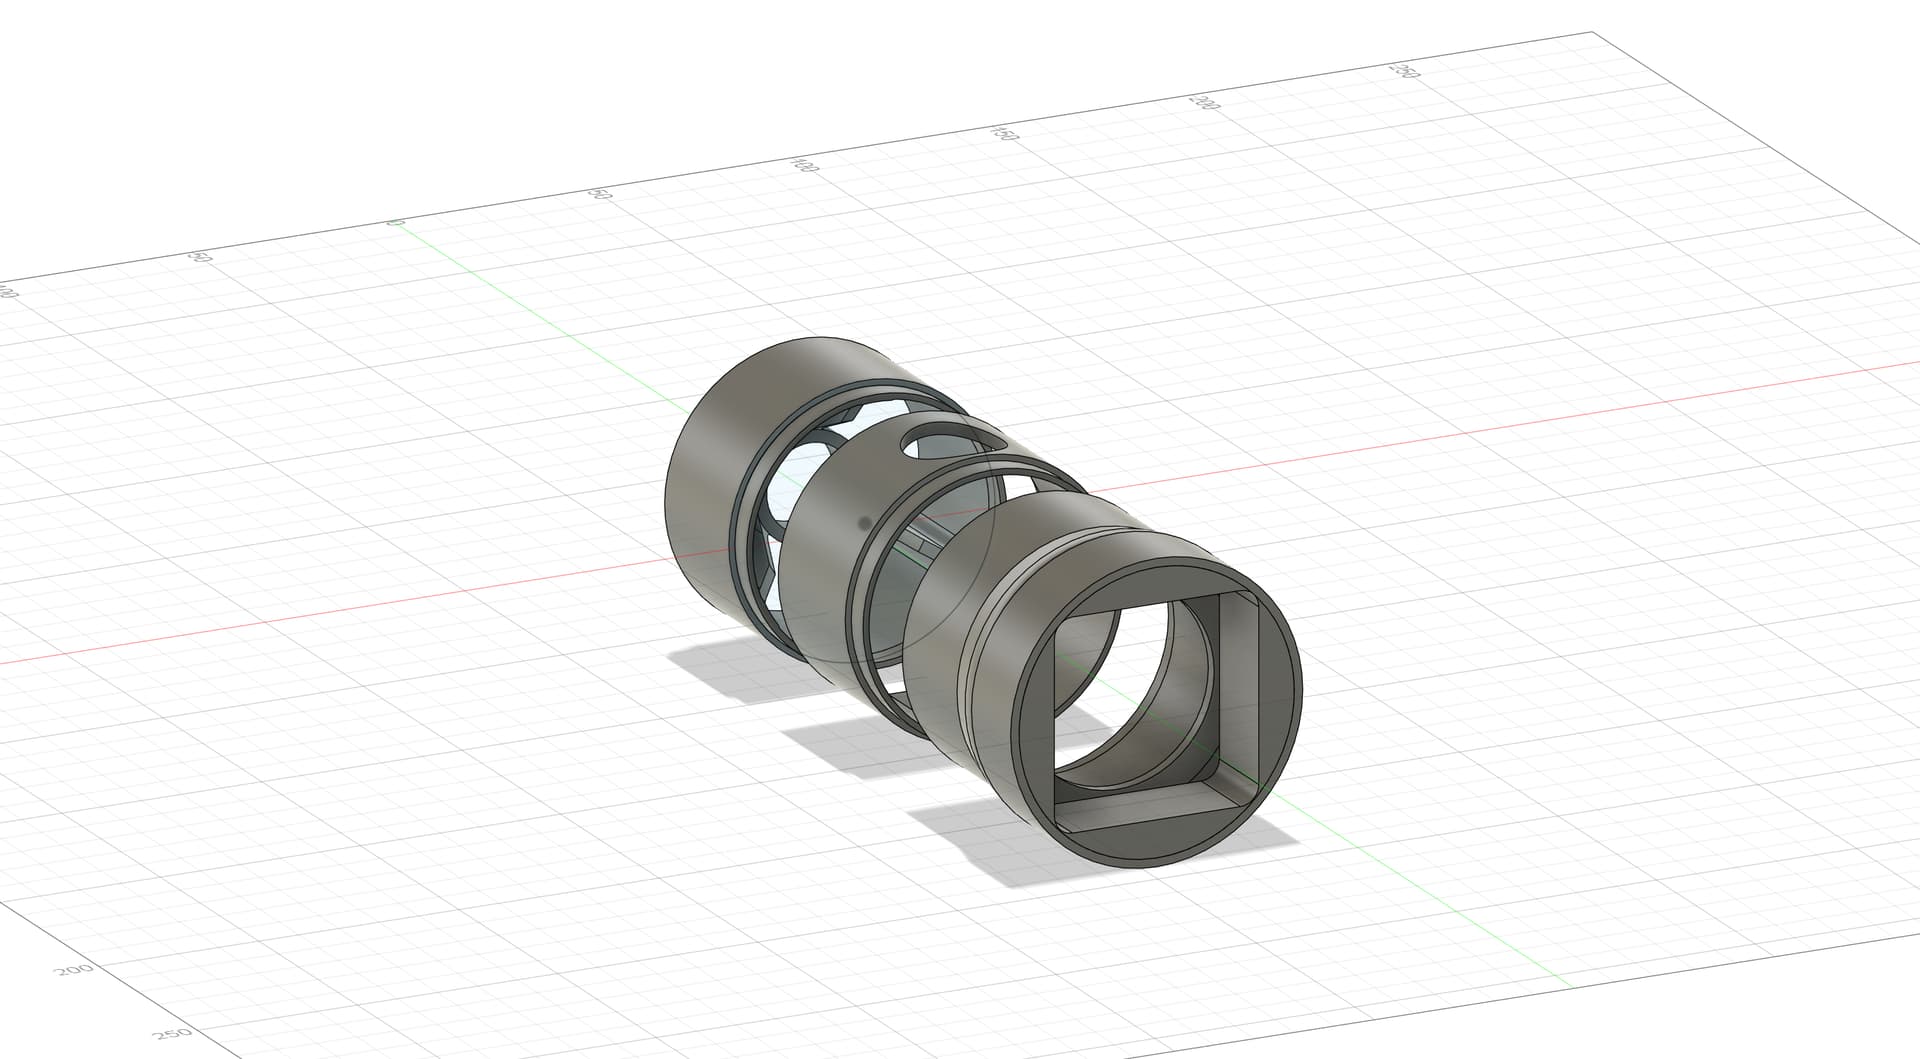
i scavenged a heat sink from a set of uber headlights that came out of a work vehicle. the heat sink itself fits into a 2o mm hole so the needle guides will screw into the top and bottom og that and it will just be inserted into the lower piece of the needle cutter body. its held in place by a couple 0-rings and friction.
i altered the top end to remove the vacuum and just imported a 50mm fan from mc-master carr. hopefully their cad files are accurate to what actually shows up when you order something.
heres a link to see it in a 360 view if so desired