Hello V1 Engineering Community!
I’m excited to finally start my build thread and share my journey with the LowRider 3! This community has been a huge inspiration and resource throughout the process, and I’m looking forward to contributing back with my own build details.
The Build Overview
I wanted to push the envelope a bit with my LowRider 3 build, so I incorporated some custom elements that I hope you’ll find interesting:
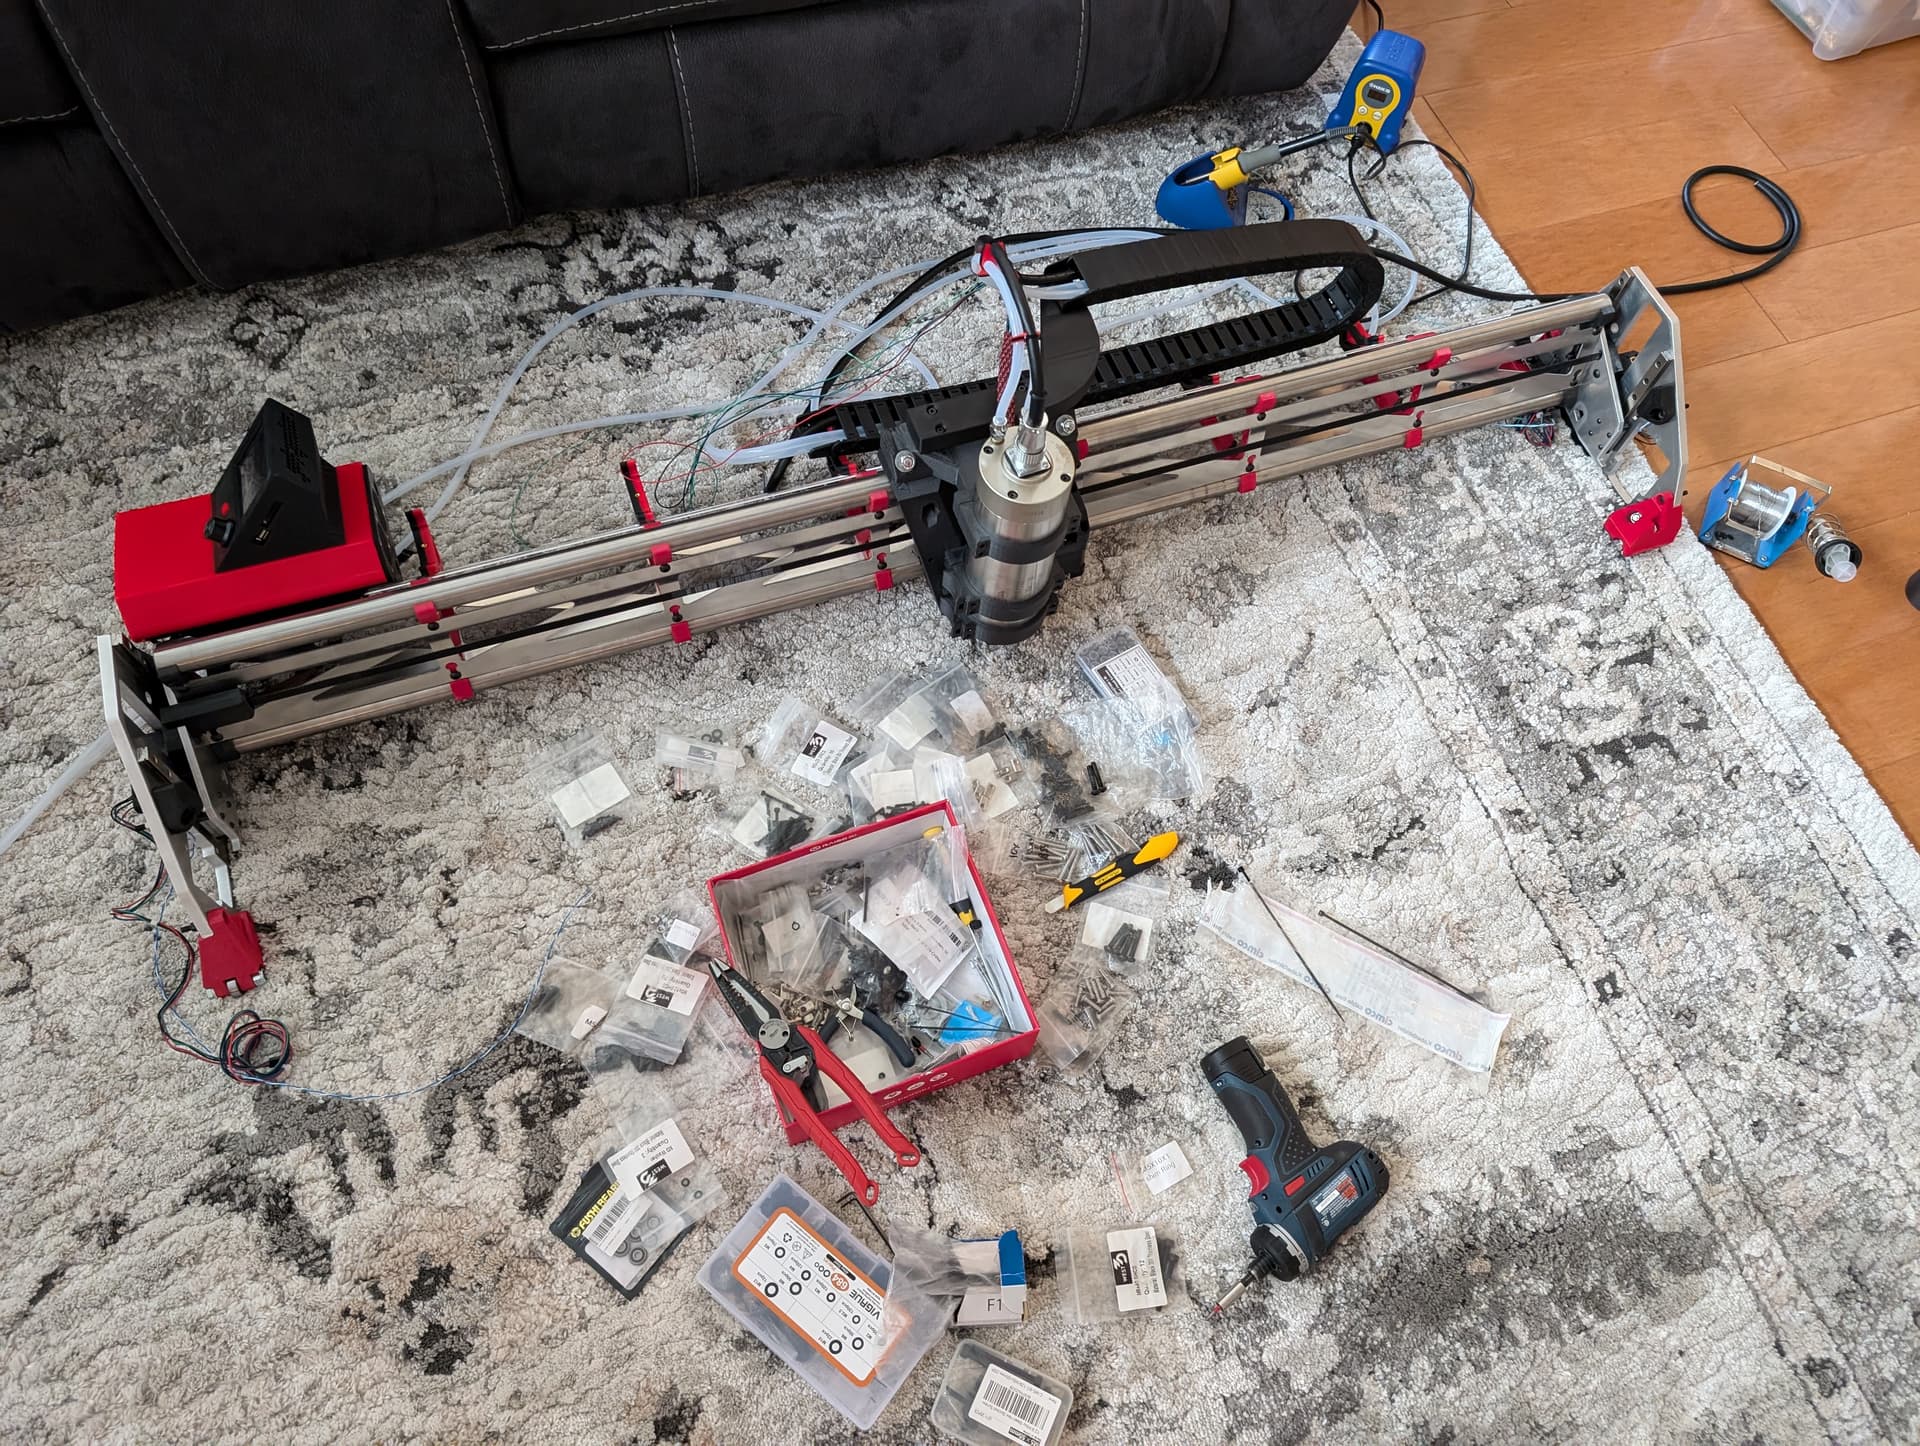
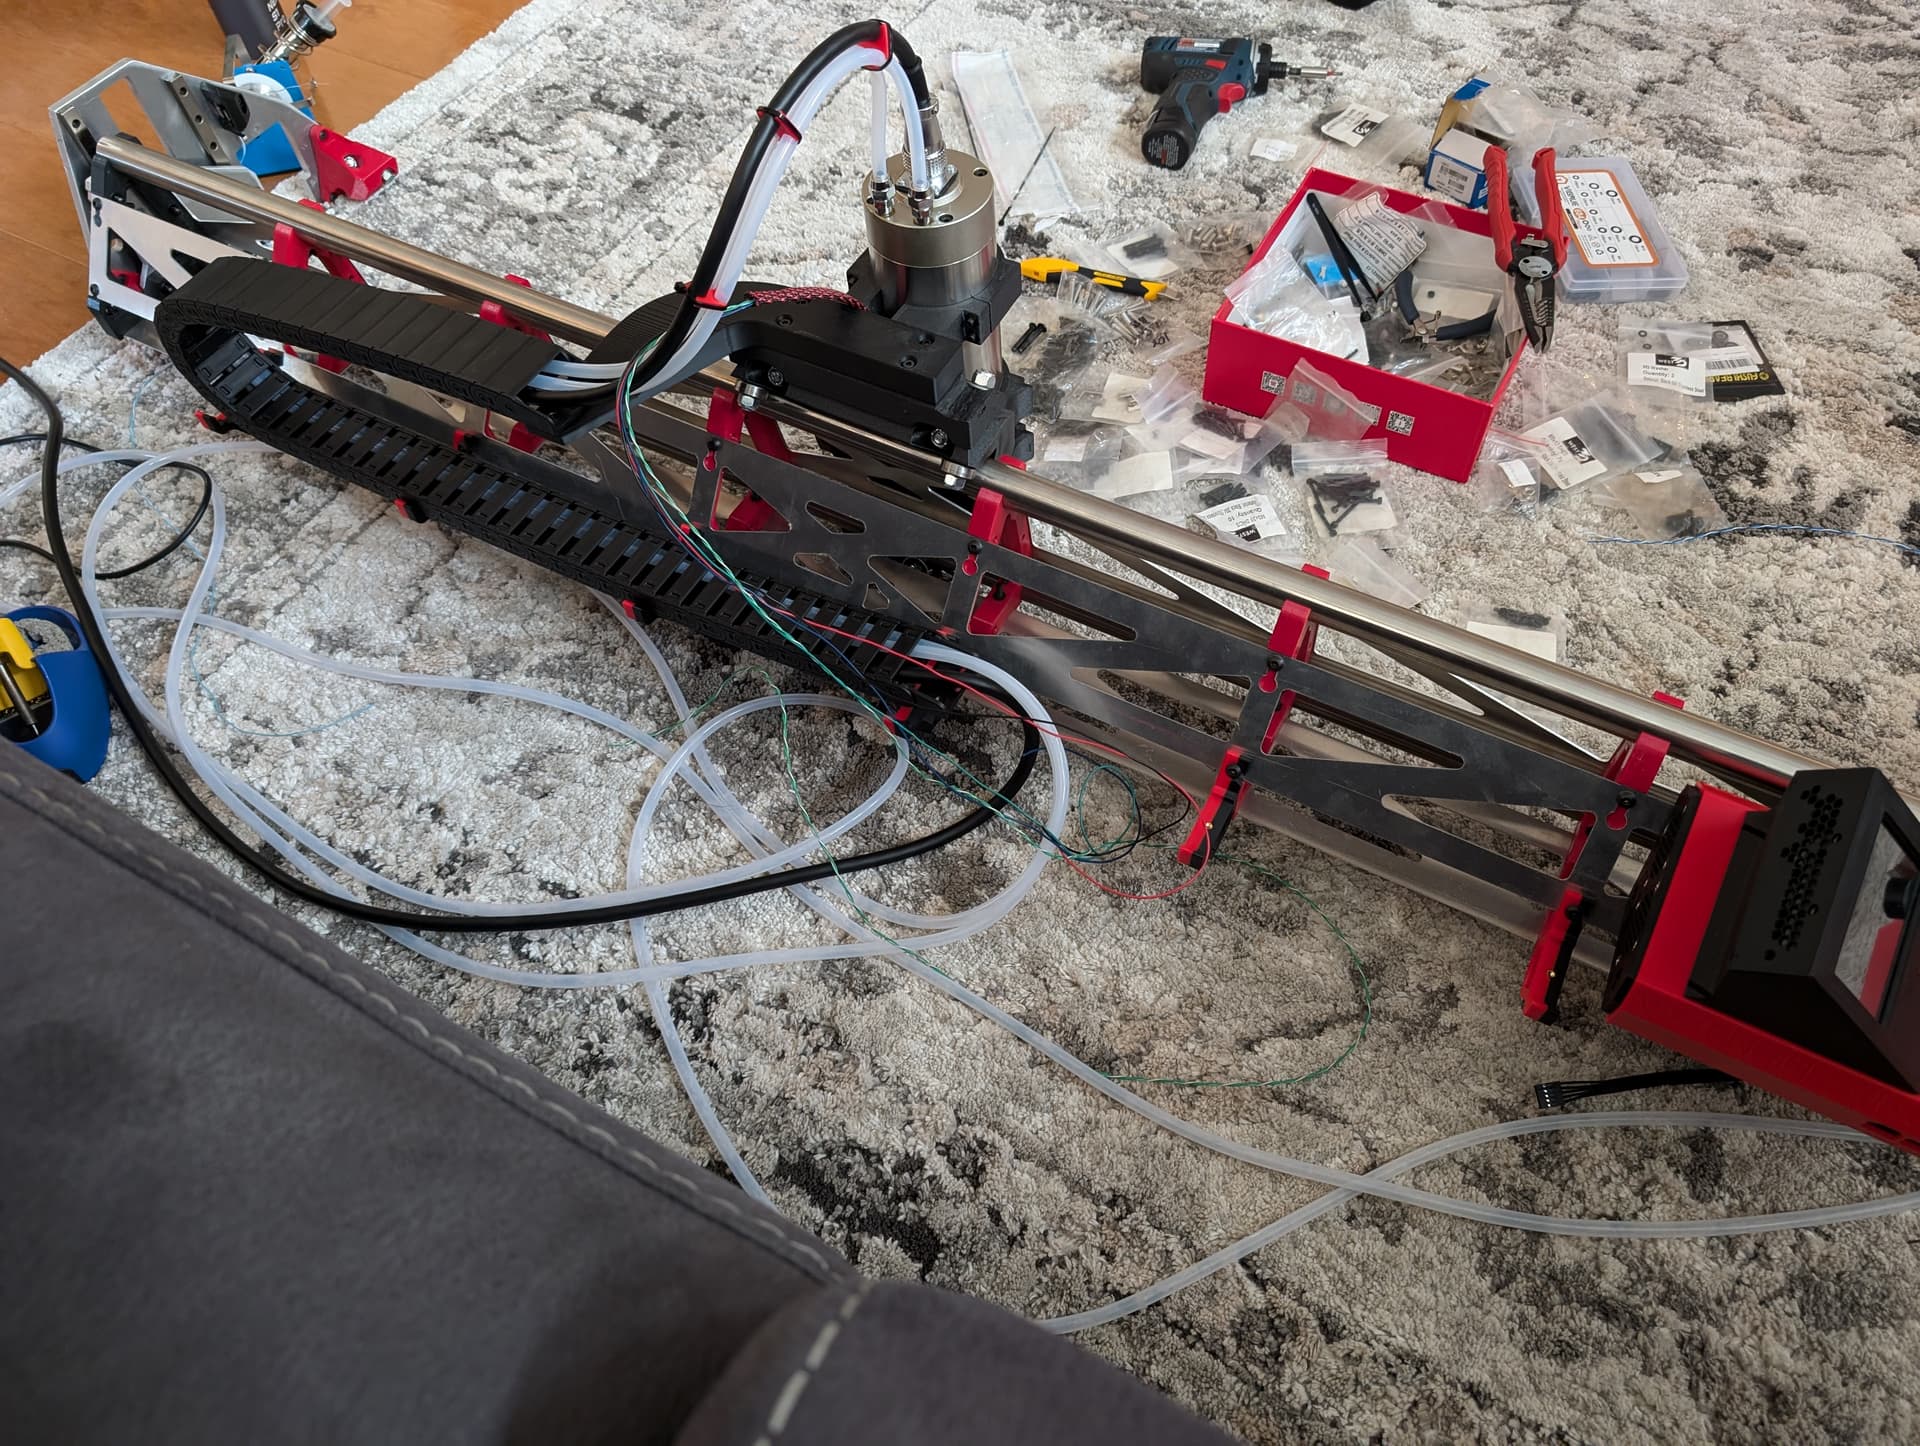
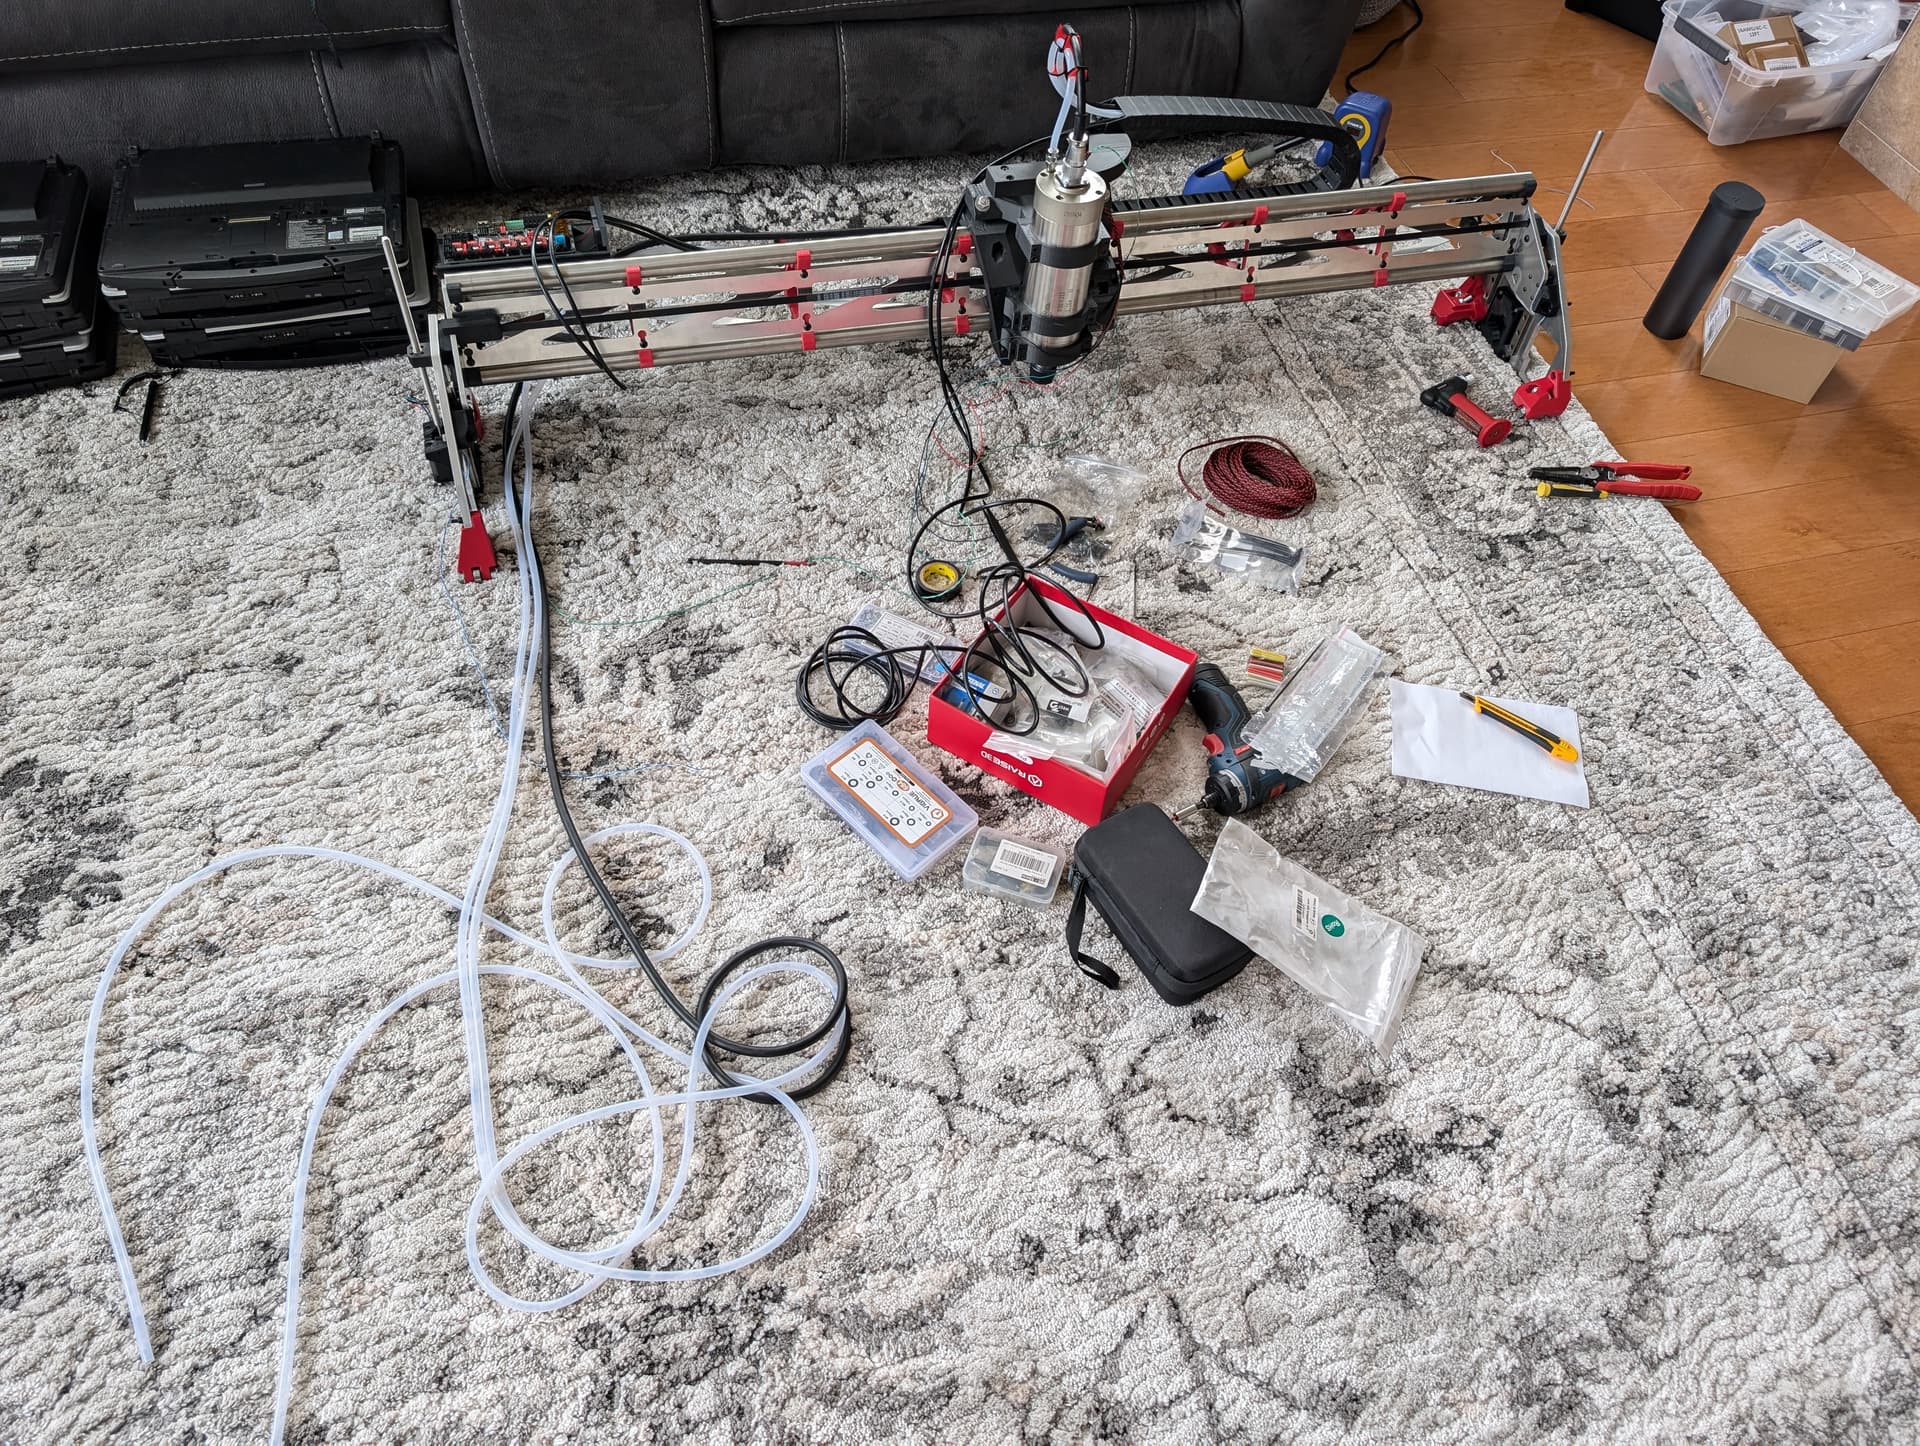
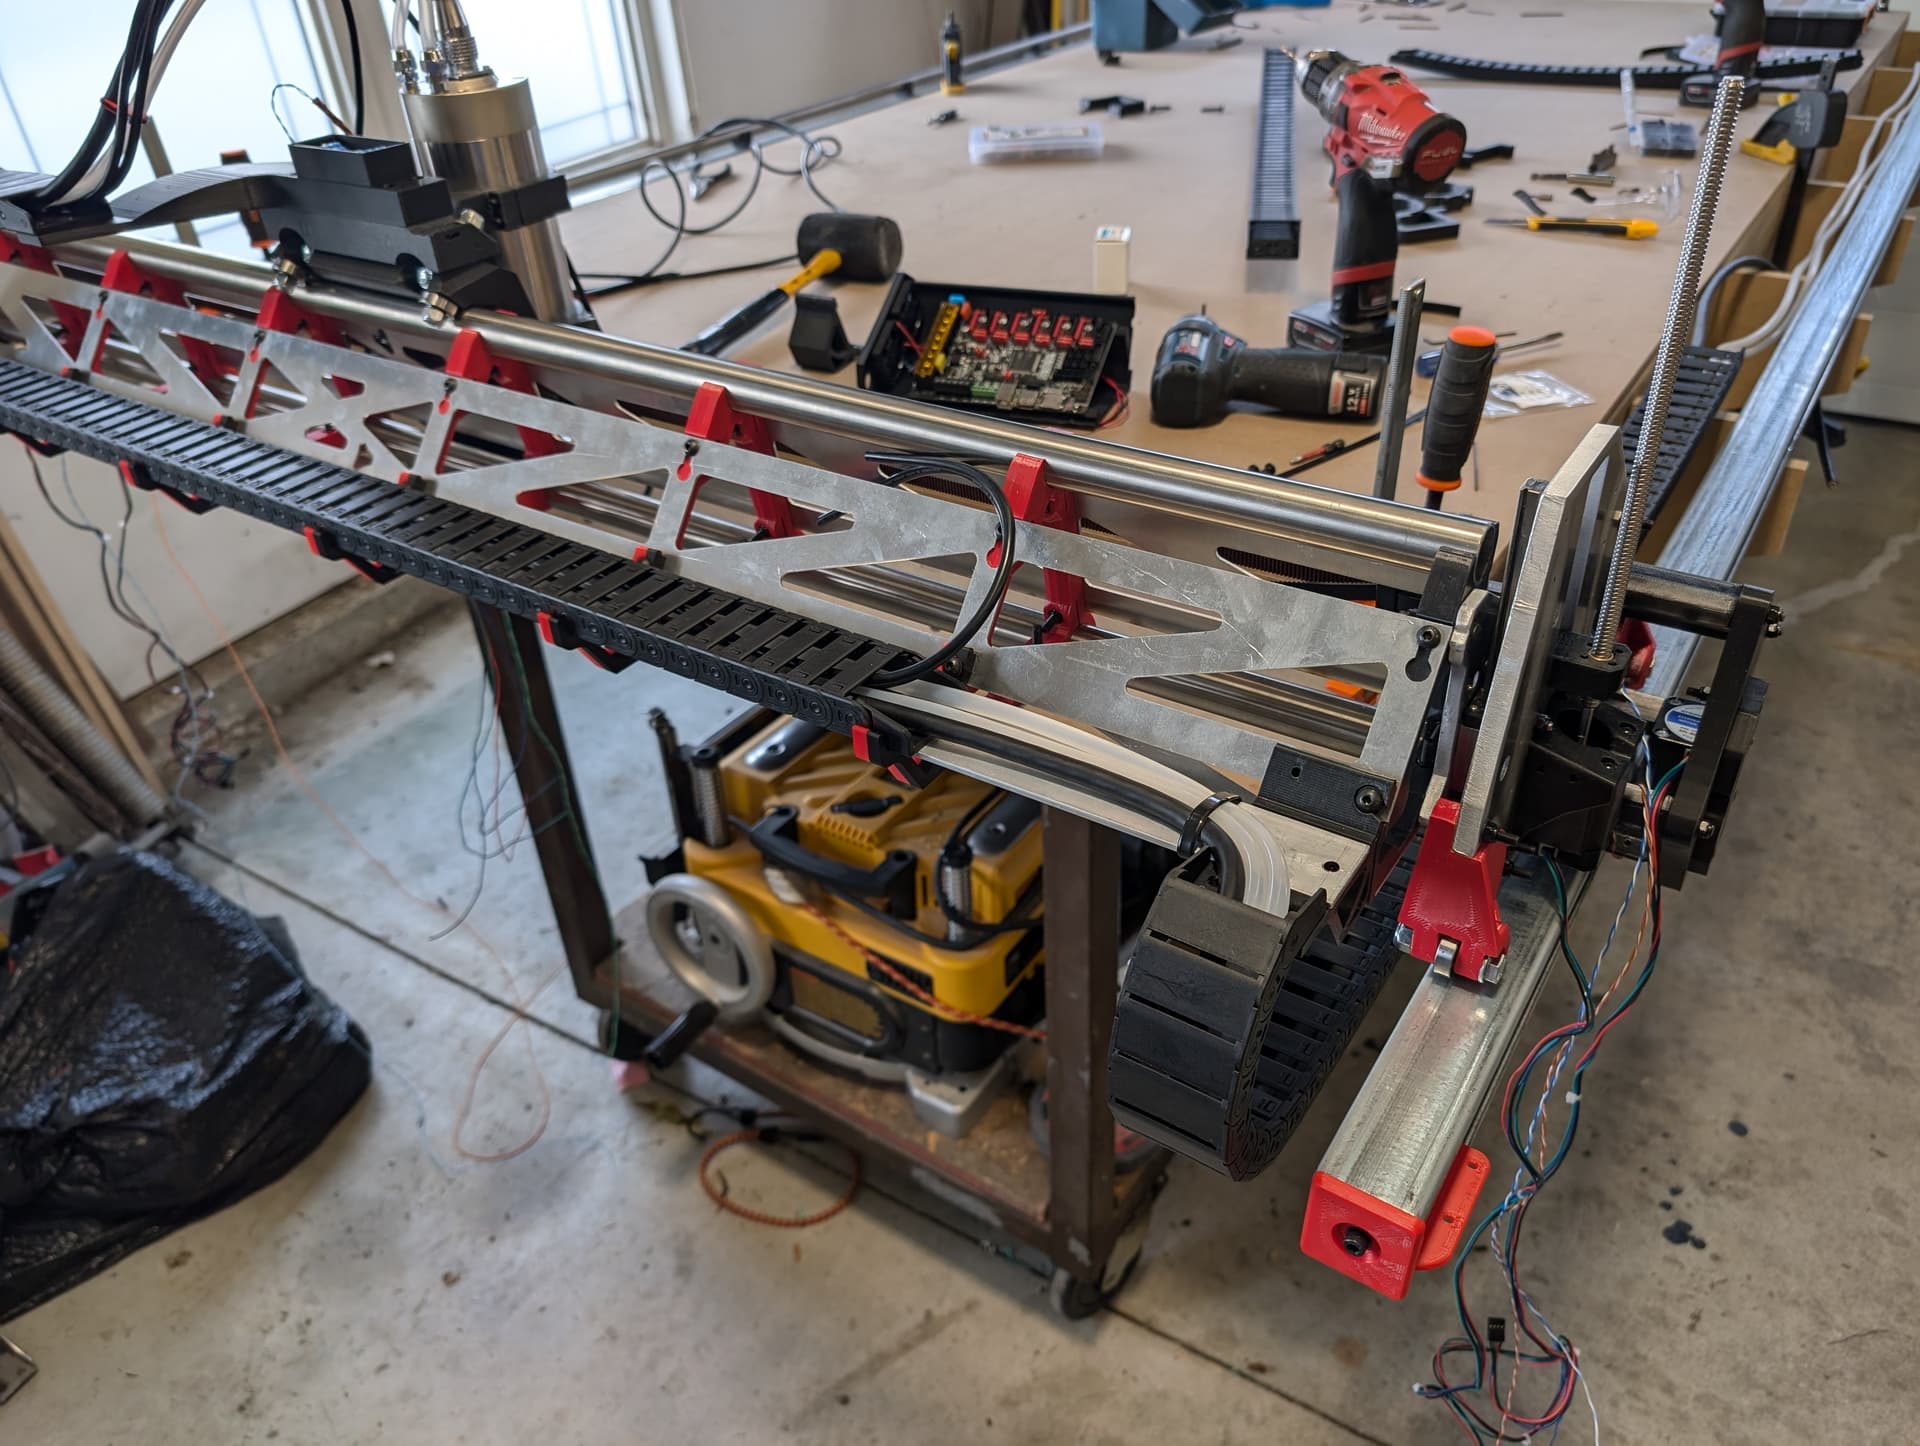
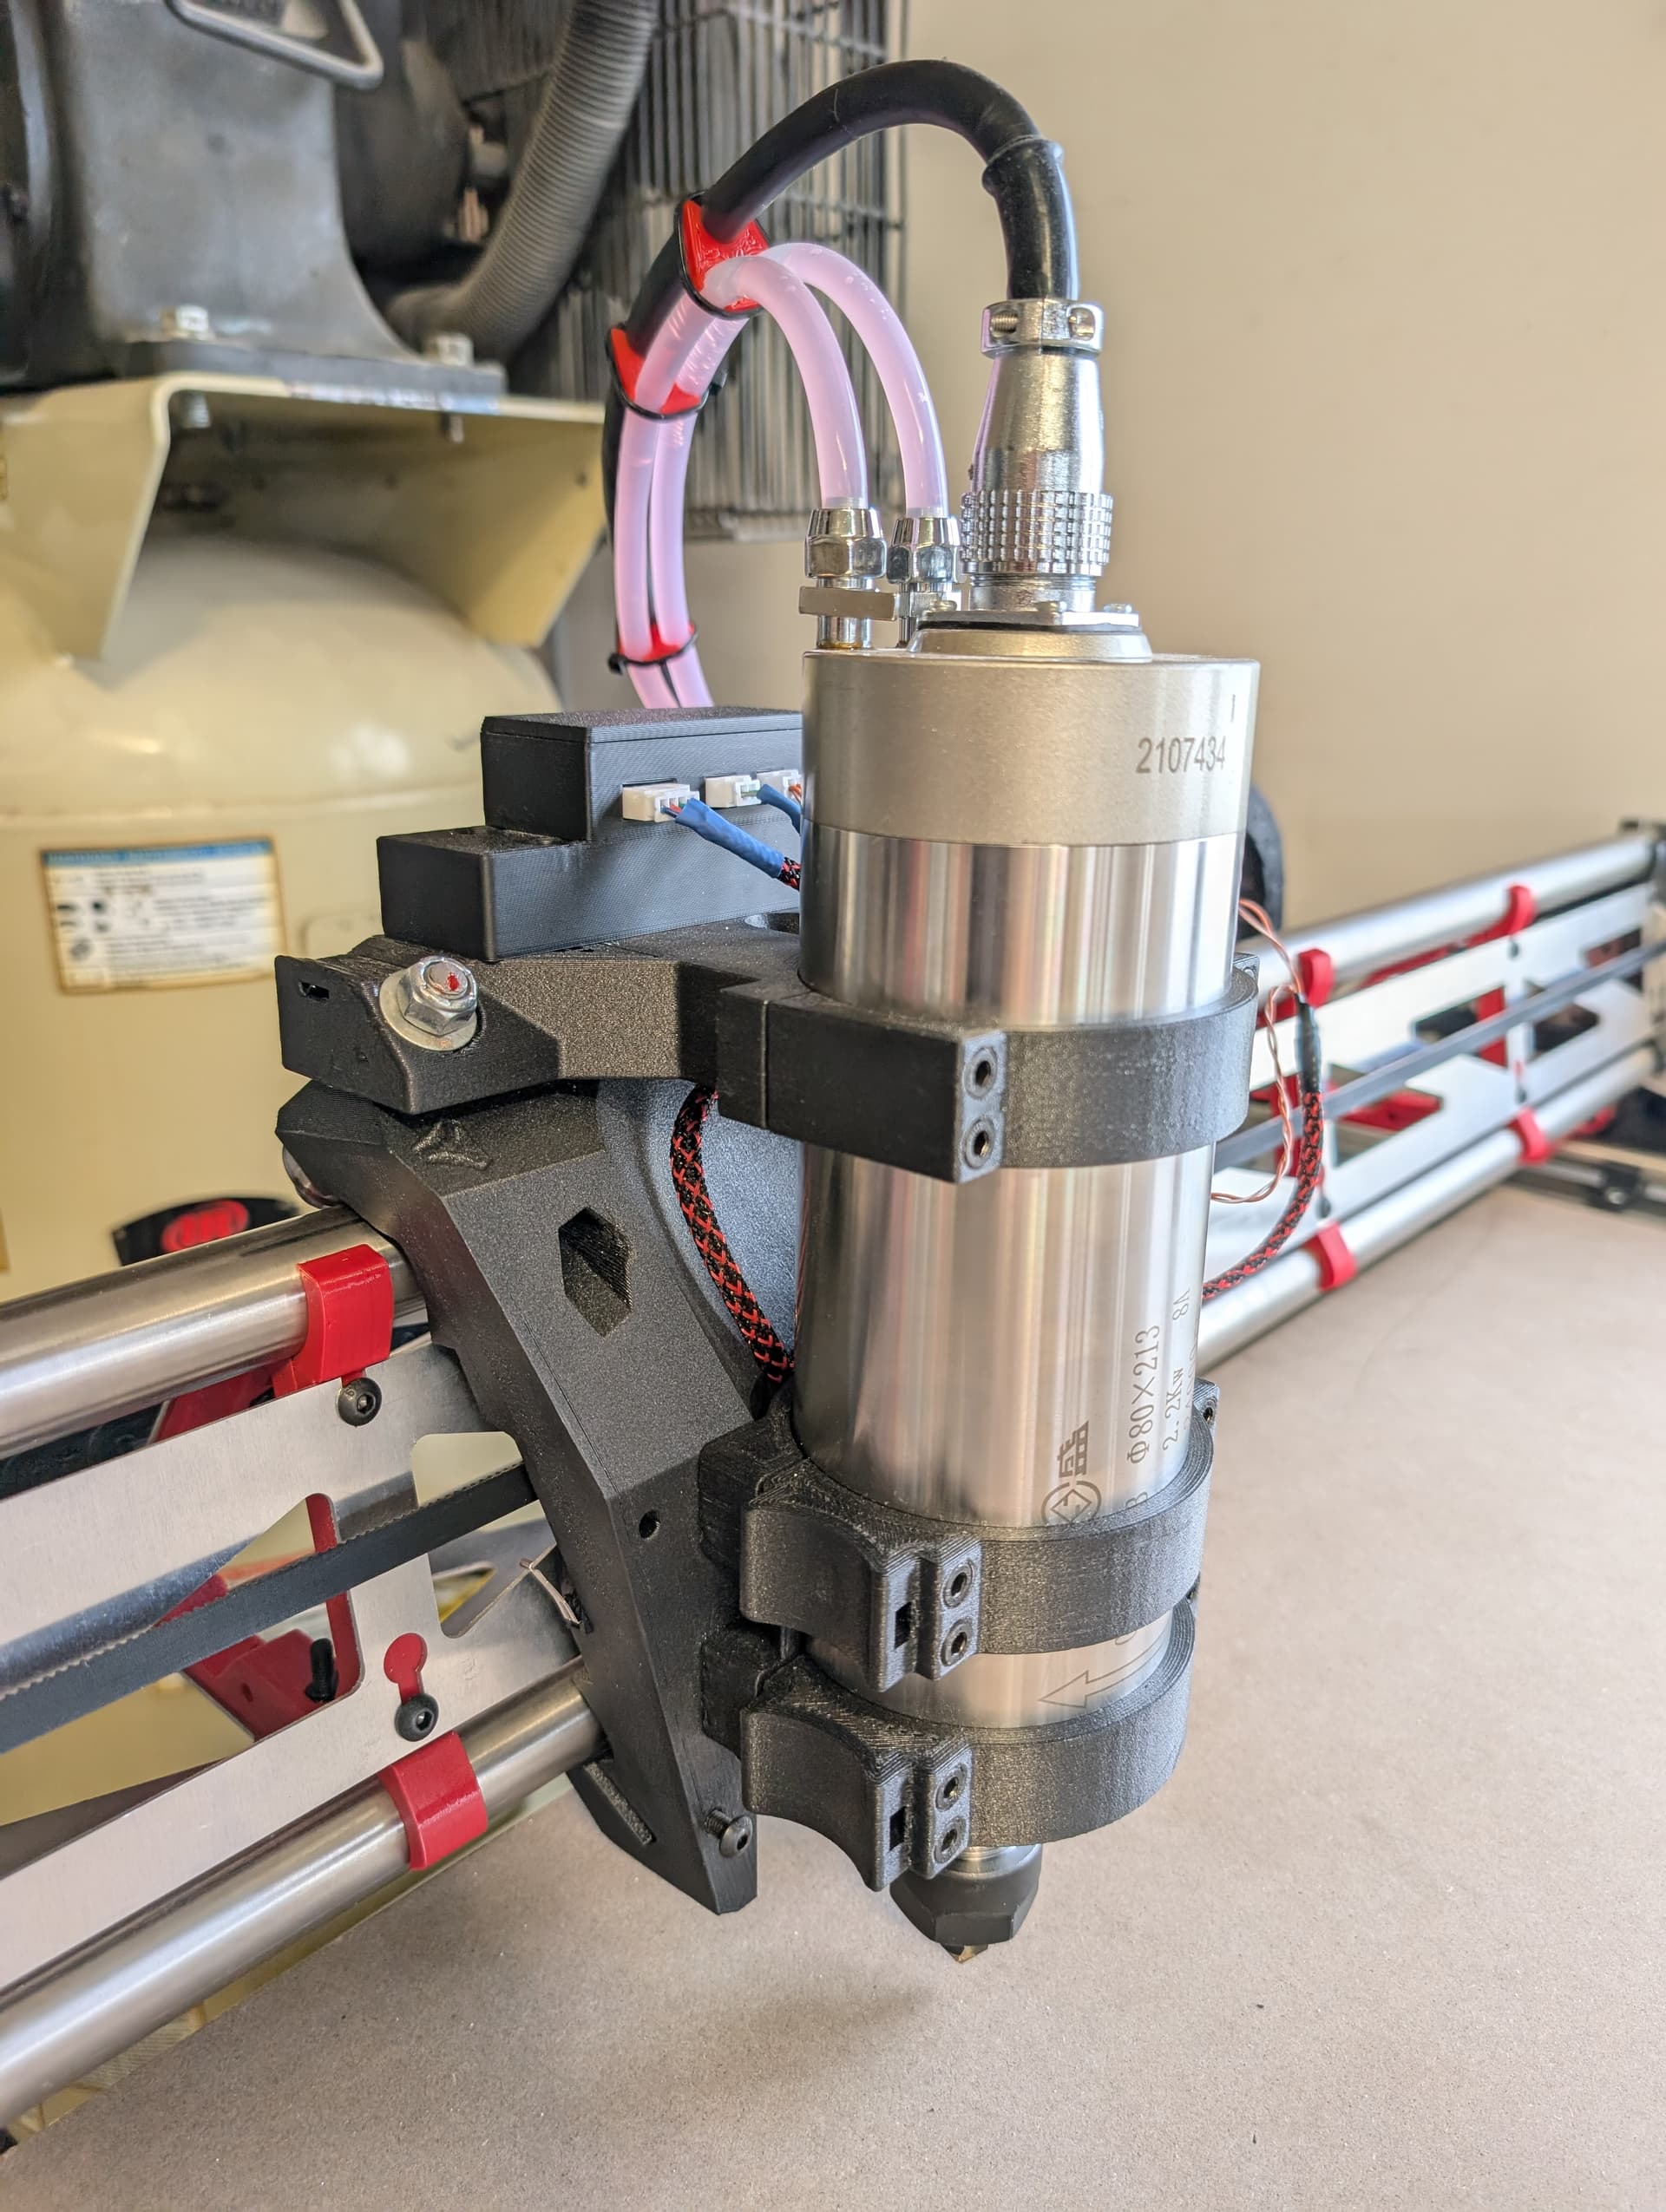
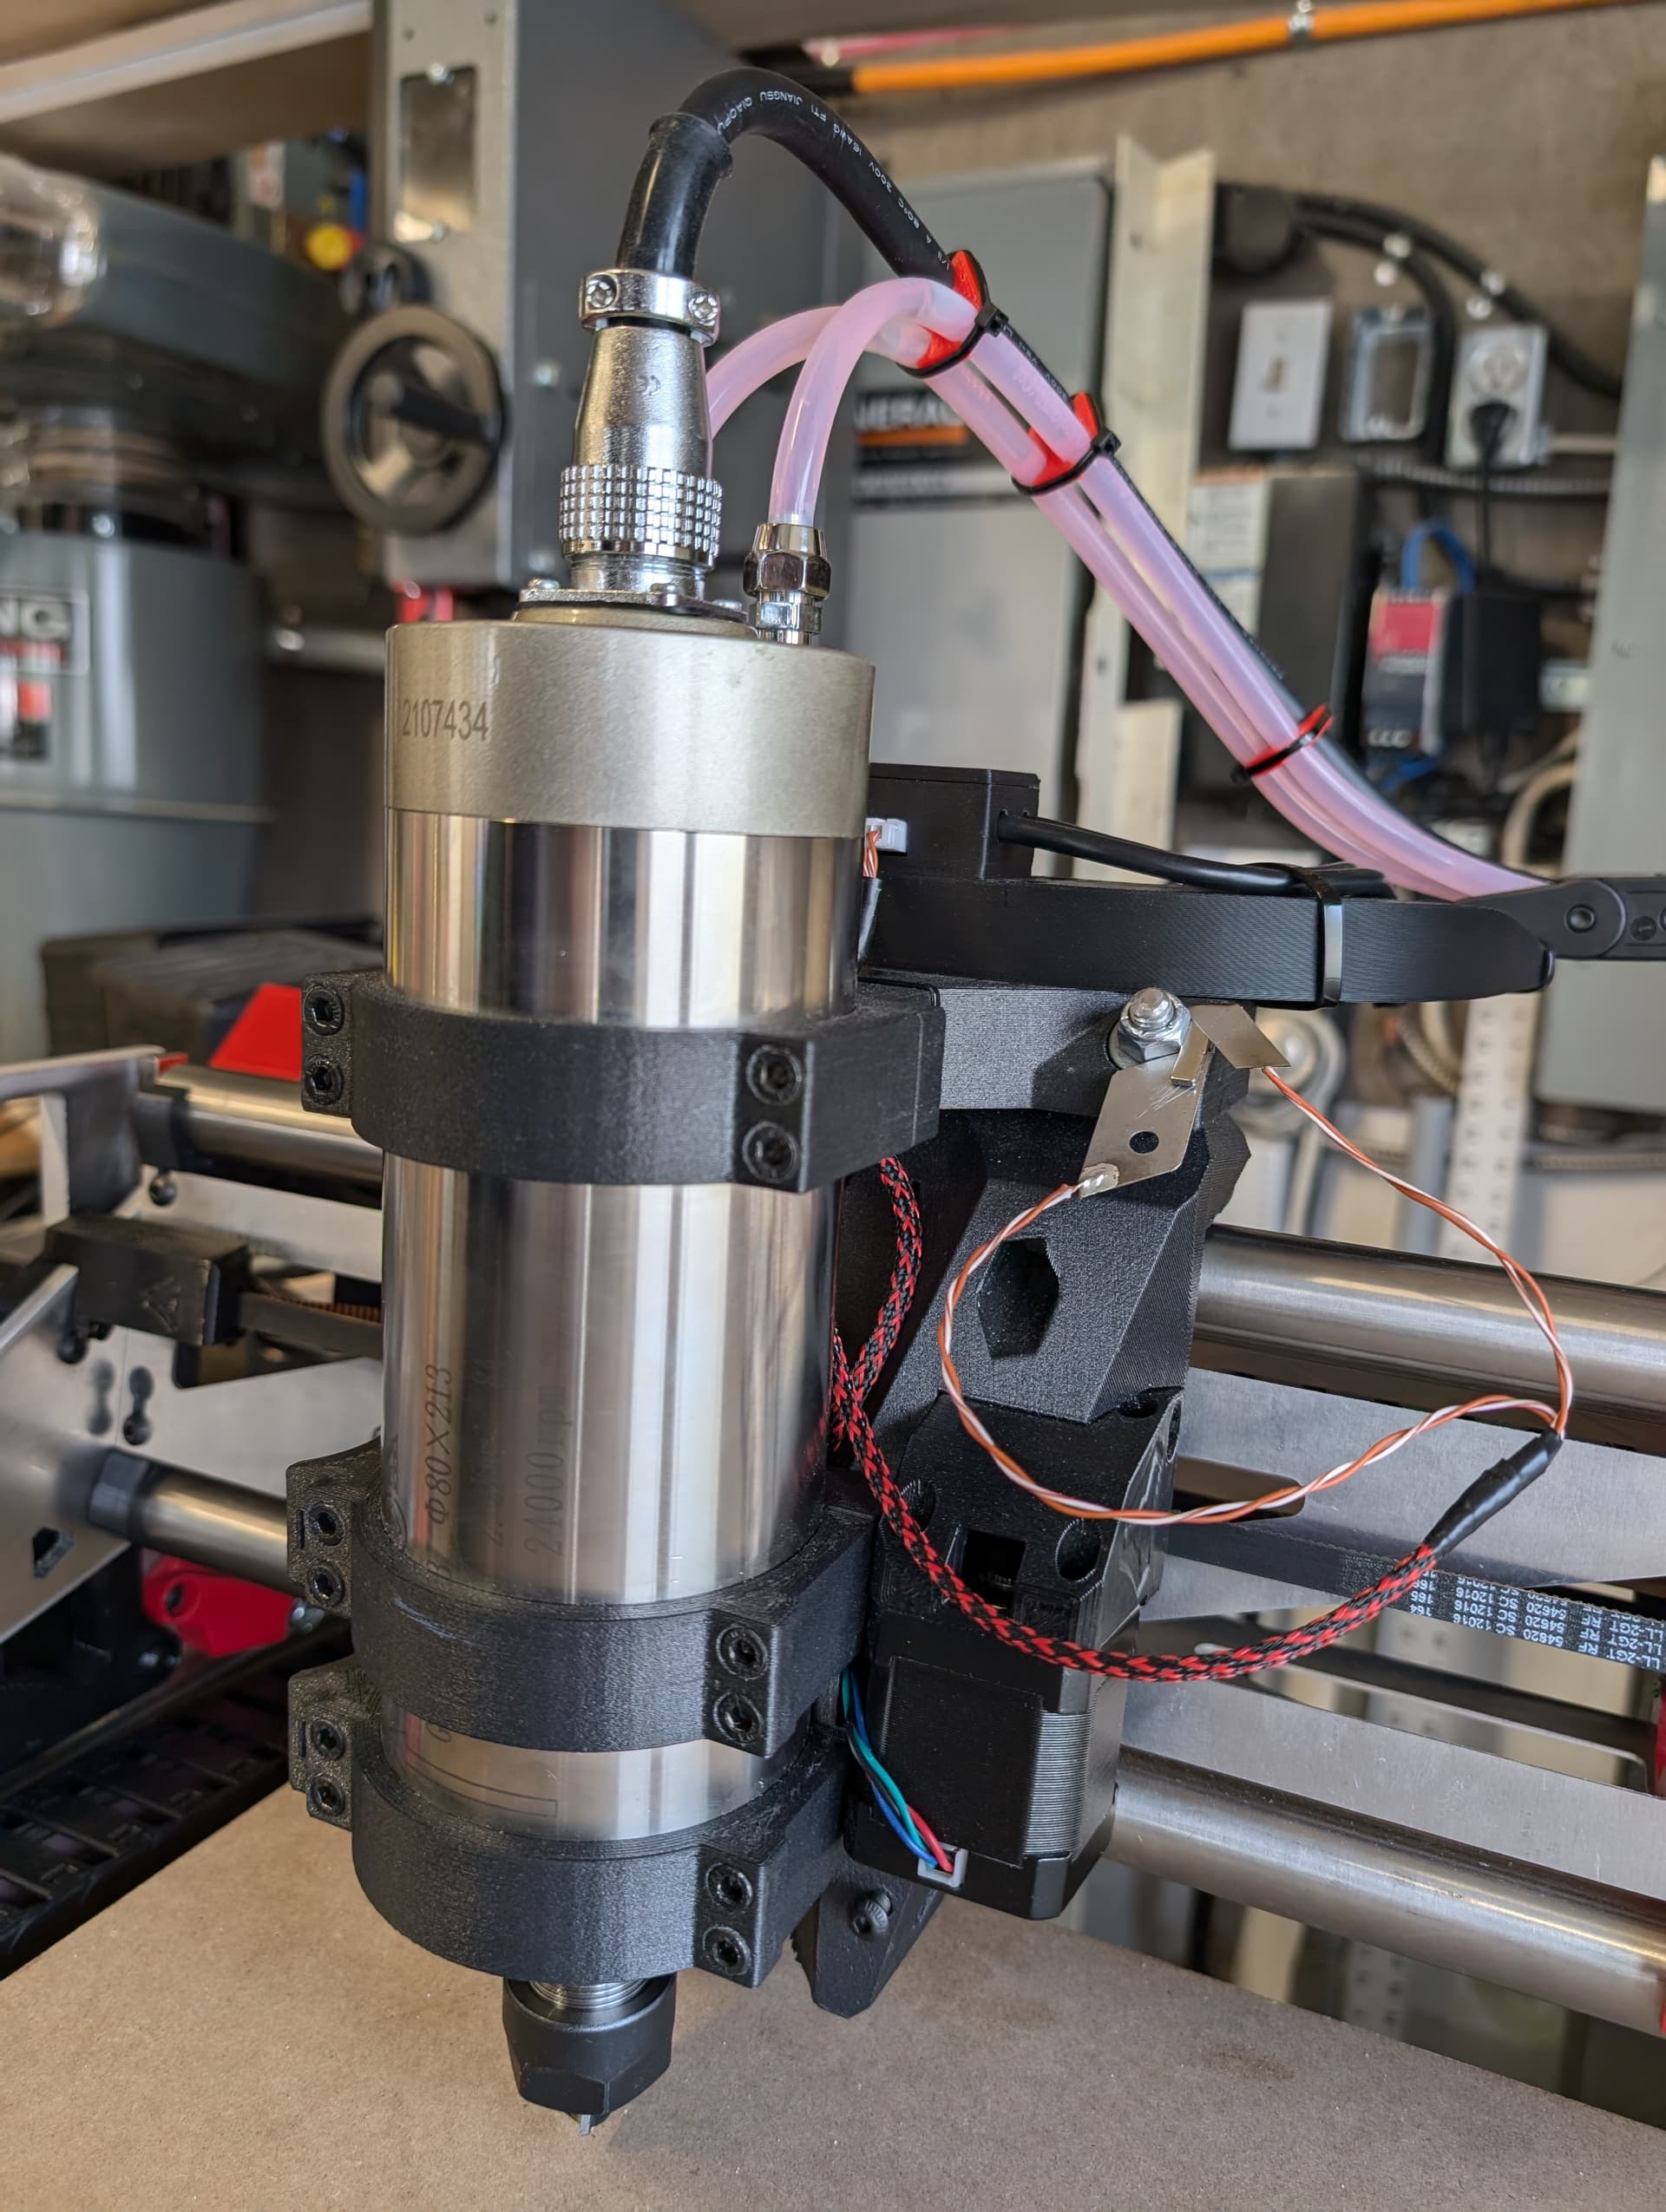
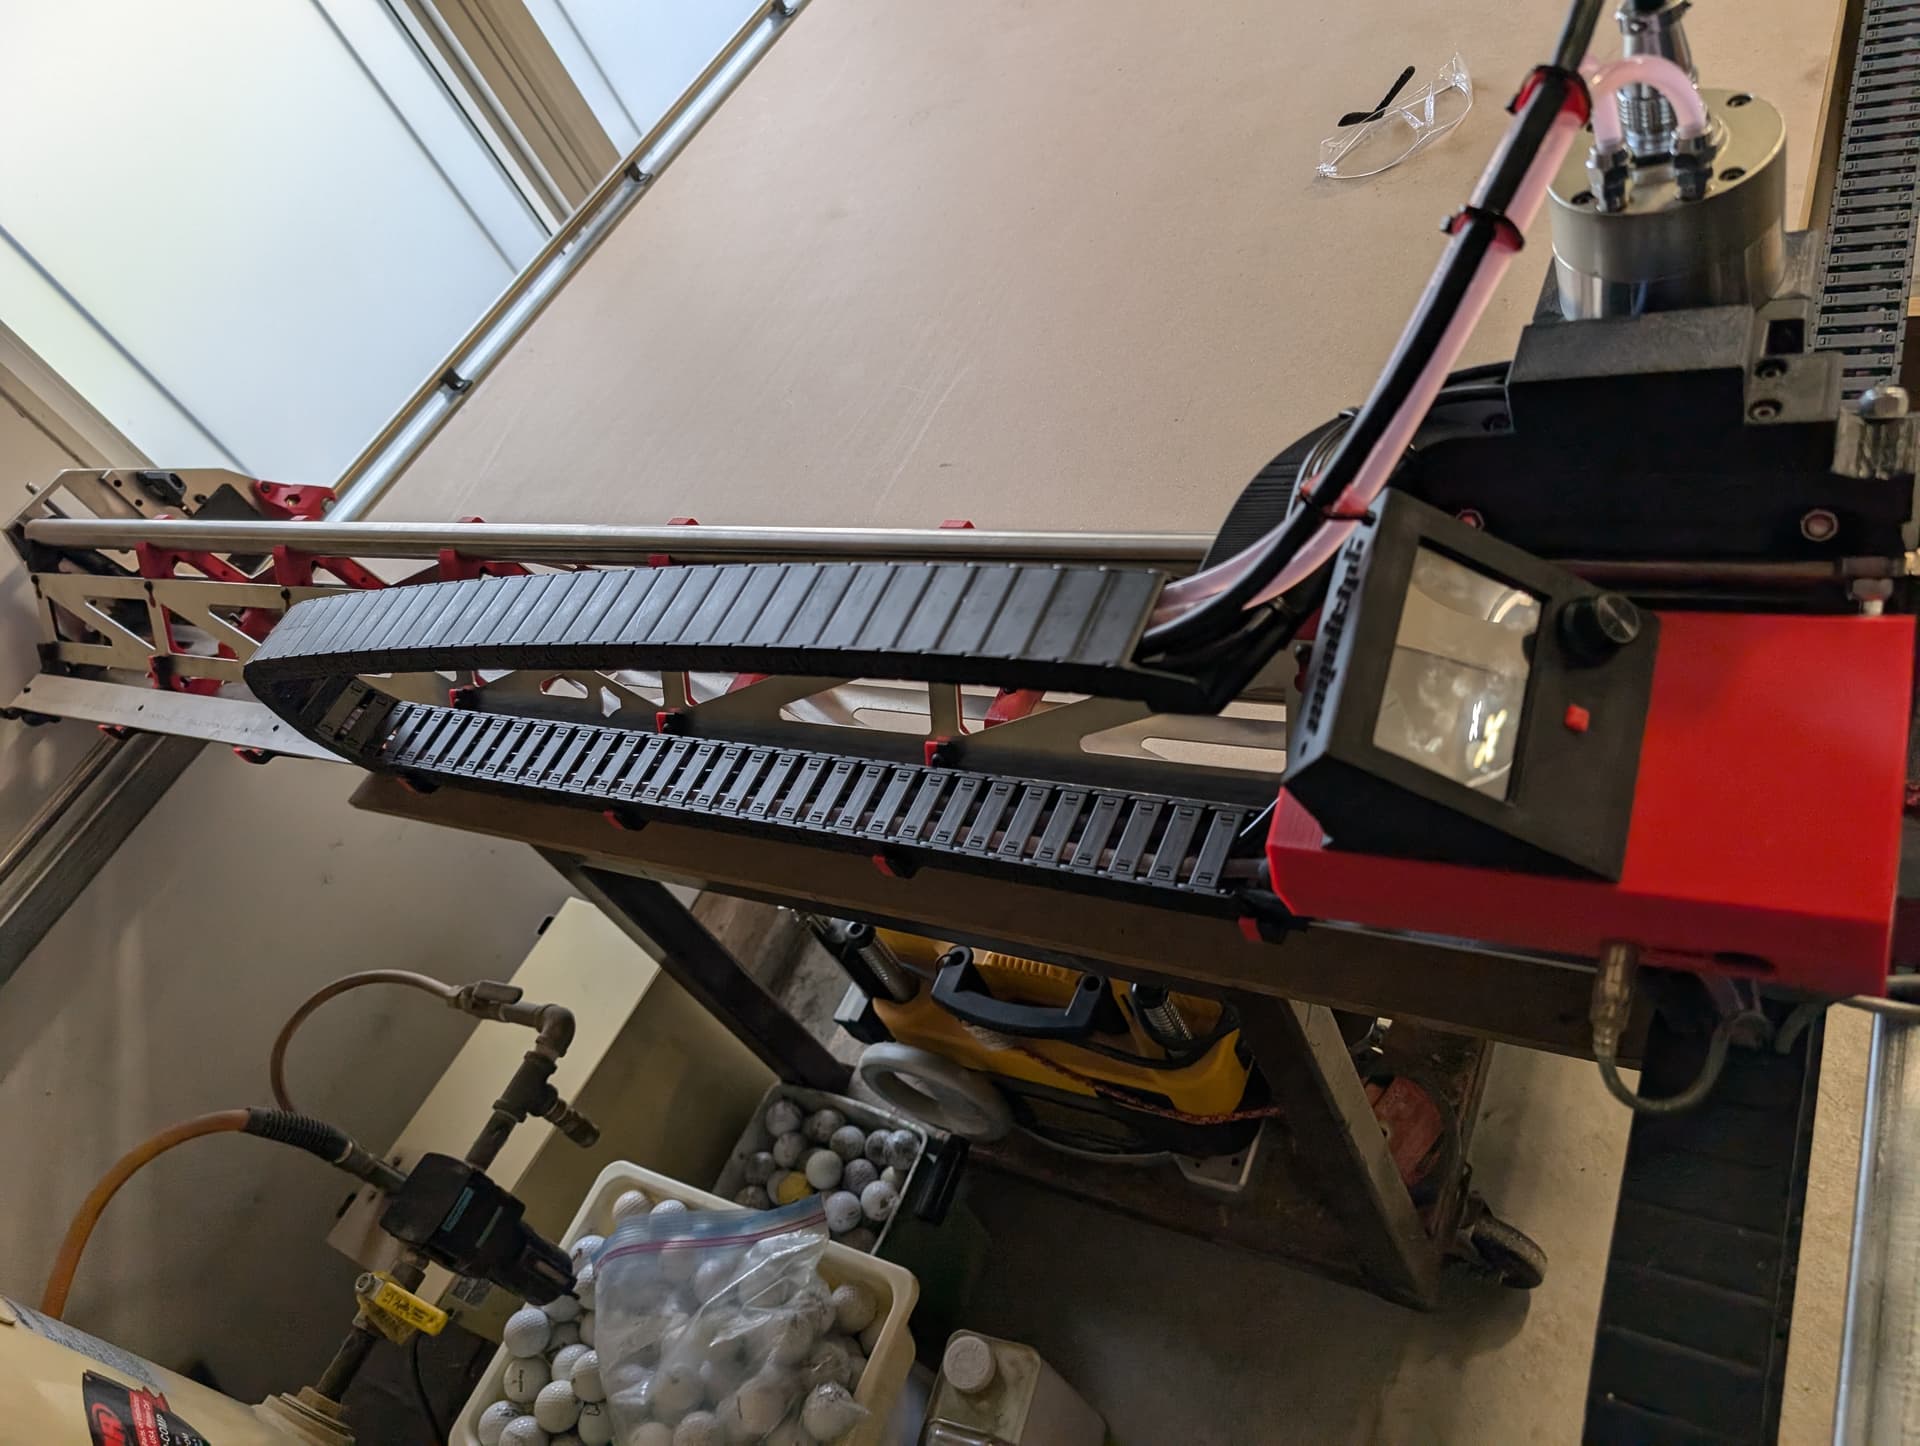
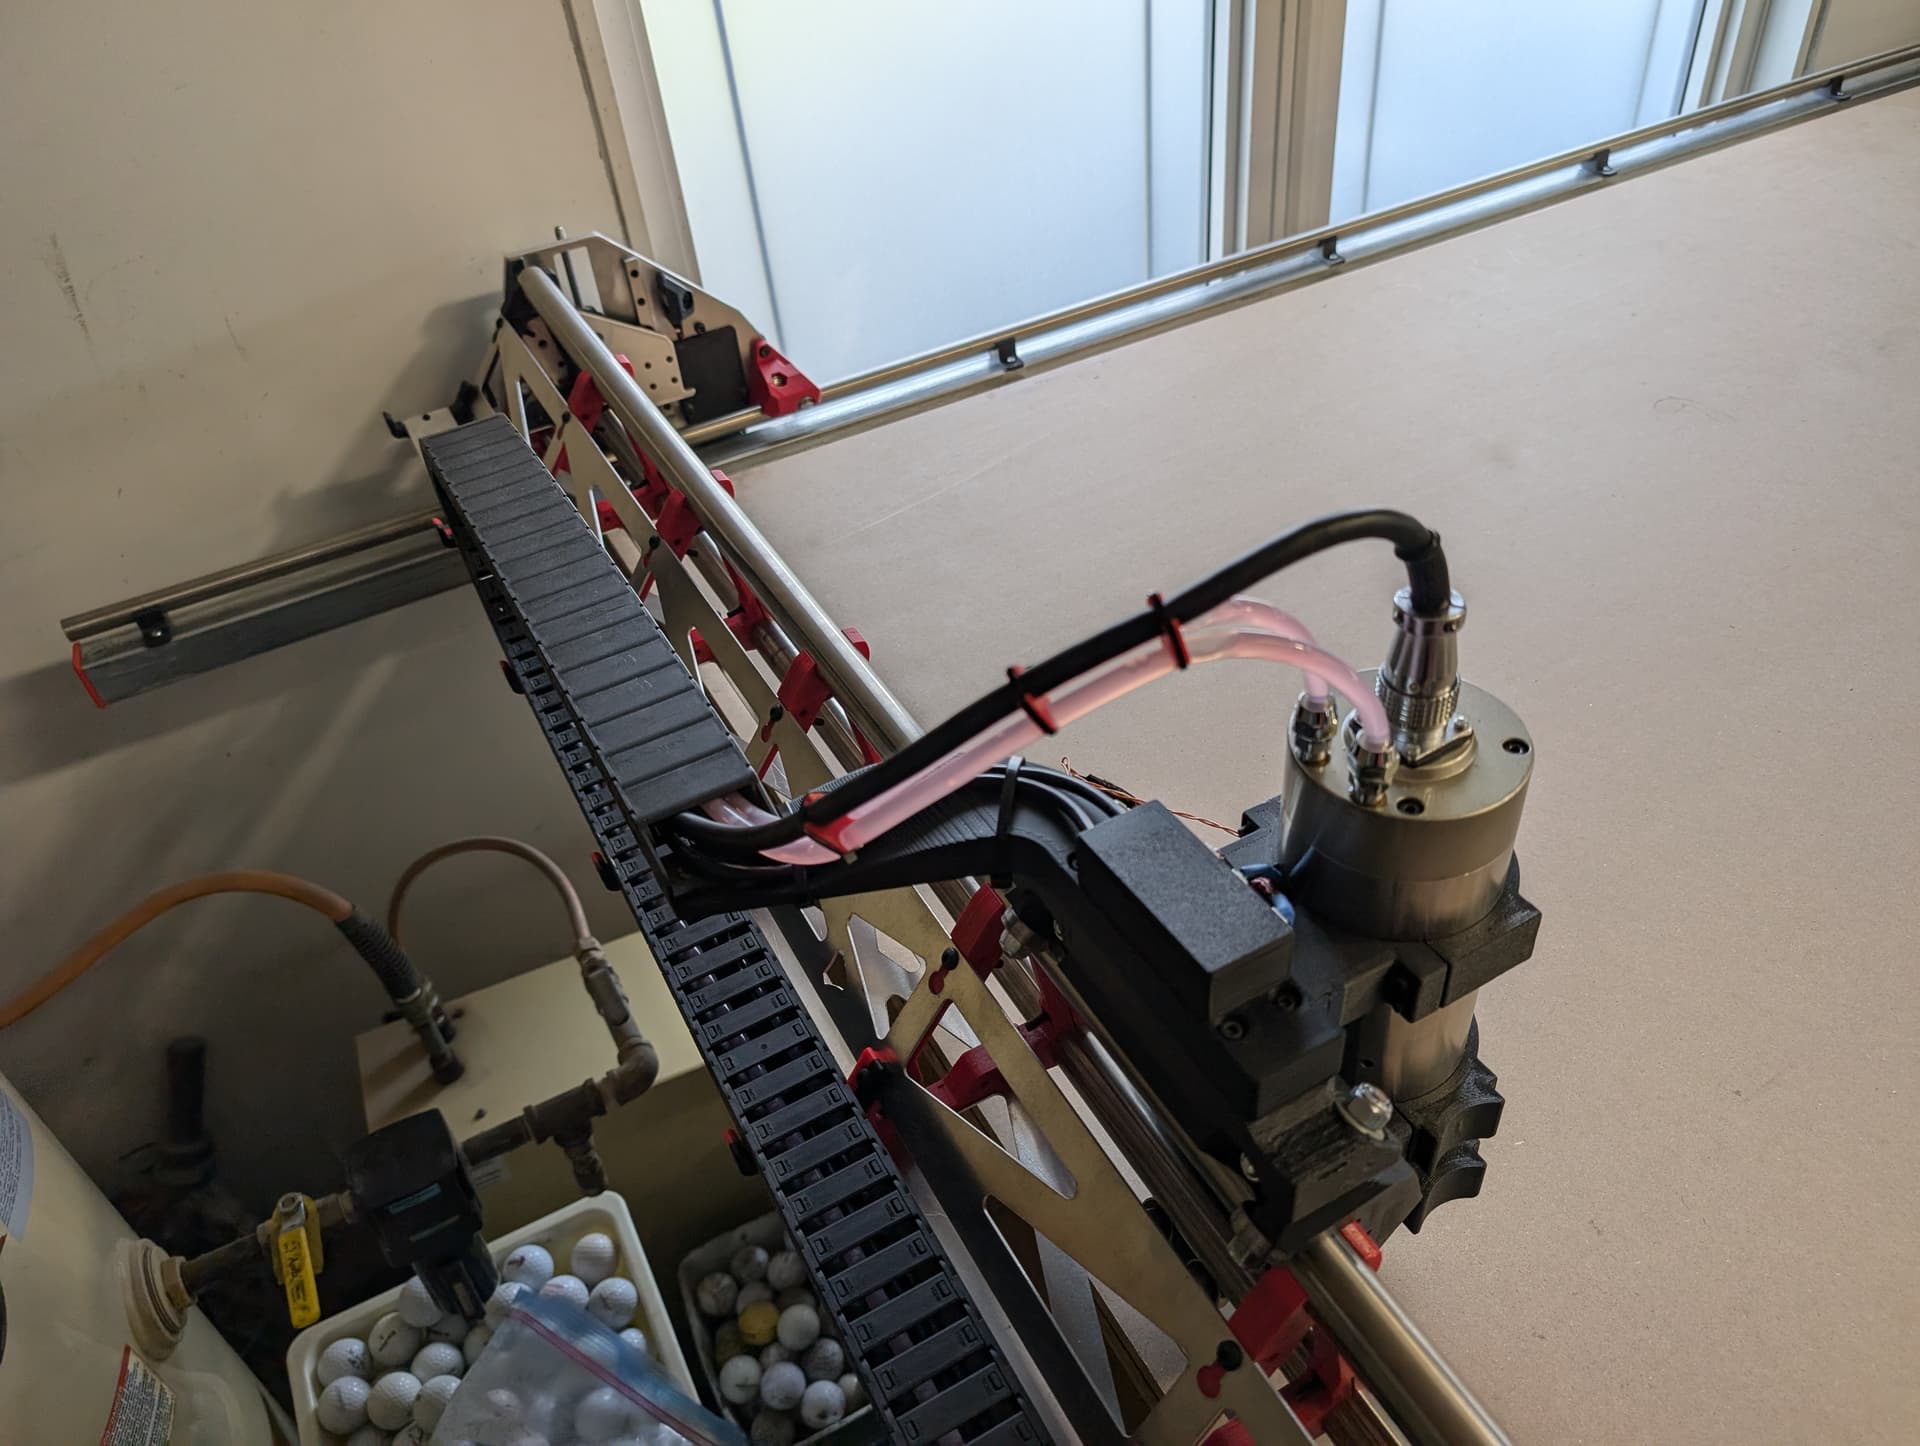
- Spindle Setup: Inspired by JRS, I went with an 80mm water-cooled spindle. This should give me a good balance of power, precision, and reduced noise levels, which is ideal for my workshop setup.
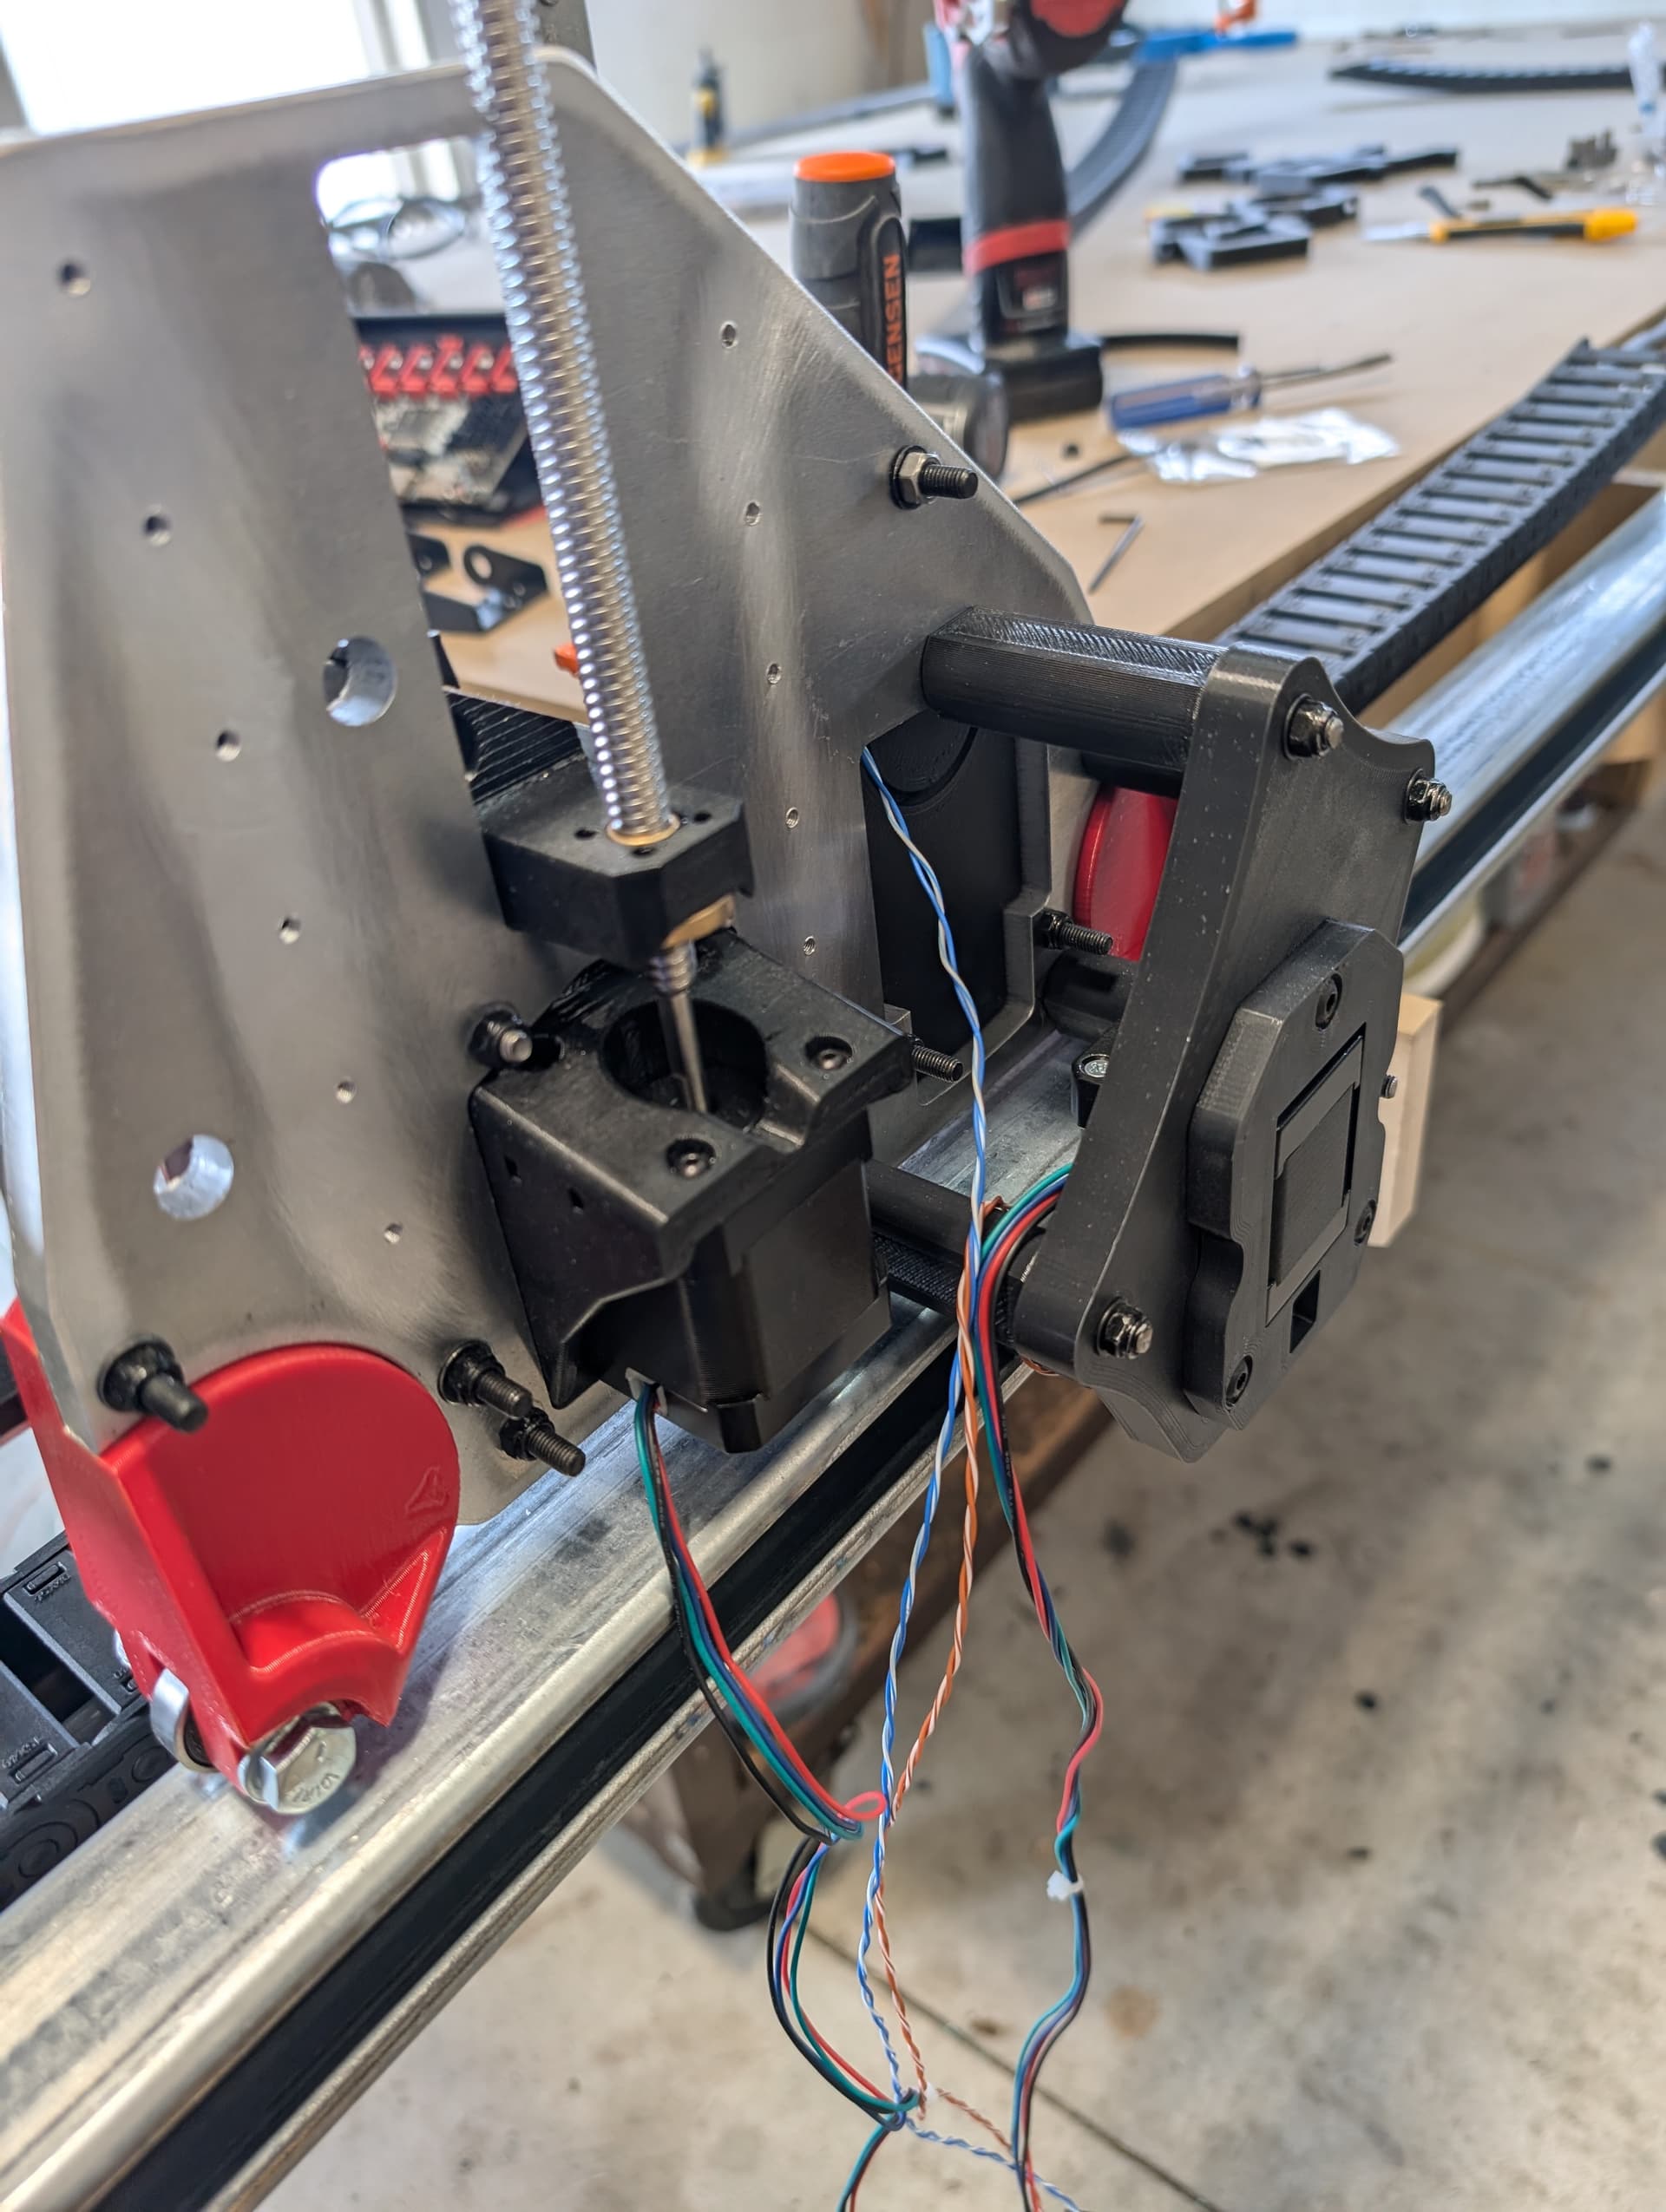
- Materials for Structural Components: All the structural parts are printed from high-temperature Polycarbonate for added strength and durability. The main reason for choosing this material was to ensure I could run my motors at full amperage without worrying that the motor mounts would become soft due to heat. This allows for a more robust and reliable build that can handle heavy use without compromising stability or performance.
- Printing High-Temperature Materials: Printing high-temperature polycarbonate, or high-temperature materials in general, was made possible with my Voron Trident, which I built a few years ago. This printer has a heated chamber capable of maintaining temperatures up to 80 degrees Celsius during prints, allowing for excellent adhesion and reducing warping for these challenging materials. The Voron has been a crucial tool for achieving the quality and strength needed in my LowRider 3 components.
- LR Core: The LowRider Core is printed using carbon fiber polycarbonate. This combination has given it some extra rigidity, which I’m hoping will improve cutting accuracy and overall machine performance.
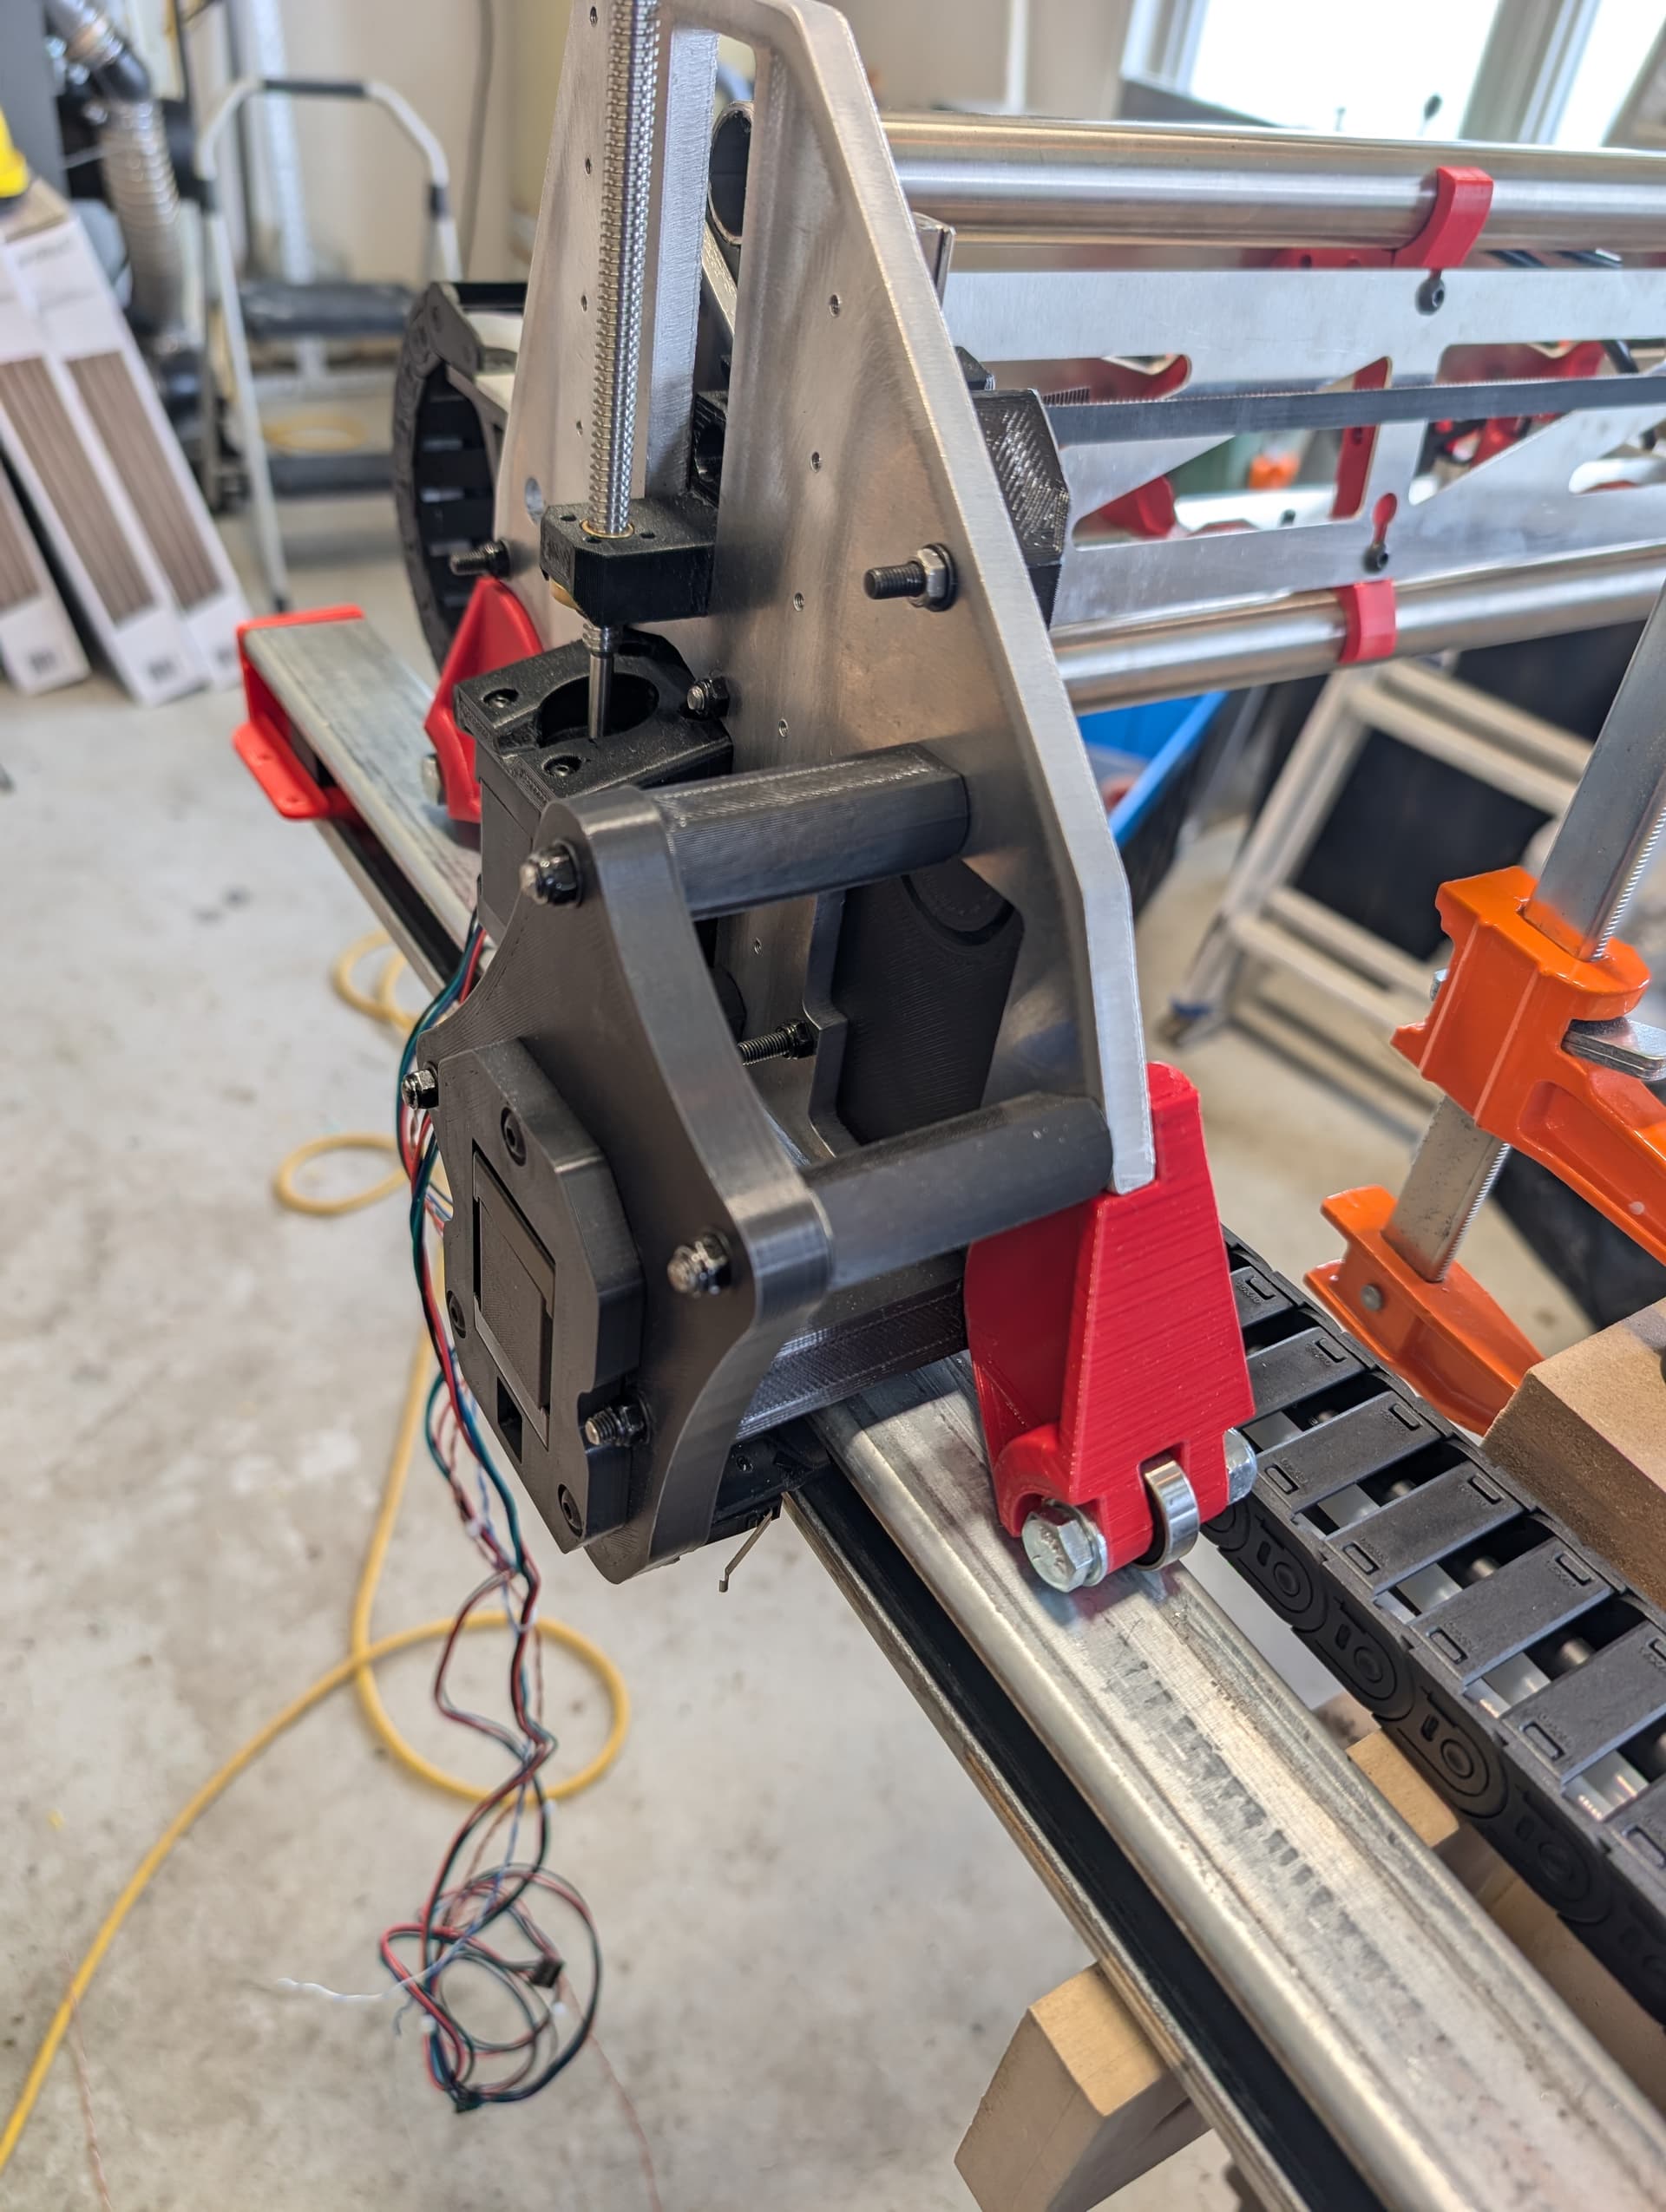
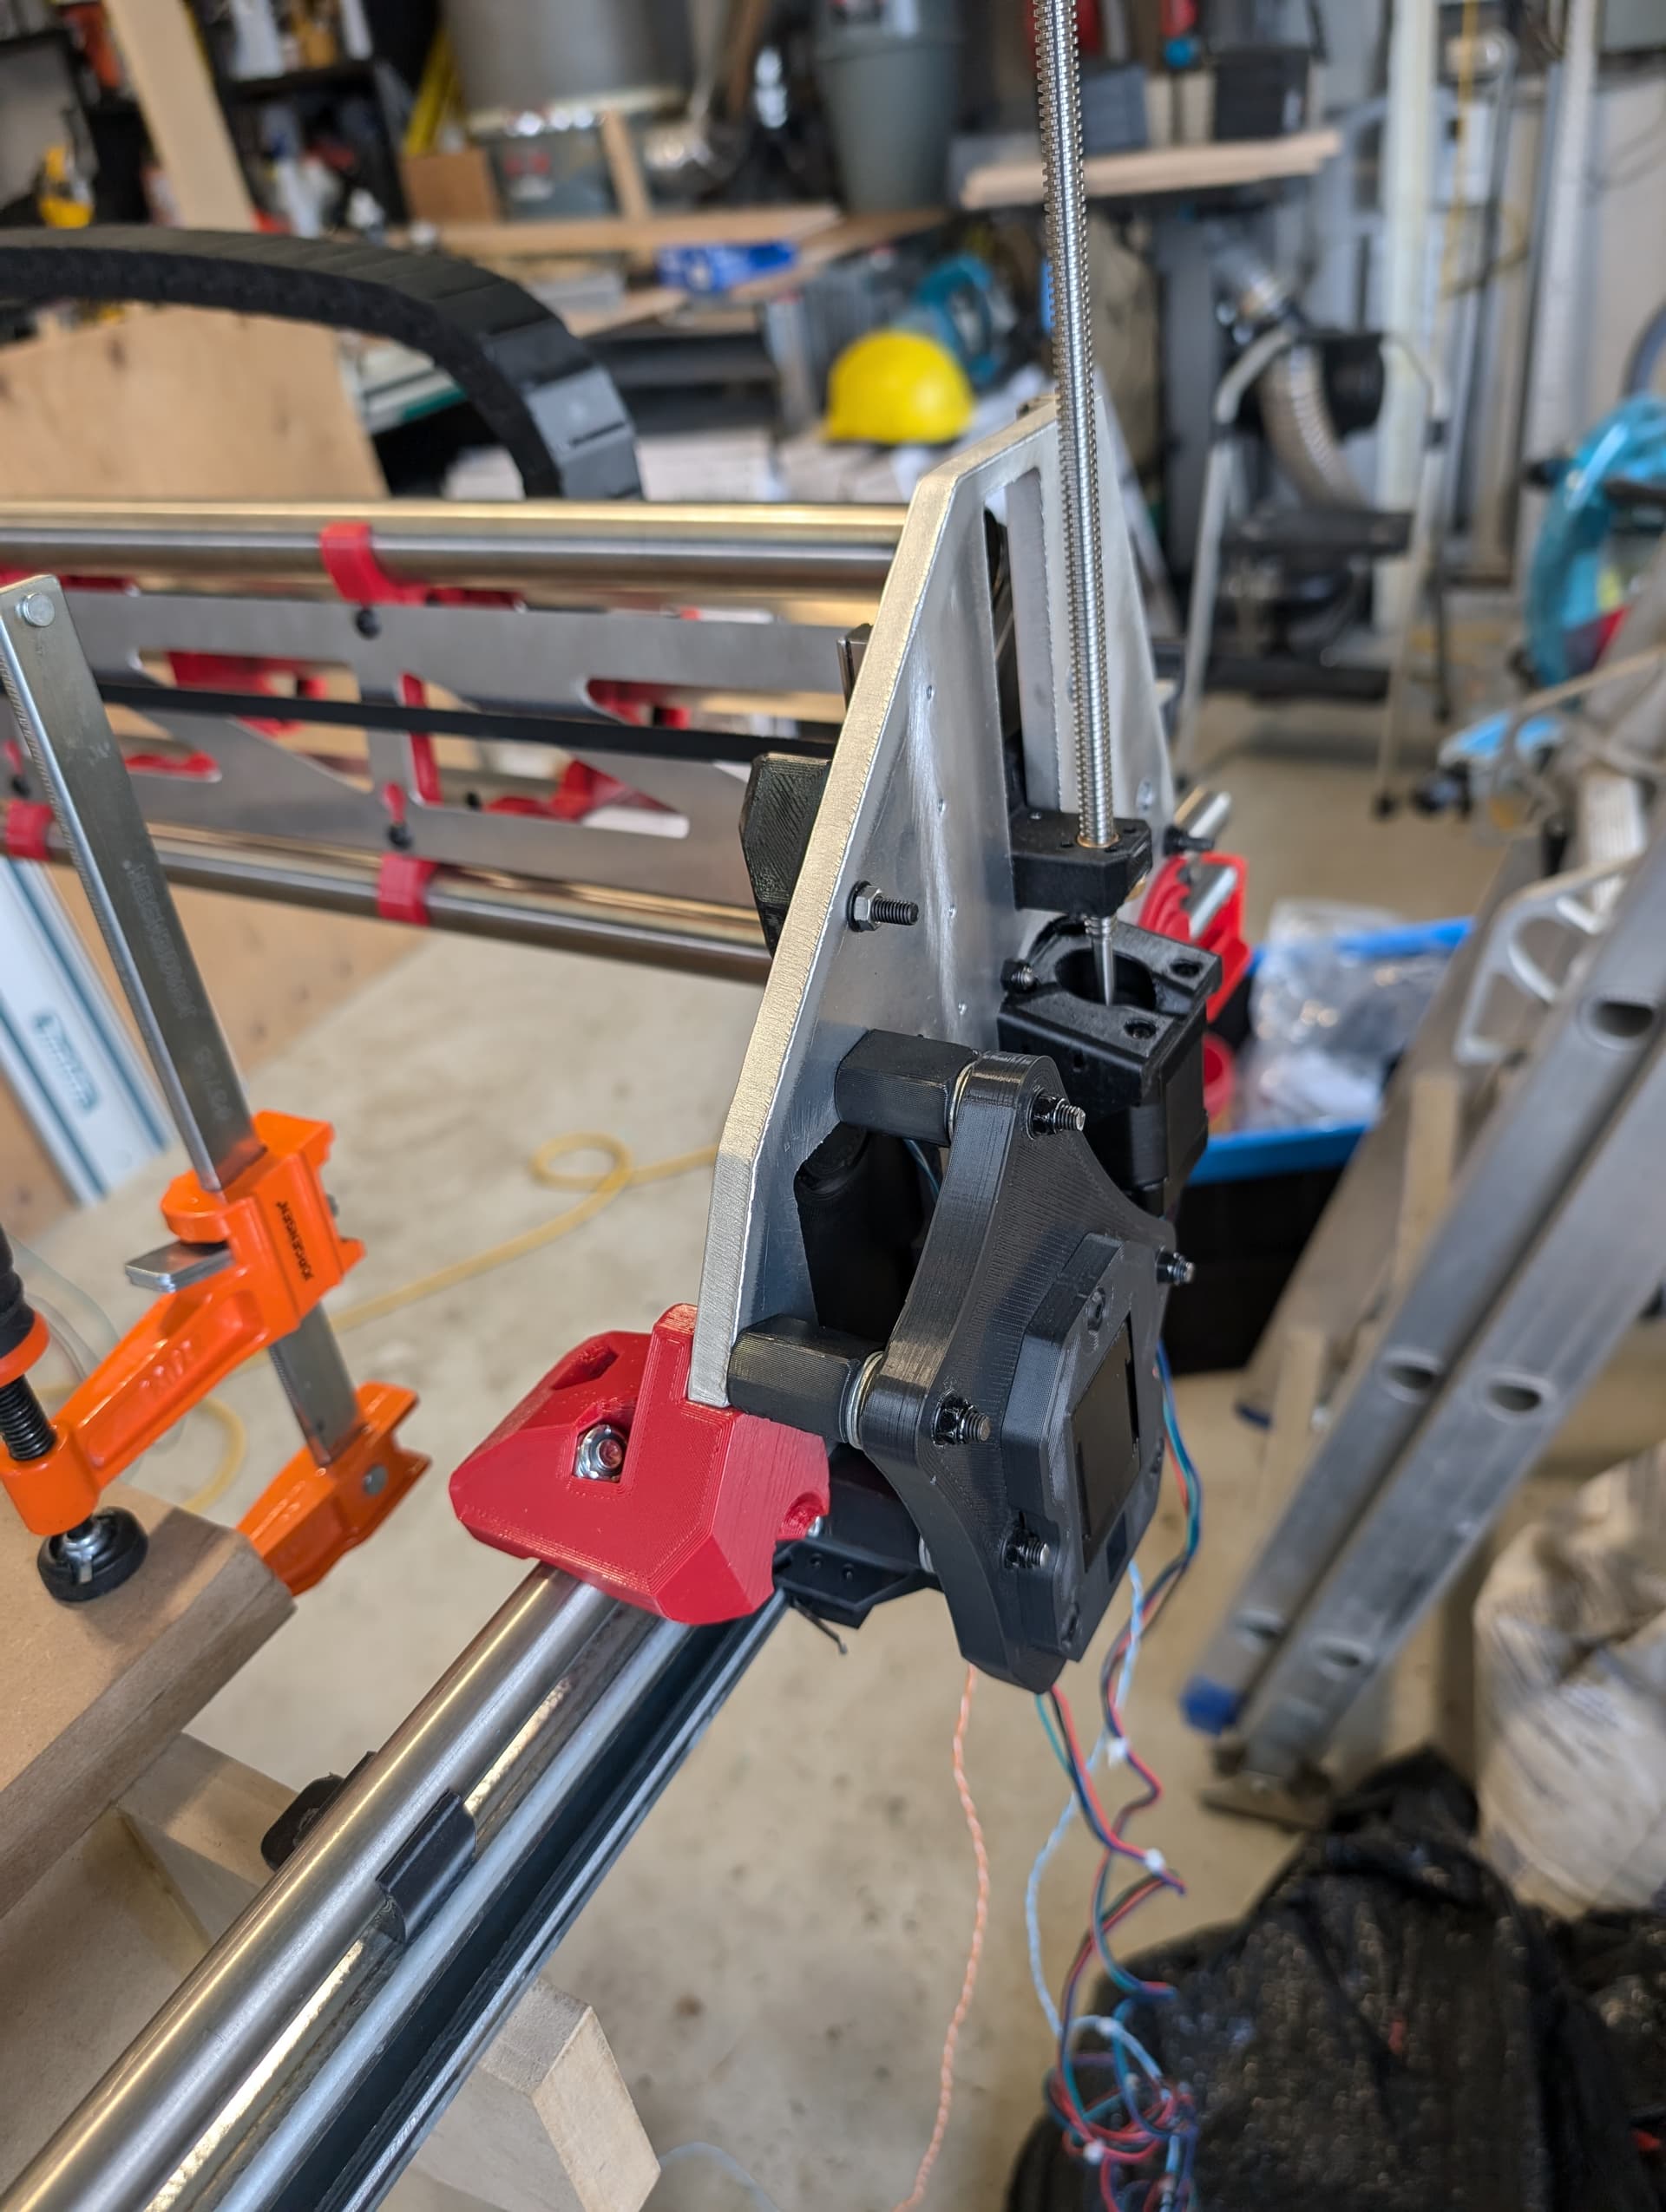
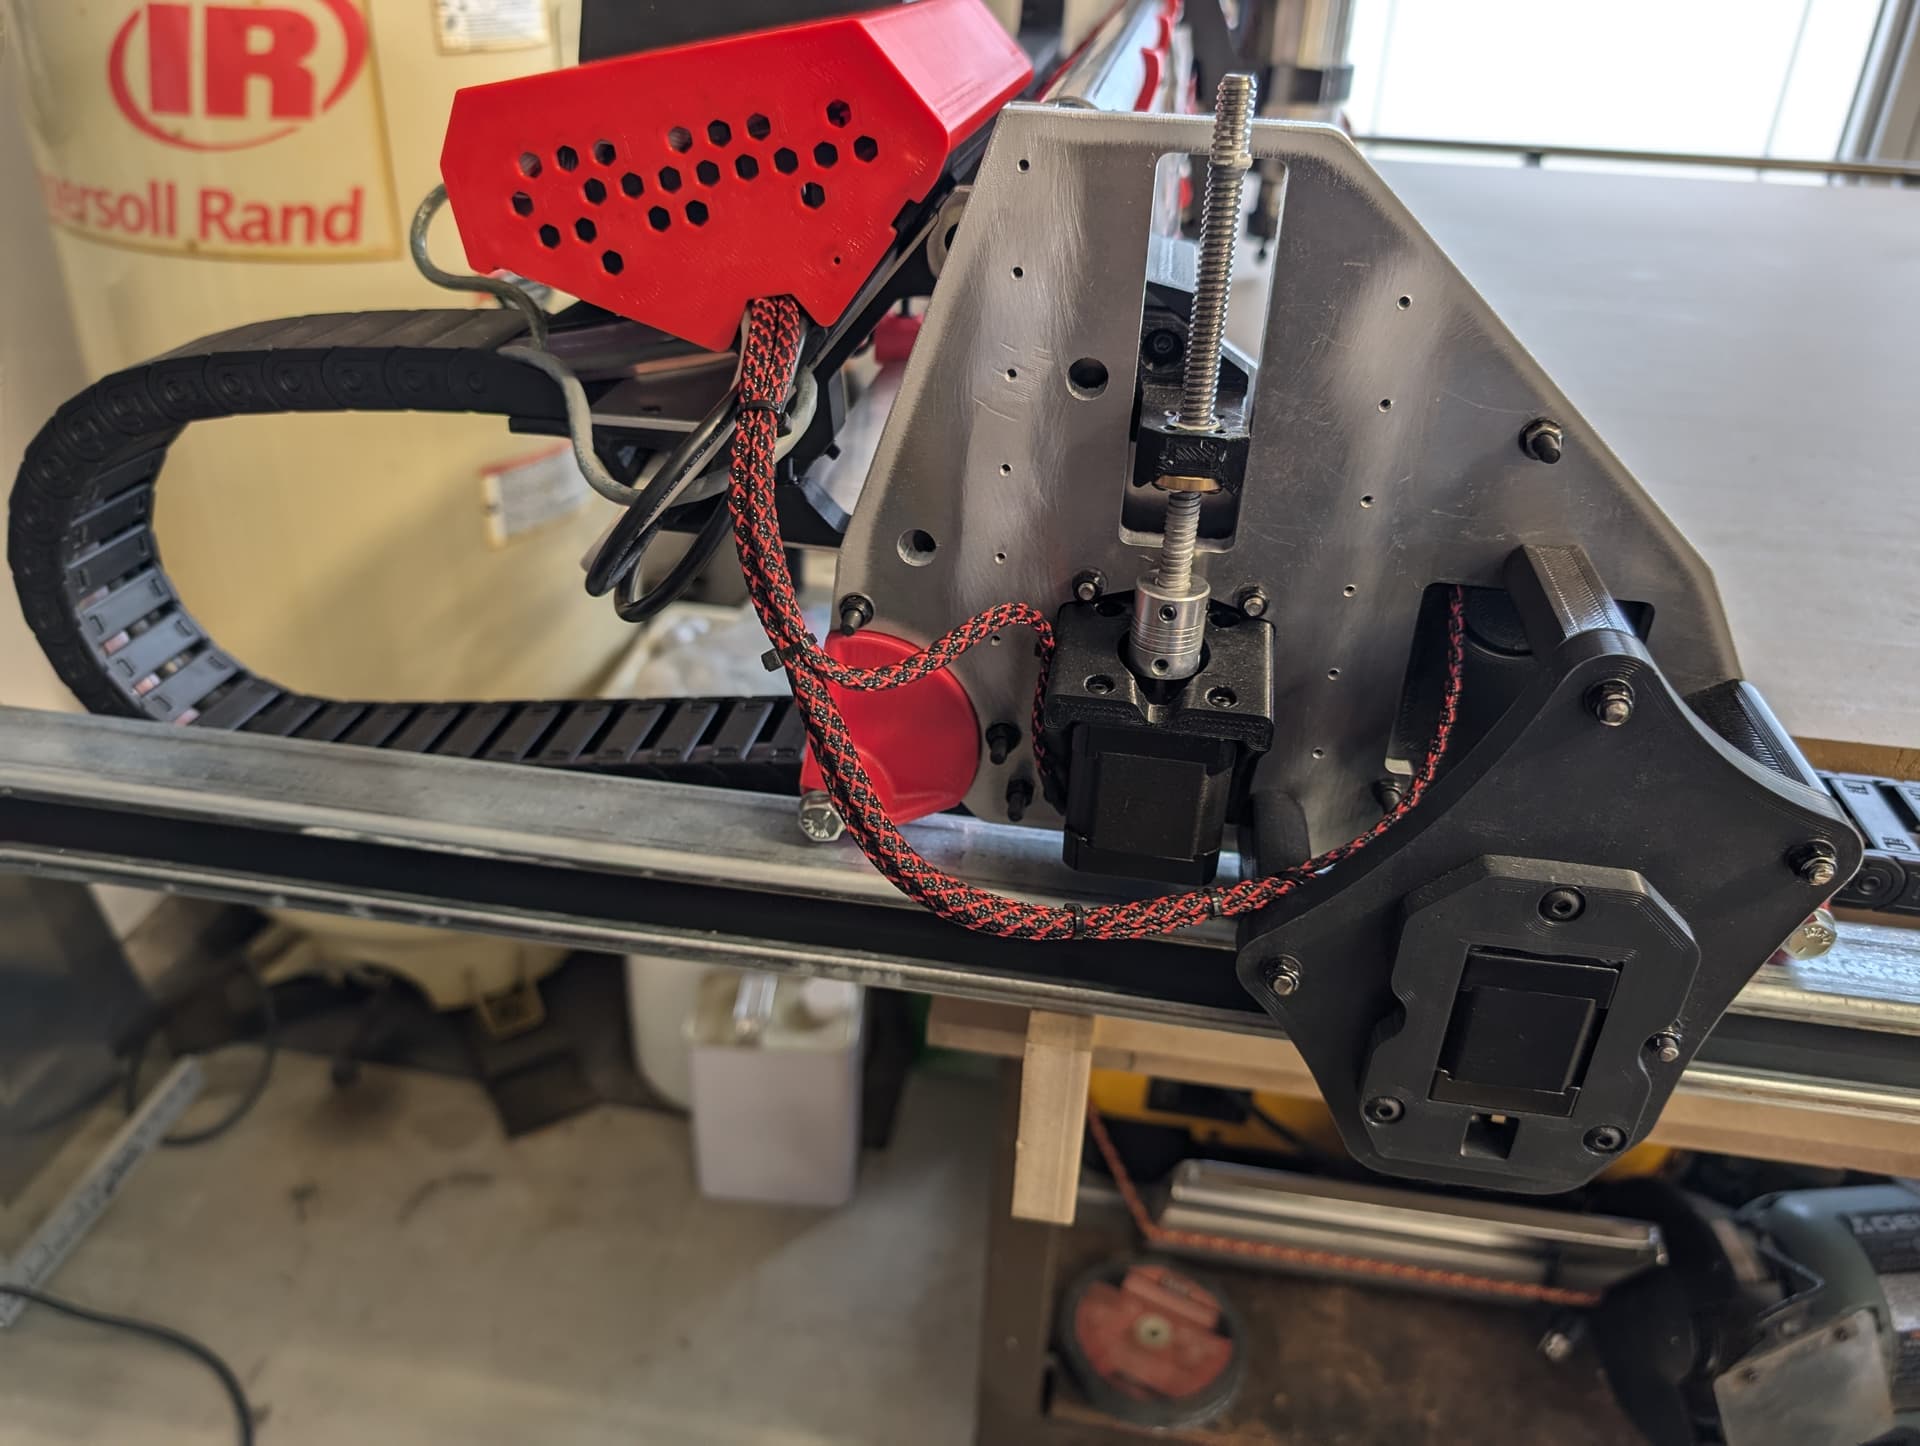
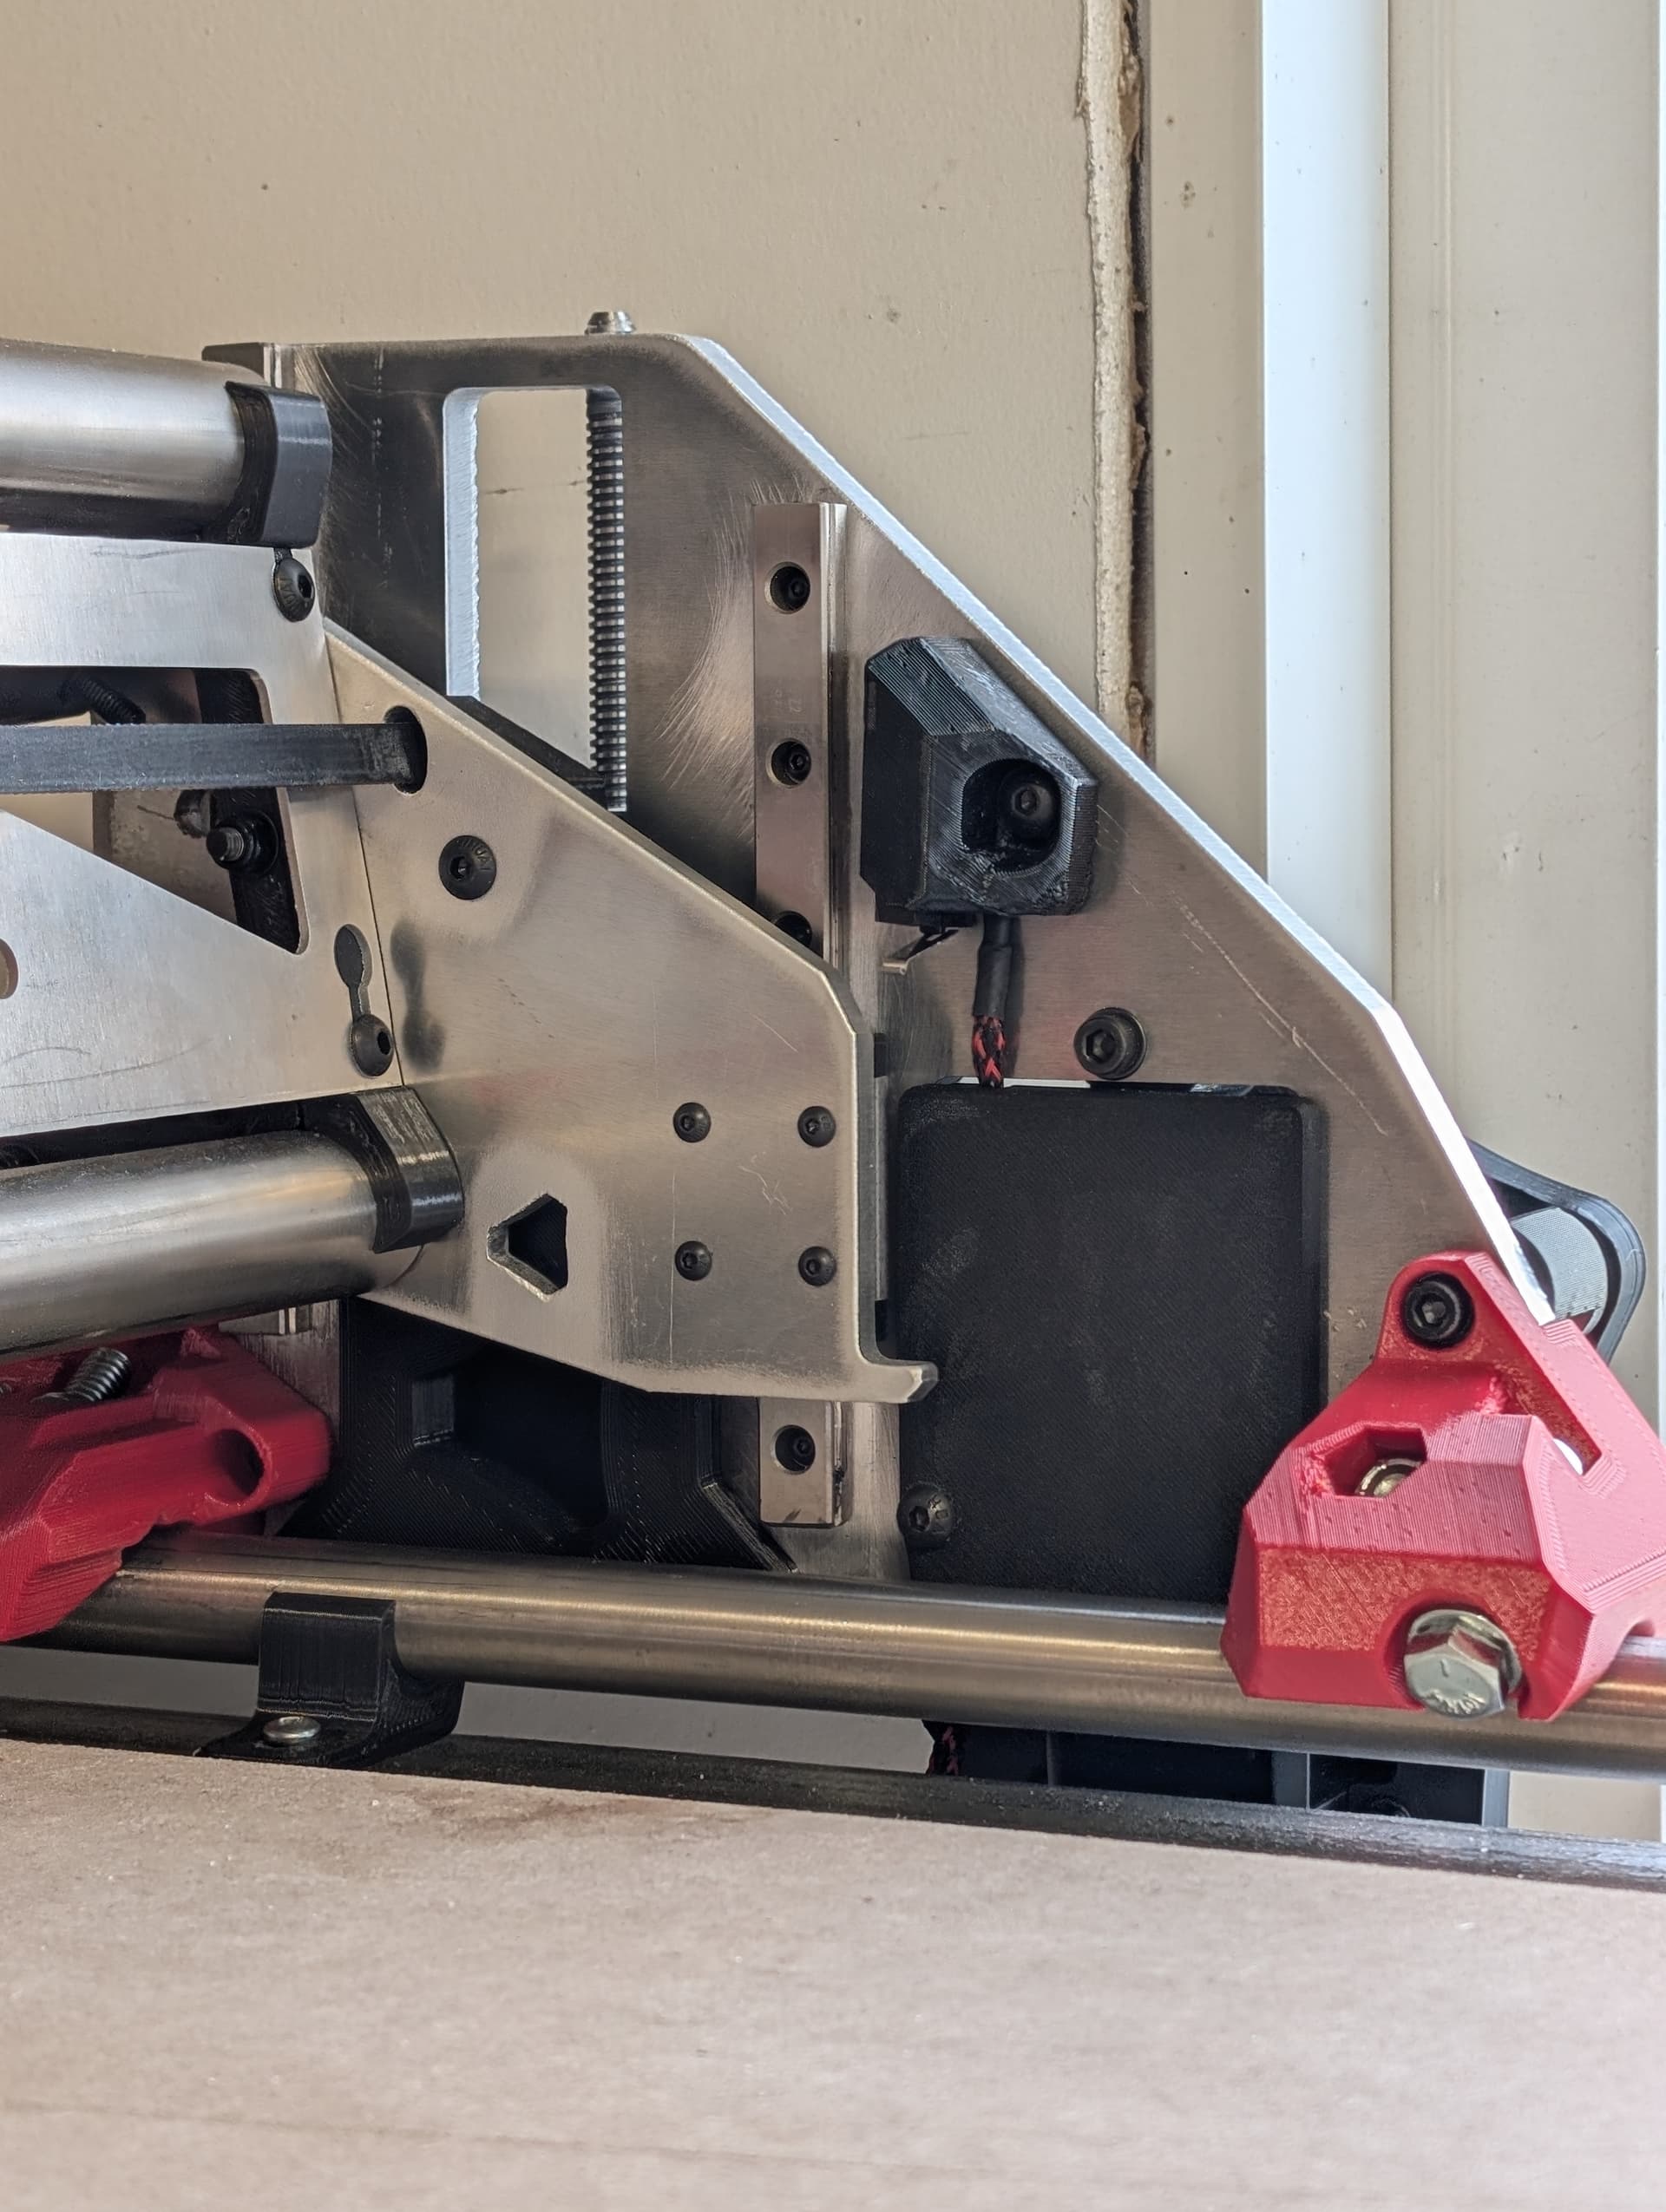
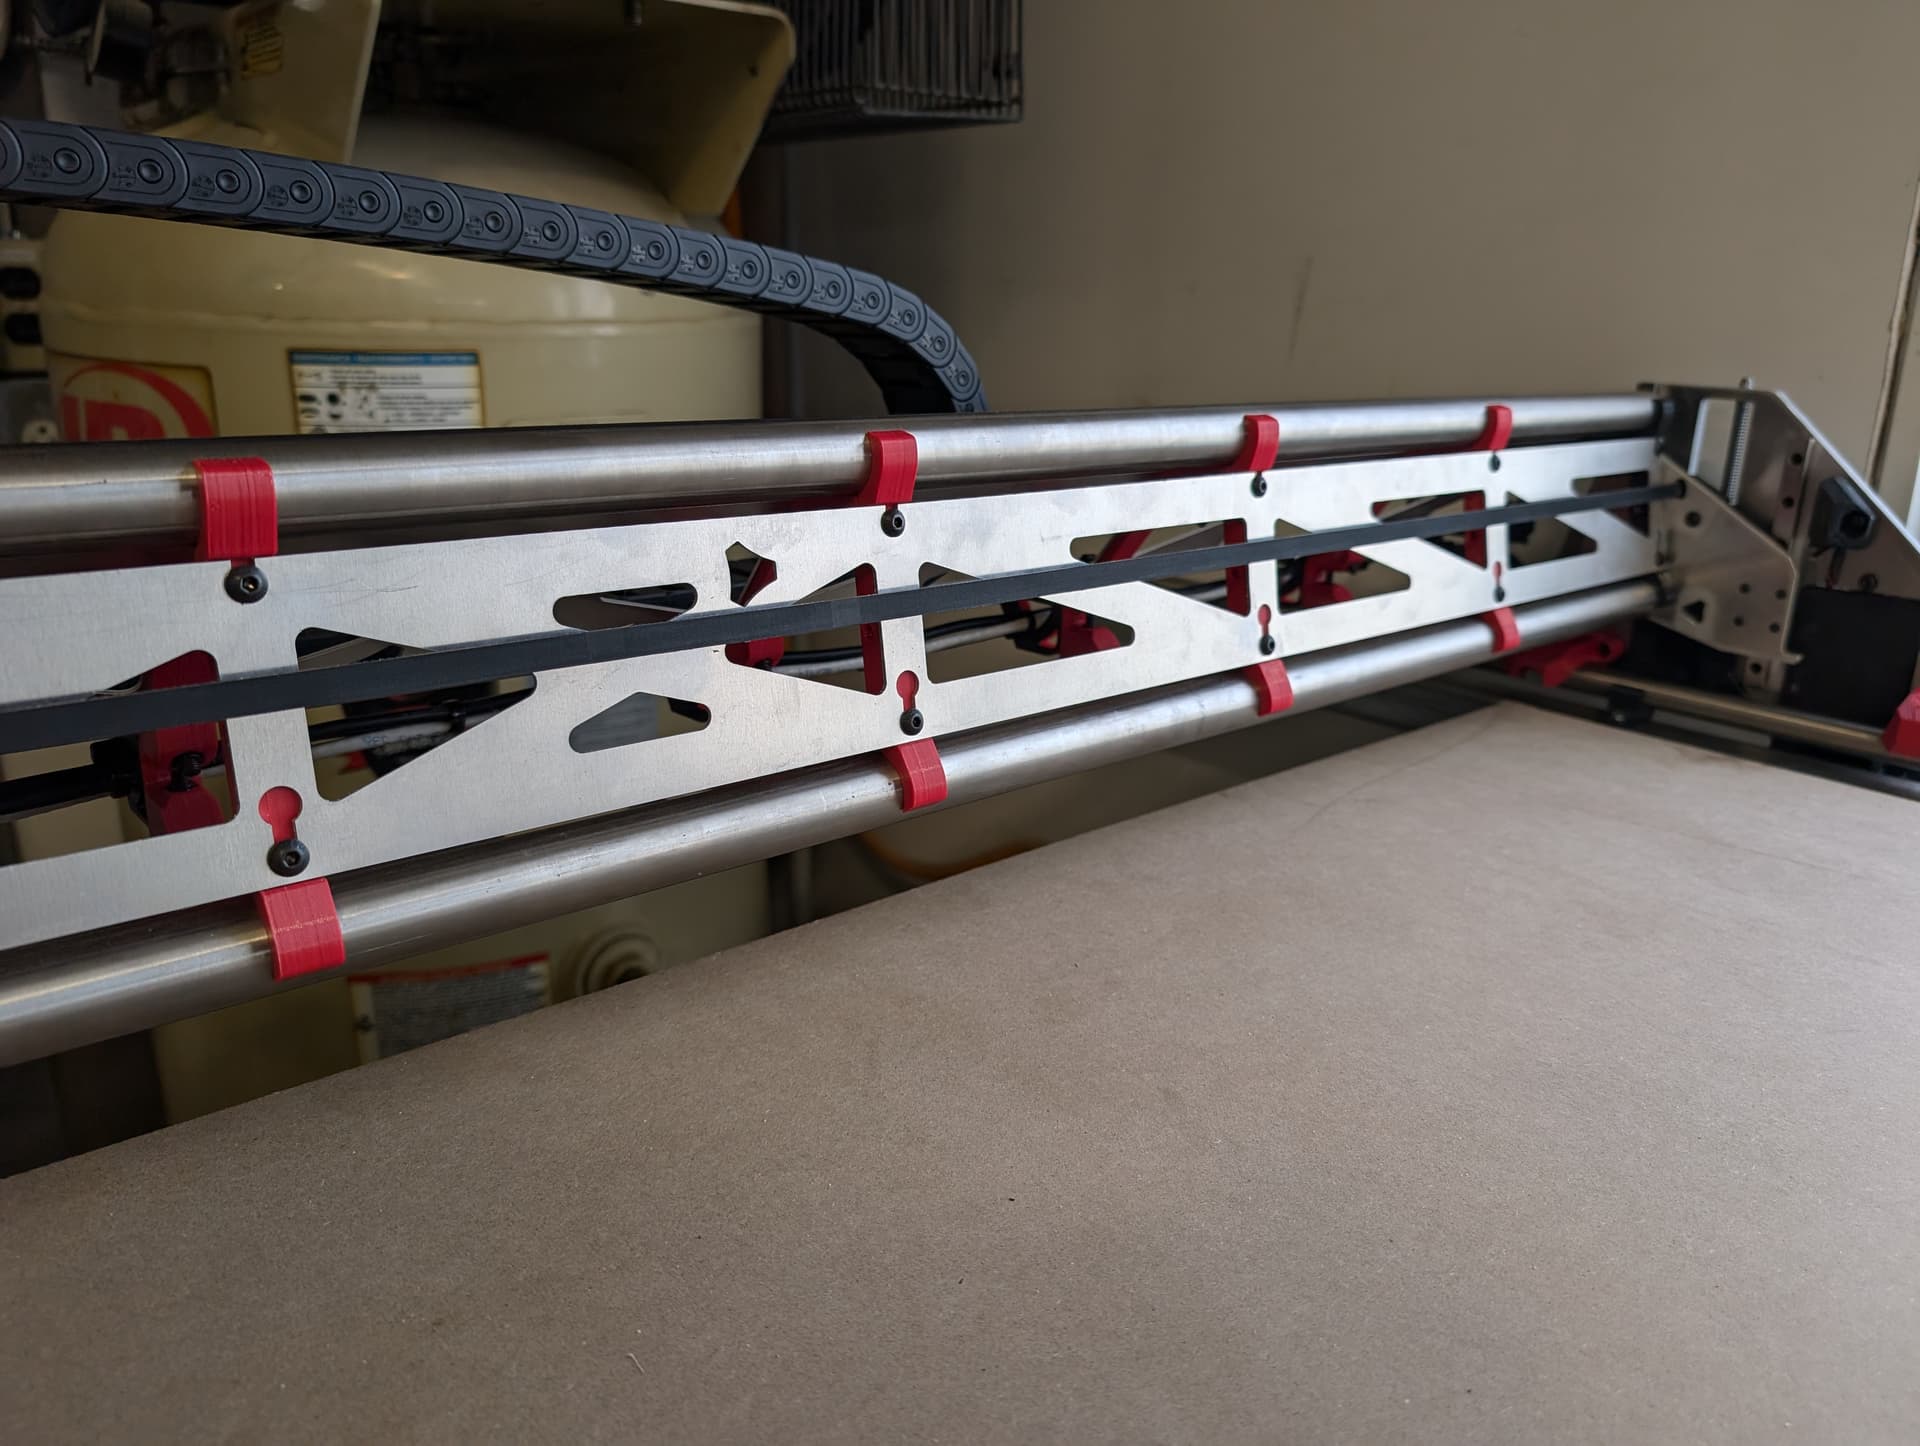
- Plates: For added strength and precision, the XZ plates, YZ plates, and strut plates have been laser cut from aluminum. This choice should provide excellent durability and stability for the machine’s movements and operations.
- Strut Tubes: I’ve used 1-inch stainless steel thick wall tubing for the strut tubes. This choice enhances the rigidity and stability of the machine, allowing for smoother movements and more precise cuts, especially when working with heavier materials.
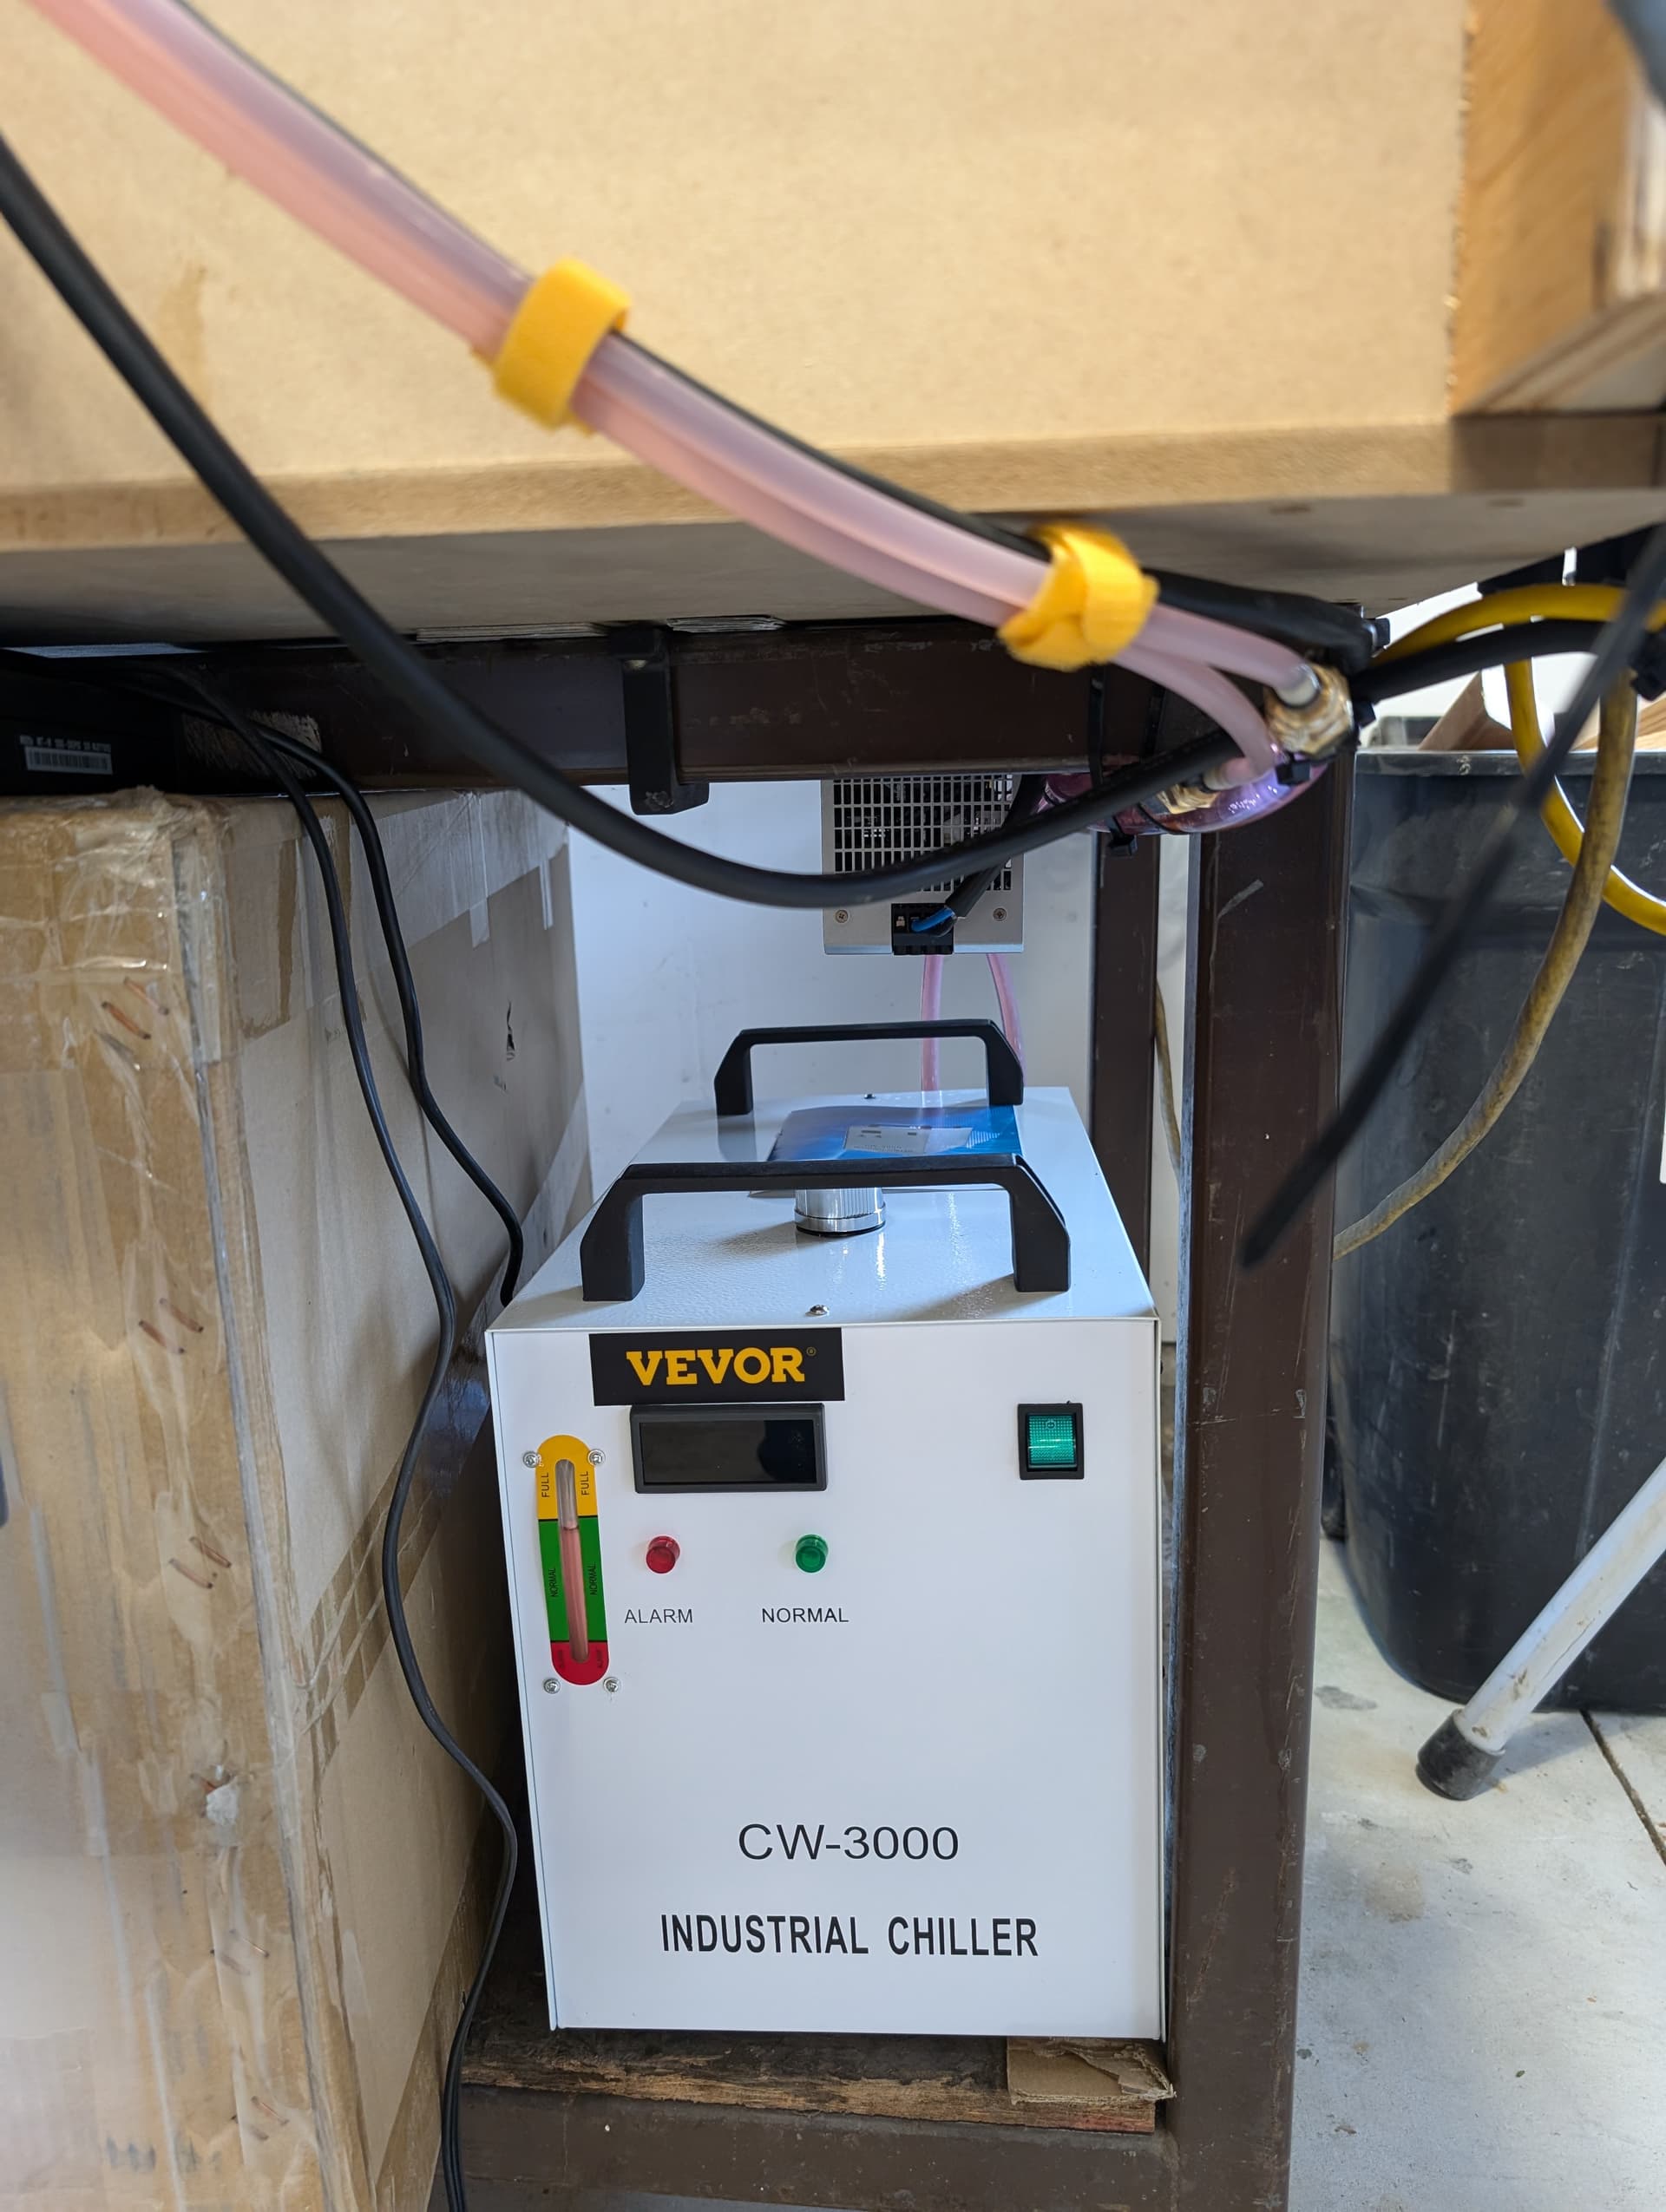
- Cooling System: For the spindle cooler, I’ve used a Vevor CW3000 chiller filled with RV antifreeze. Opting for this chiller provides additional features such as sensors for flow control and alarm output, which I still need to integrate into the build. These features will help monitor and maintain optimal cooling conditions, providing extra protection for the spindle during extended use.
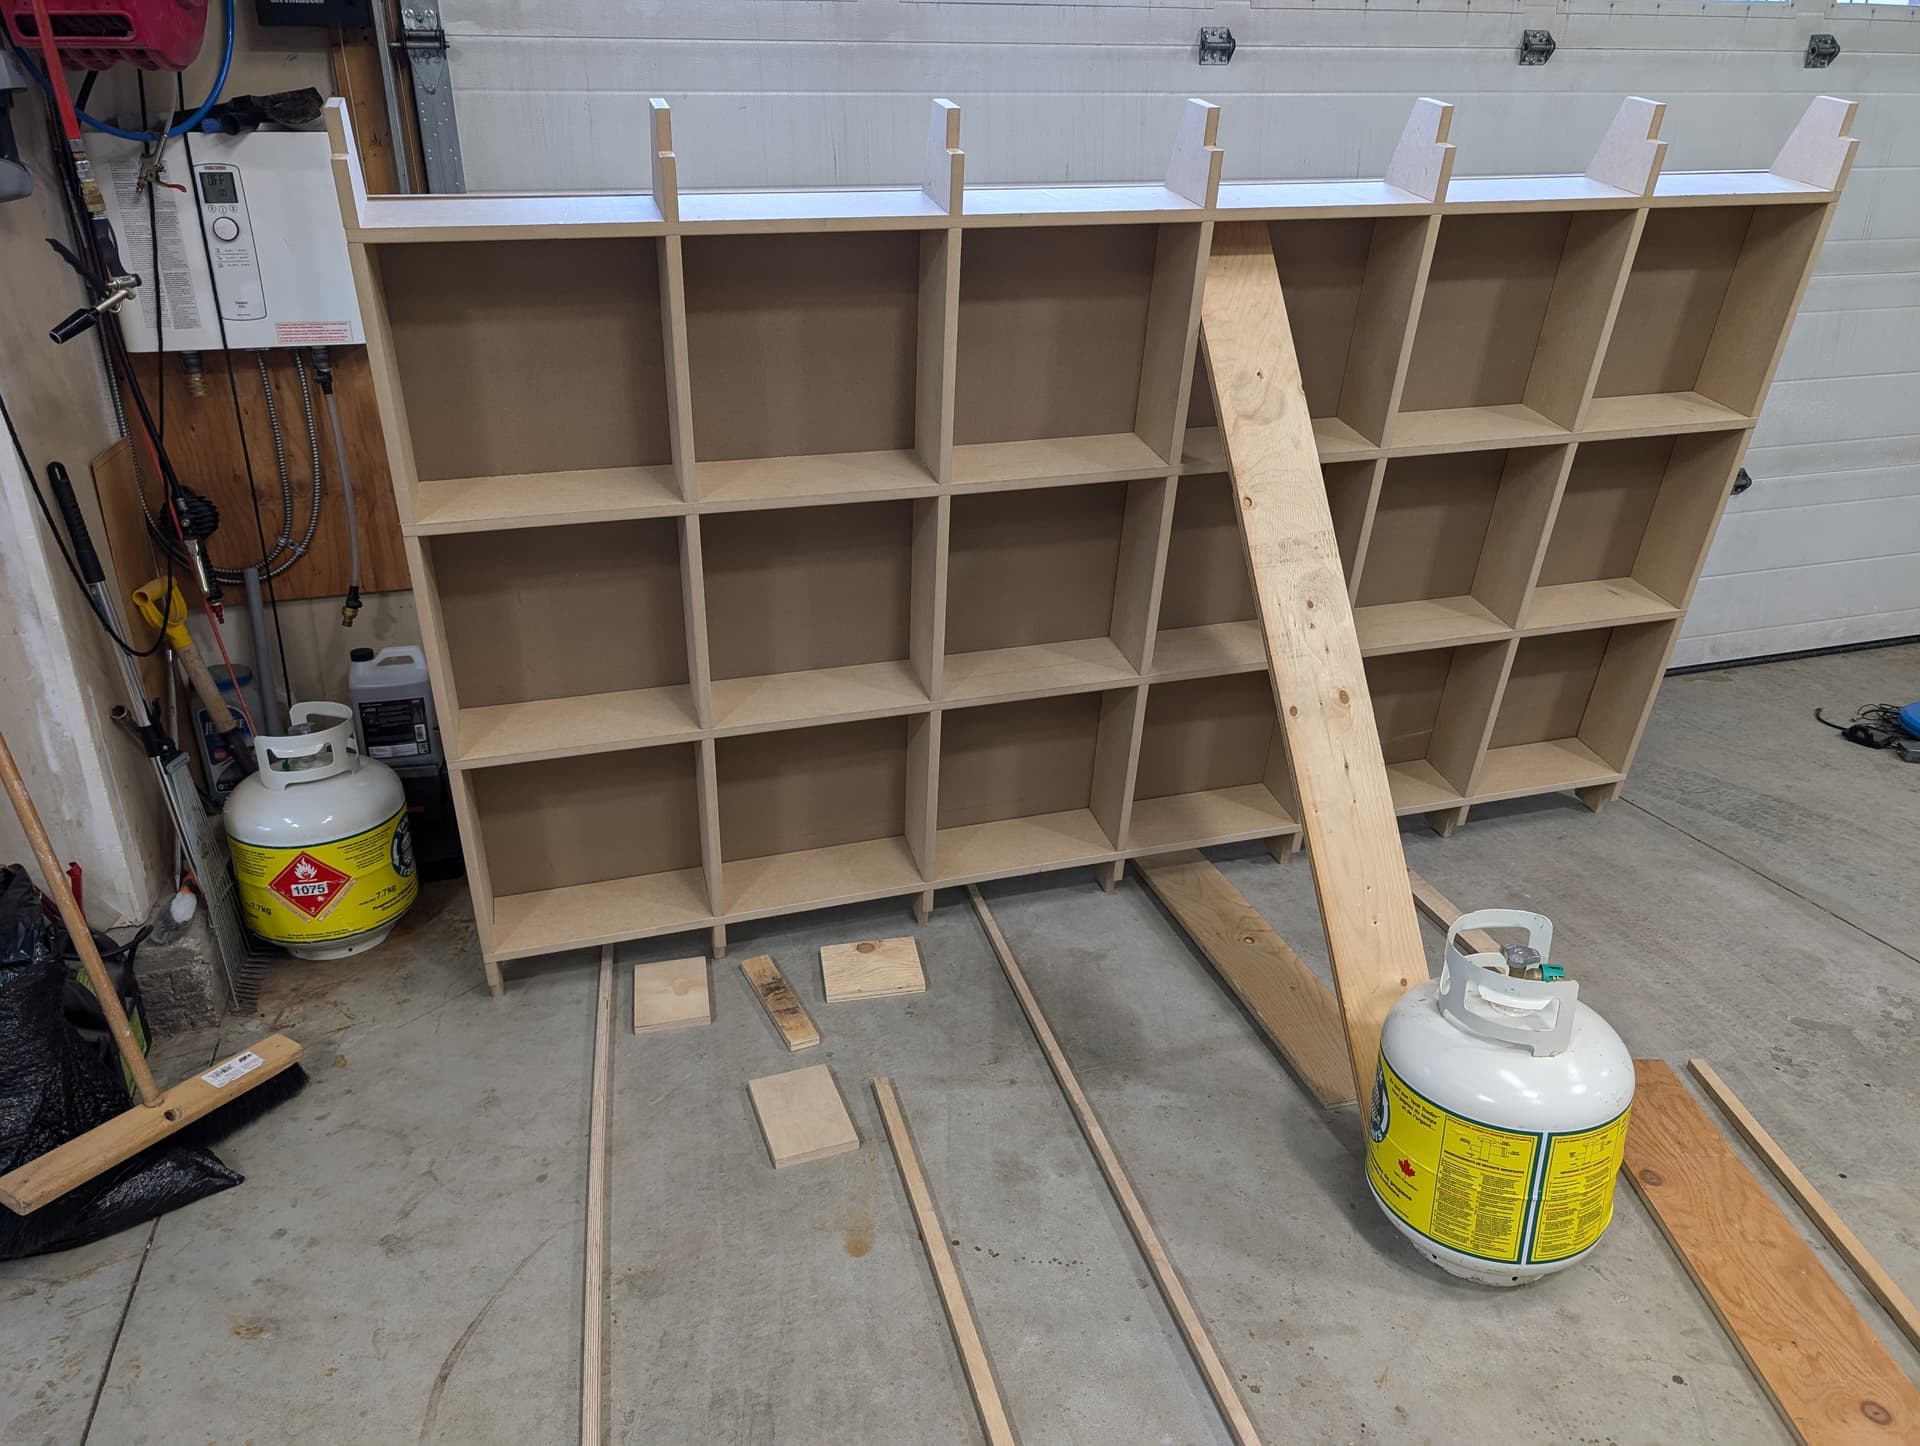
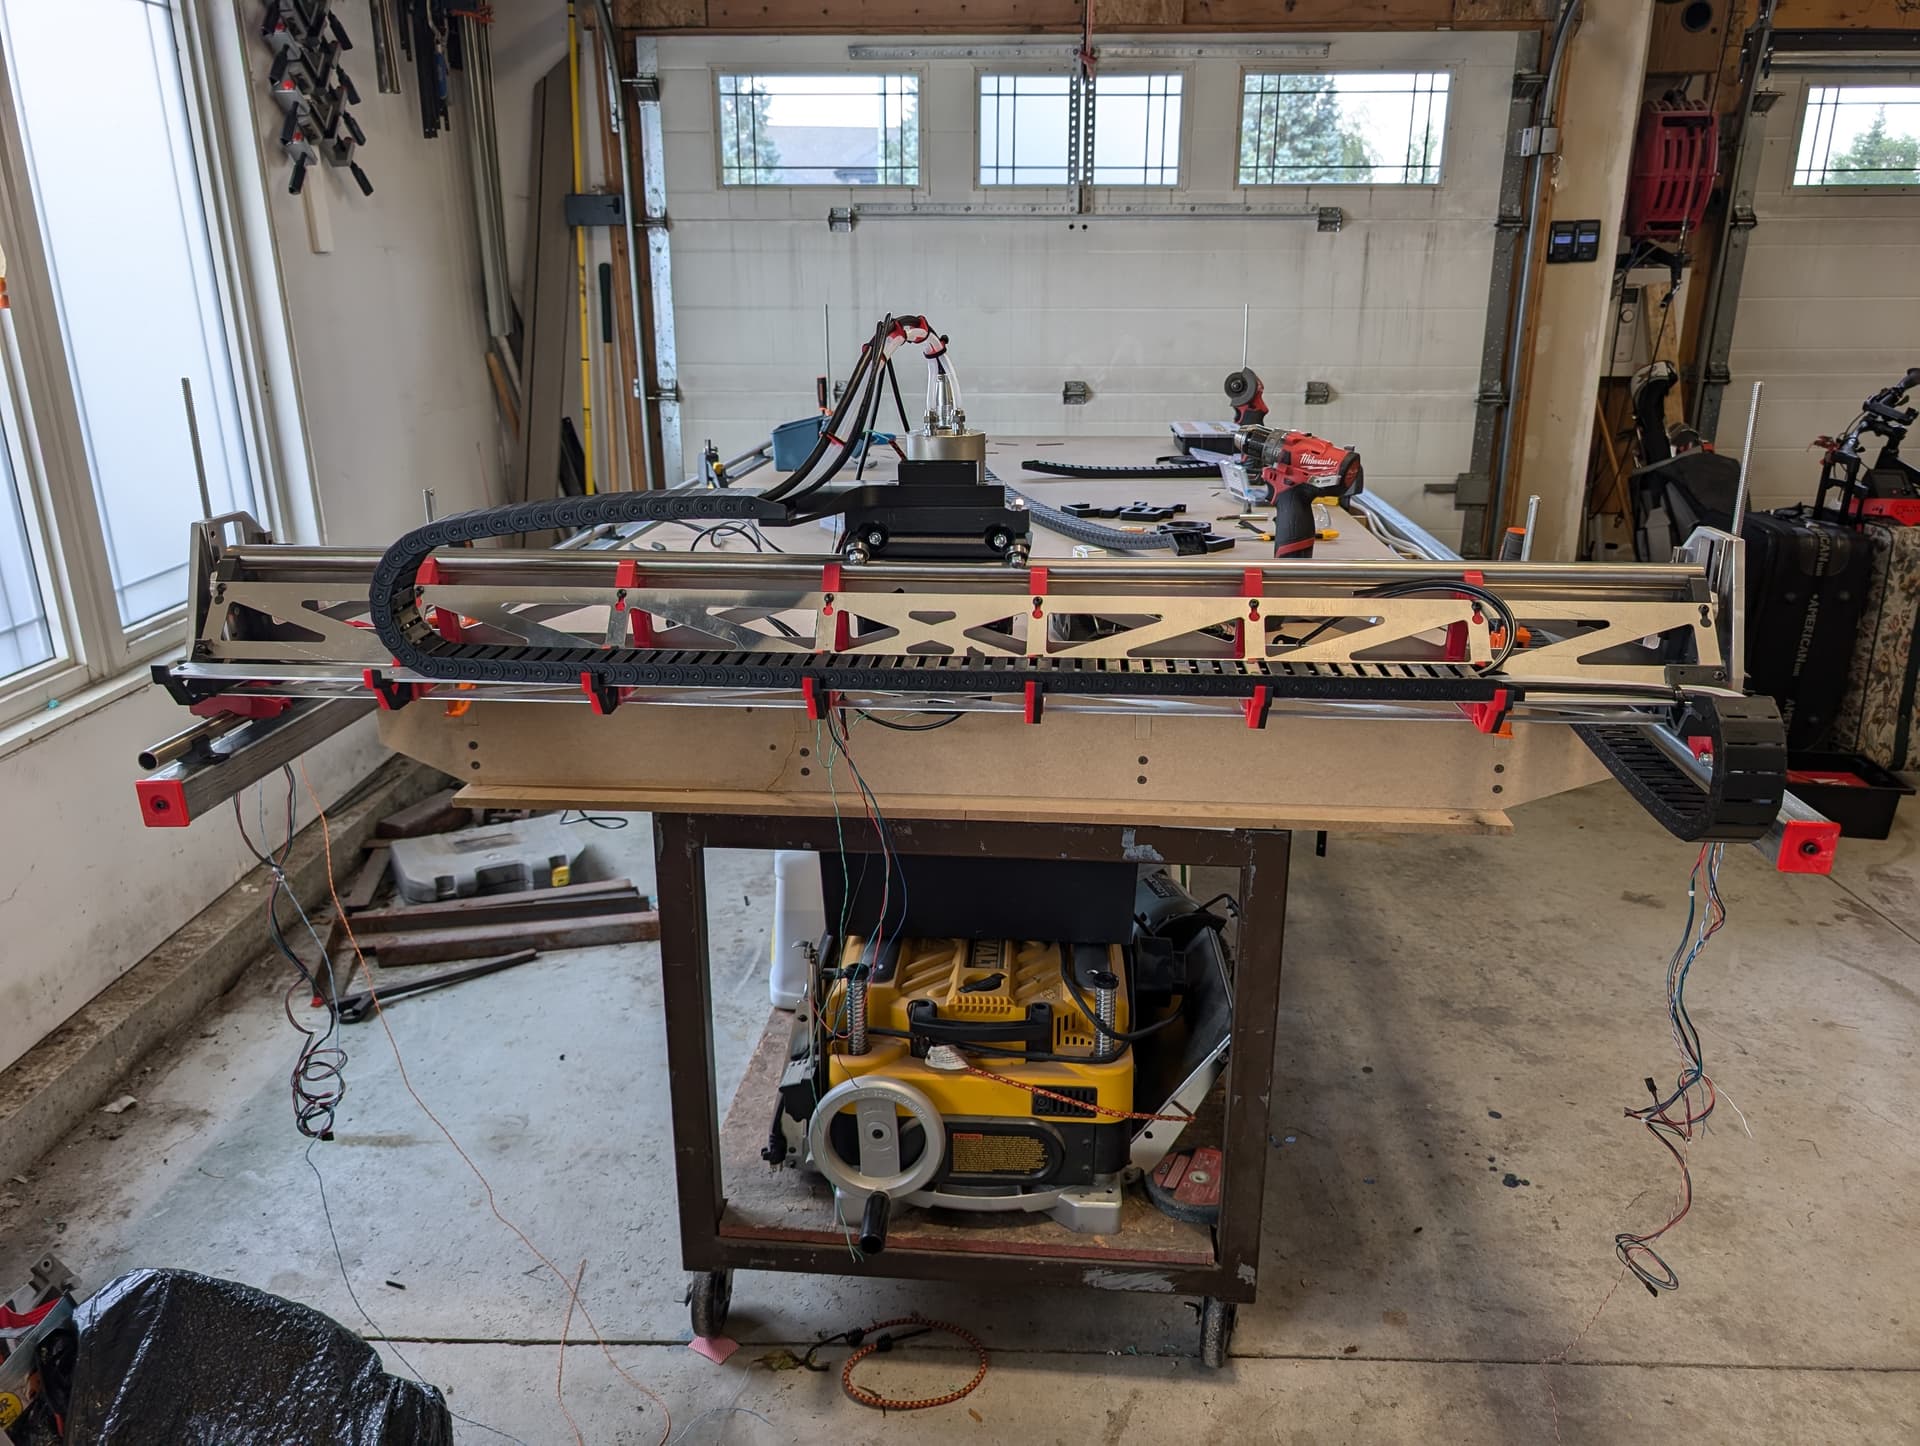
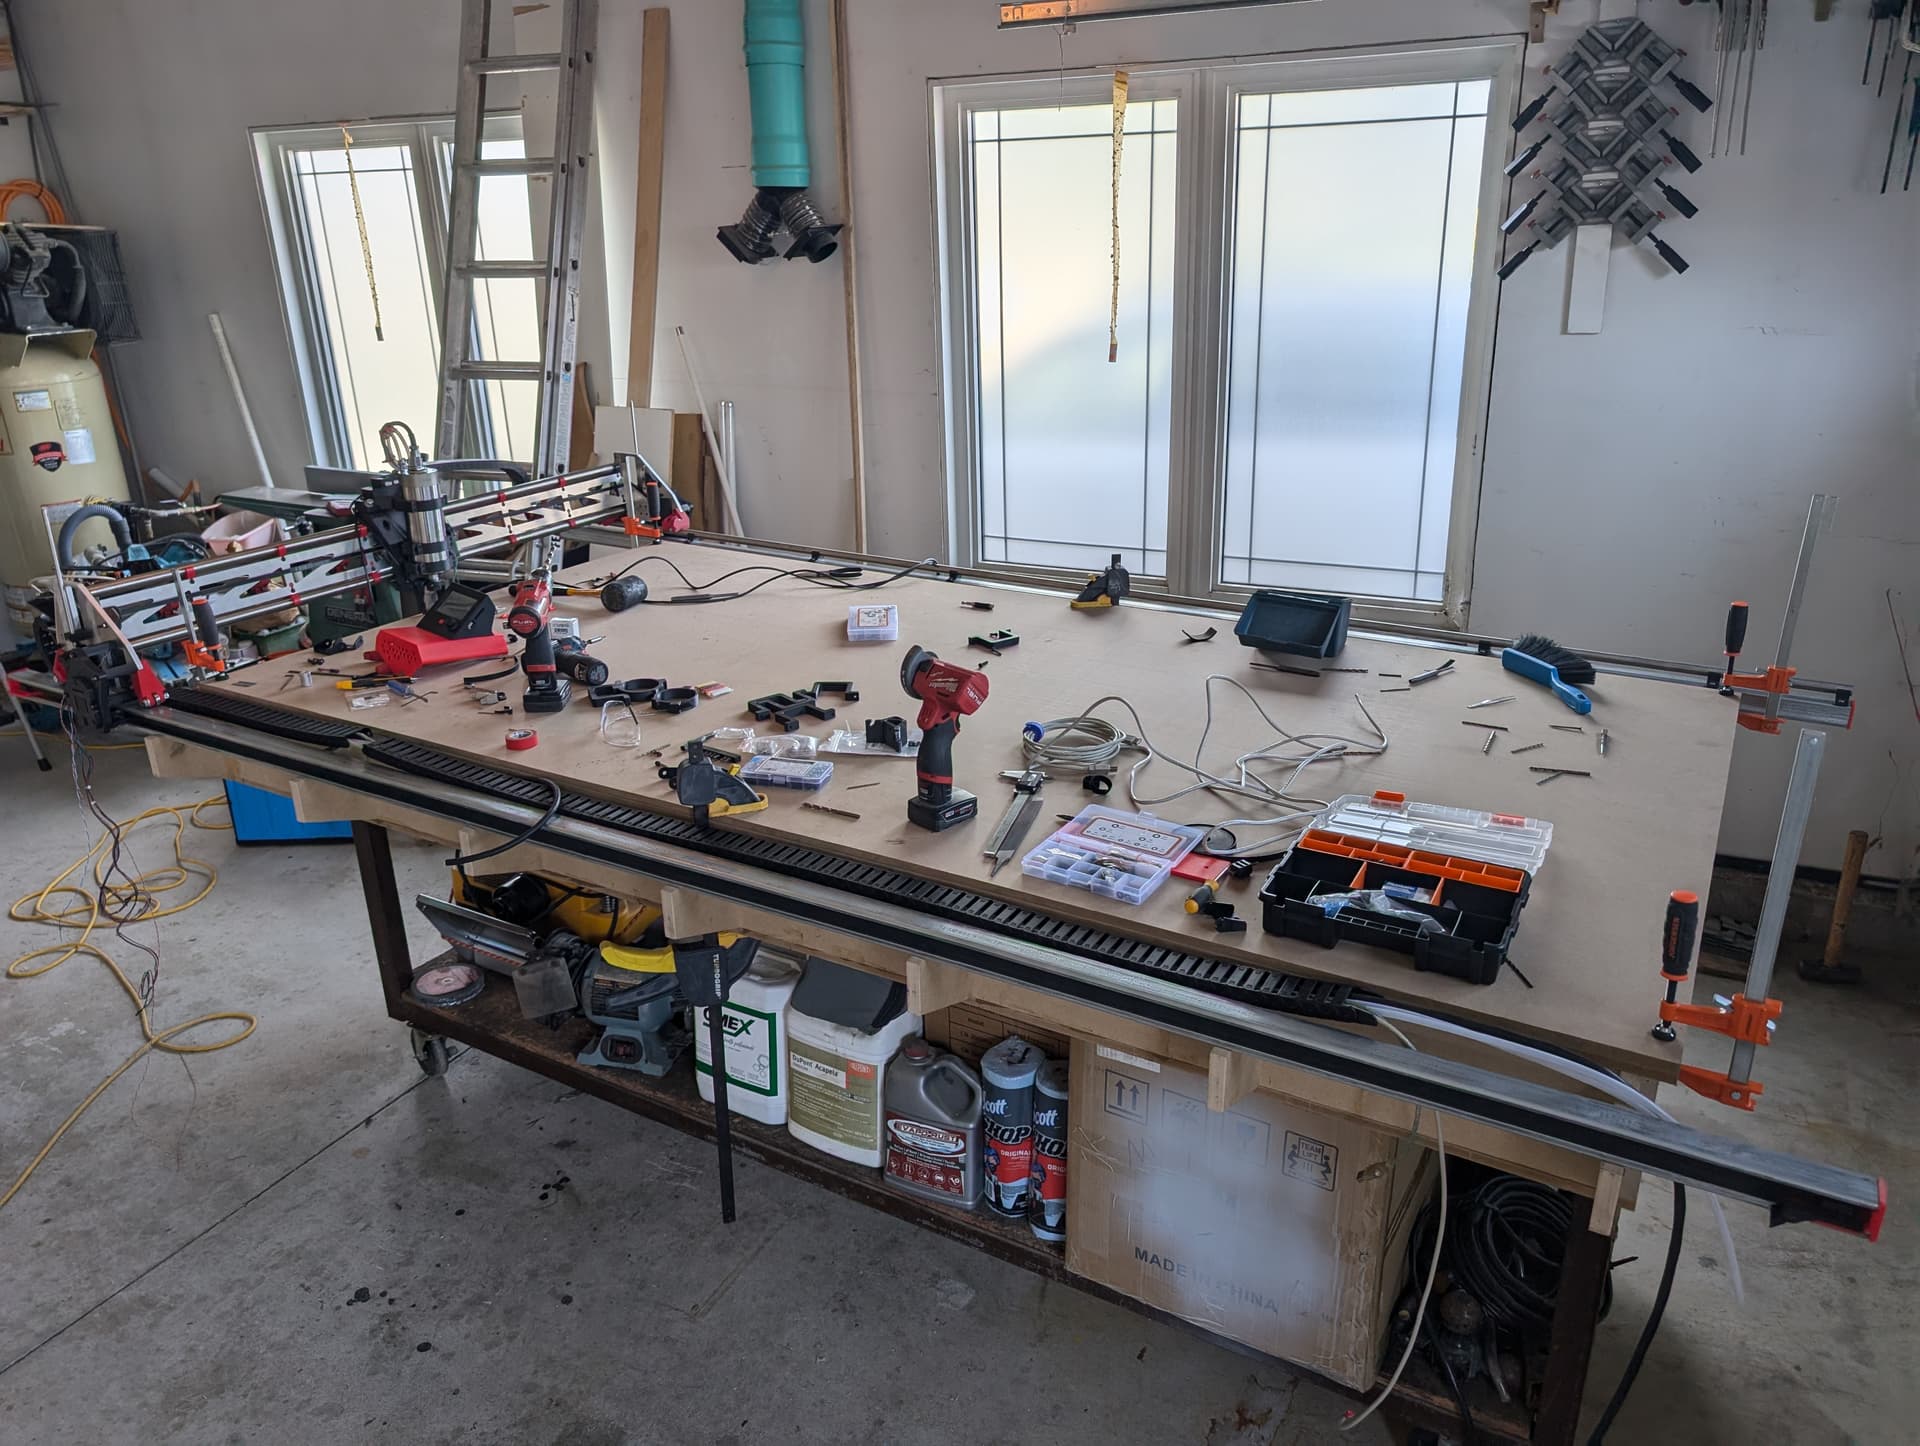
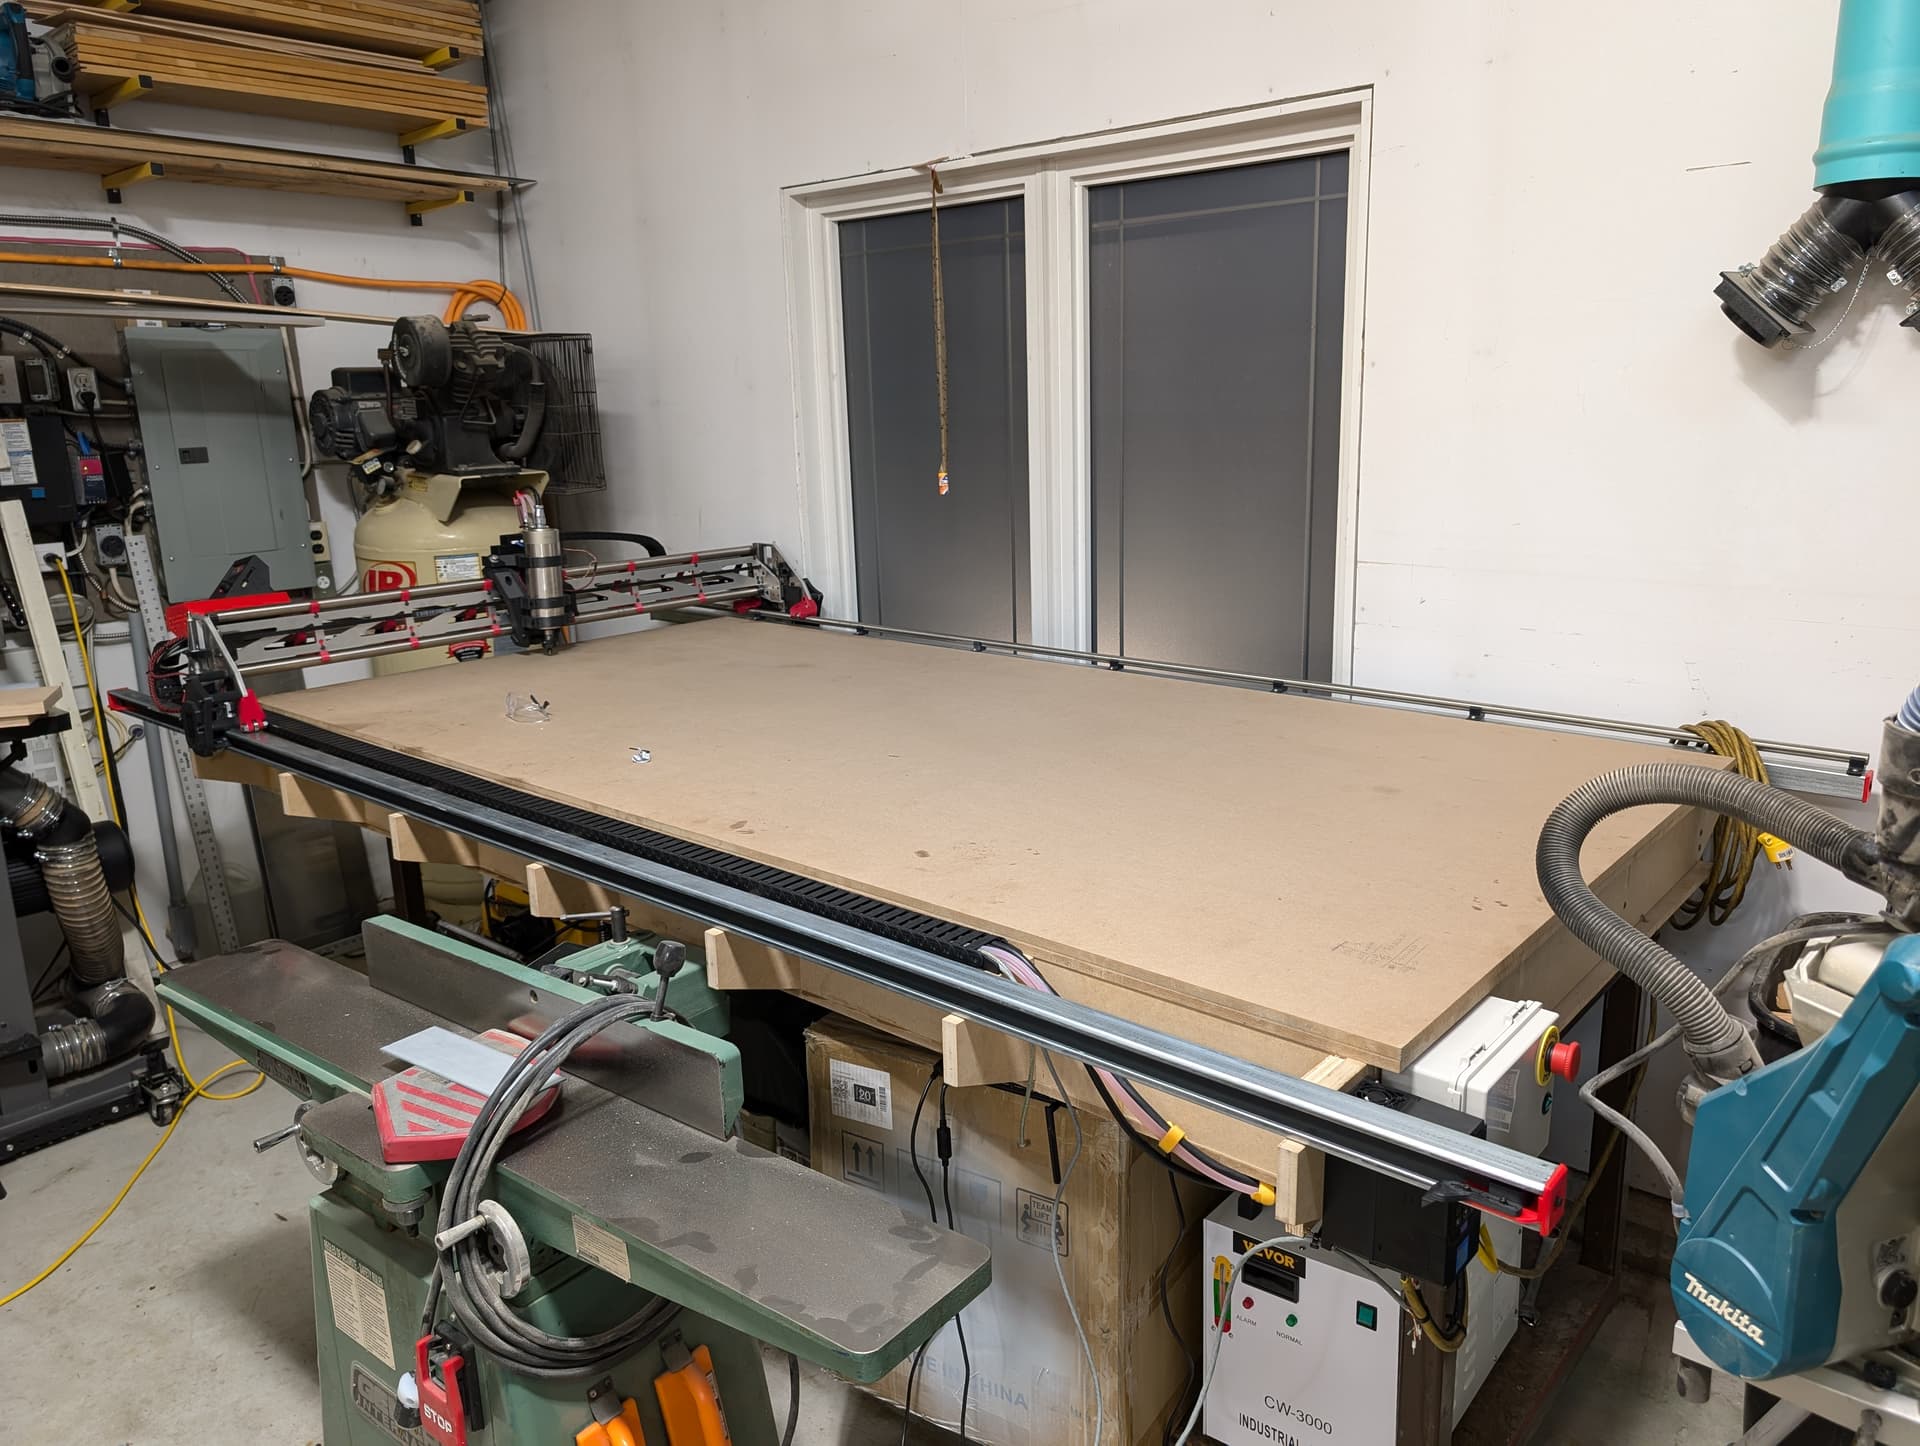
- CNC Table Design: My CNC table design is based on Doug’s full-sheet-capable table. It integrates Unistrut on both sides with hidden belts, providing a solid and stable base for the CNC. The table itself is cut from 3/4 inch HDF (High-Density Fiberboard), which provides a strong and flat working surface. This design allows for full-sheet cutting capabilities, making it perfect for the type of work I plan to do with cabinetry and larger woodworking projects.
- Non-Structural Parts: Accessories and non-structural components, such as the board enclosure, cable hangers, etc., have been printed from ABS. It’s been a great material for these parts due to its heat resistance and overall toughness.
Build Progress and Challenges
The build is nearing completion, and I’ve already tackled some interesting challenges:
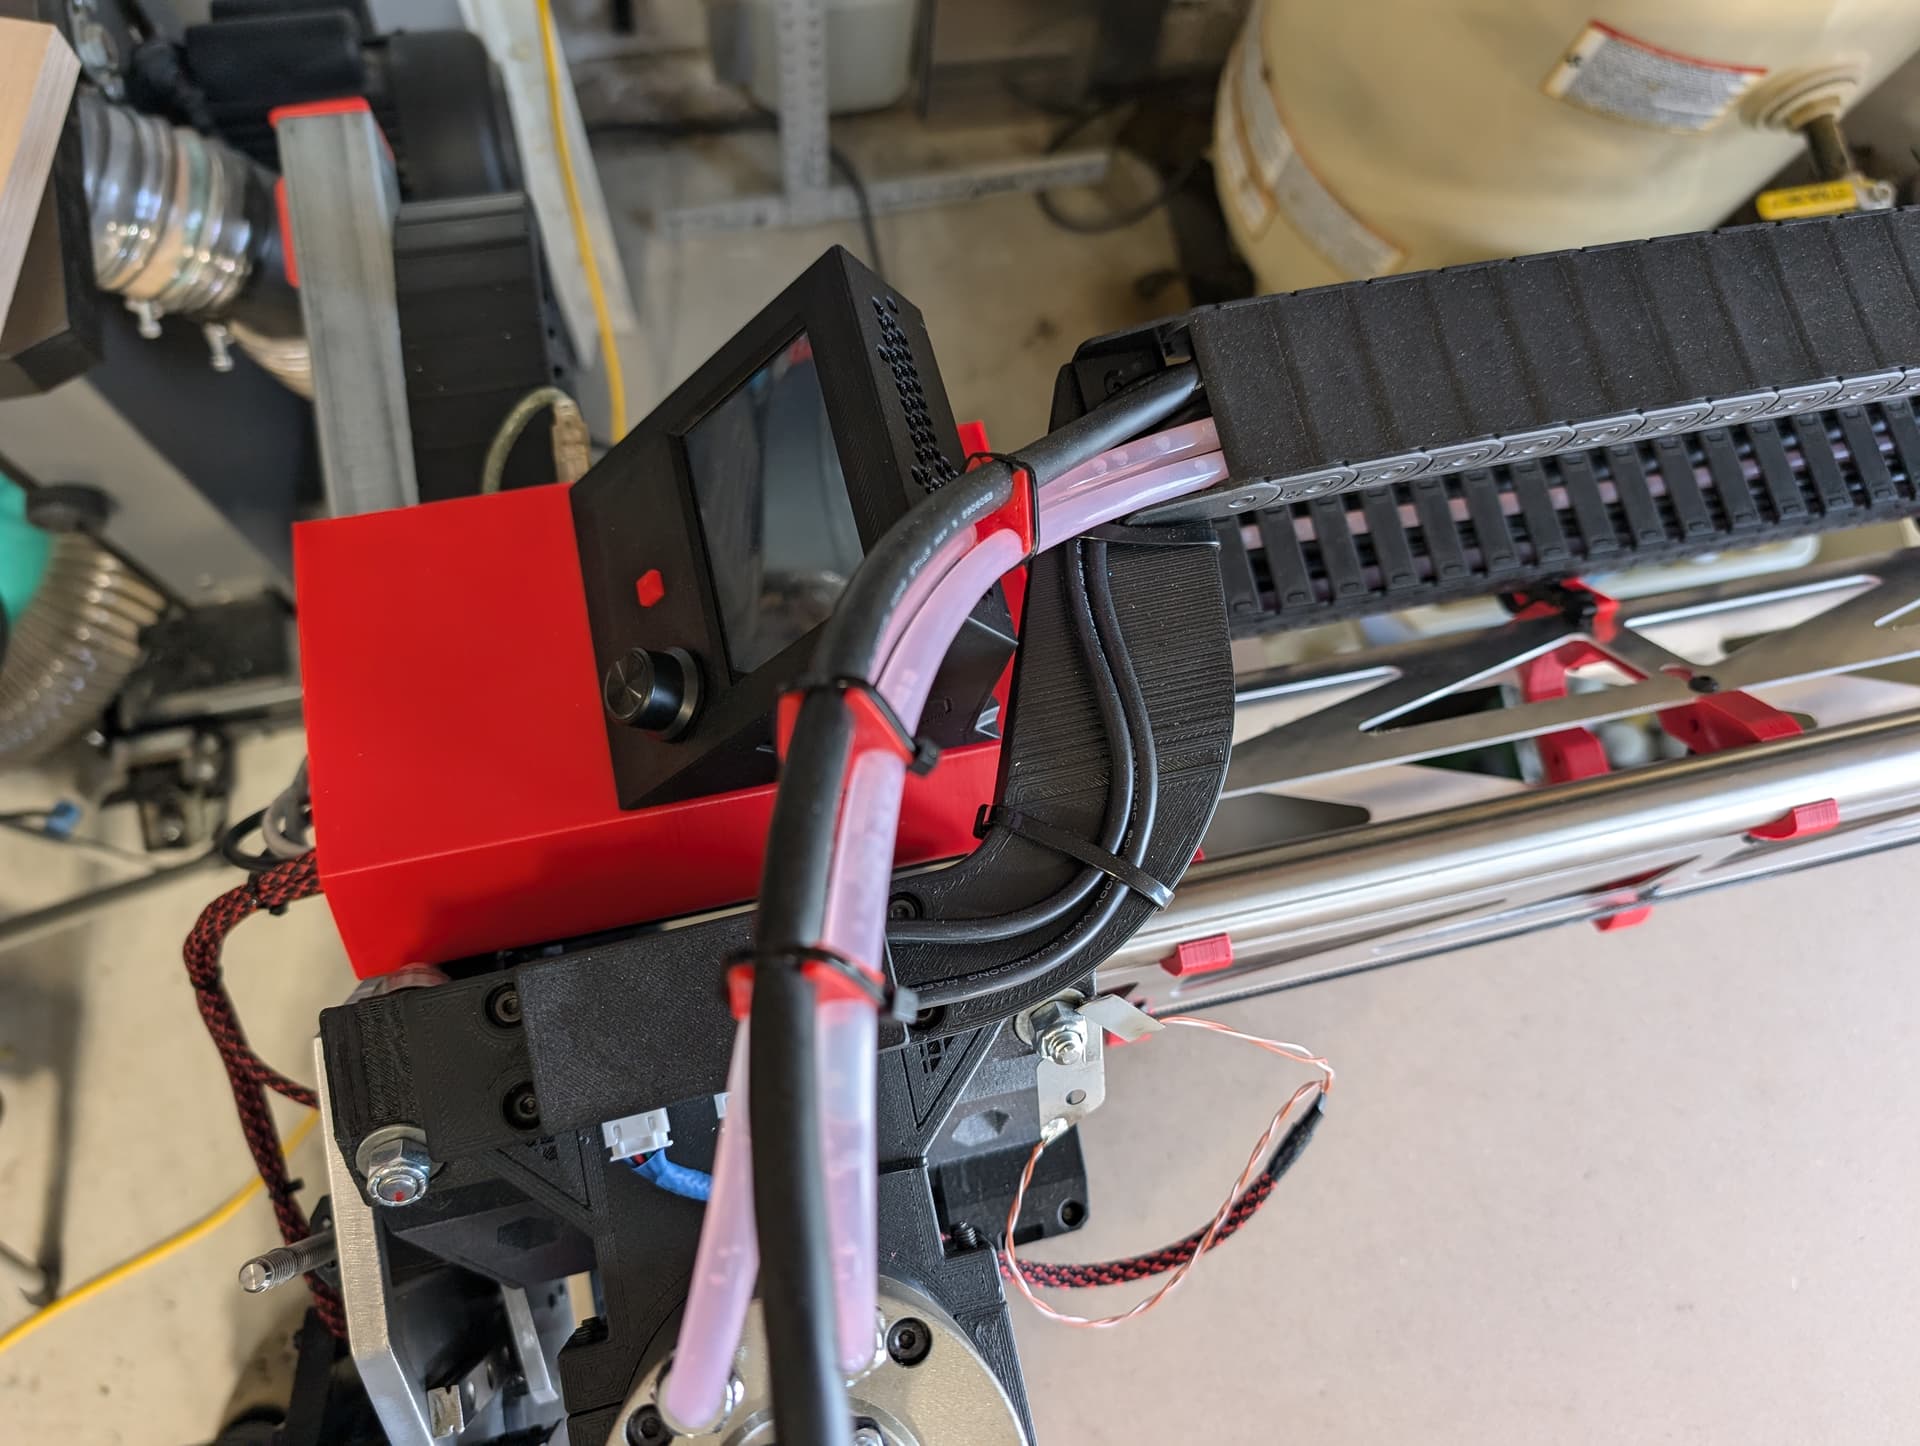
- Cable Drag Chain System: Another challenge I faced was integrating a suitable cable drag chain system. Unfortunately, I couldn’t find any existing designs that fit my application. Most designs included dust hose hangers, and the drag chains were too small to accommodate the cooling hoses and shielded spindle wire. As a result, I’m working on designing a custom solution that can handle all my wiring and hoses while keeping everything tidy and organized.
- Dust Extraction Solution: Because I already have an existing dust extraction system in my garage, I’m taking a different approach to dust collection. My dust extraction hose will be hanging from the top, riding back and forth on the Unistrut with a ball bearing slider inside of it. This setup allows me to separate the dust extraction system from the drag chain and keep the hose out of the way while providing efficient dust collection.
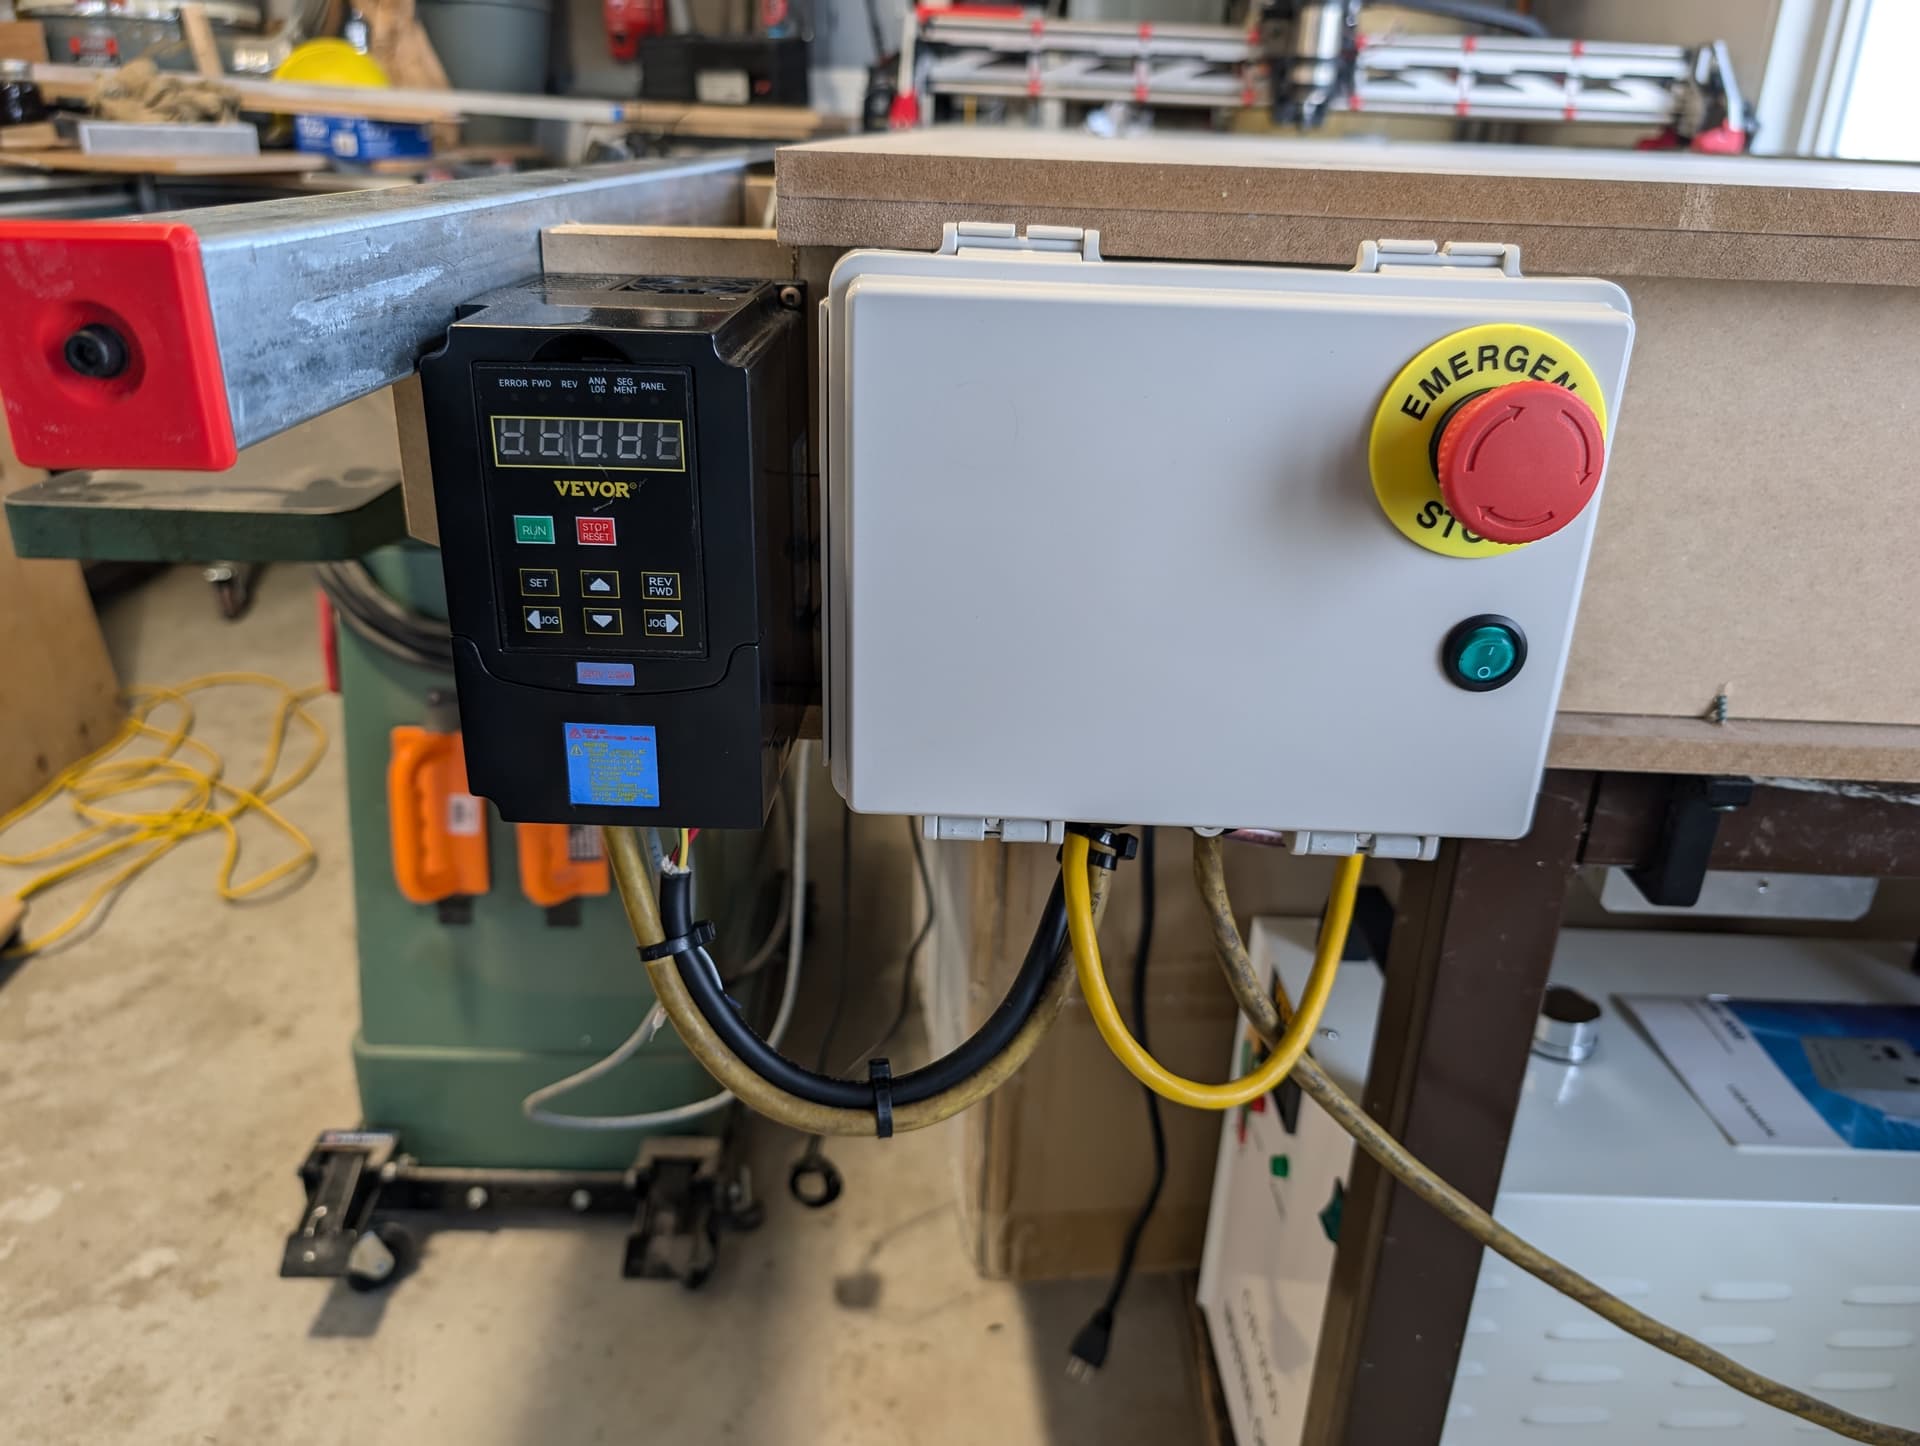
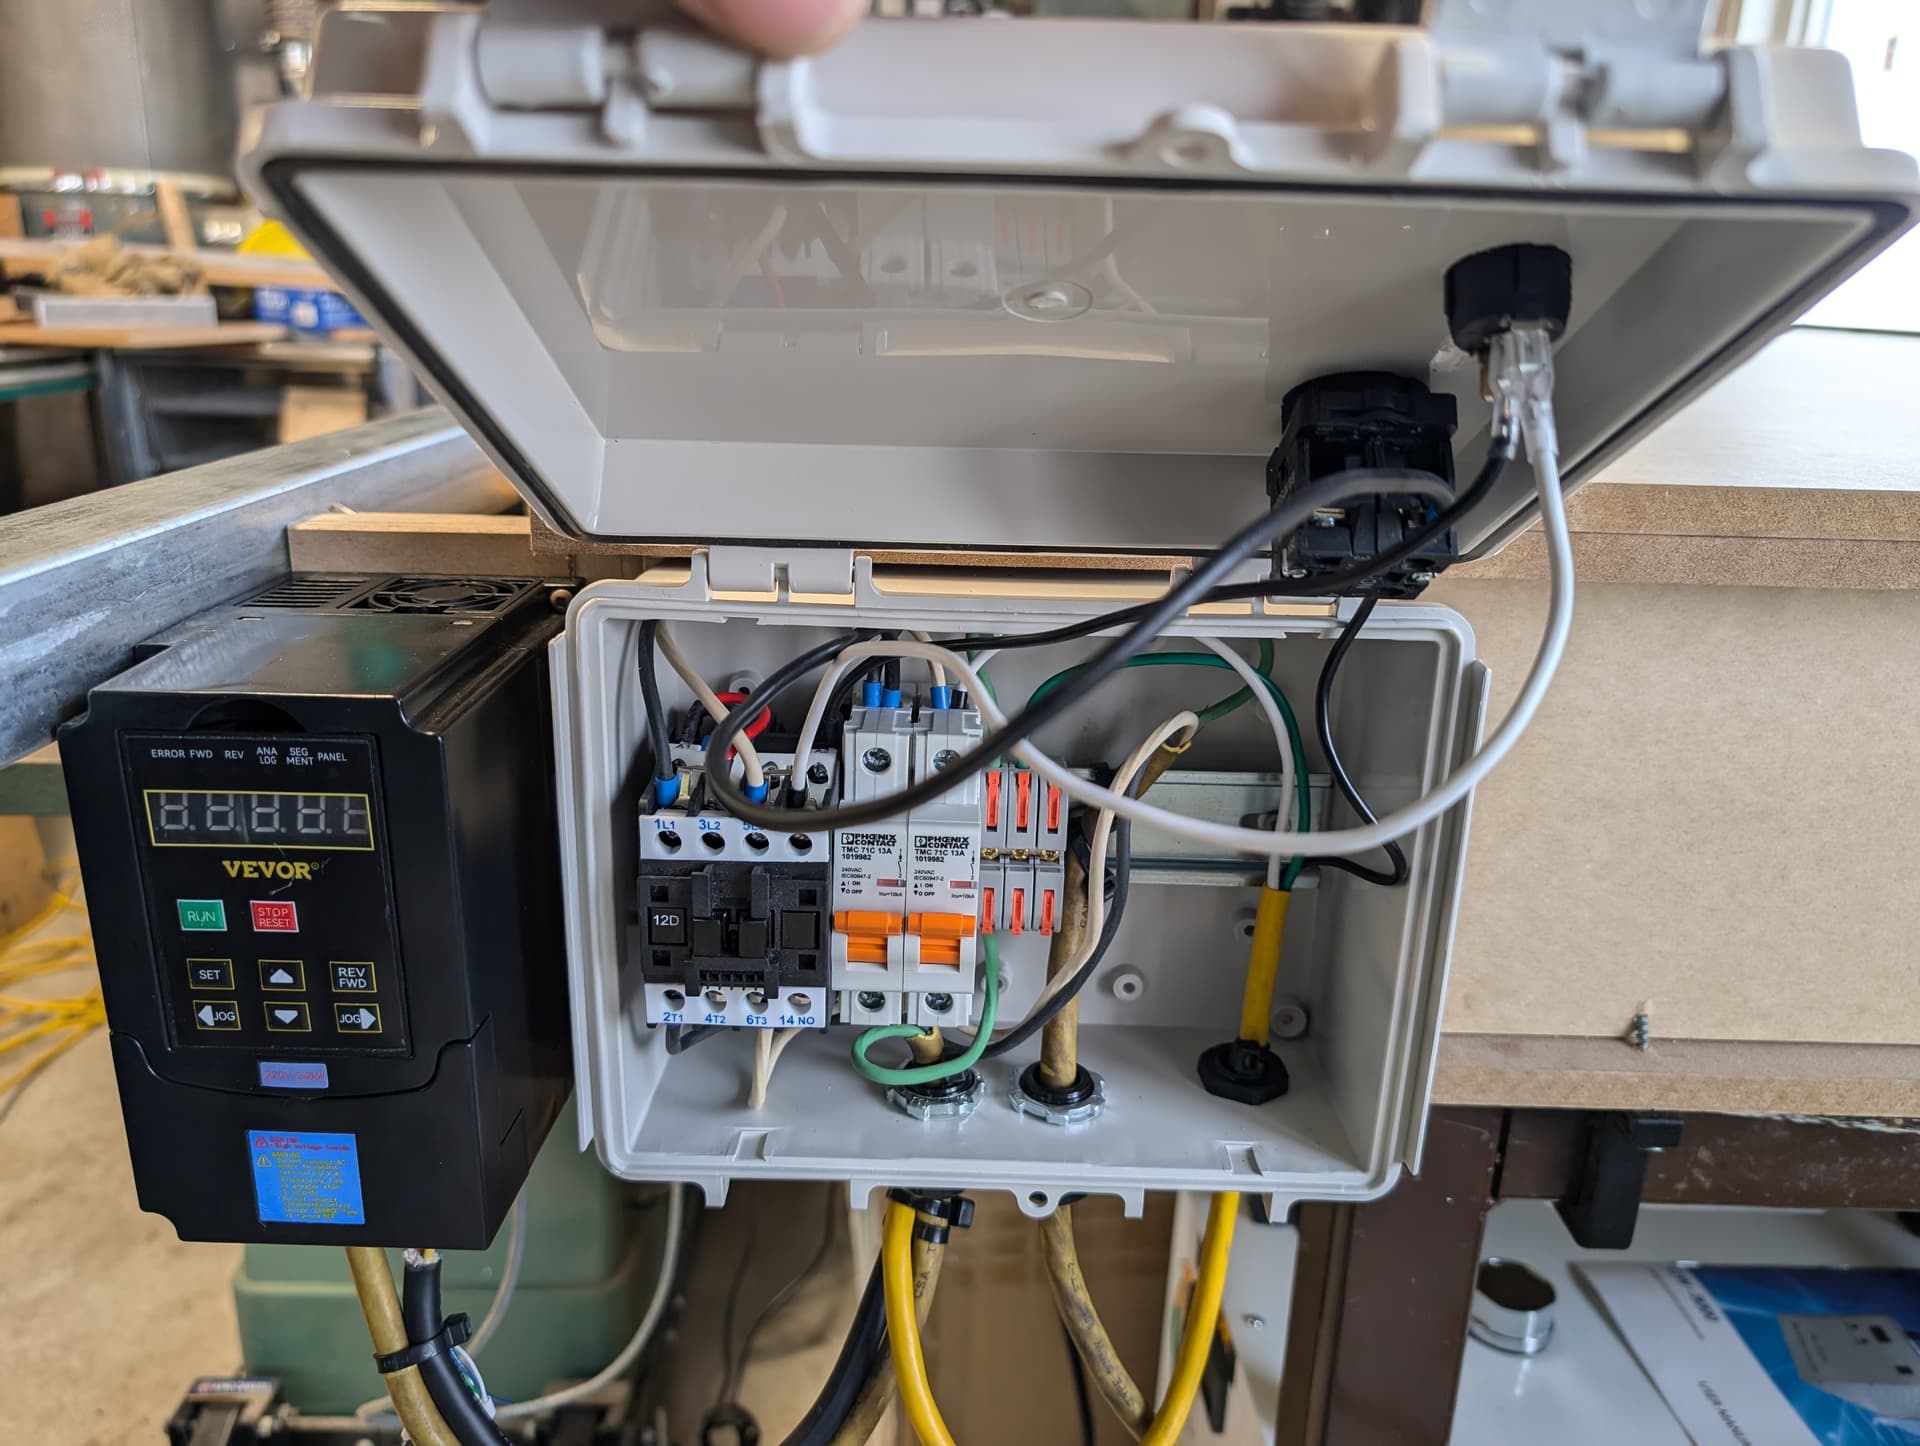
- Spindle and VFD Integration: Integrating the 80mm spindle wasn’t just about fitting and cooling—it was also about VFD (Variable Frequency Drive) control. Here’s where things got interesting:
- I needed to compile custom firmware to enable features like chiller control, dust extraction, and precise VFD control.
- The challenge with VFD control boiled down to a control signal mismatch. The CNC controller outputs a 3.3V control signal, while the VFD only supports 5V or 10V signals. This resulted in the spindle not receiving full power to reach its maximum RPM.
- Additionally, I wanted to isolate the two circuits completely to avoid any noise injection from the VFD into the CNC controller. The solution was to use a PWM-to-analog optocoupler, which provides a smooth 0-10V analog control signal and ensures complete optical isolation between the VFD and the control board. This setup guarantees that the VFD and CNC controller are separated, preventing any interference or noise issues by not sharing a common negative.
Next Steps and Questions
I’m very anxious to complete my build as I would like to test the limits of this machine in terms of cutting speed. I’m eager to see just how fast I can push it while maintaining precision and cut quality. If anyone has experience or tips on optimizing cutting speeds for similar setups, I’d love to hear them!
Another item on my to-do list is designing a custom dust shoe. Unfortunately, I haven’t found a good dust shoe design that fits my specific setup and needs, so I’m in the process of creating my own. If anyone has suggestions or would like to share their designs, I’d love to see them!
My primary use for the LowRider 3 will be cutting melamine, MDF, and plywood for cabinet-making purposes. I’m looking for advice on the best bits to use for these materials. I noticed that most of the bits Ryan sells are 1/8" shank, but I’m hoping to find bits that are at least 1/4" shank, or ideally 1/2". If anyone has recommendations for specific types, brands, or configurations that work well for this kind of work, please let me know!
What’s Coming Next?
I’ll be posting more photos and updates as I finish up the build and start testing. I’m excited to share more details and get your feedback. Thanks again to everyone in this community—especially Ryan, Doug, and JRS—for their invaluable designs, insights, and support. I wouldn’t be here without you!
Looking forward to sharing this journey with you all!