FYI, if you don’t have illustrator, you can do this with inkscape. Search youtube for inkscape and trace bitmap.
Looks good though. Hope the mouse doesn’t come after you!
FYI, if you don’t have illustrator, you can do this with inkscape. Search youtube for inkscape and trace bitmap.
Looks good though. Hope the mouse doesn’t come after you!
From my understanding the mouse won’t chase me down if I claim “CC” creative commons licensing. & I’m not selling this to line my pockets to upgrade to a 23Nema version. 
I’ve just spend the past two days building a controller board housing box from wood. What a nightmare.
I ended up having to extend & re-solder several of the motor wires and then when I drilled a hole for the usb cable to pass through into the box I accidentally drilled right into the driver board’s USB connection … it still connects but it’s now very loose. I have a piece of inner tube rubber holding it in place. Does the trick.
Next up: END STOPS & then time ot build the sound proof housing. (can’t go pissing the neighbours off )
I just completed my first ever official cut into wood with Makita router attached. (crown test)
Wow talking about feeling bat shit nervous… I was so uncertain how things would go but am happy to say all is pretty darn sweet. I’ll upload the video shortly for those interested.
Next up - Printing the Mickey Mouse Illustrator file. I’m unsure regarding the depth it will cut as the crown file was created specifically for CNC. I’ll do a quick test with router bit removed. Best to stay on the safe side which is what i did when I first cut into wood. I literally hid behind my laptop screen expecting something to go KaBoom !! I peered out after hearing the sweet high pitched sound of bit to wood… damn that’s one ear piercing screech. ( worse than the dragon call from Oblivion with gaming head phones on ) Bring on the sound proofing
Hi Jeff,
I decided to swap from Illustrator to InkScape ( it’s free !! ) and straight away a marked improvement in terms of converting an image file to Paths for SWG export. Now all lines have been exported. Illustrator is renowned at being terrible in terms of exporting paths for CAD purposes.
Thanks for that
Went to start the LowRider this morning only to find my youngest son (20mths) had decided to hang from the X-axis tubing resulting in a bent Y-Axis Plate and a wheel now way out of alignment.
Time to upgrade to Aluminium Y-Plates I feel.
This may take some time 
note: I’ve had several quotes for laser cutting to water cutting AU$160 - $250 (Y plates only) I should try to get the Router gantry plate done as well… not sure if I should go for 6mm or 10mm plate ?
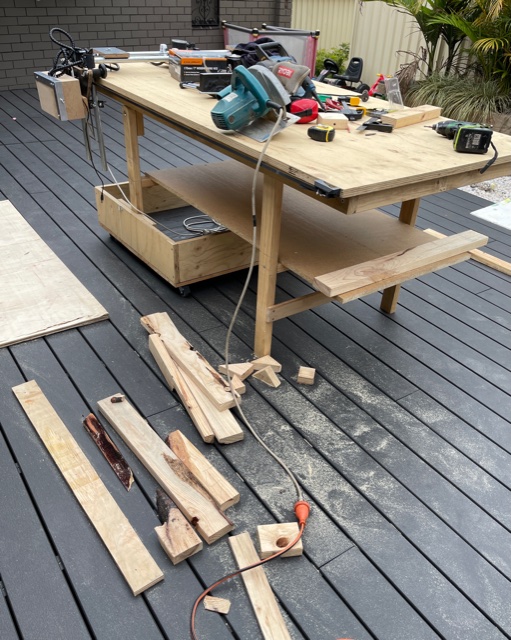
Folding Table is now complete. (2m x 1.2m 25mm ply )
Here’s a few pix.
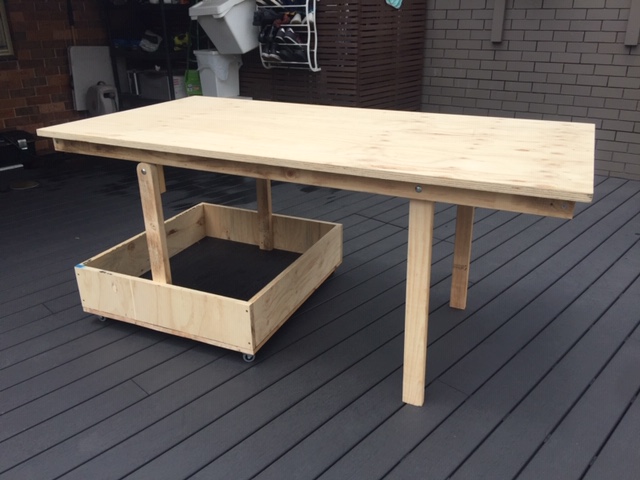
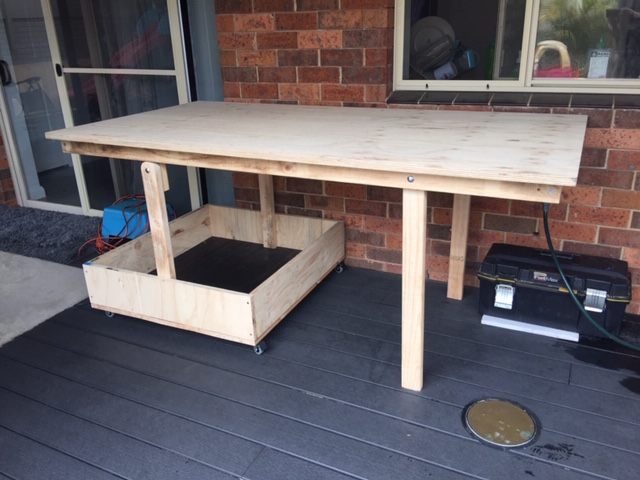
with shelf now in place
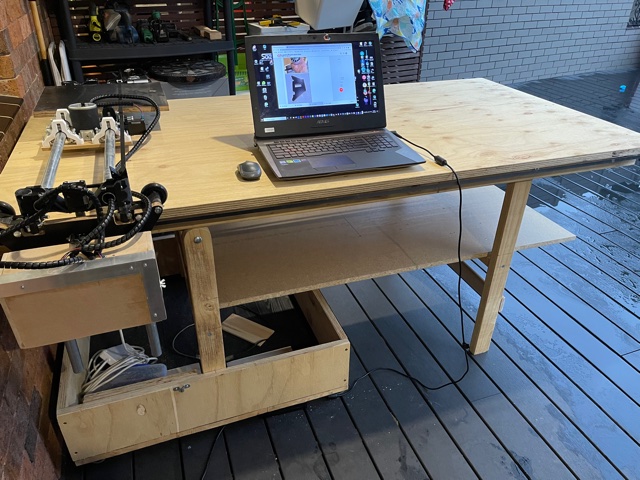
I still need to add a cover for the toolbox and a couple of braces for the legs.
note: Scope Creep - might add a table saw & router. Mount a 1/2 " router beneath & an old circular saw I have laying about.
Am pondering what form of latch system to incoporate into the table top surface.
T-track or dog holes ?
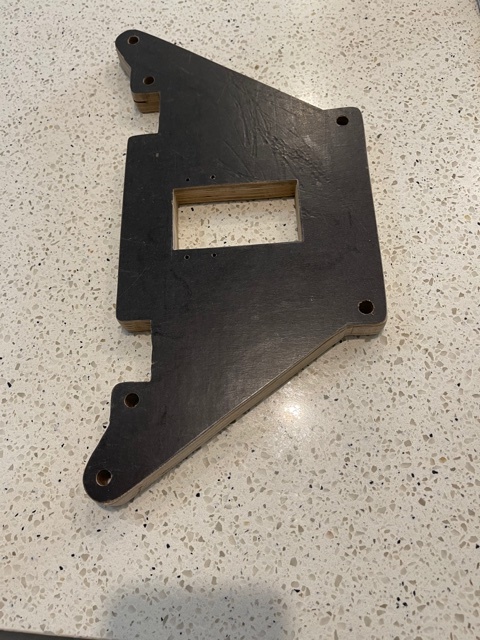
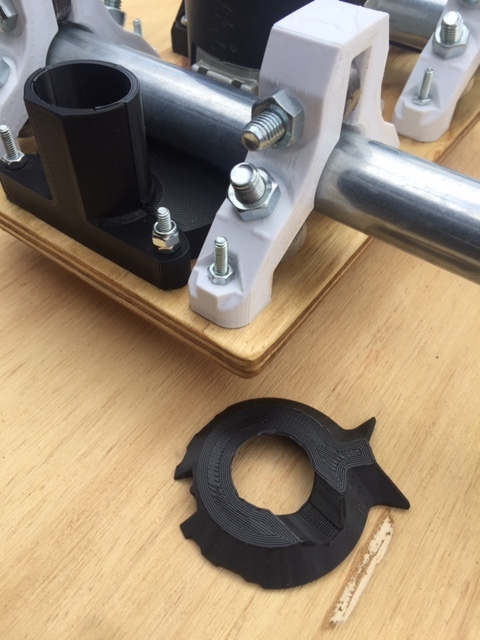
Today I reshaped a couple of Y plates from some 18mm plywood.
Originally I 3D printed each Y Plate but one bent so I’ve used the remaining one as a template to generate new ones. I simply cut the pieces approximately and thne used the router to get the exact shape.
will post some pix shortly.
The new plates are so much stronger but am not happy with stowing the gantry up high (as per pic) I feel it makes it top heavy so will move to bottom to create a lower COG
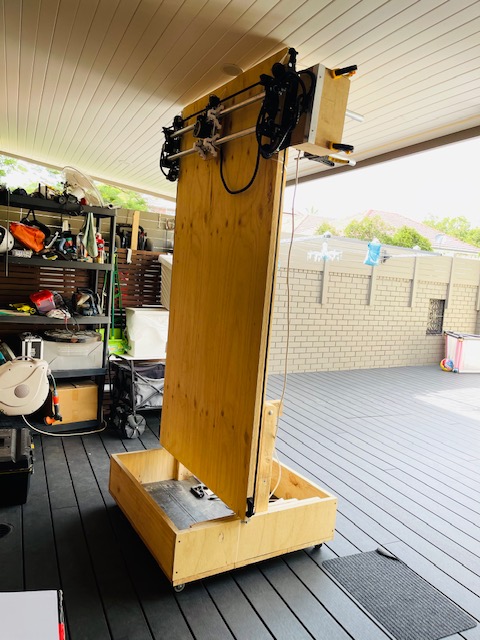
Next up I’ll build a wood housing for the low rider for stowage purposes when the table top sits vertically.
I need it to be toddler proof as those little monkey fingers are into everything these days.
note: I should have eliminated the diagonal cut in the Standard Y-Plate shape and gone for a squared off shape to accomodate an extra wheel mount that allows a wheel to run beneath the table.
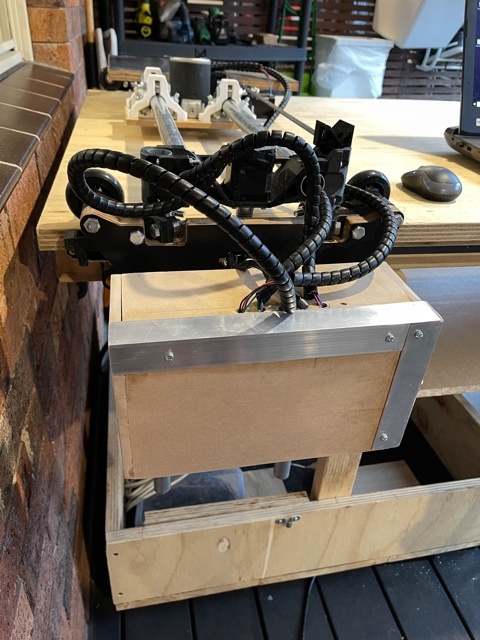
finished the control box today. It has a hinge for opening and a wing nut for securing it till I can get a better locking system.
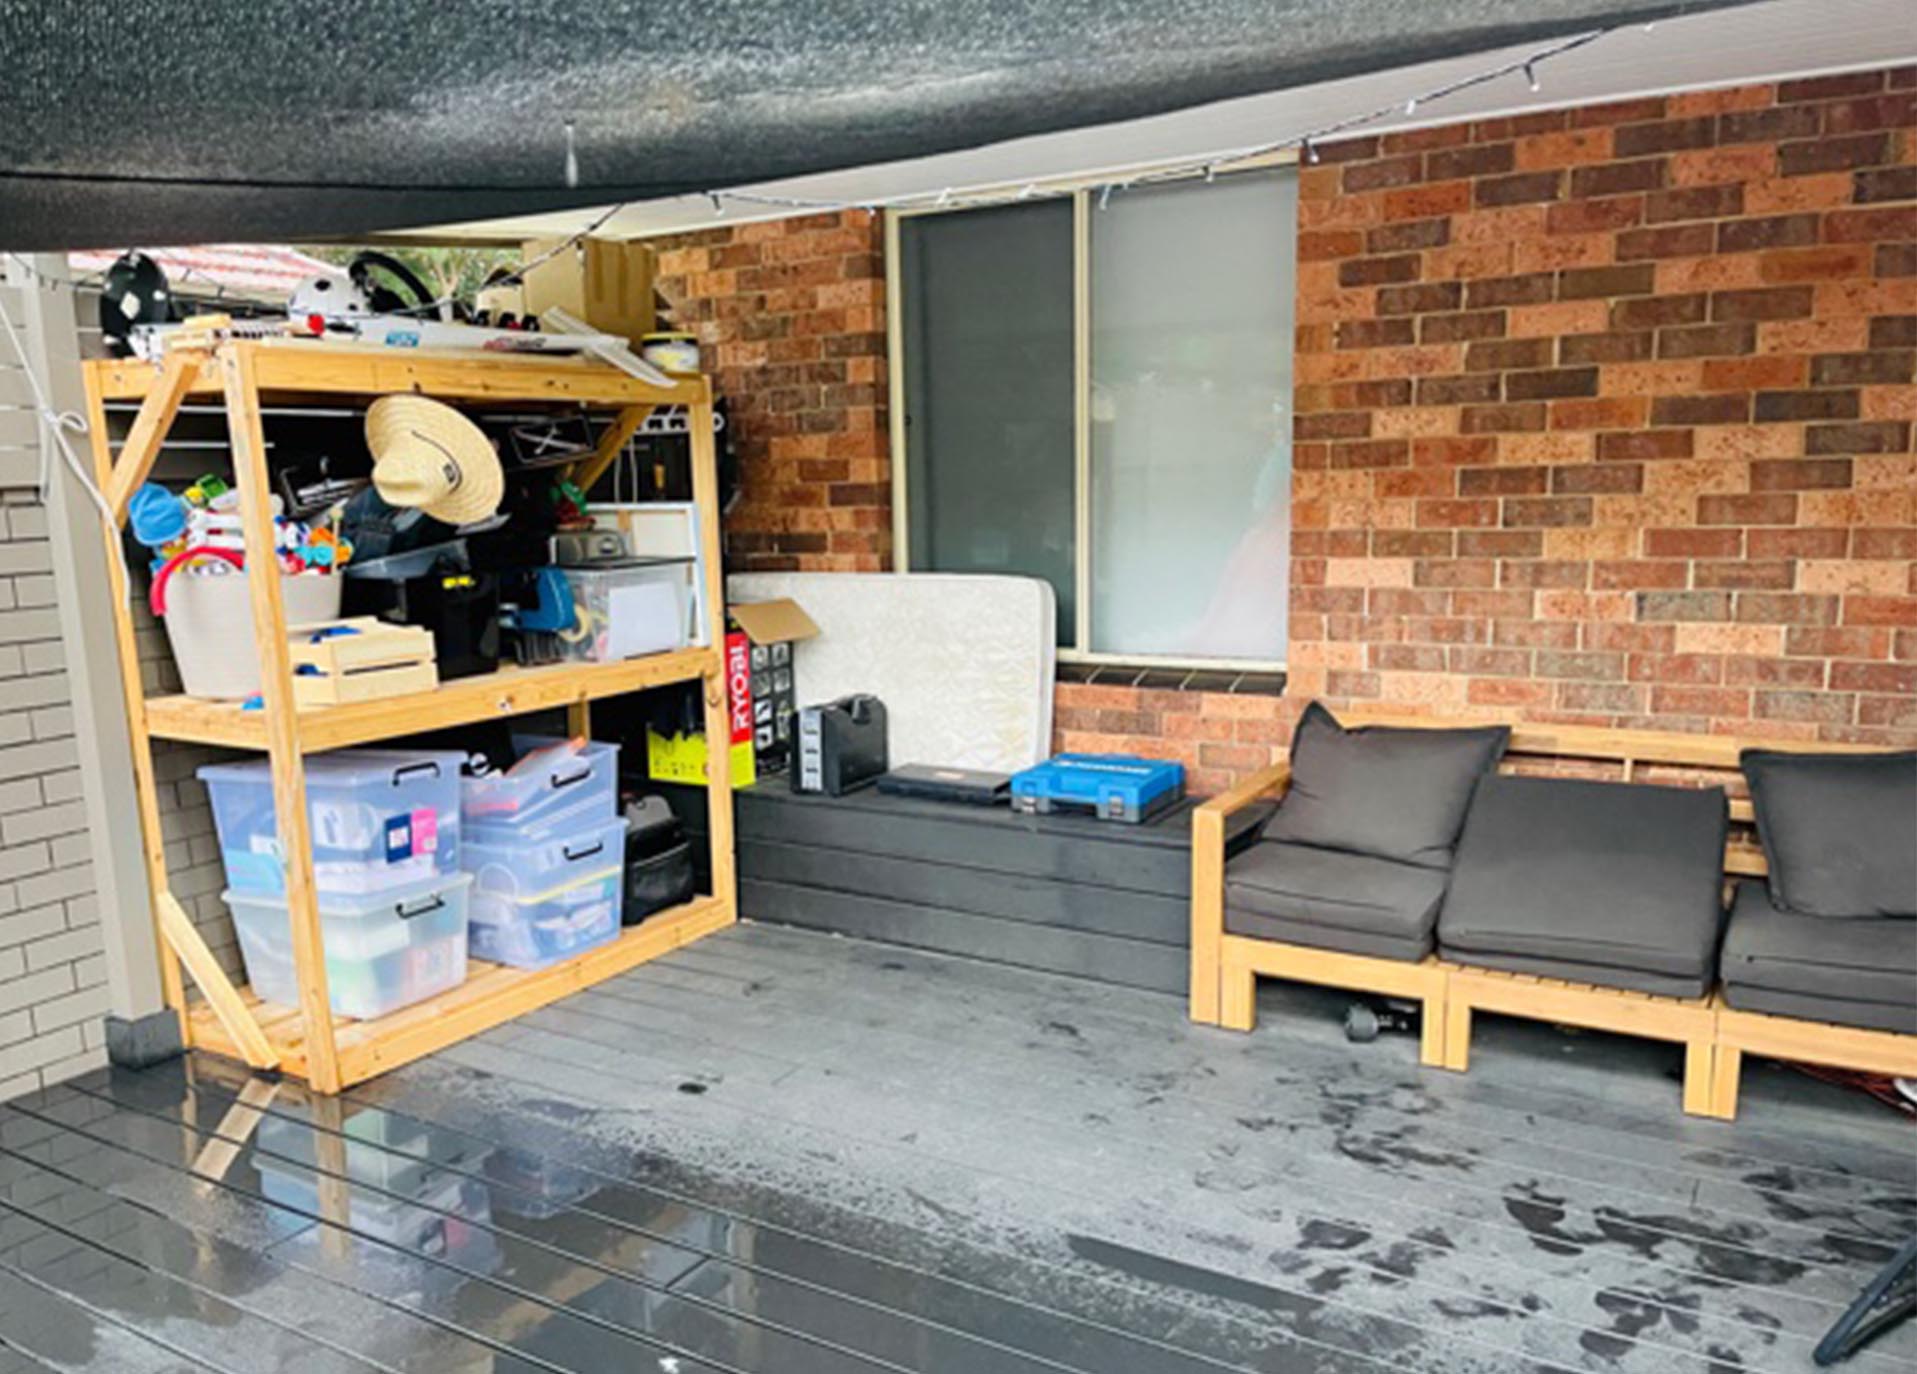
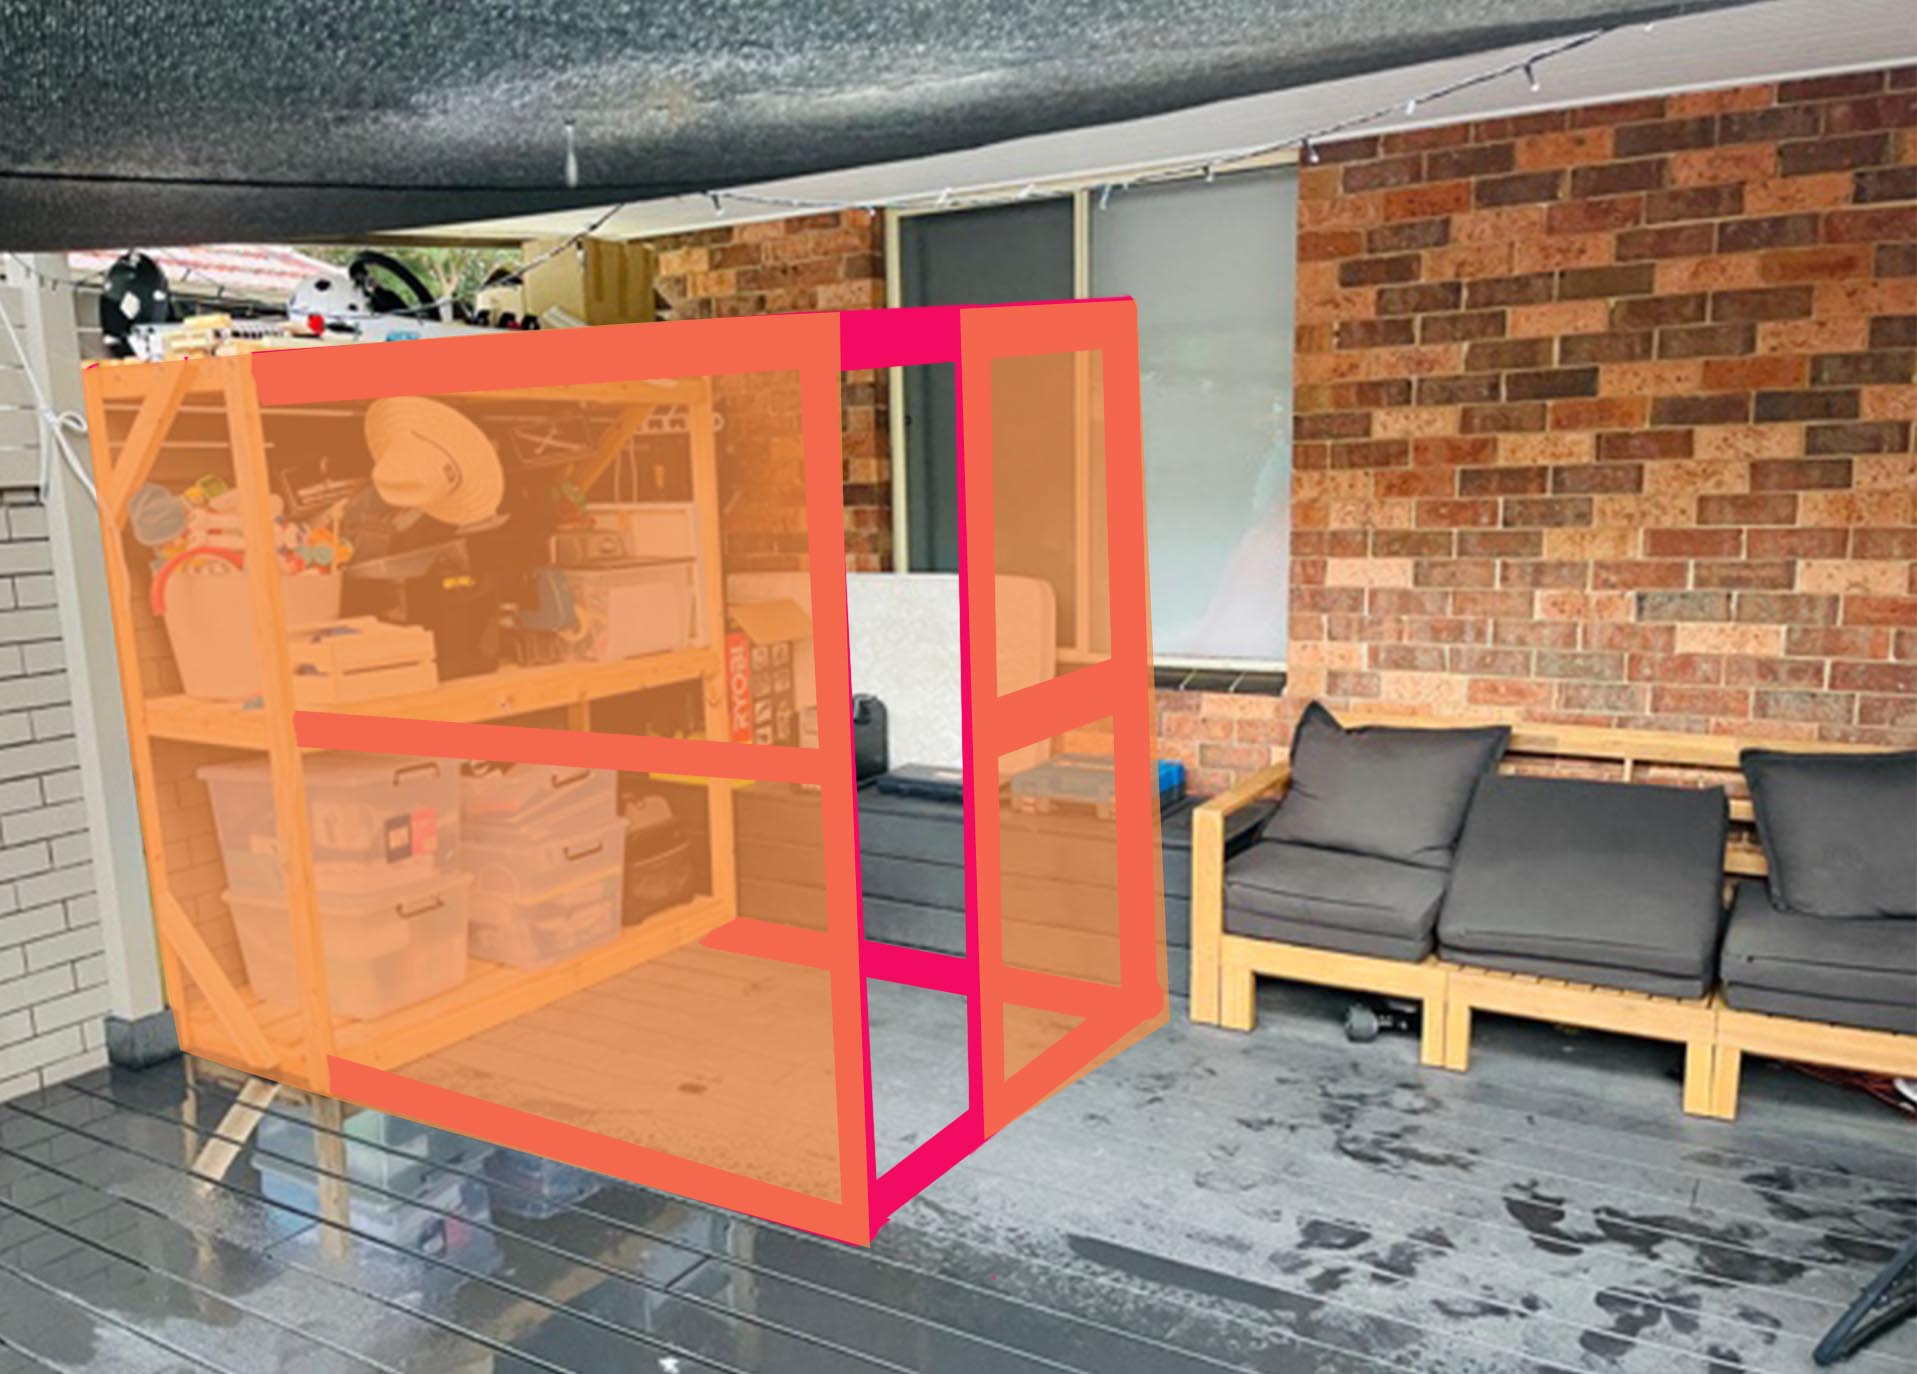
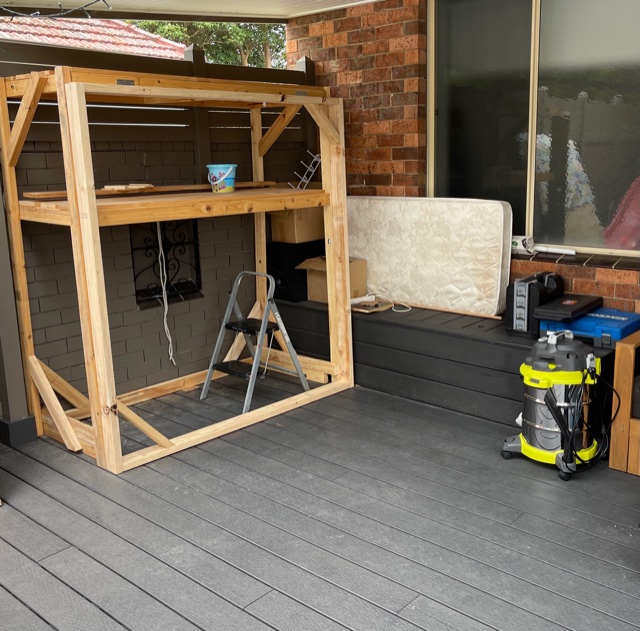
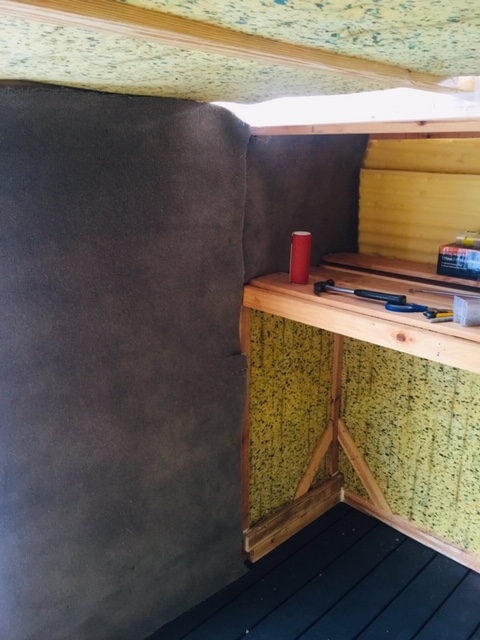
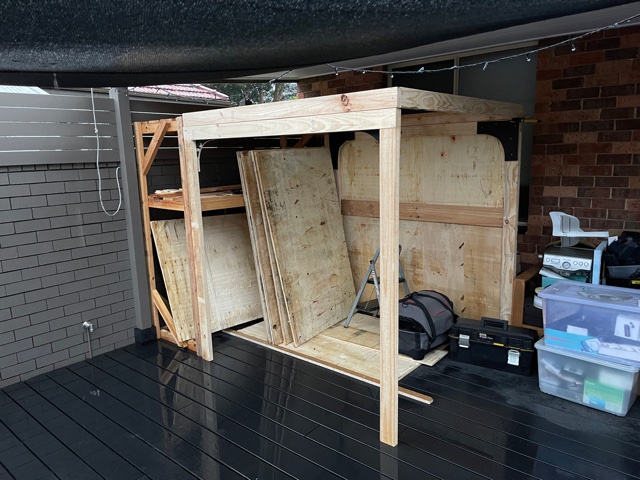
note: Regarding the sound proof housing. I’ve changed the location for the housing and as such am no longer going to build it under the kids play house as mentioned in post #1. Instaead I’ll convert a space under the veranda. I need an area approx. 2 x 1.5m square & the walls will be made from cheap packing ply (20mm) & lined with carpet / foam ) I’m predicting a wall thinckness of approx. 10cm
Here’s my thoughts on the design for the sound proof booth.
I have the following area available.
So my thoughts are to extend the temp. shelving as per image below
This means the LR2 will be pushed into where the lower storage shelf is now… meaning I’ll have to raise the shelf approx. 20cm. and take out the bottom storage containers. The access door is now relocated to the left side of the booth.
So it begins… I managed to track down a few nice looking pallet boards made from ply. I went scaveging early this morning to the local industrial state where companies often leave stacks of pallet material on the street for collection. Strapped 6 of them to the roof of my little car (Hyandai i30 ) & off we go.
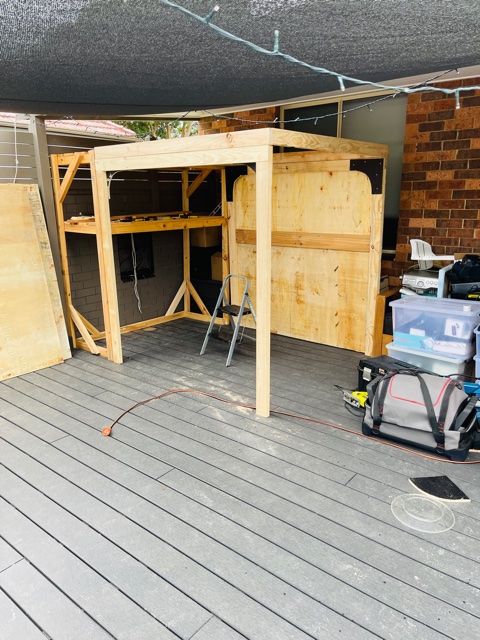
Here’s a few pix from my progress to date.
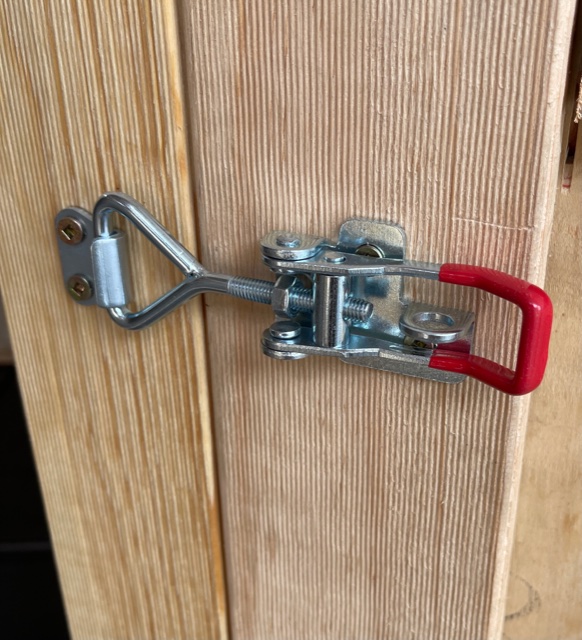
4 x quick release latches allow me to dismantle in a couple of minutes.
(image below) Here you can see the set of shelves that I’m modifying… Originally there were two shevles, I removed the lower shelf so the LR2 can fit under the top shelf. I also made sure the router would pass under the shelf… It does but only by a cm so I feel I will raise the shelf a little more.
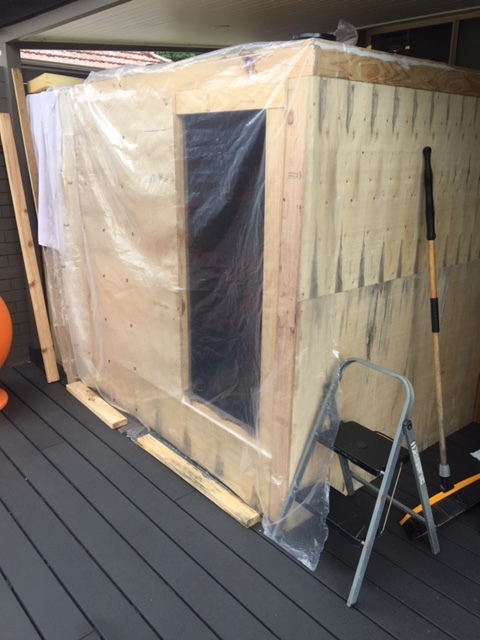
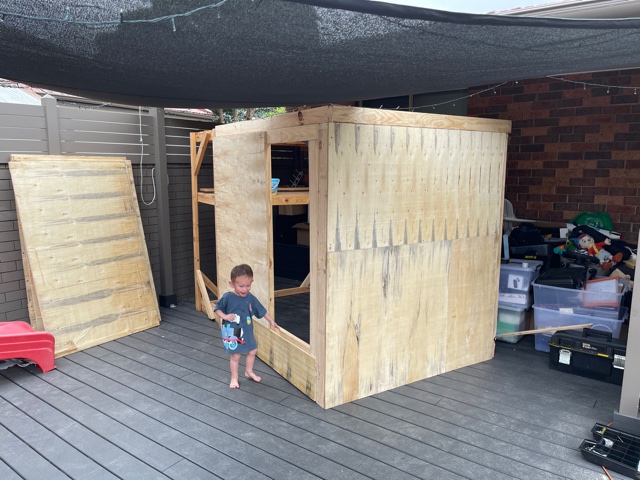
I designed this so I can easily dismantle each wall as they have latches on each corner. I’ve also added hinges to the roof so it can swing down when not in use and rest against the shelf vertically .
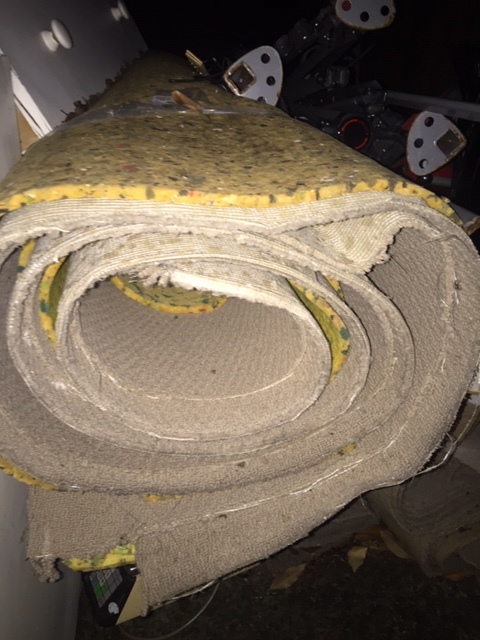
Some SOUND ADVICE : I’ve been researching sound proofing & like the idea of using heavy furniture moving blankets to supress noise. Seems they are an excellent choice as opposed to using professional sound proofing blankets.
Happy New Year !!
Am thinking of adding a perspex viewing window in the main entry door with 2 layers of perspex.
Update: am almost finished sound proofing the walls and roof. I used a mix of bedding foam and on some walls several layers of carpet underlay. Over top of all is a layer of heavy carpet. These walls sure are heavy now when disconnecting and storing each away. (might have to use a set of detachable wheels). Think I’ll add an extraction fan as well.
More pix
worth noting - To date I’ve probably spent more time building the walk-in sound proof booth than building both the table and the LR2… sure has slowed my progress. This is due in part to recylcing most of the materials rather than simply purchasing new materials. The ply & 4x2 wood probably would have set me back a good $400, instead I went on a scavenge hunt. My car is not big, I always carry several tie-downs in the boot as well as an old yoga mat to place on the roof of the car before strapping materials down to protect the paintwork.
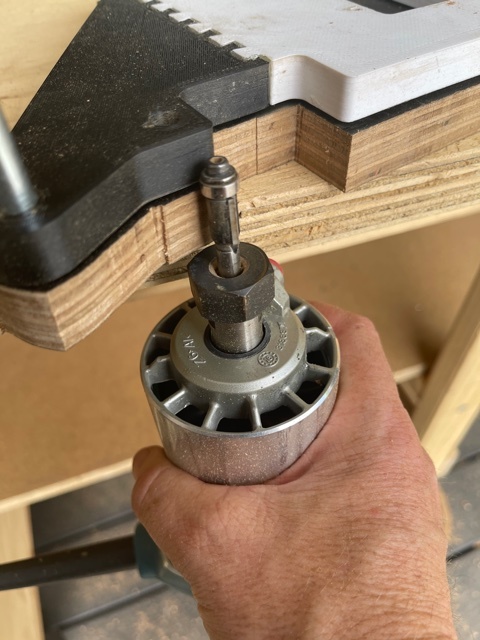
more pix… this time of the Makita Router (RT700C) vacuum pickup and vacuum connector.
Download from Thingiverse is here
Think I’ll have to add LockTight to those bolts at a later date as I’ve not used lock nuts.
Hello !
I can’t find the baud rate setting on my TFT 24-v1.1 screen
running on skr1.3 board drv8825 with the Marlin release downloaded from V1’s github : V1CNC_Skr1p3_DualLR_8825-2.0.7.2-src
I can control my steppers on pronterface via USB but not with the screen command.
"no printer attached "
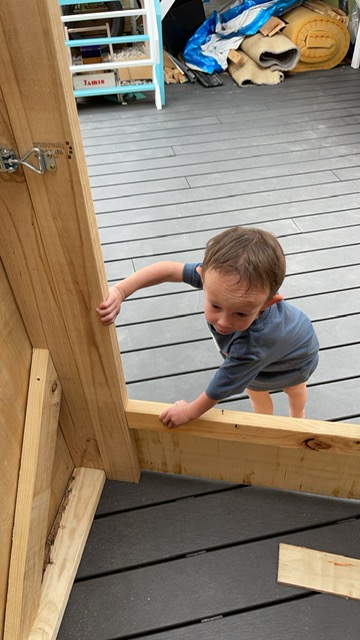
I always had a blast anytime my kids (when they were tots) would help out. It looks like you might be too.
yup… kids always around wanting to hold screws or lend a hand. I normally have them indoors while using power tools though. Thry watch no lookn through the window. Once finished I open the door again and they come bounding out wanting to see what new stuff Daddy’s built.
So what’s new… since my last post.
4 Now I have my own garage Yehaaa !!! LR2 is now setup and nearly ready to cut.
5. Time to surface the spoilboard
Whilst moving I procurred a few new tools including
a nail gun /staple gun / Wood working lathe / Table Saw
pondering all the possibilites… mmmm
my table (2mx1m) sags slightly in the middle as the outside edges along the Y axis are 2-4 mm high.
A pocket cut starting from the center working outwards might fix it I feel.
Another ISSUE - X Axis tube TWIST - The tubes are not the same height… one tube end is 2-3mm higher.
How to rectify this ???