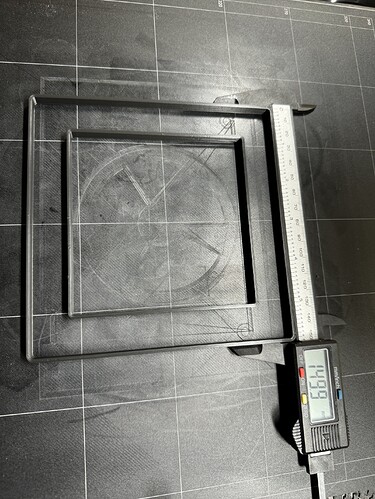
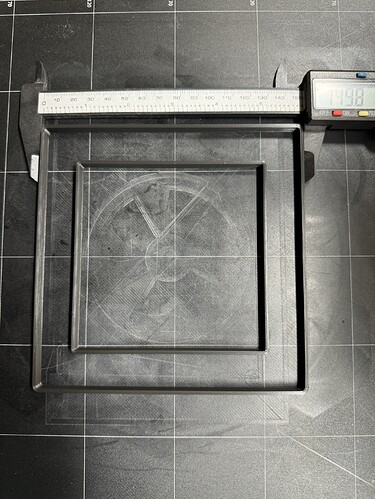
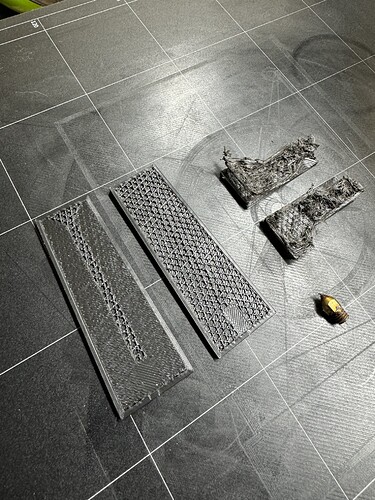
Started with @vicious1’s 150-cycle-test.stl to validate that things were printing with accuracy and I think that’ll do. I probably should have done that before I printed an LR3 and MPCNC, lol!
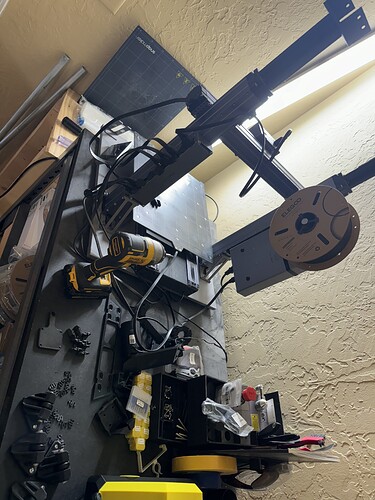
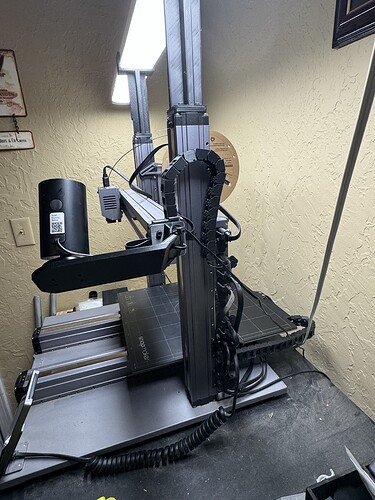
I had a bunch of gantry stiffening add-ons to try and make the CNC module useful and it really doesn’t, so took those off to open up some room to add some cable management chains and retention mechanisms to keep everything cleaned up and out of the way.
Stripped everything down and cleaned everything up a bit. Found tons of random filament trash under the bed and behind the printer.
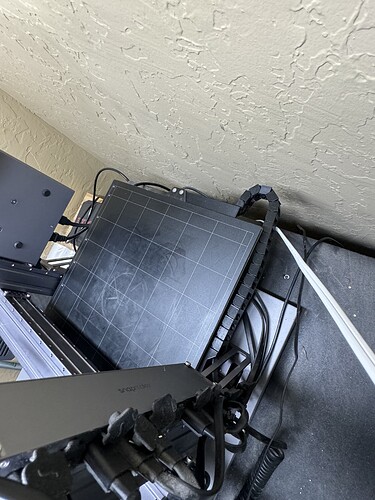
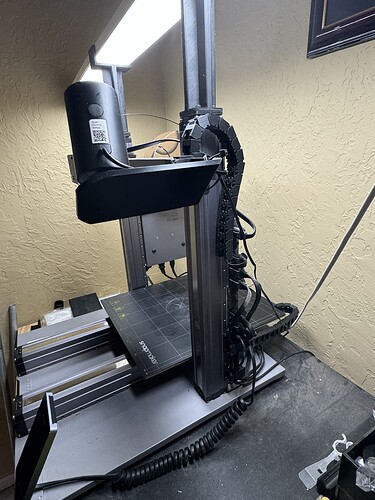
Added a heated bed support and chain to keep the cable from catching on the y-axis linear modules.
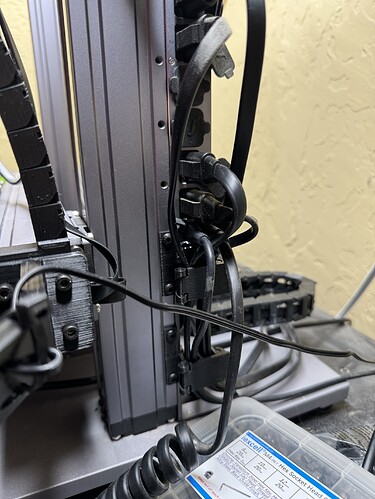
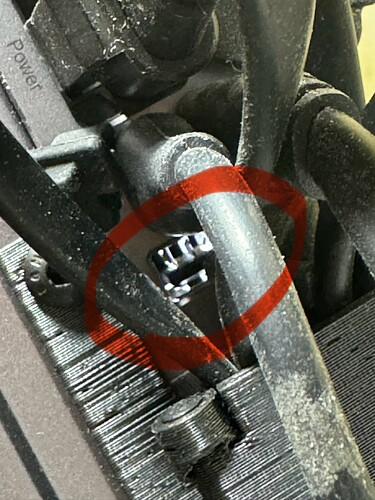
Added a z-axis chain and mounts to keep that cable need and out of the way. Also added a few cable management traps to clean up the rat’s nest.
I use a Ring camera for monitoring, really should change over to something compatible with Octopus, but it’s what I’ve got, so added a mount to keep the perspective on the extruder module. Also dropped the filament spool holder about 6 inches to keep it within frame so I can keep track of the remaining spool level.
One full calibration routine later and a few test prints to dial it all back in and we’re back online! Remounted my LED bar light back on top of the tower and we’re done for the day.
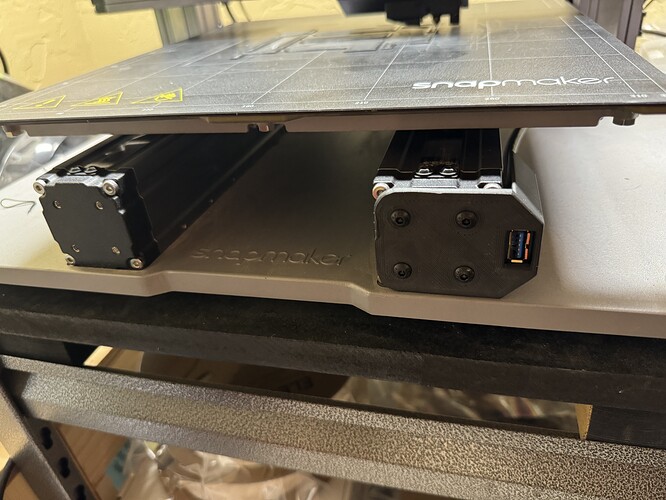
There’s also a usb extension mount that’ll be set on the front end of the right-side y-axis linear module so I don’t have to try and slot a thumb drive into the next of wires that I just tied down. I’m debating some x-axis chains as I don’t like how that cable just drapes over the top, but it requires some wire splicing and purchase of another cable from SnapMaker. A filament guide would also be useful, maybe switch over to multiple filament rollers in a dry box with a Bowden tube…
While there’s not a lot of excellence in the SnapMaker 2.0 A350T and its moderately overpriced, it’s a decent workhorse jack-of-all-trades, master of none kind of machine. I also like that they basically have 4mm mounting holes EVERYWHERE, almost like they knew we were going to DIY the hell out of it.
