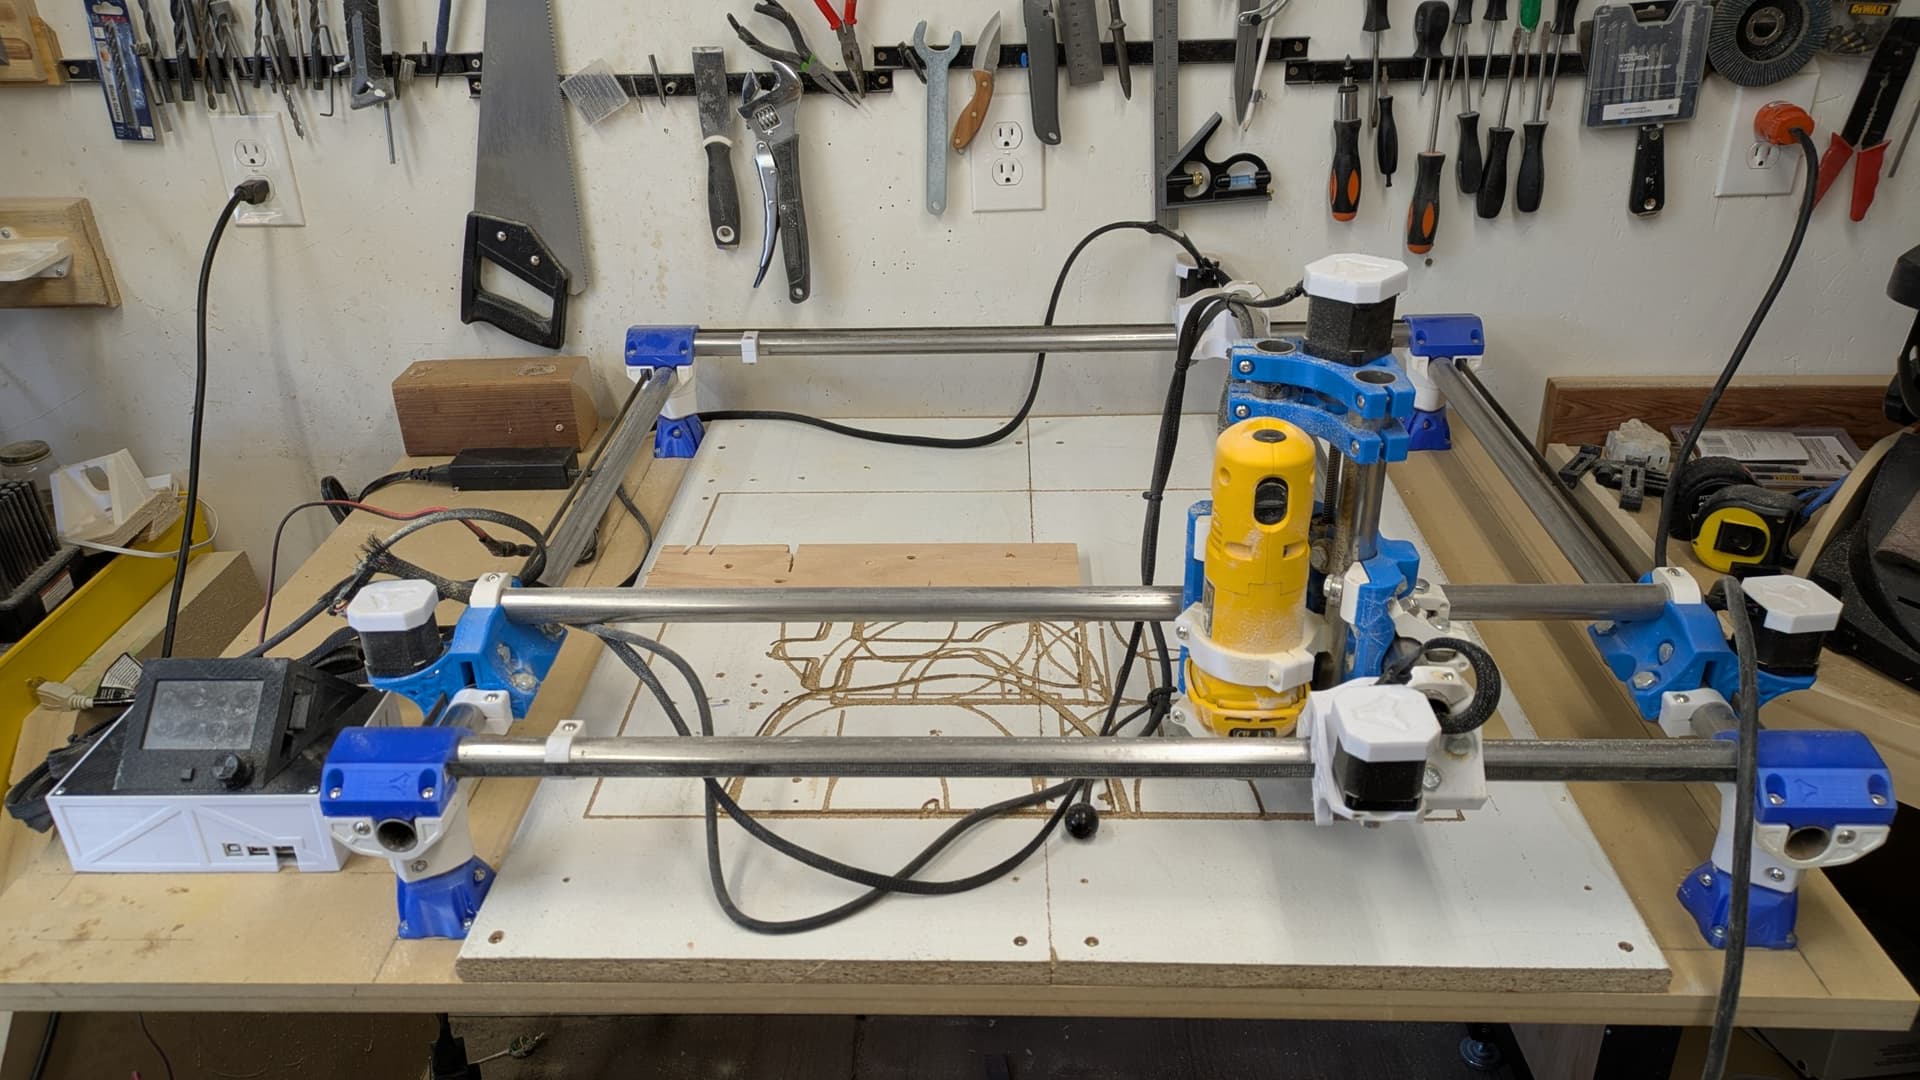
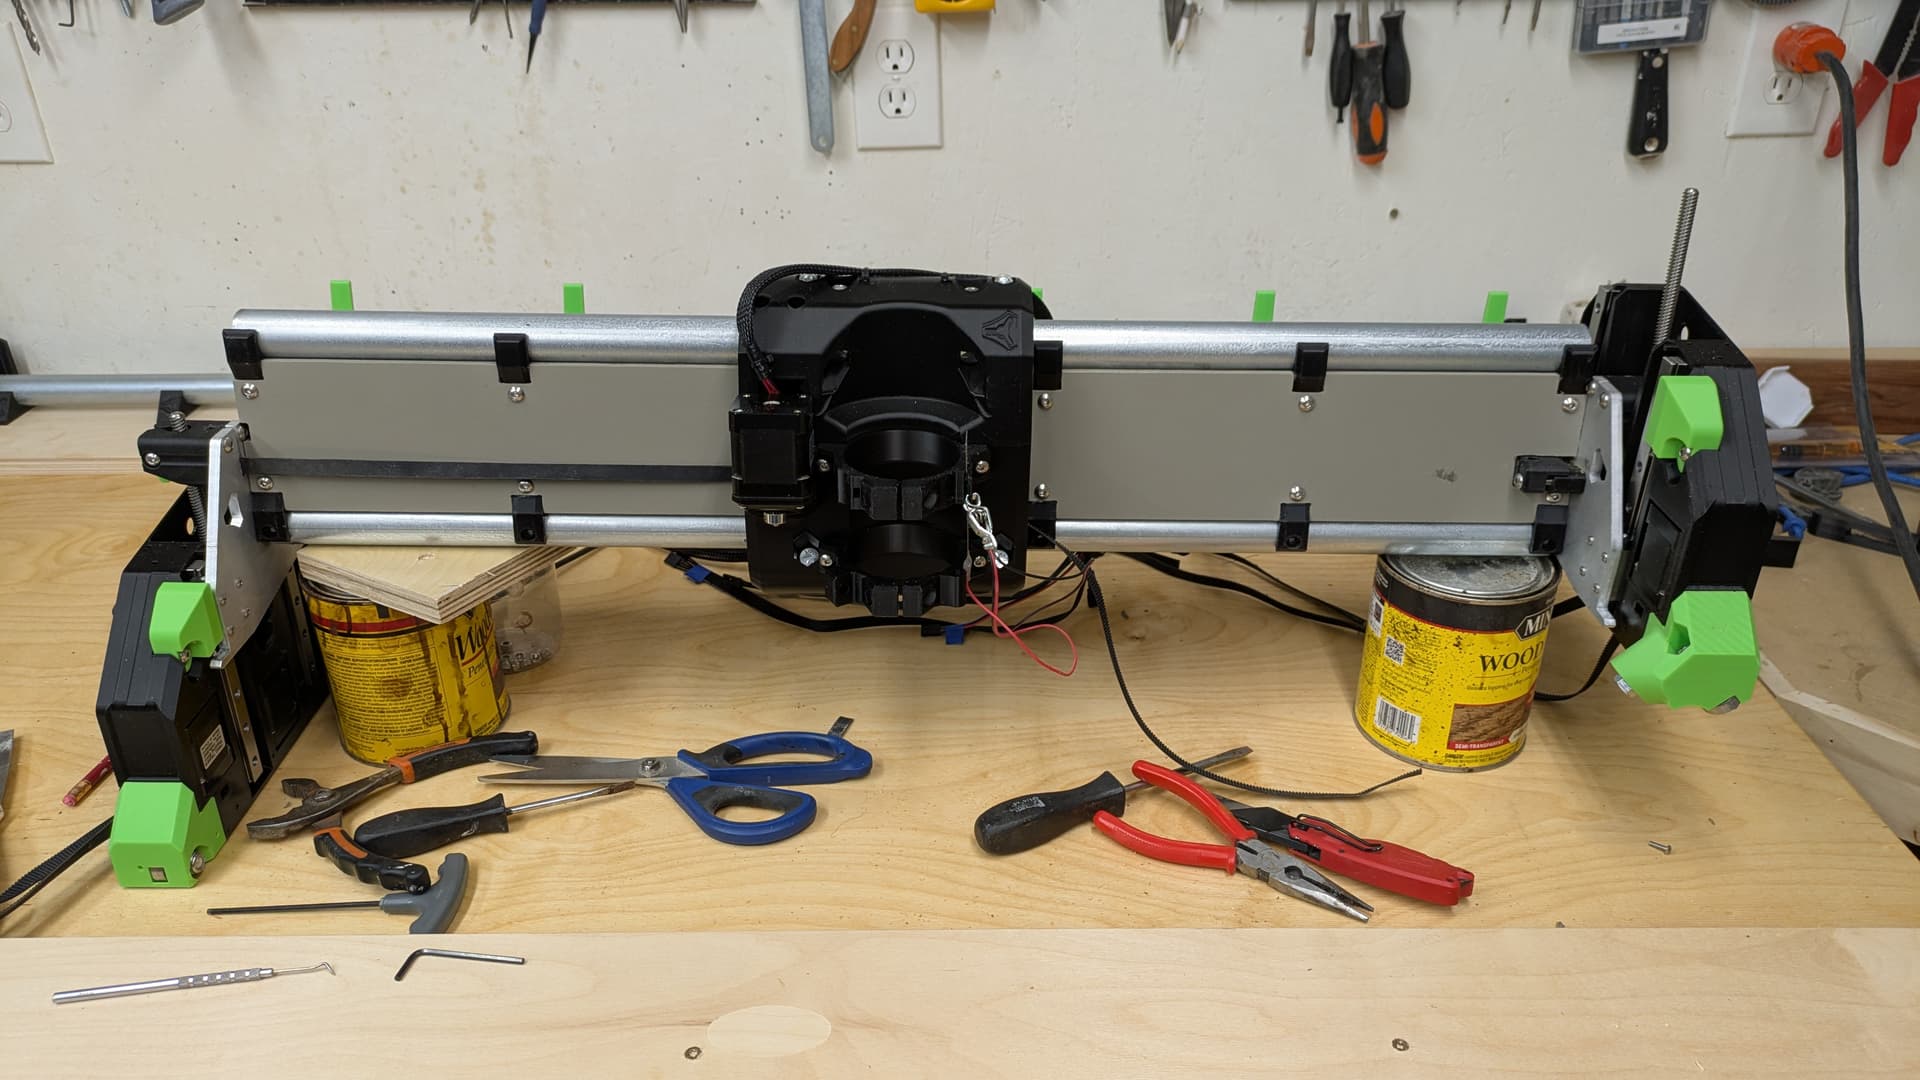
I have had an MPCNC since January 2021 - used it quite a bit. However I never got around to doing any wire managed or dust control, and its showing its age:
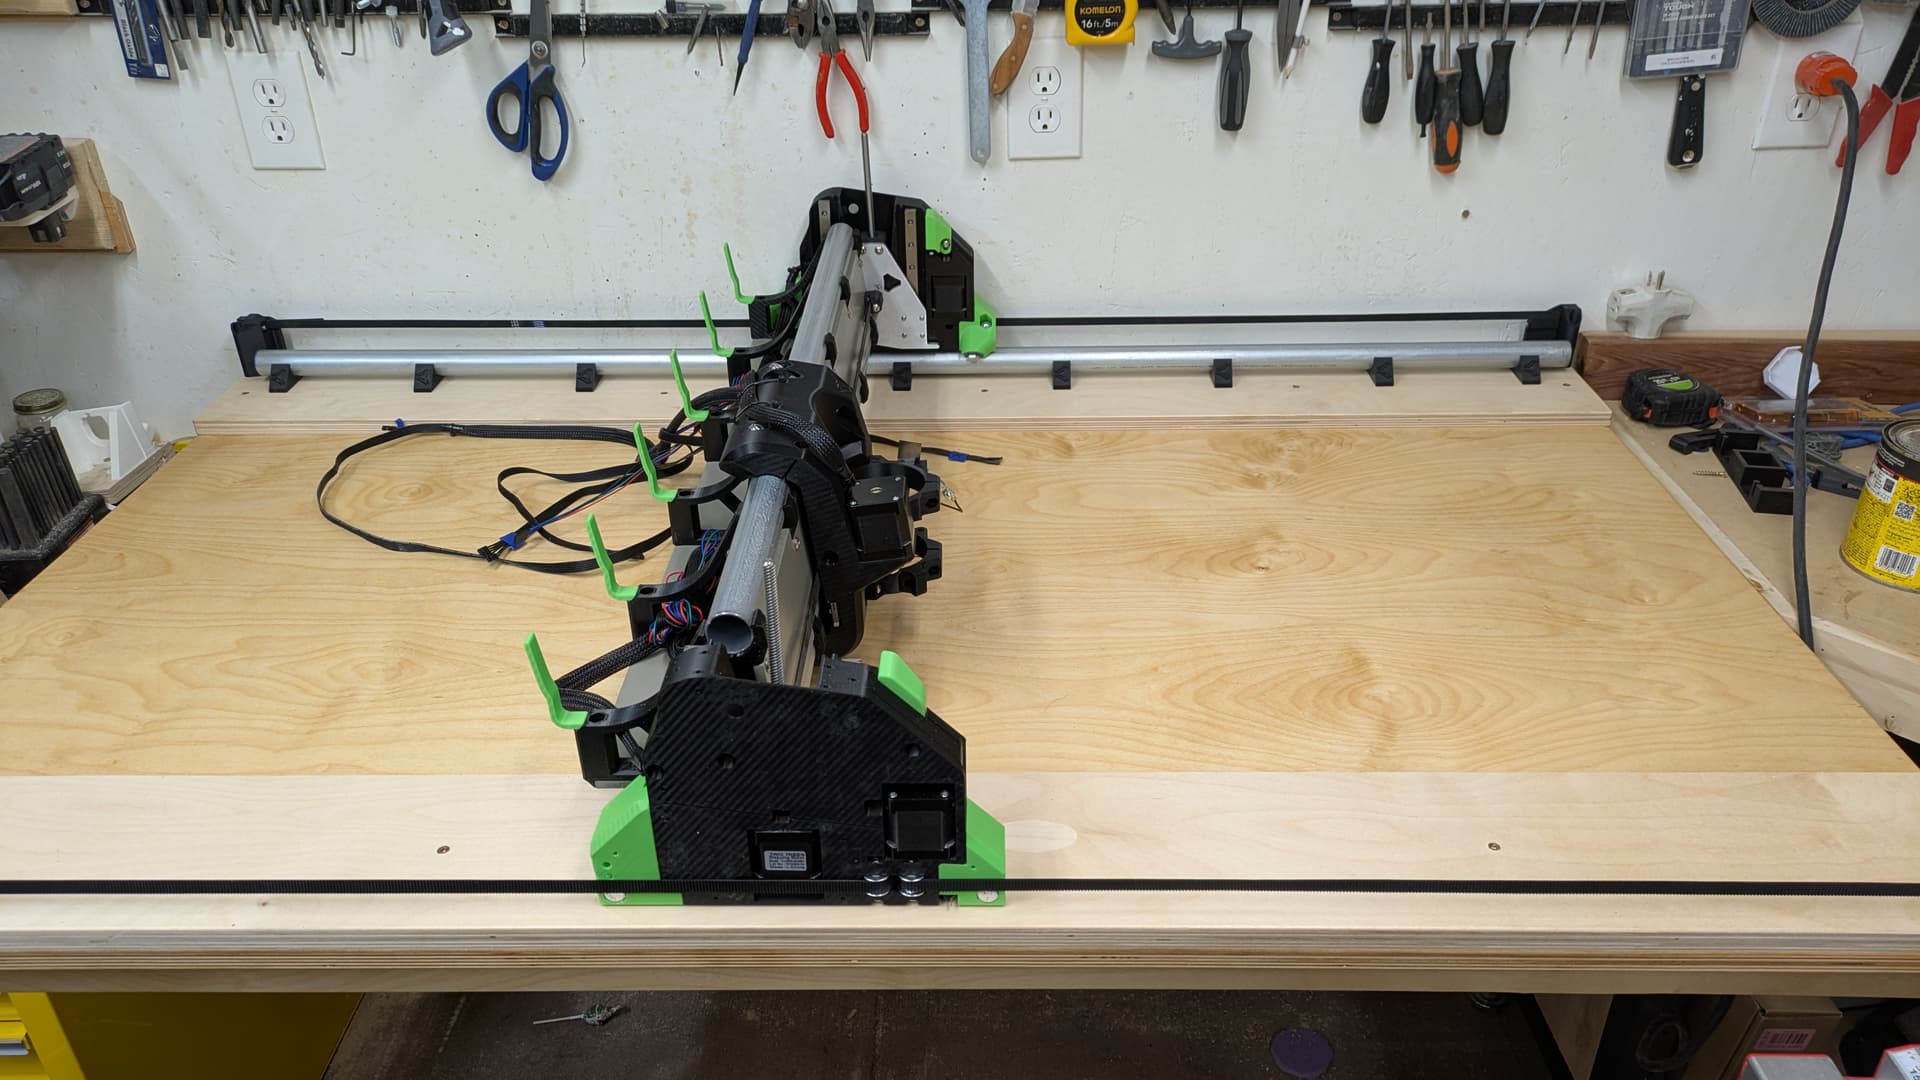
I would like to upgrade to an LR4 to address those issues and to get a little bigger work area. I have room for a 3’x5’ table so am planning a 24"x48" work area.
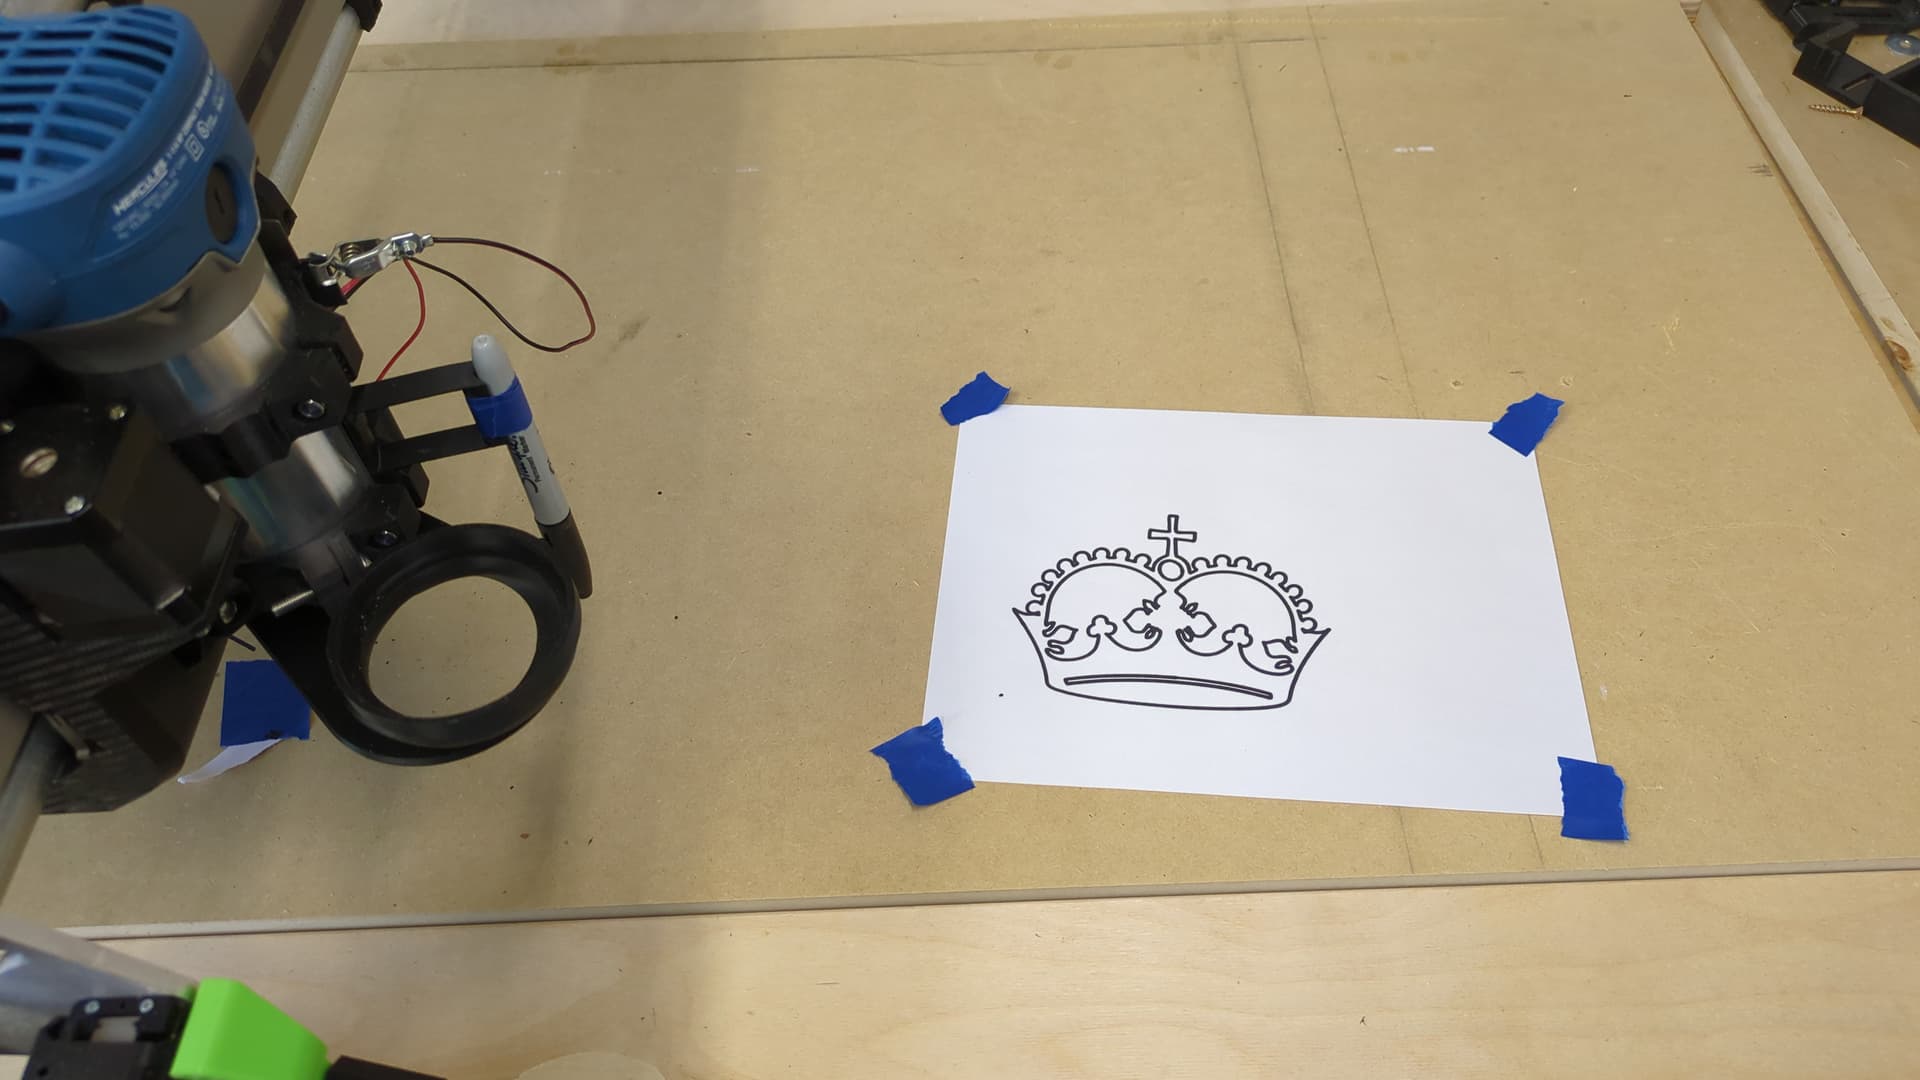
I also picked up the Harbor Freight Hercules clone of the Makita router on sale a couple weeks ago.
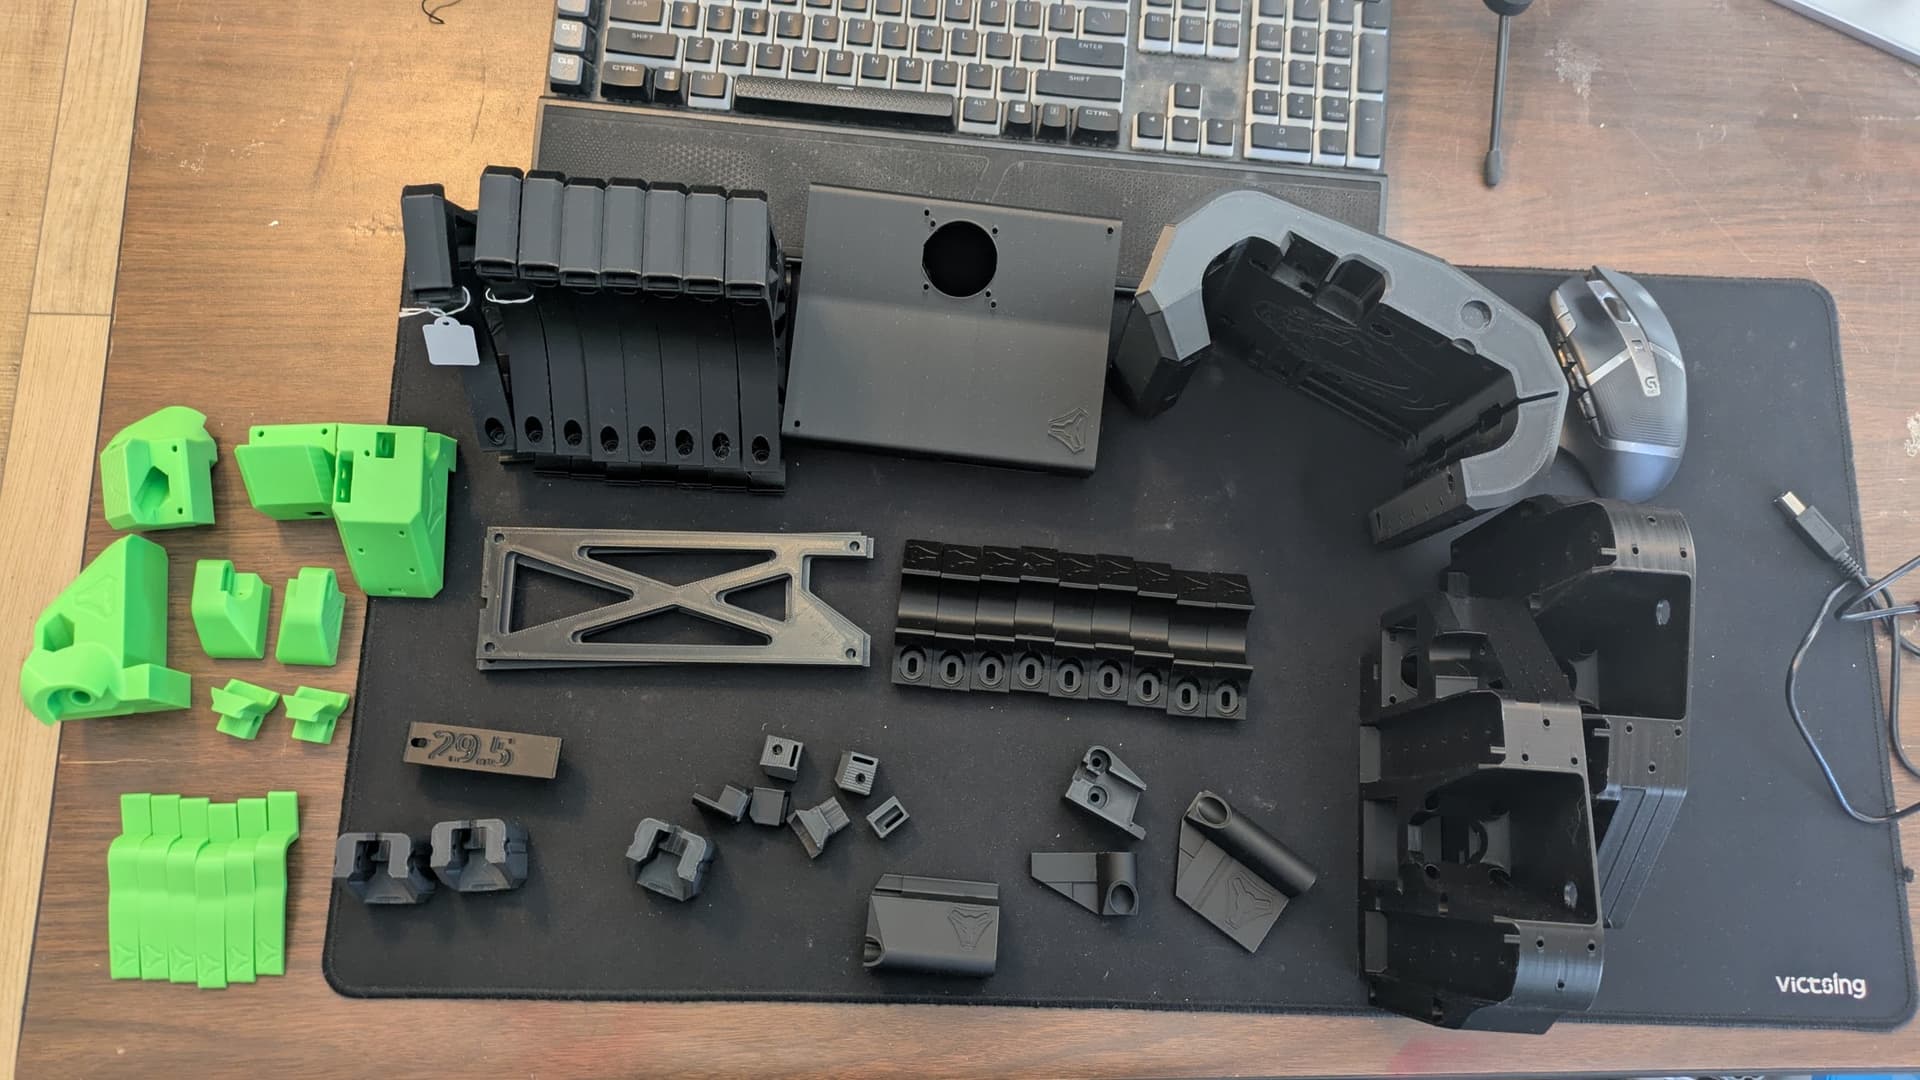
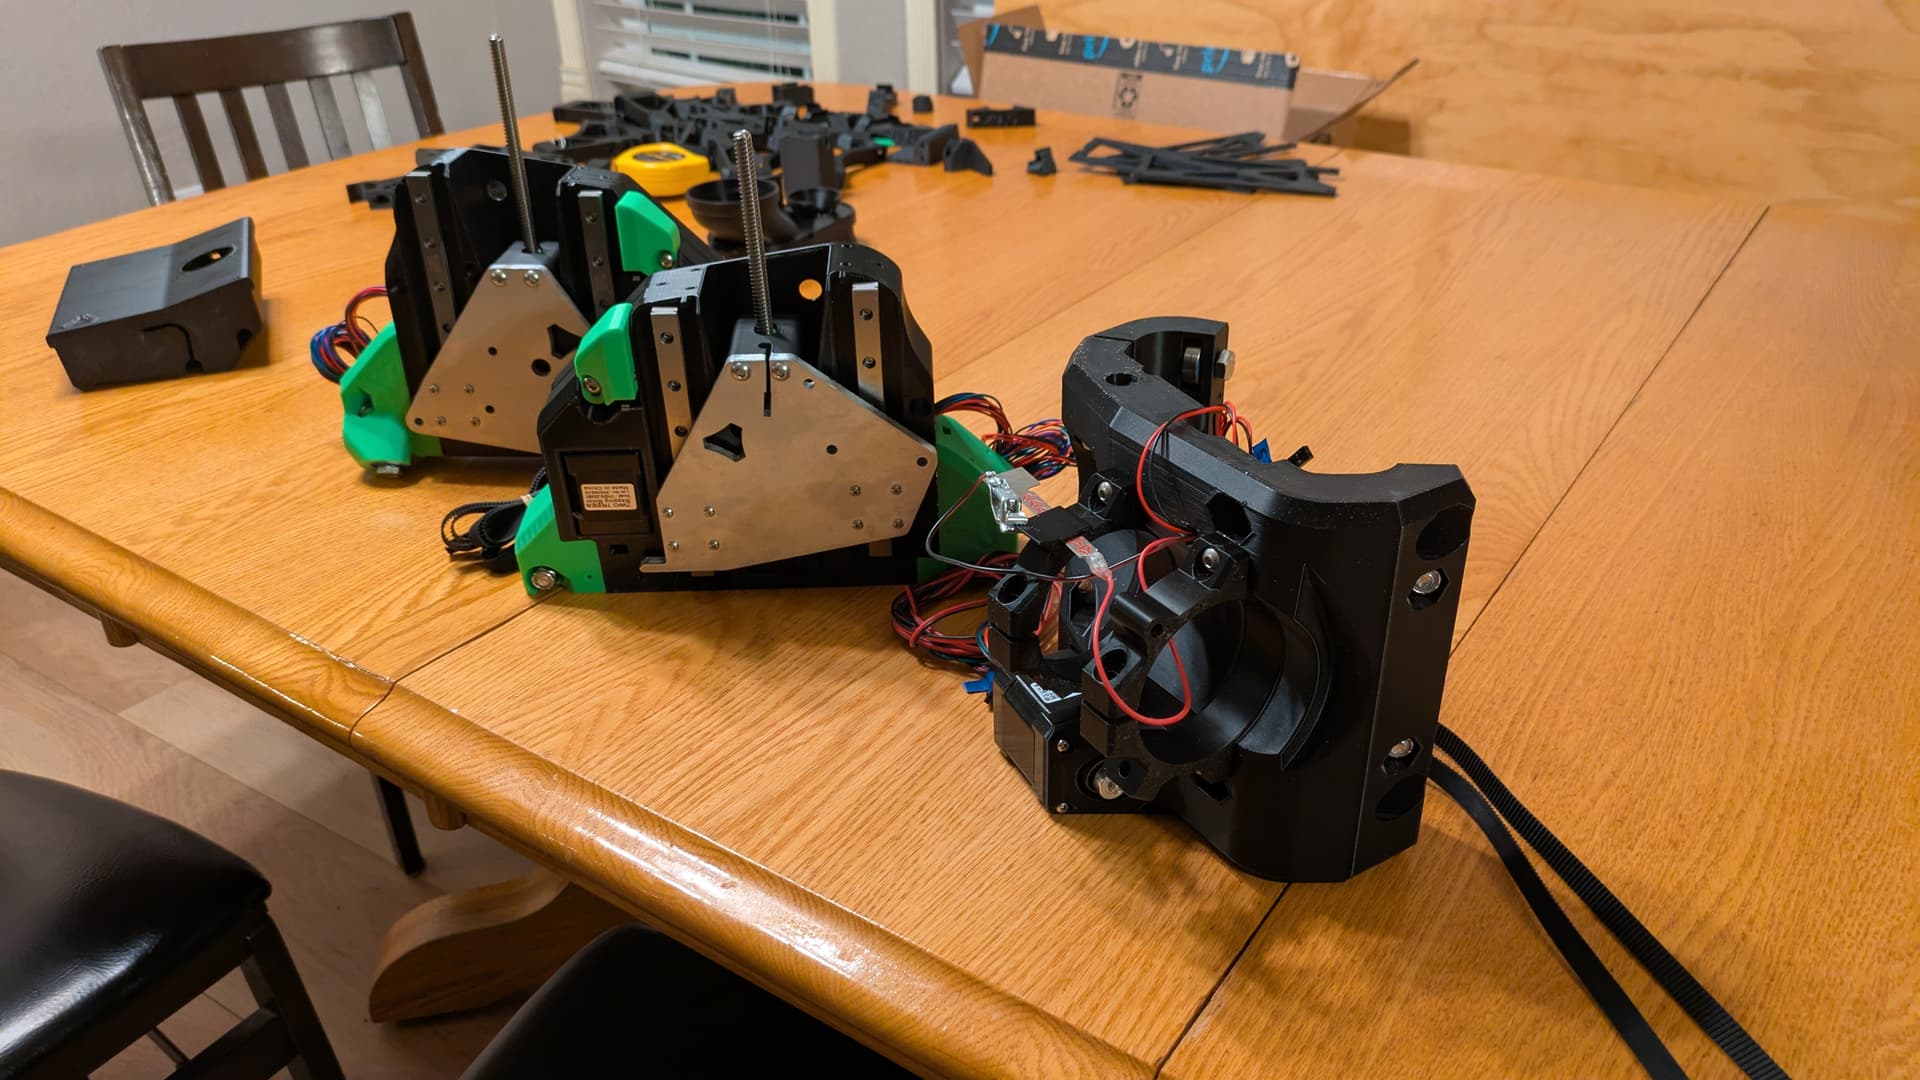
I am hoping to reuse as much as possible from the MPCNC and have come up with the following shopping list based on comparing the build kits for the 2 machines:
8m of belt
3 stepper wiring extensions
5 end stops and wiring (I didn’t use any end stops on my MPCNC)
1 set of 2 lead screws
1 5mm to 8mm coupler
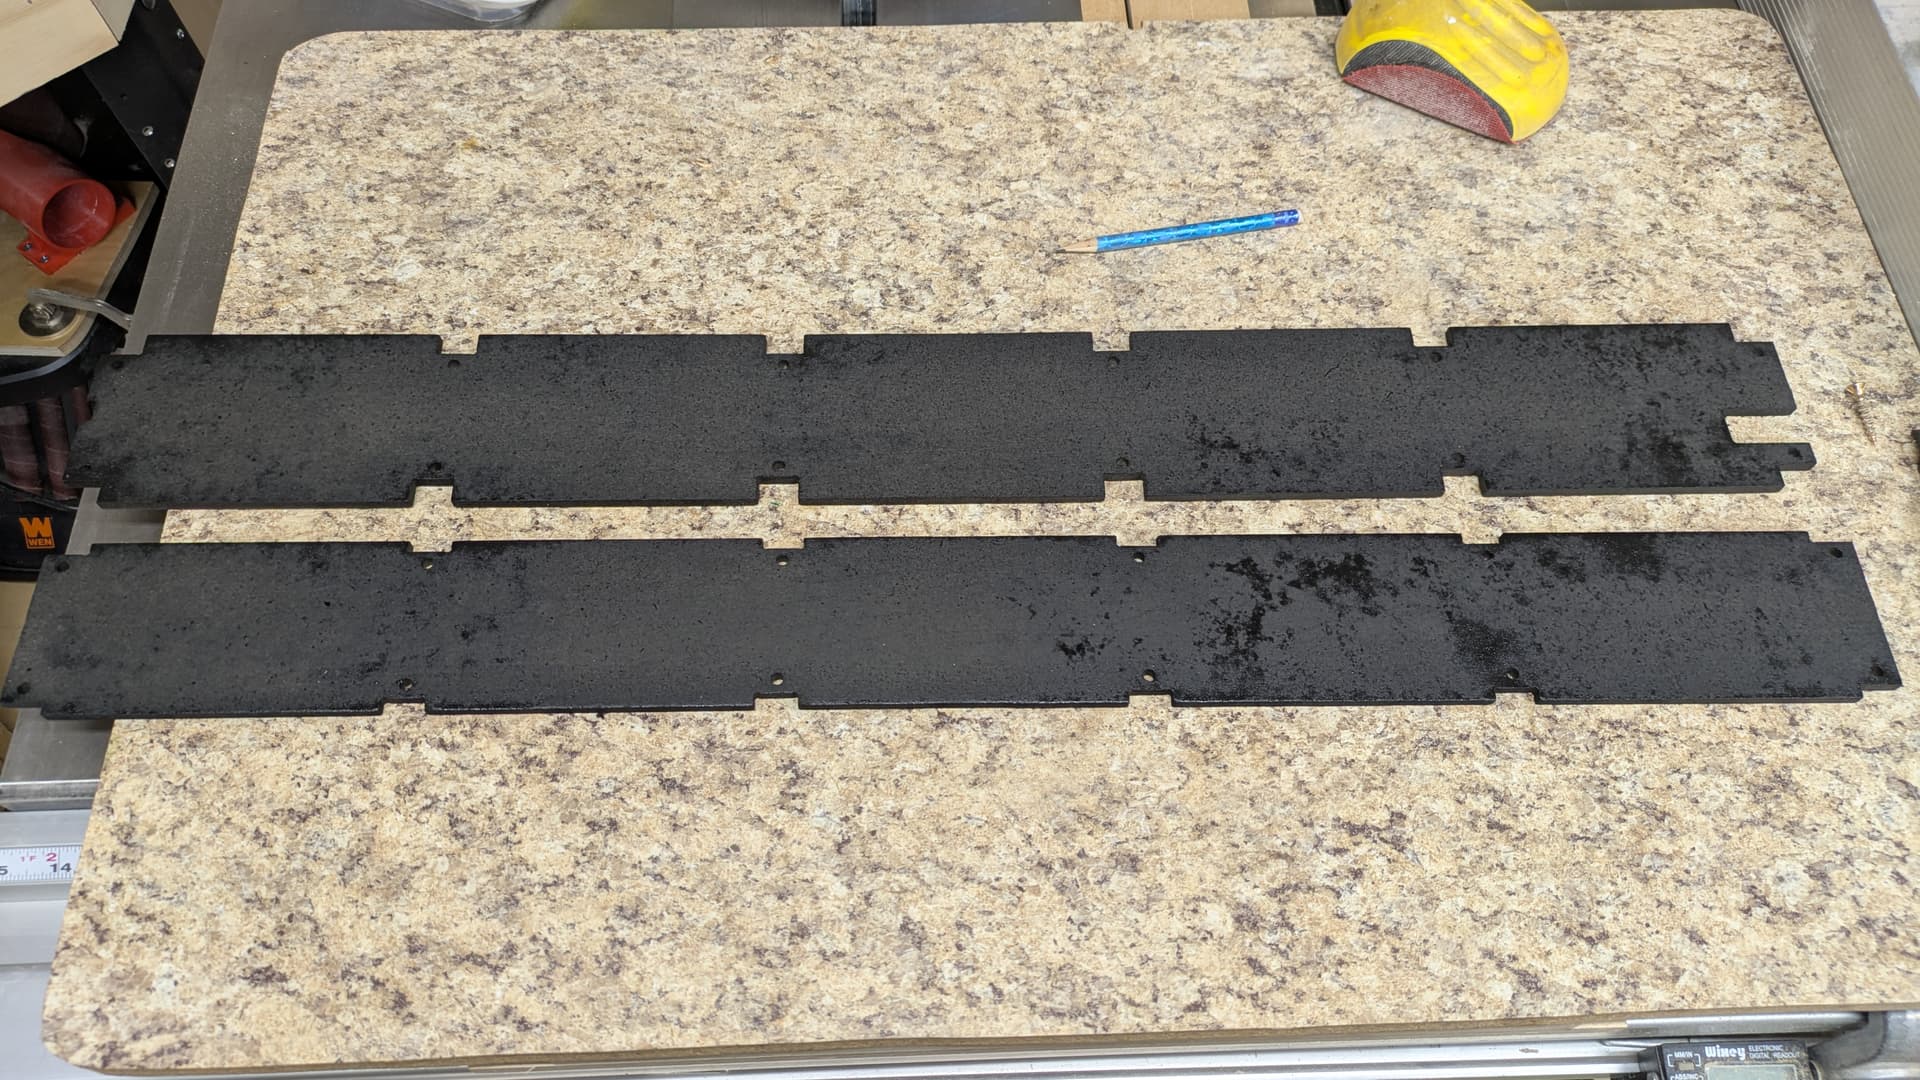
1 set of 4 Linear Rails
61 M3x10
2 M2.5x12
Does this look accurate? I would like to get my order in to the V1 shop in the next day or so.
12 and 24 are mostly the same. If it is working, don’t change it. Where it matters is jmin a specific situation where your motors are spinning so fast that the motor current can’t be reached with 12V and 24V will give you a higher top speed. But the speed is pretty high already with 12V.
Factors like wire length and guage will determine what speed the 12V point is. Up to that point, there isn’t any difference.
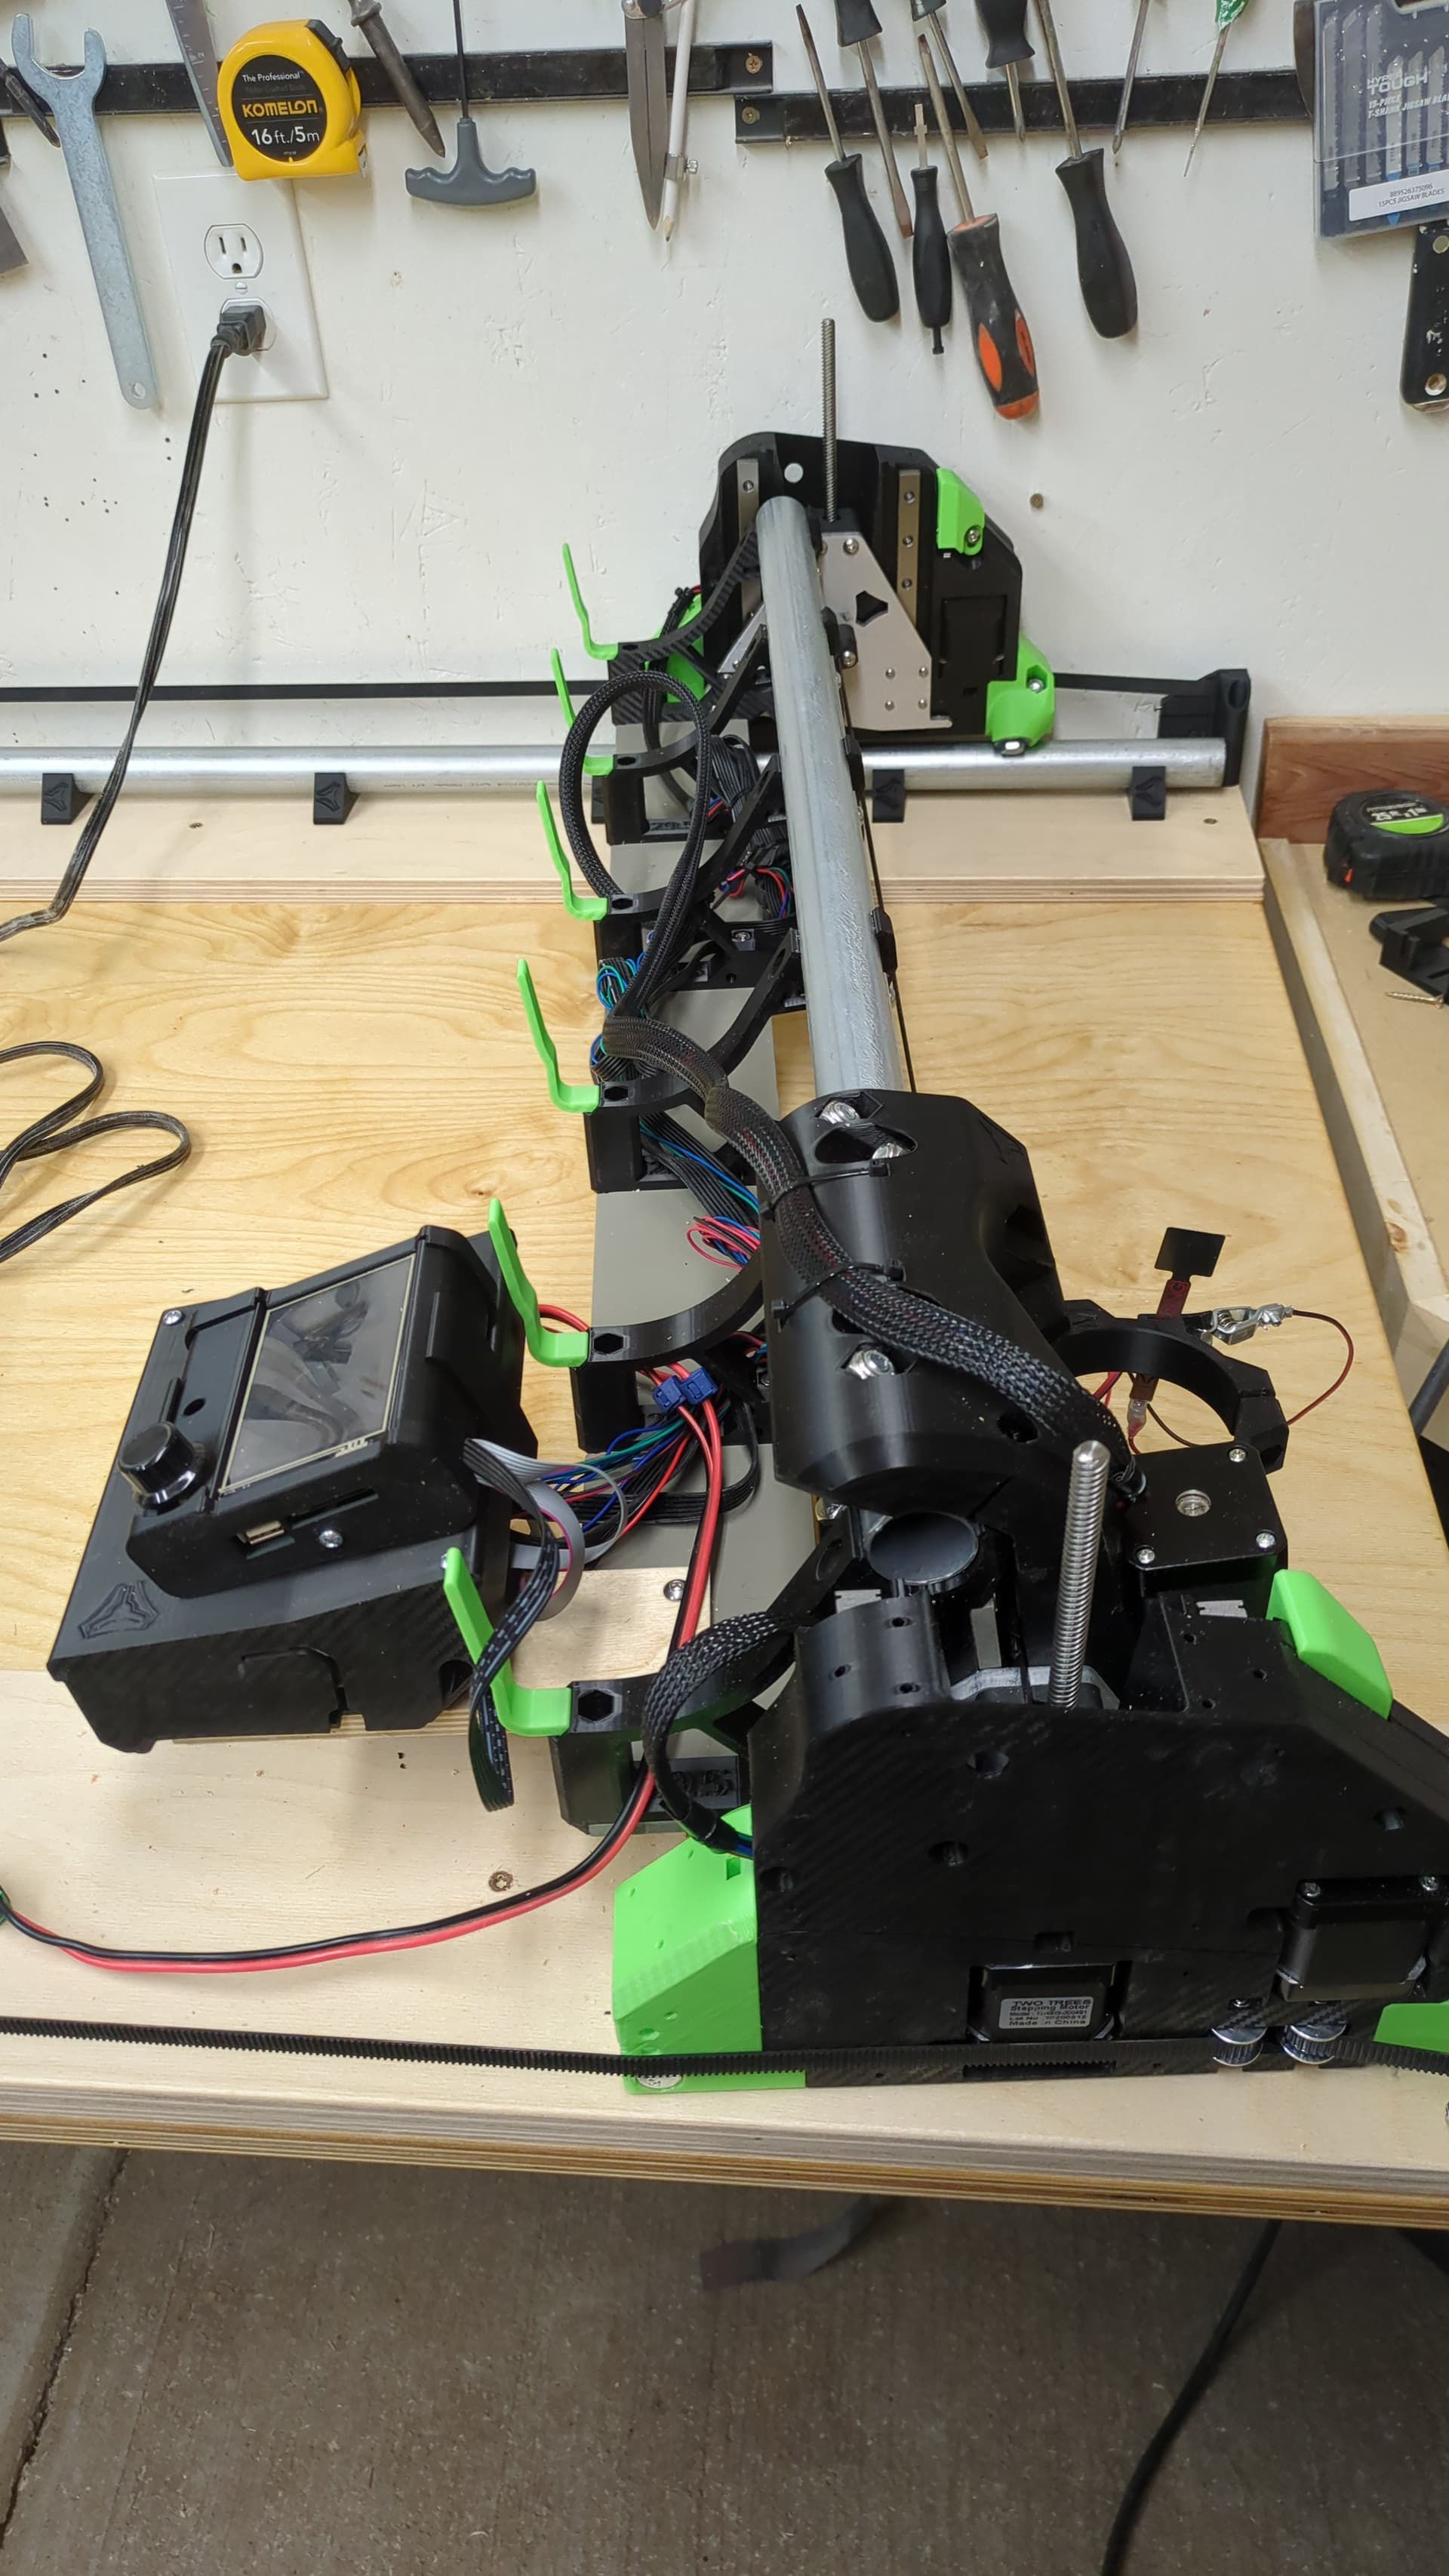
I have the machine wired up, but am having trouble with homing. The machine moves manually as it should but when I home y or z then only one side activated. I am using the SKR Pro 1.2 control board and tft35 from my MPCNC with the latest version of the firmware as far as I can tell. Any tips?
Next question - how do I use the touch plate in this interface? On the MPCNC it was the Z homing but not here. Is it built in or do I have to set up a custom macro or something?
Thanks! I don’t think i would want it to probe on job start because I tend to use my machine for batching out parts. The parts are all of the same material and I don’t want to bother with a probe at the beginning of each part. I will do some study on setting up a macro.