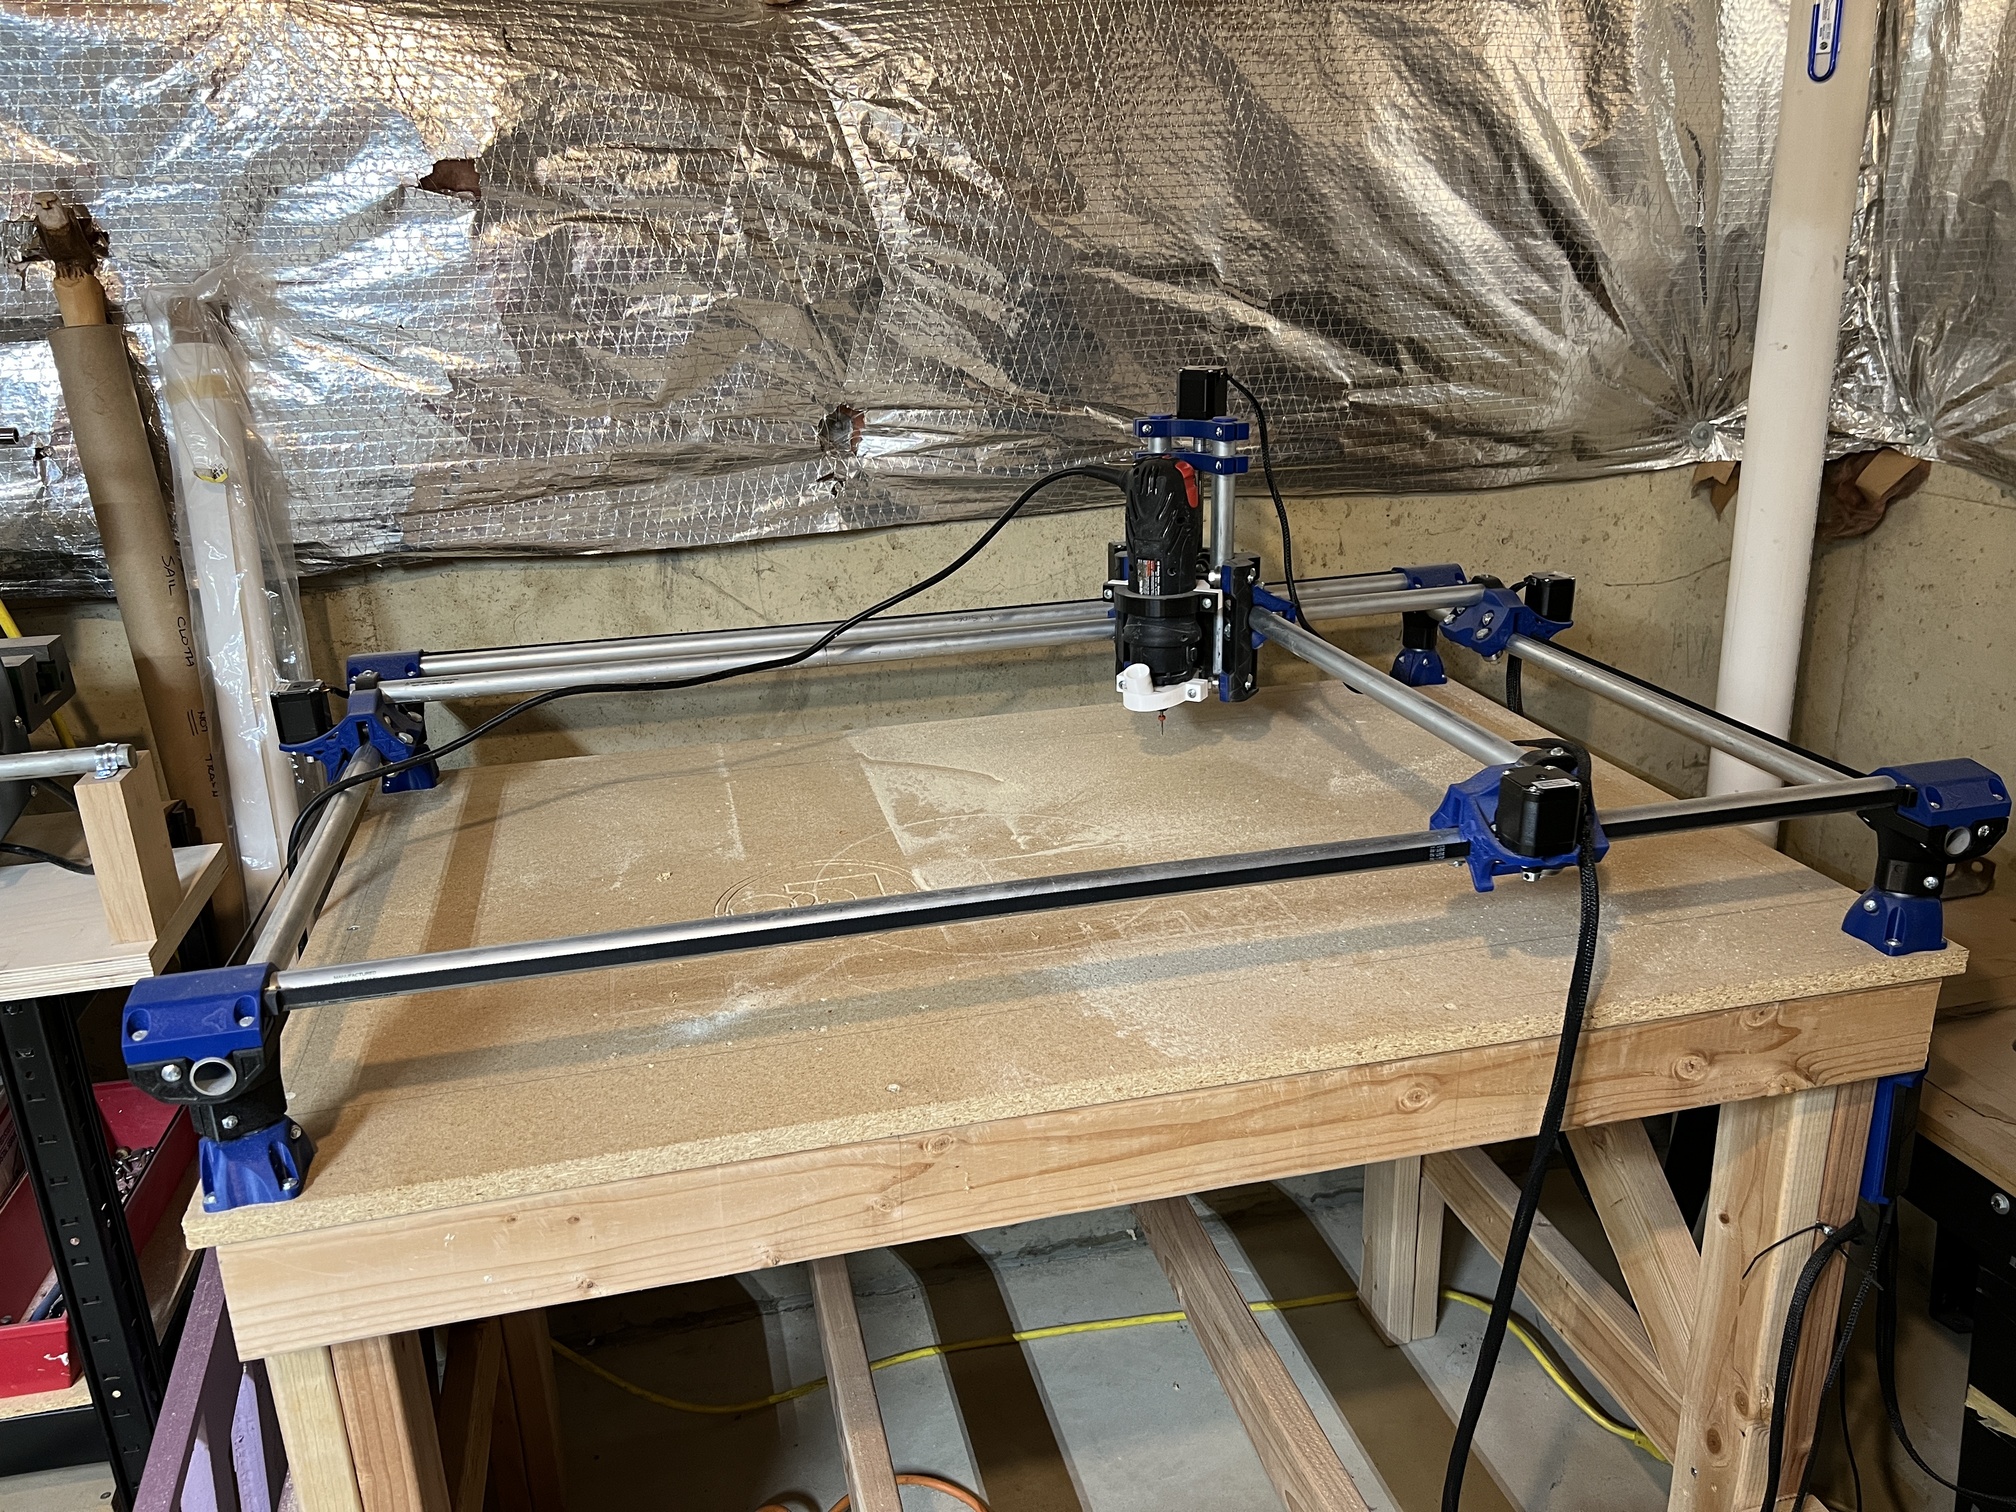
I’ve had an MPCNC Primo for a few years and decided to change to the Lowrider 3 sized to use my existing table. I stretched the size of the Primo and it looses accuracy just as the documentation said but I am stubborn and built it to have a cutting area of 19.5” x 39”. The Lowrider with be 19.5” x 34”.
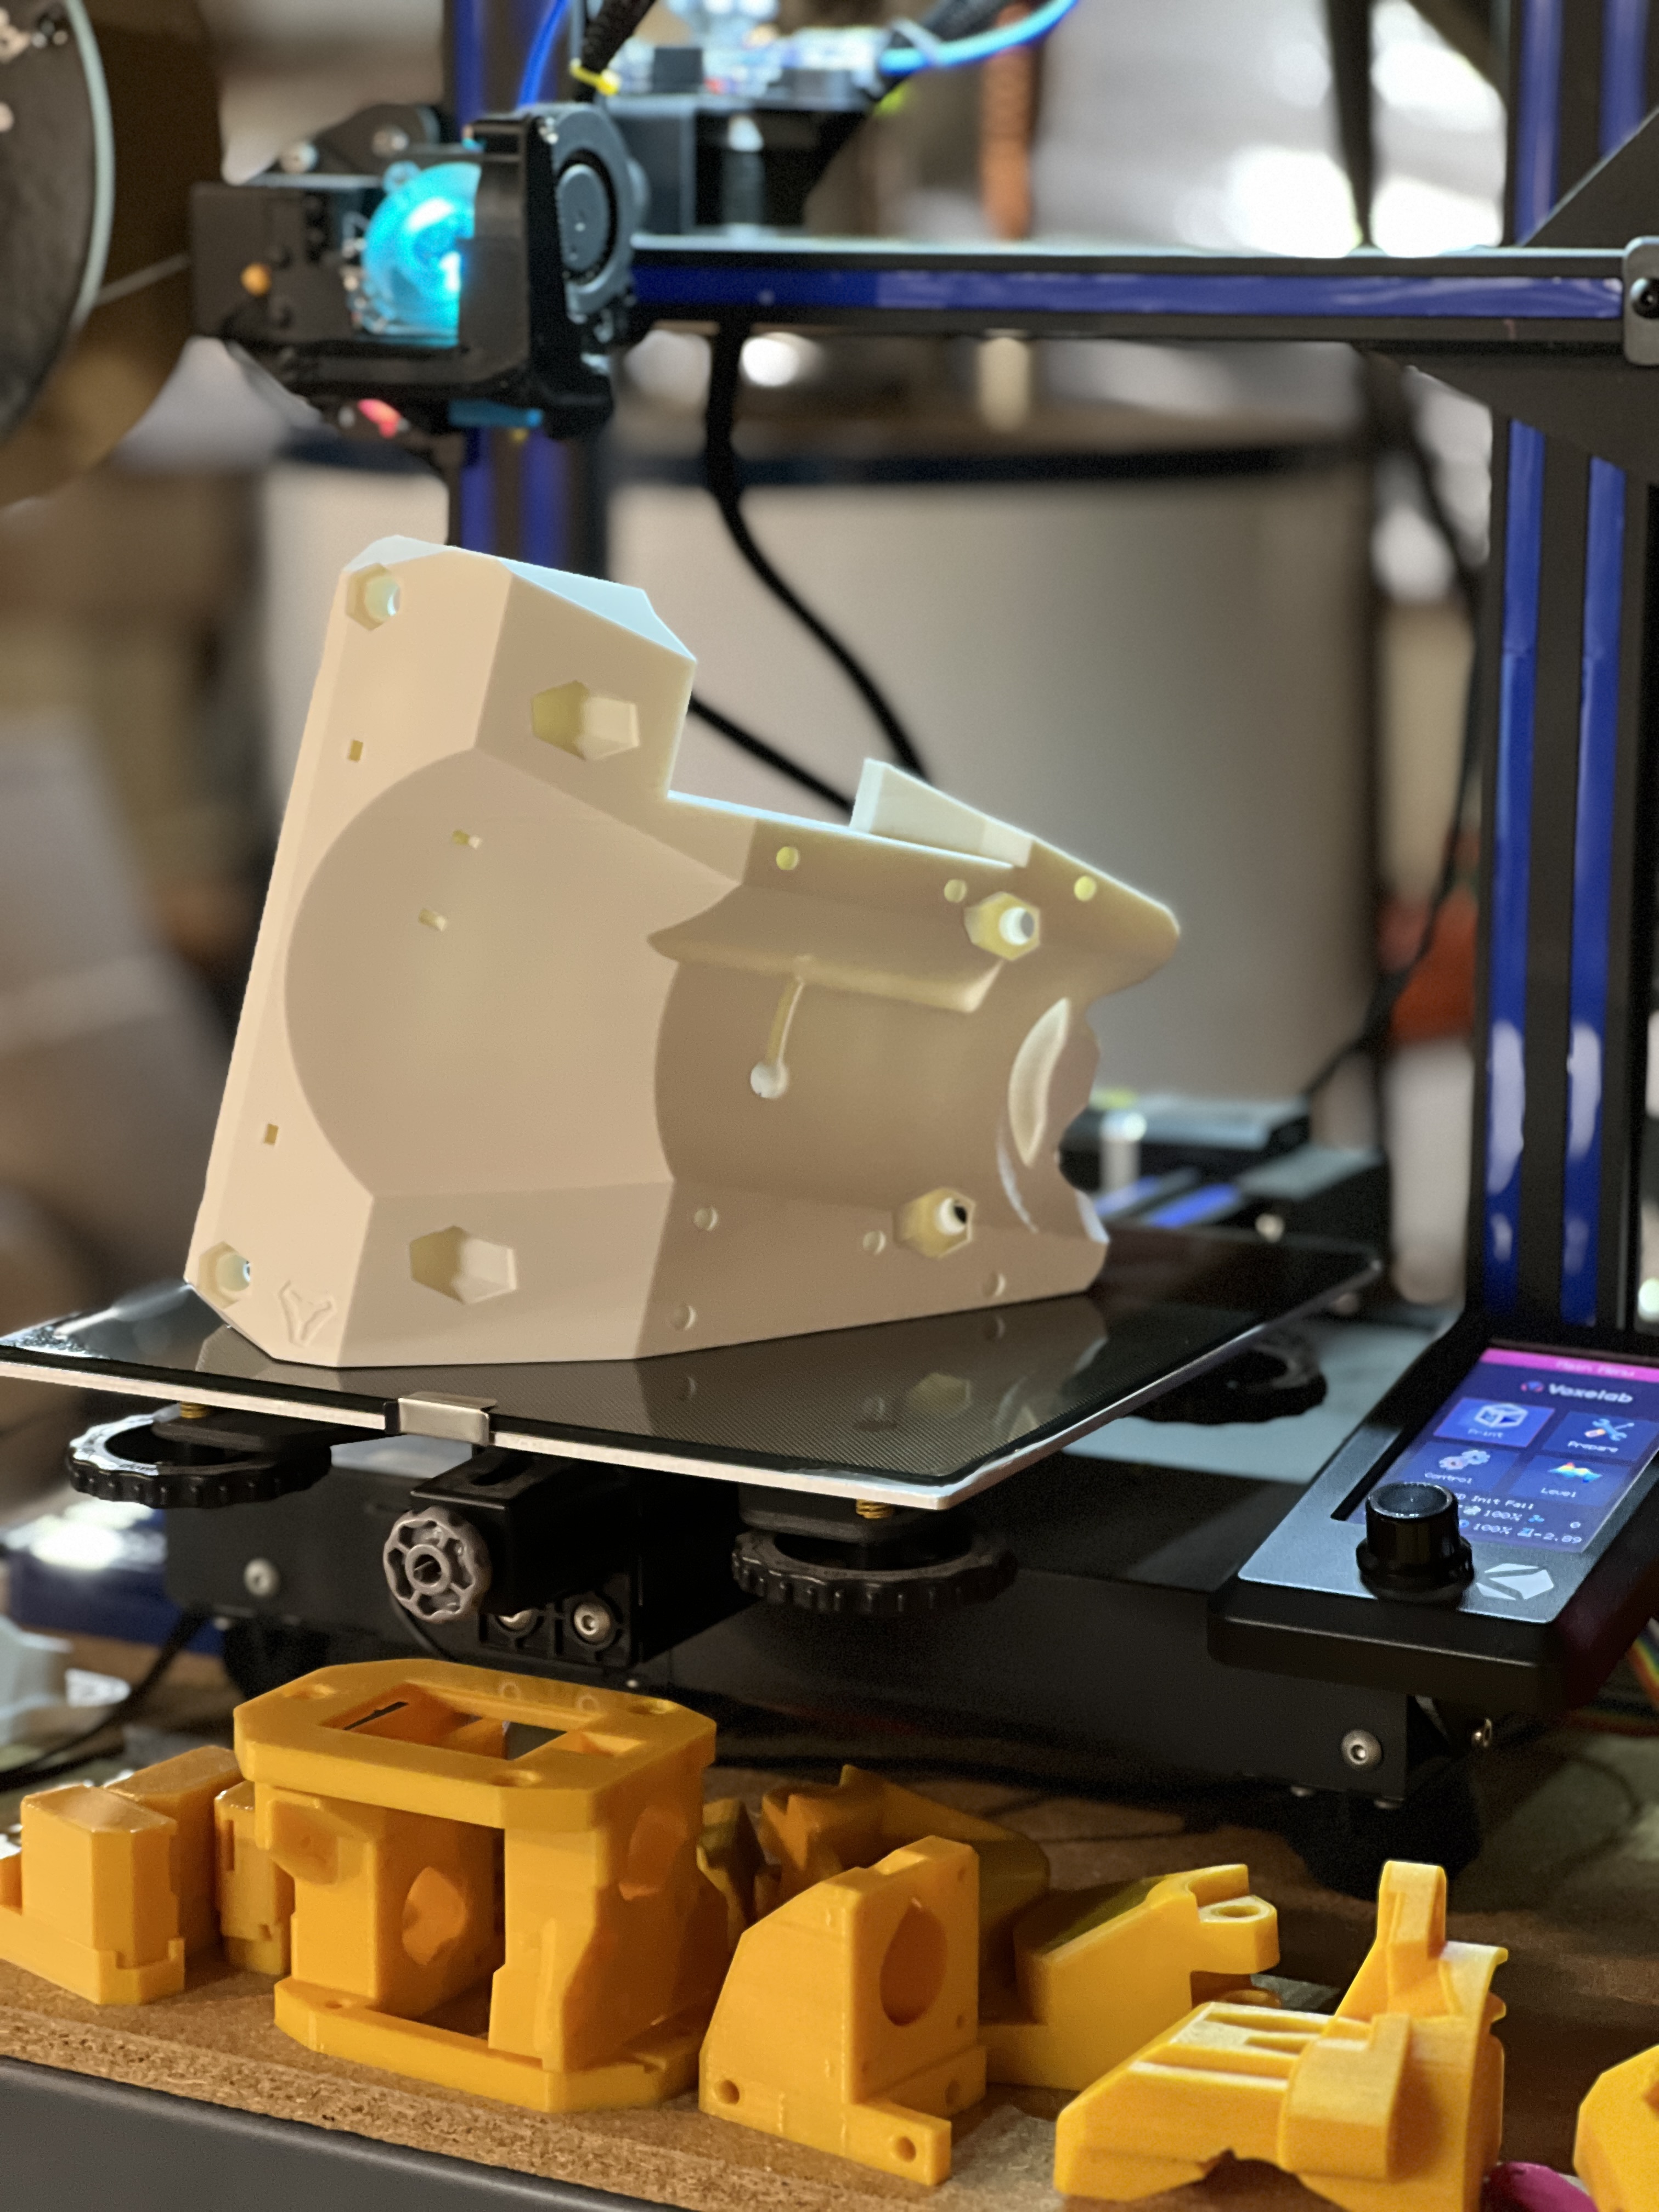
I have finished printing the new parts and only need a some hardware and can start the build. It is nice being able to cut the struts and XZ plates on the Primo.
Looks awesome. I guess you can reuse all your railing too, right?
As you go ahead building, it would be of great service if you could document the “diff” between the hardware kits for primo to lr3 conversion. I am nearly done doing the same but didn’t actually write anything down, and I think the question has come up a few times.
I assume that would also make a primo → LR4 hardware kit easier to figure out, which I bet will be useful to a lot of folks who are super excited to make the new machine.
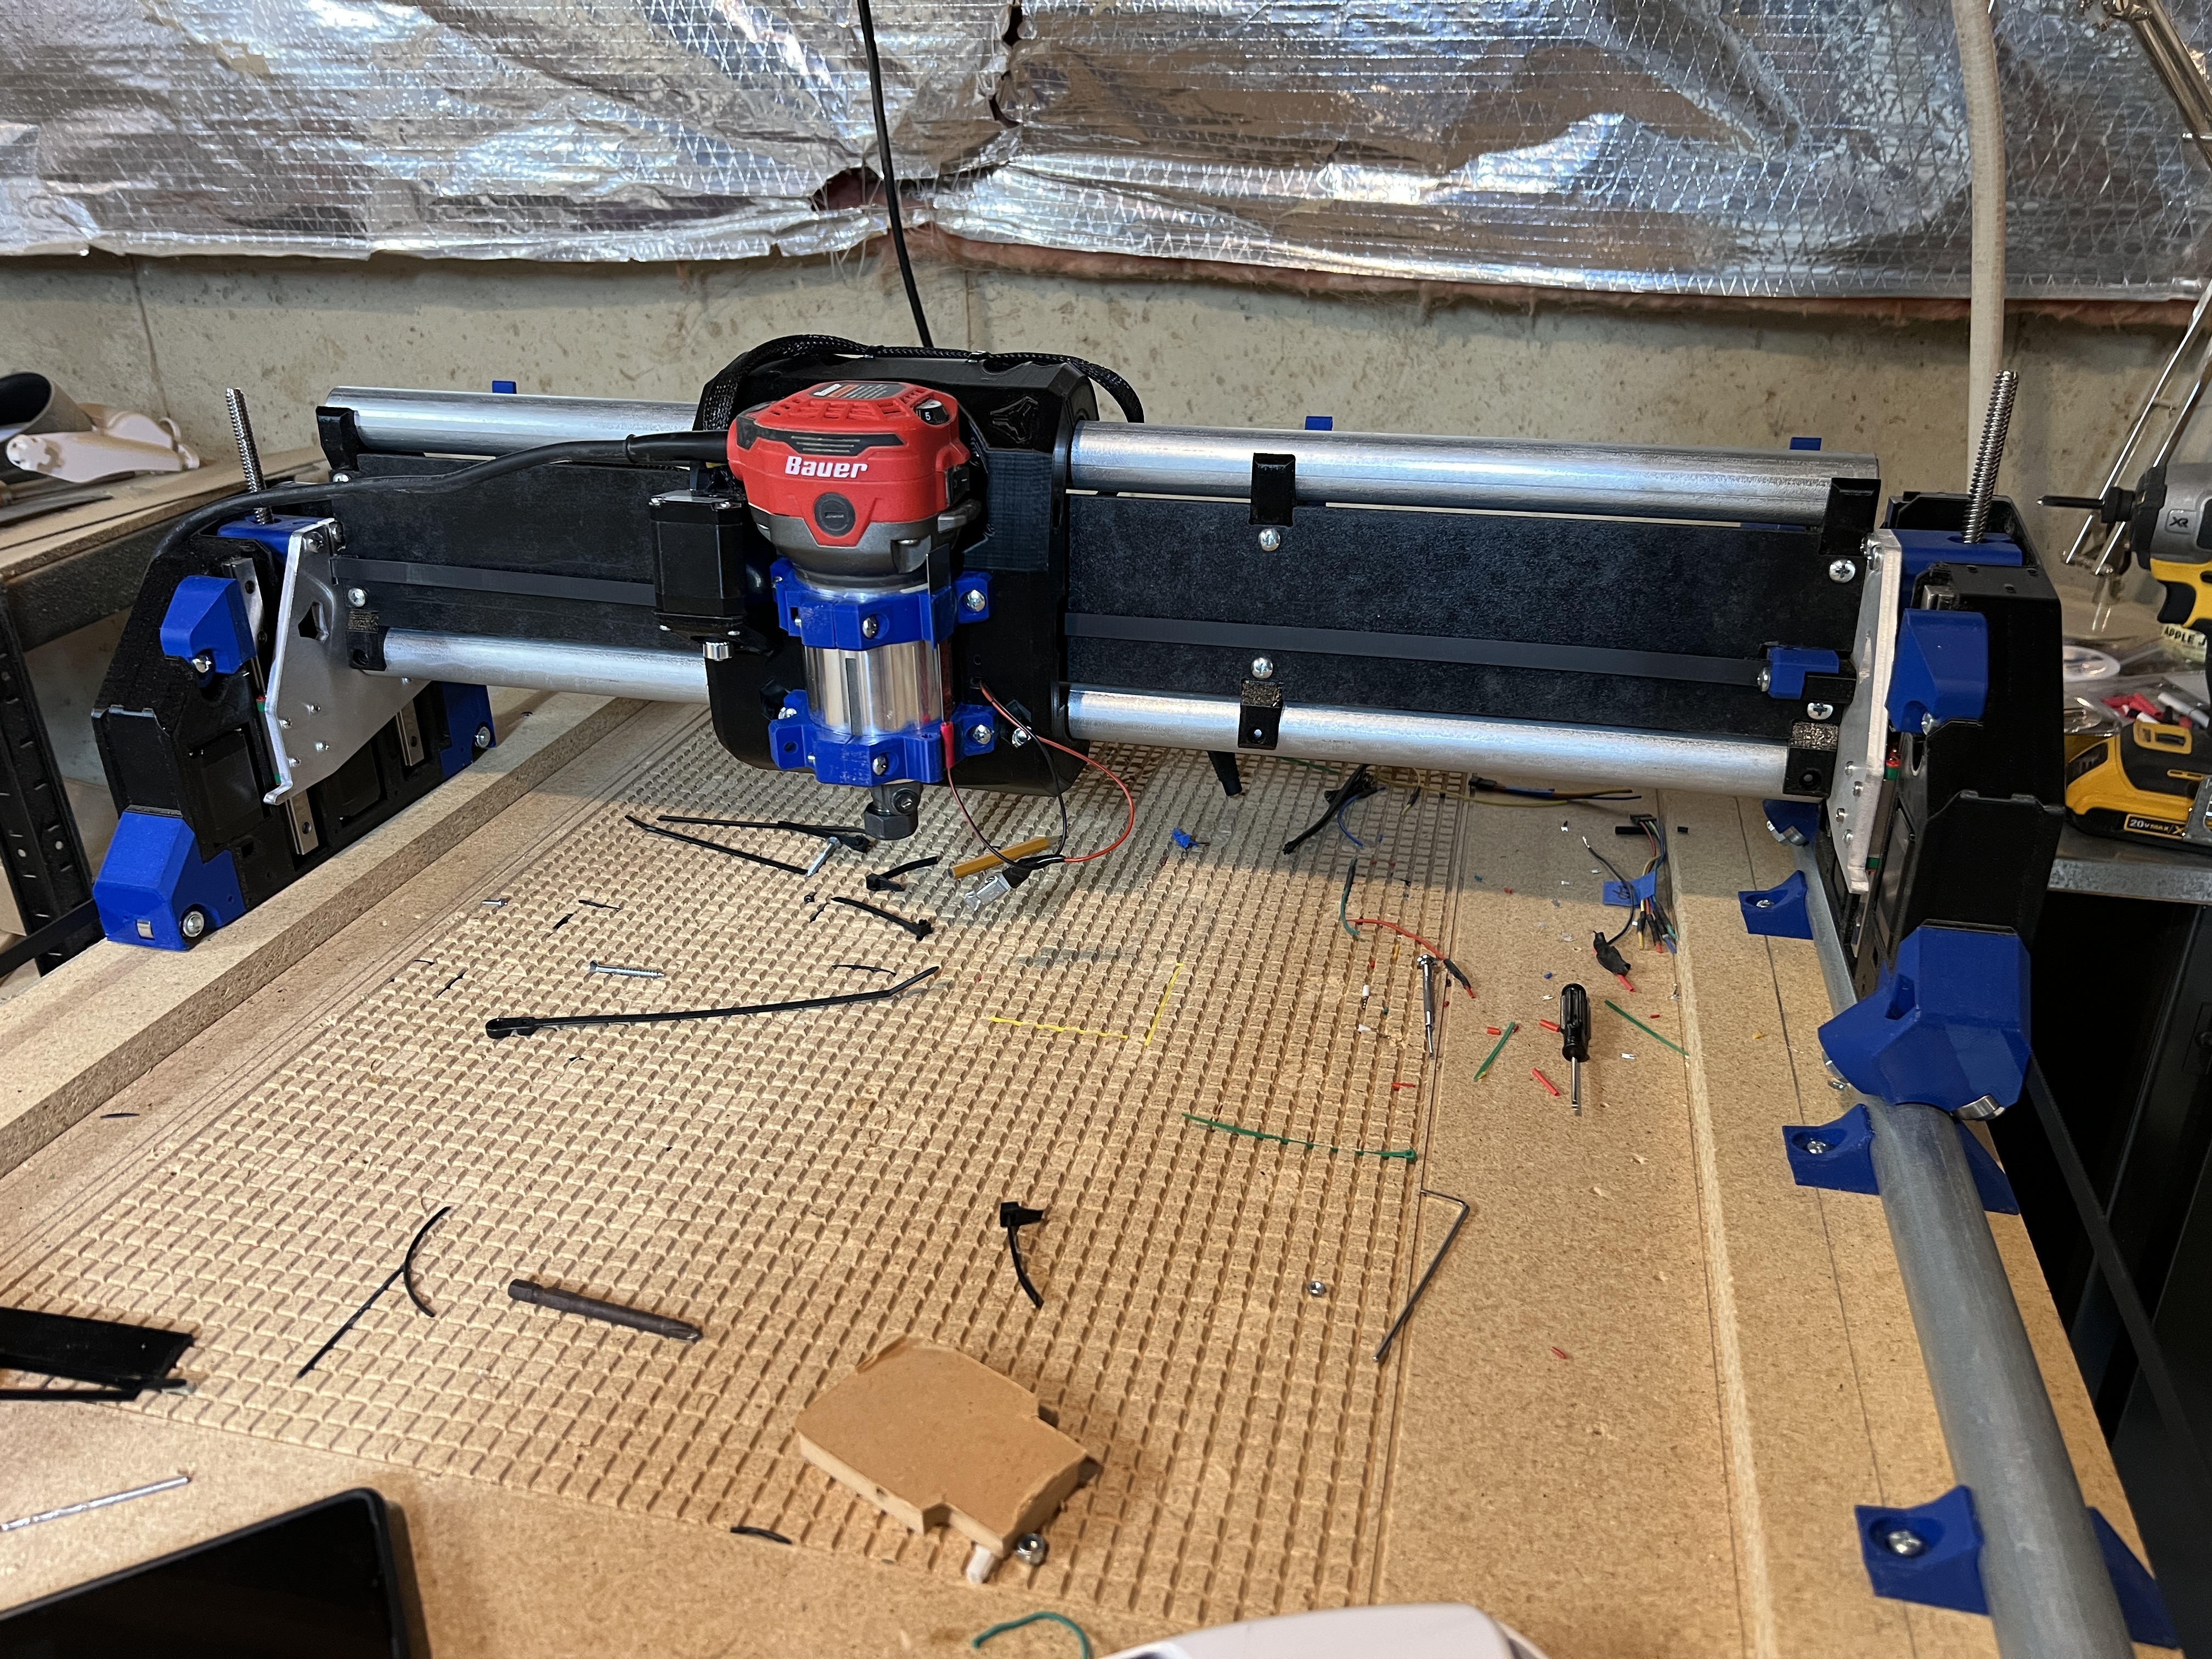
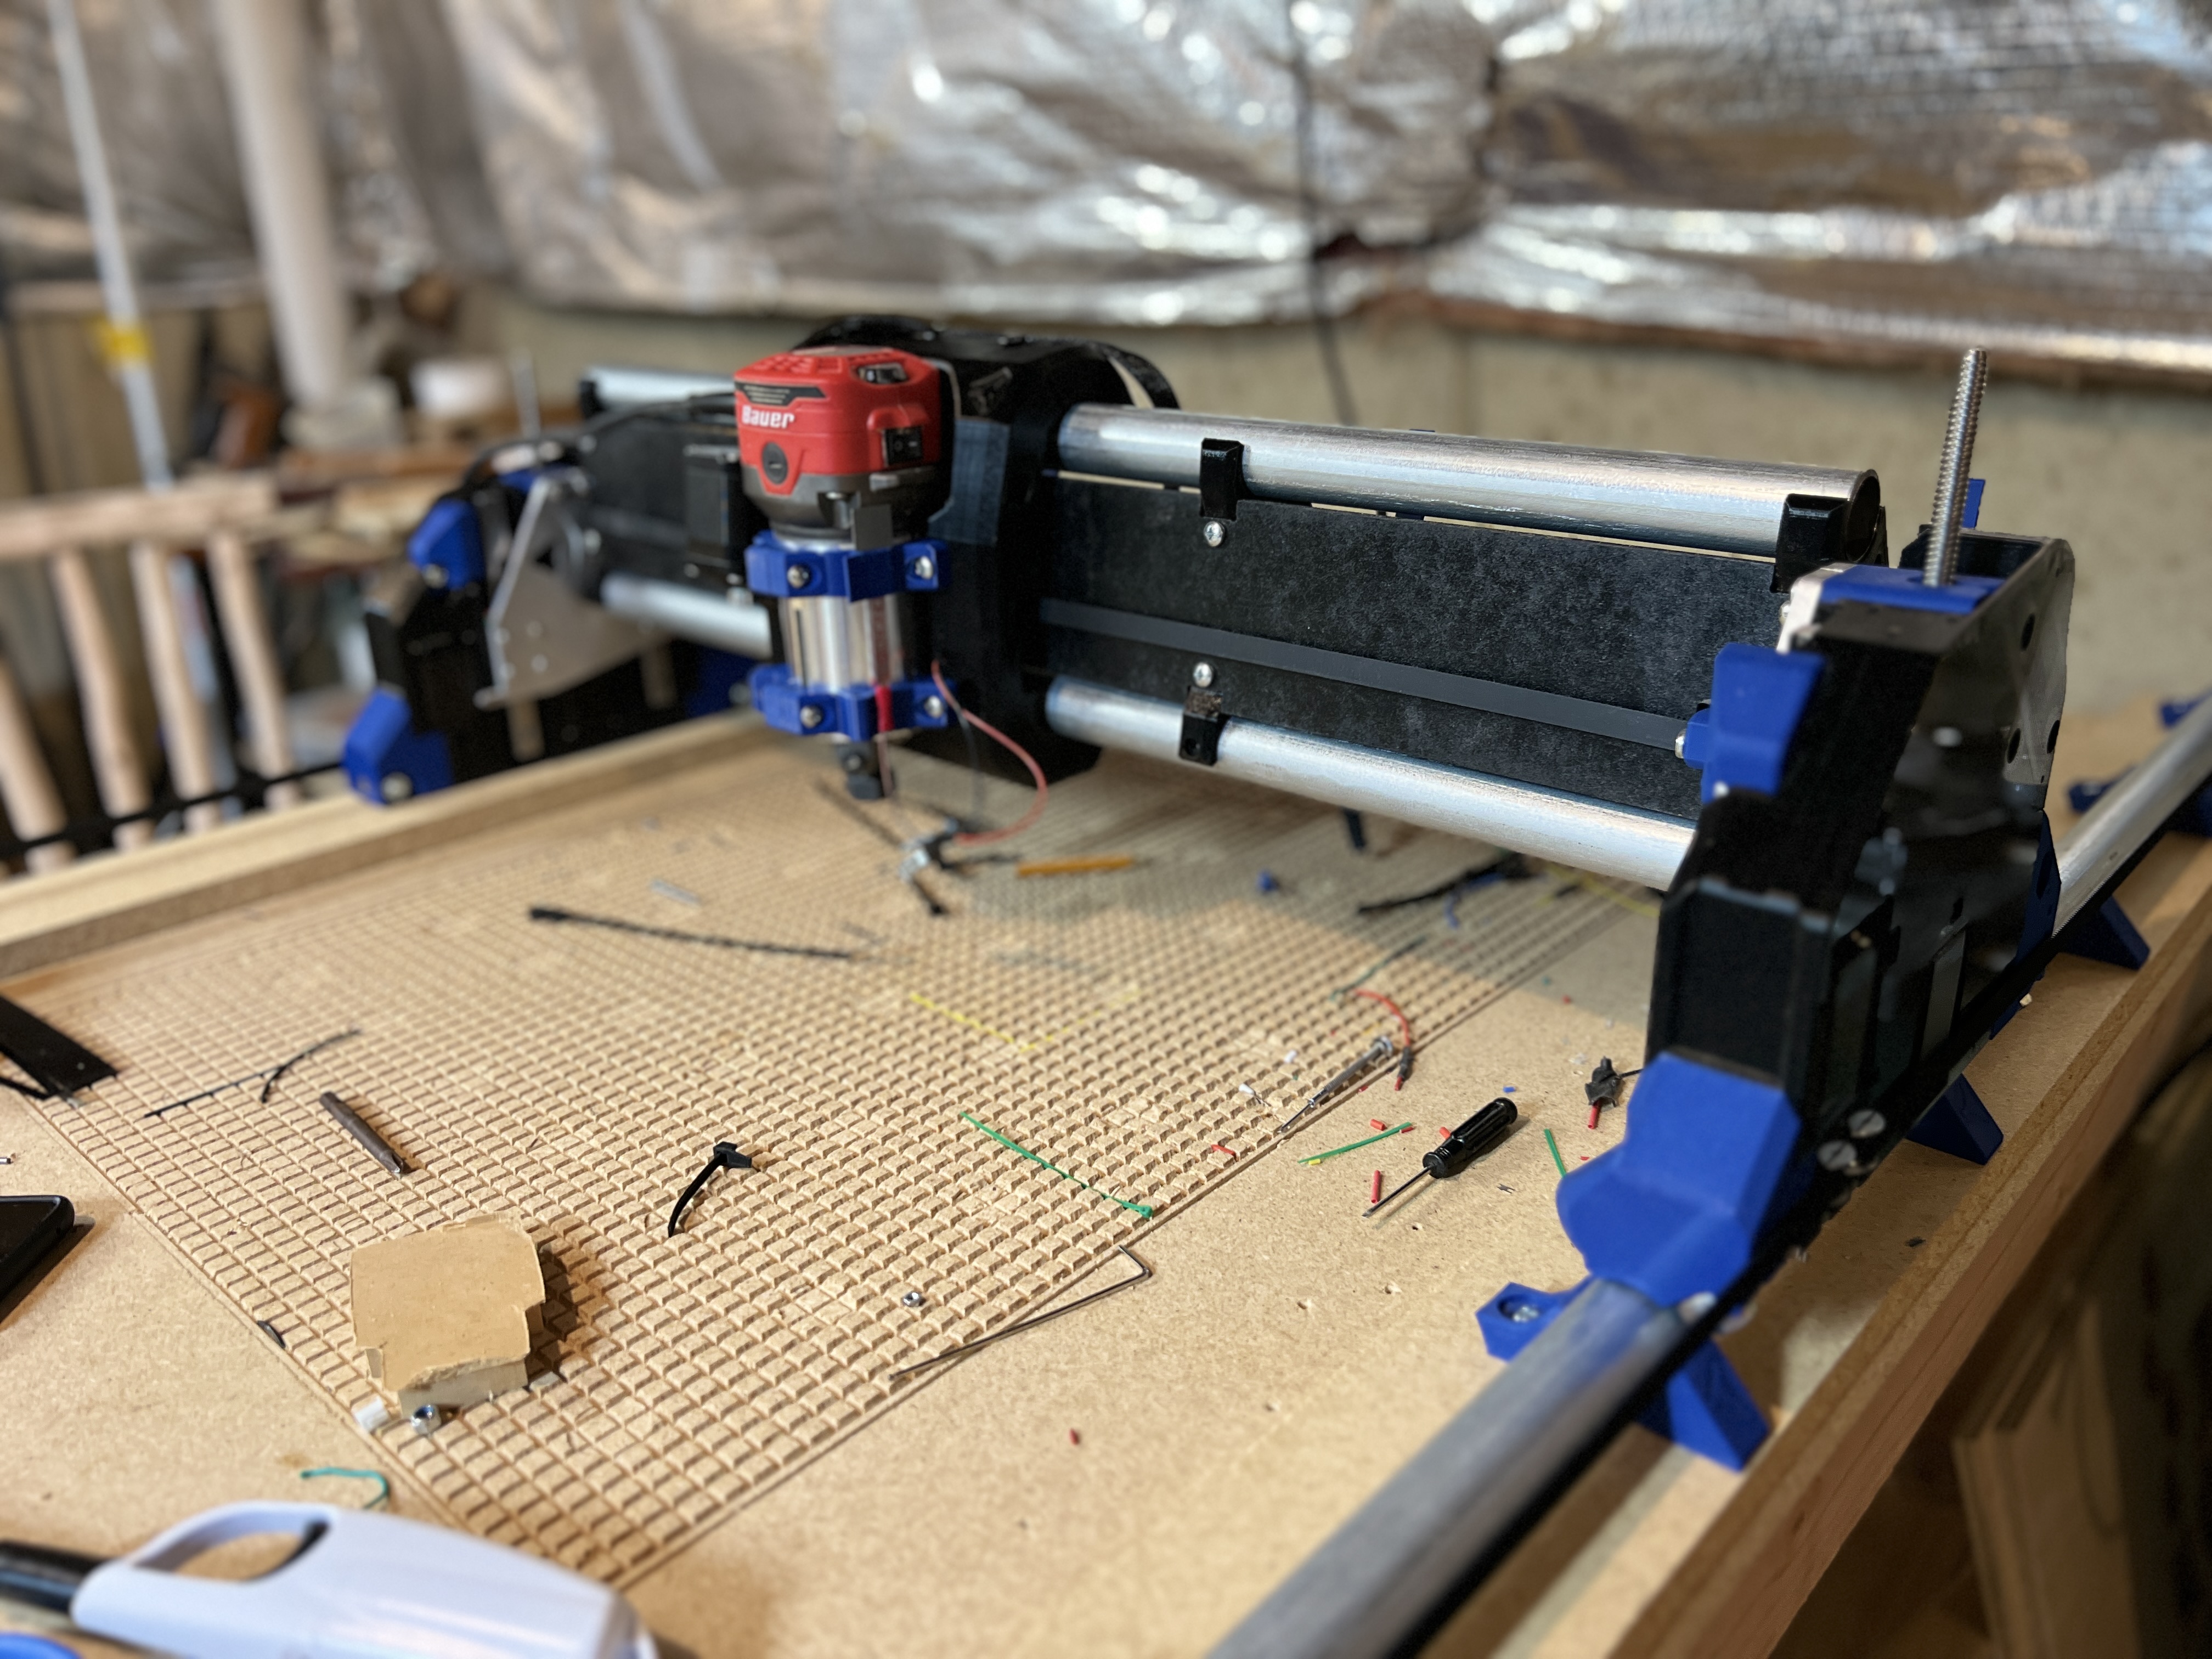
Well I couldn’t help myself and went with the Lowrider 4. Plenty of screws from my original Primo so just bought the 1” conduit, new plates and LR3 to LR4 upgrade kit. And one extra endstop. I managed to build it within 1mm of being square too so that was a nice treat.
I clicked on it and that was the post that showed… I had read the first part of it back in september and so I didn’t scroll up… honest mistake. I tend to make a lot of them.
The Bauer is working very well but only has a few hours on it so far. I am yet to be disappointed with a Harbor Freight tool. I had an old Craftsman rotary cutter that I used on the Primo originally but it finally dies after a decade of use as it was designed and then used on the cnc.
My total upgrade cost was just under $225 to go from the Primo to LR4. This includes three new rolls of PLA, linear rails, belts, flexible couplers, endstop switch, and Ryan’s LR3 to LR4 conversion kit.
It was a rather easy build aside from getting the x belt slotted. That was not an easy task and I mucked up the belt a little but it works perfectly.
I just tried the Tramming & Squaring with Jackpot controller that @DougJoseph posted on YouTube and it seems that my years of woodworking have paid off. My LR4 is square by less than 1mm and the x-axis is within 0.097mm. Not too shabby.
Now I have to start cutting some projects and see what I this thing can do.
I worked through some tests and new bits and can finally create things on my new LR4. I am currently trying out Vectric Aspire for creating designs and generating the toolpaths and although it is likely not the most efficient, I have a workflow that works for me. I modified a post-processor I found somewhere on this forum including tool changes and I have to say I am pleased although learning Aspire is a new challenge. I have been using Estlcam since I began this V1E journey.