This is my MPCNC Primo Build.
All parts were printed using 0.6mm Nozzle. I later learned the flow needed to be reduced to 90% to keep from over extruding.
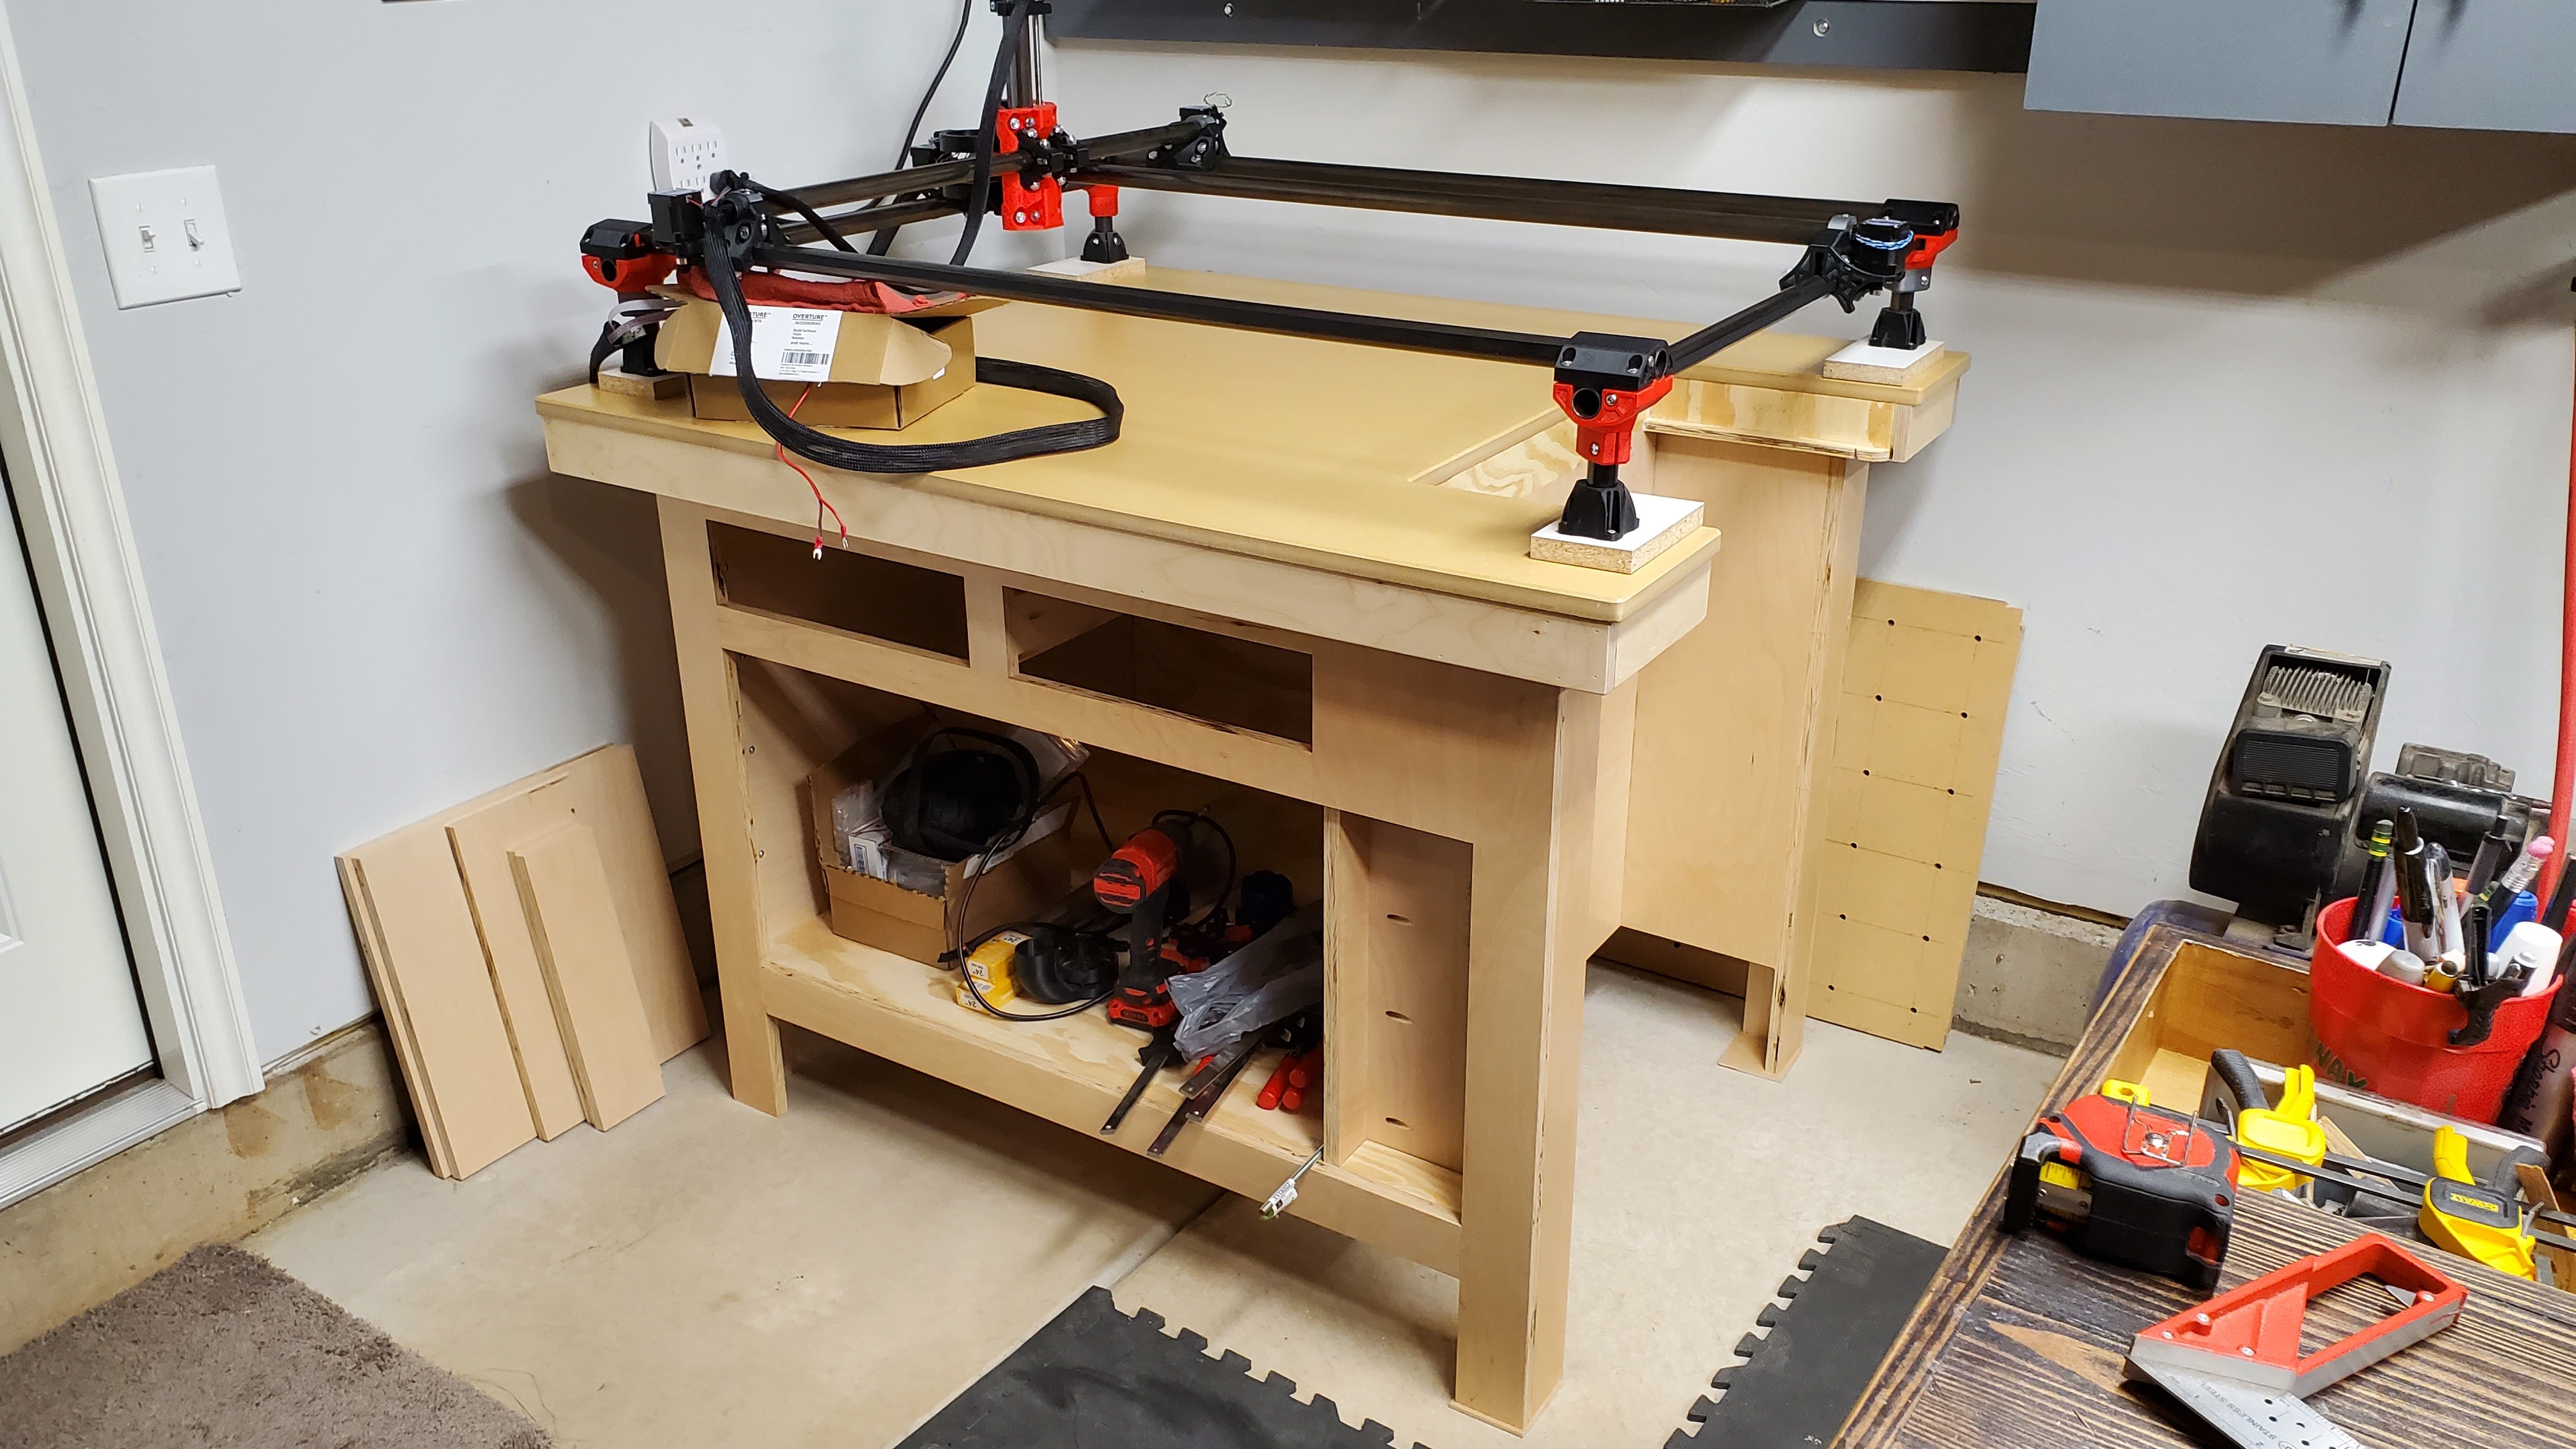
Tubing is Chrome-moly with gun blue etching to mitigate rust. Cutting the matching tubes to exact lengths, make squaring the system much easier. (X rails, Y rails and legs.)
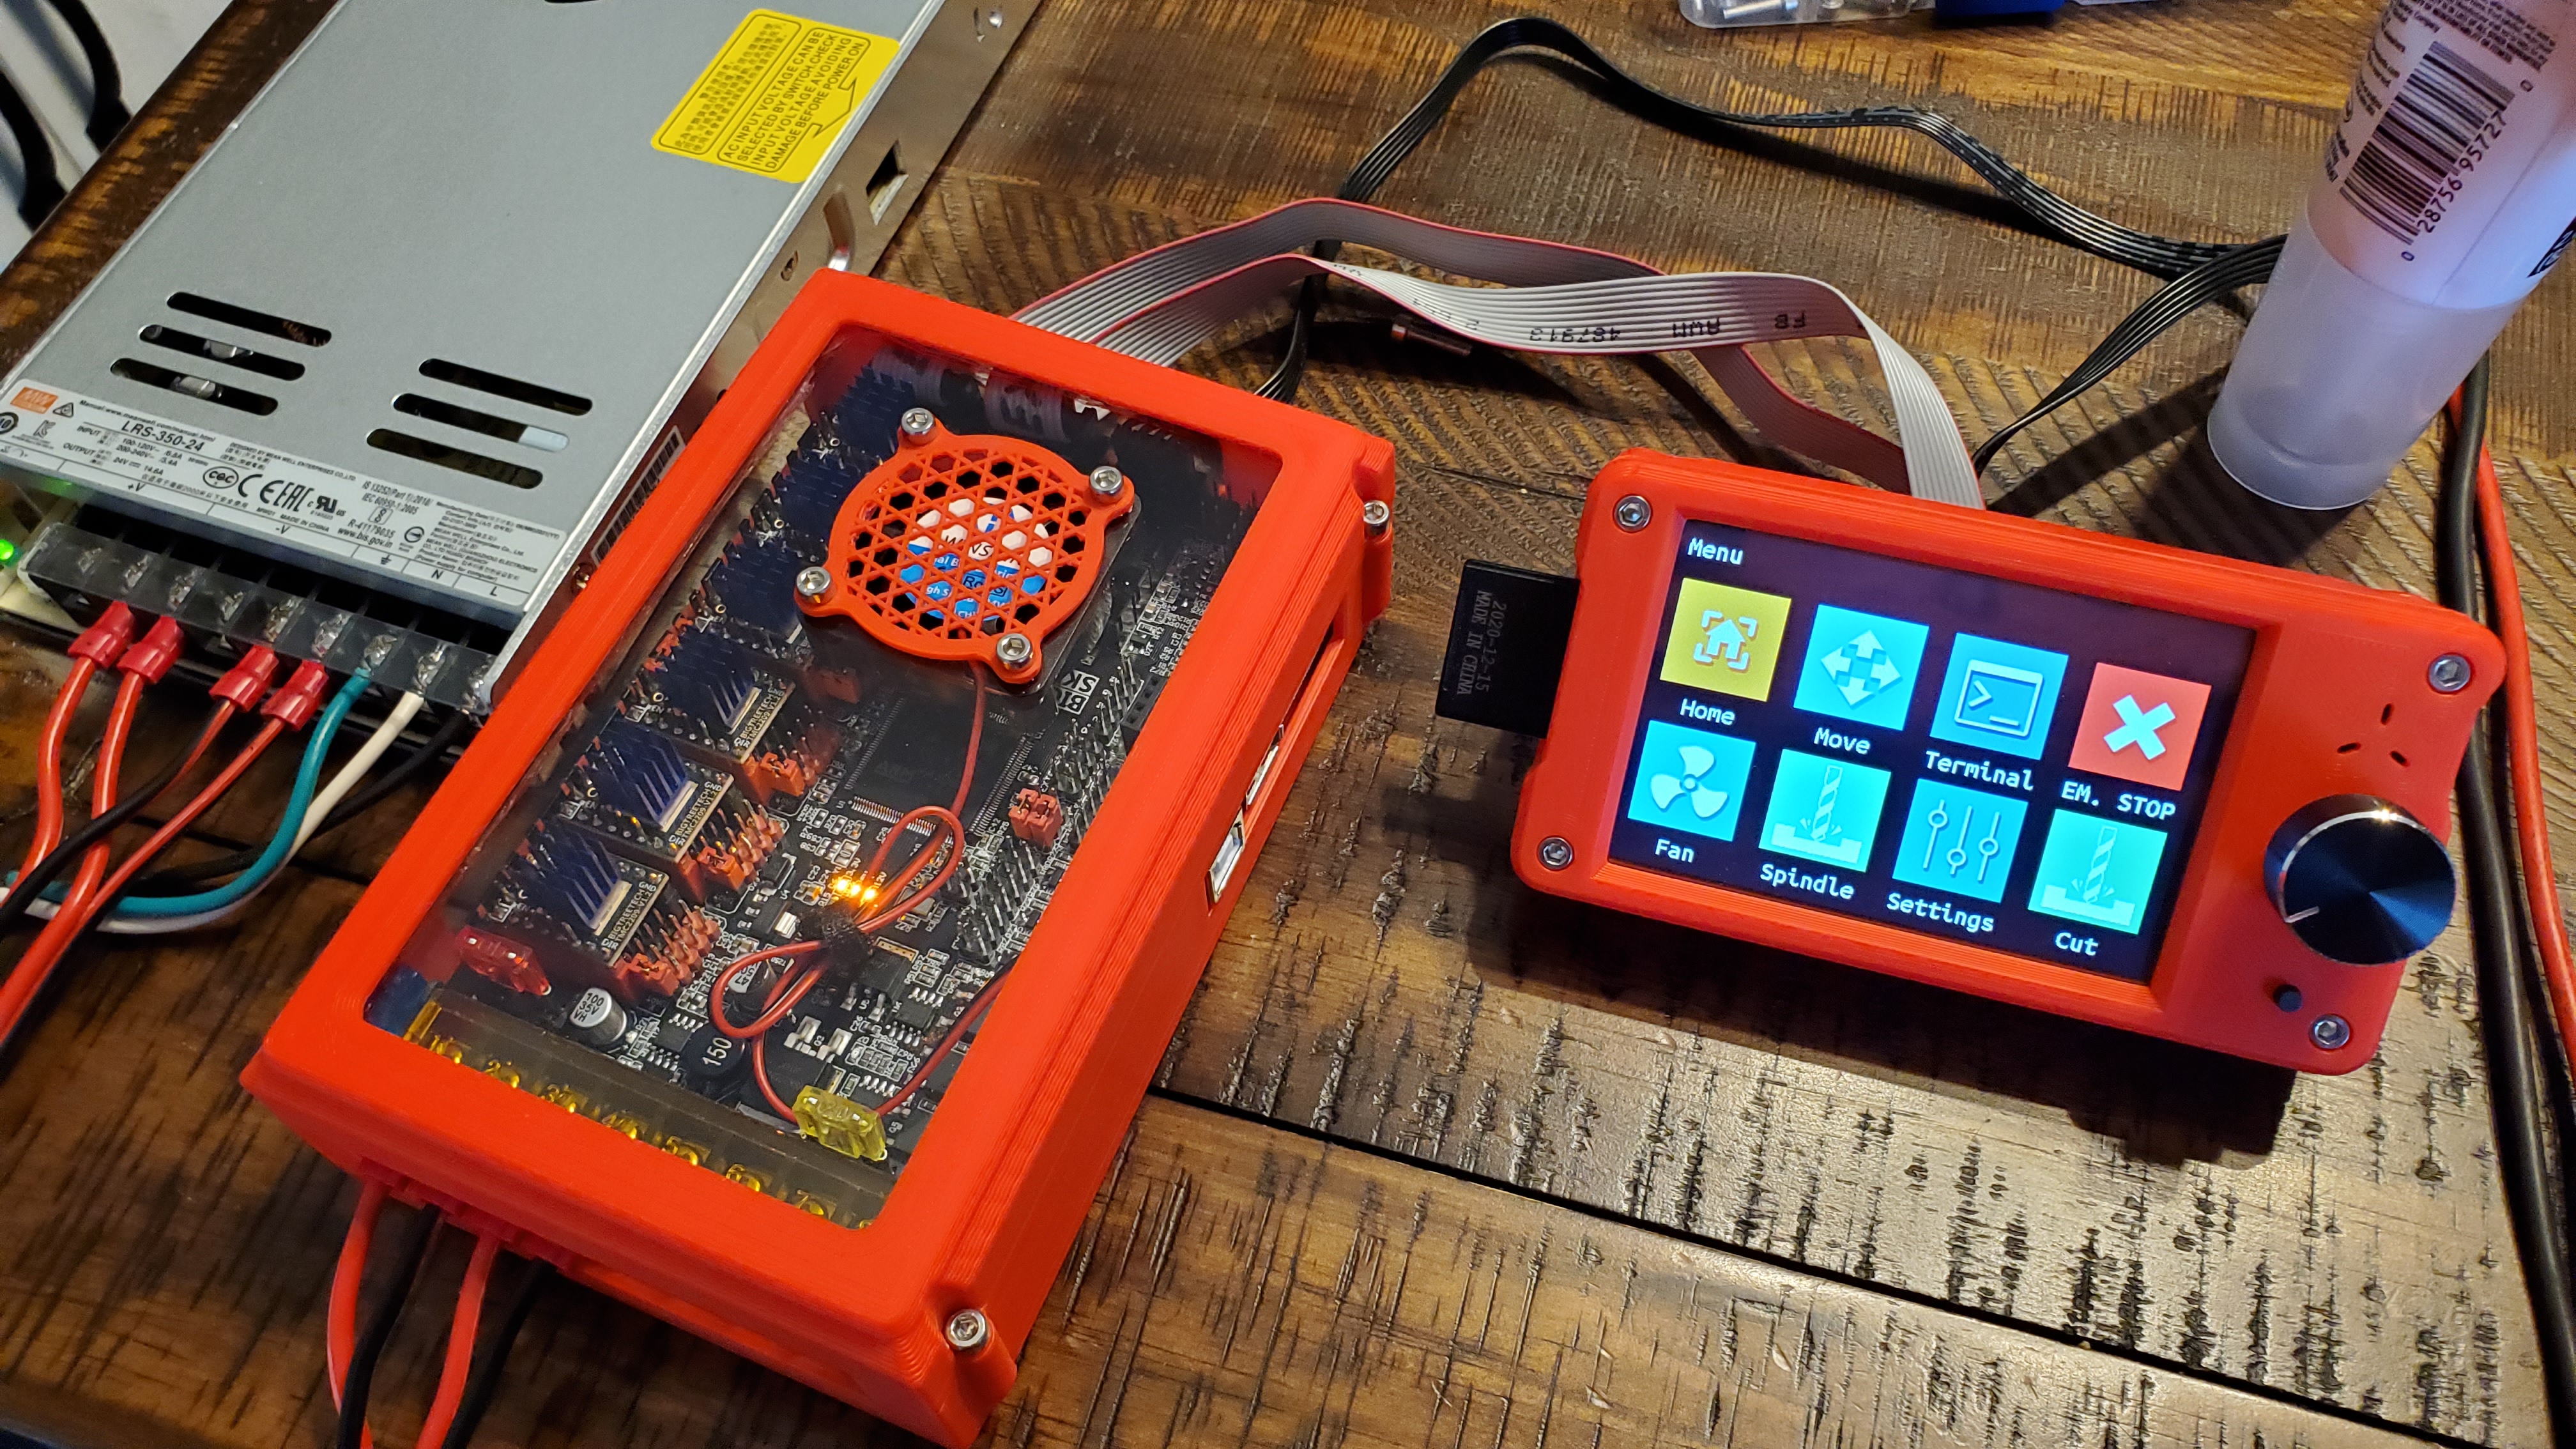
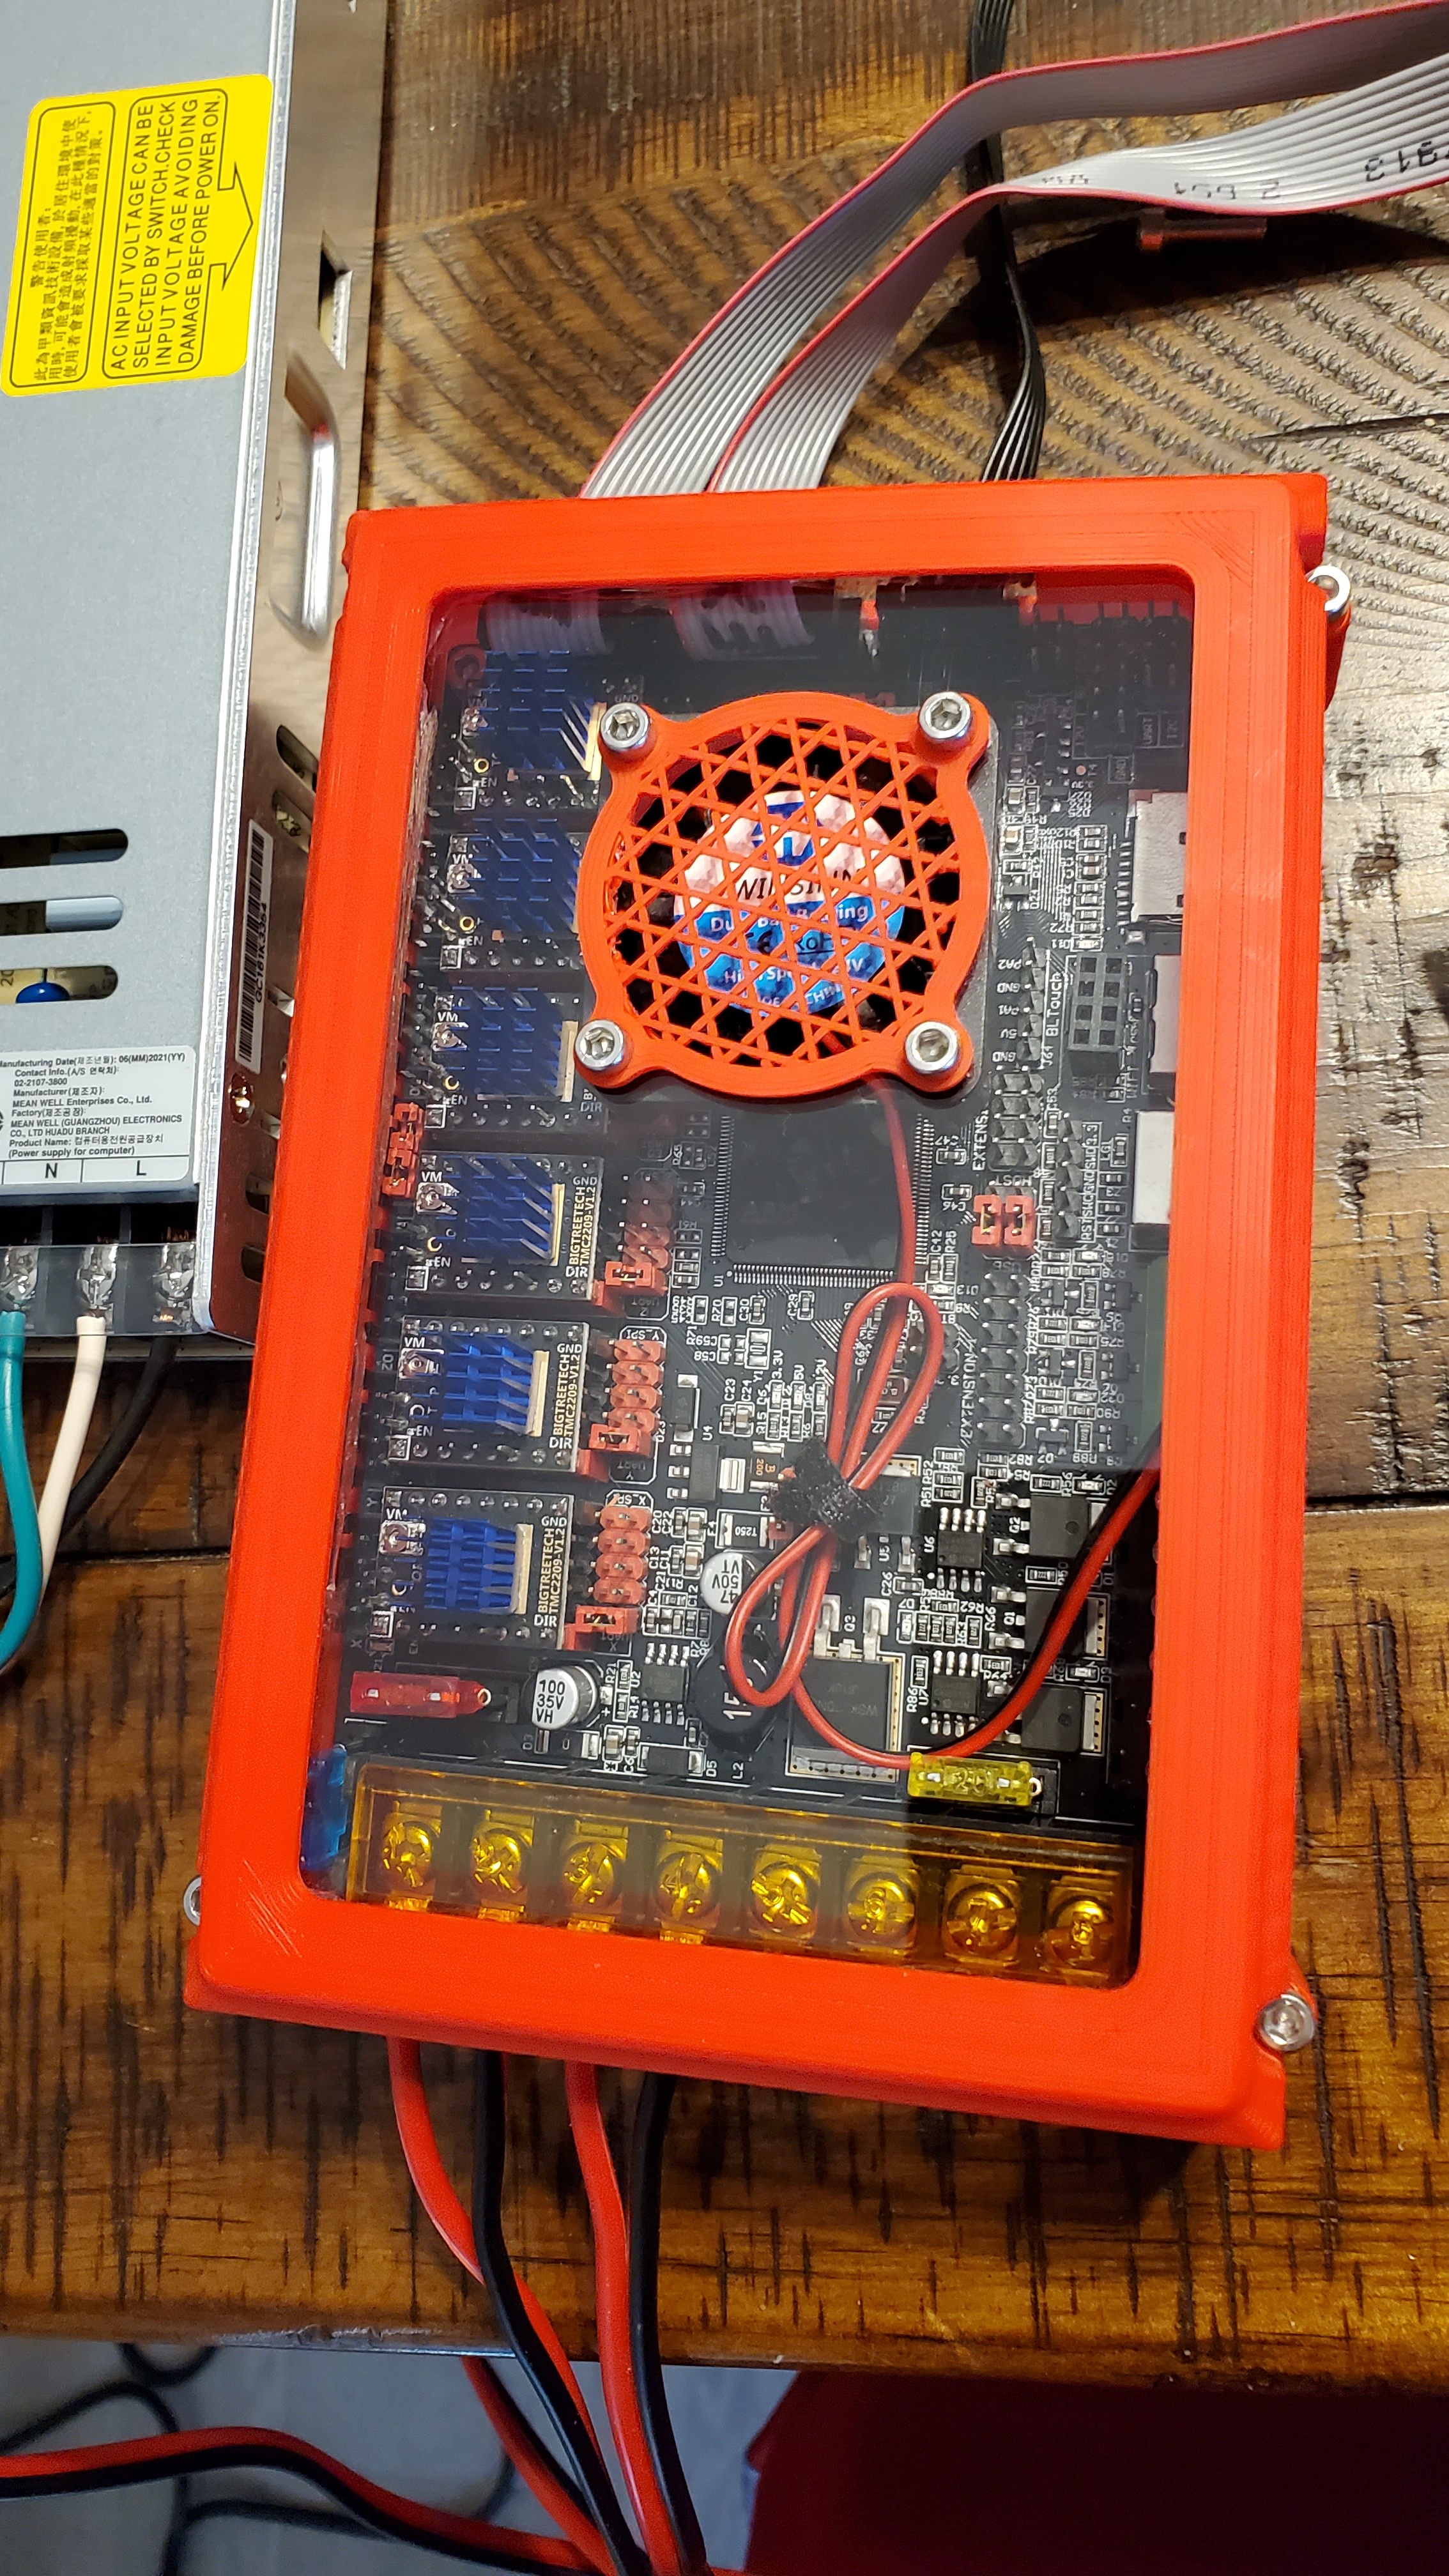
MB is SKR Pro V1.2 with Marlin FW (I have modified the FW slightly, but mostly it’s still the Dual endstop version from V1 eng. I plan to order the JST connectors to connect the steppers to SKR board.
Touchscreen is TFT35 V3.0. V1 was out of stock when I ordered and I didn’t realize is was not the E3. So far I’ve not found much difference except the physical layout.
Meanwell 24vdc power supply.
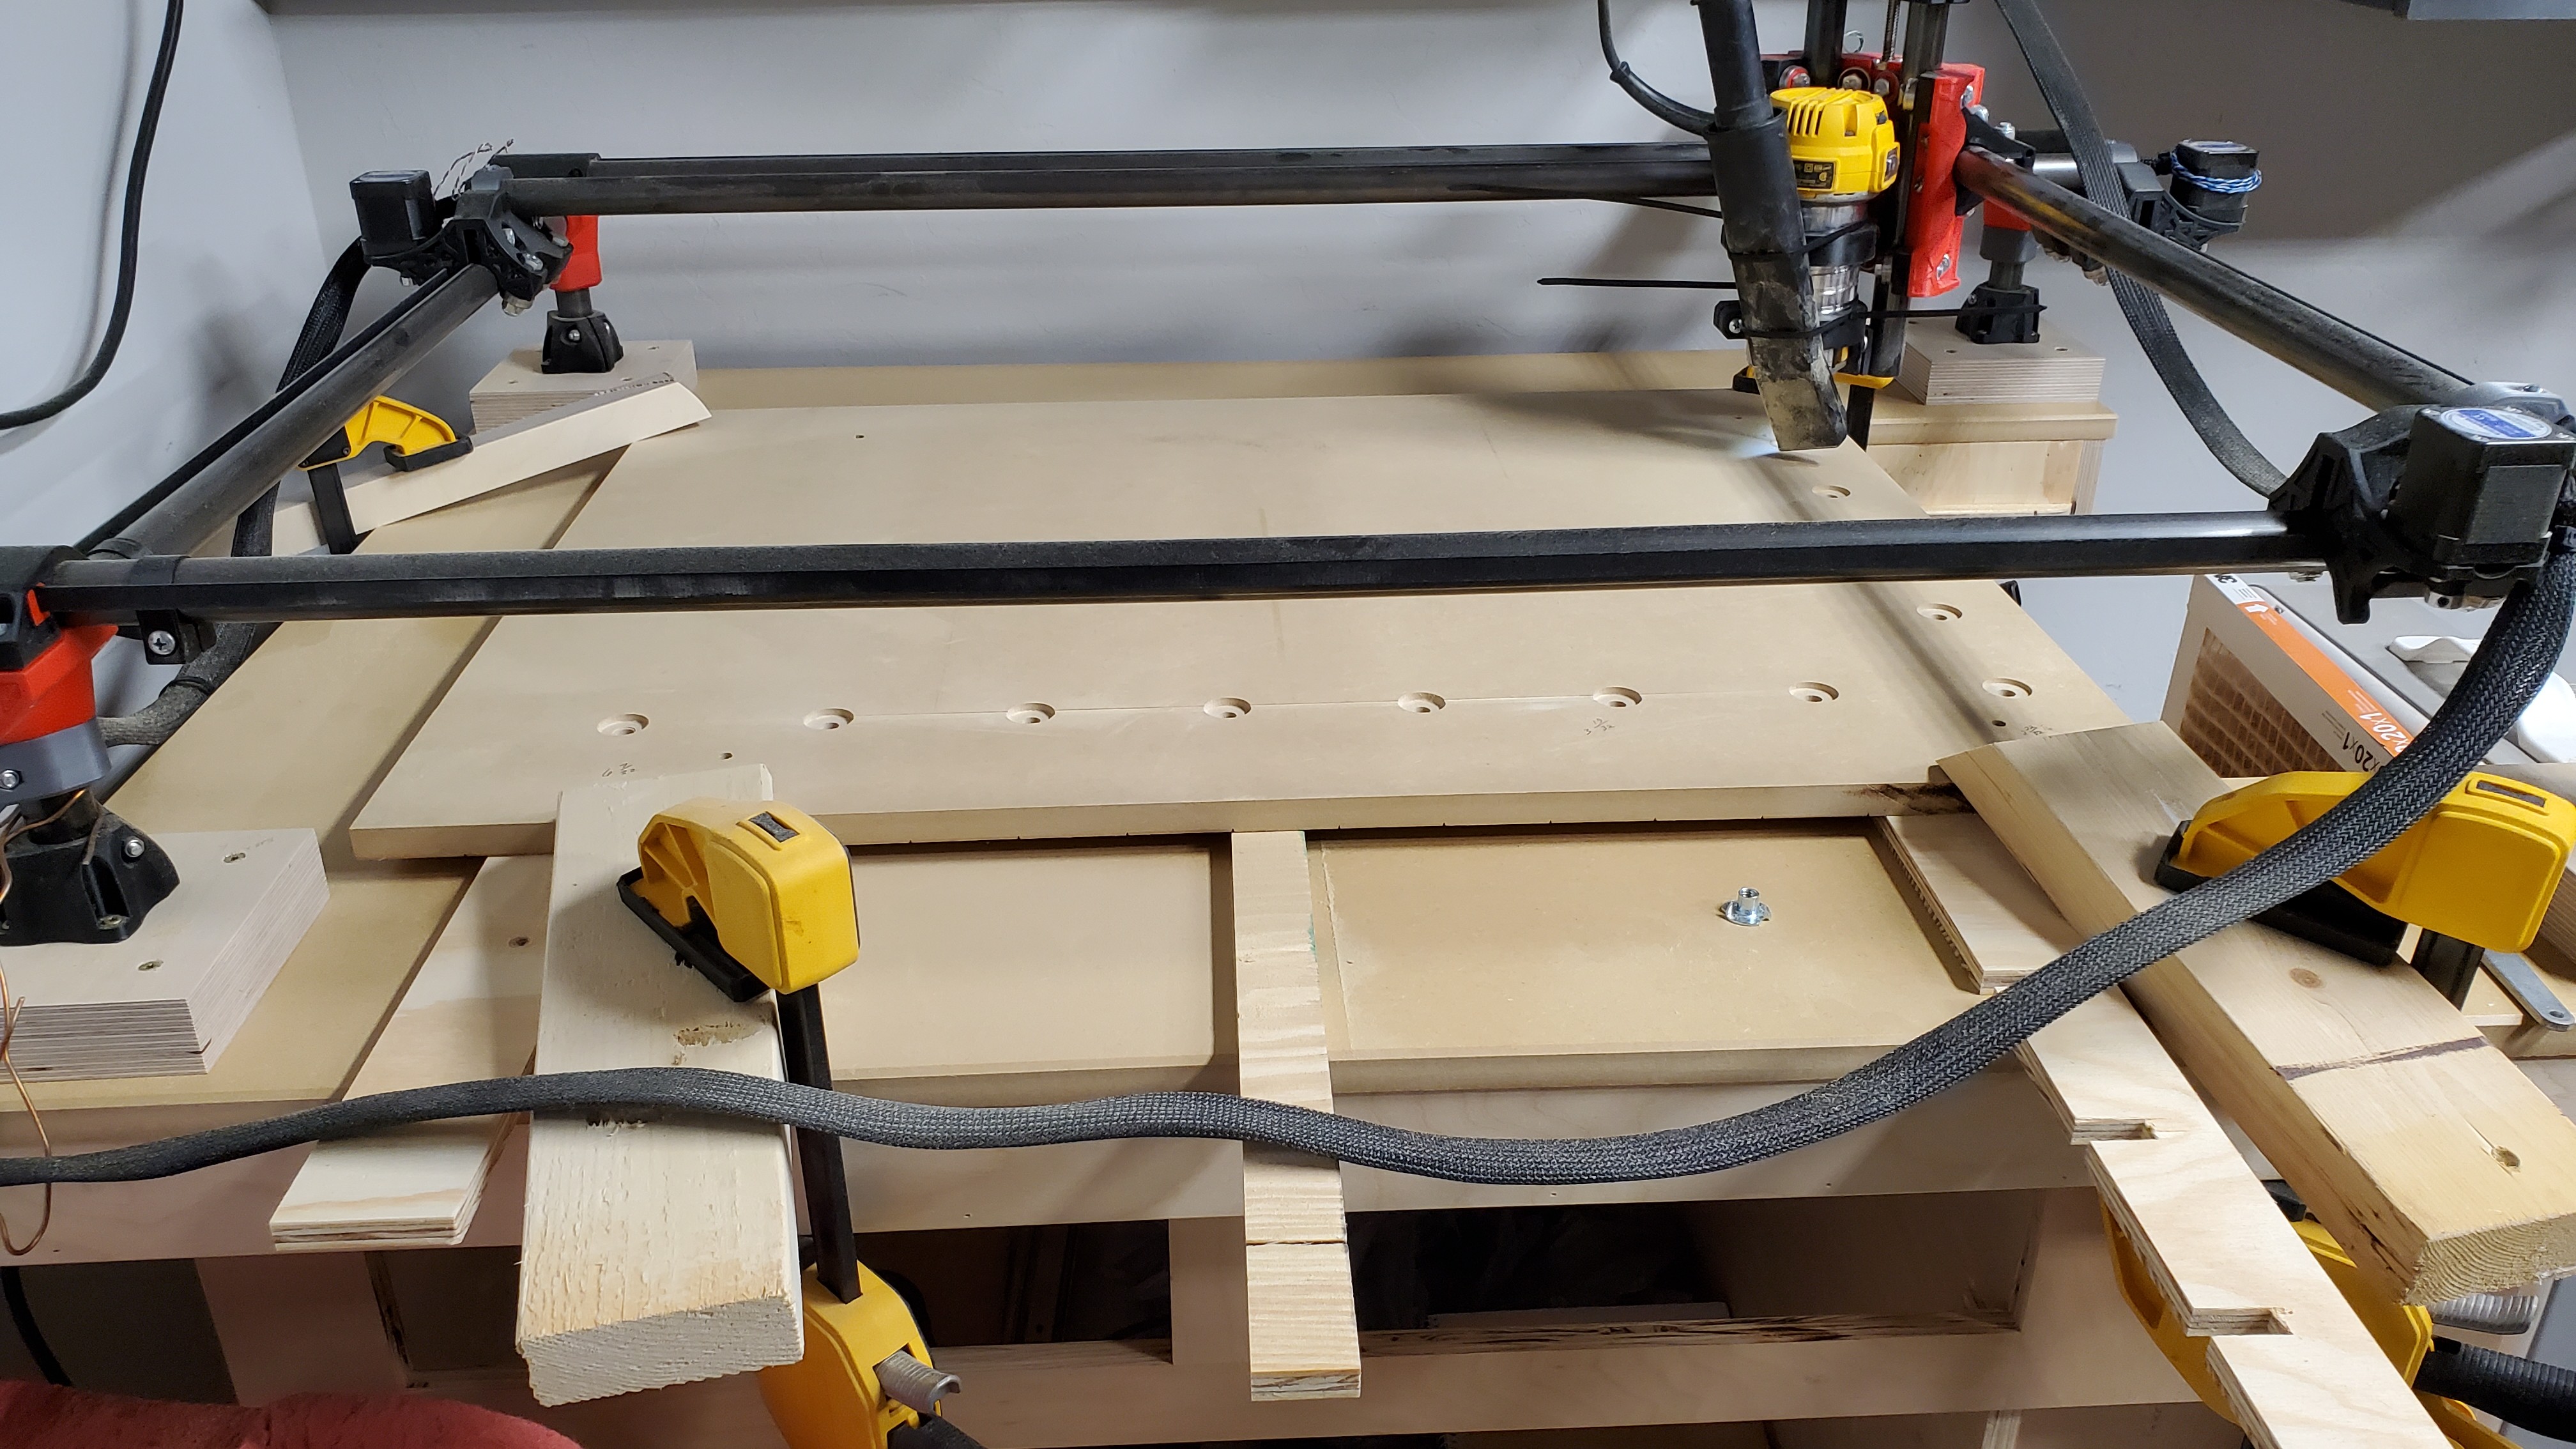
The table I designed in Sketchup. While building the table I found some issues with the file. I will share after fixing these. The top is a small torsion box with 3/4 mdf. I will add a removable insert for the end grain cutout. If it works out, I’m planning to mount the PS and MB inside the small cabinet on the lower right. Currently building the drawers and cabinet doors for the bottom. I will add more pictures once finished.
I found the SKR and TFT35 case in Thingiverse. I used the bumper case for the SKR board and designed an acrylic clear front with 40mm fan. Then cut on the Primo. Turned out nice and allows me to see the board.
That is an excellent cabinet and table. With that vertical edge, I really hope you try to make the drawers on the MPCNC. That should give you a lot of fun.
That is really well done! You’ve pretty much done all the things that I’m hoping to do when I upgrade to the Primo sometime soon. I’ve still got a burly that is working well but I sure like the new Primo design.
The torsion box is really nice. Do you think you loose any strength/stability having the cutout like that for end-grain cutting?
Thanks Dobieag… It was a lot of work. The only strength loss I noticed was just on the ends next to the cut out after cutting the bottom 1/2 in ply out. But that was still part way in assembly. I added the 3/4 mdf and slathered on the glue. Then I trimmed around the edge with the 3/4 ply. Once that all dried the top was solid. The top is also screwed to the base which adds even more strength.
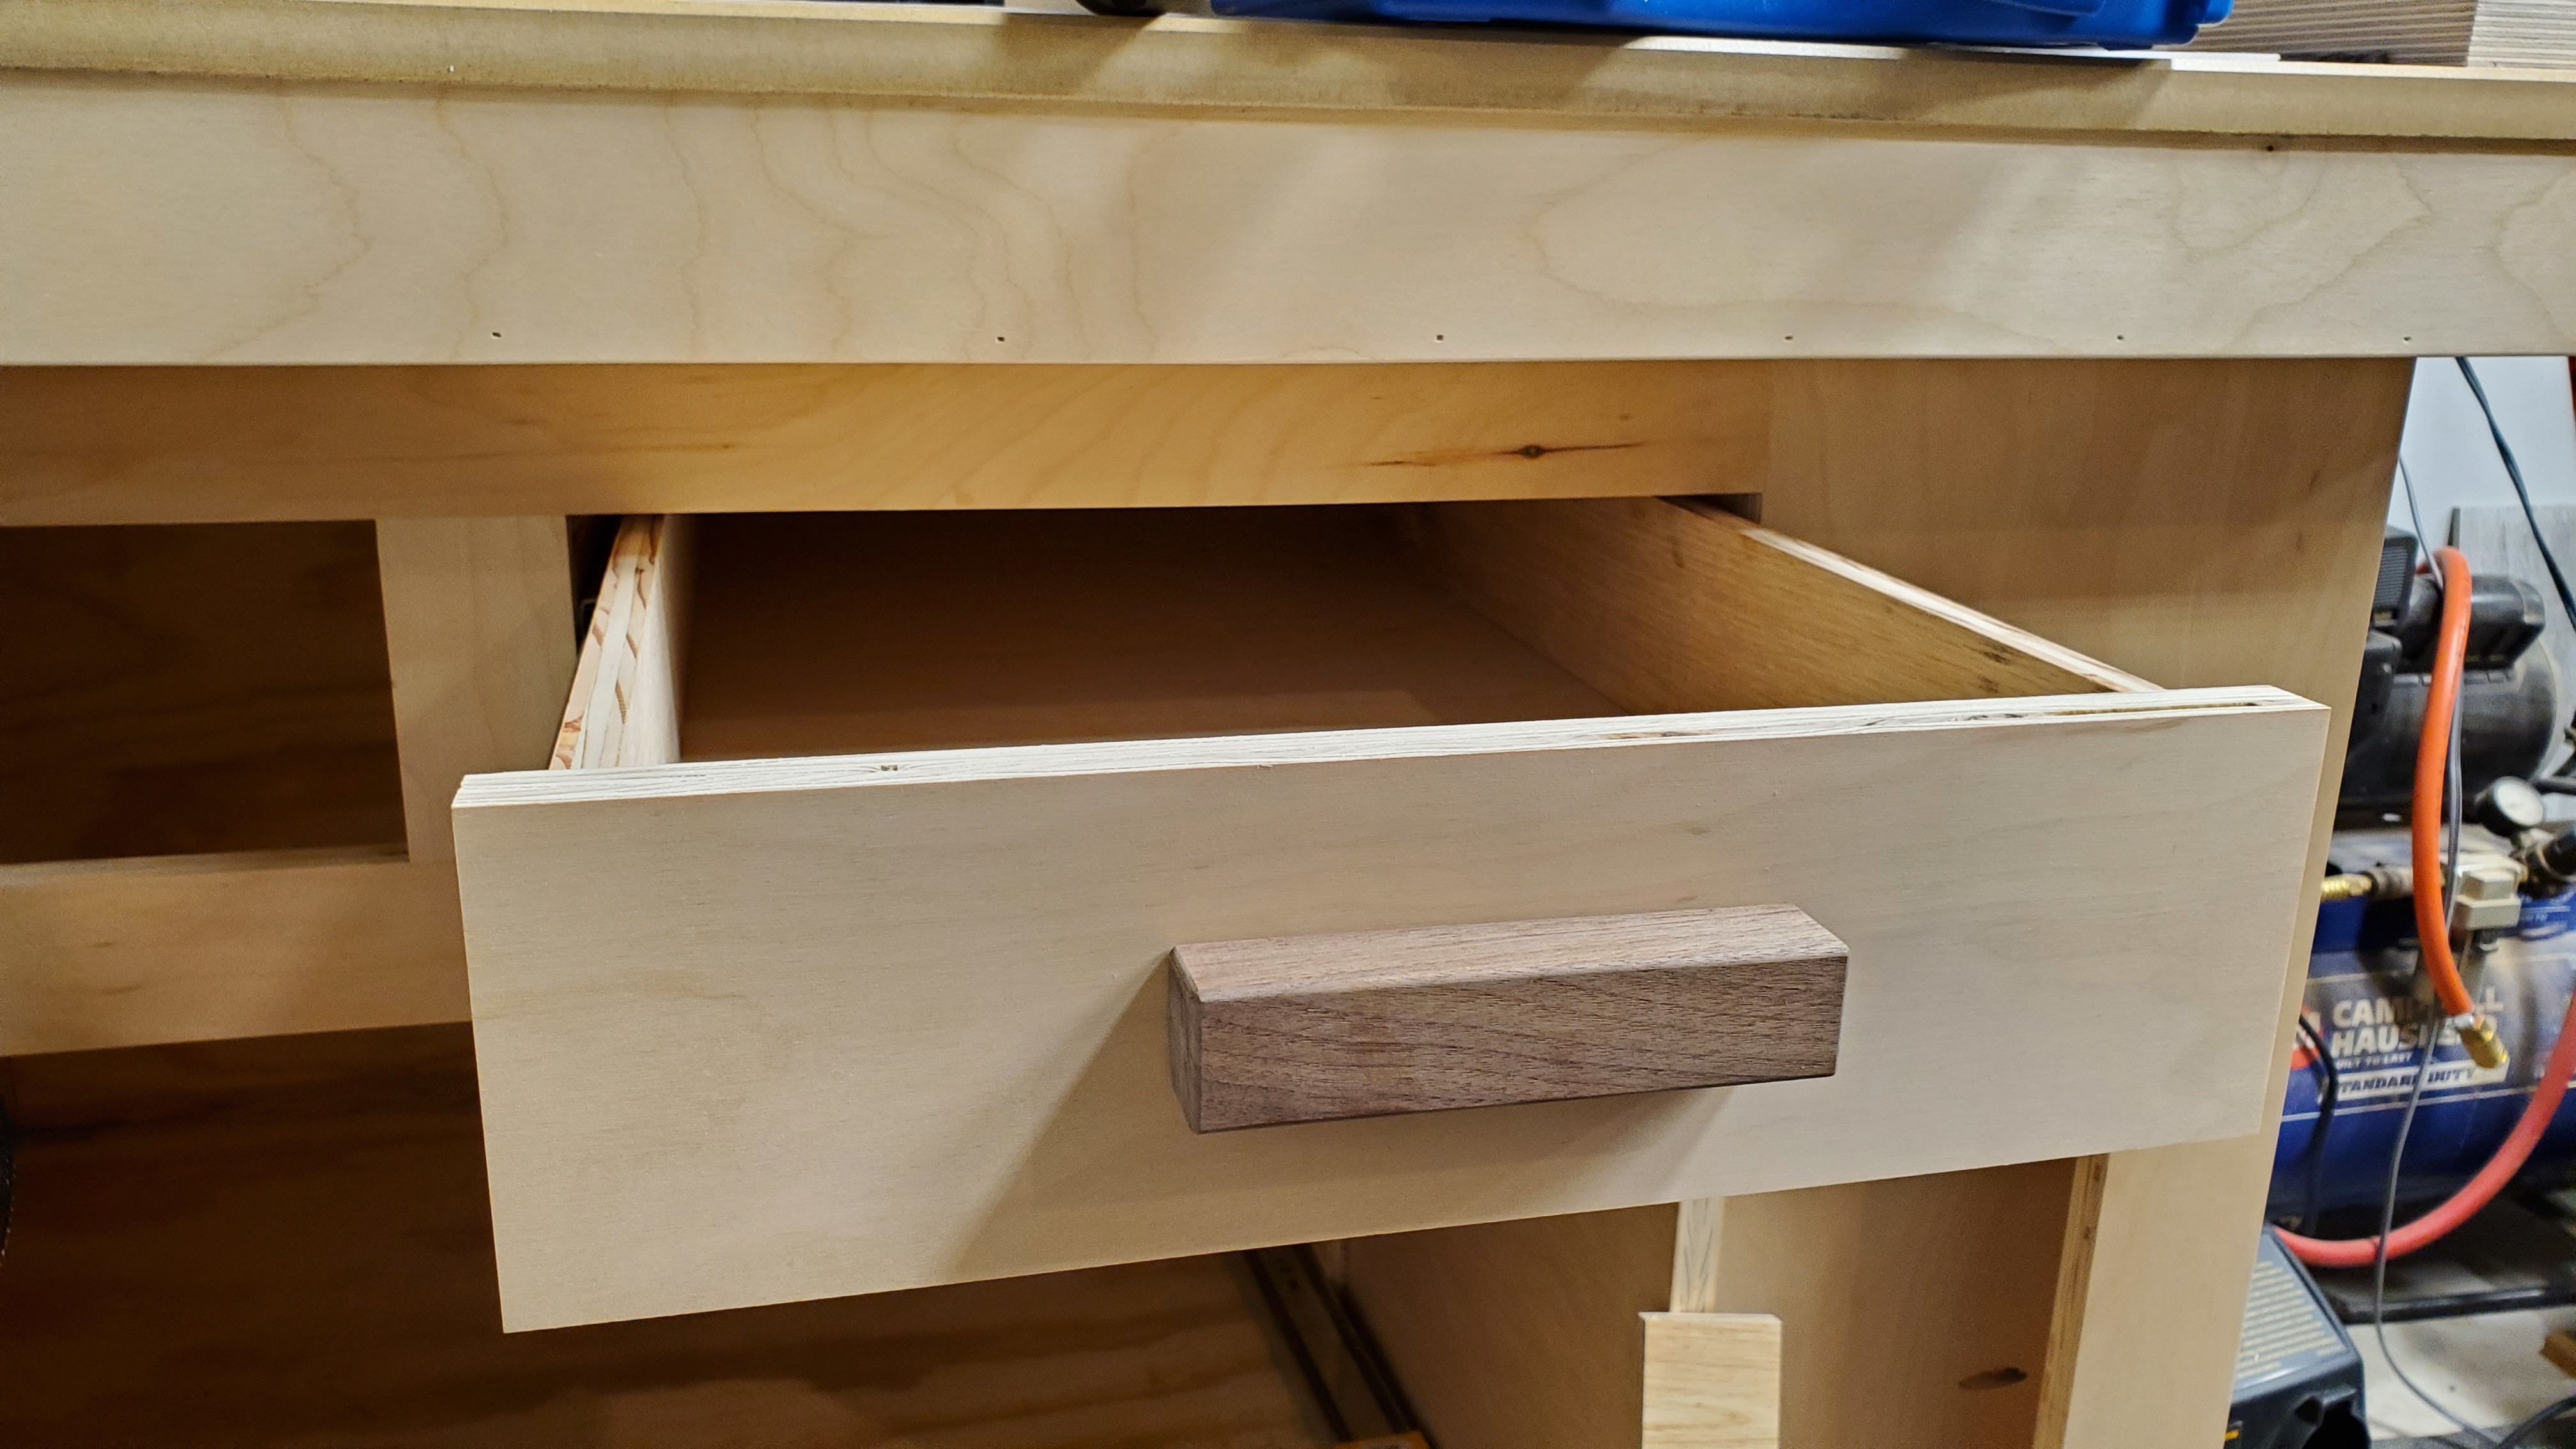
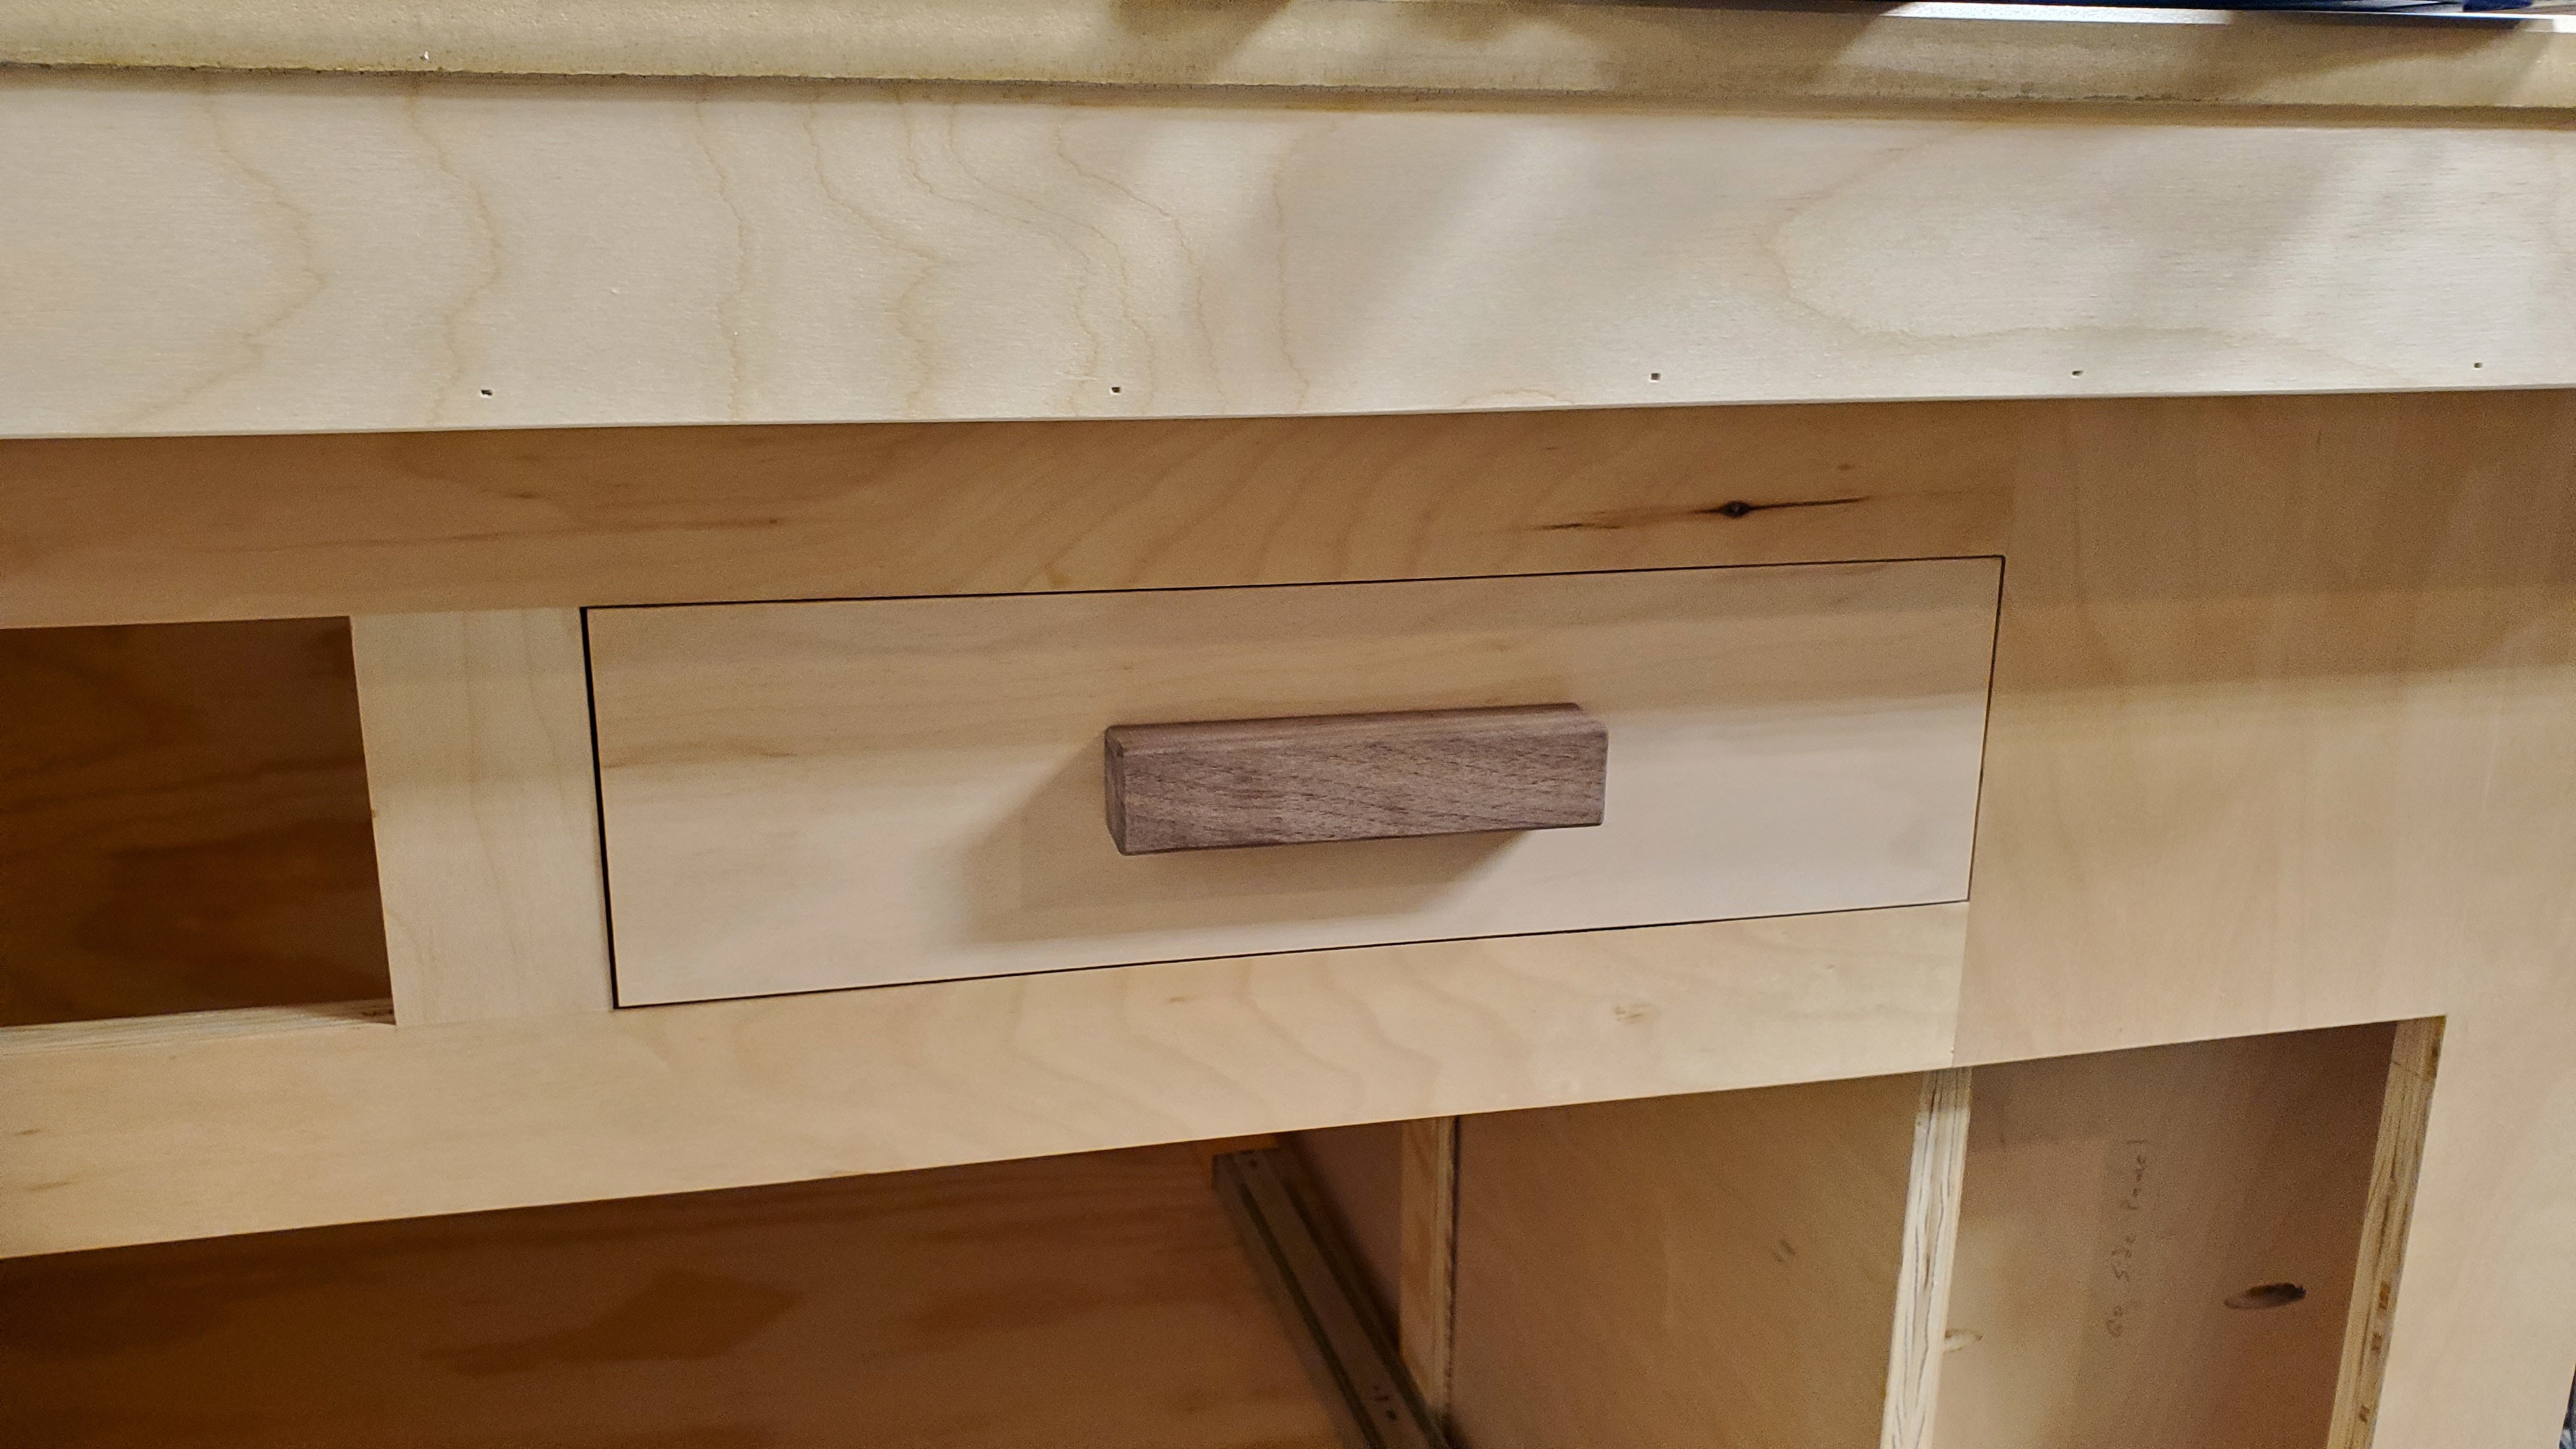
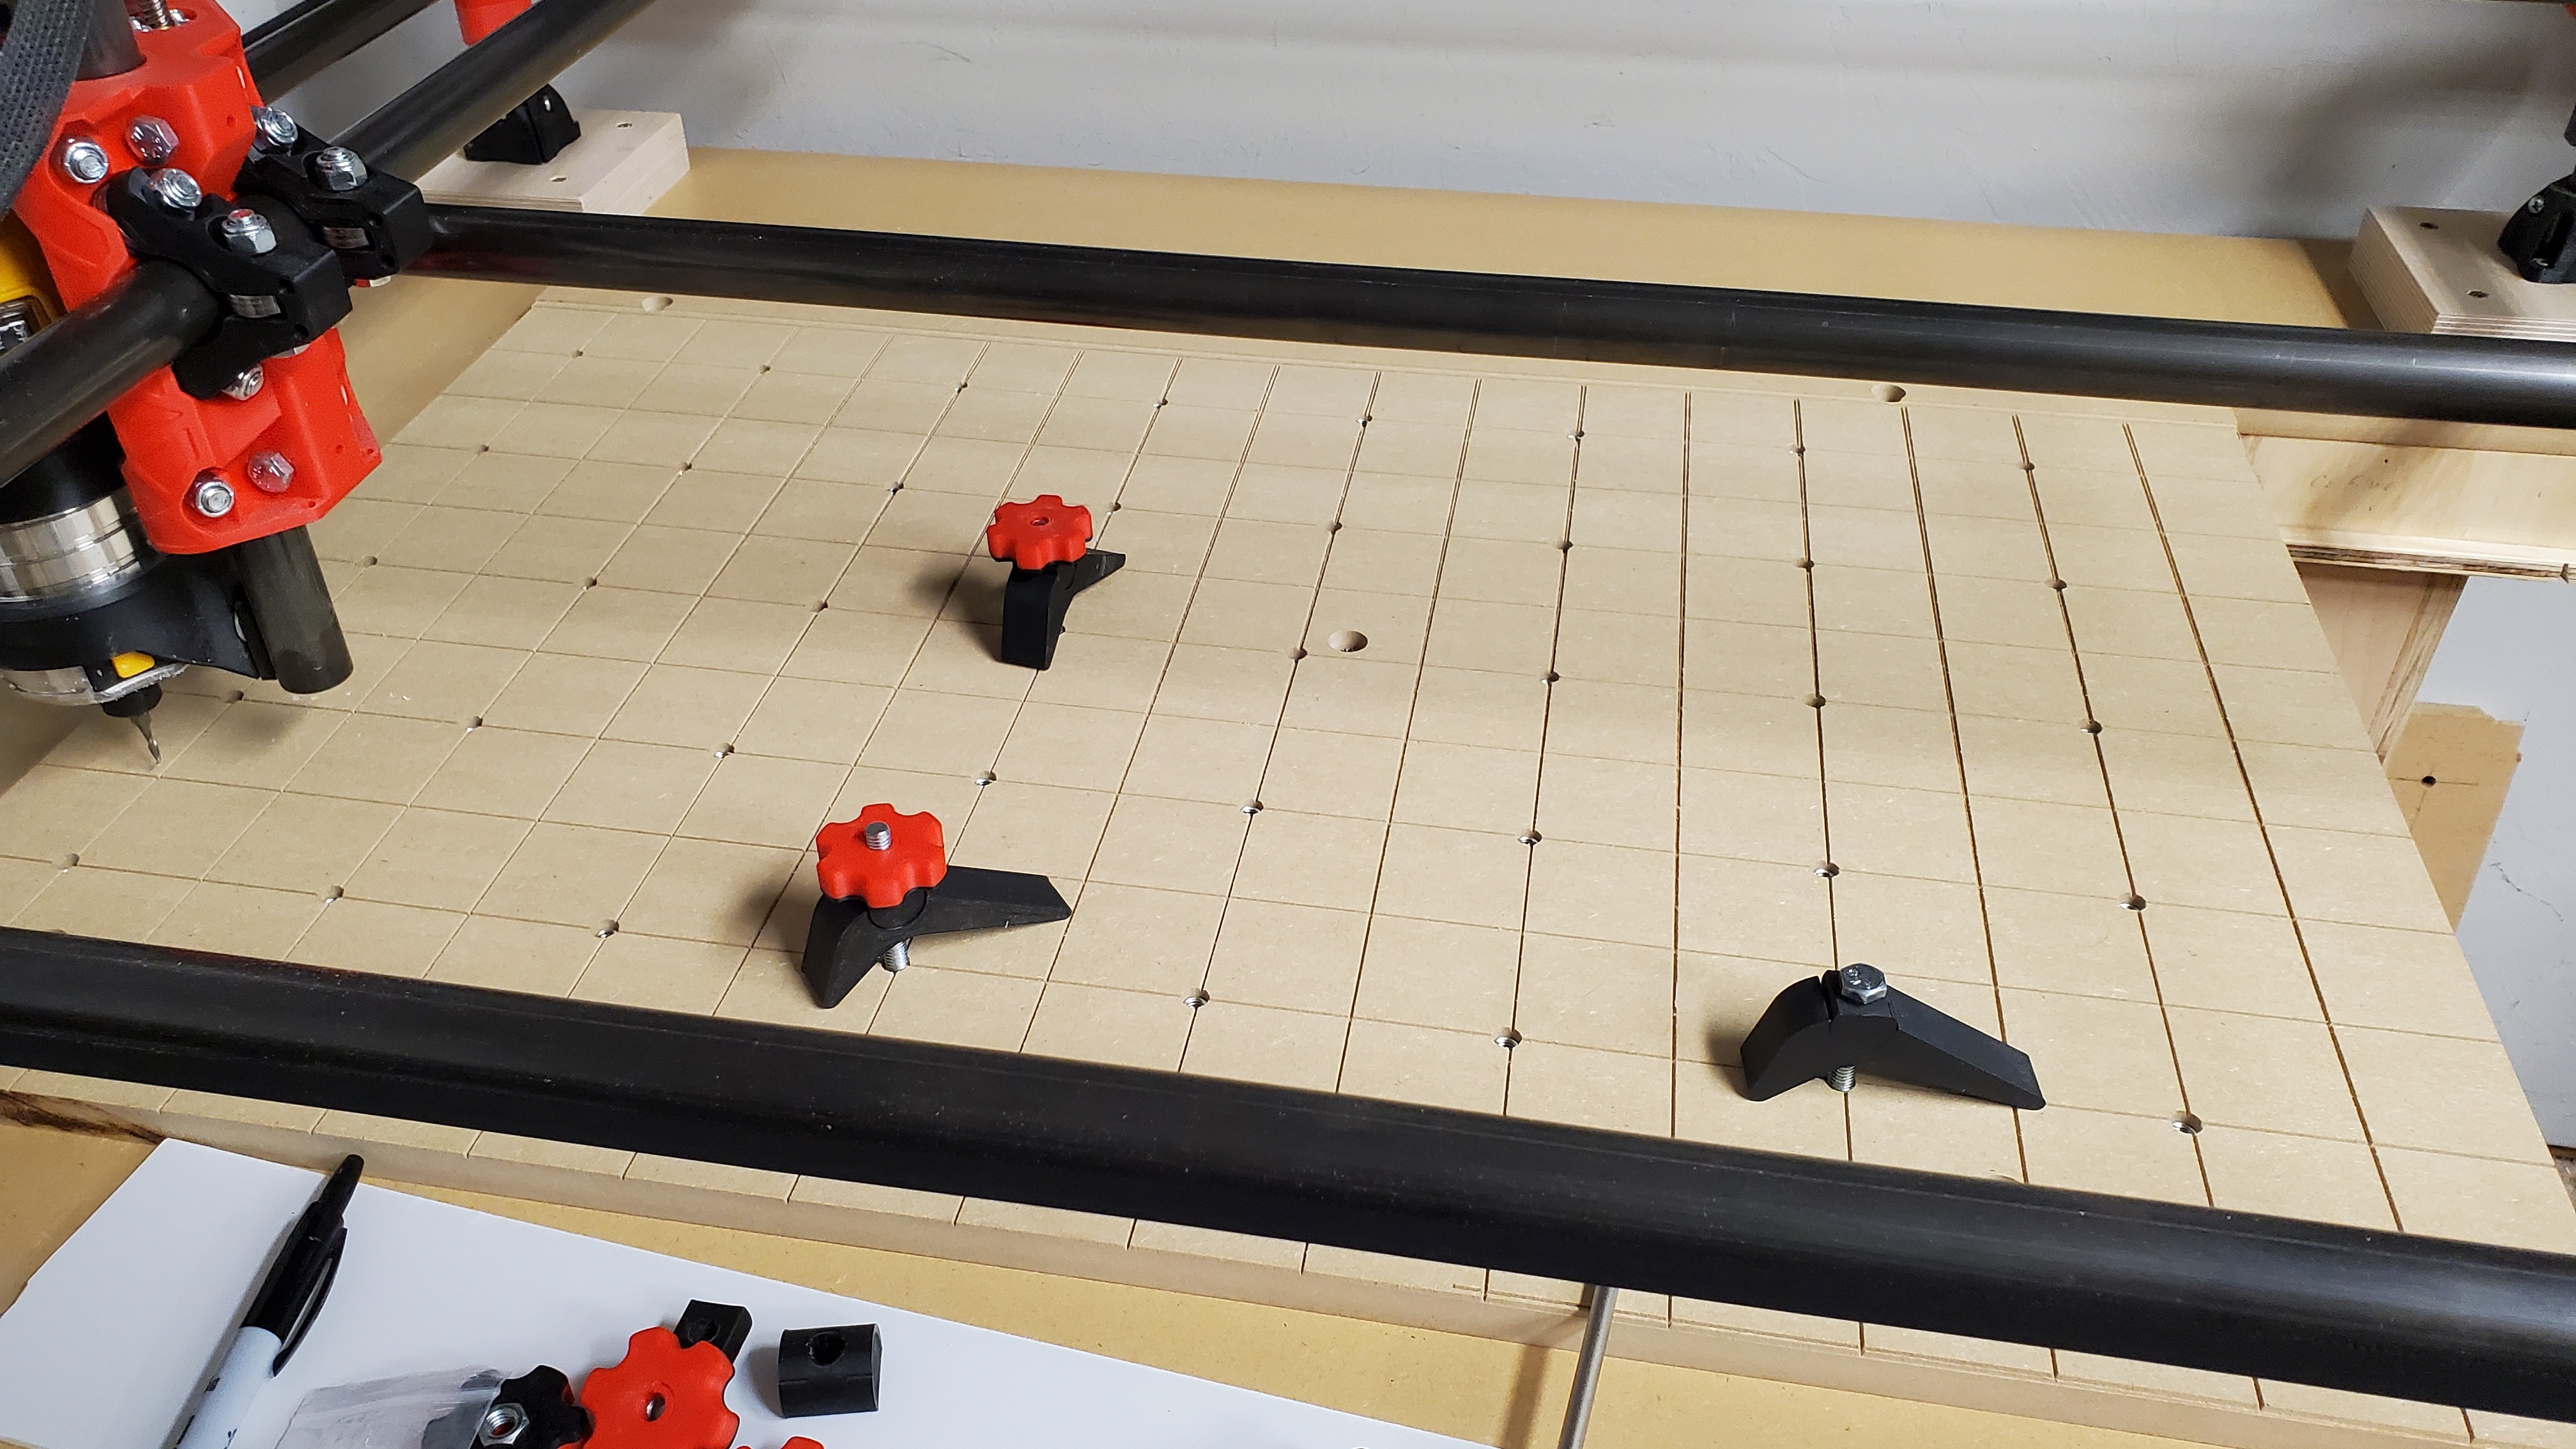
Here is one of the drawers I finished, minus clear coat. The pull is black walnut. I also cut the grid and Tee nut holes in my waste board. This is where I found out squaring each time is very important unless you have the dual endstops.

 . But maybe in a future project.