just finished motor- dual endstop wiring, tried few moves ,it homes ok…so happy untill now
i connected it with pronterface and i get these readings …
Printer is now online.
echo:Marlin 414D bugfix-2.0.x
echo: Last Updated: 2019-10-18 | Author: (V1 Engineering, Ryan, 414D)
echo:Compiled: Apr 17 2021
echo: Free Memory: 3479 PlannerBufferBytes: 1456
echo:SD init fail
echo:Hardcoded Default Settings Loaded
echo: G21 ; Units in mm (mm)
echo: M149 C ; Units in Celsius
echo:Filament settings: Disabled
echo: M200 D3.00
echo: M200 D0
echo:Steps per unit:
echo: M92 X200.00 Y200.00 Z800.00 E200.00
echo:Maximum feedrates (units/s):
echo: M203 X120.00 Y120.00 Z30.00 E25.00
echo:Maximum Acceleration (units/s2):
echo: M201 X400.00 Y400.00 Z100.00 E2000.00
echo:Acceleration (units/s2): P<print_accel> R<retract_accel> T<travel_accel>
echo: M204 P400.00 R3000.00 T400.00
echo:Advanced: B<min_segment_time_us> S<min_feedrate> T<min_travel_feedrate> J<junc_dev>
echo: M205 B20000.00 S0.00 T0.00 J0.10
echo:Home offset:
echo: M206 X0.00 Y0.00 Z0.00
echo:Endstop adjustment:
echo: M666 X0.00 Y0.00
echo:Material heatup parameters:
echo: M145 S0 H196 B92 F0
echo: M145 S1 H240 B110 F0
echo:PID settings:
echo: M301 P17.98 I0.98 D83.62
do they look ok??? also the Z axis when i press + goes up is that correct???
thanks
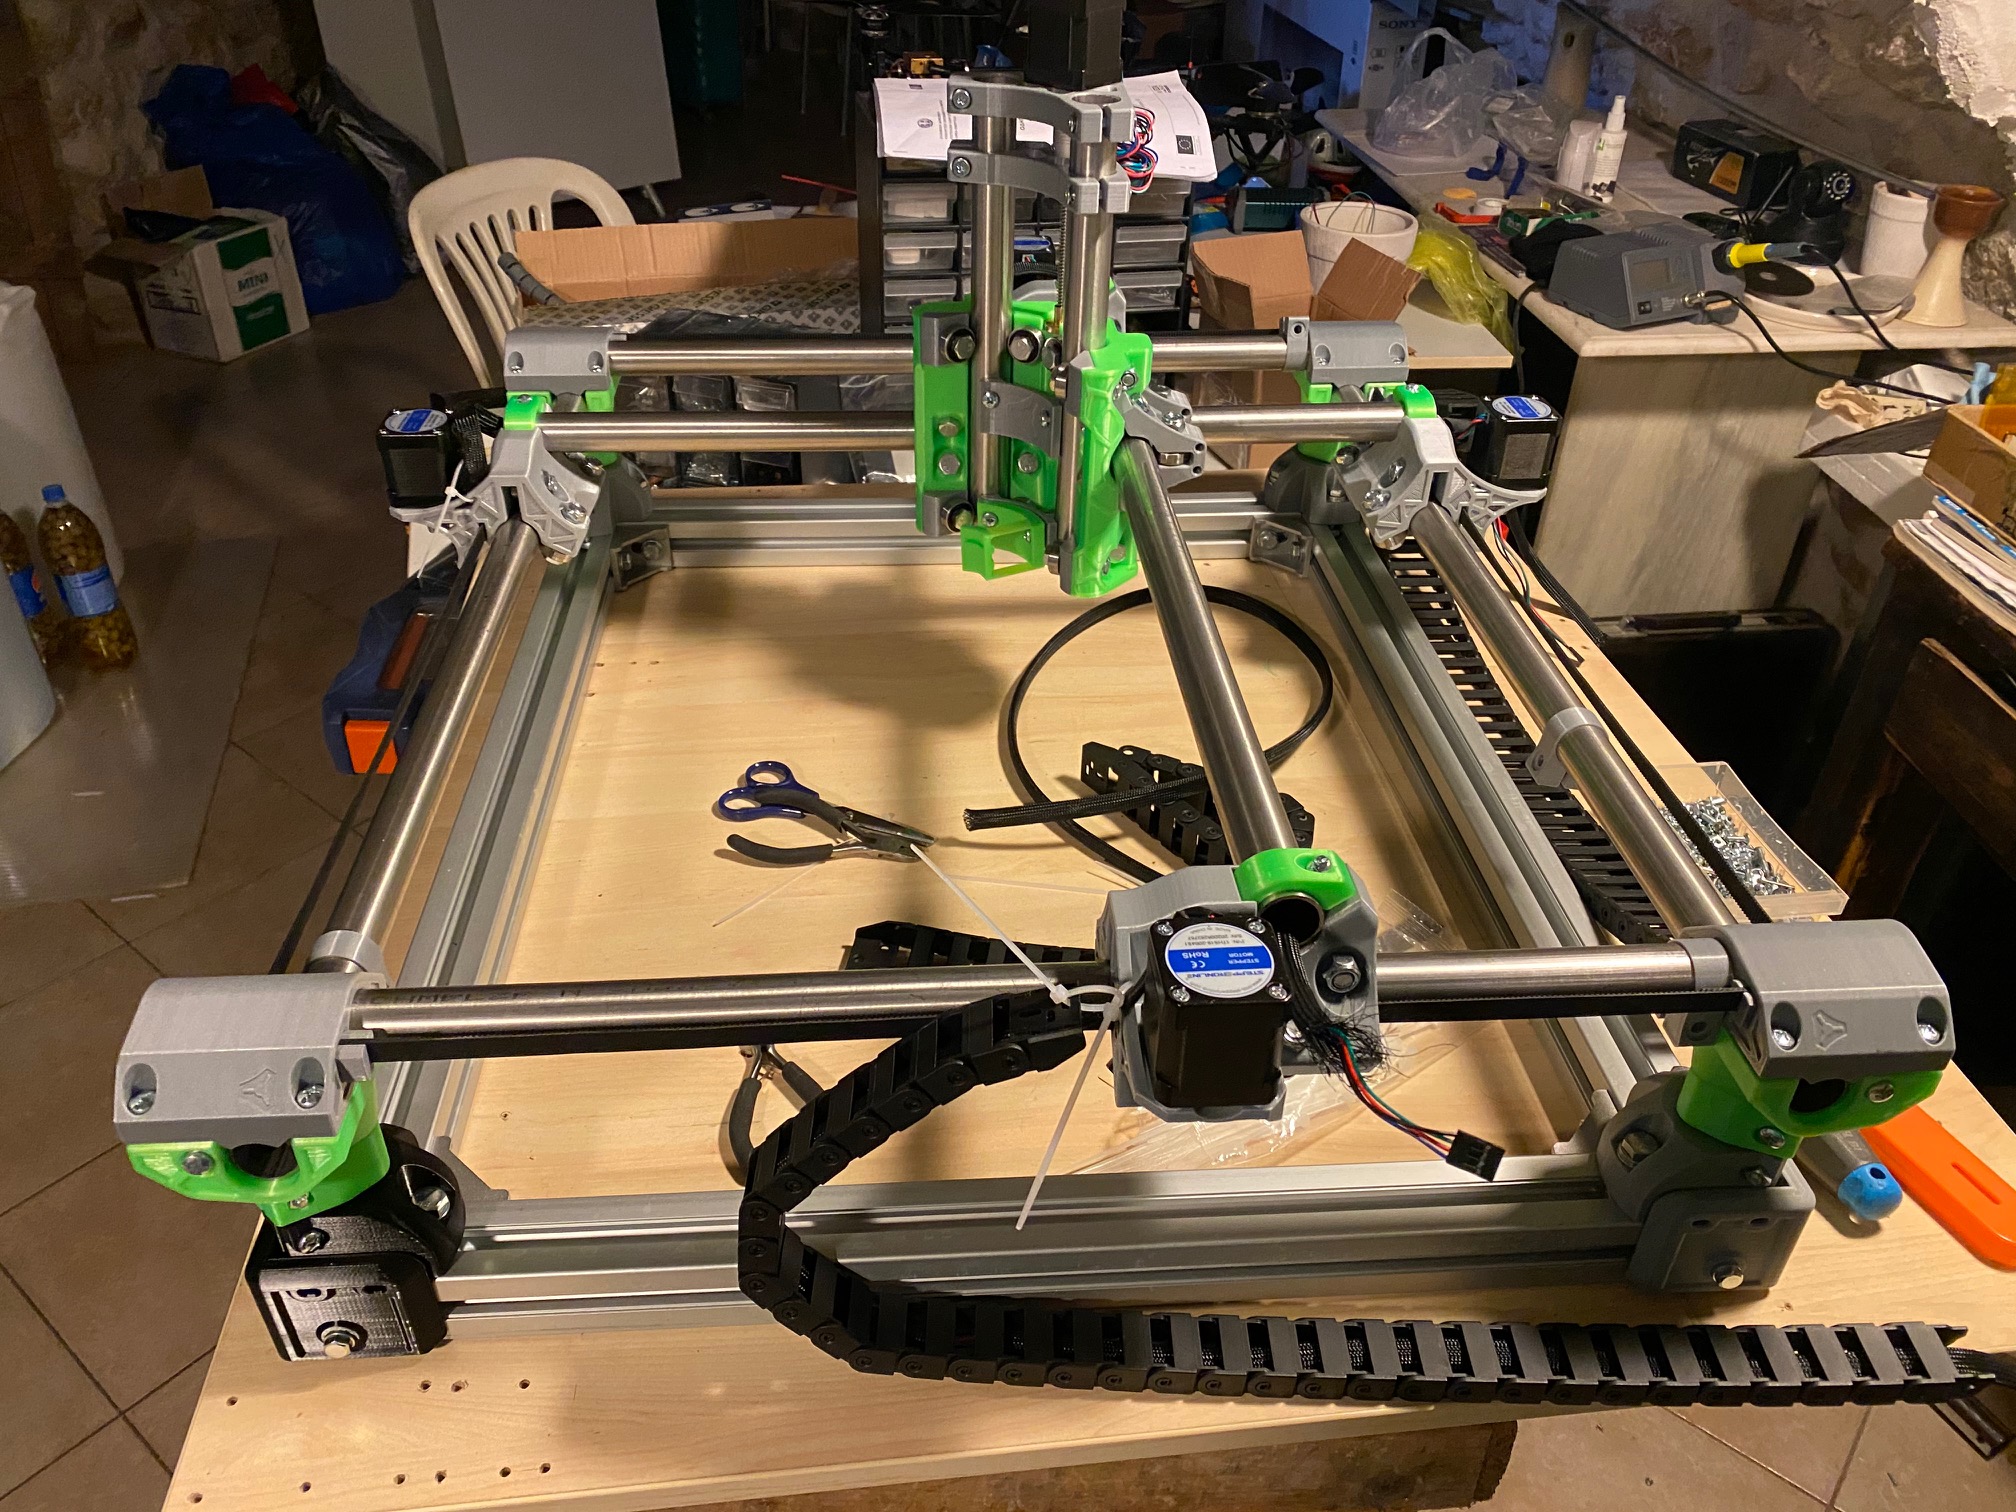
and a pic before the wiring
Yes Z+ should go up and Z- should go down.
Nice
Congrats.
I’m a bit jealous. All of my parts came in yesterday, so I’m hoping to be not far behind you. That said, it’s inspiring to see others finish up their builds.
one thing i can say is dont rush…take your time
good luck with the build
There’s nothing wrong with that firmware, but YSK that is a bit old. Some of the advice in the forums may ne related to newer firmwares. If you hit a snag that seems like firmware, make sure you mention you are using 414D.
Looks good though.
i could not understand which is the latest one…this one worked for the setup …now i m trying to draw something if i can get it right
No worries. The latest ones are at MarlinBuilder releases.
i think this should be the latest V1CNC 510DL
Looking good!
I just received my kit and about to embark on my build. I like aluminum extrusions you’re using for the base, can you share the details on that?
Also curious what type and dimensions of tubing you’re using, as well as build volume.
510 is the latest. You have 414. DL is for the low rider, D is for the MPCNC.
print area 340 x420mm
the tube lengths are those reccomended…in 25mm outside diameter…
i had few 4040 pieces left from a 3 d printer build so when i see this remix https://www.thingiverse.com/thing:4634236 i like it…Rock solid frame and ithink maybe after i m use to it i will go for extrusion legs as well.
the extrusion lengths were cut according to outside dimensions 720 - 609 ,the tubes could be cut 5-10mm longer but they are ok
The most important thing about your picture: What the heck is in those Pepsi bottles? Olives? 
 yes this is the base ment of my place and we keep olives and olive oil here due to constant temp
the olives are in different kind of salt and vine
ok firmware updated to 510 d
how do i fix the probe z =0 because i just want to draw for a start then i will attach a mill…
i home ok but z crashes…so i have to cut the power
in rep rap 3d printing the software understands and remebers the g92 z0
is it the same with Marlin??do i have to do any changes in the firmware??
You shouldn’t have to change the firmware.
Don’t home all of you don’t have a probe. Just hone x and then Y if you want to square. Then move Z where you want it and send G92.
ok from what i understand …home just x and y then i send g92
get the z mannually on surface then print…is that correct???
There are a ton of ways to do it. But that does work.
Another would be to put G92 X0 Y0 Z0 at the top of your gcode. Home X and Y, then jog to the origin before starting the gcode.
ok first print pen not really stable…
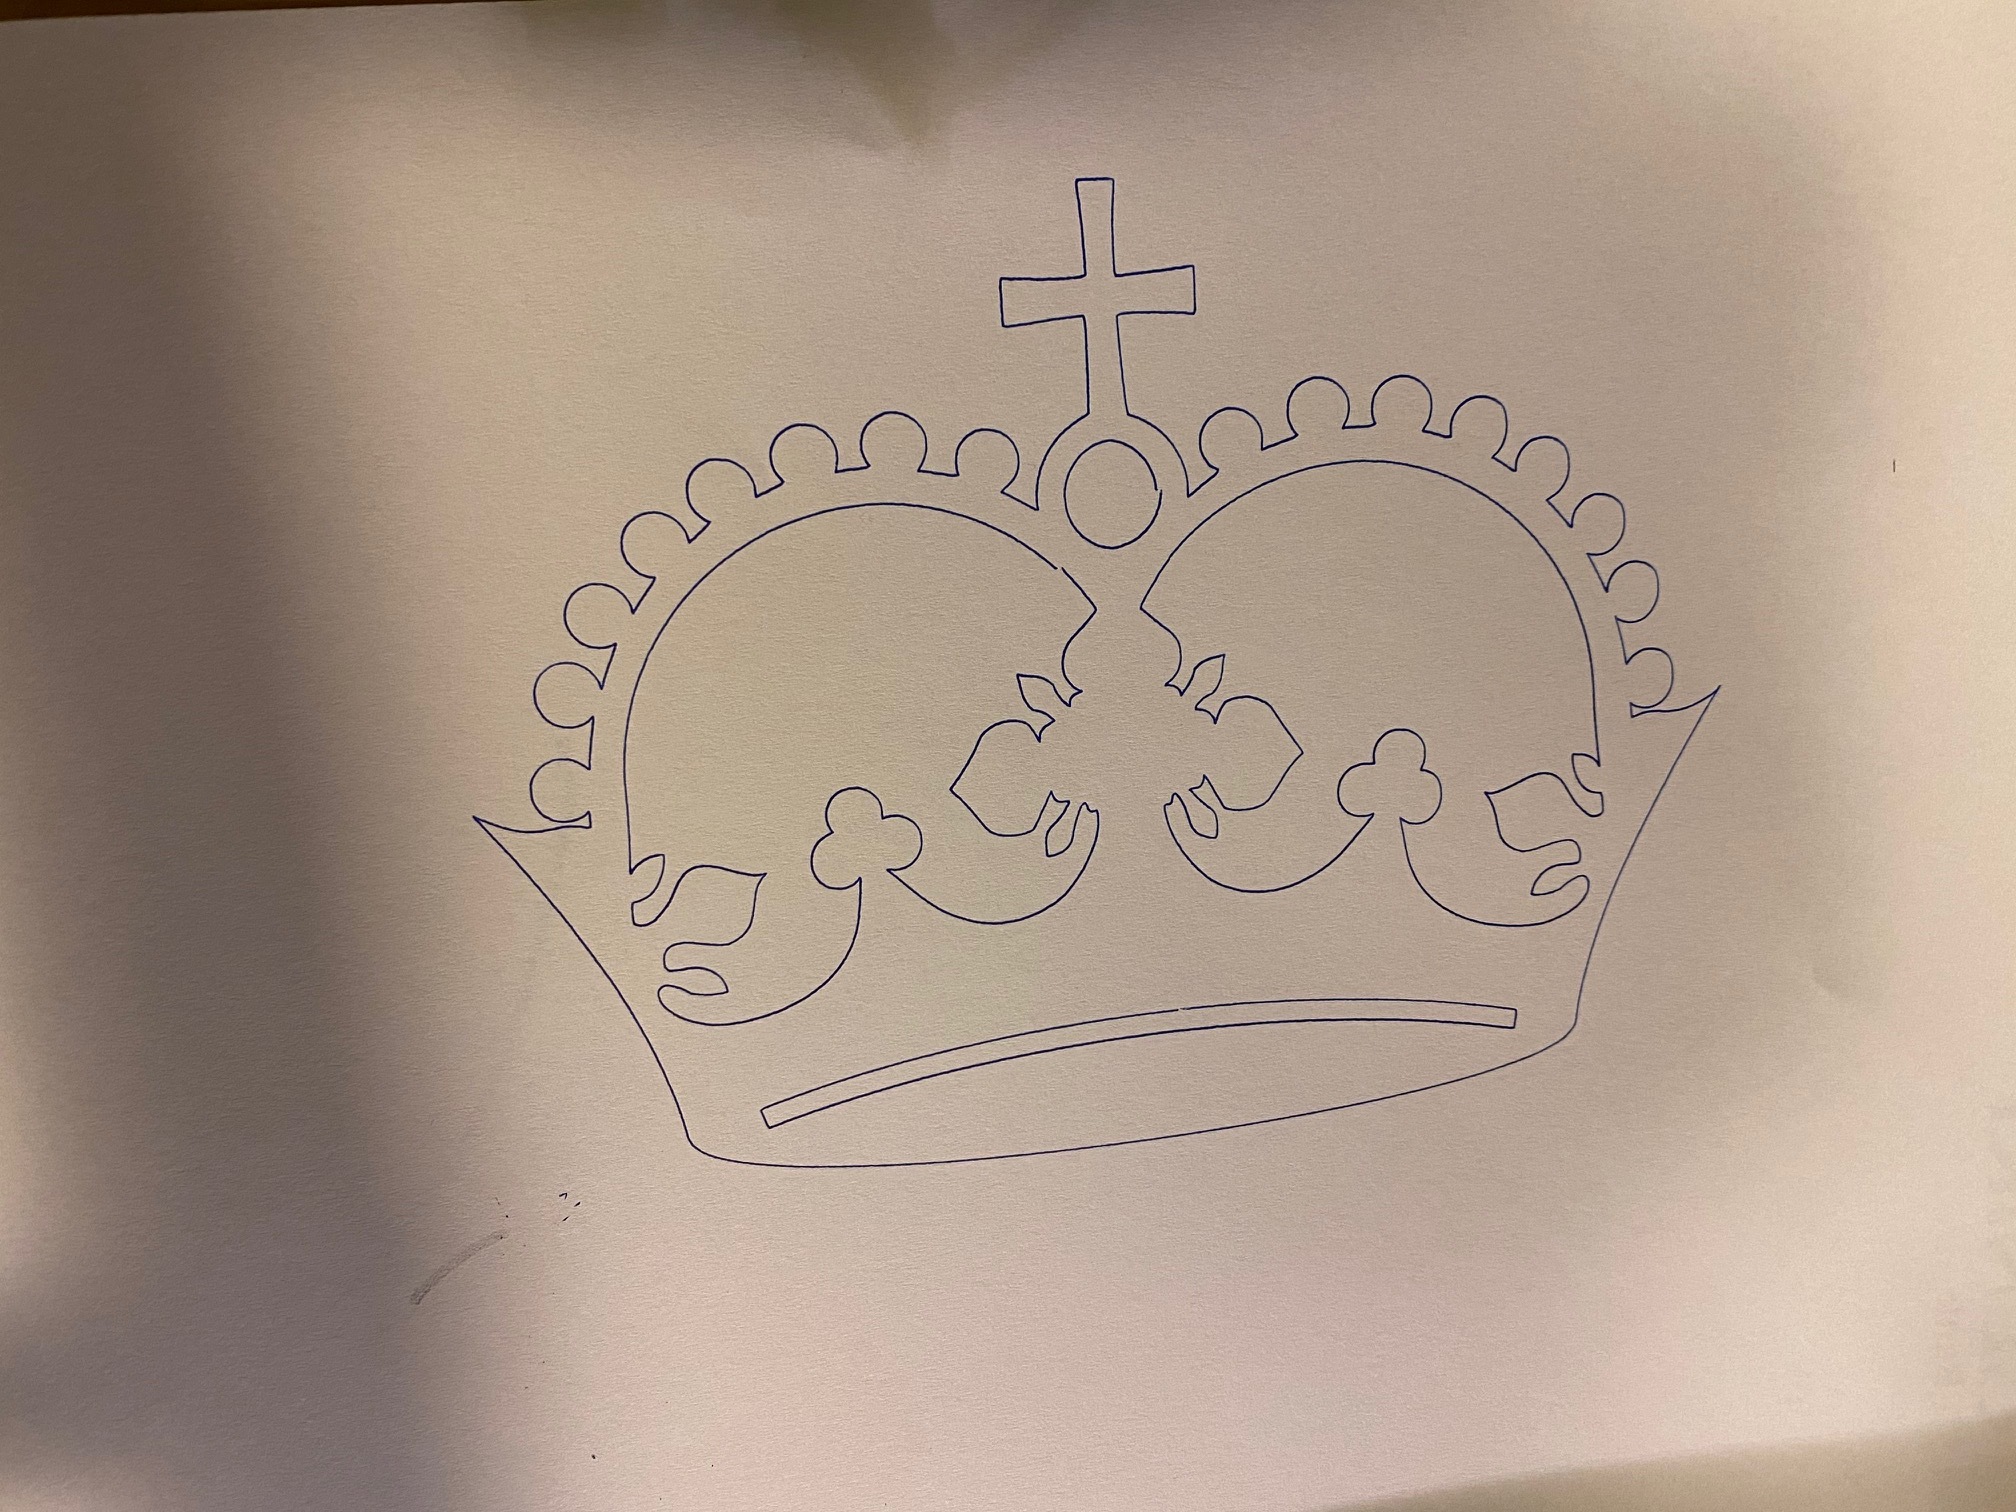
the circle under the cross not really good…probably alittle bit of adjustments and start understanding my new printer…thanks for the help …i foollowed your advice and i used g92 x0 y0 z0 in the begining of the g code file
FWIW, the circle is not a circle in the design. Some places to look closely are the inside corners of the cross, which look ok. And does the circle close, which is close.
The crown is not meant to be a true calibration and test pattern. For one thing, pen and paper holding is most often the cause of little errors like this.
IMO, unless you really have a solid pen and paper mount, I would consider moving on to learn more and make it dirty. The estlcam basics are next, or the milling basics. The router in a properly held piece of wood should be much more rigid