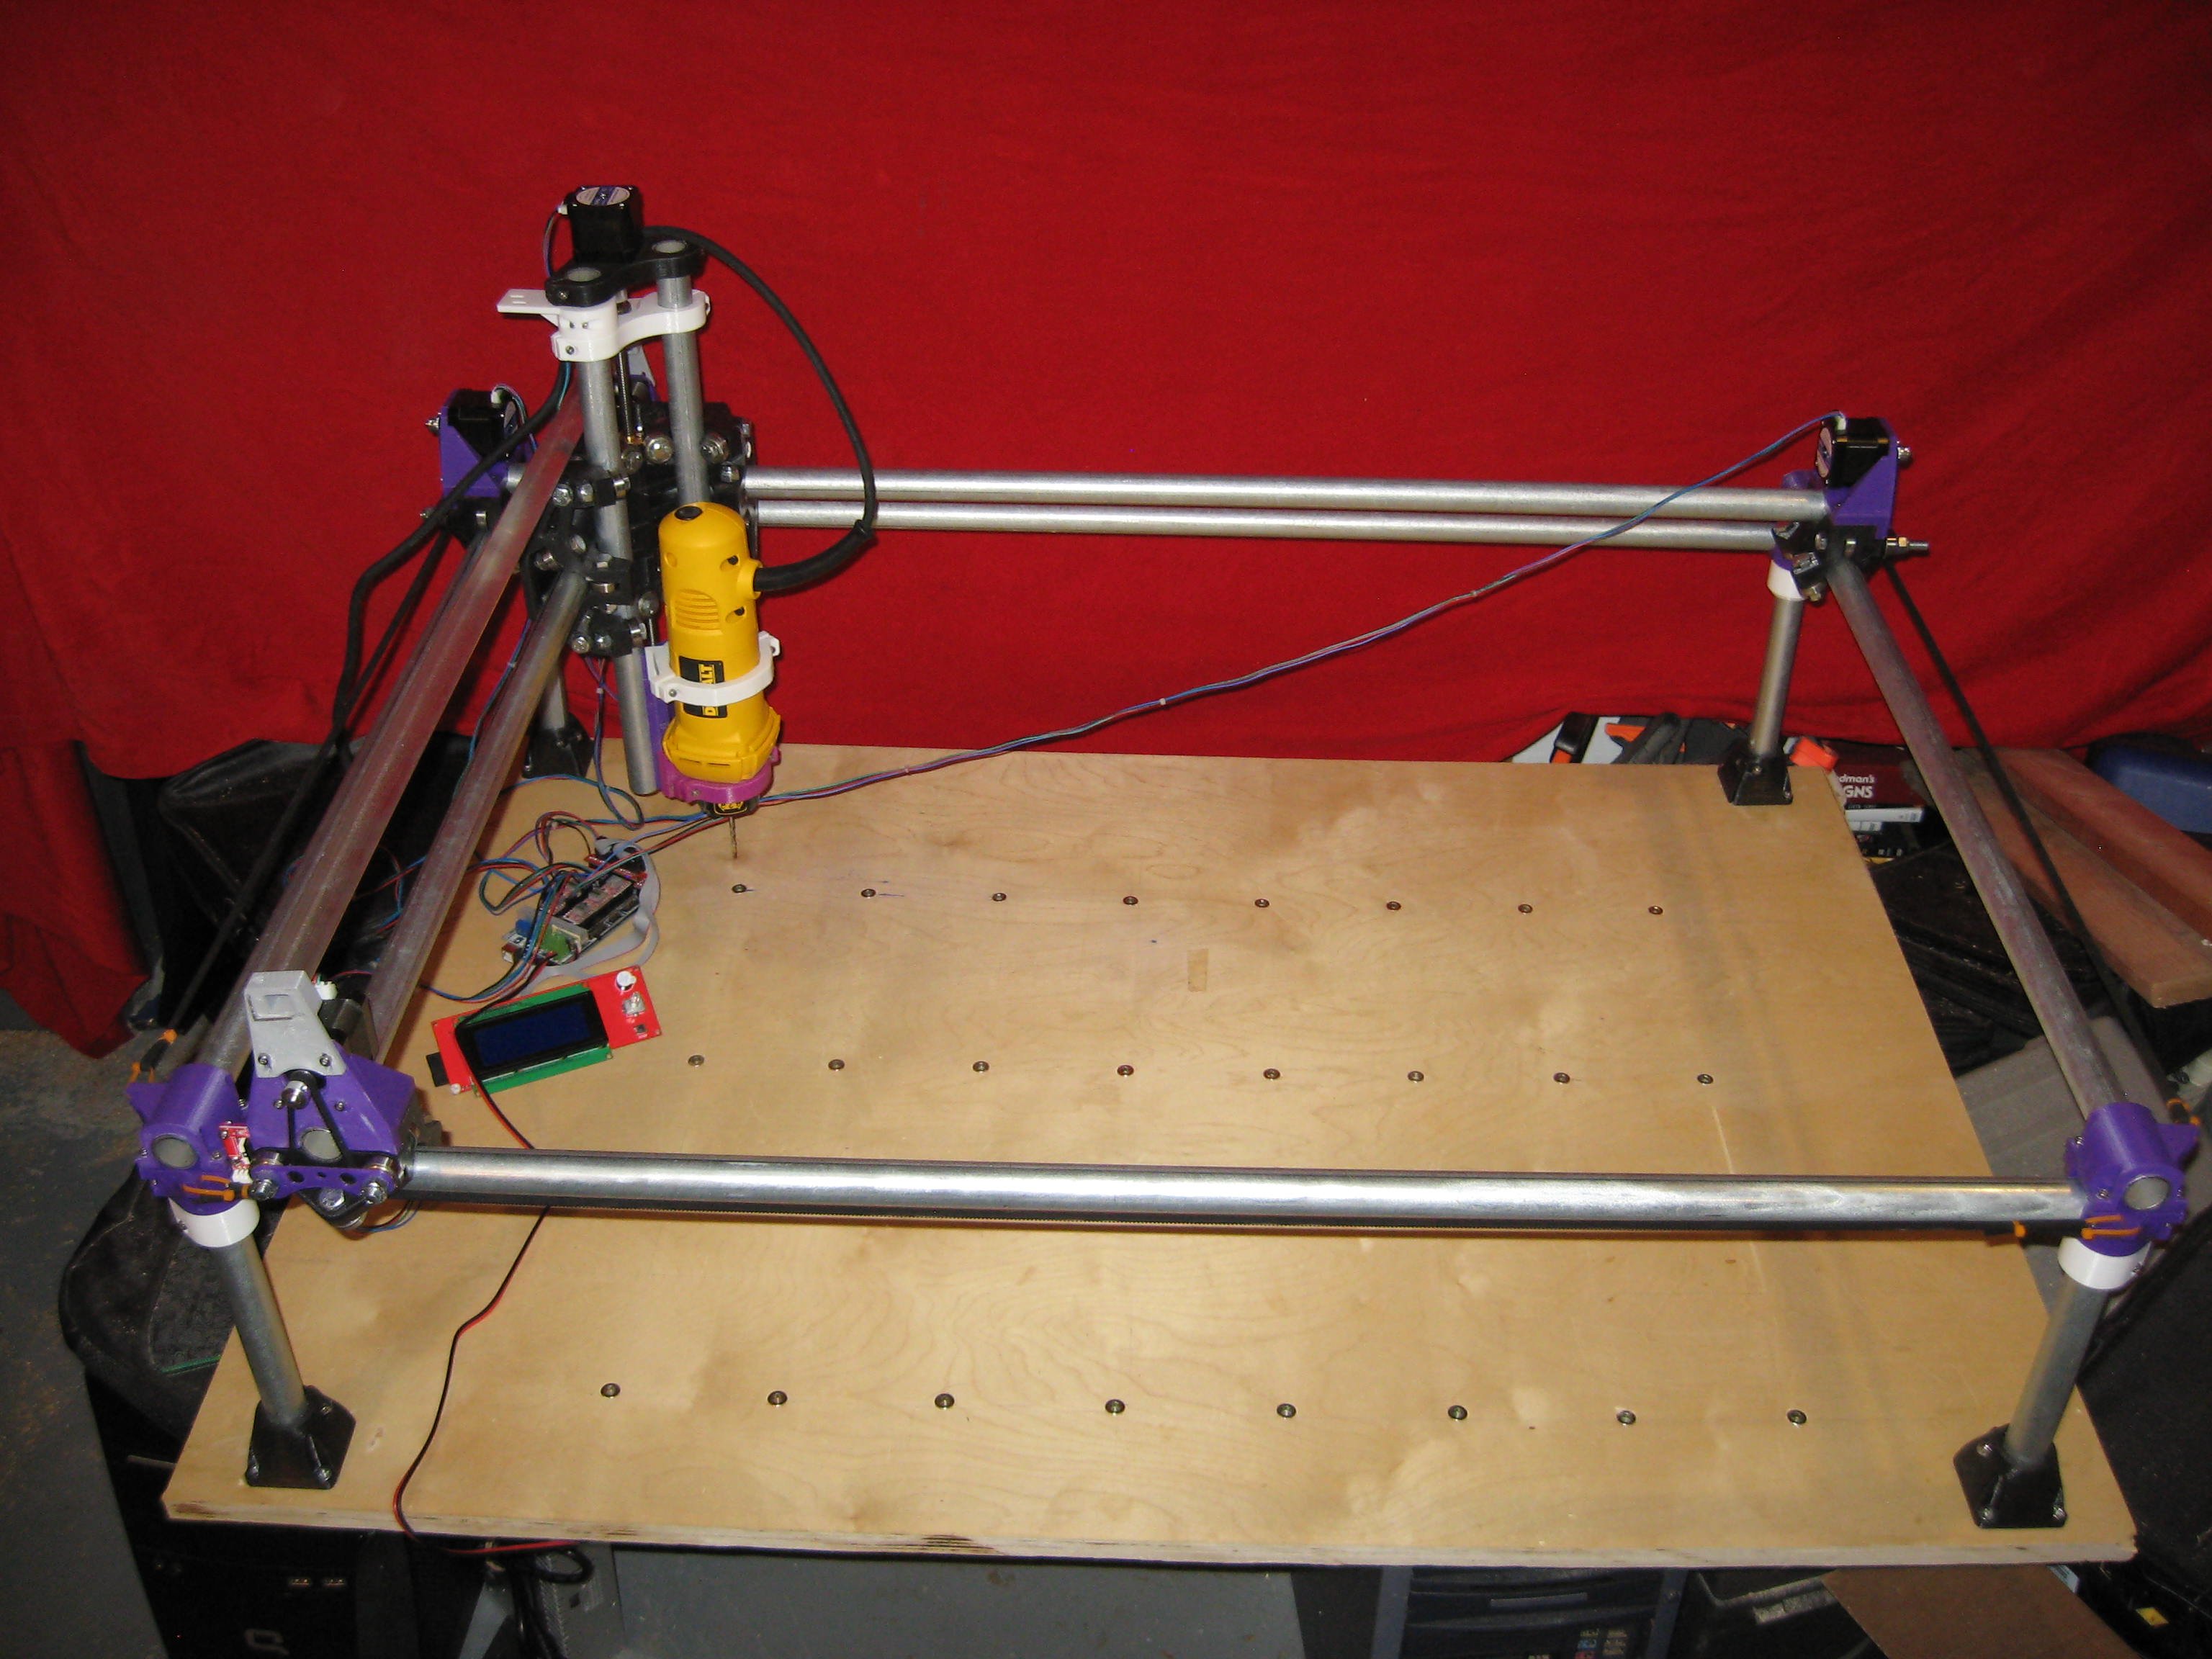
I have mostly completed My MPCNC I drew a Sketch of Sena using a pencil.
I watch a YouTube Video “How to drink coffee with MPCNC” In the video he uses his MPCNC as a All in one Printer, Router an Laser engraver…
Now for my question ::
Using your firmware provided do I need to do anything special to be able to accomplish this.
Often the firmware needs a minor tweak or two to get a laser running. It will depend on the voltage of the signal used to drive the laser as well as how you want to trigger the laser. Once done, the same firmware will run both the laser and the router. And it is possible you won’t have to make any firmware changes (if you pick your laser carefully or get lucky).
3D printing is more problematic. There are physical issues in that CNC cutting benefits from a short Z, but for 3D printing you will want a tall(er) Z. And if you have your CNC setup for dual end stops, you are using the extruder drivers to drive the X2 and Y2 stepper motors, so you would need to run as a serial setup. The firmware will definitely have to be altered since the firmware that Ryan/Jeff provides has extruders disabled and I’m sure there will be other needed changes.
I knew about the Laser tweaks, and had already purchased the needed parts to run steppers in series.
Mostly what you posted kind of knew these changes had to be made, was hoping I could run the 3D Printer using software end-stops. . . Did not really want to work with dual end-stops.
The way you asked, I assumed you were musing about the possibility rather than partly down the pathway to making it happen. @Jeffbe3 is the one that maintains the firmware for the MPCNC and other V1 machines, and he will be able to give you a definitive answer.
As I was curious, I just ran a diff on the configuration.h for the Rambo MPCNC against the configuration.h for the MiniRambo MP3DP. This is not an apples to apples comparison, but I though it might give me an idea of how many firmware changes would be needed to enable 3D printing. There were a couple of differences that, if necessary, would preclude running the same firmware. You would need to flash a slightly different firmware when making the switch between 3D printing and router/laser work. Again Jeff will be able to give you a definitive answer and is very active on the forum and will see your question.
I built my MPCNC with the full Intention of possible of making it a all tool Printer, Engraver, Router.
It has a build area of 500mm x 720mm x 200 so it has the possibility of almost any smaller project.
It was selected because of its firmware compatibility to my two 3D Printers.
We use a dummy thermistor in the software so we don’t have temperature warnings while running the cnc. The rambos have 5 drivers and you need one for the extruder, so you can’t have dual endstops. Not a huge deal.
On the physical side, from the looks of it, you have a Z that is larger than recommended for milling. You may end up having trouble keeping the bit steady enough and once it starts to wander, it will start to chatter and then you will get really messy cuts. The Z is the most sensitive to this.
But it is all possible. I think the temperature warnings may even be more clever now and not really care if the hot end is disconnected until you try to set the temp.
I will try to answer questions if you’ve got them, but I won’t keep a separate firmware config for this setup. It really shouldn’t be too bad.
" the temperature warnings may not really care if the hot end is disconnected until set"
Knew that I had to have a dummy thermistor but in was not in my thoughts thank for bring it up.
I have a 5 Axis controller, an knowledge to add a couple more. Did not want to add them but could.
I was wondering about Z-Axis height, if I mill at a slower rate use sharp bits it should be OK.
I thought it possible, seen many turn their 3D Printers into laser cutters/ PC Board etchers.
If you’re v carving or laser work there is very little torque so that may be possible but any other carving rase the bed or shorten the legs to get better results
Jeff: While the comparison I did was not apple to apple, the substantially different acceleration settings, the substantially different jerk settings, and some differences in menu settings made me wonder if the CNC and the 3D Printer should be run using the same firmware.
Clif: I have a taller Primo…not as tall as yours but more than is recommended. I mitigated the issue somewhat by creating two different spoil boards, one short and one tall, that I can swap out. This solves the leverage issue, but I still have the extra mass of the taller Z axis.
I believe that under Marlin you can adjust jerk, acceleration, and velocity with gcode M commands. If that works, I’d put the adjusters for 3D printing in my slicer’s Printer Start gcode section, and reset them to the defaults in the Printer End gcode so they got set to those values only when you have a 3D print job running.
[Tim W] any other carving raise the bed or shorten the legs to get better results
[Robert Bunney] I have a taller Primo…not as tall as yours but more than is recommended. I mitigated the issue somewhat by creating two different spoil boards,
Attach a box raising the entire bed platform to a happy medium say 3/4 - 5/6 the height of the Z-Axis.
Did not really want to carve too close to the Bed Platform anyway.
Tom Traband : : I have the ability to adjust using LCD or M commands
I think the speed, acc, and jerk settings have more to do with the machine size and mass than the printer vs. Non printer. I would start with the V1CNC values.