OMG yes!!! Just realized i dont have enough smooth idlers. Now to order them and wait…
2 Likes
Hmmm. I did my Z axis motors 1 and 2 reverse to how you did, with the motors towards the back. It should be OK like that, just wire routing is not as nice, since rhe wires have to go back towards the pulleys and belts… well, I guess it depends on where you end up with the control board.
My mp3dpv4 plog has at least thus much of the construction outlined, I think. I am currently wiring, but going slow.
3 Likes
Yes sir. I went to mount the motors this morning and found i had them backwards. They are fixed now. Then found out i only had 4 smooth idlers. Put in an order with Ryan so im just pidling where i can until they come in.
I know i completely under estimated how many screws and T nuts went into this thing. More coming in tomorrow.
1 Like
Yeah, me too. Even more when I put panels on 4 sides, though the panels use about the same number of screws as corner braces would, I think.
I’ve been waffling about doing the wiring, but it’s time to get moving on that, I think.
2 Likes
Question while I’m waiting for screws to arrive… What is everyone using for a spool holder for this printer?? I’m assuming ill need to print something up so may as well have it going lol.
1 Like
And/Or CNC?
2 Likes
Absolutely. The primo is out in the garage lonely lol. LR3 has some half inch plywood on it for some drawers that I need to finish up lol. Entirely too many projects going on at once
2 Likes
Seeong as how I had some long 5/16" bolts and 608 skate bearings around…
Just another filament spool holder
Also using some 12mm plywood, but my last few had 3D printed cores instead of the milled plywood. The new cores are conical, with the base a bit larger then the opening of the spool, holding the 608 bearings. Then the nut is spun on tight enough to clamp them to the spool.
2 Likes
I have no clue how @vicious1 managed this…But the order i made Saturday is out for delivery this morning. From CA to FL in 2 days over the weekend. I’m extremely impressed. You must have been just about to head to the post office when i made that order LOL. either way THANK YOU!!!
2 Likes
I made a deal with Santa in his off season.
4 Likes
Santa’s presents are free though… -_- Quite a steep markup you got there… ![]()
1 Like
When you grow up, one of these days, the tables will turn. His gifts will get expensive, hard to find, a lot of work, and then he still gets all the credit. Pro Tip…don’t ever grow up.
2 Likes
I am trying. ![]() I tried to explain to my students that you don’t have to grow up when they questioned my sanity as I was rolling through the classroom on a chair with wheels going “Weeeeeeeeeeeeee!”.
I tried to explain to my students that you don’t have to grow up when they questioned my sanity as I was rolling through the classroom on a chair with wheels going “Weeeeeeeeeeeeee!”. ![]()
3 Likes
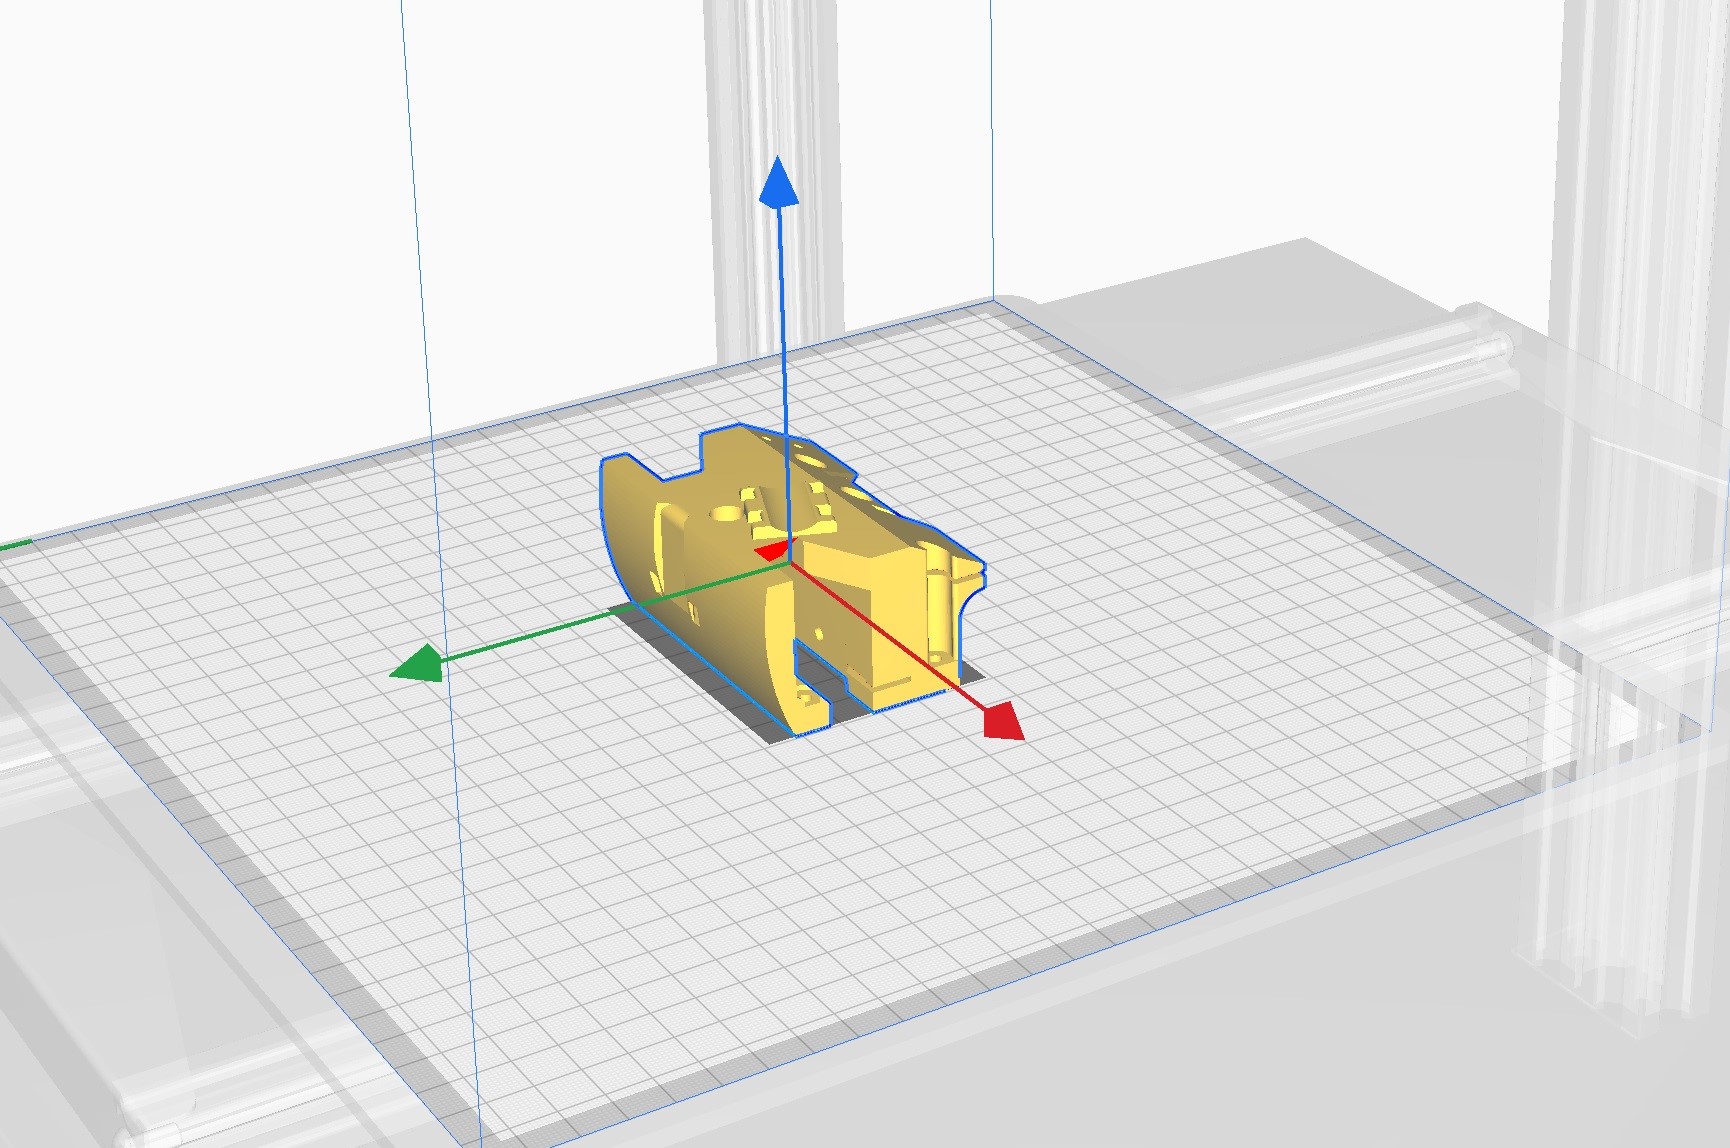
I think I may have made a booboo in print orientation. Spoiled by everything being previously orientated with the LR3 and Primo i guess lol.
This is how i printed it…
Now that i have it mounted and attaching things im thinking i should have printed it in this orientation…
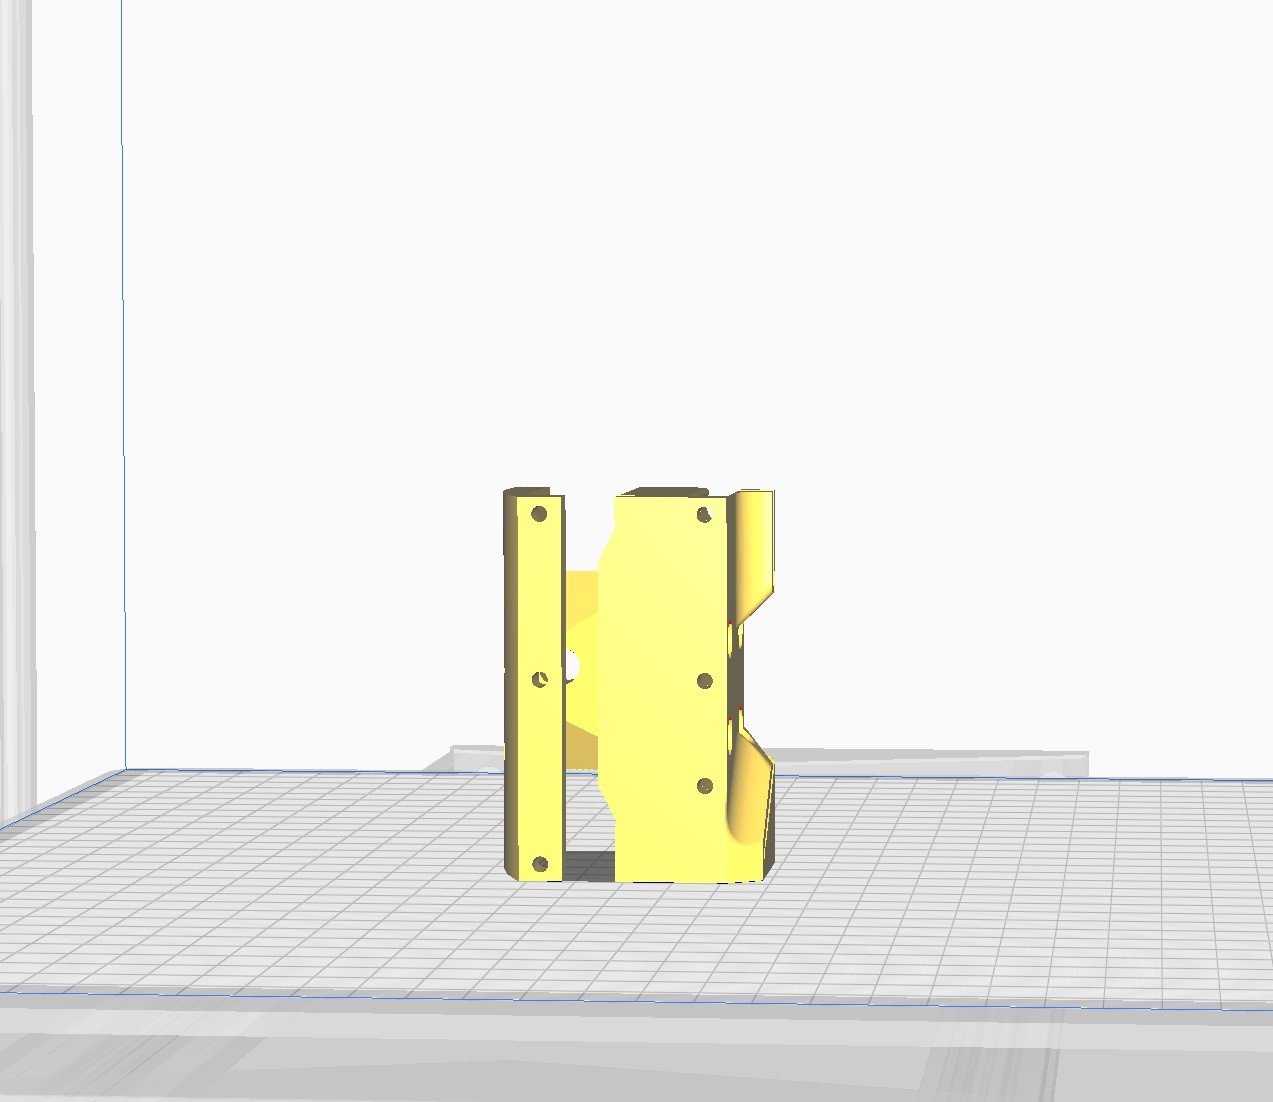
or maybe this way…
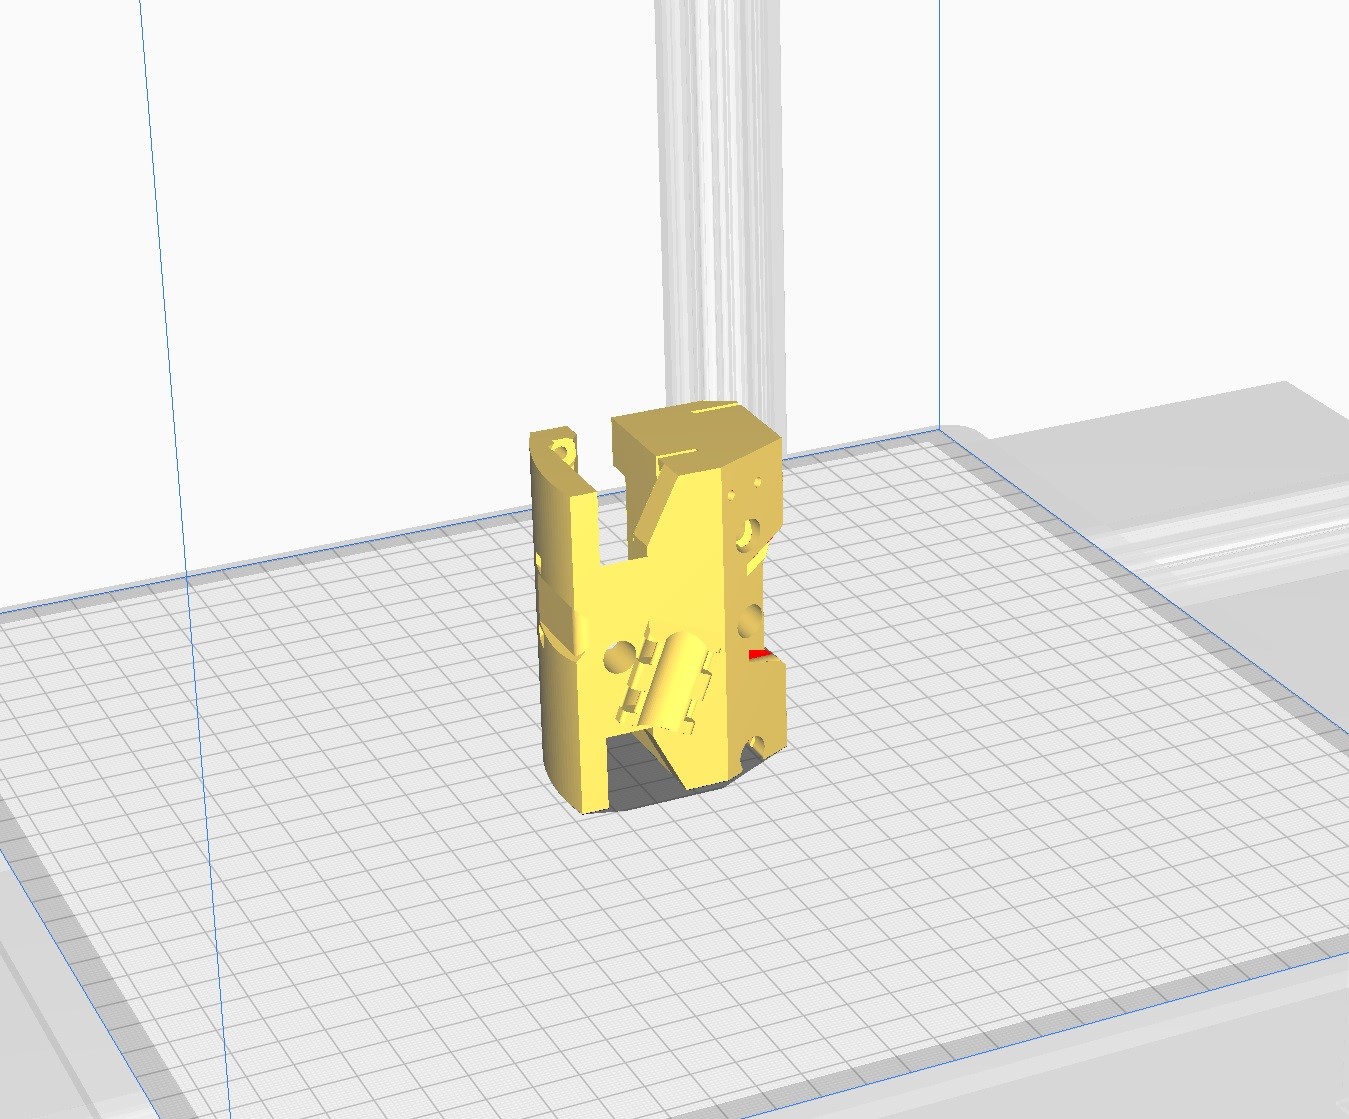
My screen shots suck but hopefully you much smarter than me folk can figure out what I’m seeing lol.
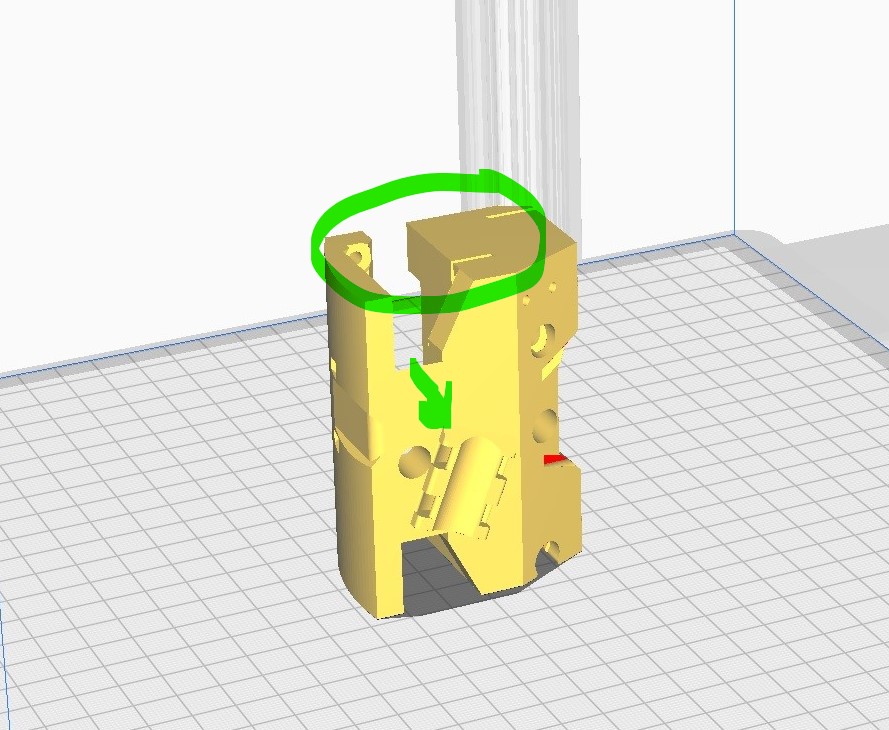
Awesome. That is the direction I was planning since its the most surface area down. Thanks!!!
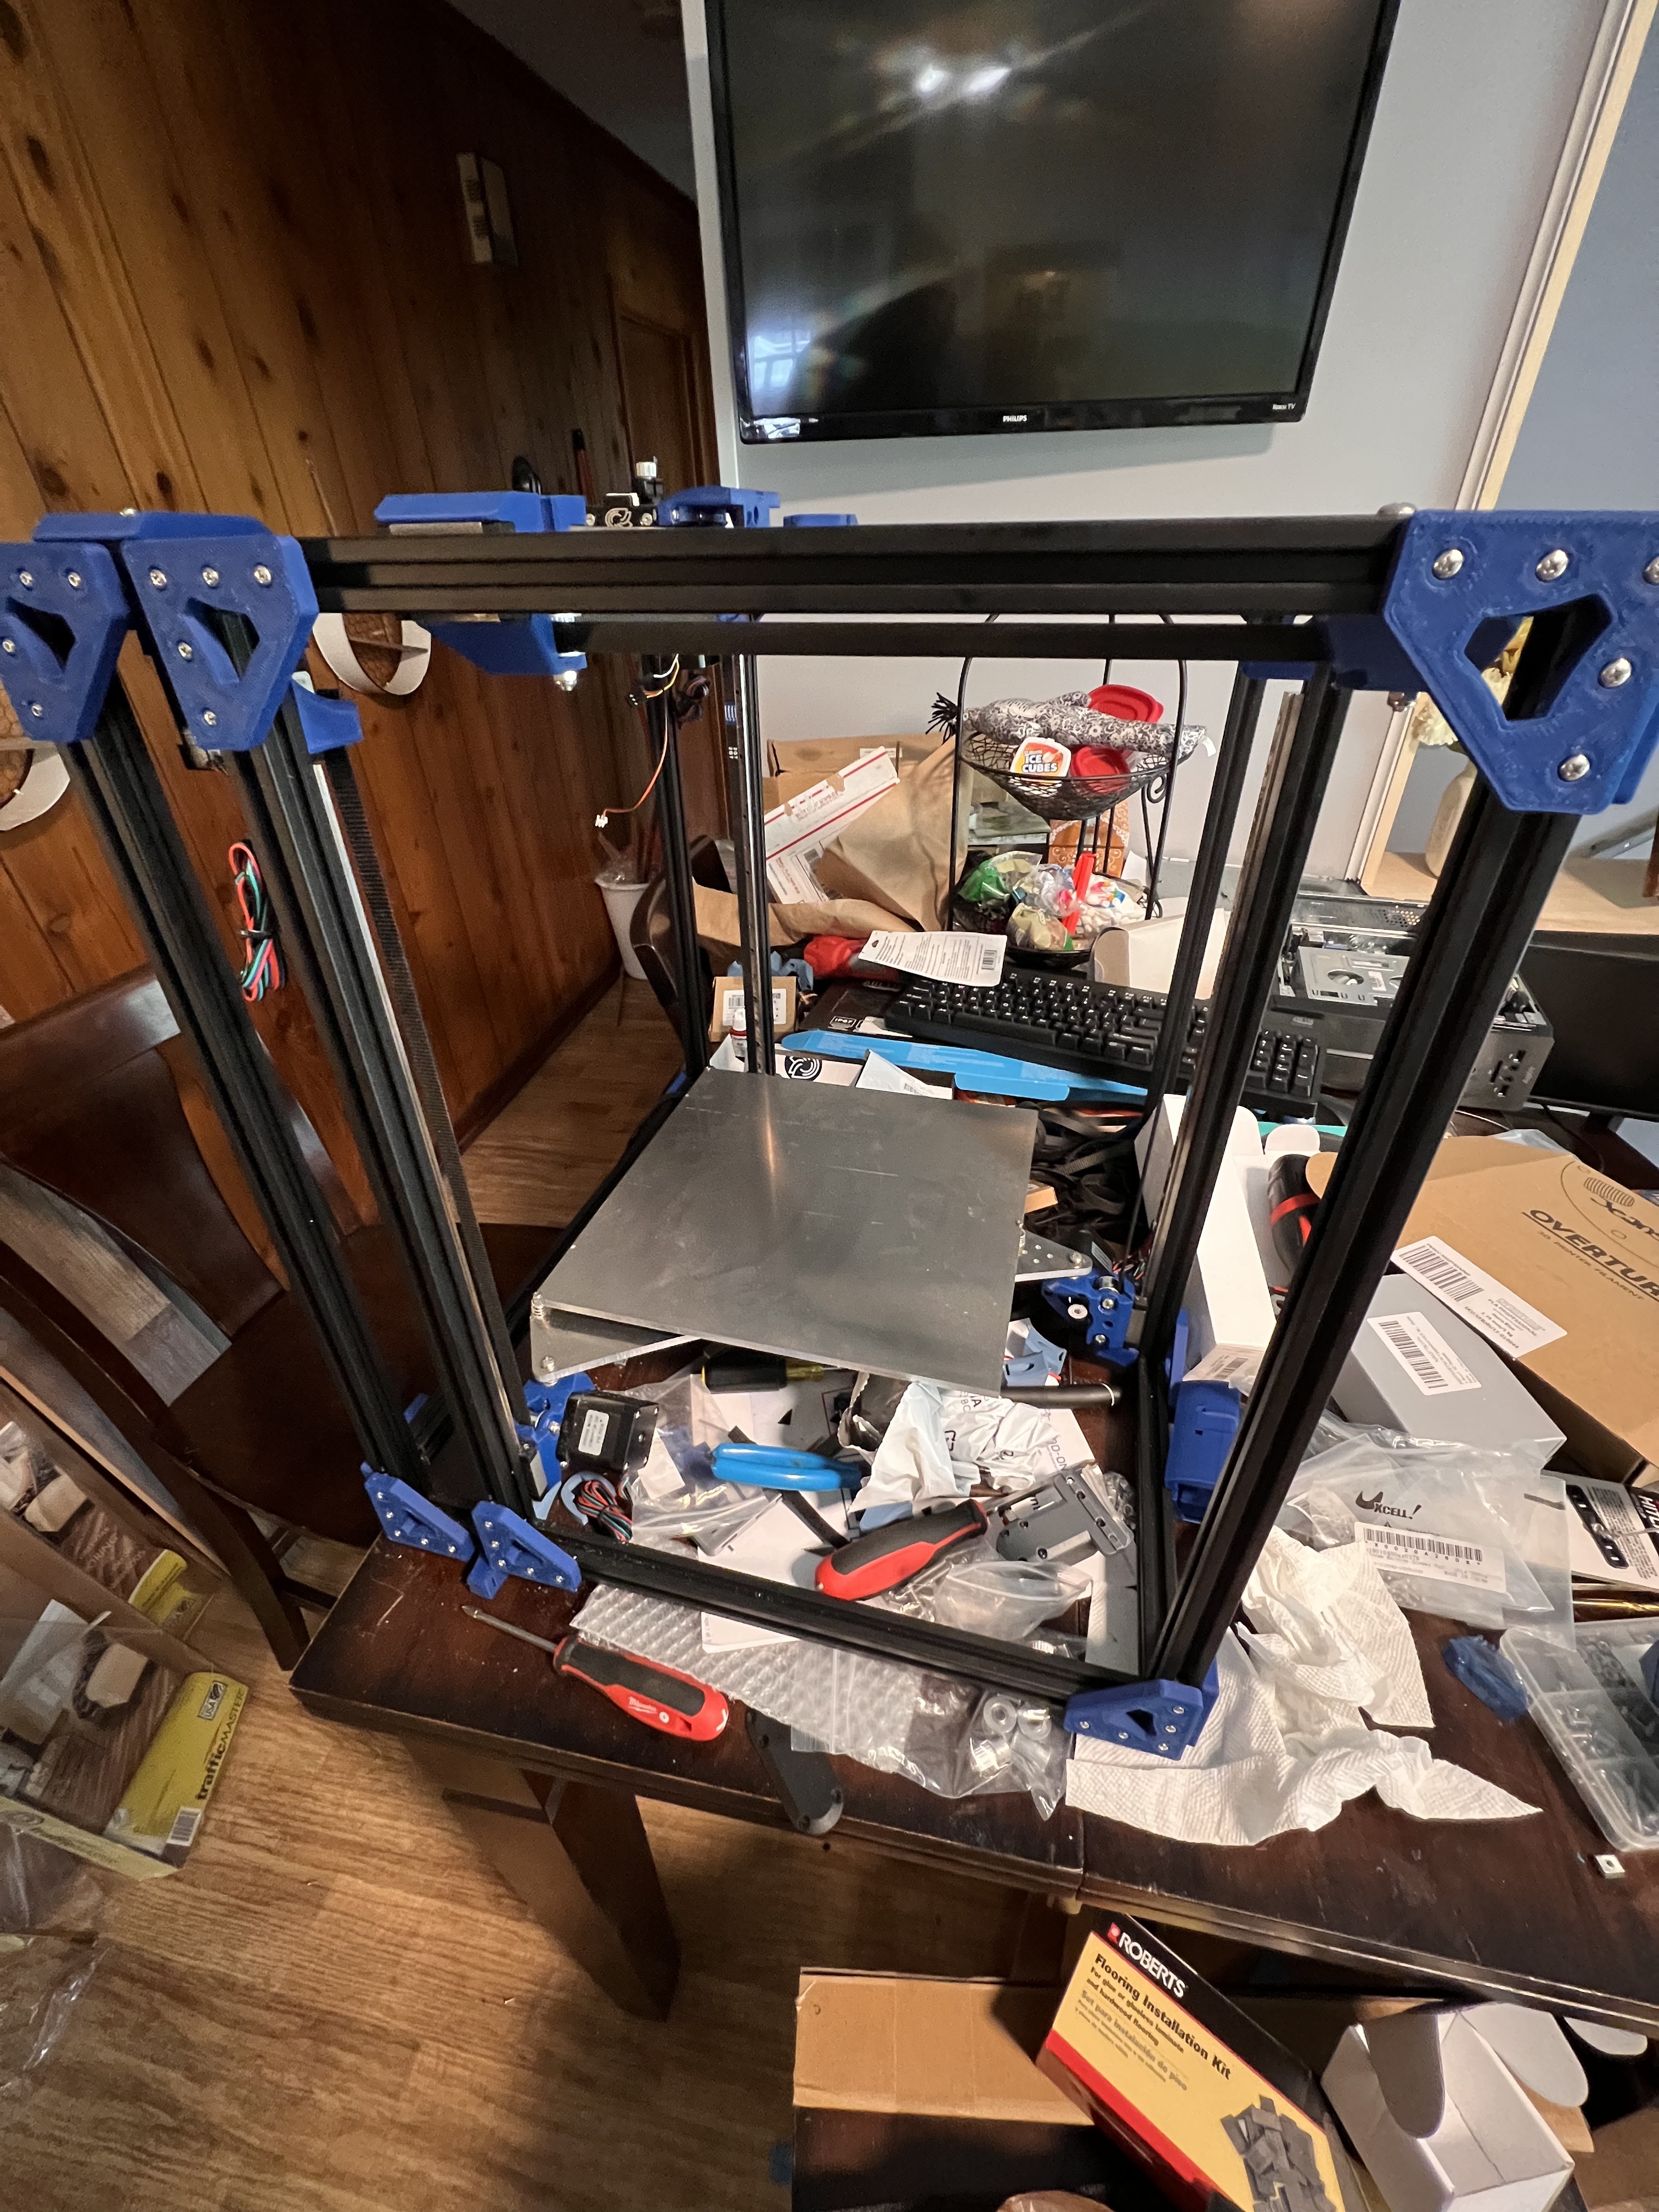
Got the new printed x carrier and all the belts ran. Getting closer and closer. Don’t judge the mess. Way too much going on lol
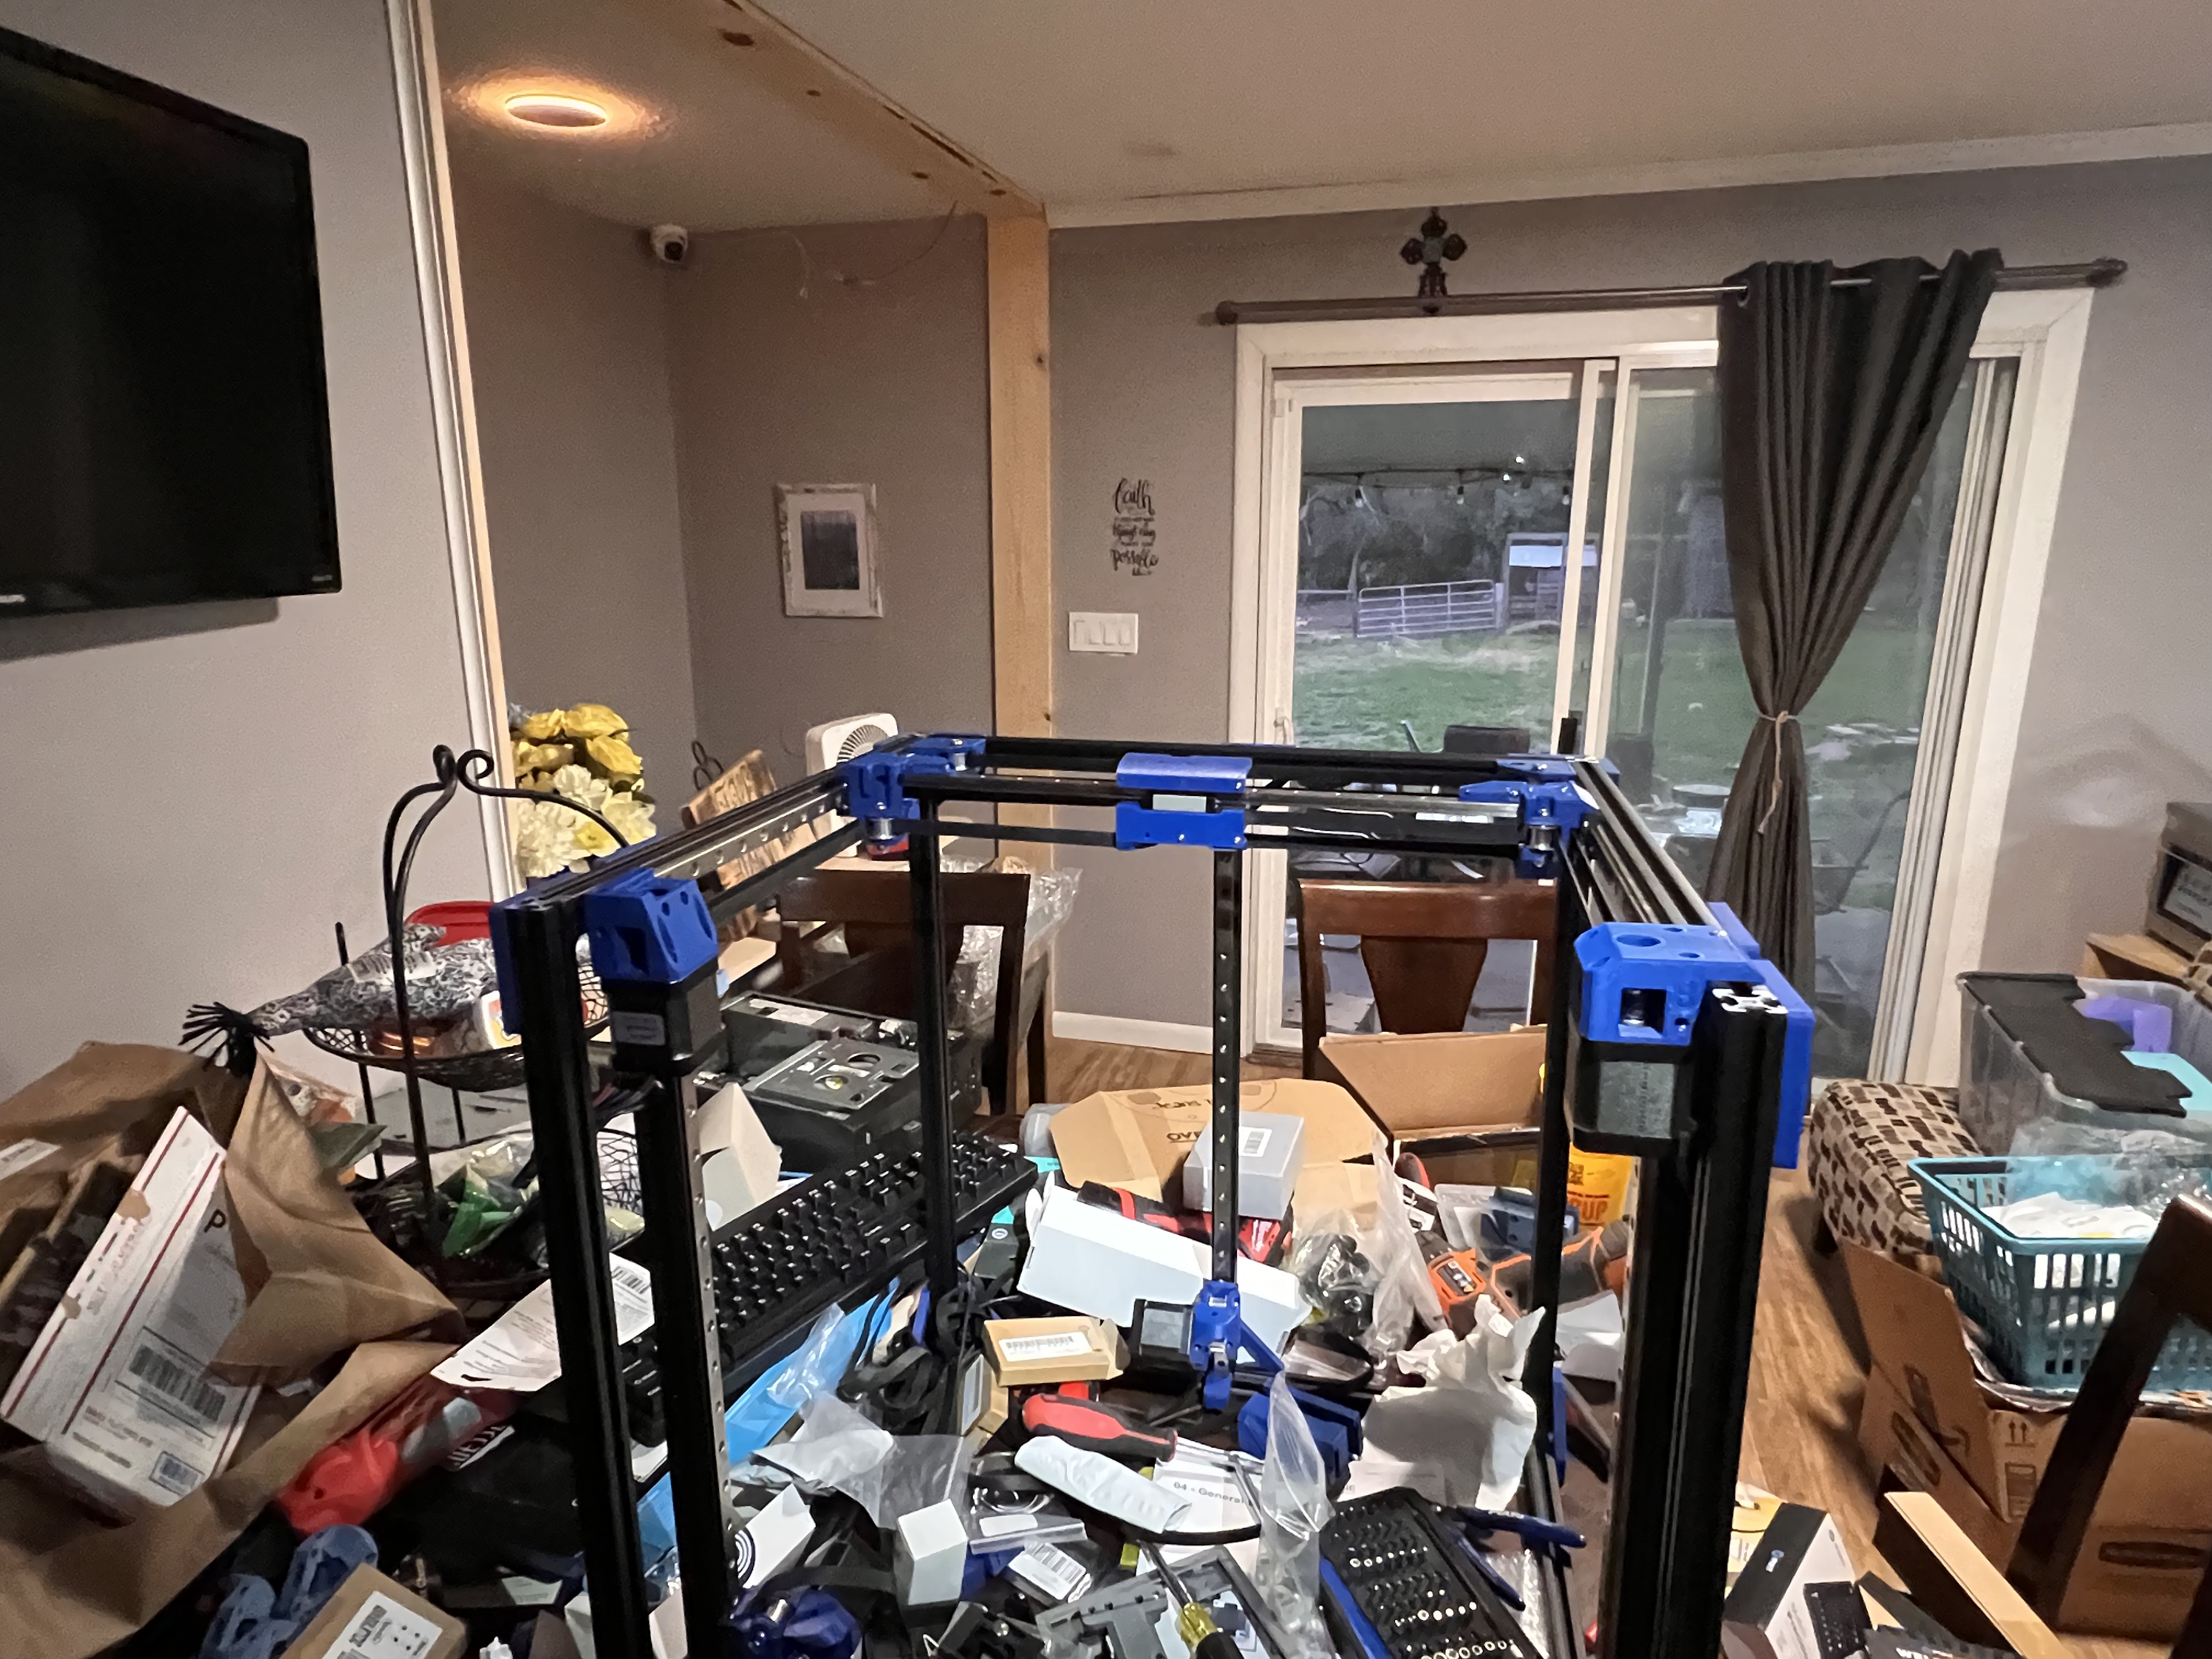
4 Likes
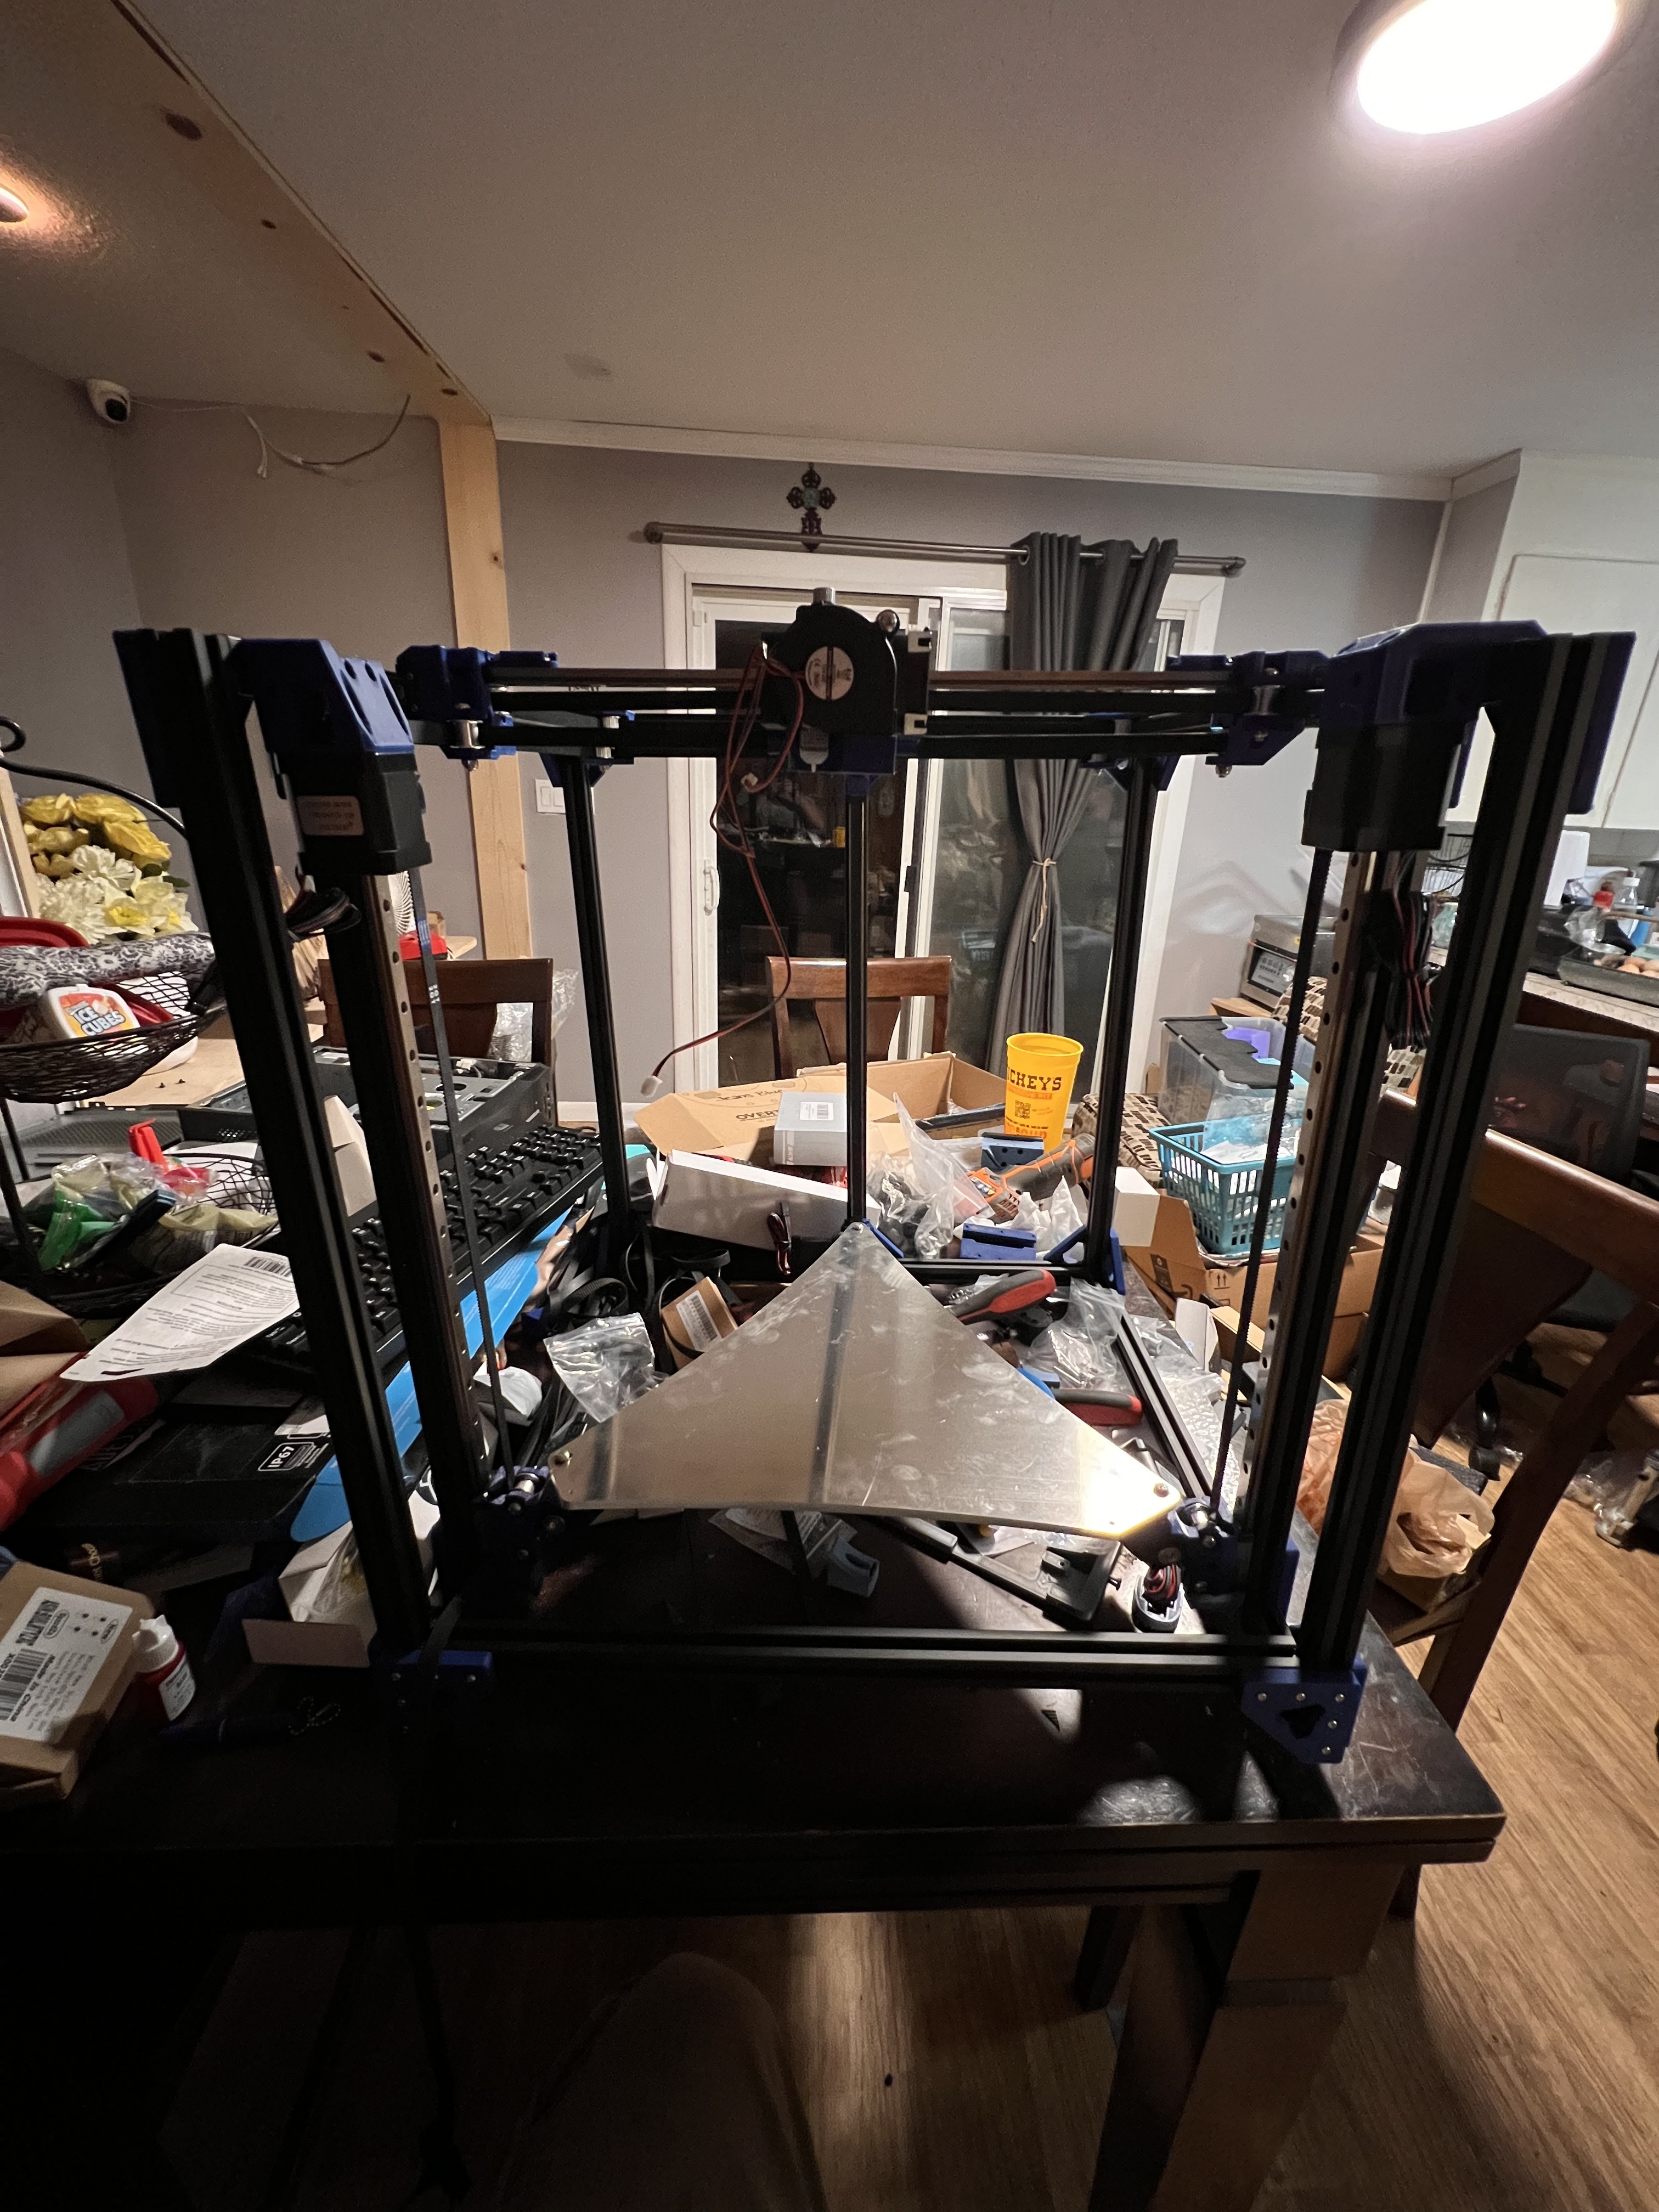
Well thats as far as i made it tonight. The lighting in my house sucks as you can tell lol. Tomorrow i will get the correct screws to mount the bed plate. Then hopefully glue the heater to it and the PEI sheet to the top. After that should be able to get it wired up and take it for a test drive.
4 Likes