Starting construction… there is no guide yet, so I am going to make some educated guesses as to an order to put things in from the printed pieces and pictures of Ryan’s build, as well as the CAD render.
Note my extrusions and rails are all 50mm longer than listed.

Okay, so I have:
- 4x 345mm frame upright pieces
- 4x 345mm frame Y axis pieces
- 3x 370mm frame X axis pieces
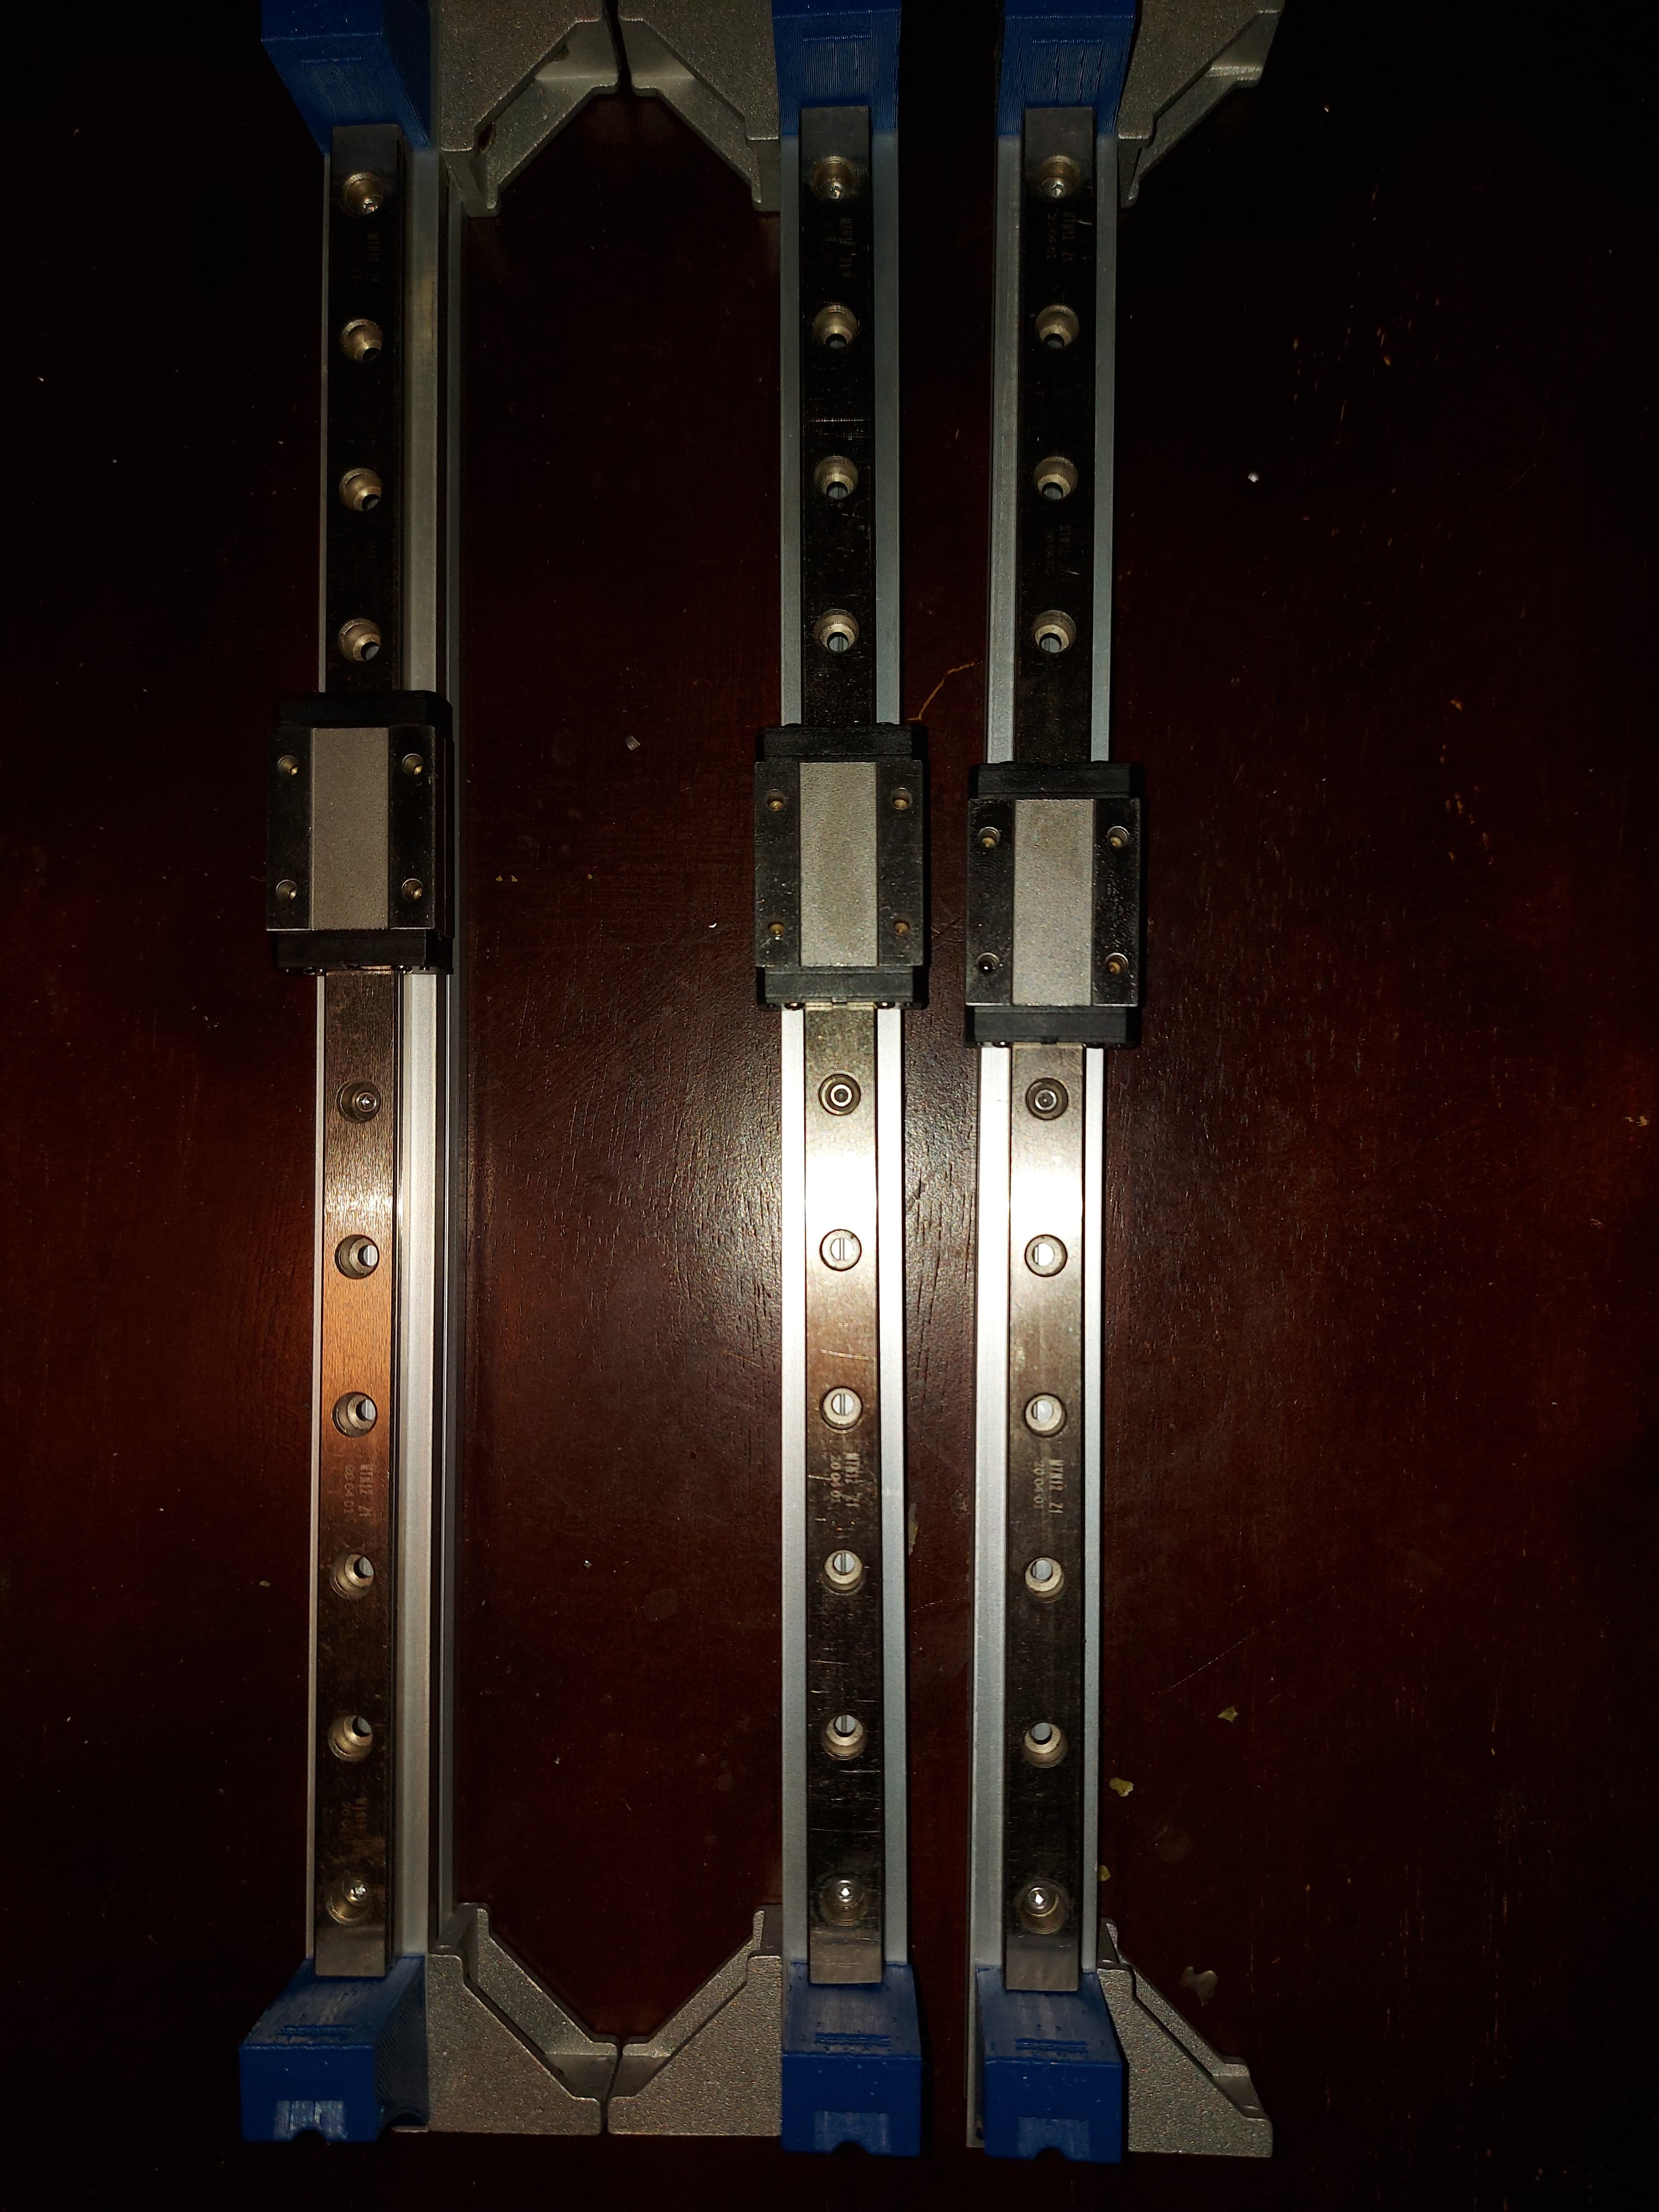
- 3x 305mm Z axis upright rails
-
I’m going to start by sliding in 3mm insert nuts for the primted pieces and MGN12H rails. If I start with the Z axis rails, each belt holder needs 1 3mm nut, and the rail itself needs some. I will use 4, similar to how I did for my Repeat, so 6x 3mm slide nuts. I also added right angle corners to each end using 5mm slide nuts. Parts used, 3x 305mm extrusion, 18x 3mm slide nut, 6x 5mm slide nut, 6x right angle corner. 6x Z belt holder 3x 250mm MGN12H linear rail.
-
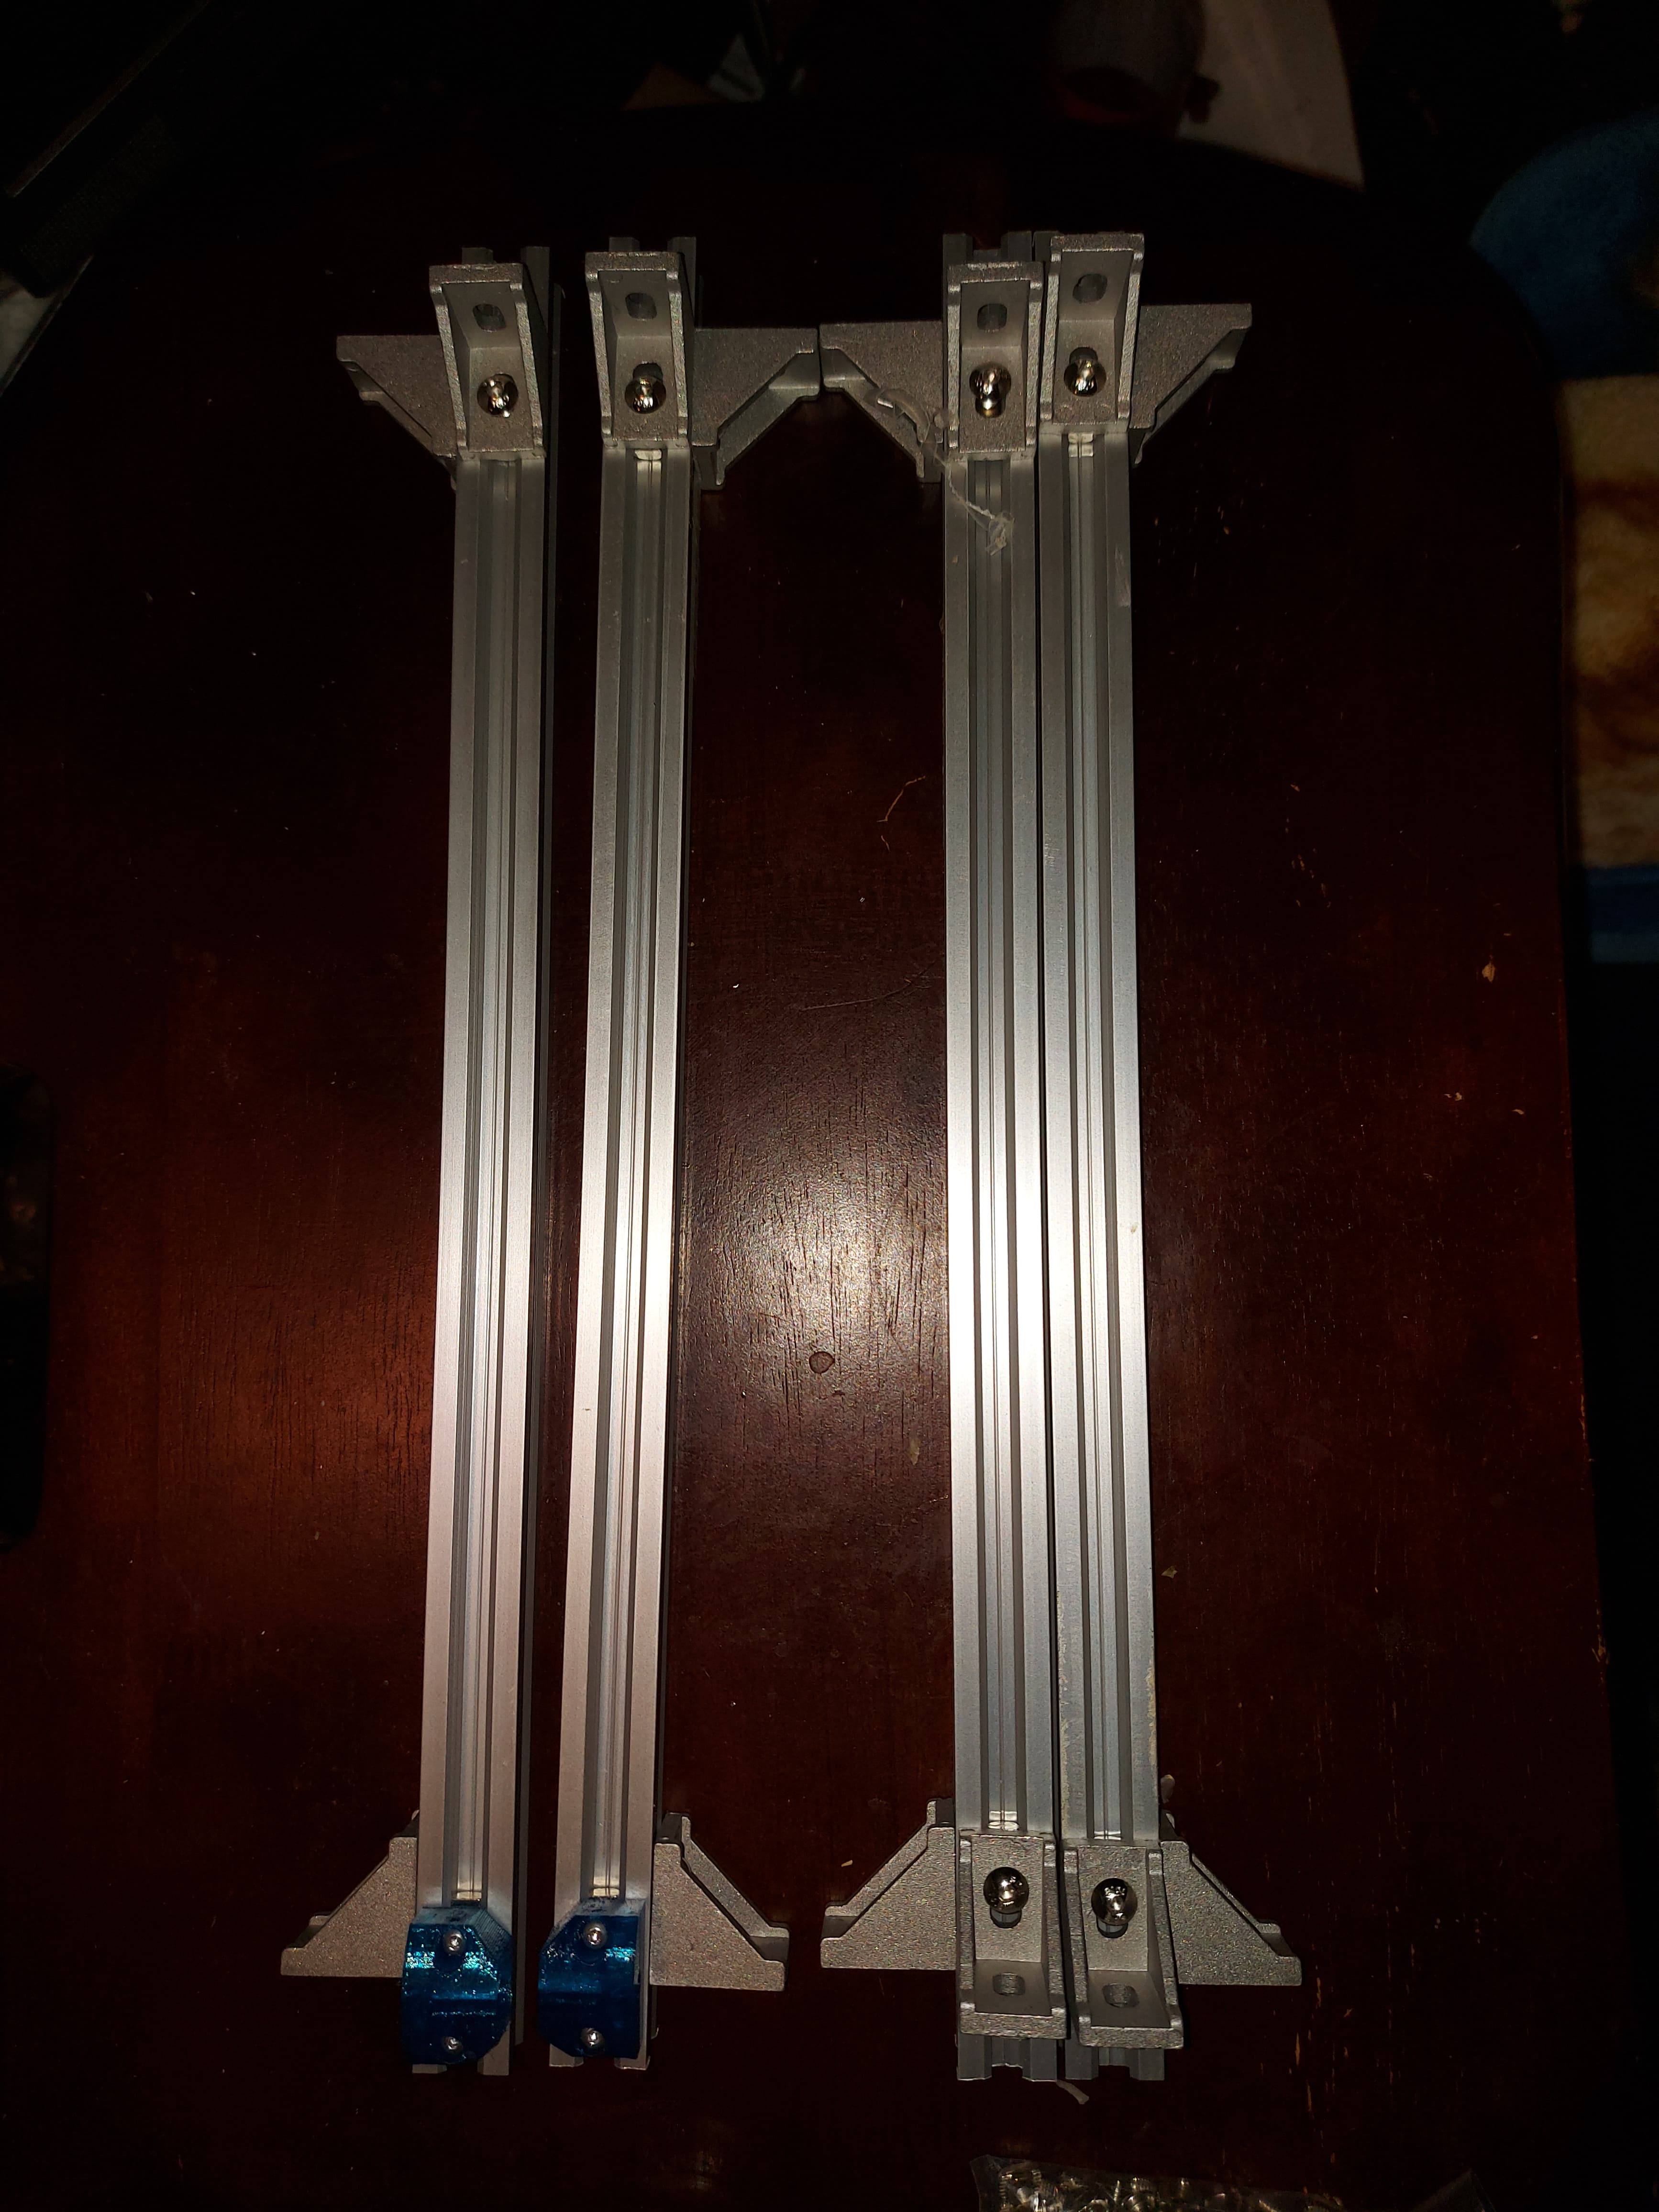
Next I prepared the frame uprights. These need the tension blocks on the front, each needing 2x 3mm screws. I assume by design, the holes on the tension blocks exactly match the slide nuts with the long ends pointing together. This makes for a nice neat appearance. I also added the corner brackets here. 4 facing to the side of the tension blocks, and the 2 bottom ones facing inwards. The rear uprights I only added 4 corner blocks to for now. There will be additional slide nuts for the board mount, but thise are exposed on the outside and can be put in later. Parts used, 4x 345mm extrusion, 2x tension blocks, 4x 3mm slide nuts, 14x corner brace.