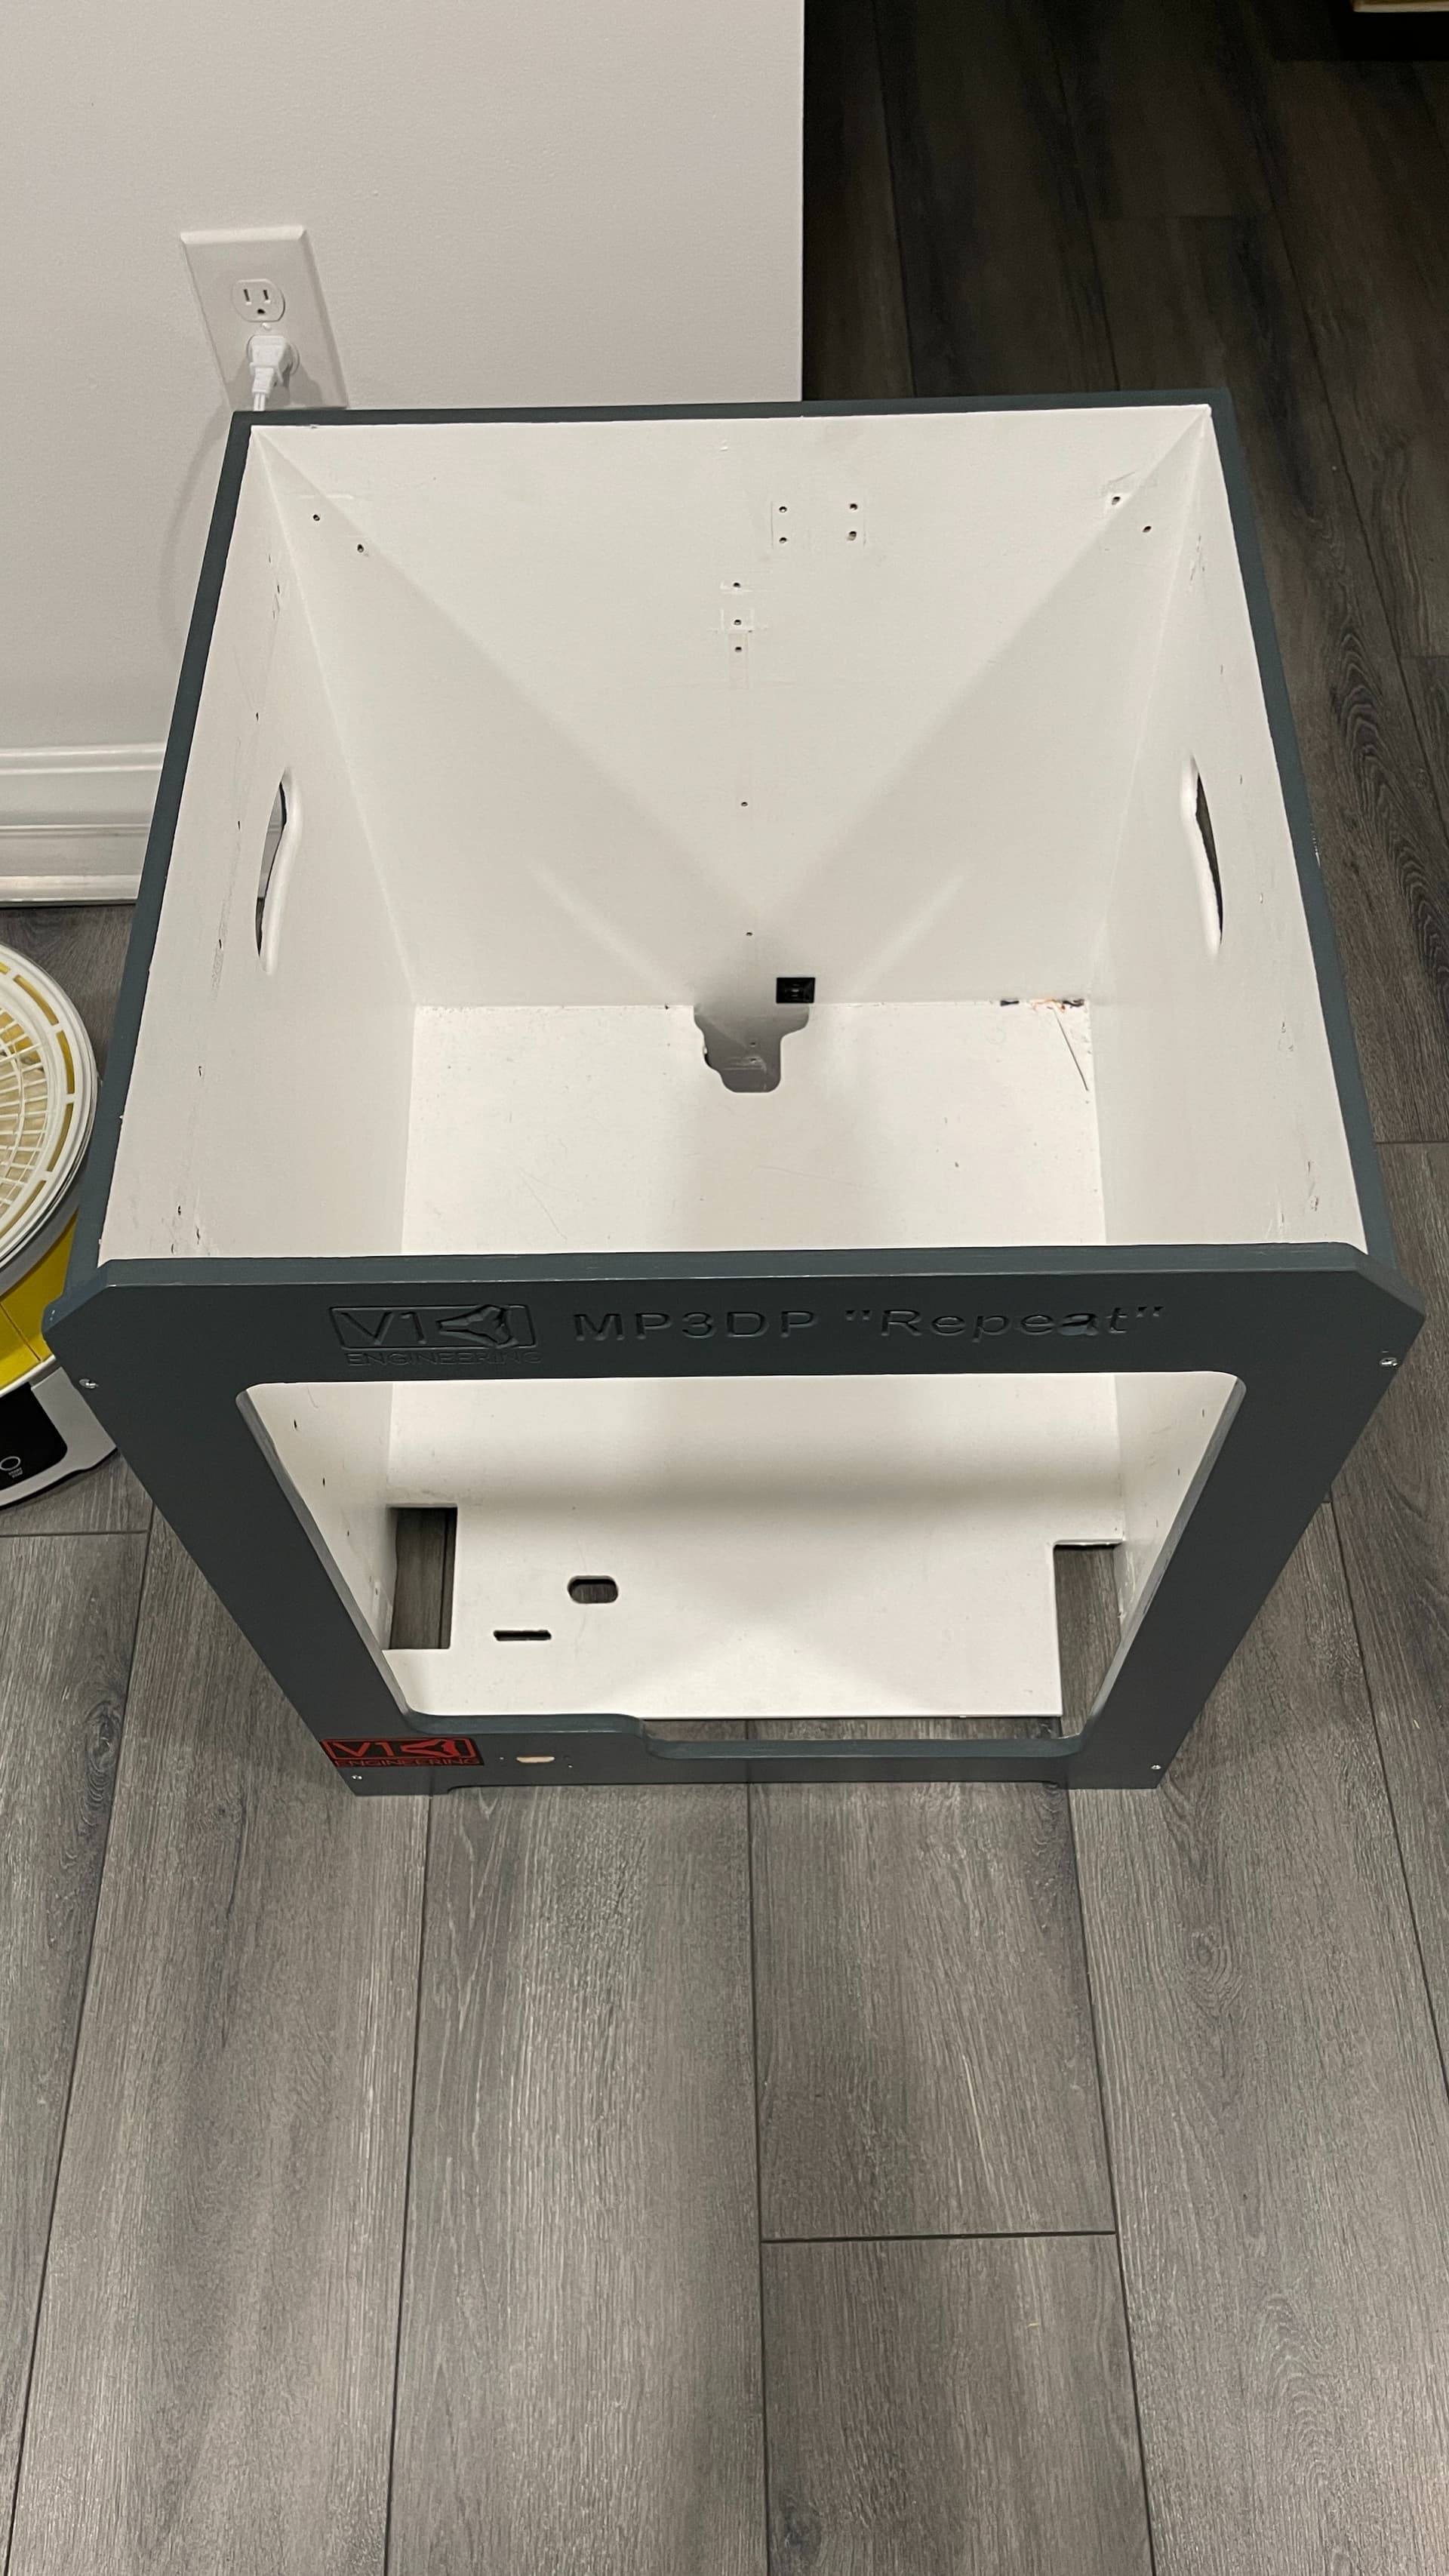
Now that the MP3DP V4.1 is up and printing.
Sorry, I didn’t do a build log for this one, but if anyone is interested I can list what I used and post more pictures and videos.
Took the Printer apart, the only thing that I’m not planning on using is the SKR Pro1.2 as I bought another Manta M8P V1.1 and EBB42, everything else will be reused.
Still a lot to do on the frame, all the 3D parts has been printed except the X carrier and fan duct, as I’m planning to use 2 fans again specially with the Volcano hotend and 0.6 nozzle.
One interesting thing though, the BIQU H2 with 2 fans printing at 225C, 100mm/s perimeter, 70mm/s exterior wall and 140mm/s infill, if I have the fan set to anything over 52%, the filament cools too fast, and I don’t get a good layer adhesion, the printed part just falls apart.
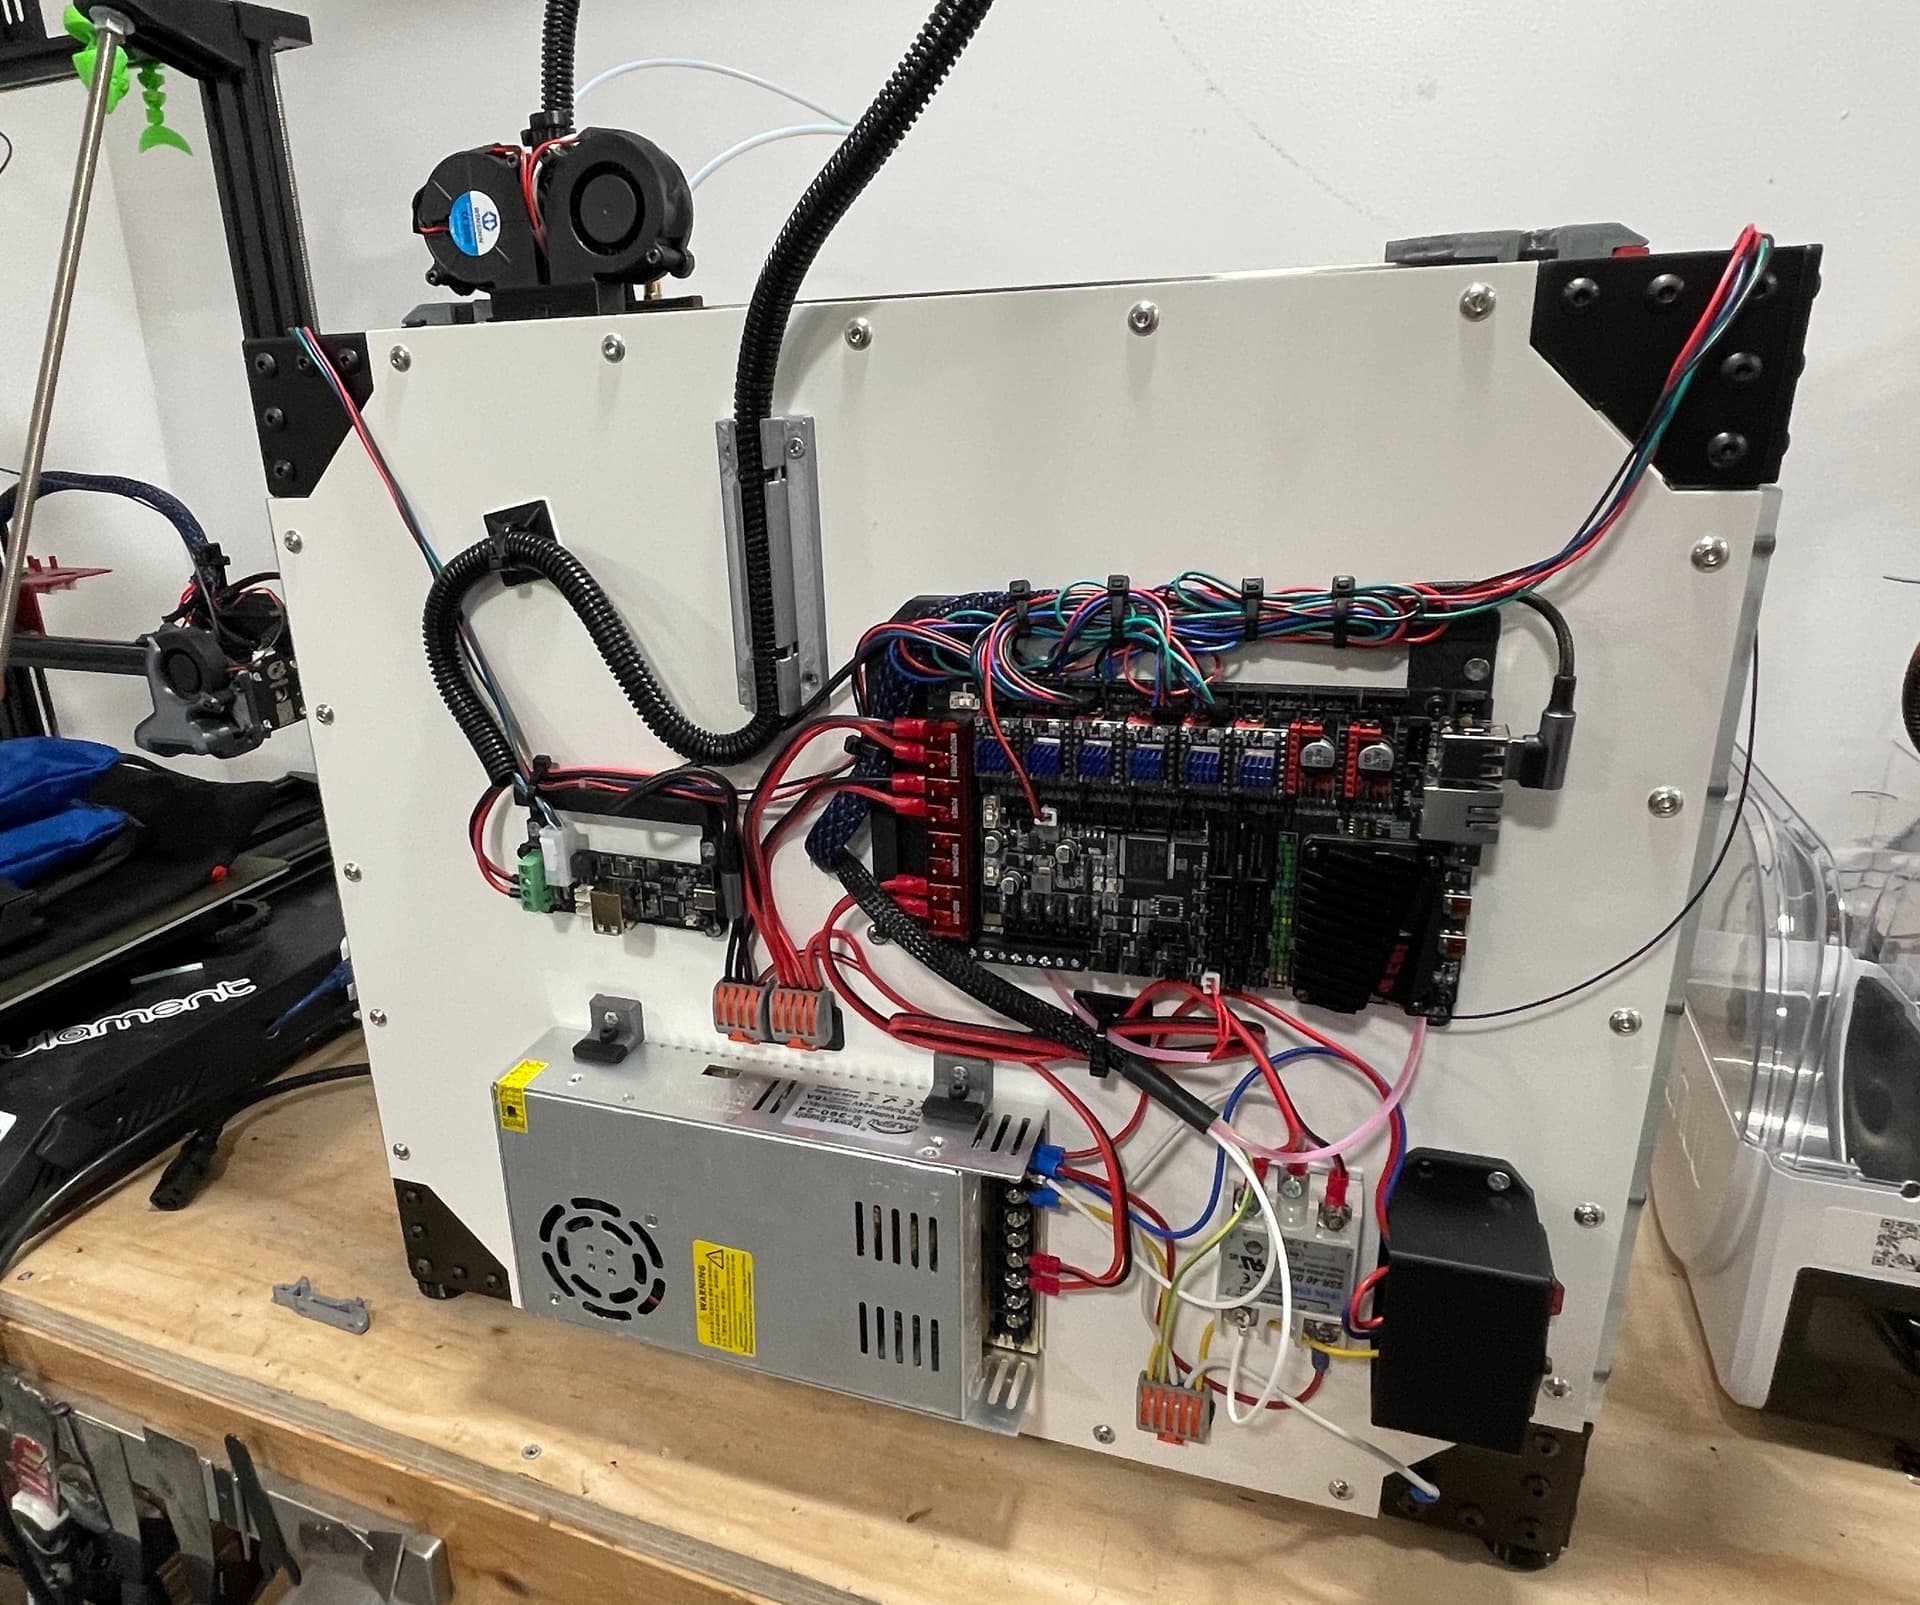
Everything is in the back of the printer. I can’t take a picture right now as the printer is Printing
Yes, SSR as I’m using the Sidewinder X1 Fula-Bed same bed I have (had) on the Repeat V3(??), I will take a picture tomorrow.
For this upgrade, I’m planning to do the same, maybe change the position of some components as I won’t need to add the U2C and maybe that will make the wiring a little cleaner.
Exactly, on the V3 I had the heatsink installed and the relay was never hot, pretty much room temperature, so I got it out for this one.
I will do the same for upgrade.
Good to know. What sized nozzle (revo?), and layer height (been looking at max flow)? I think you might be on the bleeding edge of flow rate for that little heat block. They only list it as 10mm^3, that doesn’t seem right to me, the hemera is similar and gets 13mm^3. A CHT can bump that 20-50%. https://youtu.be/qBvTWFEd7rk?t=583
P.S. I really like the way the H2V2S looks if paired with a CHT (maybe even CHT Hardened tip). Much lighter, more compact, and a bit cheaper than the Hemera XS. The H2 light seems really nice except the non-standard nozzles (might ask if they will send me special builds with the standard heater and nozzles).
No revo, this is the first generation H2 that I got back in August last year.
0.4 nozzle, I usually print at 0.28mm
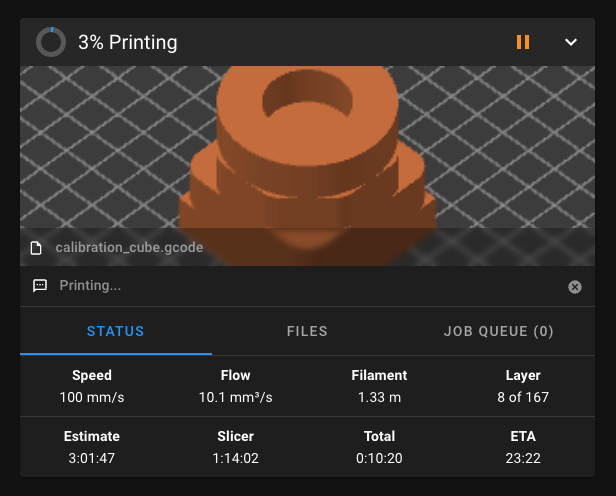
I just upload a video that shows printing at 140mm/s infill, it is pulling 16.2mm^3 and at 100mm/s on the perimeter it is at 10.1mm^3/s
I think we can get a lot more out of this little bugger. I will have to do more tuneup to get it to print faster, but for now I’m pretty damn happy with it.
So I guess when the fans come on is the extruder still holding temp?
I am very excited to run my H2 with a CHT now!!! I am prepping a 12"x12" 24V / mains bed. 24v 5015 fans push so much more air than a 12V I hope one is fine.
As you can see on my print config, I did try 10000 but had issues with ghosting…
I’m hoping that with this upgrade, the extra brace in the front will help with rigidity and eliminate ghosting at 10000 acceleration
I have a stack of new parts sitting here, and I was starting to load up klipper, have a bag of accelerometers… This big printer will be my mess around printer when I build it. I have almost all the parts ready. I am almost done with the first prototype of a new project for bagging screws. If that goes smooth, I should have more time to experiment.