Any updates? I was kinda waiting to see what you guys thought before the big release.
1 Like
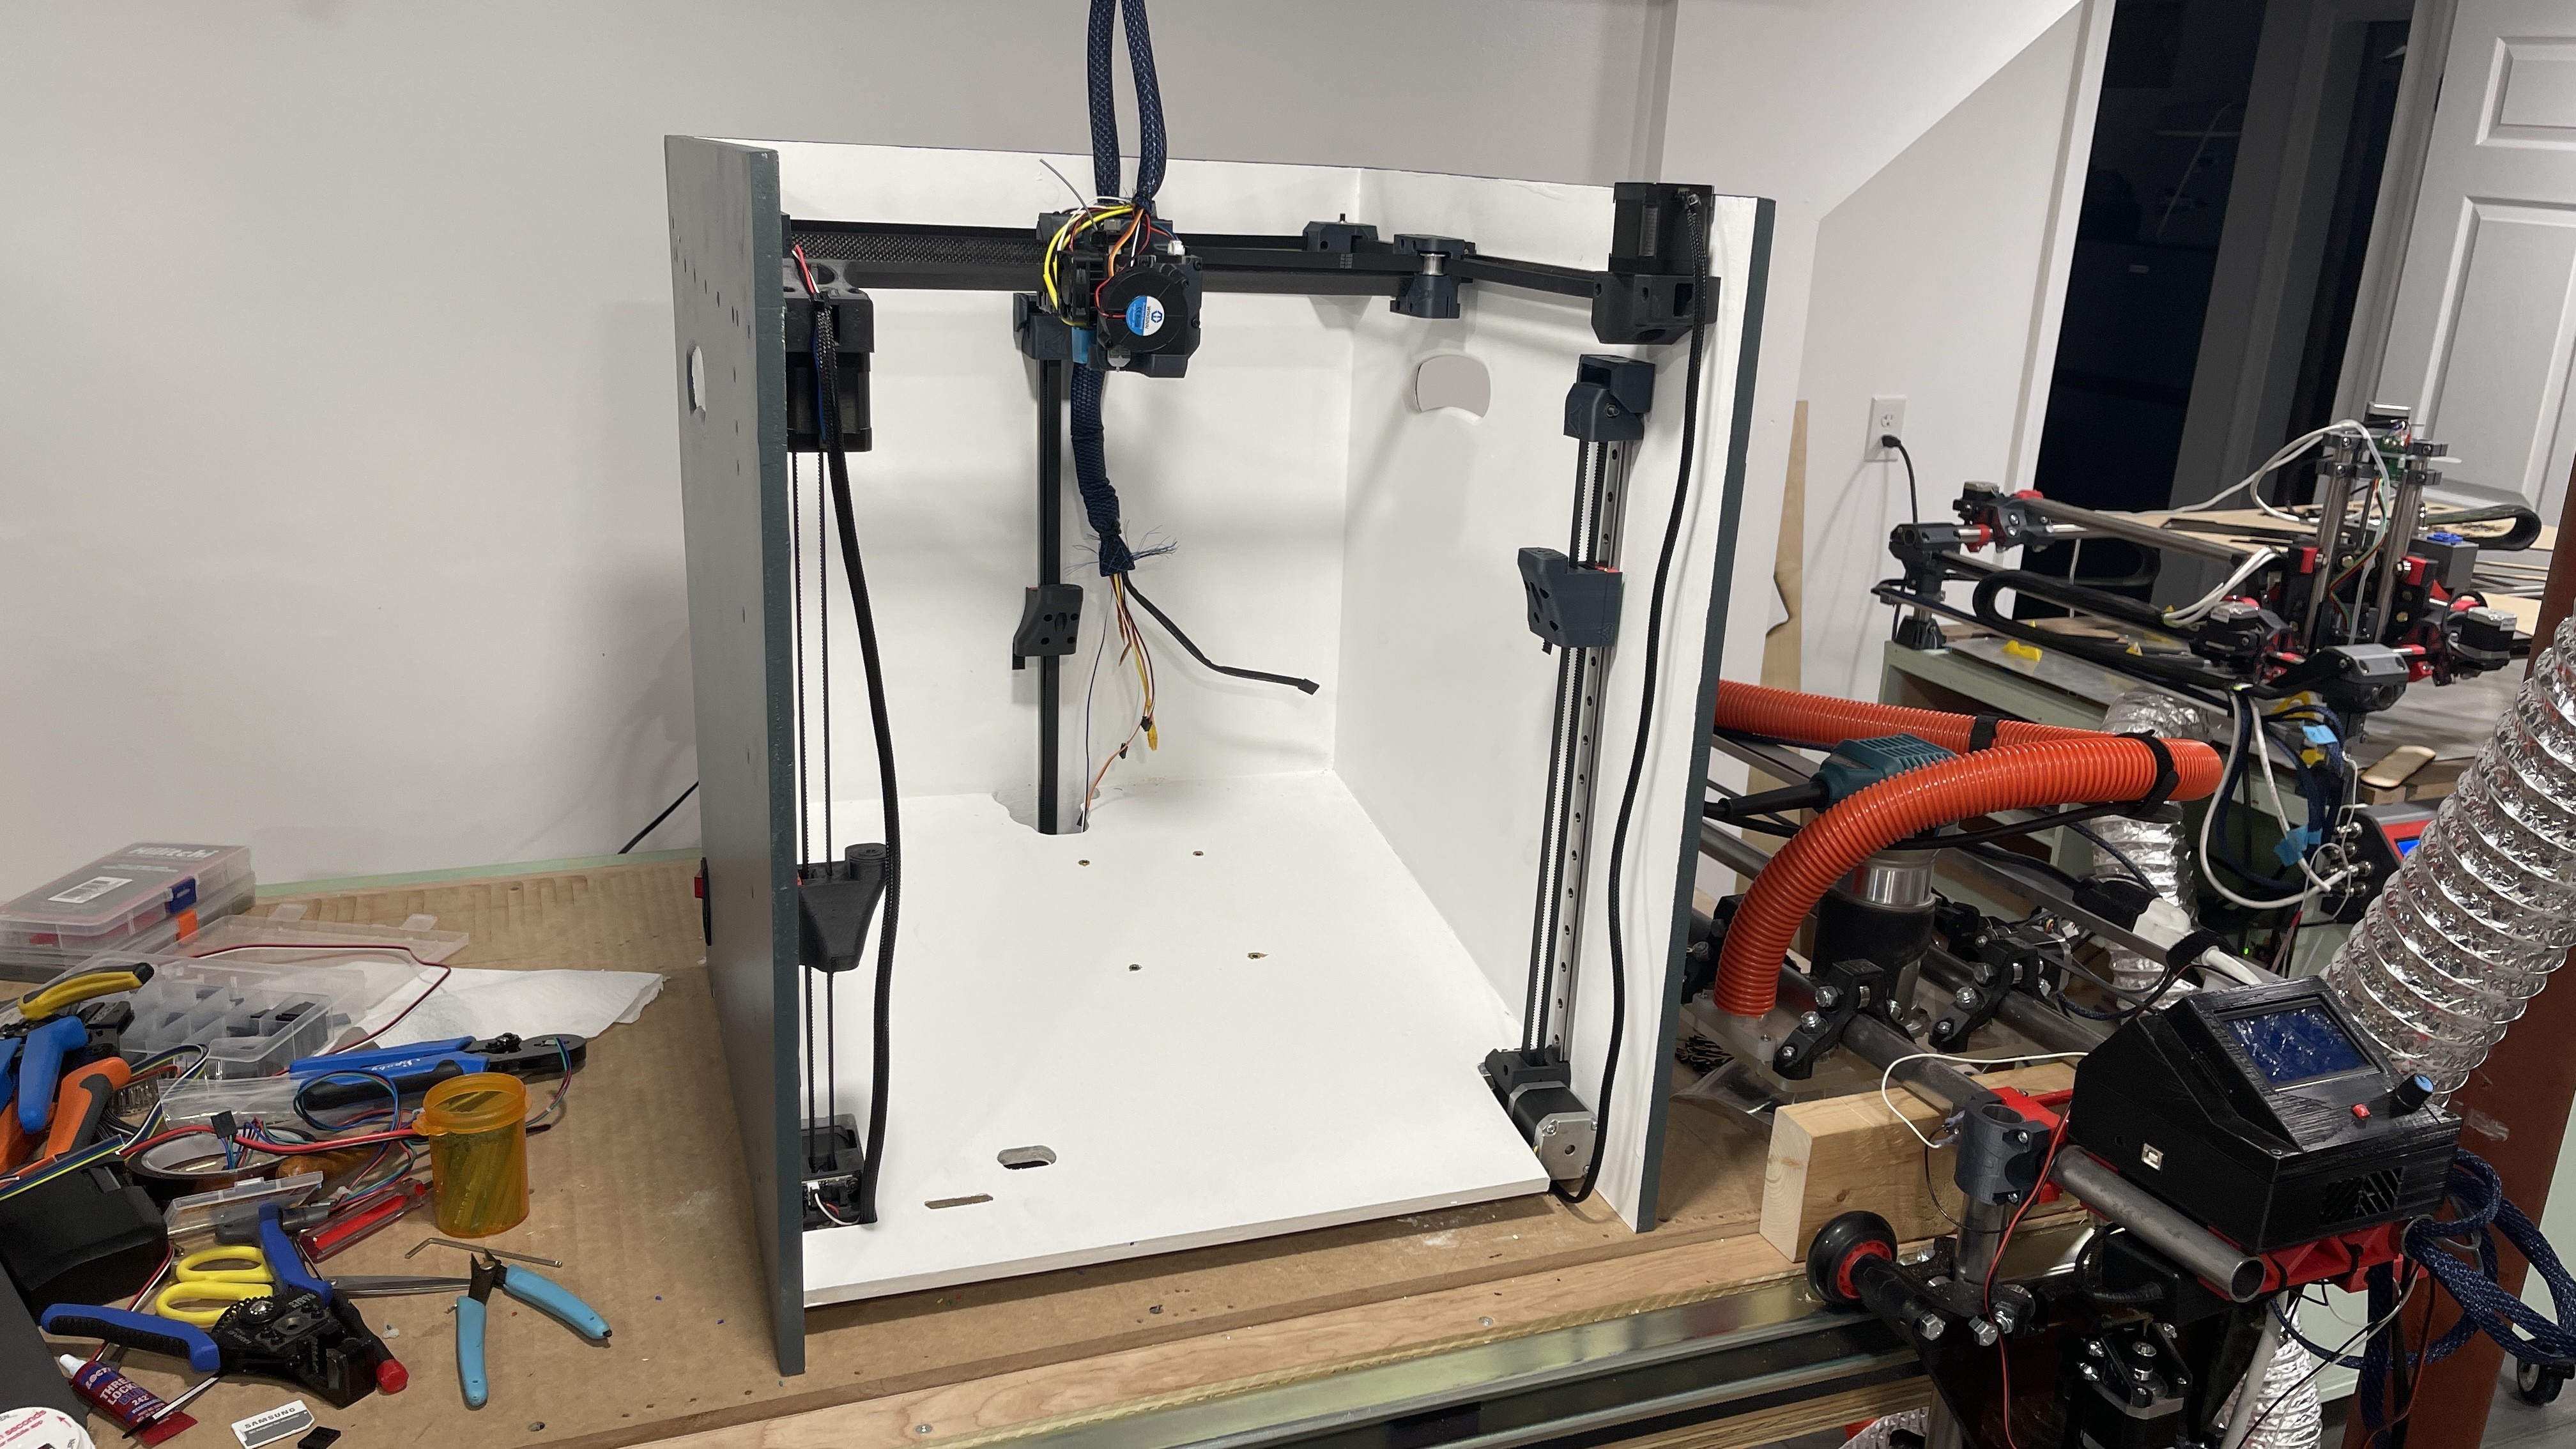
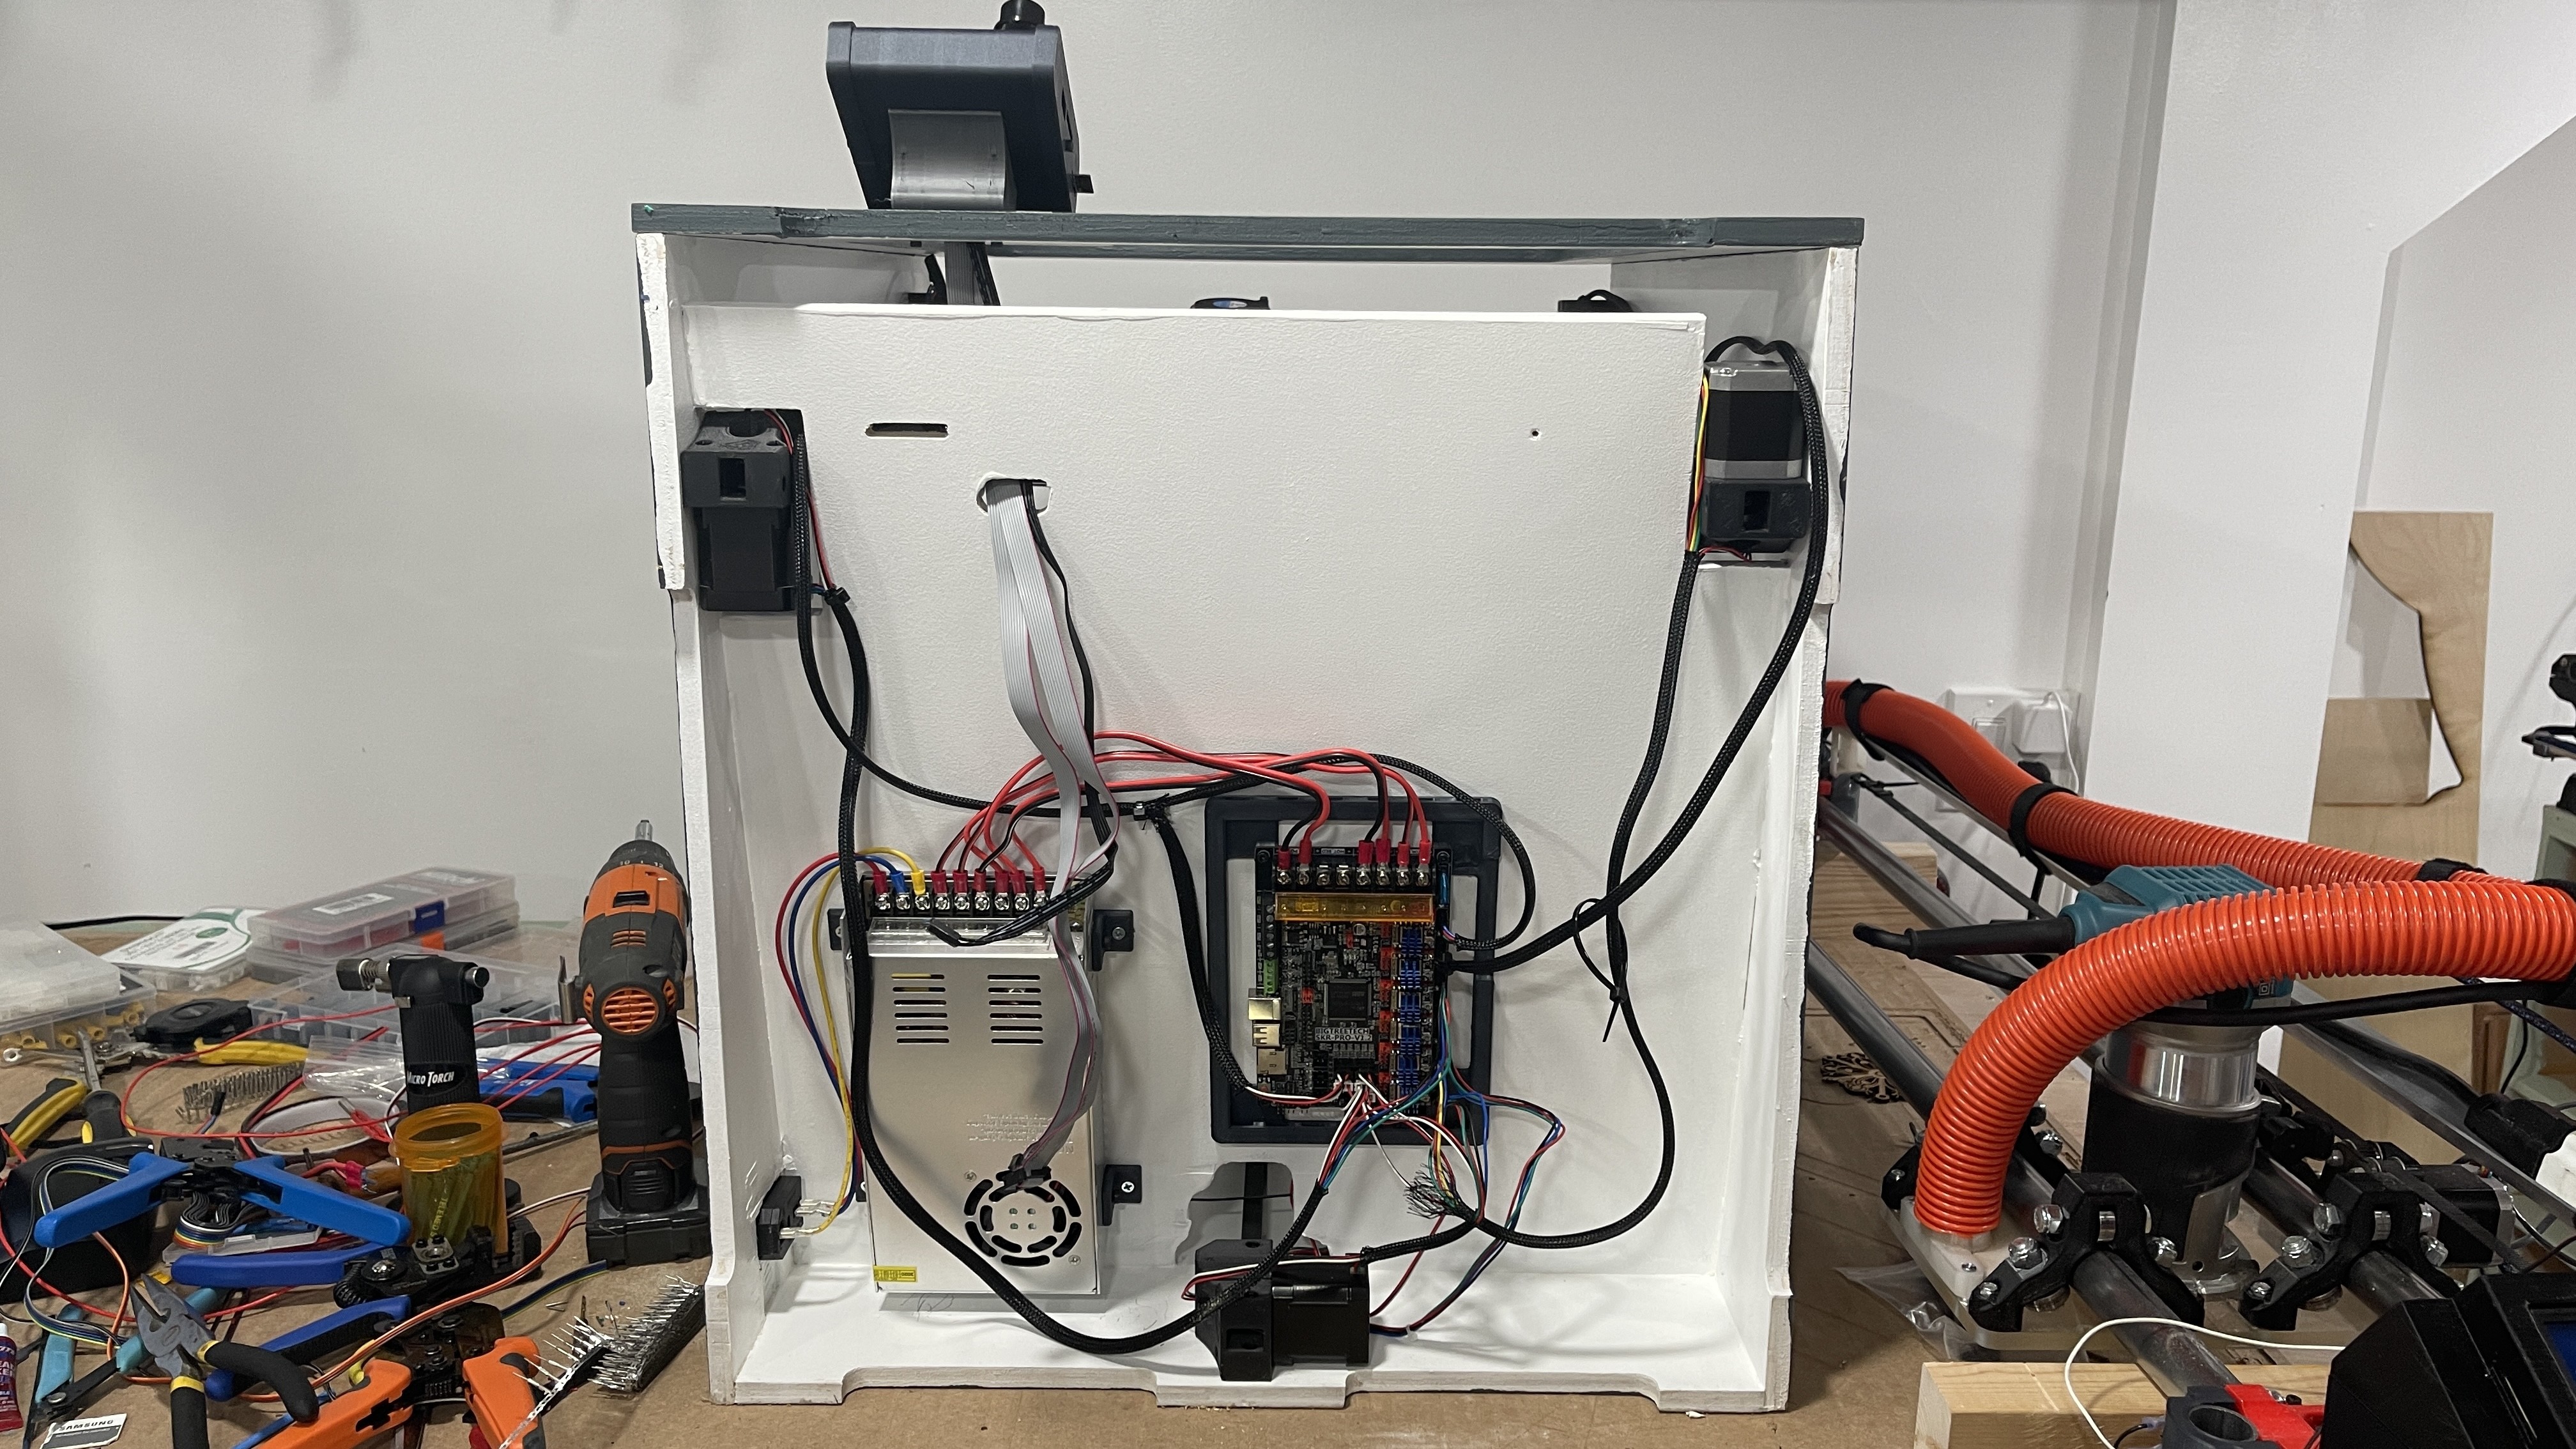
Here are some updated pictures of the build, I’m not finished yet (hope to get it done tonight), still need to extend every single wire that is coming from the Hotend side…
@vicious1, Now I’m not sure if I continue the discution here or you should move it to the other thread …
I had the lock piece in 2 off the 3 Z axis… Don’t know how I miss that one…
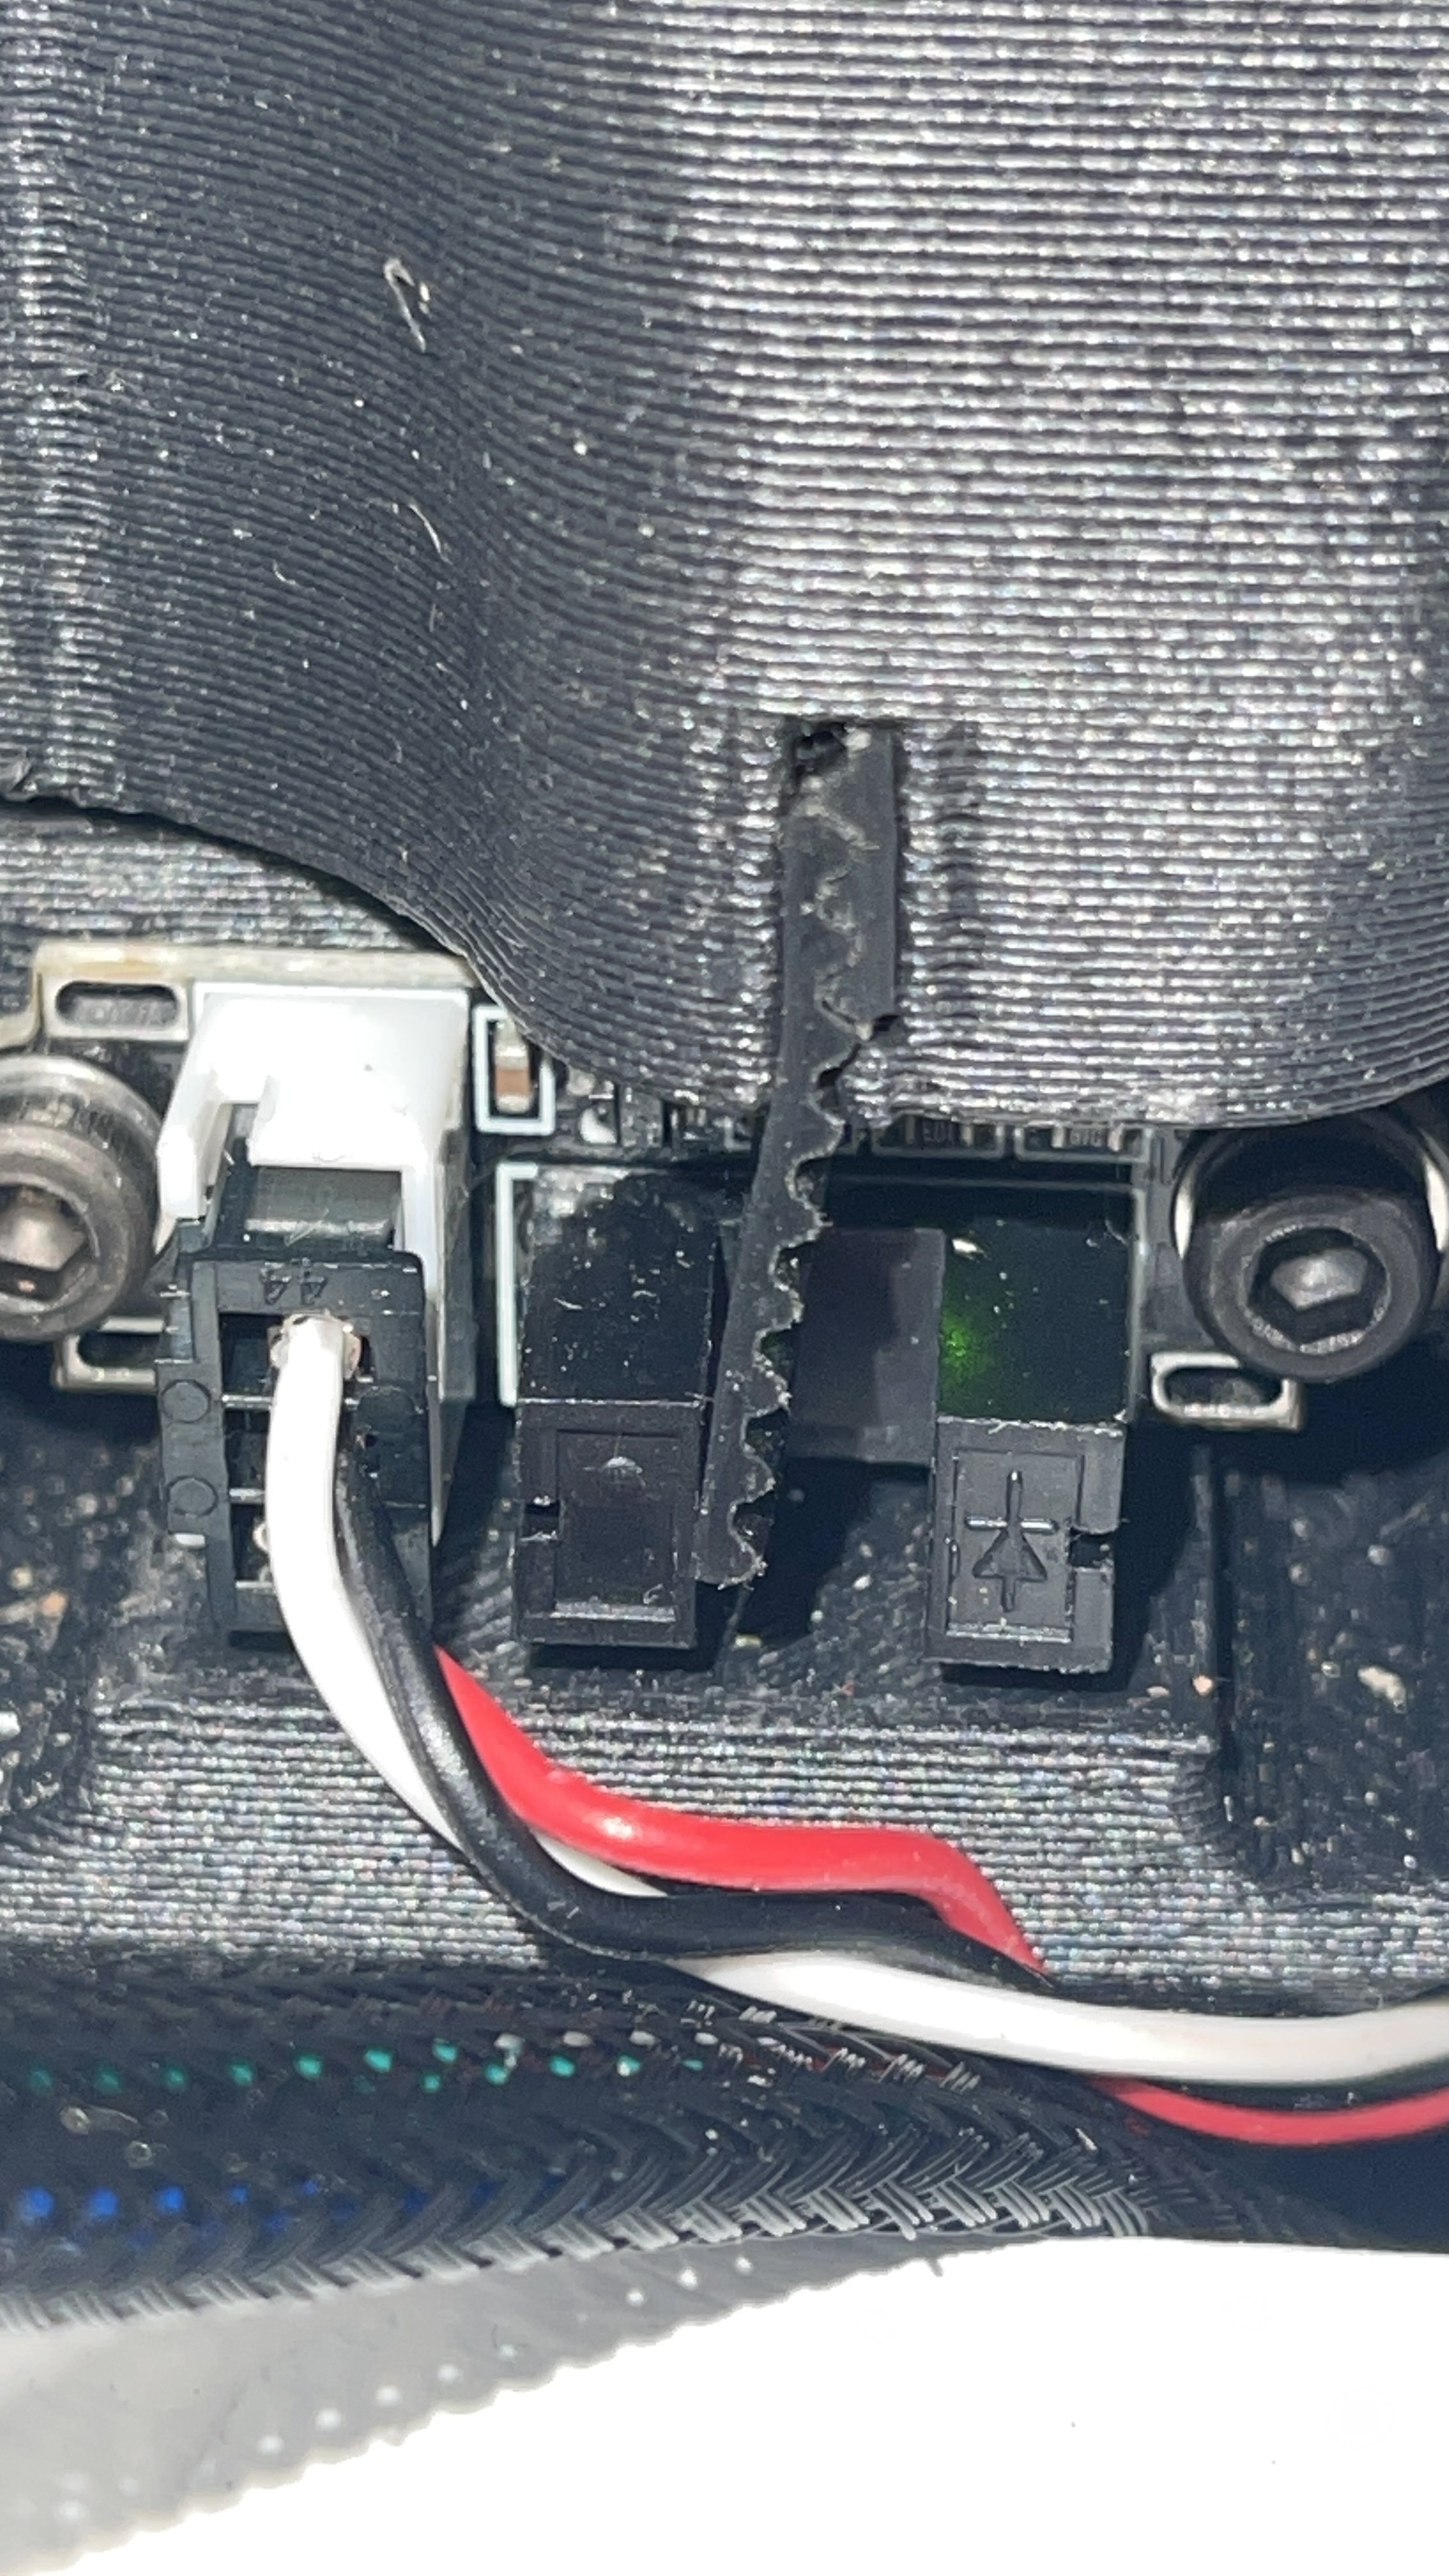
I replace the Z stop belt on all 3 Z axis added the lock piece back on all of then and I’m still have the same results and actually the one that that did not have the lock piece got worst.
Here is how strait the belt is.

All 3 belt peices toguether
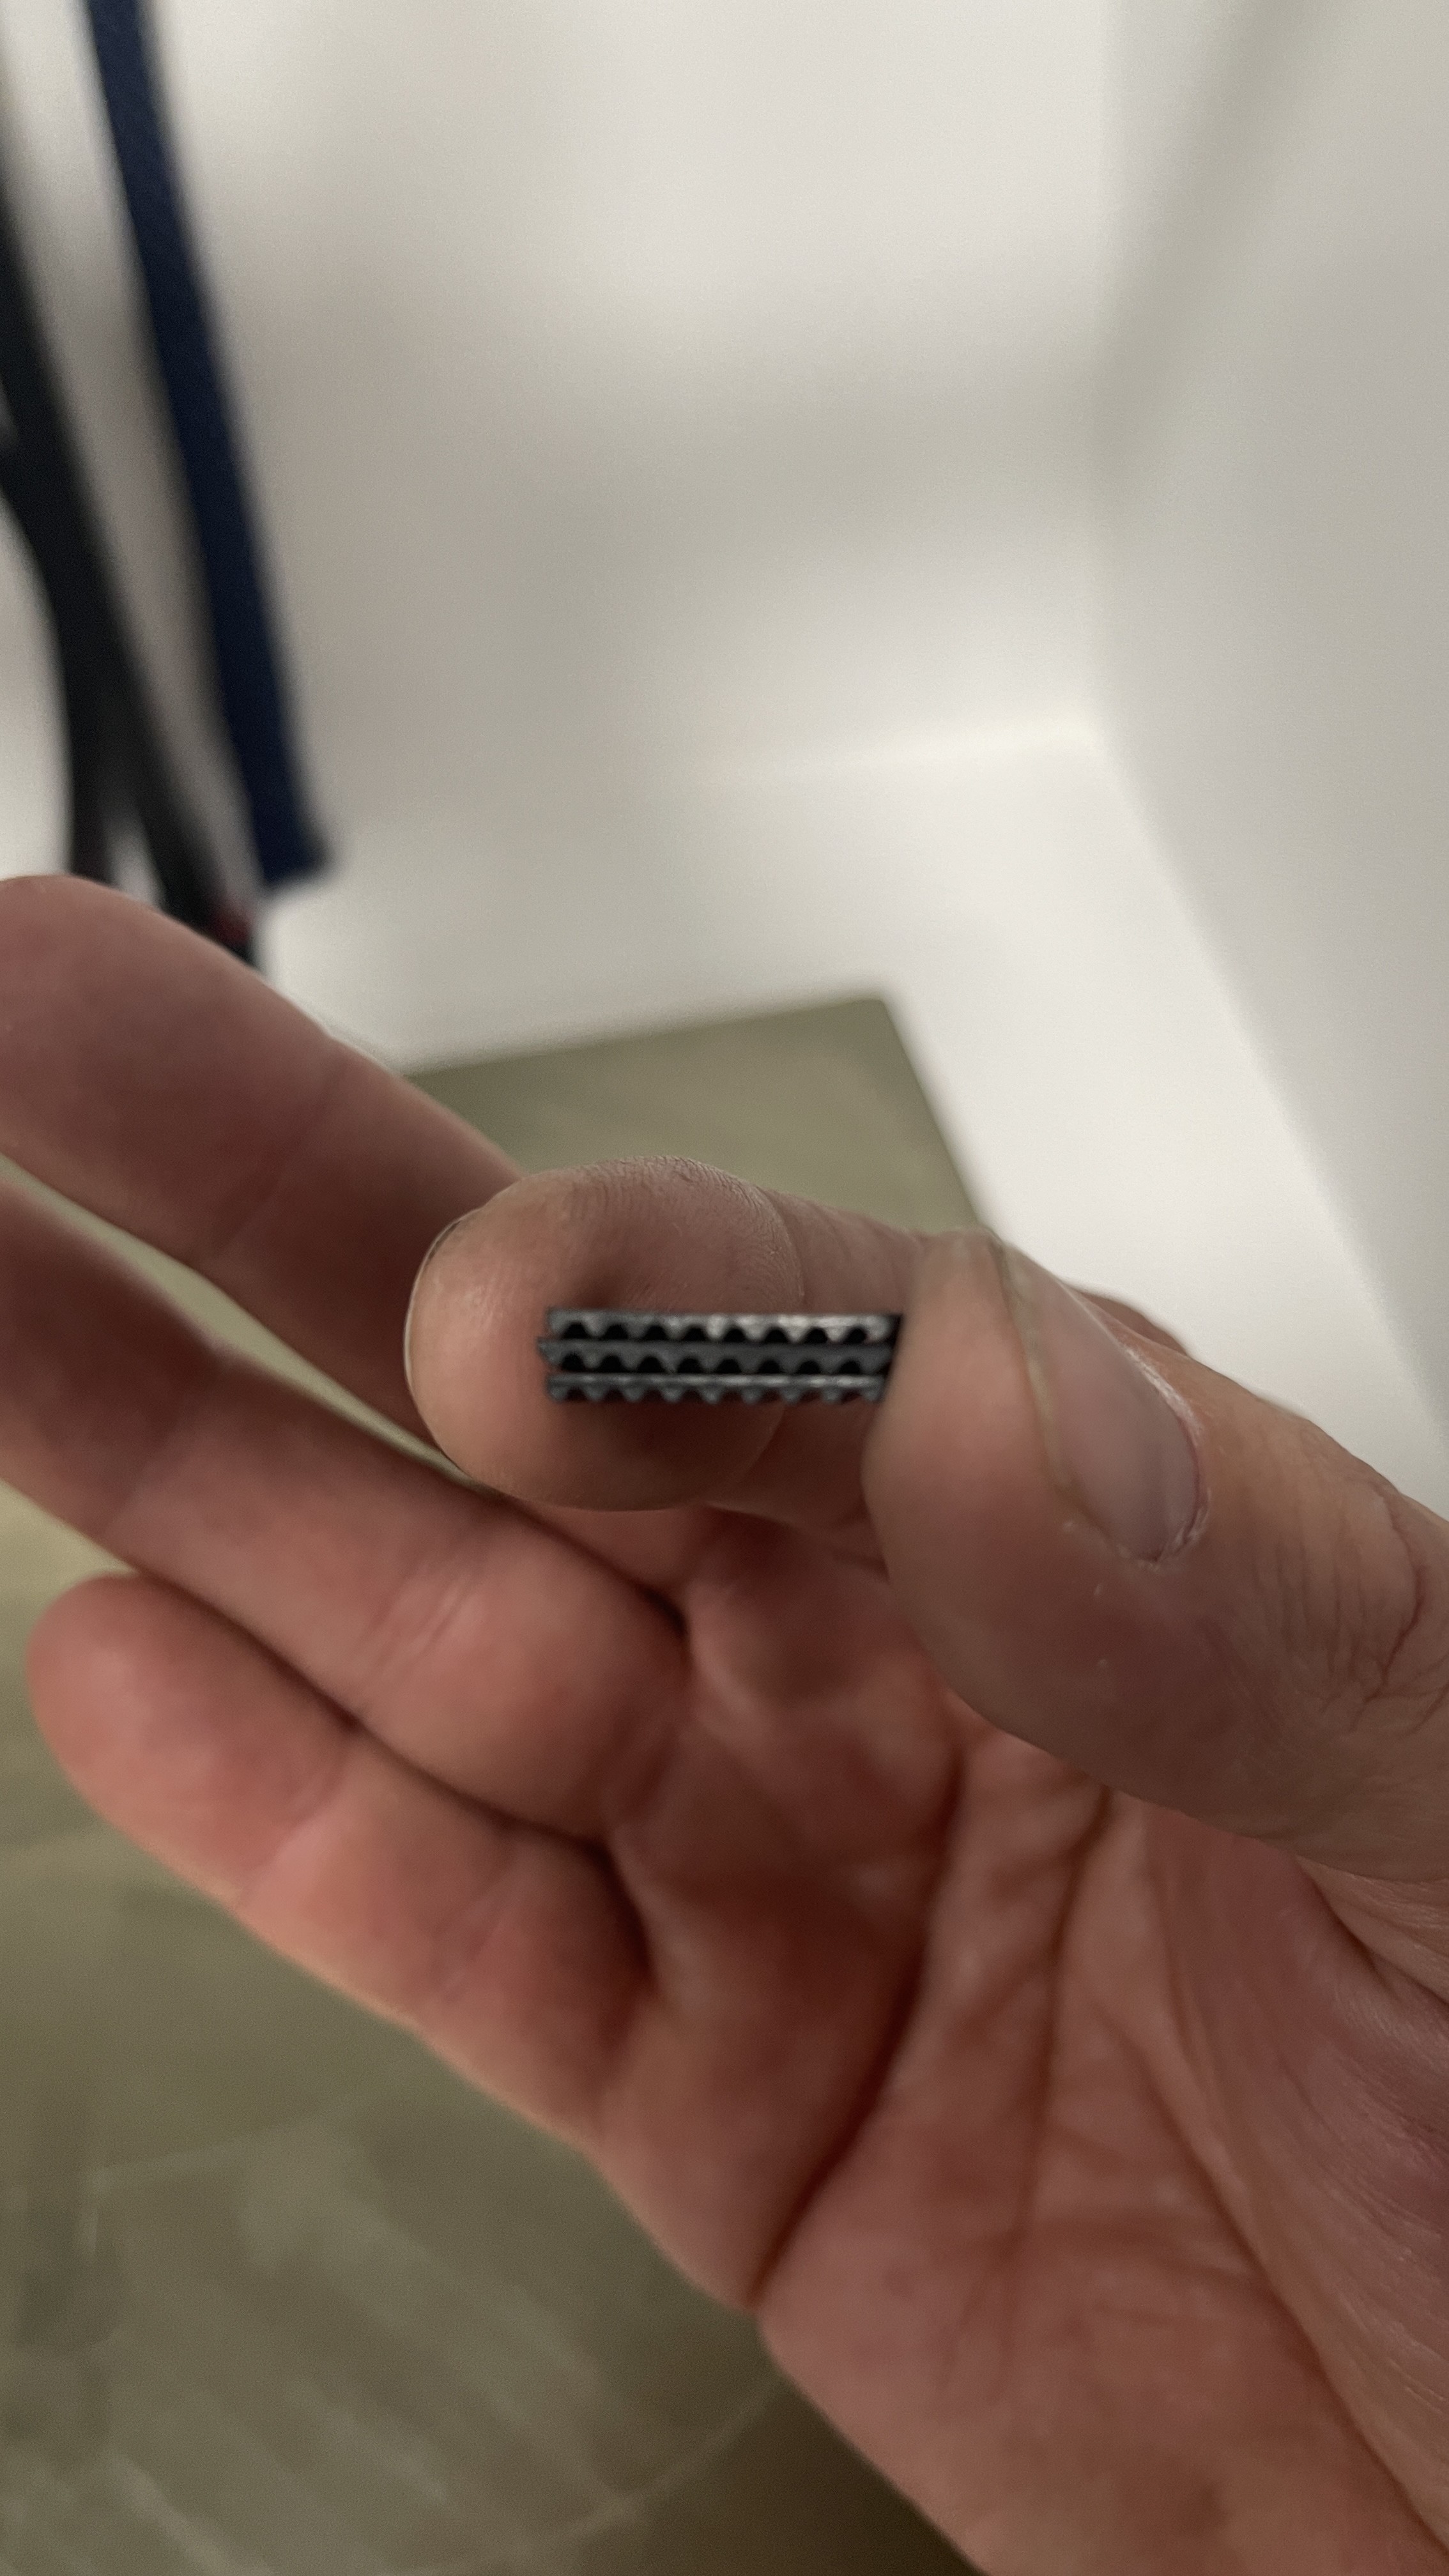
and the resolt
I will print all new stepper blocks tonight with regular PLA and test in the morning, maybe the Carbon Fiber Polycarbonate is the problem.
Before I do that I will file the slot a little bit and see if that change anything
2 Likes
That’s definitely the least desired result the way that belt piece curled. I don’t think that a reprint of the pieces will be the answer though. A little gentle filing will straighten the piece. From here it looks like your alignment is very much like mine.
I had thought that it might be the MGN12H rails being a bit different from Ryan’s, but I think that if that were the case, my heated bed mount plate would have been a little off. I didn’t leave much room to play with those slots for the mounting bolts… I’m sure that it wasn’t as much as those appear to be out at least, and I did verify that the bolts sit very close to the center of the slot when the bed is level.
2 Likes
This just gave me chills.
1 Like
Gave me hot flashes.
2 Likes
Agreed. Looks like you got some extra first layer squish. That notch looks to be messing with the belt on yours. It is only there to hold the lock piece. Slice most of it off and I thank you will be good to go.
The rest of the build is looking fantastic though.
1 Like
If you mount the control board on the back will all your wires reach there? You can mount it inside or outside, depending how clean you get with your wire management. There is plenty of room since the bed is centered.
Here it is after filing the slot.
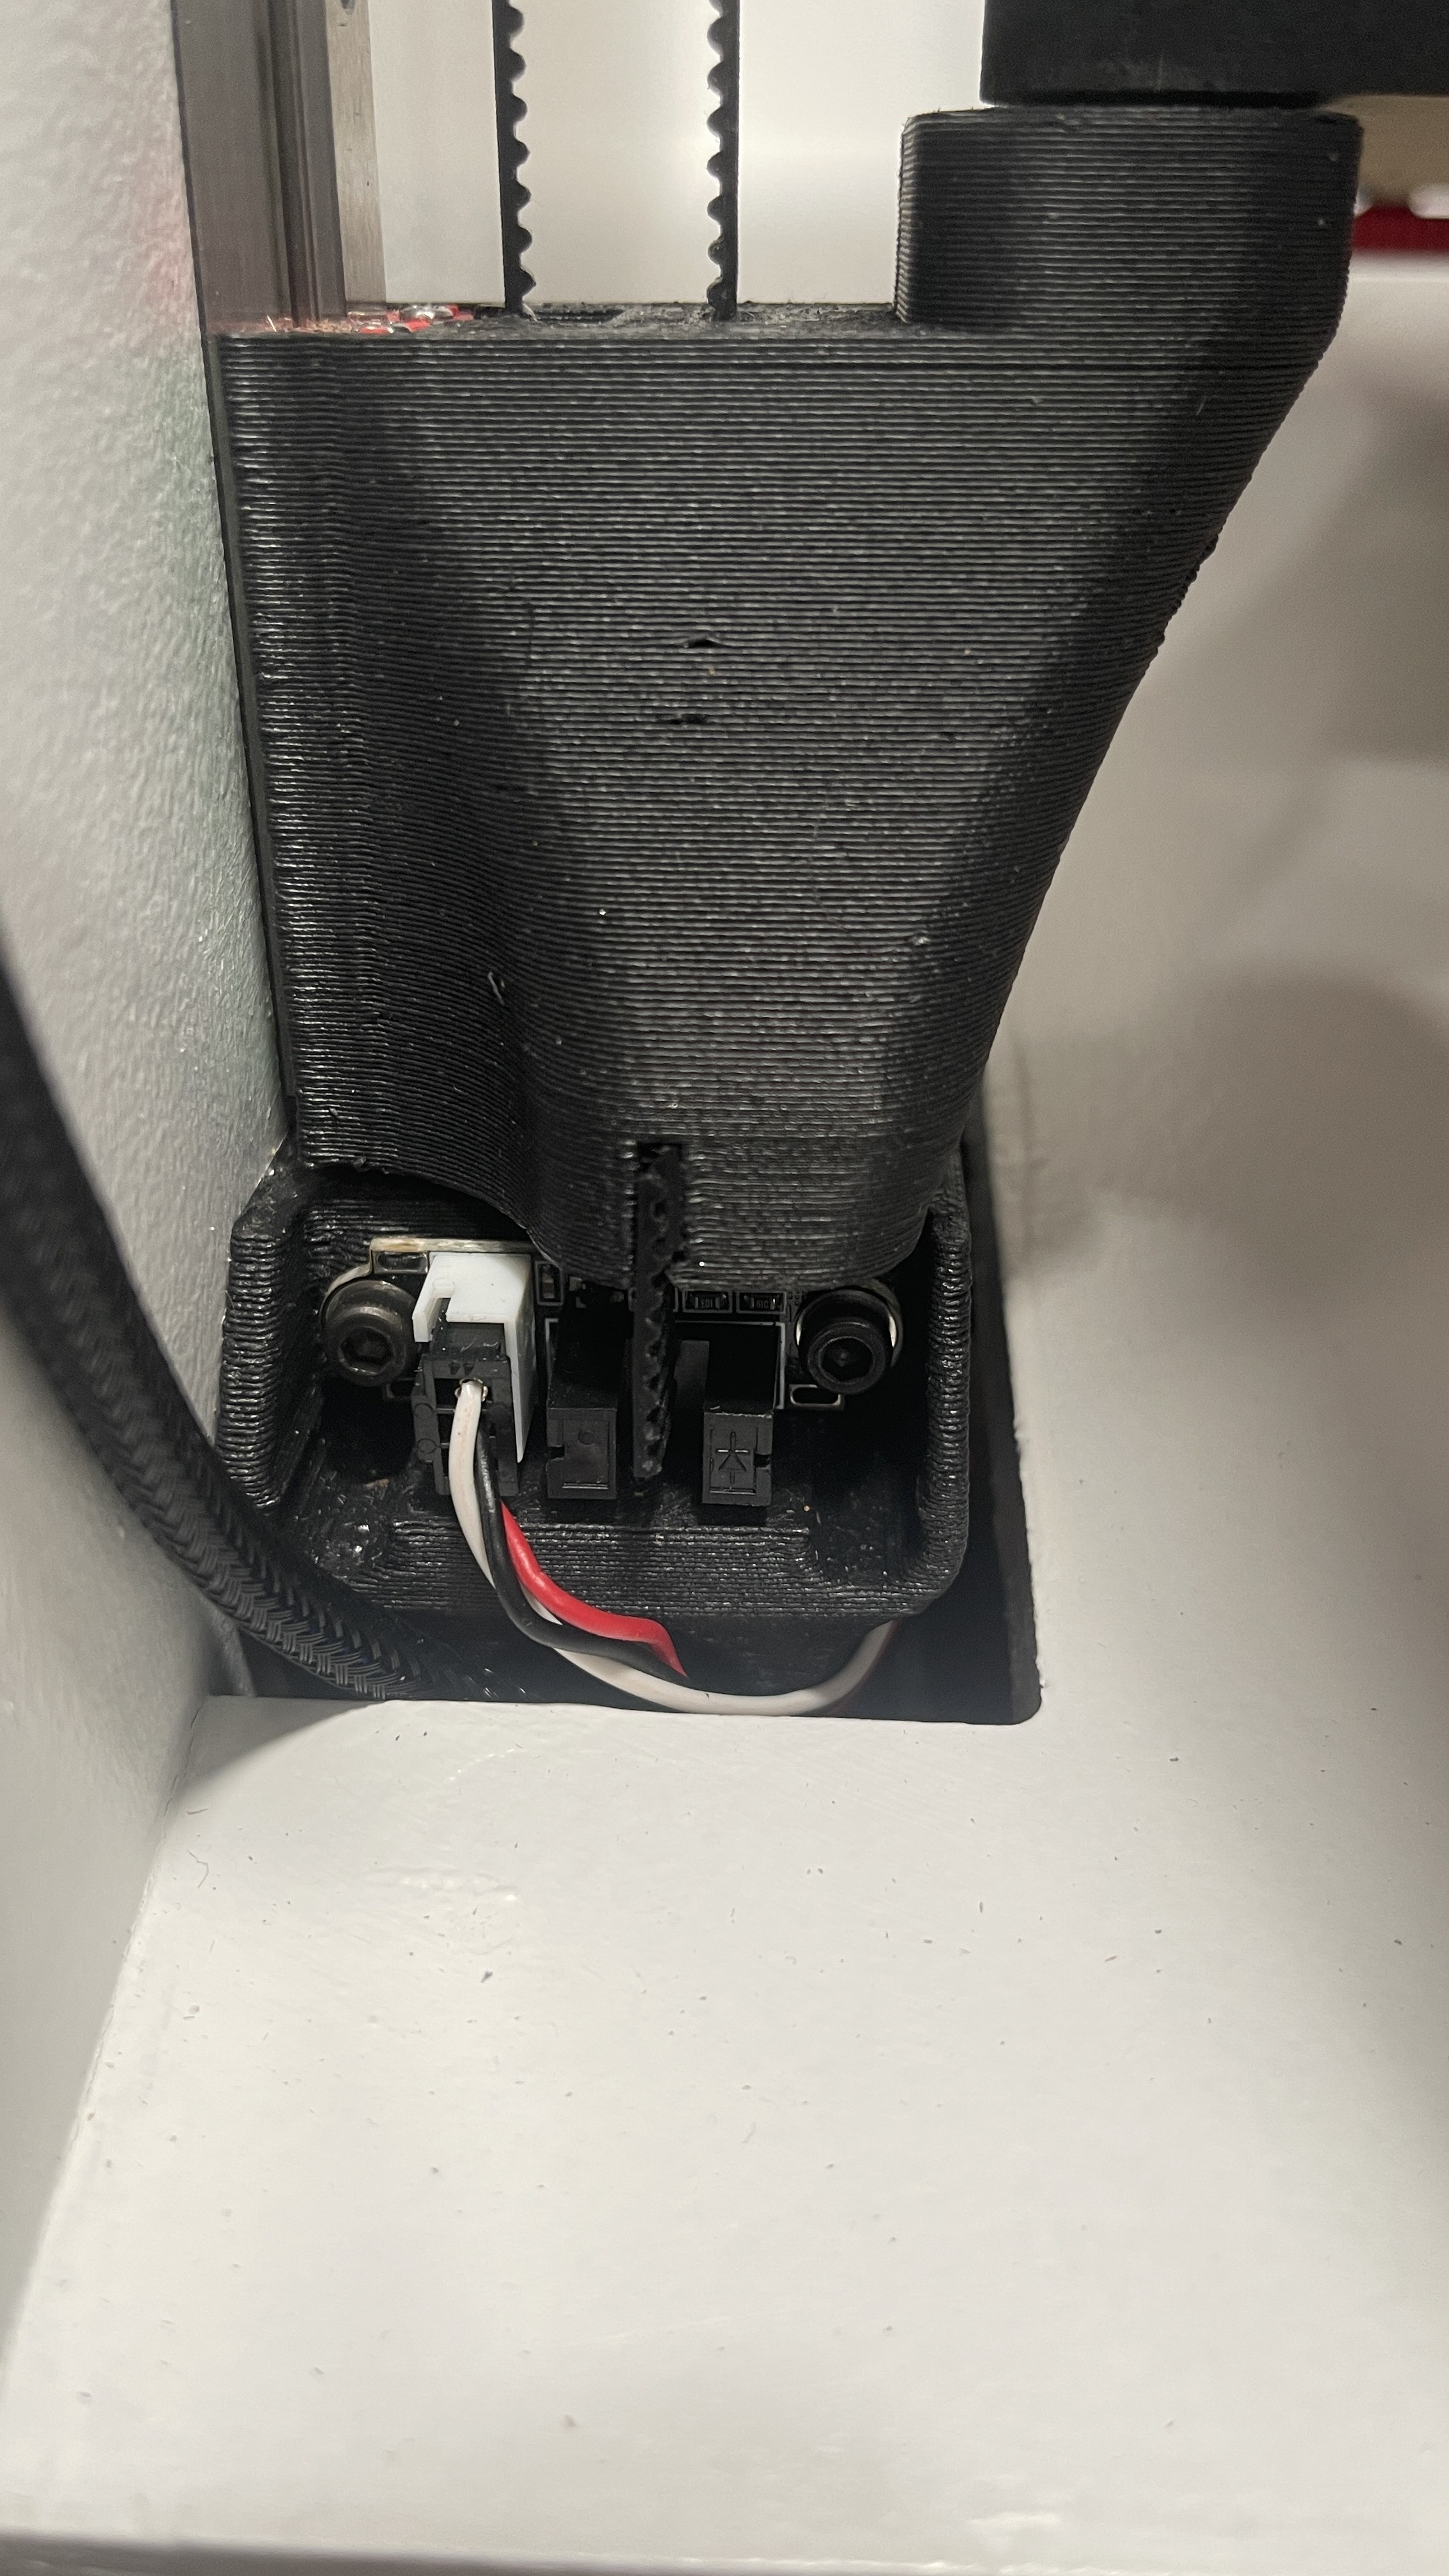
I can live with that, It looks pretty straight to me even though it is not center. It looks more like @SupraGuy Dan setup now.
lol, too late…

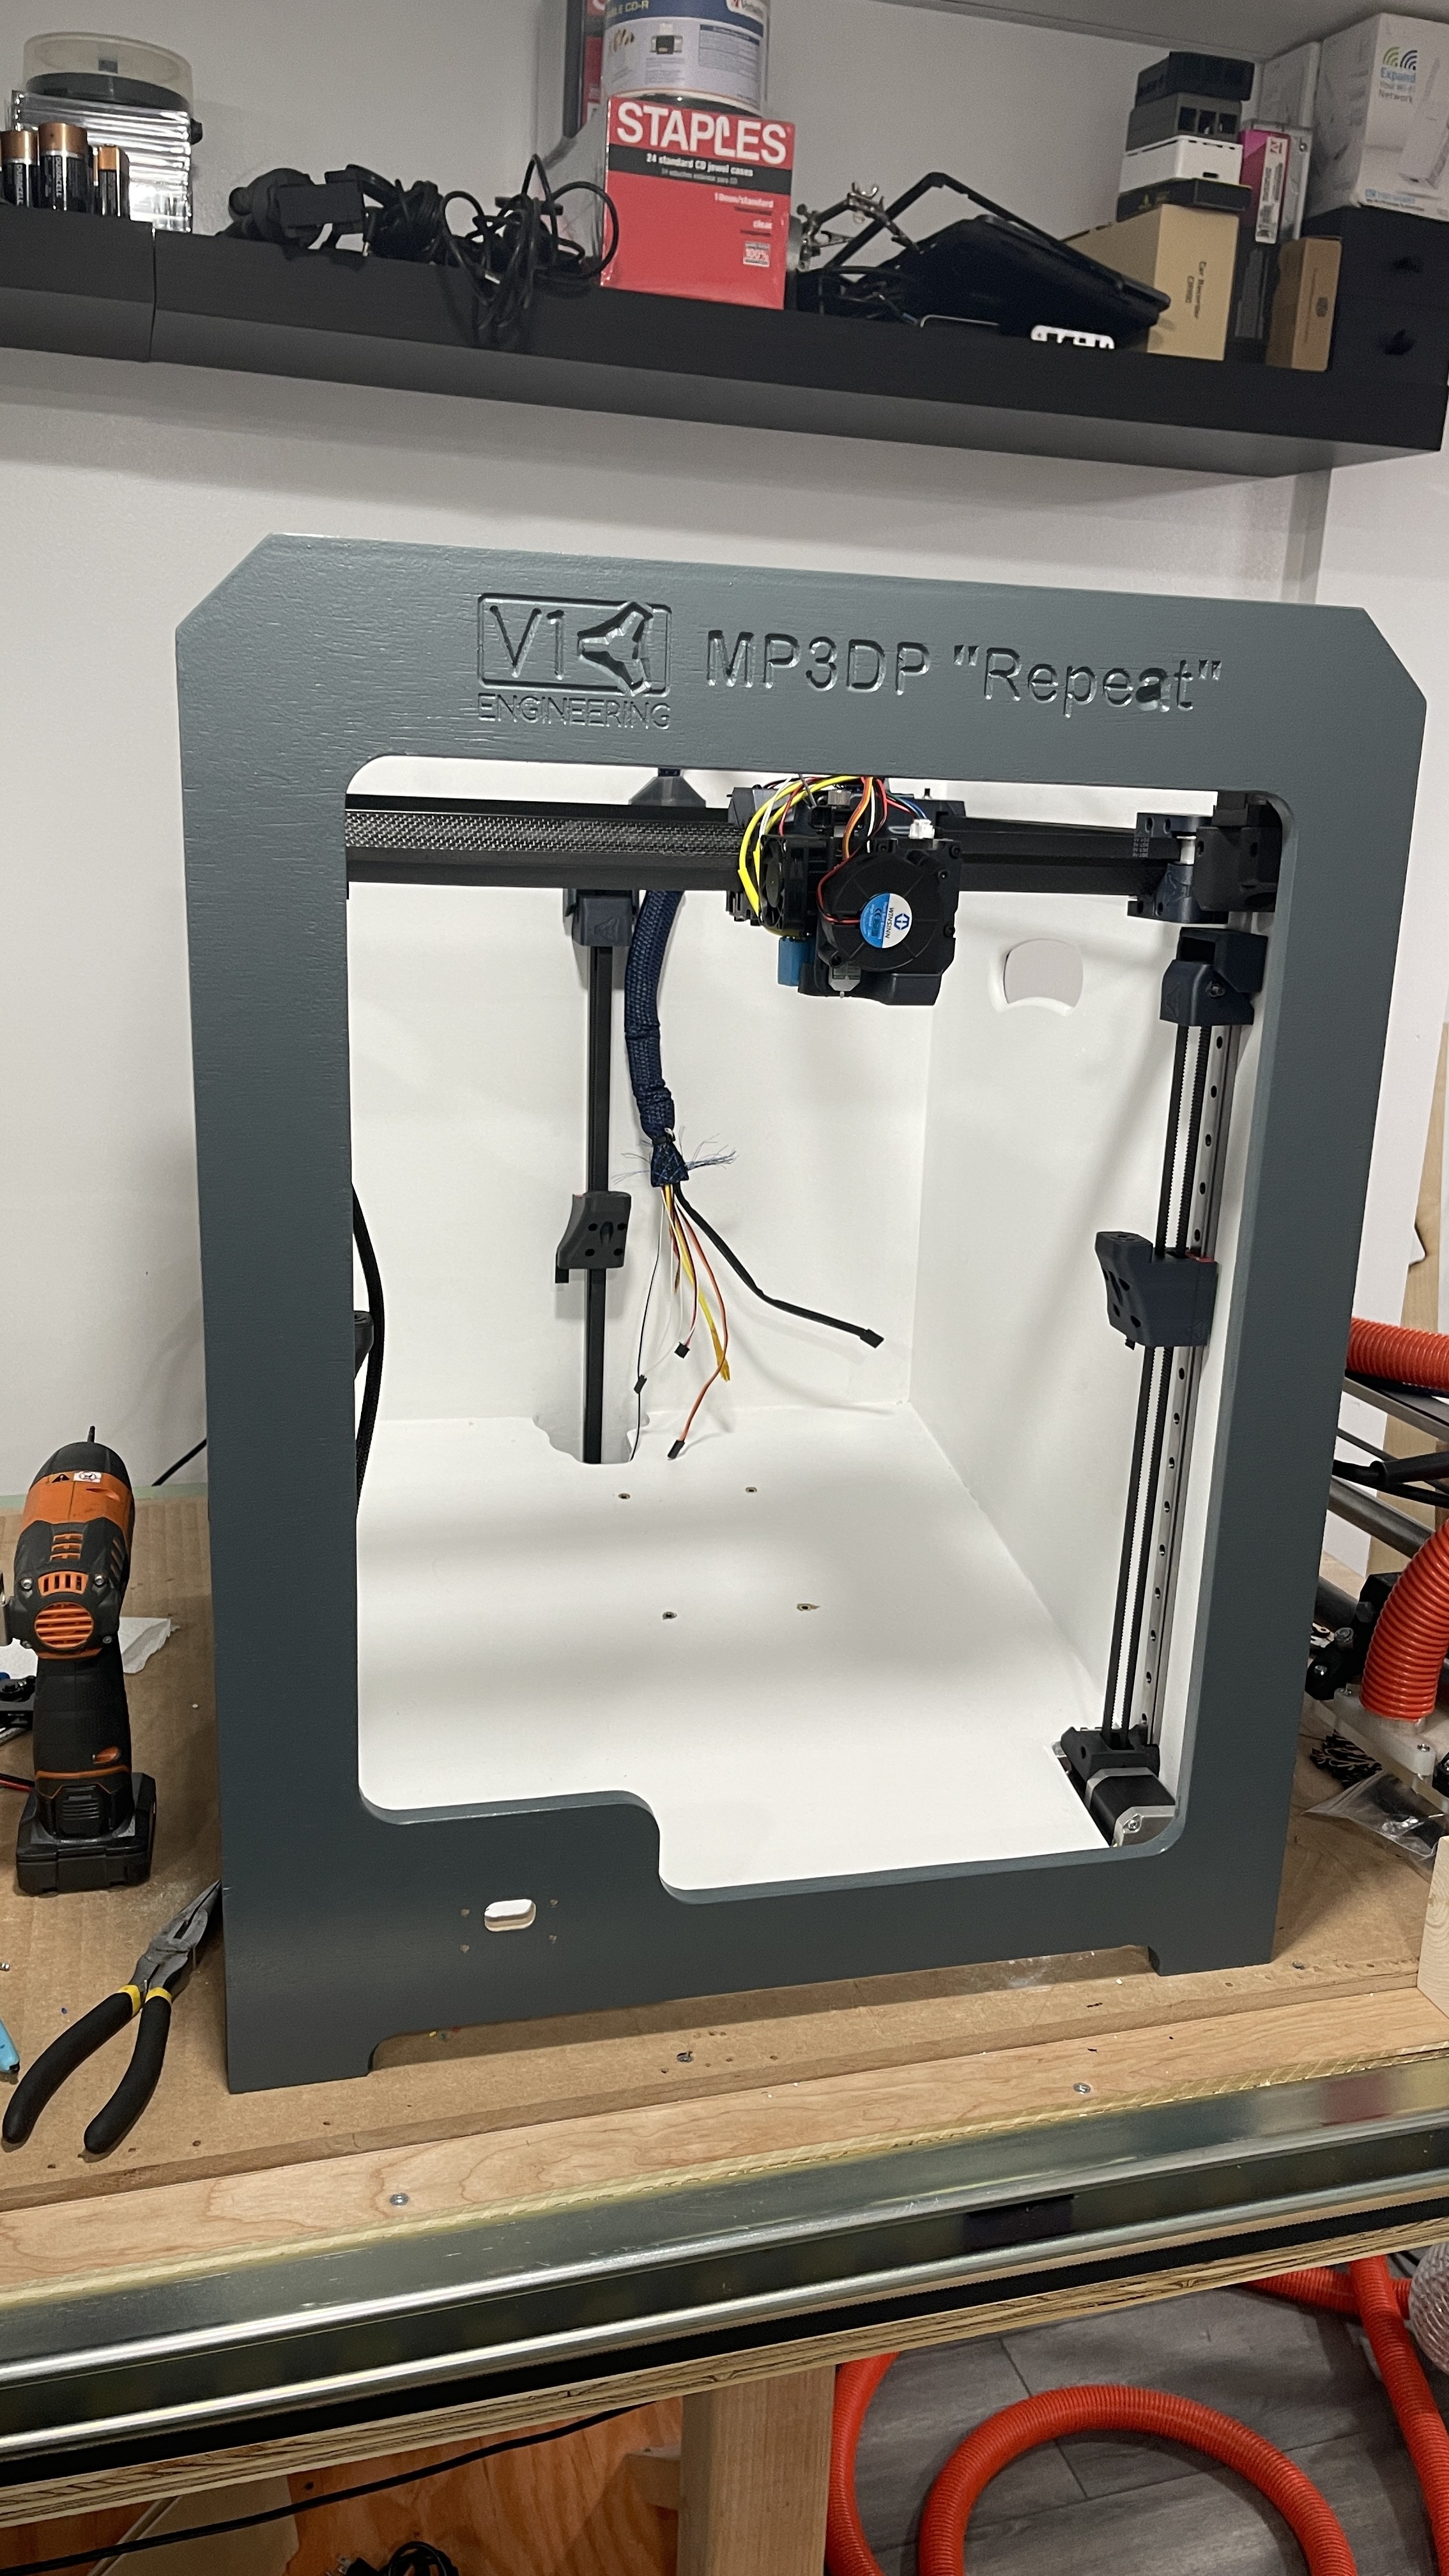
And the Front panel…
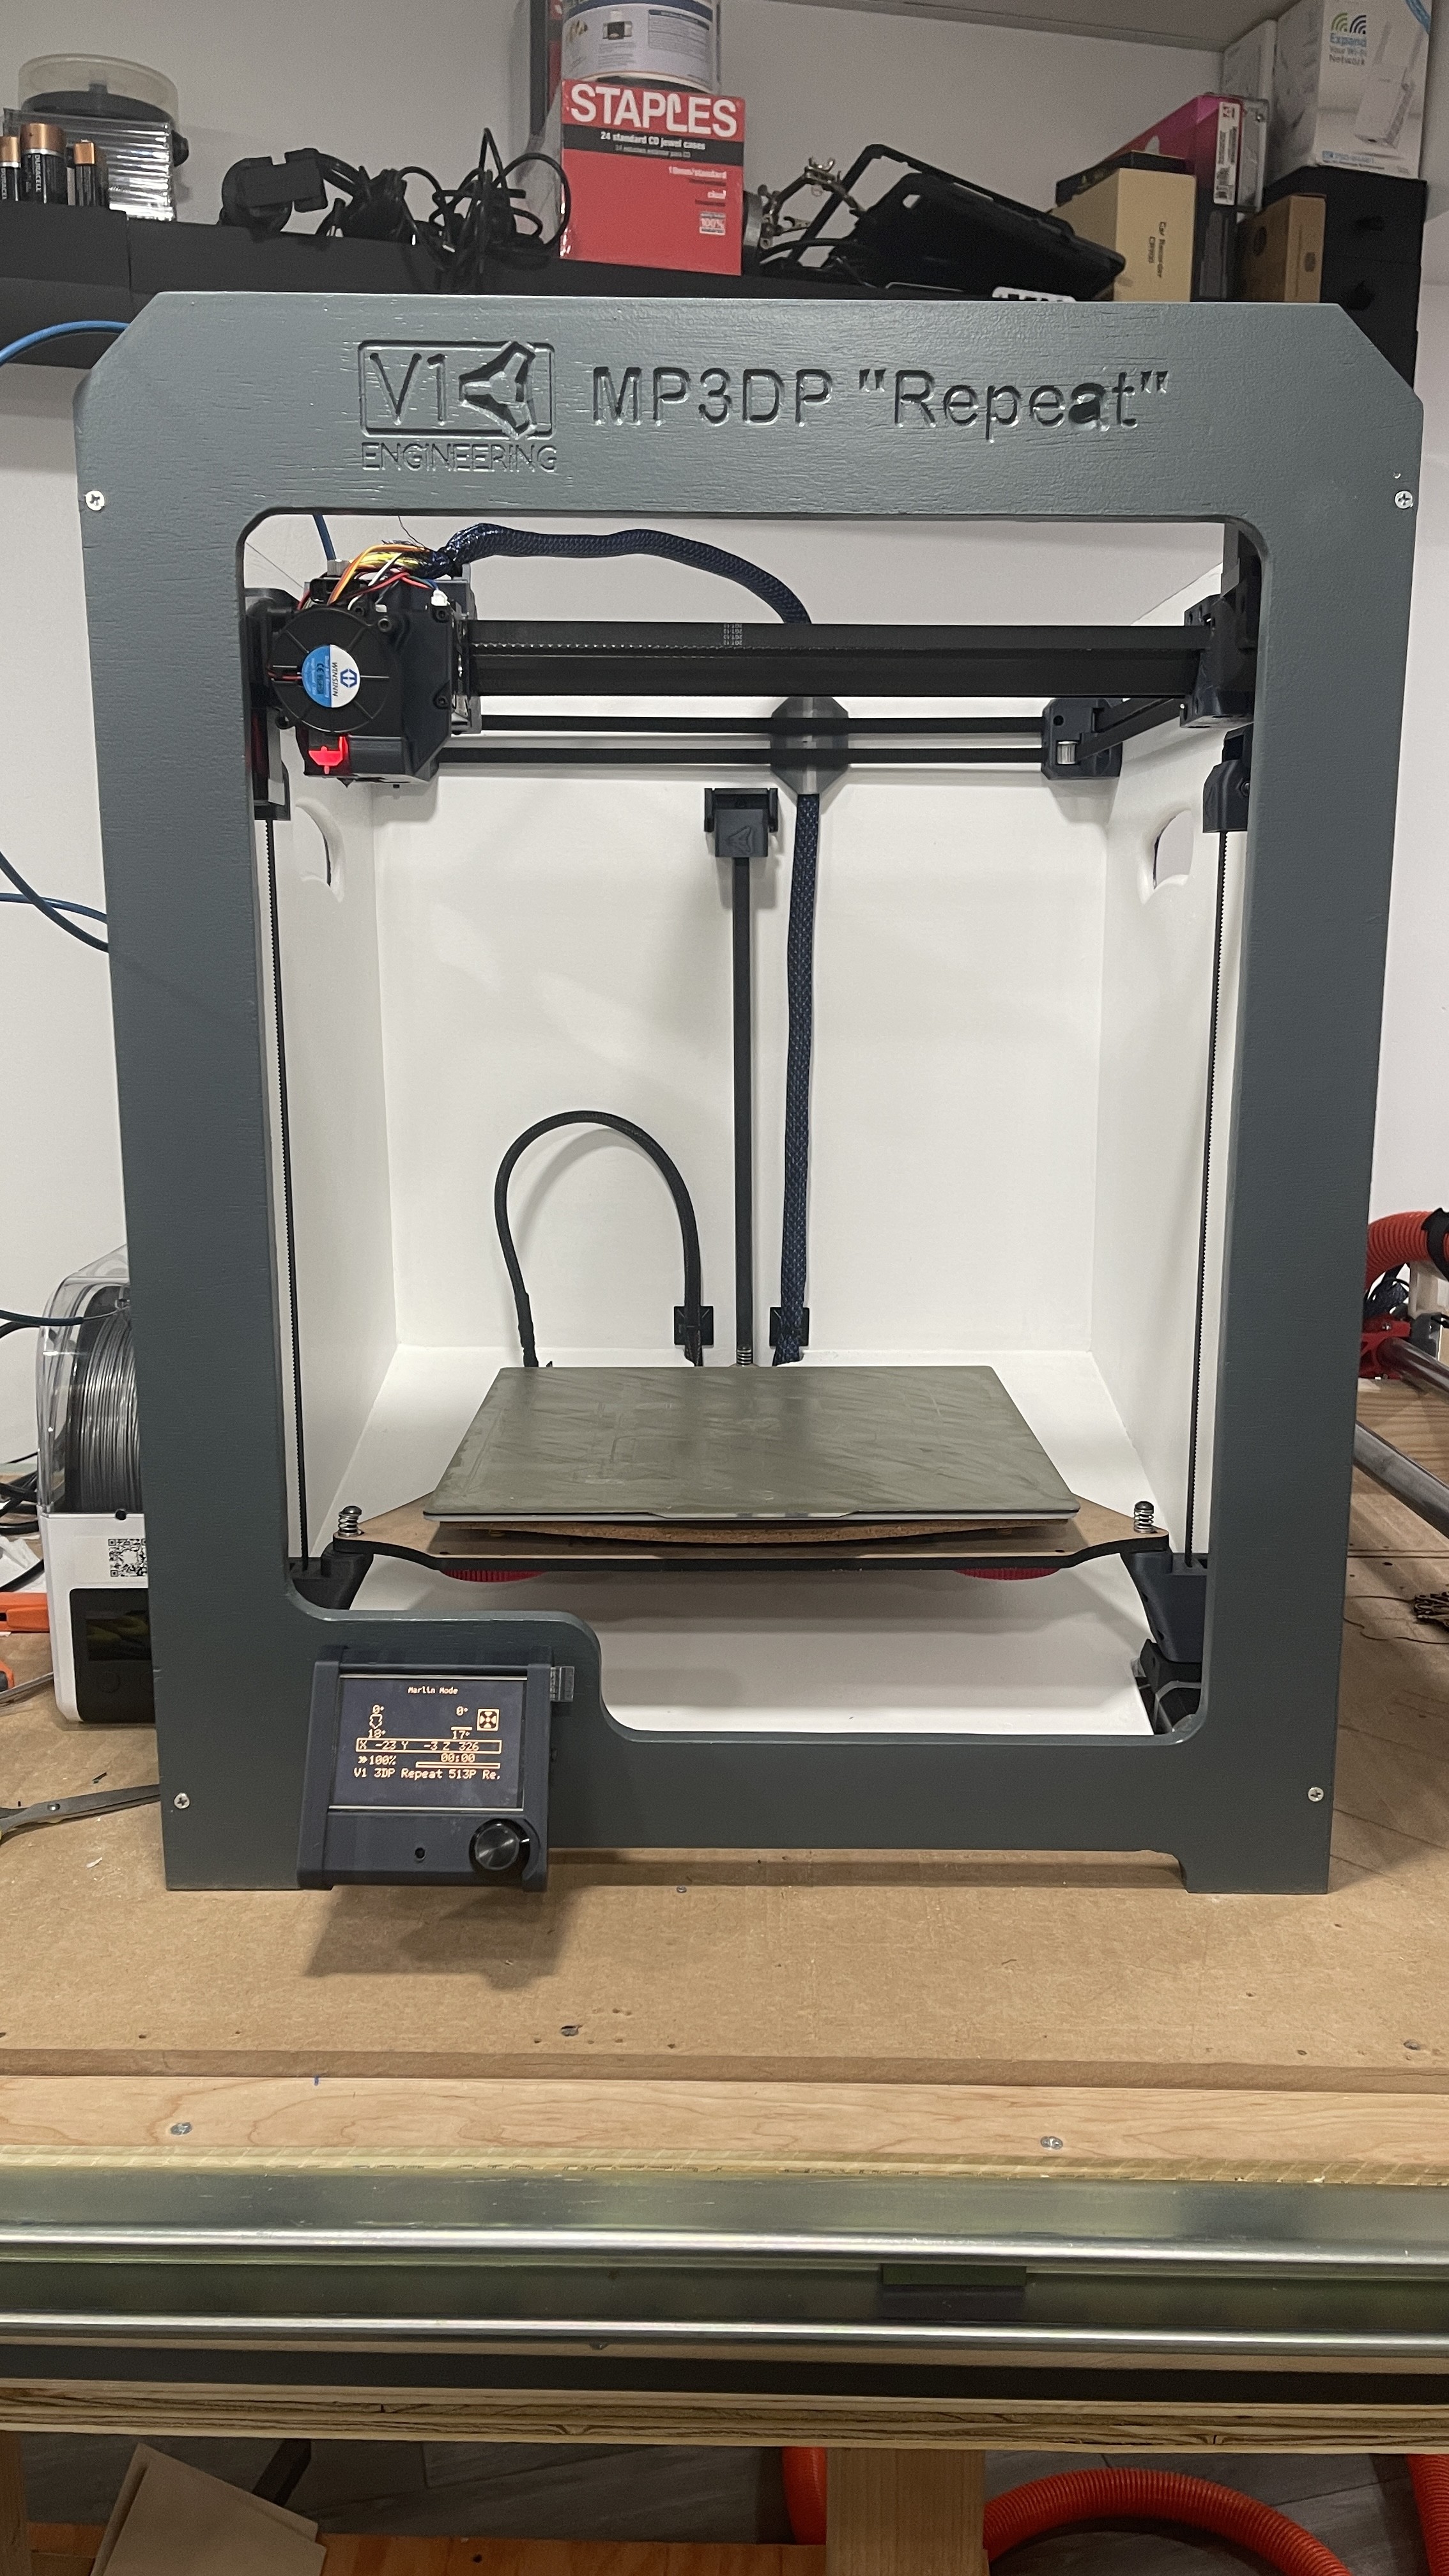
Just couple more zipties, Print the filament guide and add a RPI (optional) and she is done (hope early afternoon).
8 Likes
That looks really clean. Nice work!
Ryan, I would add the “file the slot” in the instructions just in case someone has the same problem.
2 Likes
Looks plenty safe to me. I have noted that and not to let the belt be long enough to hit the other side. It triggers well before that point and if it can hit it has the chance of getting bent and missing the next trigger if it sits like that for too long.
1 Like
I will be keeping an eye on builds to see how this goes for others. I still have no idea why that would happen for you guys. I am planning on printing some of those parts today from the current model to see if I happened to change anything.
2 Likes
Yeah, if you have much (any?) elephant’s foot in your print, it could force a bend in the belt. That’s certainly what looks like what was happening.
2 Likes
I do have a bottom 0.6mm chamfer, so 2-3 layer buffer but looks like it wasn’t enough.
Some of us are a little heavier on the plate than others… :muffin_top: :love_handles:
1 Like
You could maybe move that nubbin up a bit, to clear the first layers, Ryan.
3 Likes
Always thinking two steps ahead, Heffe how do you do it? That is a good idea.
1 Like
I have been mostly quiet in this issue because I really didn’t understand it for a long time. I think shutting up is maybe the key 
I disagree. I have such a narrow focus, you guys have a completely different perspective.
3 Likes