More fun with lasers, Lightburn, and ceramic tile

Alright… feeling a bit foolish, bypassing the most obvious candidate, to chase so many rabbits but the “candle soot” idea – and lack of handy soot-supplies – led me to pick up the can of Rustoleum ultra-matte black spray paint I already had on hand and quickly coat a piece of scrap glass.

Focused on top surface of glass…

after lasering…

and before complete paint removal with acetone…

then edge-lit…

no paint (top) vs flat-black spray paint (bottom)…

Ultimately, it appears IMHO the flat-back spray paint works as well as the “thru-the-glass, no-paint” (and tempera paint) methods I’ve tried… and is the same simple process I use for the NWT method for ceramic tiles and glass. All settings and process steps are the same.

Just use different color spray paint for either a fused-black embossed image (with flat-white paint) on white tile or frosted-white ablated image (with flat-black paint) on transparent glass.

Who’d a thunk it?

– David

10 Likes

I don’t have a laser and who knows when/if I will but … I have to say this thread has been both very entertaining and educational! Well done!

7 Likes

David,
Do you have any other colors of paint? I wonder if anything strange would happen with an orange or red. I would suspect it wouldn’t. As you’ve mentioned, the chemical in the white paint is what “burns” the glass/tile and makes it black. I’m suspecting that the black paint creating the white emboss is actually b/c of small fractures in the glass as the laser heats up the black paint. I could be totally wrong though. I just wonder if the only options are black and white.

This does bring up an interesting idea on glass. Can you paint it white and laser etch it to get the black. Then, clean it off and paint it black and laser etch an inverted image to make the white and get a more dramatic effect? I’d think this would only be helpful on glass as you’ve already got white when doing the process on white tile.

Just an idea.

1 Like

Please don’t beat me up if I’m not exactly “technically” correct with my explanation but I think you’re right, except that the “white/frosted” image I’m getting is not “embossed” (raised) but “ablated” (relieved); i.e. exactly what you go on to describe.

It’s funny how we’re talking about two different “end effects”, depending on the “color” of the paint used… a “additive” one and a “subtractive” one? The white paint has TiO2 in it, which “reacts” with the laser energy in a particular way, and blackens and fuses with the glass, leaving a slightly raised image… whereas the black paint “absorbs” the laser energy, locally heats the glass, and pops out tiny chips. I don’t know why flat-white paint has TiO2 in it (a whitening agent?) and reacts with the laser energy the way it does… but I suspect any color paint that “absorbs” the laser energy should work to some degree or another to “ablate” the image, so maybe black is better?

I’ve thought of that and am actually headed in that direction… but, at my age, I work/move slowly. I’m pretty sure of the processes involved now… but more concerned at this point with re-“registration” of the workpiece, getting ready for the second laser step. And working with the broken scraps of glass that I have been playing with, it hasn’t lent itself to giving this particular idea a try yet.

Another idea that may or may not have merit, is “coloring” the ablated/frosted etching with permanent markers or paint. Just thinking out loud…

Thanks for commenting… maybe we’ll get it all figured out eventually :thinking: :crazy_face:

– David

2 Likes

Is white. It’s used as a white pigment.

2 Likes

As discussed, I’m carrying on, as if I knew what I was doing…

Prepared 2 gcode files in LightBurn… one for black paint (bottom), one for white paint (top)…

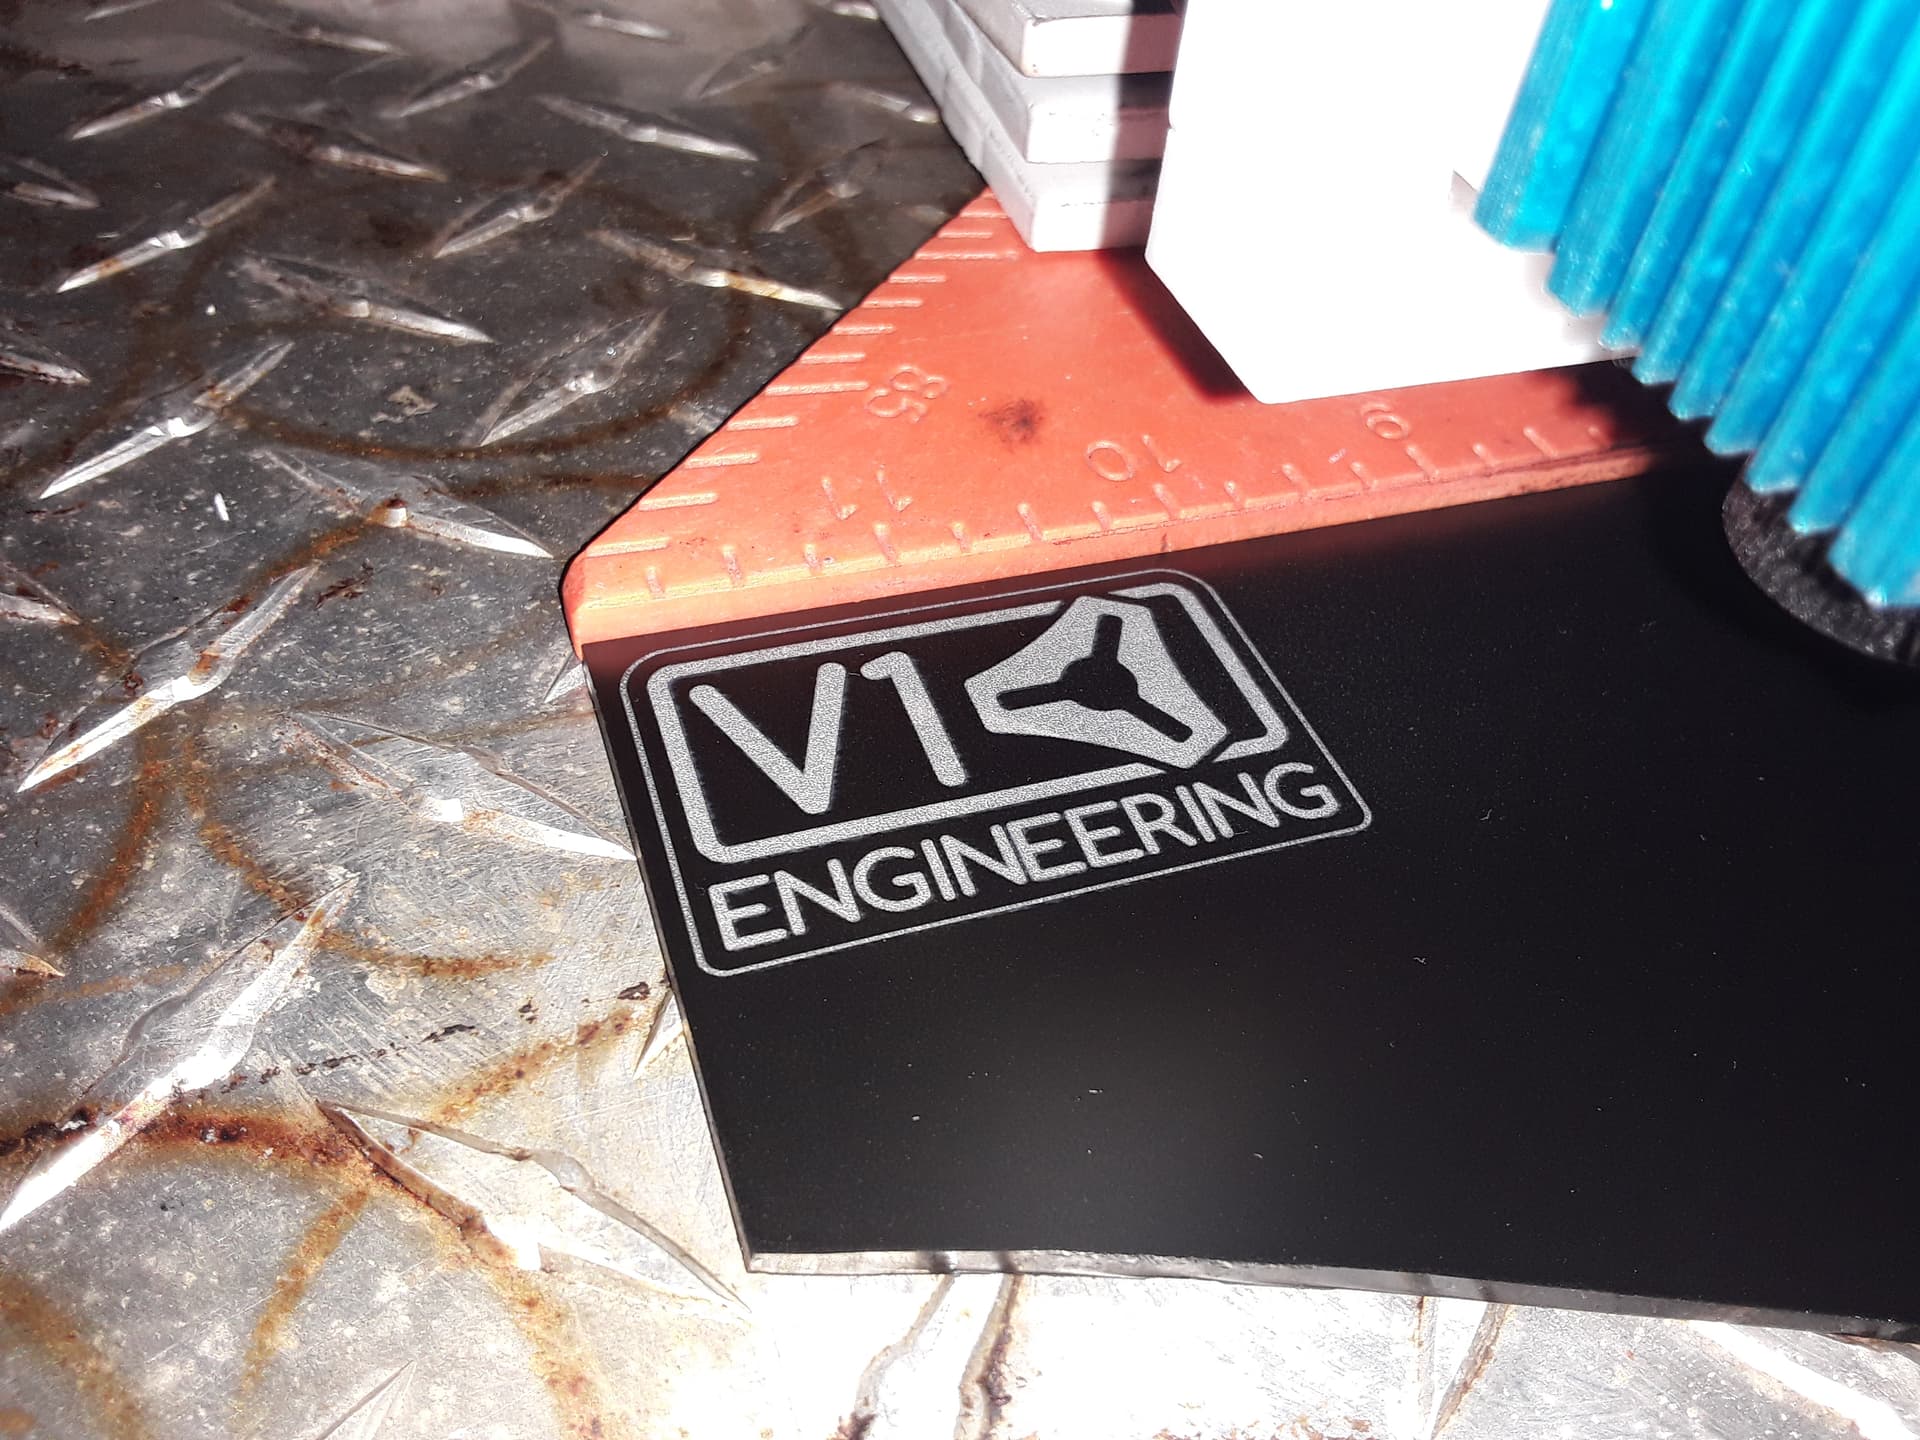
Black painted glass, lasered areas should be frosted/white…

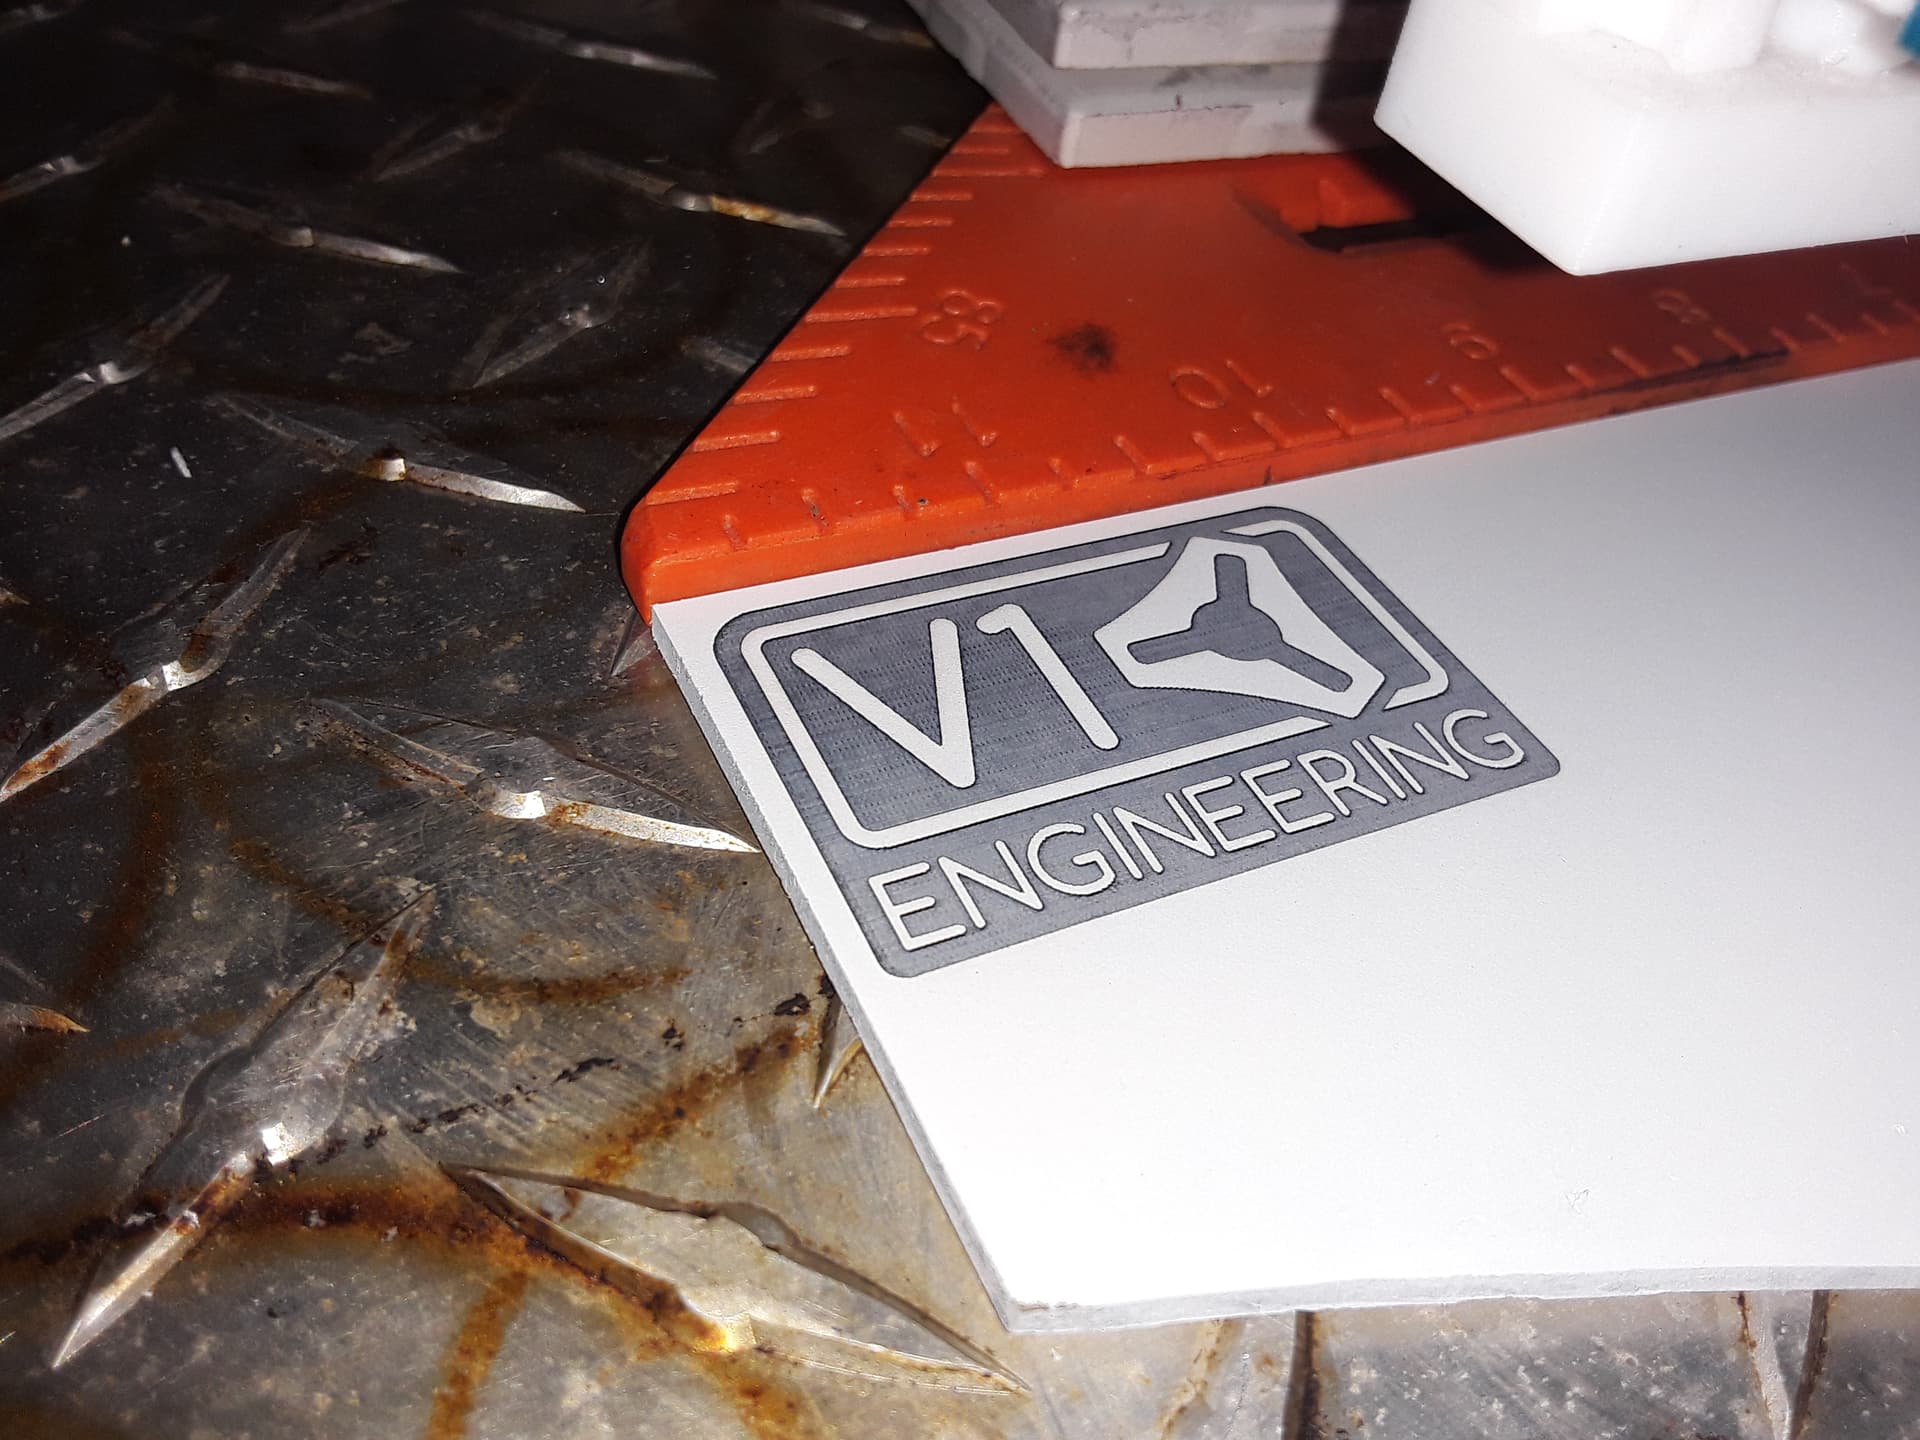
After cleaning off the black paint, painted glass white, lasered background should be black…

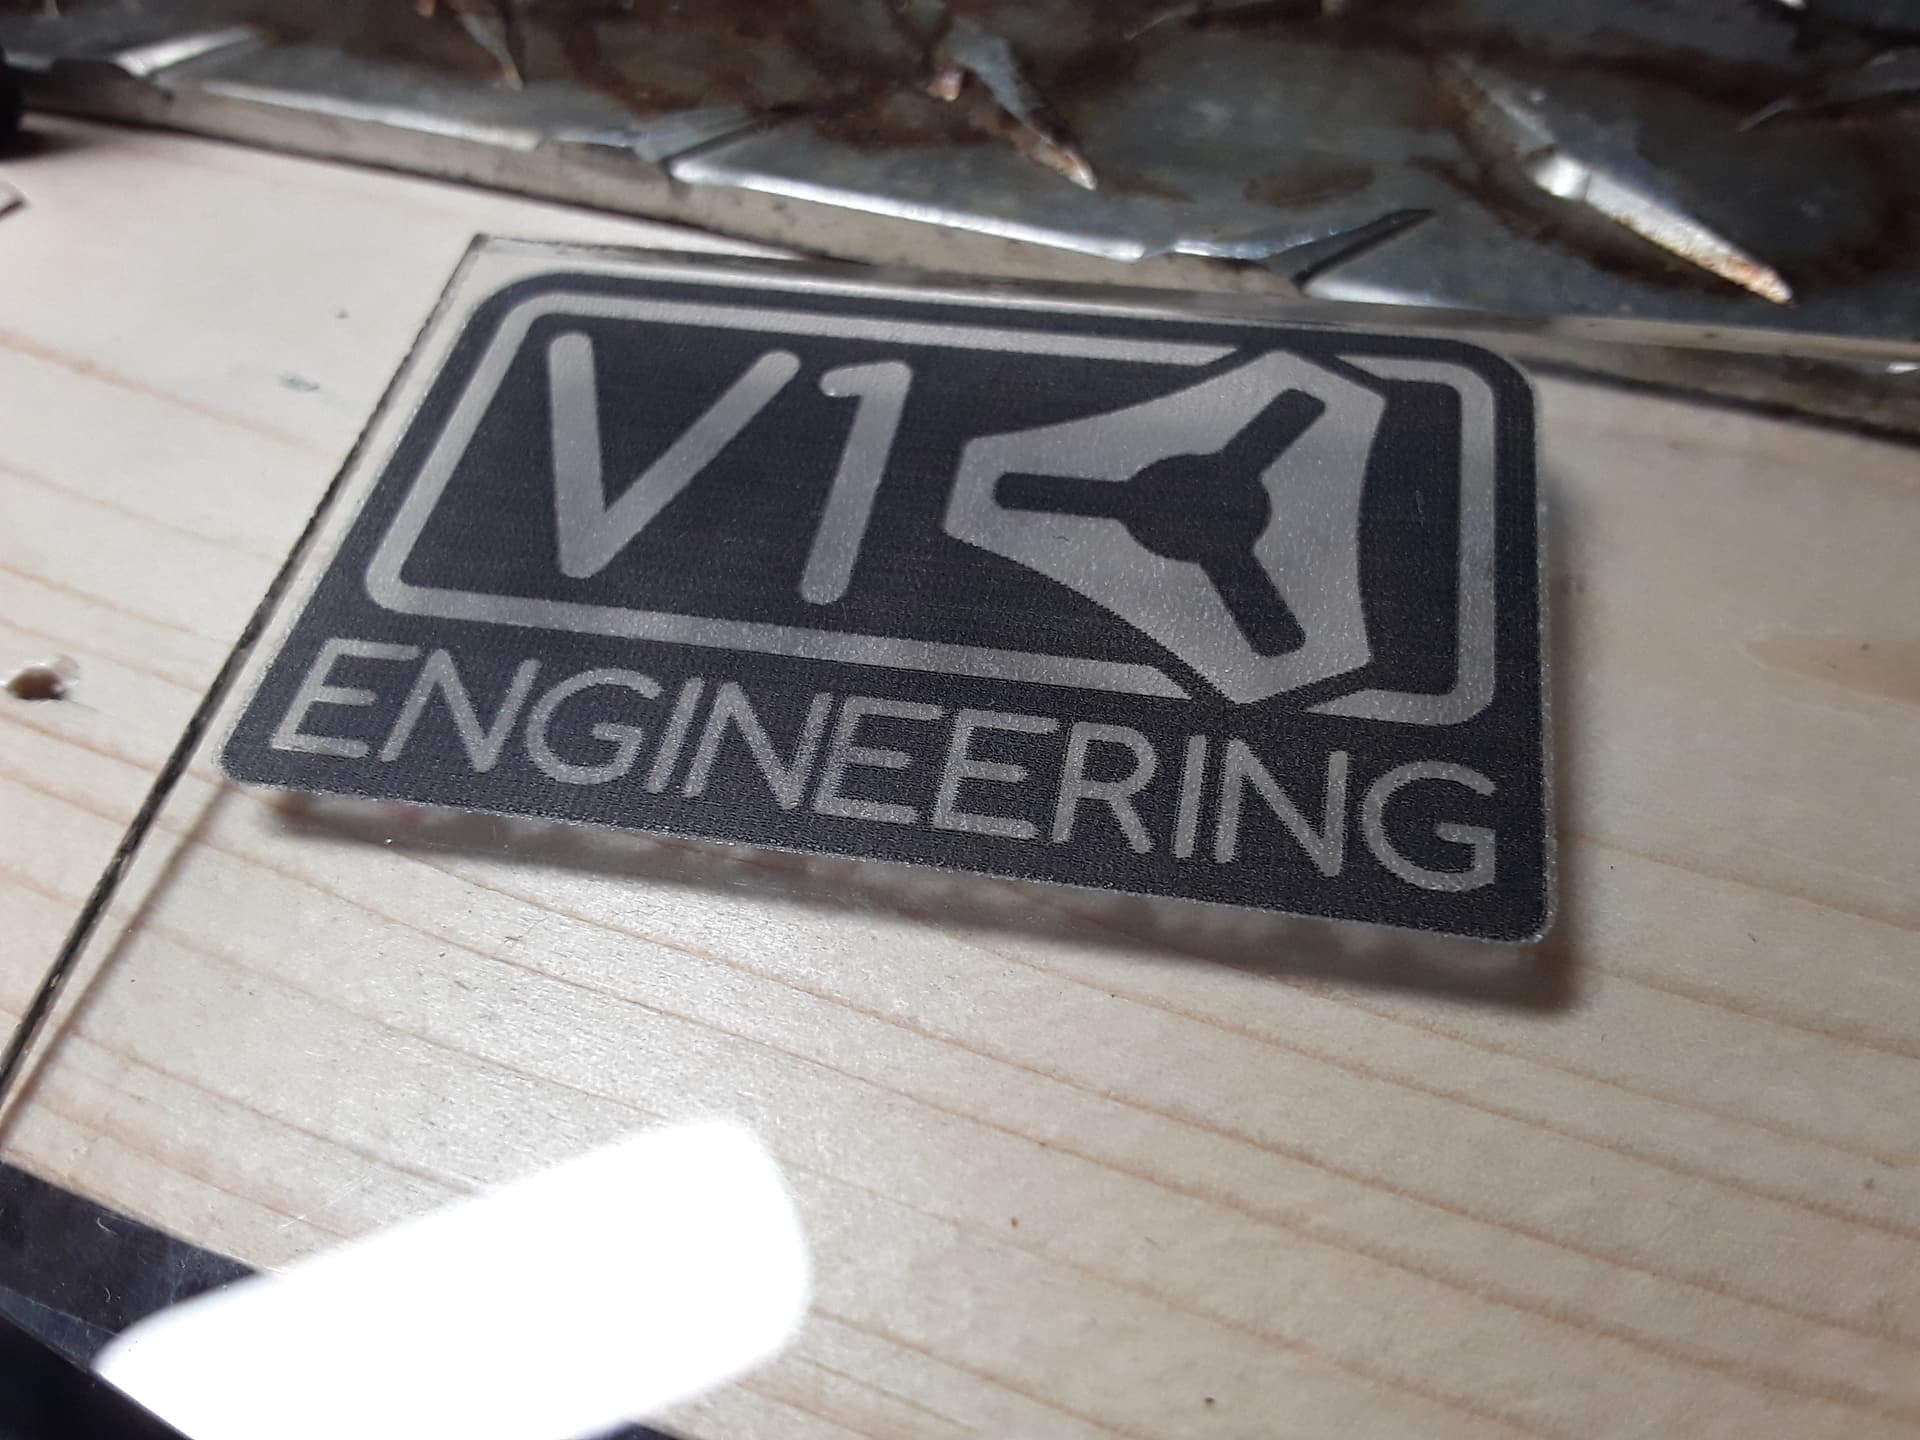
After removing all paint with acetone… leaves two-“color” logo

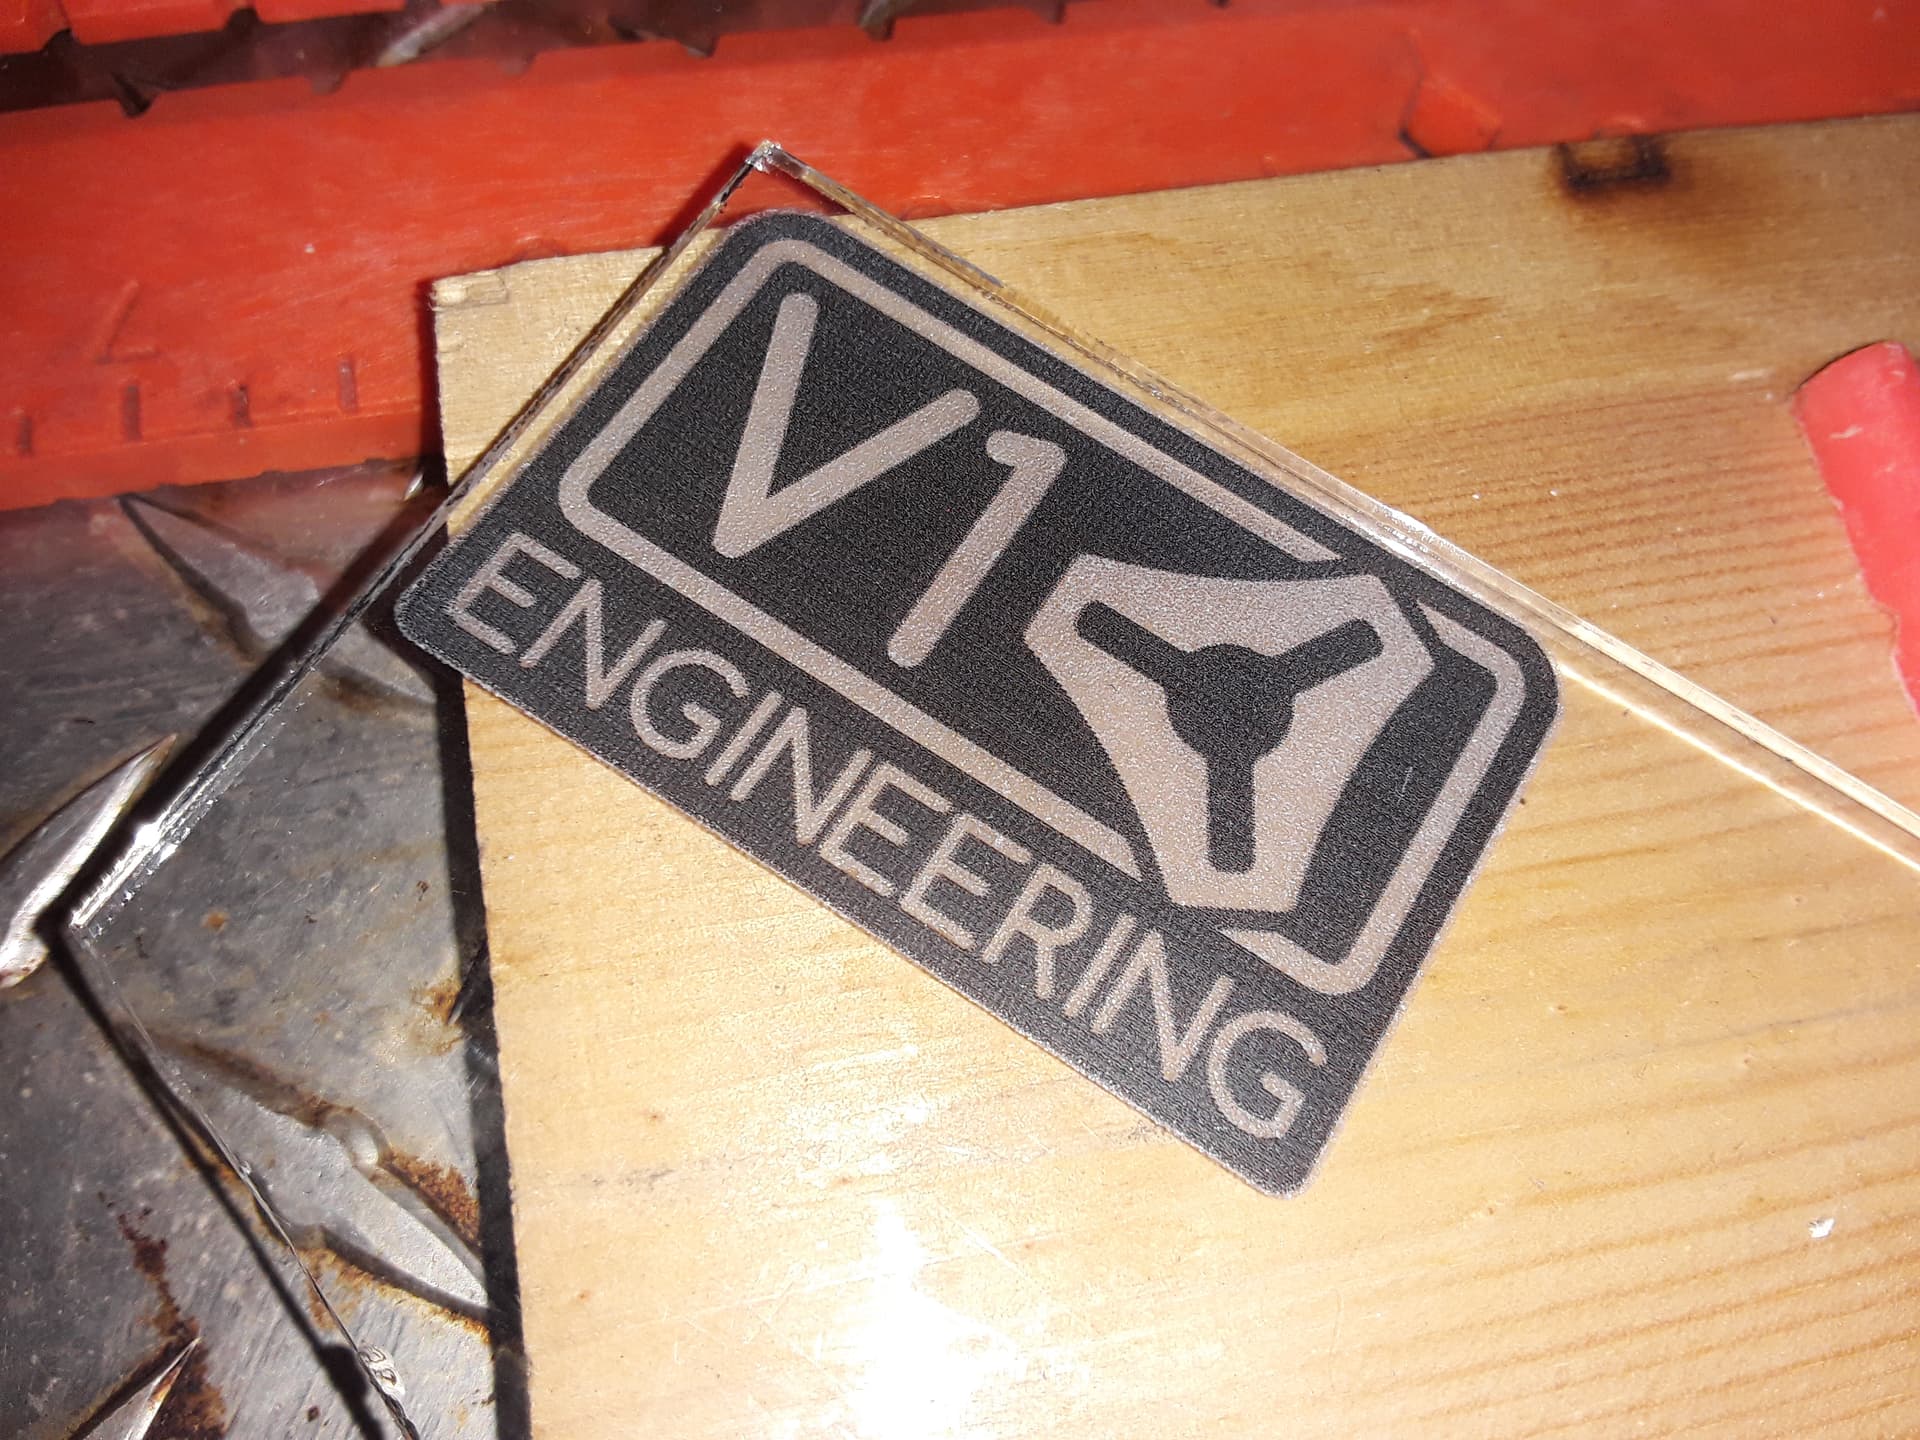
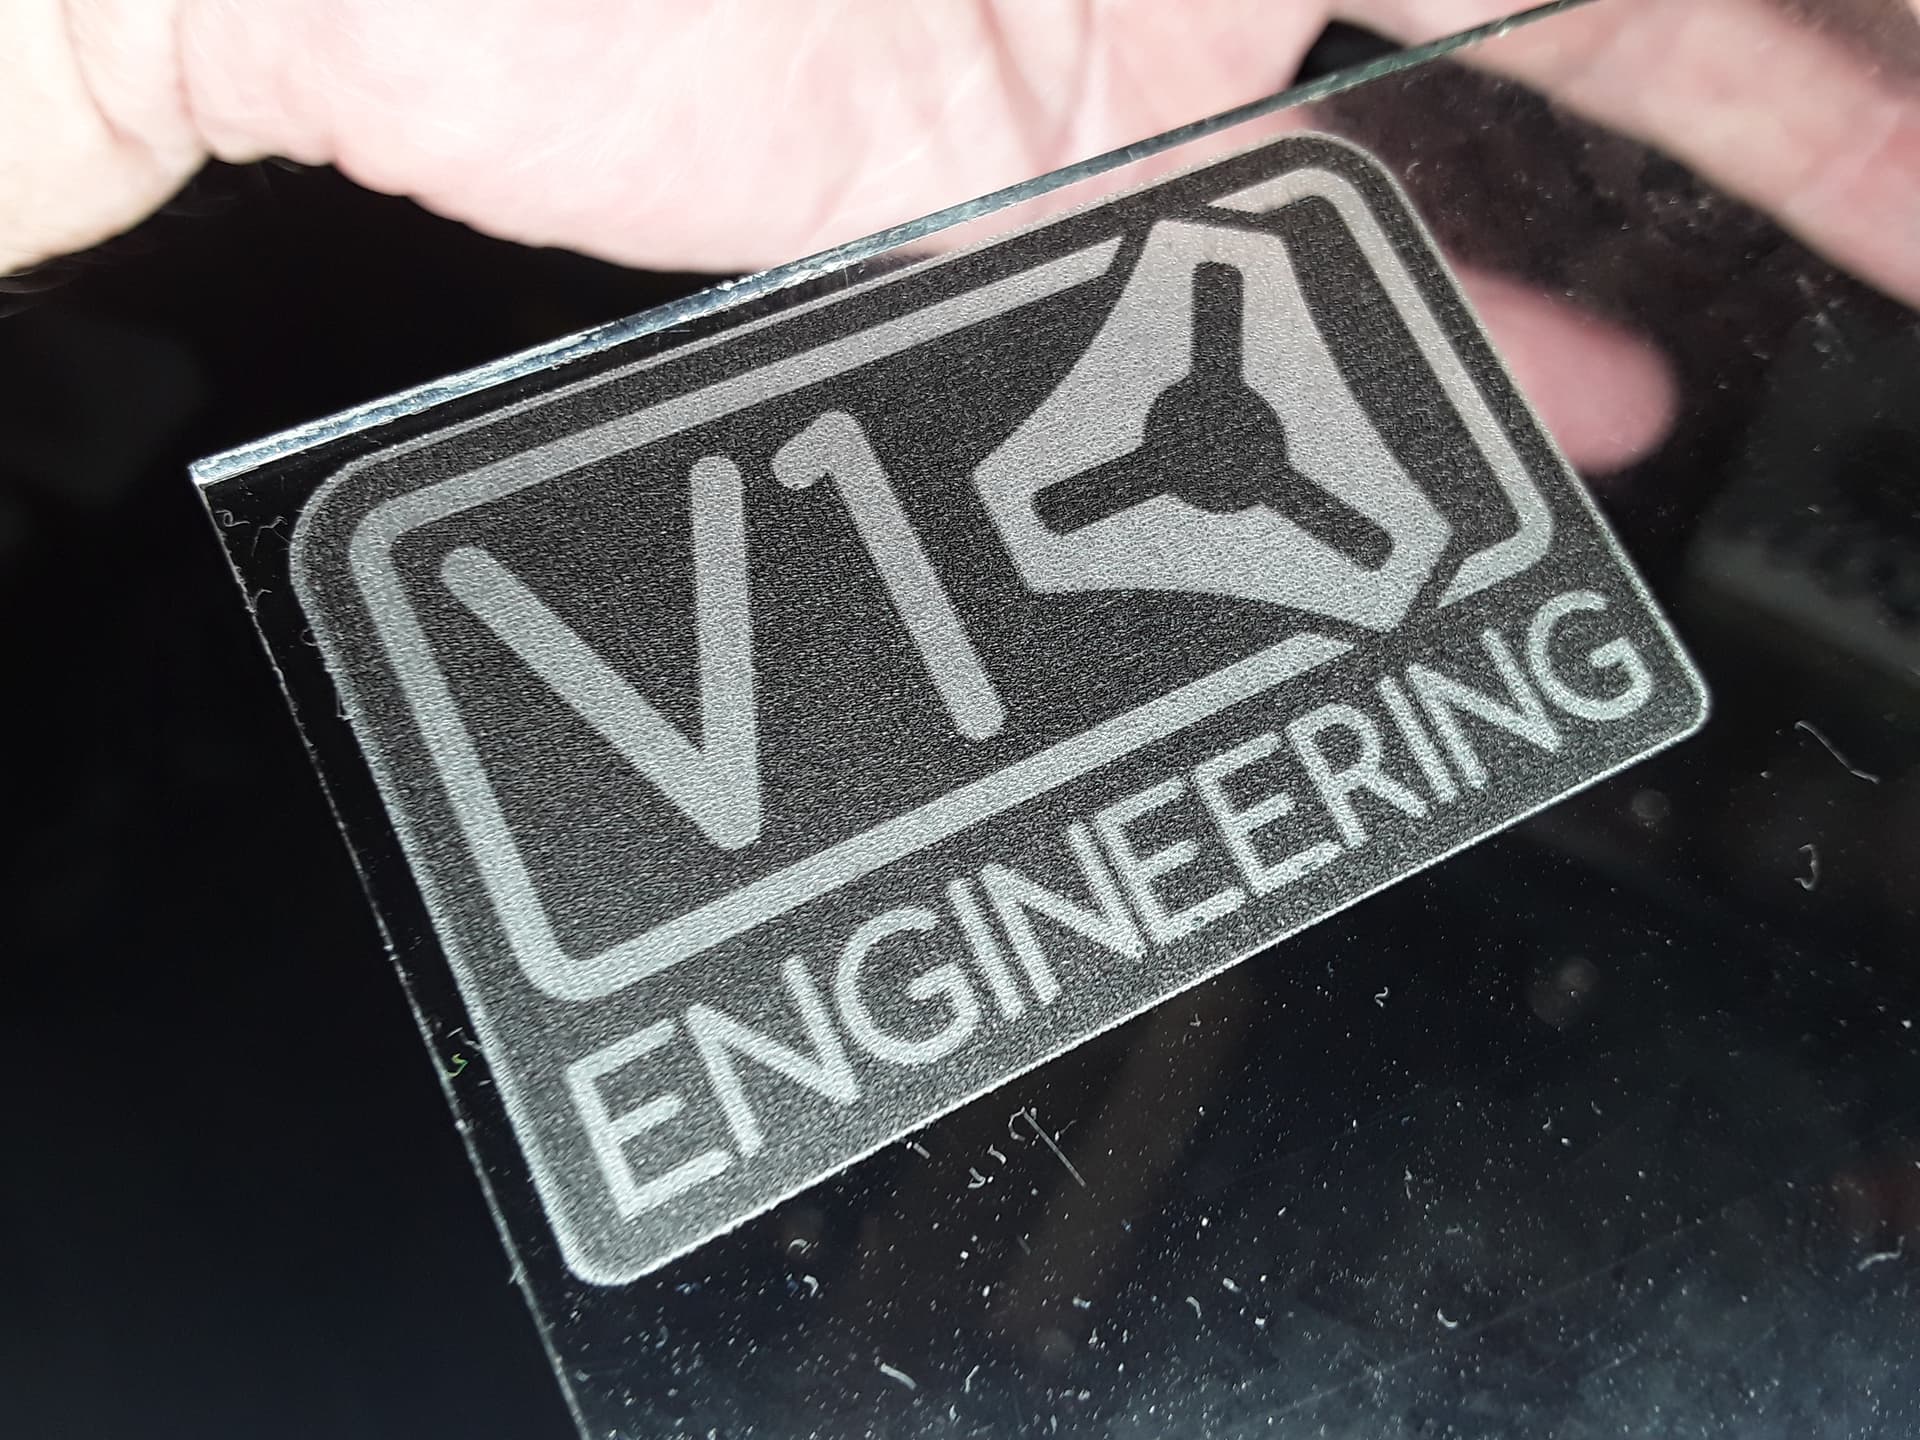
Edge-lit, the black background actually appears to have a frosty texture… not sure why. Possibly changing the order of operations might have an effect?

I’m reasonably pleased with the result… :stuck_out_tongue_winking_eye:

– David

14 Likes

I’m more pleased than you are for sure!

2 Likes

Yes! That is really neat looking. Good job getting it aligned. That is a very good technique.

1 Like

Great job getting that working! That’s a really nice look on glass!
I also like the way you clamped the square to the table for easy positioning/aligning!
I really want to play with this but my oldest is graduating this weekend and the wife told me not to start any new projects b/c I’ve already got 3 I’m working on. It’s really more projects than that but I don’t think she knows about all of them :wink:

6 Likes

I heard somewhere that this crazy V1 outfit has some weird obsession with a crown… go figure. From what I can tell, it’s some kind of “rite of passage”… like maybe they won’t let you hang out with them in their silly forum… or, maybe they won’t believe you just saying that you’ve built the greatest/bestest machine ever. And some silly mantra about “no pics or it didn’t happen”, or somesuch.

So rather than fight it… :stuck_out_tongue_winking_eye:

Black painted and lasered for the lighter, frosted areas…

Paint removed and before repainting with flat-white paint…

Painted white and lasered for the darker, black areas…

Pics to prove it happened… see?

Hope this is good enough to get me into the club… :roll_eyes:

– David

17 Likes

Let you in…?

You are the founding member of this club!

MB

6 Likes

Dude that’s awesome!

Ok my next question is, “Does it work with grey scale?”

Essentially, what happens if you did a picture where there are shades of grey so the laser would hit the same spot with black and then later white paint?
Or do you need to make the image a black and white image only?

2 Likes

Not quite a founding member… but a maybe one of the earlier ones? Not sure… :thinking:

2 Likes

Shoots, you are family!

3 Likes

Thanks for the kind words.

TBH I don’t do much grayscale… it’s too time-consuming IMHO to figure the max/min power for the range of grayshades for a given picture on a given material with a given laser.

Dithering an image seems far easier and approximates the shading well enough for the less-than-photo-perfect images I get on odd or organic materials. This image is the exact same NWT process above but using just the flat-white paint step… turns out black & white, with many shades of gray…

It’s easy and I’m pretty happy with it.

3 Likes

Can you put white on top of black or black on top of white? Your alignment is very good but I would think dithering would demand extreme alignment accuracy. If you can do one on top of the other, then alignment between the two processes is a non-issue.

I would think you would want white (from black paint) underneath, followed by black (from TiO2 paint) image on top. If black is underneath then the white might not show so well.

1 Like

Jamie, I’m using Lightburn to create 2 complementary (opposite blacks/whites) gcode files from just one image… so , in the gcode, “registration” and the origin is the same in both files. And, because they are complementary, each file and process step is only acting on “virgin” glass and doesn’t effect glass previously etched. All that remains then, is to insure mechanical registration is as good as I can make it; i.e. top edge against the square and top-right corner against mechanical stop… and make sure not to bump the laser out of position.

Before realizing I had to have complementary files, I tried “positive/negative” image files, and managed to put “black over white” on one test. The result is a “textured black”…

as opposed to a smooth black…

I haven’t tried “white over black” yet, though I have thought about it. I’ve wondered if I might skip a paint step by putting down a solid black background (a blackened “fused”/smooth surface) normally… and then try to “ablate away” the white foreground image. It is a test I want to try…

– David

4 Likes

Interesting, somewhat surprising, results from our “white over black” test…

Created a solid black background using normal NWT white-paint process and then cleaned up…

Without painting black, then simply lasered the light/ablated image onto the solid background…

Far better than I expected… slight imperfections near top of “1” was also on the solid background…

Doesn’t edge-light worth a flip… not nearly as well as “normal” two-step paint-on processed image does…

I suspect it’s because the ablated material comes from the raised solid background layer rather than the glass body proper underneath, as it does with two-step, paint-on, processing.

Image (bottom) also seems “dimmer”/“duller” than one done normally (top)…

A bit surprised that it worked at all, this doesn’t really yield as nice a result IMO. Though the initial solid black background might have been better and “blacker”, the final image just doesn’t seem as bright and sharp to my eyes. And this would be a “show-stopper”, I suspect, for those who are looking to edge-light the image.

There are probably lots more things that could be done to test this process but I’m pretty satisfied I know why I’m seeing what I’m seeing. So I will probably do further tests only if the “spirit” moves me… the rest, I’ll leave as “an exercise for the reader”… :wink:

– David

9 Likes

That is really thought provoking work, David. Very interesting to see the results from your laboratory.

3 Likes

:exploding_head:

I’d never thought of that. I agree it’s not as crisp of a final result but I don’t see it as a total loss. Just another option to know about in case that’s what someone wanted.

Thanks for testing all this! It’s really cool to see what you’re coming up with!

2 Likes