Thank you for sharing the file! My kiddo doesn’t need it this time round but when we hopefully do some yard work this year I’d love to build one of these for him.
2 Likes
Thank you!!! With three grands so far, two of which are boys, they will one day get old enough to enjoy something like this.
2 Likes
Are each of the DXF files only needed once? Or do any of them need to be cut out more than once?
EDITED TO ADD: I looked closely at the photos, and saw which ones need cut more than once, I think. Maybe you can check my work below.
Speaking of which, I tweaked the seat, rounded off some corners with fillets on various parts, nudged up the pivot point near the leg of the “operator” to get a little more clearance (hope that works), and then optimized the following cut plan so it fits on a 14" x 48" sheet of 1/2" thick material. (Three small rectangles are included just to square off scraps that might be usable for something else.)
Ver 1.0
SVG — CUT PLAN for 1/2" 14" x 48" sheet:

CAT Loader Toy CNC CUT PLAN for 1/2" 14" x 48" sheet
DXF — CUT PLAN for 1/2" 14" x 48" sheet:

CAT Loader Toy CNC CUT PLAN for 1/2" 14" x 48" sheet
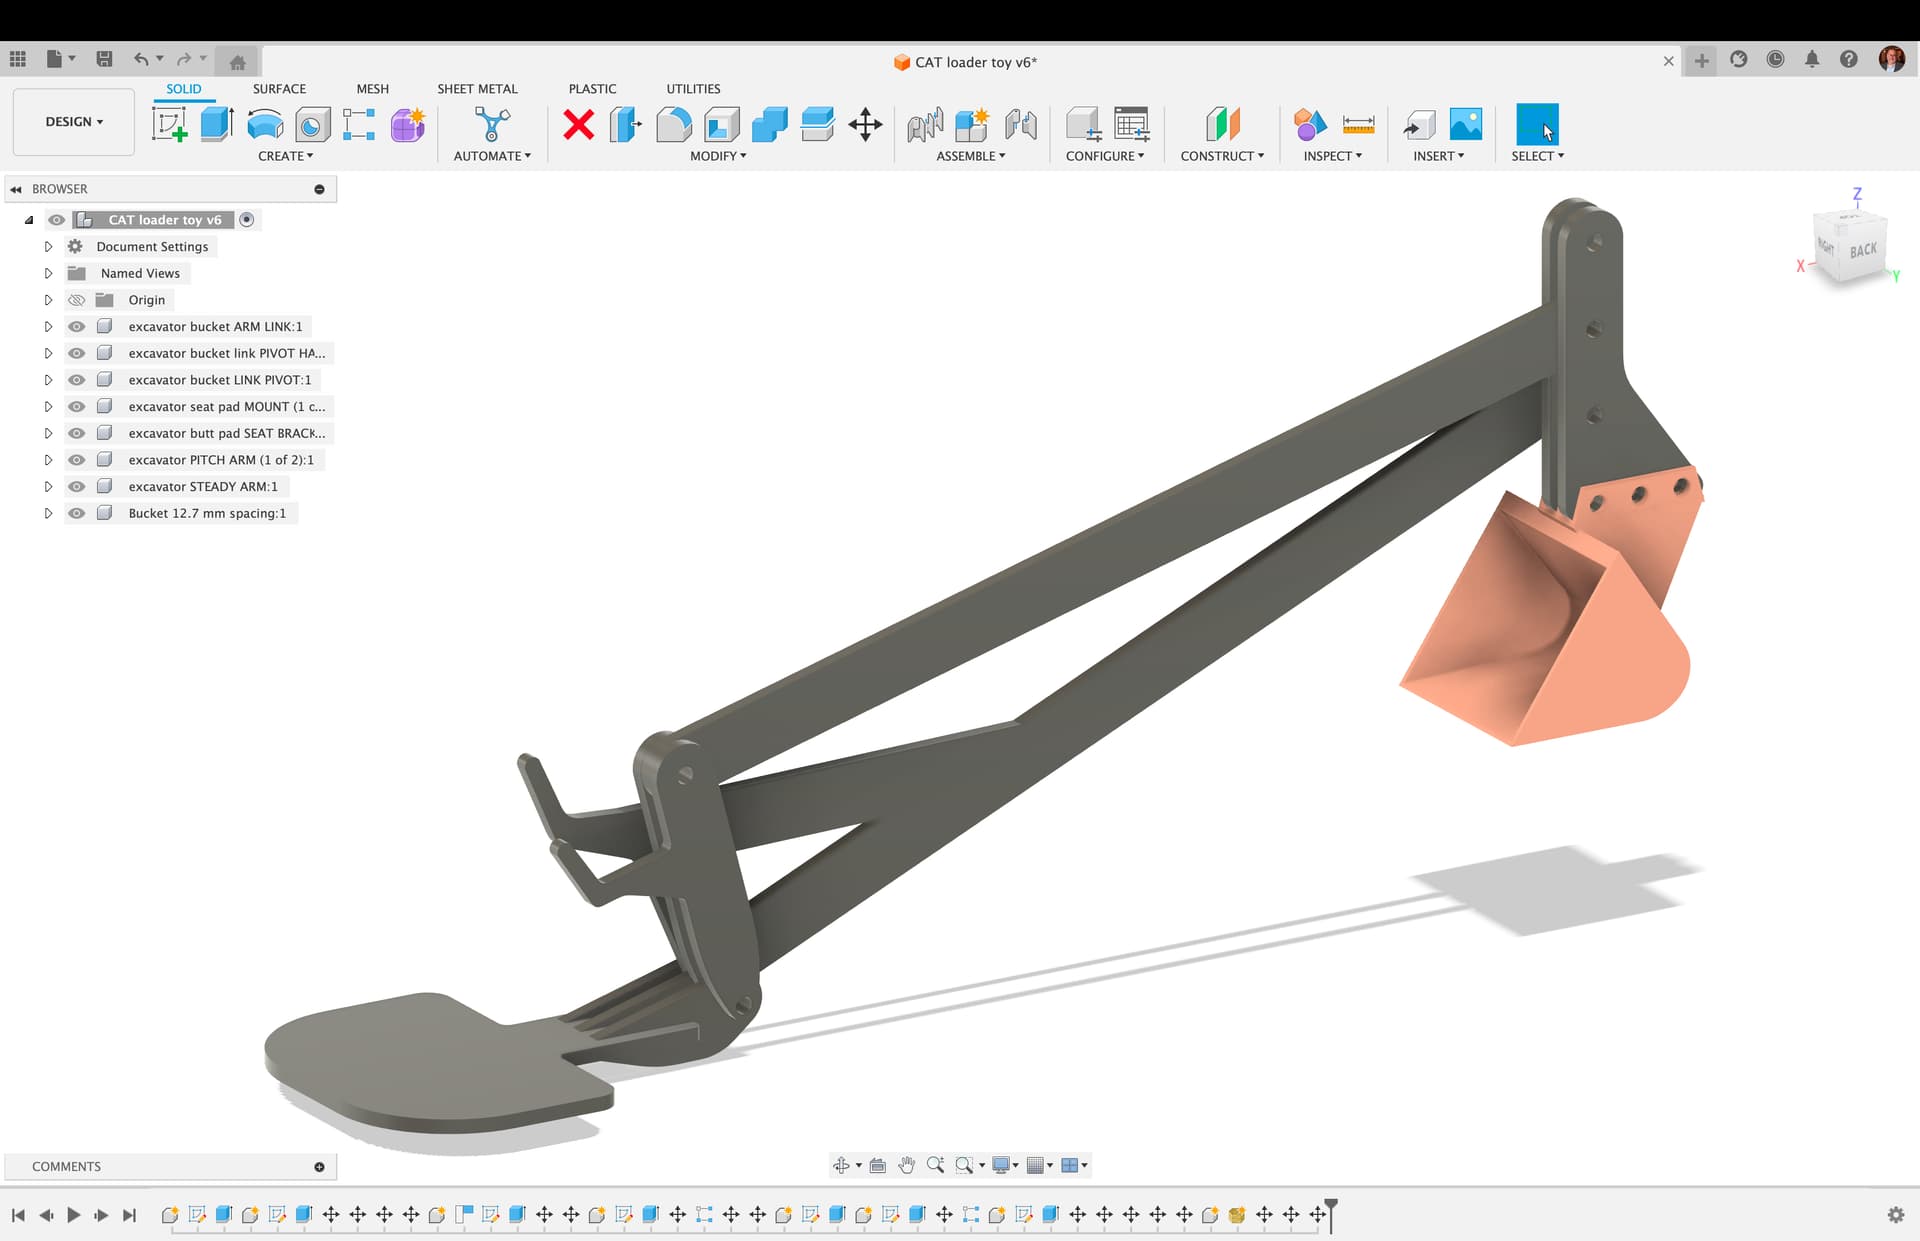
Fusion 360 model:
3 Likes
This is super cool! The photo of the bucket on your printer is awesome!
I first saw one of these when my oldest was too young to use it, so I held him and we ran it together and then I had to hand him off to finish the job.
Later, one of my first 3d print jobs was this I remixed and made for my youngest:
All the arms were segmented (then later drilled and bolted with 8-32) to fit on the super mini printer I borrowed for it. The brand name escape me but it was a 6"x6" bed. There was no tuning for it, it either printed or failed. The base servo ended up not being strong enough for the job and stripping out. I iterated a couple times for fixing, but the best part of the gift was the pound bag of m&M’s. I thought the bucket was the coolest printed part.
I’ve been thinking about robotic arms lately and part of that motivation is this arm that, while functional when it was opened, didn’t last long. I’d really like a desk sized toy for moving lentils or something in a cookie sheet that a youngster could do via Bluetooth by tilting a phone or with a switch pro controller or Wii remote. Your build has me thinking of this again. Thanks for sharing!
4 Likes
Oh man that’s awesome!! Love the new seat pad and revisions and yes you are correct there is a couple duplicated parts and the milling I am still very new at this so I don’t quite have the fancy things figured out.
1 Like
That sounds like a fun plan. I printed my in 20% scale and I could see it being possible with servos and syringes for actuation too.
Also I wanted to add some hook holes so you can add bungee assist for the smaller kids and for the heavy metal bucket.
I also thought of using extensions on the handles made of metal pipe or something heavy to help with lifts ing.
1 Like
@Waspjr
Hey quick question…

Also based on your recent helpful tip, I lengthened the “handles” on the cut plan by 36mm or so.
Those are for the cut outs for the seat pad mounts.
So the seat pad mounts can slide in. For extra strength I didn’t know how to do tool paths in freecad so I had to resort to doing it like that. Then moving it onto the seat pad so it would mill the seat pad itself. The seat pad mount opening is smaller than the 1/2” ply wood so it goes in tight with glue then I fiberglassed over them.
I’m trying to follow that, but having a hard time. Any chance you have a photo or two that helps with the explanation?

I knew the main pivot would be weak and would want to “wrack” side to side of the kids pushed on the top. So I did a inset cut of about 2-4mm doc to tie it into the butt pad for extra strength.
I glued the pieces and installed overnight and put some dowel through the hole to keep the alignment.
1 Like
Ah, so the “recess for excavator butt pad seat bracket” parts (the strips) got glued onto the bottom of the seat (butt pad), in between the “excavator seat pad mount” parts, right? And the pocketed out area on the top of the seat anchored the “mounts” on the top, while the glued on strips anchored it on the bottom?
This has me thinking about the thickness of the seat and the potential weight of the child operating it. Does 1/2" plywood seem thick enough? I’m wondering about the possibility of cutting two seats (butt pads), one with notches for the “mounts”, and one without, and the one without would be on the bottom, with the strips glued to it, and the one with the notches would be on top, glued down to the other one. This would make the seat thicker and stronger, yet would require more plywood be used.
1 Like
If the 1/2" plywood is sufficient for thickness, did you consider using cross lap joints for where the “excavator seat pad mount” parts attach to the seat?
Yes I have tested the seat and it supports about 180lbs. I wasn’t acting like a child on it tho so lol
I thought of using some 3/4” I feel the weakest point is the seat and the mounts connection.
I ended up just cutting Eva marine floor chunks for a seat pad. I wanted to do some cool engraving but lost time.
1 Like
I did up this version which is made for cross lap joints where the mounts attach to the seat!
Ver 1.1
SVG — CUT PLAN for 1/2" 14" x 48" sheet:

CAT Loader Toy CNC CUT PLAN for 1/2" 14" x 48" sheet
DXF — CUT PLAN for 1/2" 14" x 48" sheet:

3 Likes
Are you using some kind of Nesting Software for the Sheet Layout or are you just amazing at efficient and beautiful layouts by hand, @DougJoseph? I personally use Deepnest yet your layouts have some kind of sophistication to them ![]() Deepnest is an open source nesting application, great for laser cutters, plasma cutters, and other CNC machines and I use it a lot.
Deepnest is an open source nesting application, great for laser cutters, plasma cutters, and other CNC machines and I use it a lot.
Yet I‘m always eager to learn about new Software.
1 Like
This is actually a combination of both. I did use Deepnest to see what it could do, and I took its best idea, and then manually improved on it. Eventually, I came up with a tall skinny solution, and a short somewhat thicker solution, and I actually took a few seconds to take the length X width on both of them, and see what the total square area of sheet goods would be on each, and found out that the tall skinny one was more efficient.
2 Likes
Just refining the latest attachment.
A little sneak peek

Only Toy Story references allowed
3 Likes
Nice!
1 Like
I want one of these for my backyard!
1 Like