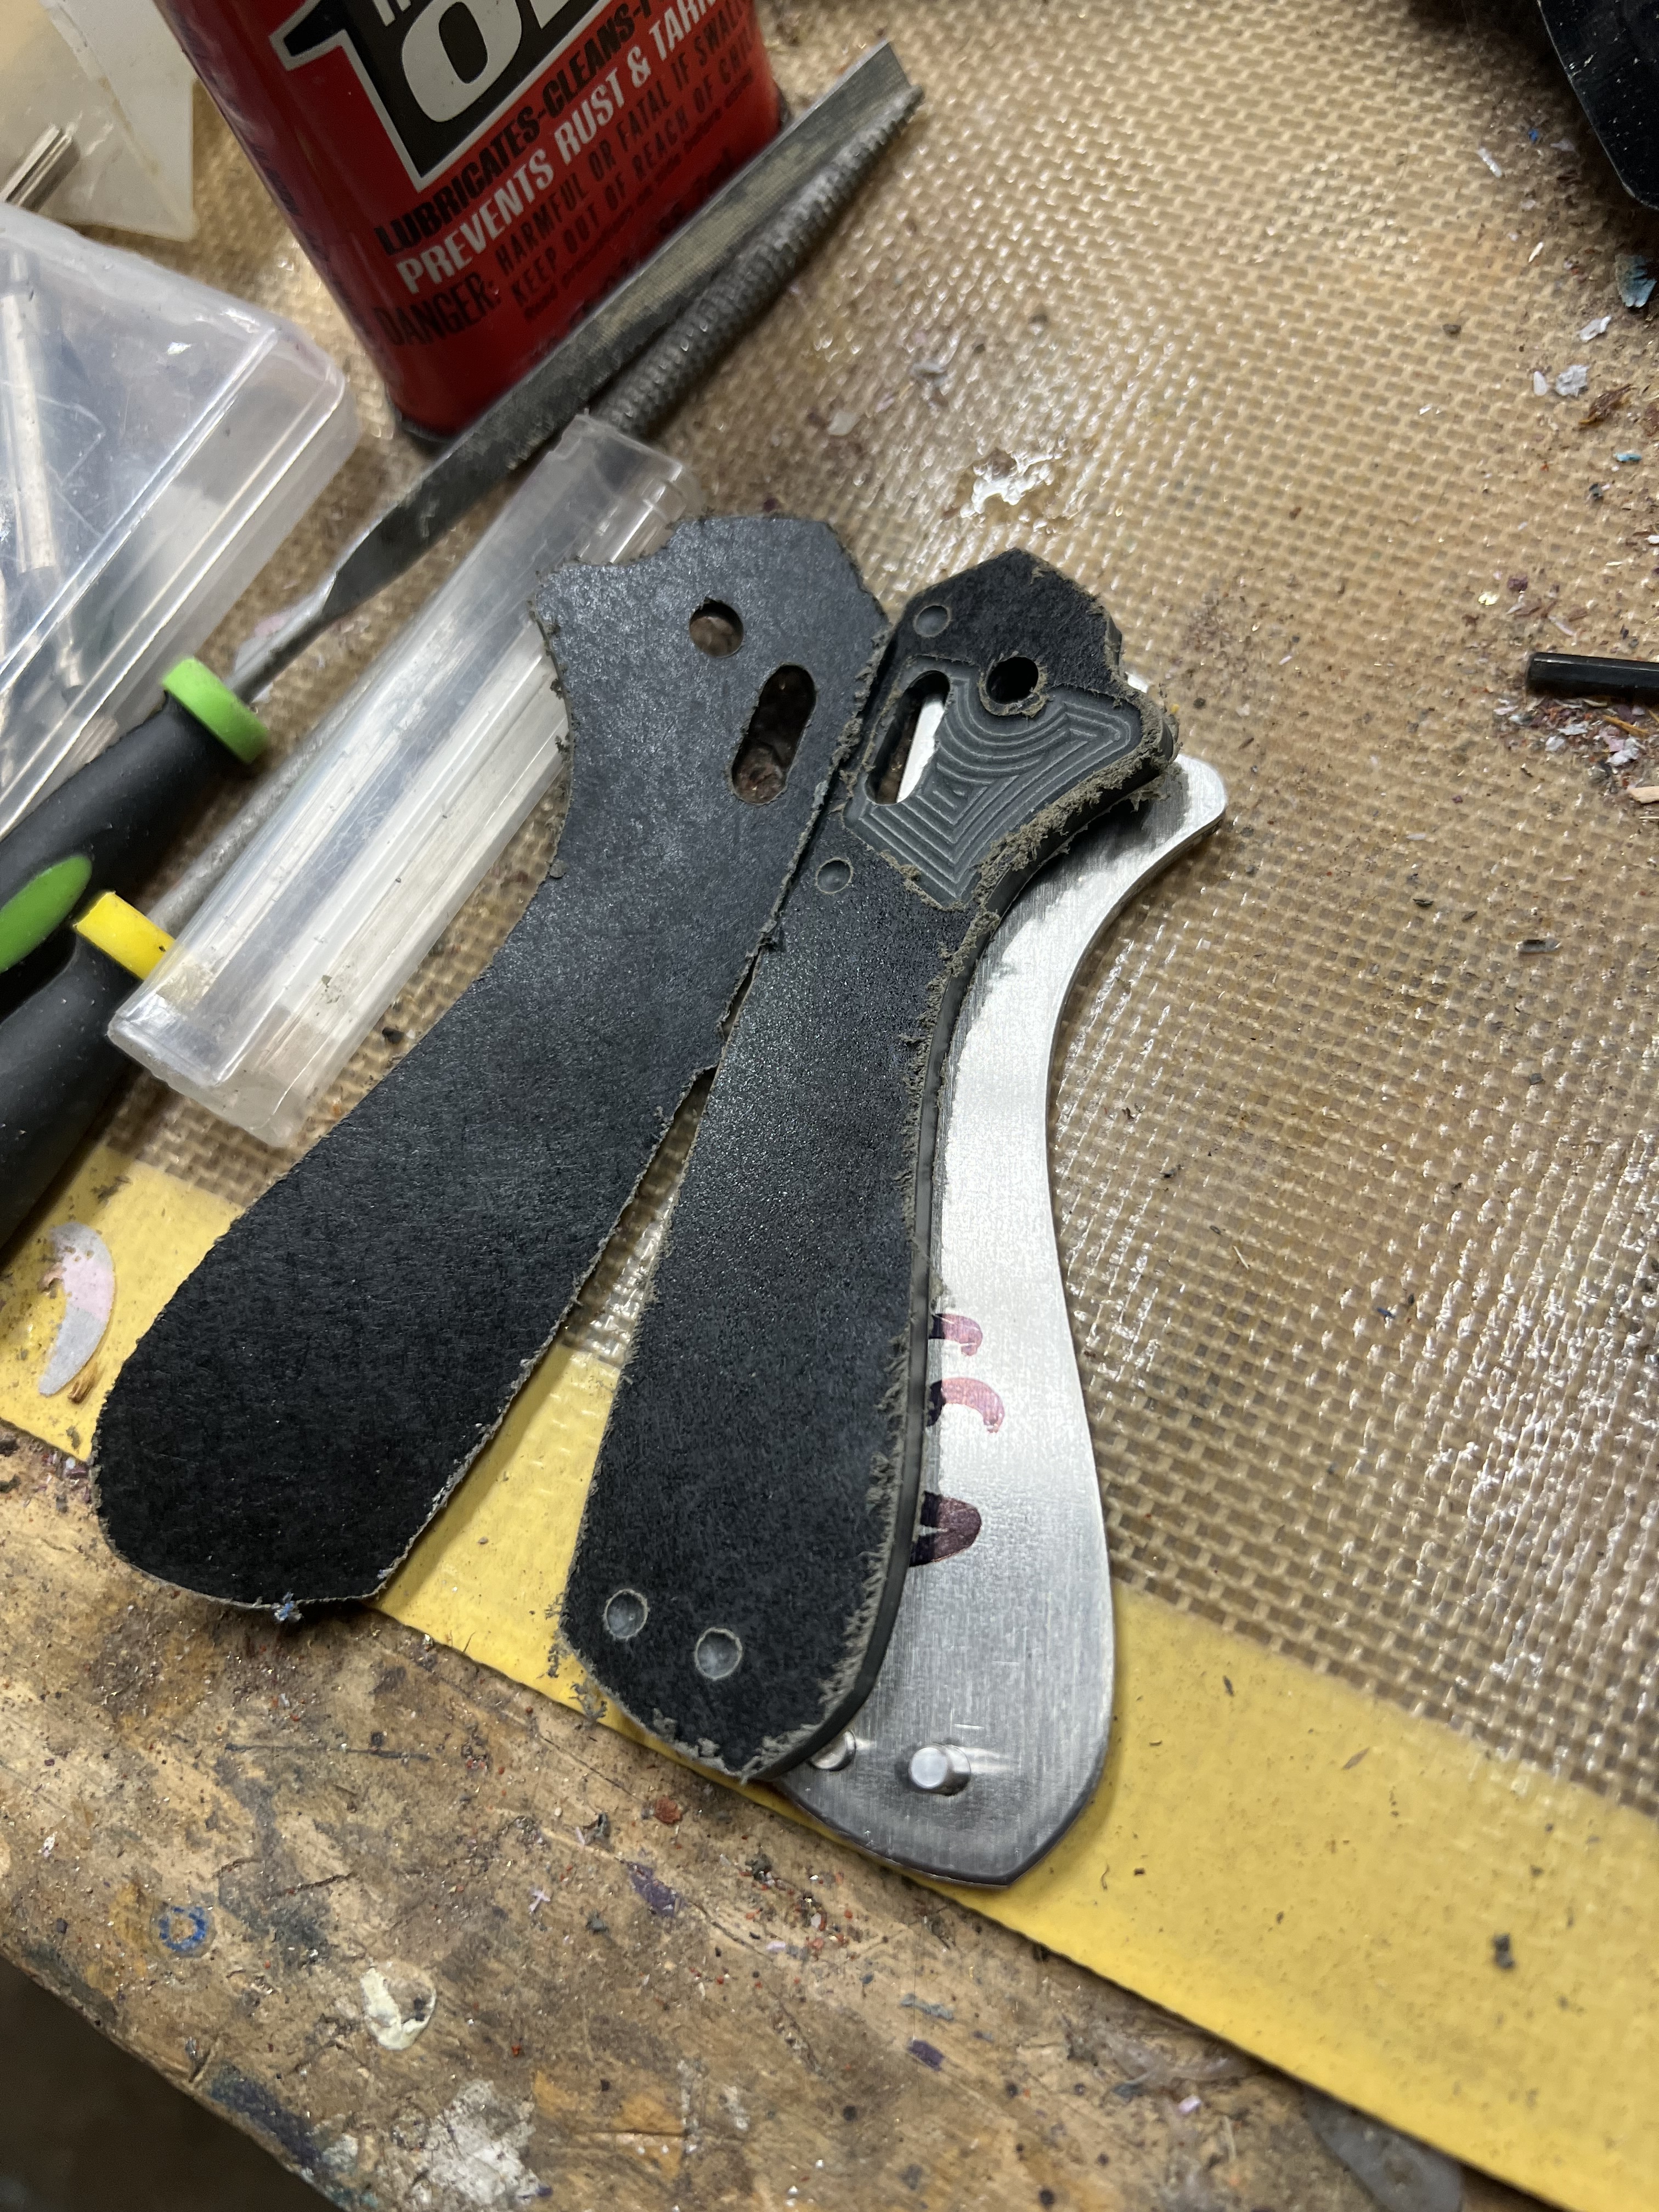
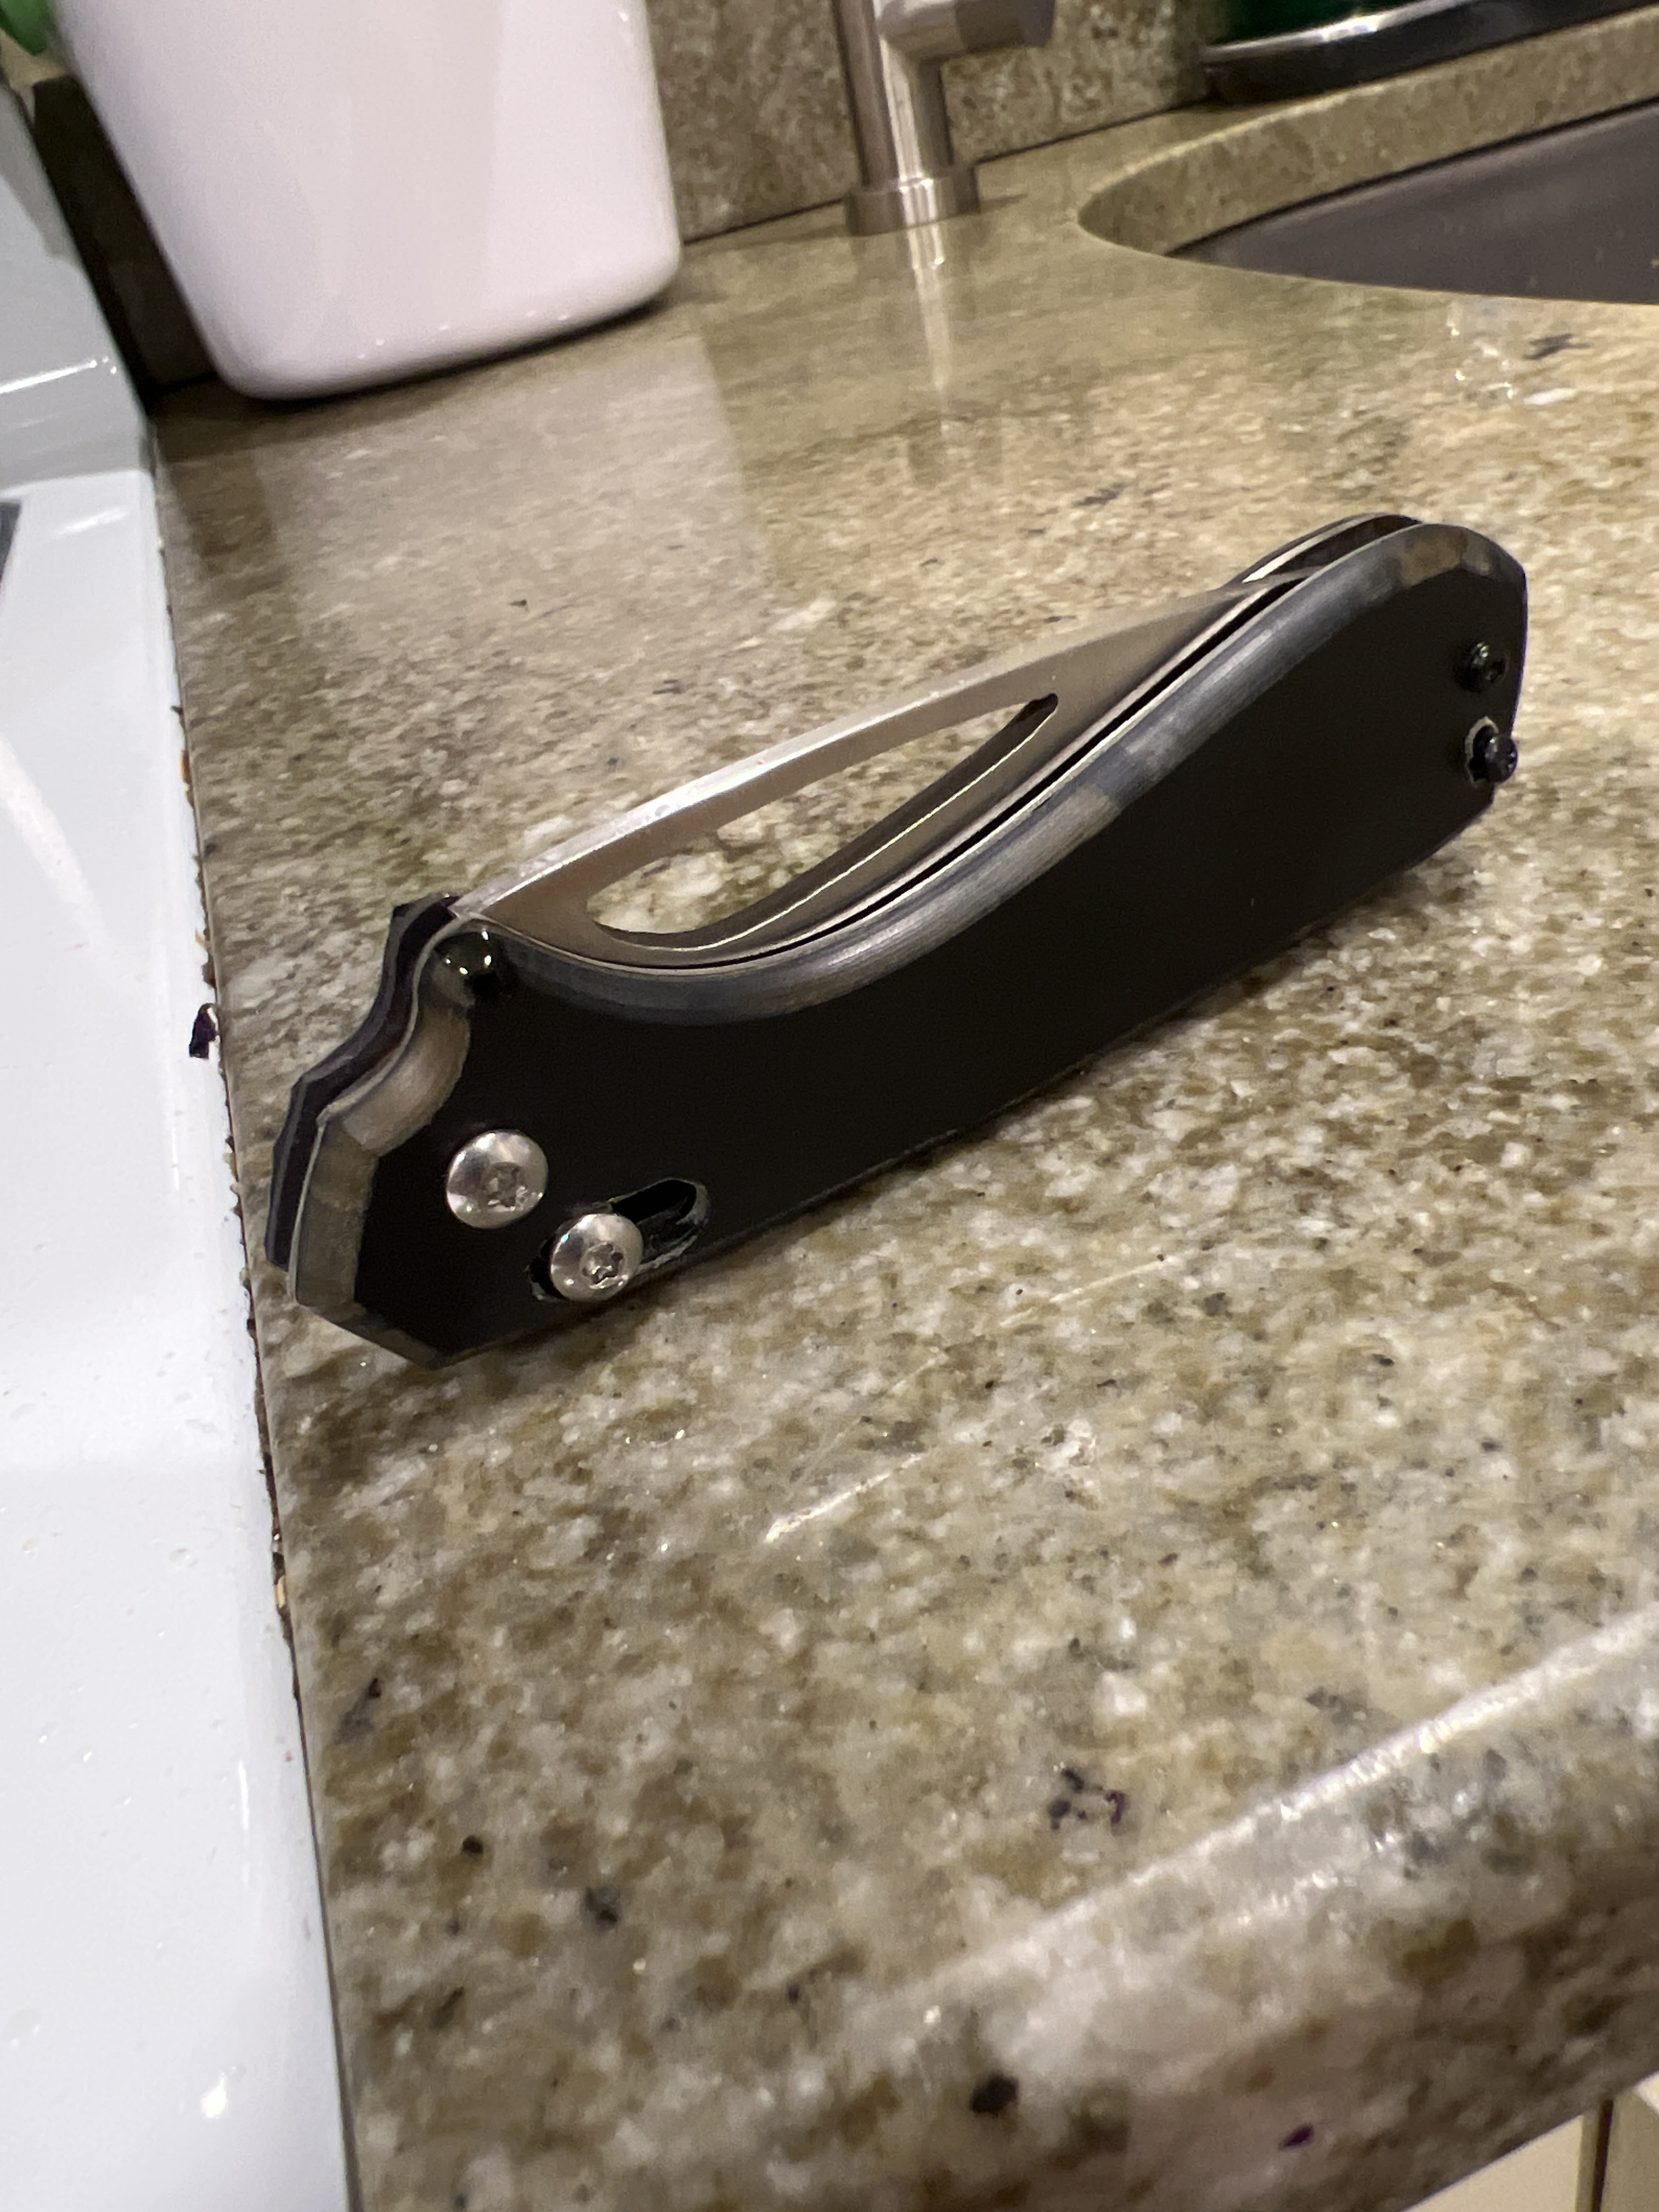
Hi all. Remember me? I built my MPCNC years ago and really haven’t used it much until recently. I really enjoyed the building process, but when it came time to use it, my knife making business took priority. I am back, using the MPCNC to cut the scales on my prototype folding knife. I designed a cross bar locking knife from scratch and have had the steel and titanium laser cut from sendcutsend.
Right now my prototype scales are first cut on the MPCNC, from the back, with a pocket, pin holes and through holes. Then I drill my holes on the drill press and open up critical dimensions with a reamer.
Has anyone used a fixture to mill both sides of a piece?
I would love to cut the material out a sheet stock with the underside pocket and through holes. Then attach it to a known fixture and add detailed engravings to the front along with a chamfer or round over.
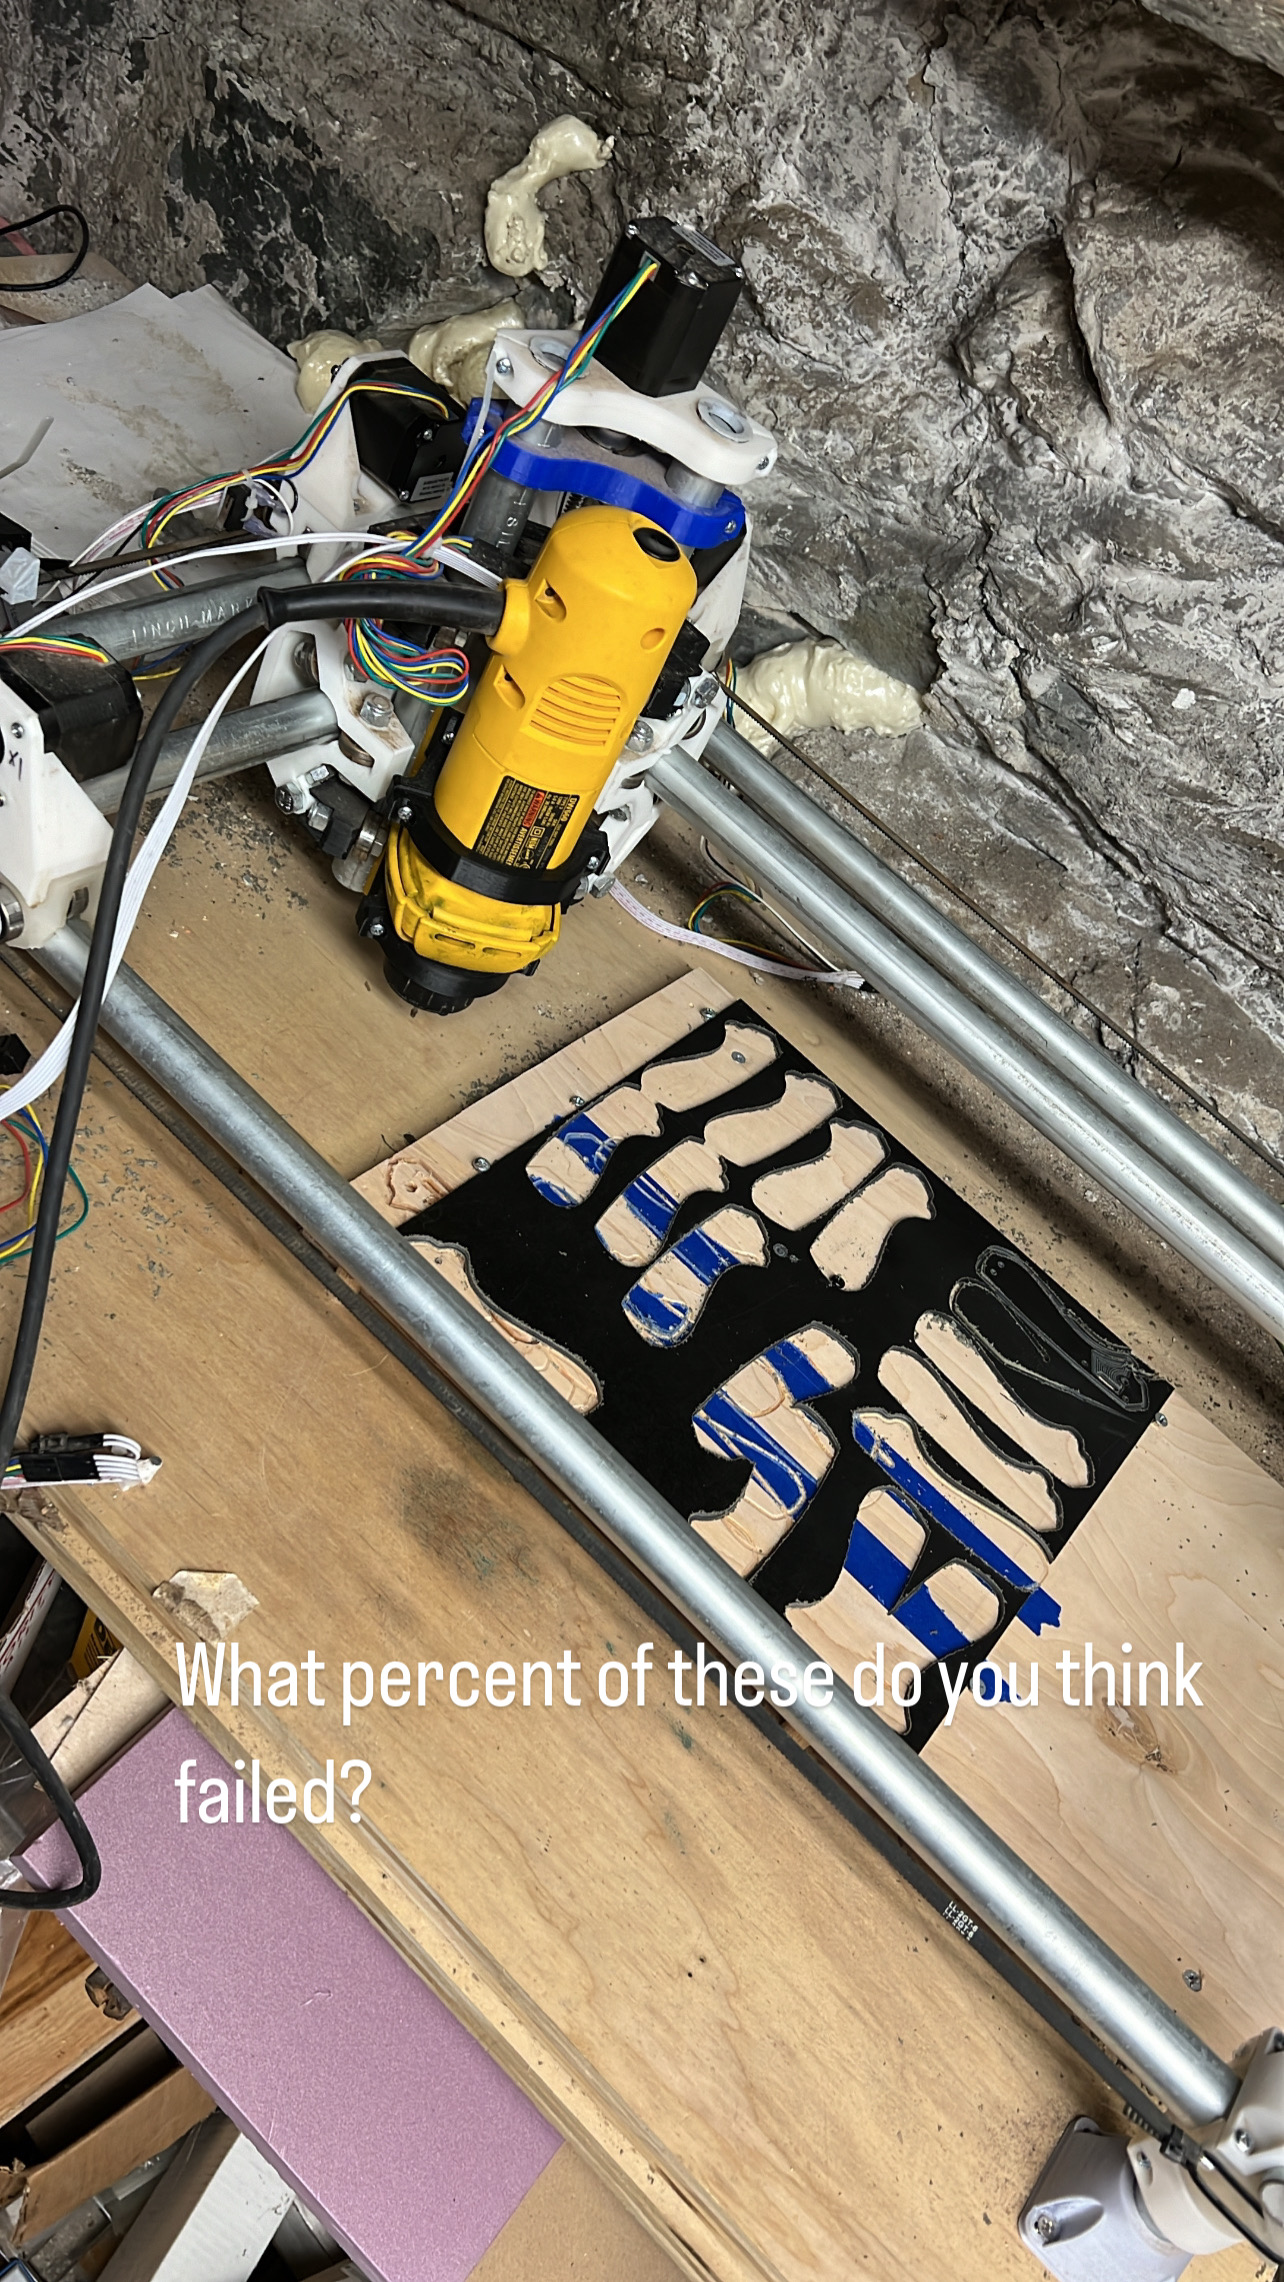
This should be possible on the MPCNC, right? Picks to help you see
I’ve done some double-sided fixture work. The work was coasters, so great precision was not a factor, but I did not have any issues.
If this is not a one-off task, you will want to create the fixture in a way that preserves the position and rotation, and you will need to be able to find the position when the electronics are cycled. To preserve the position and rotation, you can bore two holes through the fixture and into the spoilboard. The holes should be a snug fit for dowels. With dowel pins and the holes in the spoilboard, you will be able to return the fixture to the same spot.
As for capturing the offset, there are multiple approaches. Personally, I’d just “oversize” the stock in CAD to account for the offset to the fixture. This way, you never need to mess with the offset after you do the rough, initial calculaton for the fixture. All you would need to do is home the machine.
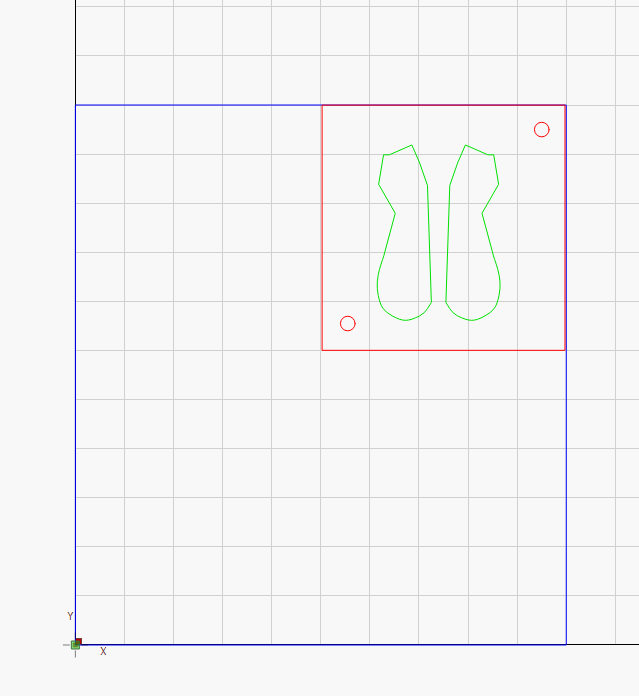
The bottom left corner is the origin of the machine. The blue rectangle is the stock as defined in the CAD. The red rectangle is the fixture which is the actual sock. As long as you always use the blue rectangle when authoring cuts in the objects in the fixture, the offset to the fixture is known.
In reality, I would love to outsource small scale production of these scales. 10-20 sets a month. When I upload a step file to prototyping services, it’s crazy expensive. I would like to get into material like G10, carbon fiber, and other dust creating material that would require an enclosure. I will be piloting this out on paper micarta.
Prototyping is individual set ups, not large lots. There’s a larger expectation of labor involved vs bulk manufacturing where you just need someone to load/unload material.
Buuuut, if you’re doing small lots you’re needing someone to set up and break down their machines briefly and then re-set. The larger the job, the cheaper per unit it becomes because you will be paying for set up and break down time, not just the cut time.
Looking at what you’re doing you can set the entire thing up using 2 locating pins and 1 flip, get the entire job done at once. You’ll just need a little set up time in the initial stages and a single jig. Easy peasy.