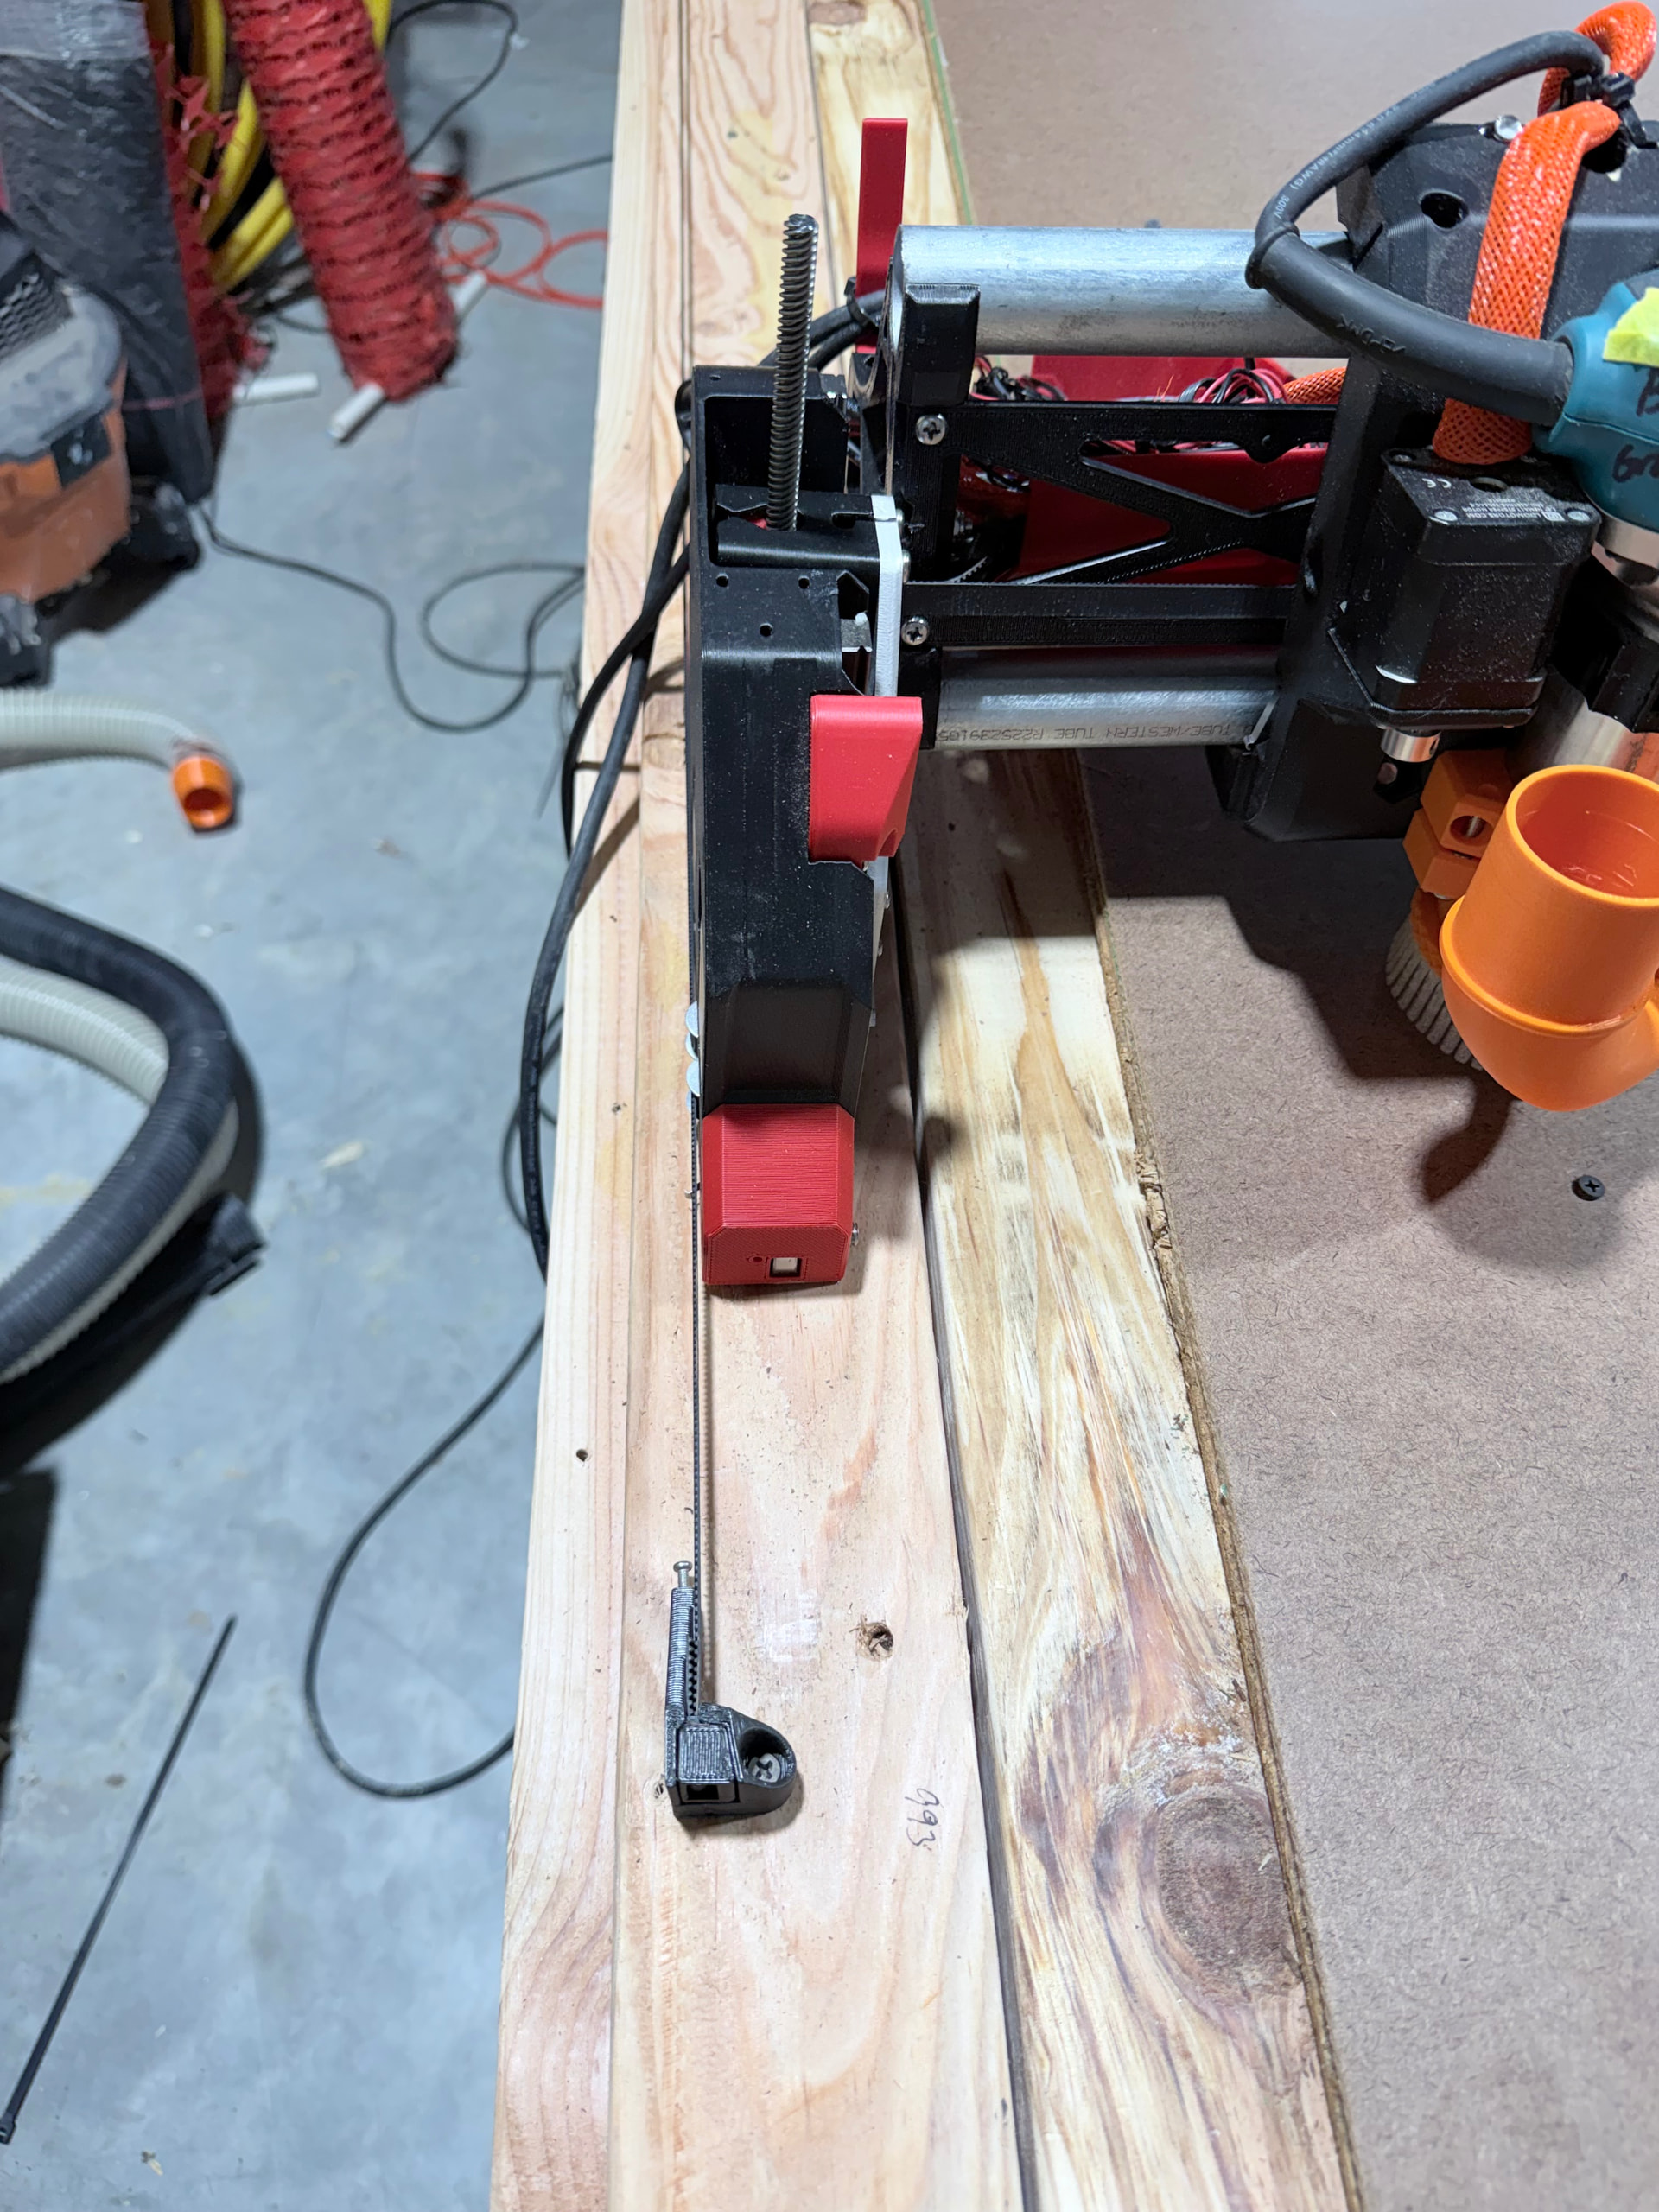
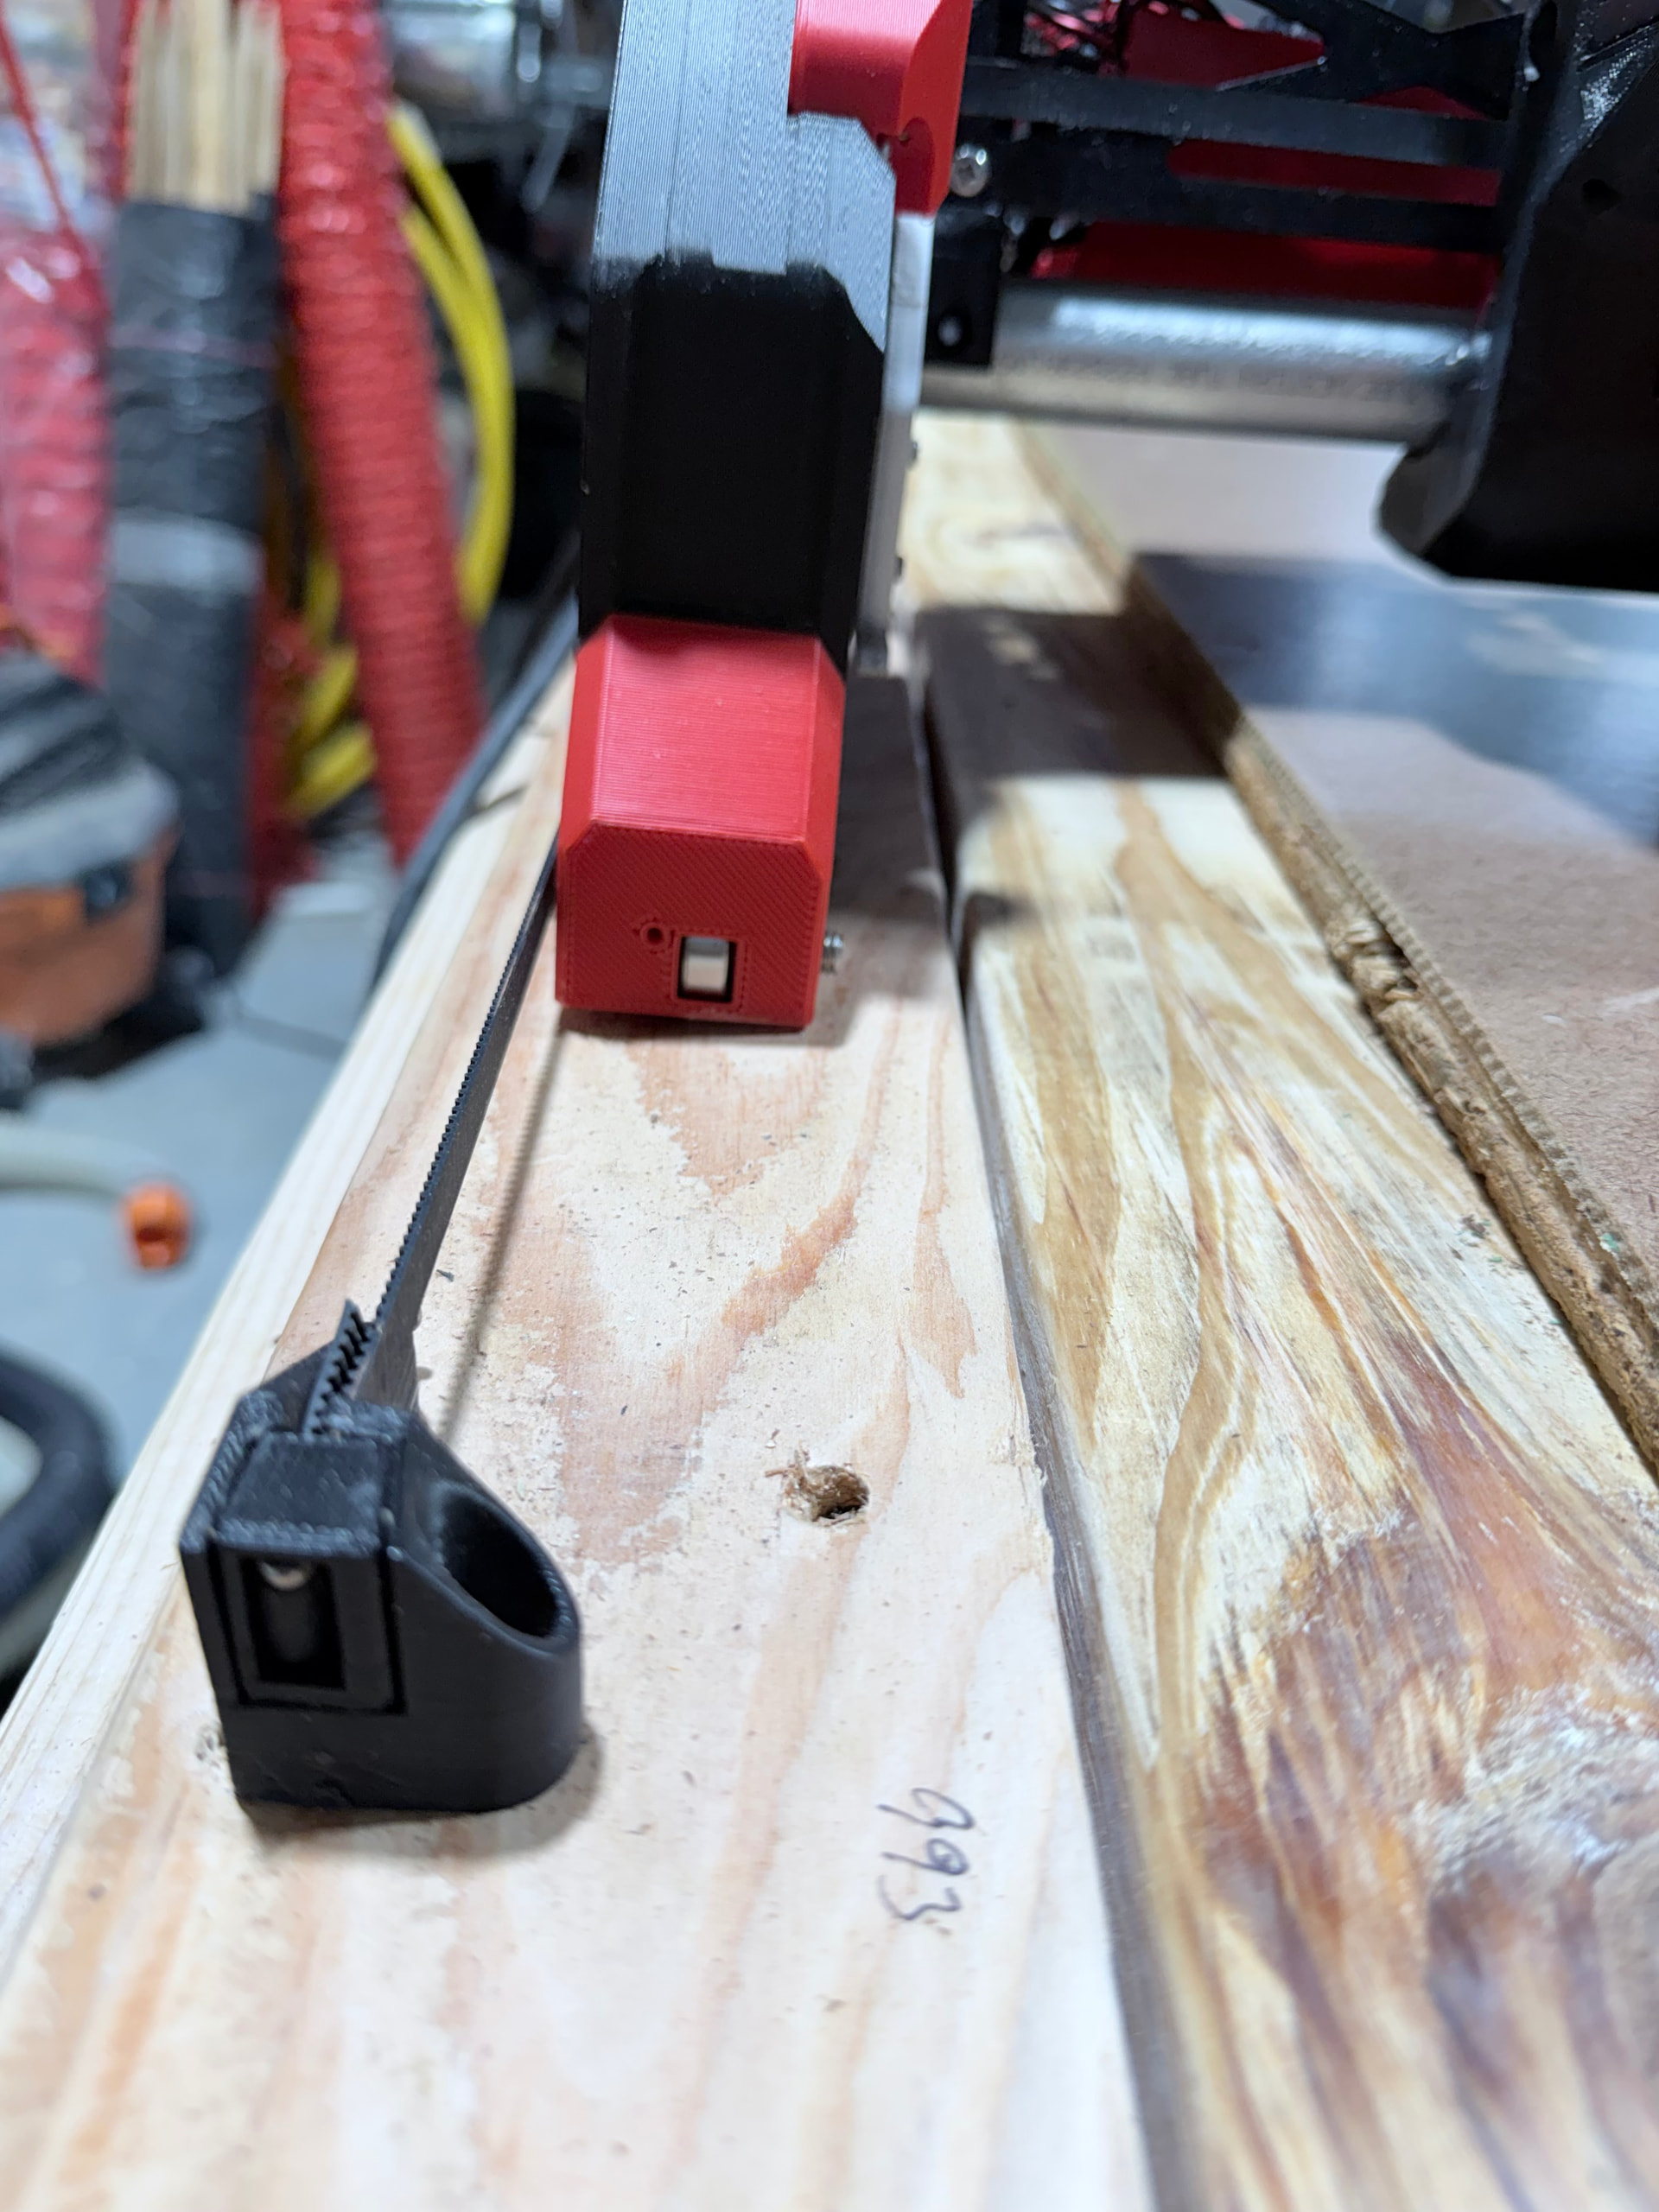
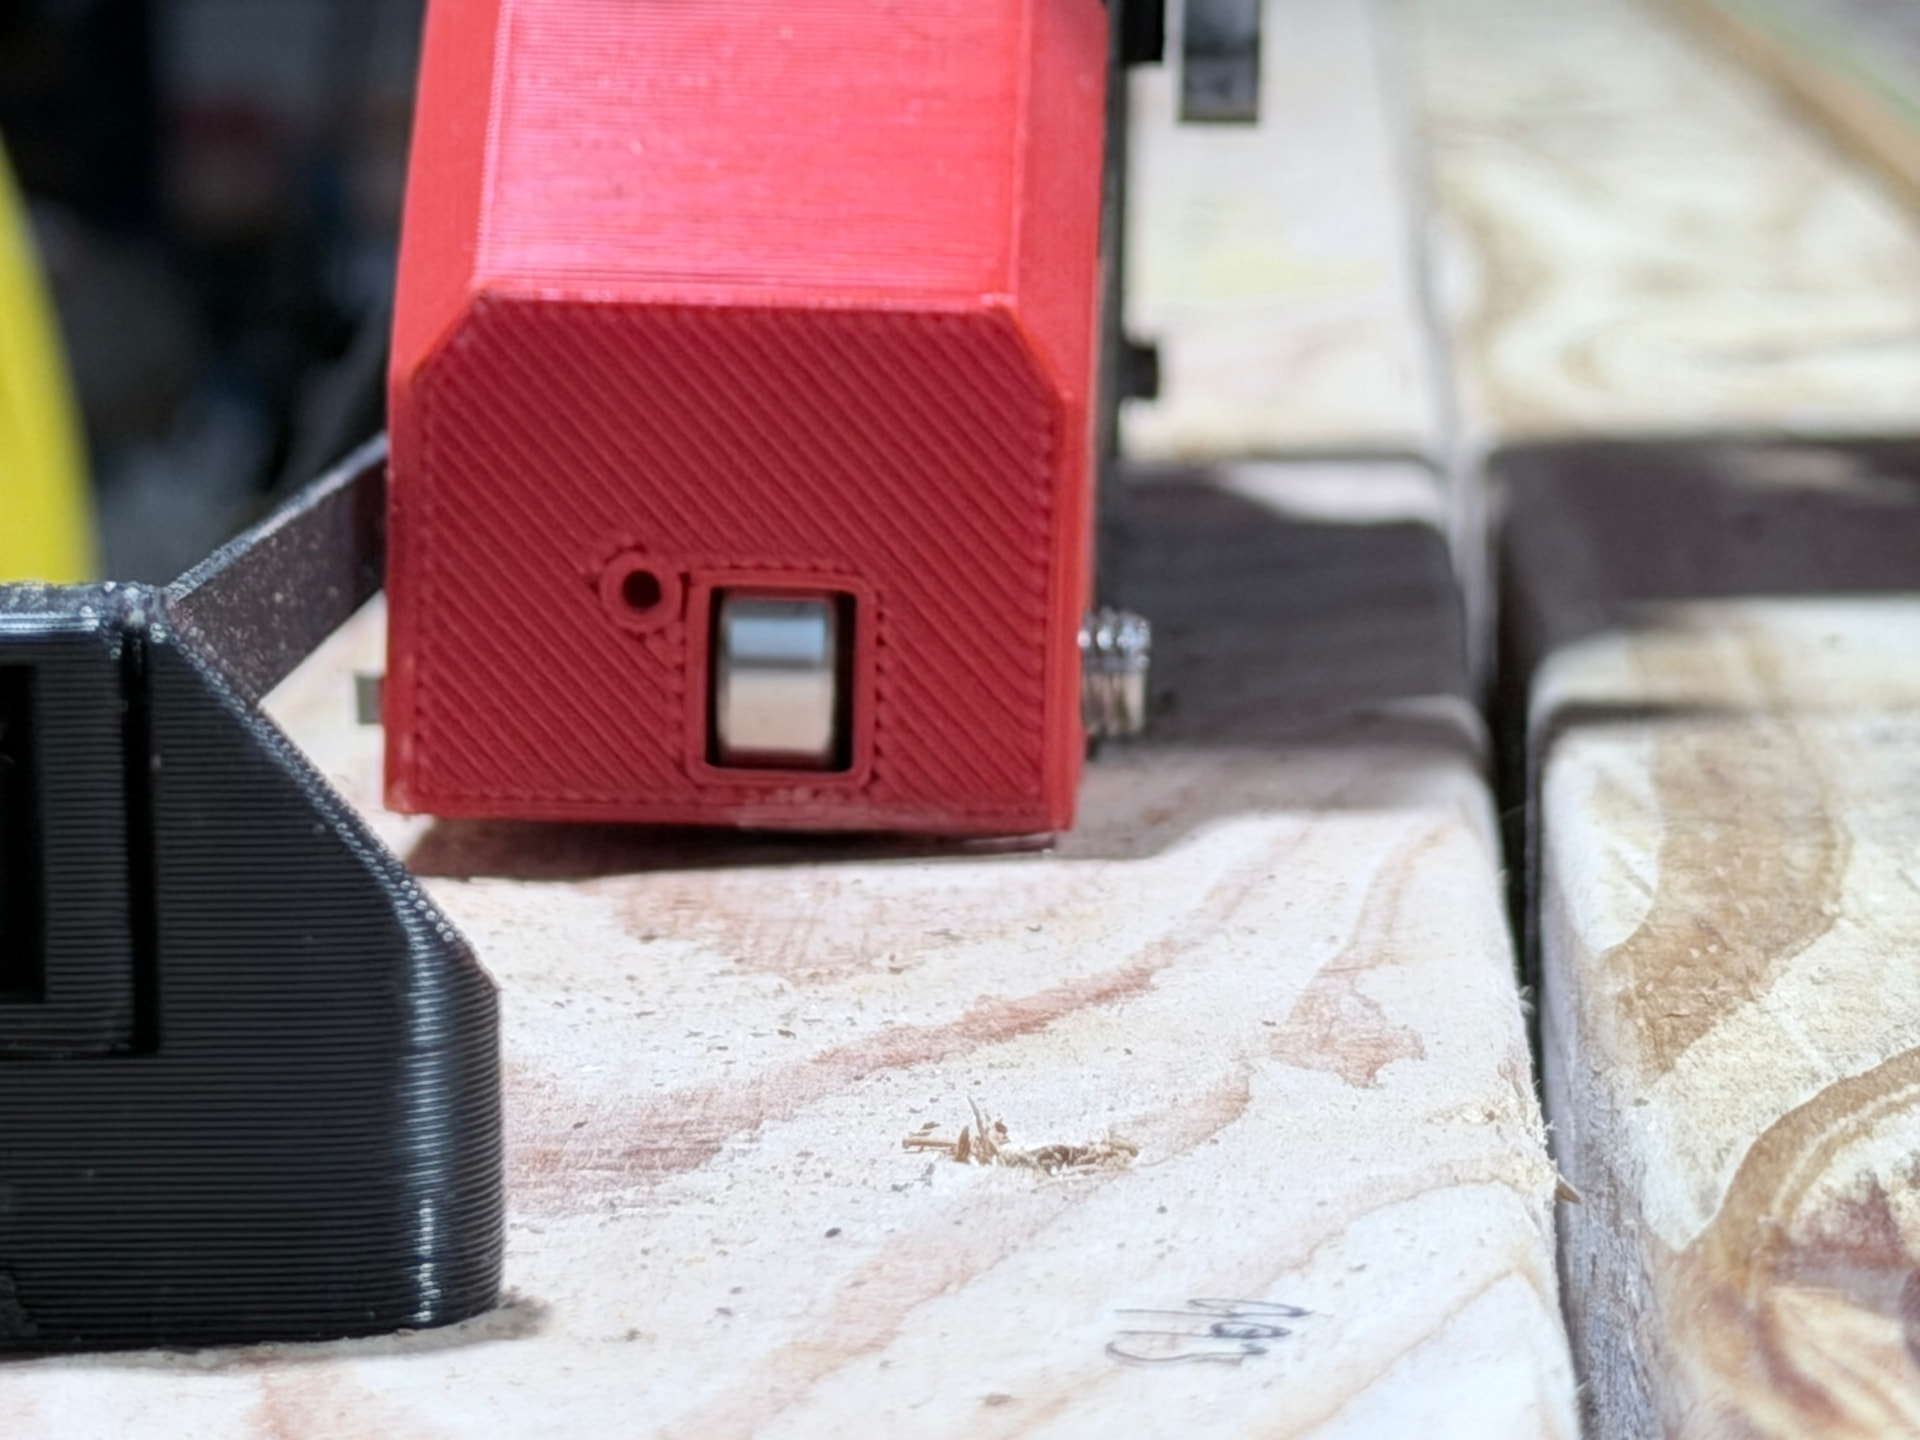
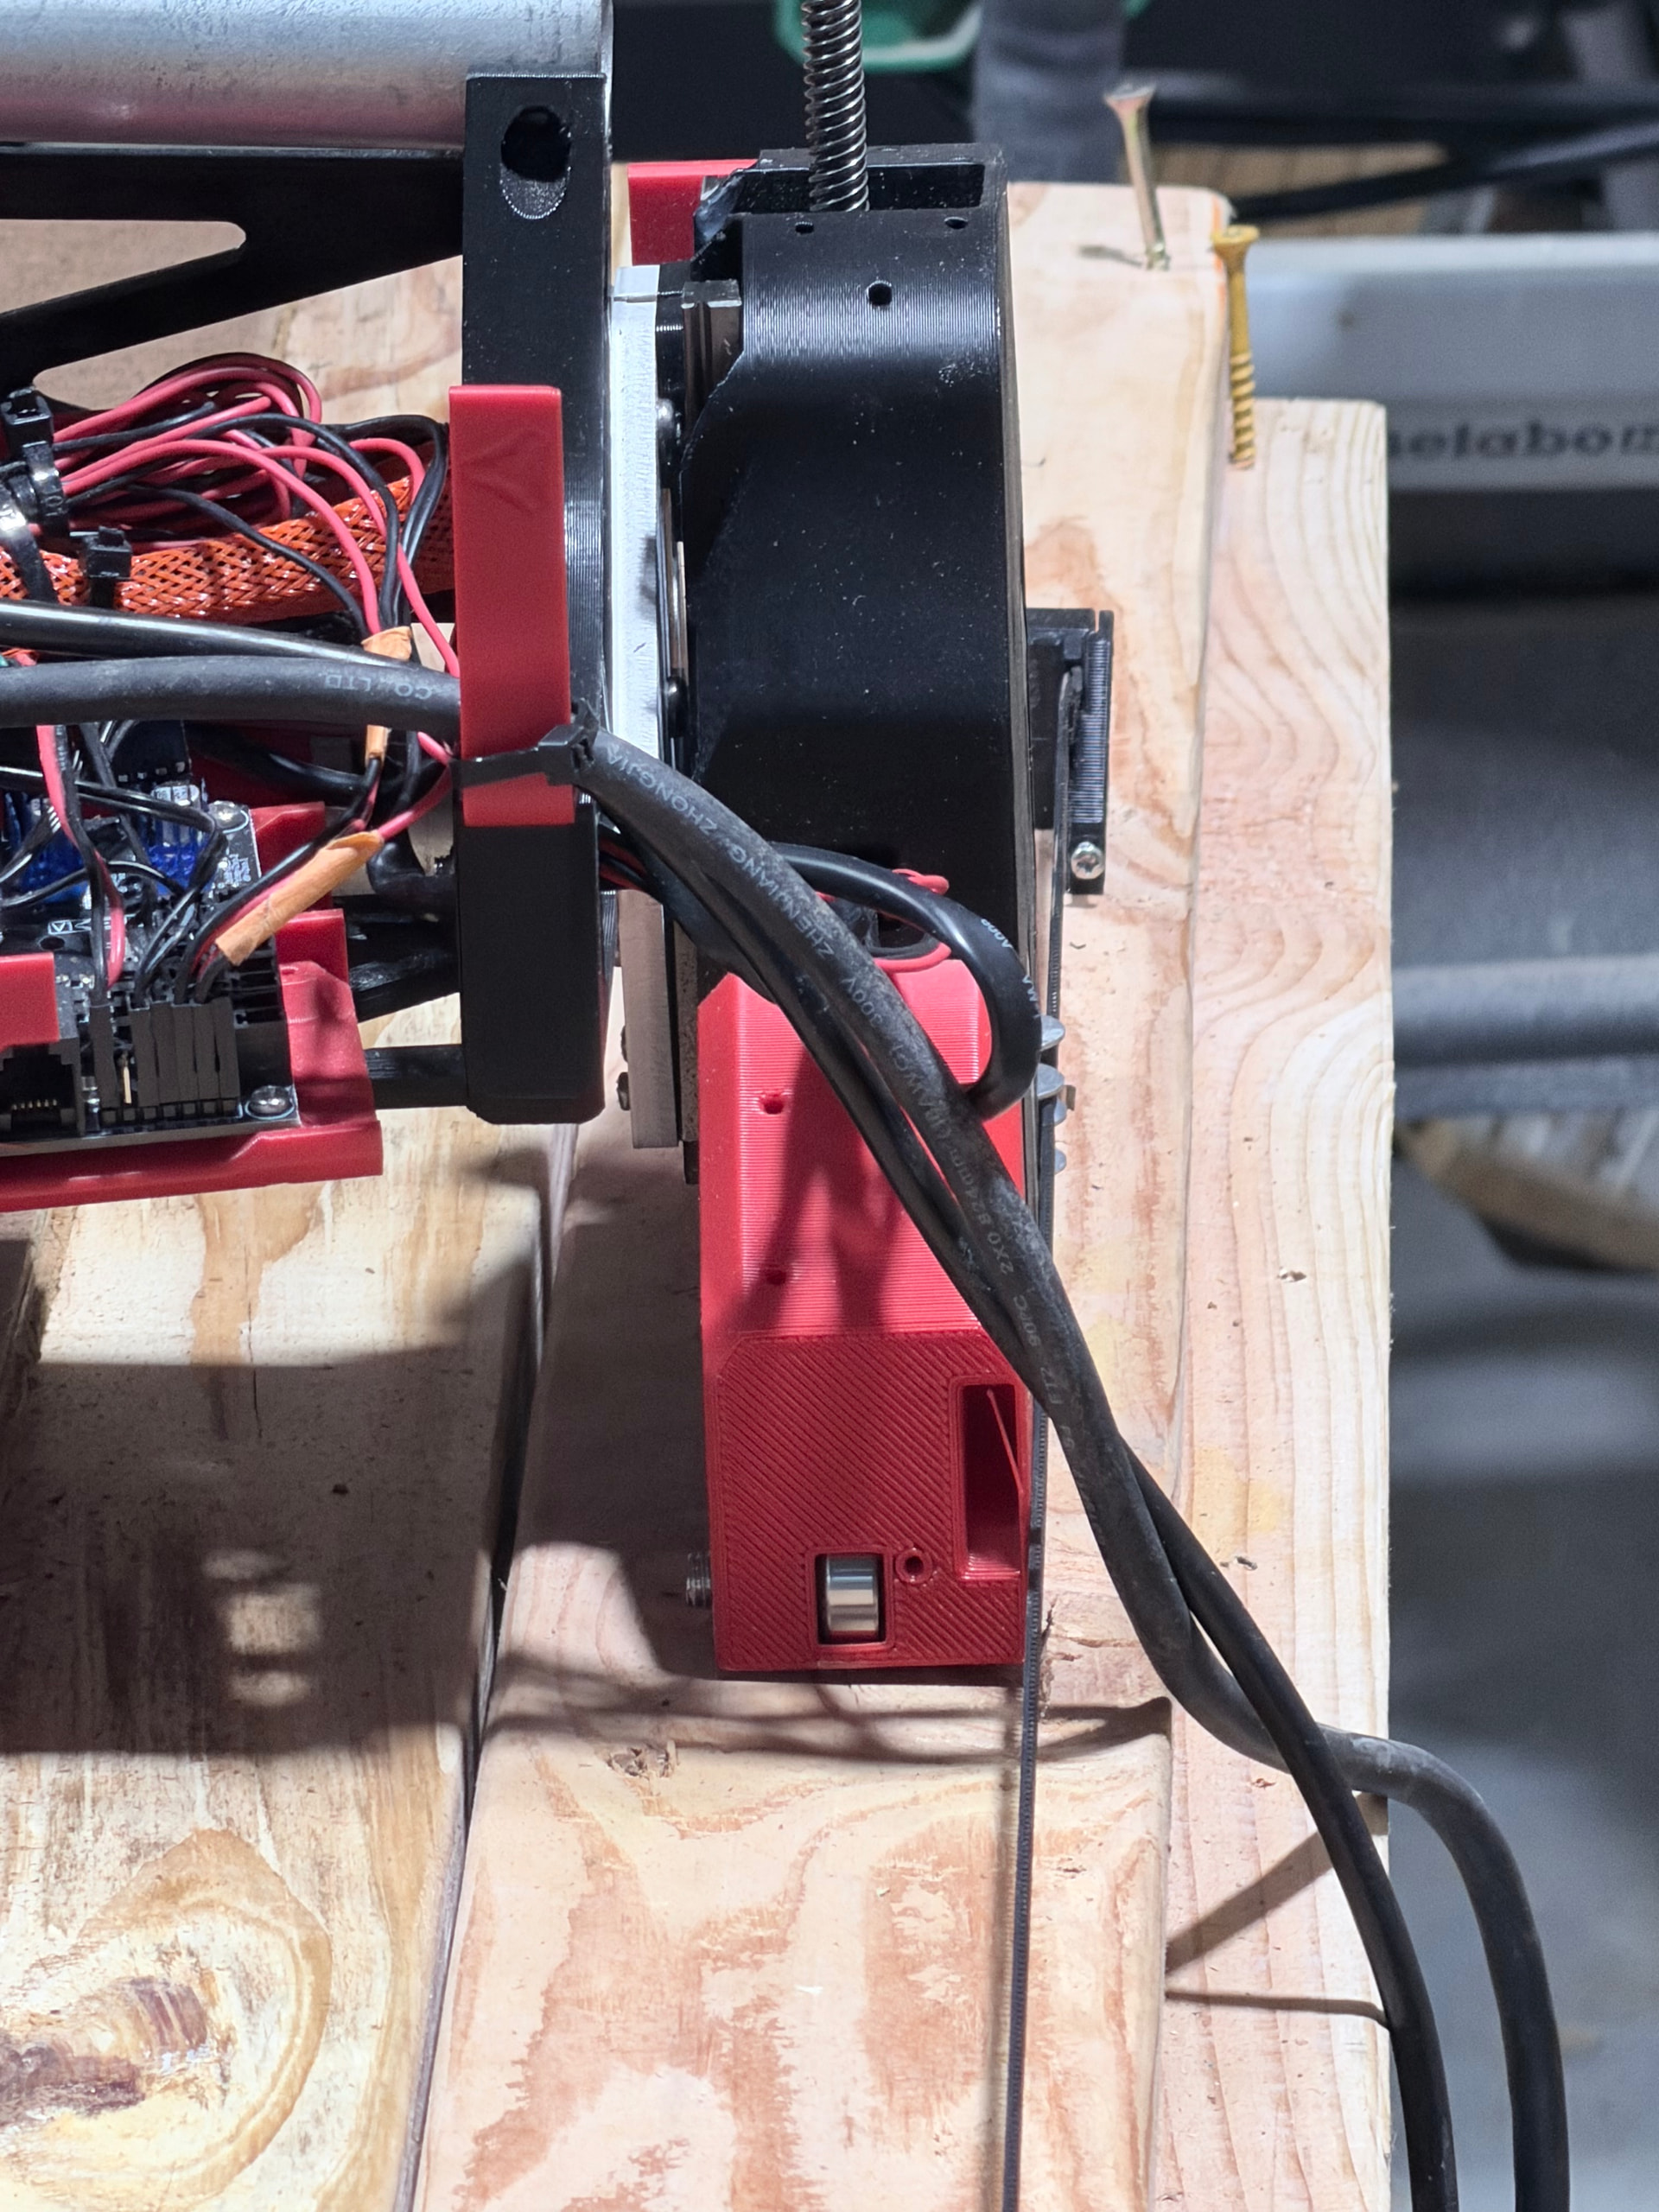
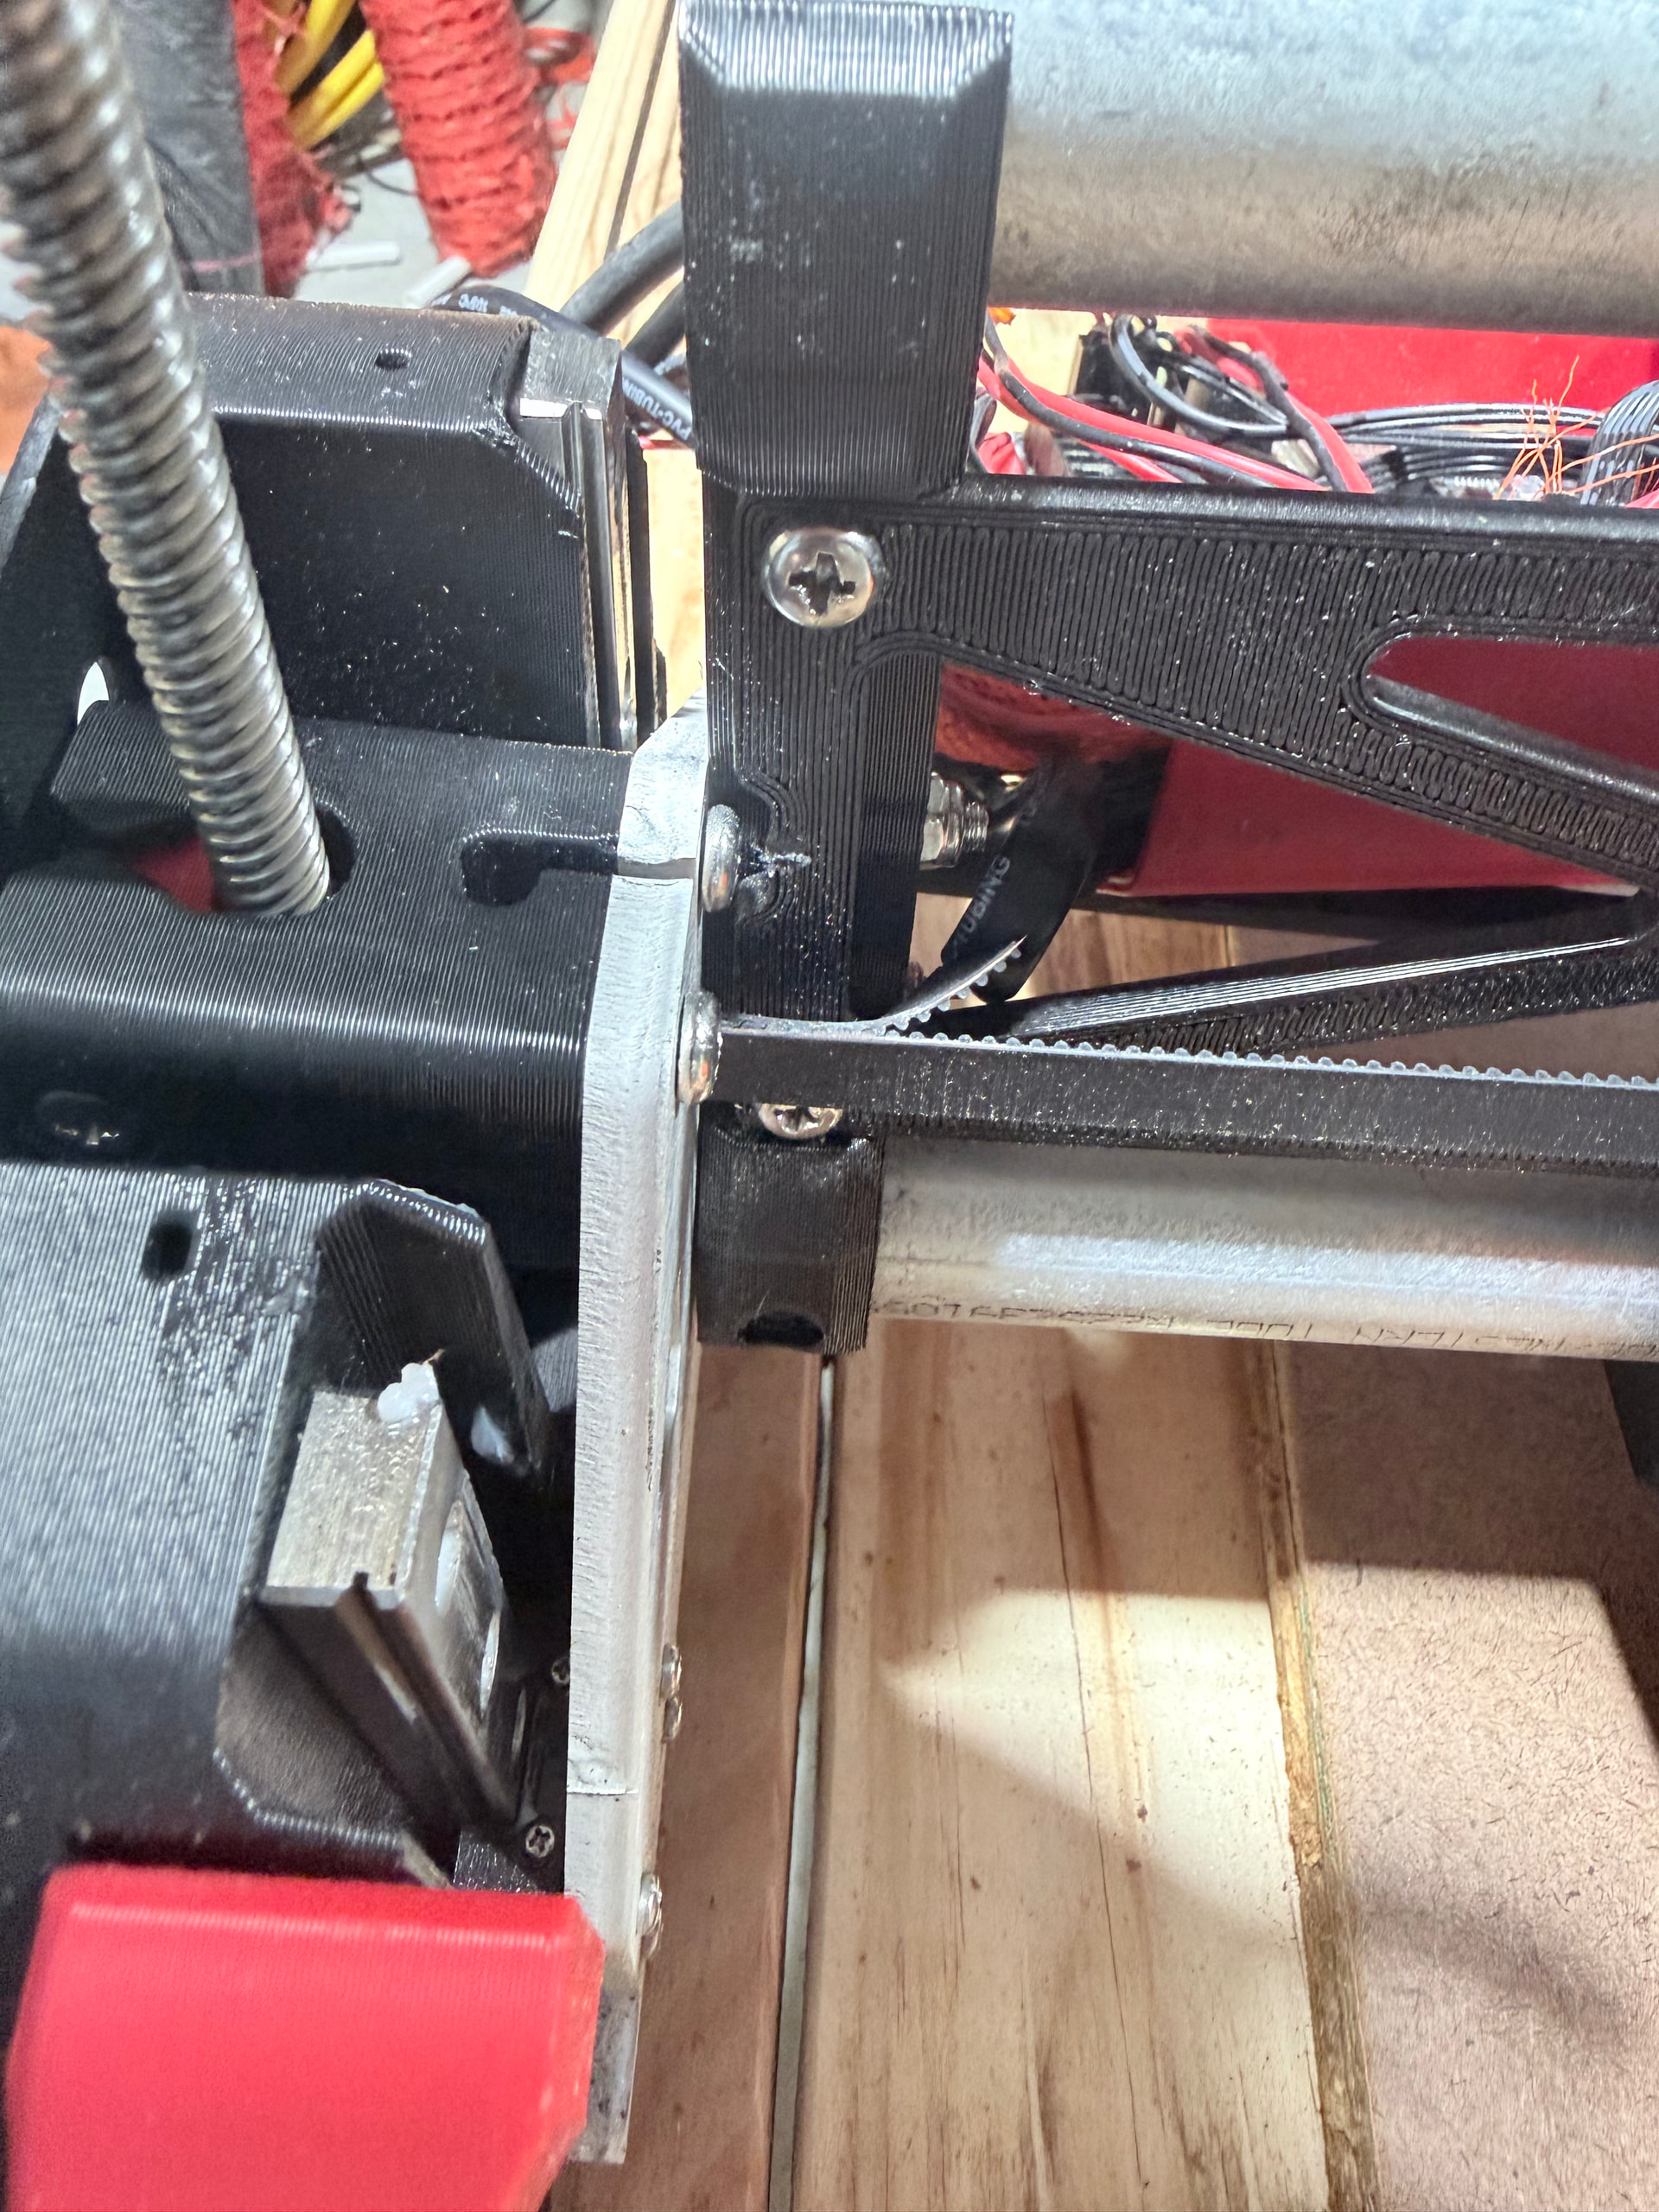
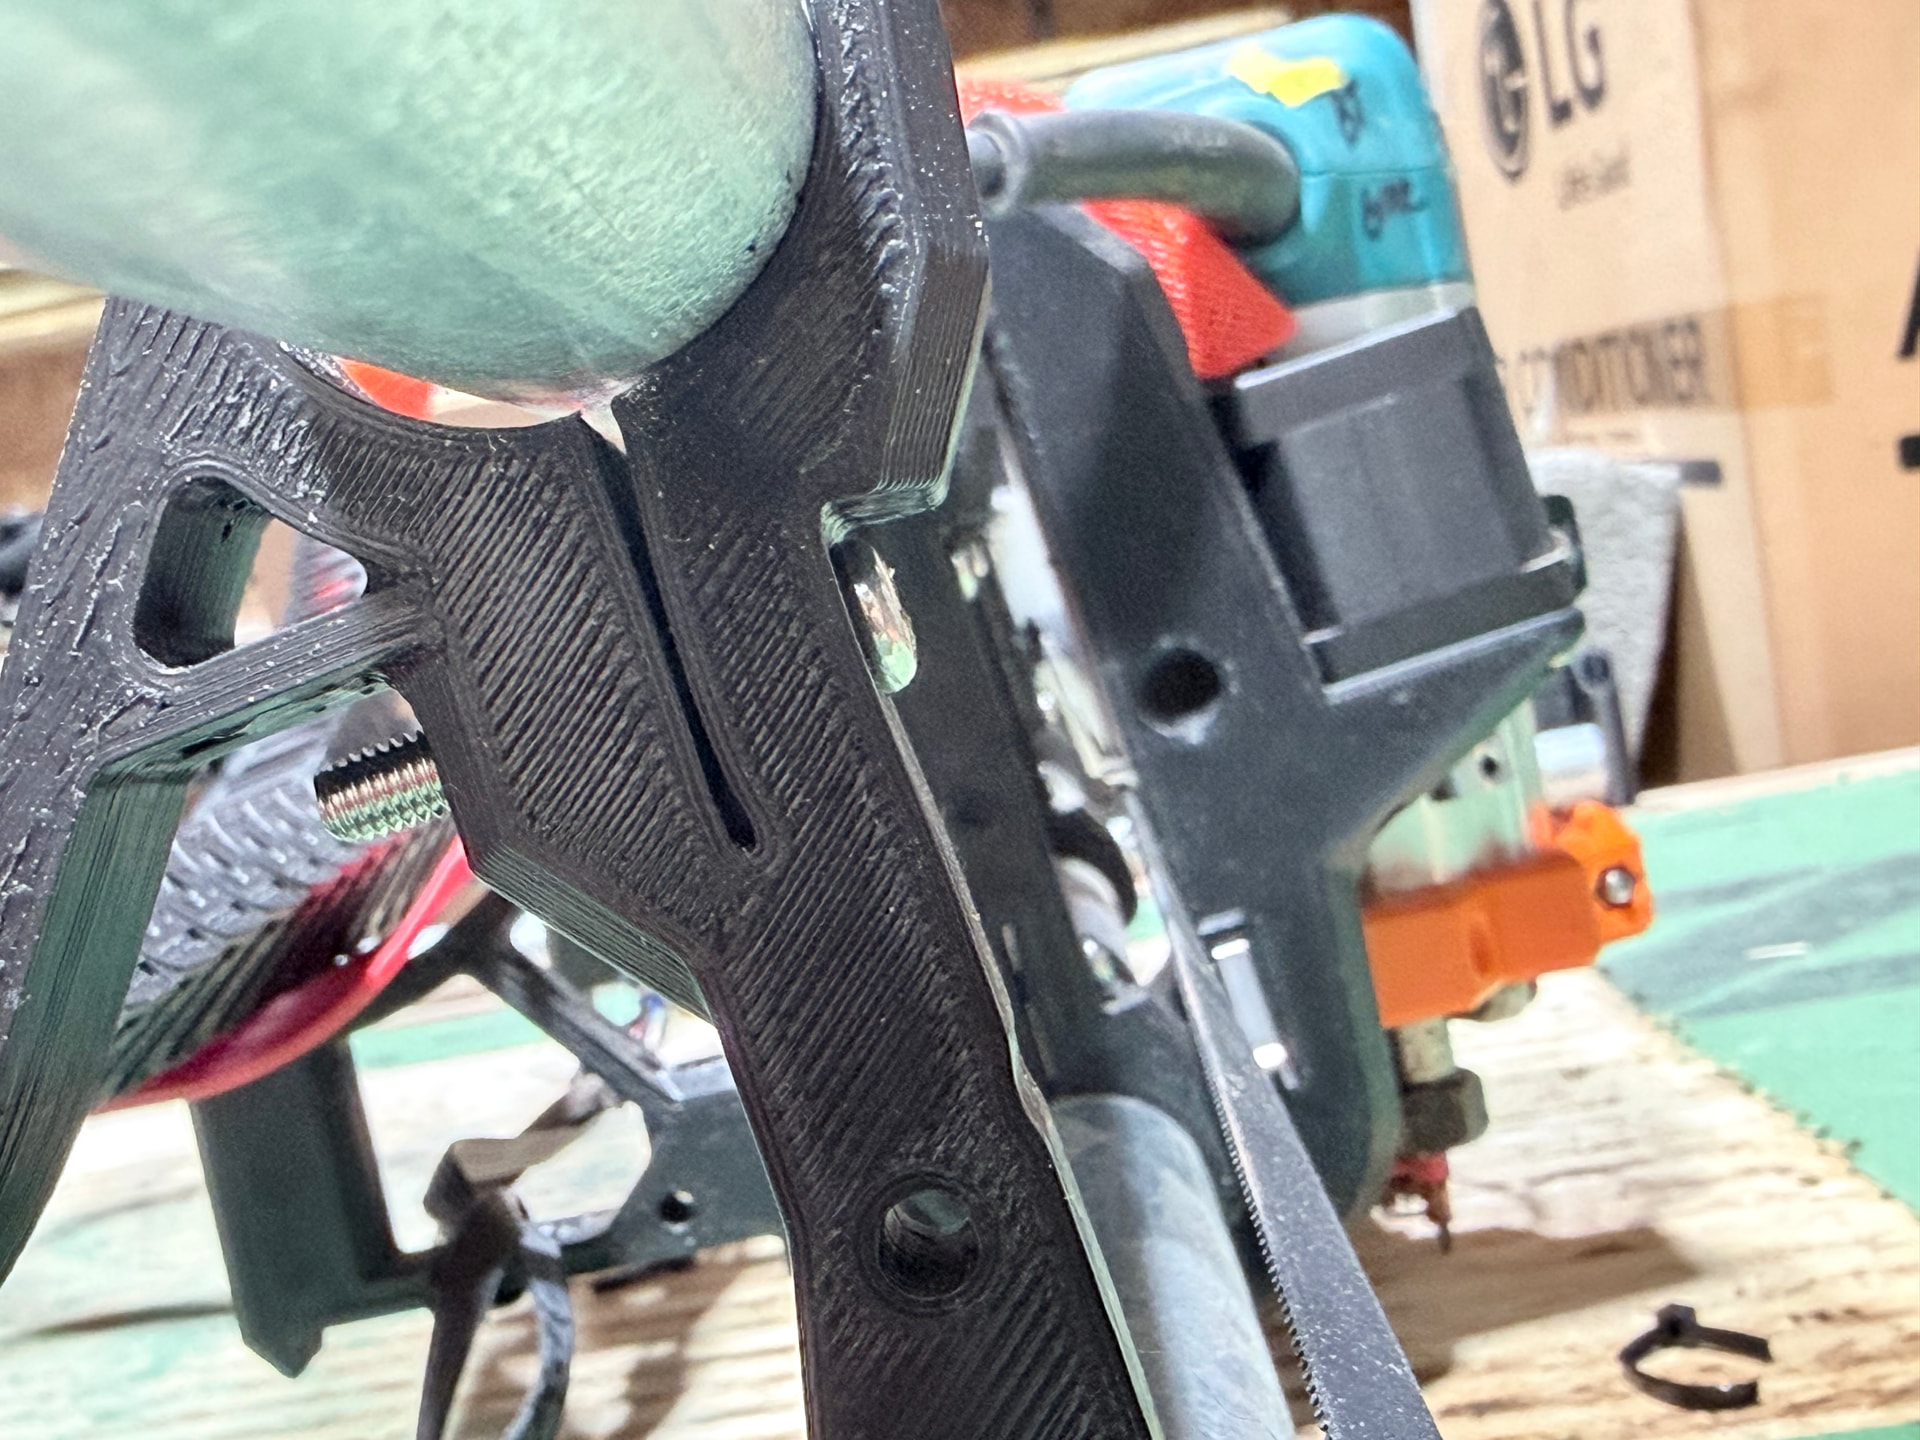
they look not all the way tightened. You obviously dont want to go gorilla hands on it, but they have room to compress more. the 3rd one look odd. like its clamping the middle but the top is closing. Might be one of those things where running sandpaper lightly through that gap might help might not, but worth doing while your trying everything else
I will try that when I get back.
Please disregard what Sean said here:
They absolutely do not get tightened that much! You are pushing the rails out this way. You tighten the screws by hand, as soon as you feel resistance, turn them half a turn more, that‘s it.
Your braces are absolutely mangled, pushing the rails out. 
Your rail is off by so much off in the last picture (https://us2.dh-cdn.net/uploads/db5587/original/3X/0/e/0e7cebcee7c09204a106ce5a9c3d5984d124ff31.jpeg) that I am pretty sure you‘ve got the wrong size of rails.
/edit: looking at that pic a bit more, the front of the brace bends outwards. It might just be completely effed up by your gorilla strength. 
I’m dying laughing at this! Ok I’ll reprint and try again and not so tight. Got it. 
The machine is plastic and metal. The design load at the cutter is 7lbs. The machine is capable of more. Over-tightining things or popping rails out while the braces are tightened will mangle the plastic parts.
The material selections are sane for the machine, it won’t hurt itself in normal operation unlike a steel monster you might find in a $10K machine.
Think of the plastic parts as mechanical fuses. You mangled the plastic on a few parts but otherwise did not destroy the rest of your build.
Hello
I am outside of USA, and I got the outer size as 32.
I have not yet printed any of the parts and would like some guidance on how/ where to get the 32 size to print. Which parts are fail to print and which need to be changed. Any Idea???
Just print them following the V1 docs. 
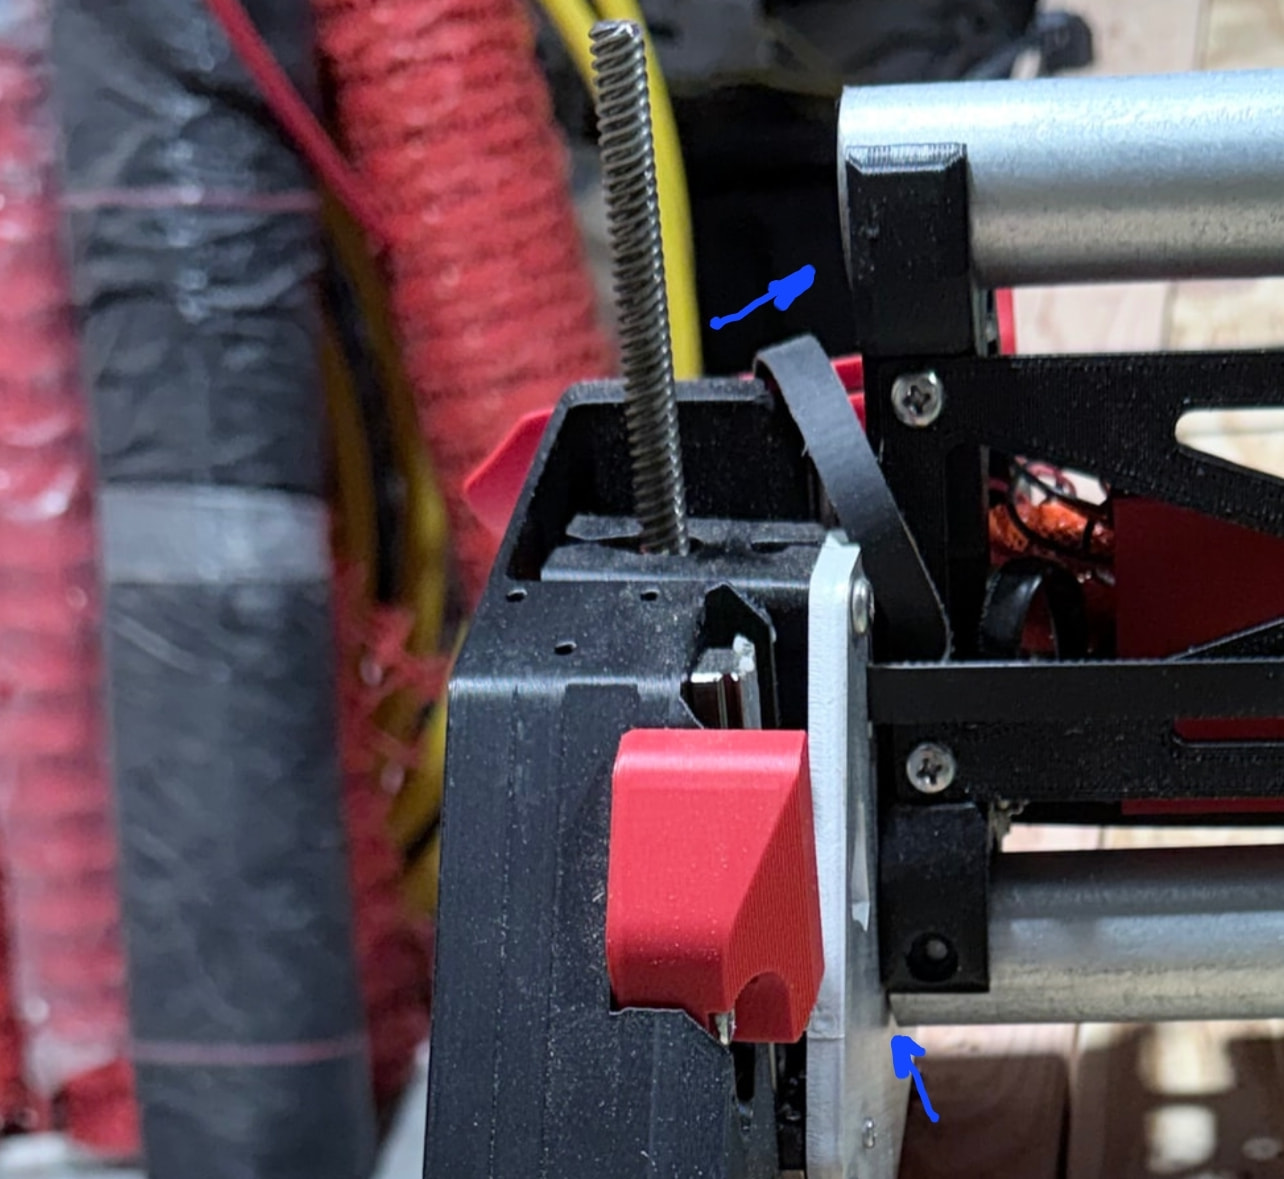
Ok latest update. We have reassembled with new brackets. Next issue is a leaning Y min side.
I’m reprinting the Y min and going to rebuild it to see if something is off there.
Might even redo my table and put MDF on the top for the carriage to roll down.
The metal pipes are not touching so I’m not sure why it is leaning.