I’m building a table for my NWCC LR4. I want to do it right the first time and be done for a while. I’m a very experienced woodworker and boat builder. This is my first CNC but I had one of the very early Airwolf 3D printers and used/modified it extensively.
The instructions for the LR4 here say, “A standard build would give you 50mm of Z cutting depth, or you can use a drop table to use all 100mm.”
My question is this, would I want to drop the rails or the center where the material sits by 50mm to achieve this? Thanks.
Greetings, Lance, and welcome to the V1 community forums.
What are you planning to do with your LR4 that needs the extra Z height?
The common approaches would be to lower the table (hence drop table) or install what I call “lift plates” for the Y axis to ride on.
One other thing you might consider: a few community members have built tables where part of the table is removable and has a vertical section used for clamping work pieces vertically instead of horizontally. That’s potentially great for joinery or other work where you want to make end cuts but not deal with the router bit radius in your cuts.
In my own case, I built a set of lift plates thinking that I might want to surface slabs (that machine has about 24 inches by 60 inches of usable space.) A slab that size with say 3" of thickness would be about all I could see working with.
As it turns out, although I built the machine to allow raising the machine, I’ve never actually used it that way.
One other thing to learn more about in your application- do you want to do a drop table for working with the surface of thick stock, or are you trying to increase the usable Z depth of cut?
The reason for asking that is neither approach will get you more total Z travel- so if you’re wanting to do carves or cuts say 4" deep then you’re going to need a different approach.
Initially, I would be just mostly cutting straight through plywood for large parametric parts and boat section guides (I have a 8’ x 4’ set up), and maybe some lap joints to scarf sheets together but I find complex joinery to be a time sucking rabbit hole so I try to avoid it when possible.
3” of Z depth would be nice though ultimately as I could see myself doing wood art wall carvings at some point to make gifts and my wife happy.
Thanks for the answer though, I will just more or less make a very sturdy, very flat, ribbed platform, and then I can always add lift plates/shims on the Y to ‘drop’ the table or cut-outs in the platform to clamp stock in vertically.
Obviously I need to fire the thing up, thank you for answering, I just wanted to make sure I wasn’t going to paint myself into a corner with my table design, which is heavier duty than most of the plans and designs I see online.
I always thought that 5cm isn’t enough, but actually never met those limitations. Cutting through you’d need really long endmills that have too much of a lever to be used easily and you are able to engrave 7cm high stock up to 3cm. That’s more than enough for my use cases.
I’d recommend just using it and seeing whether you actually need it.
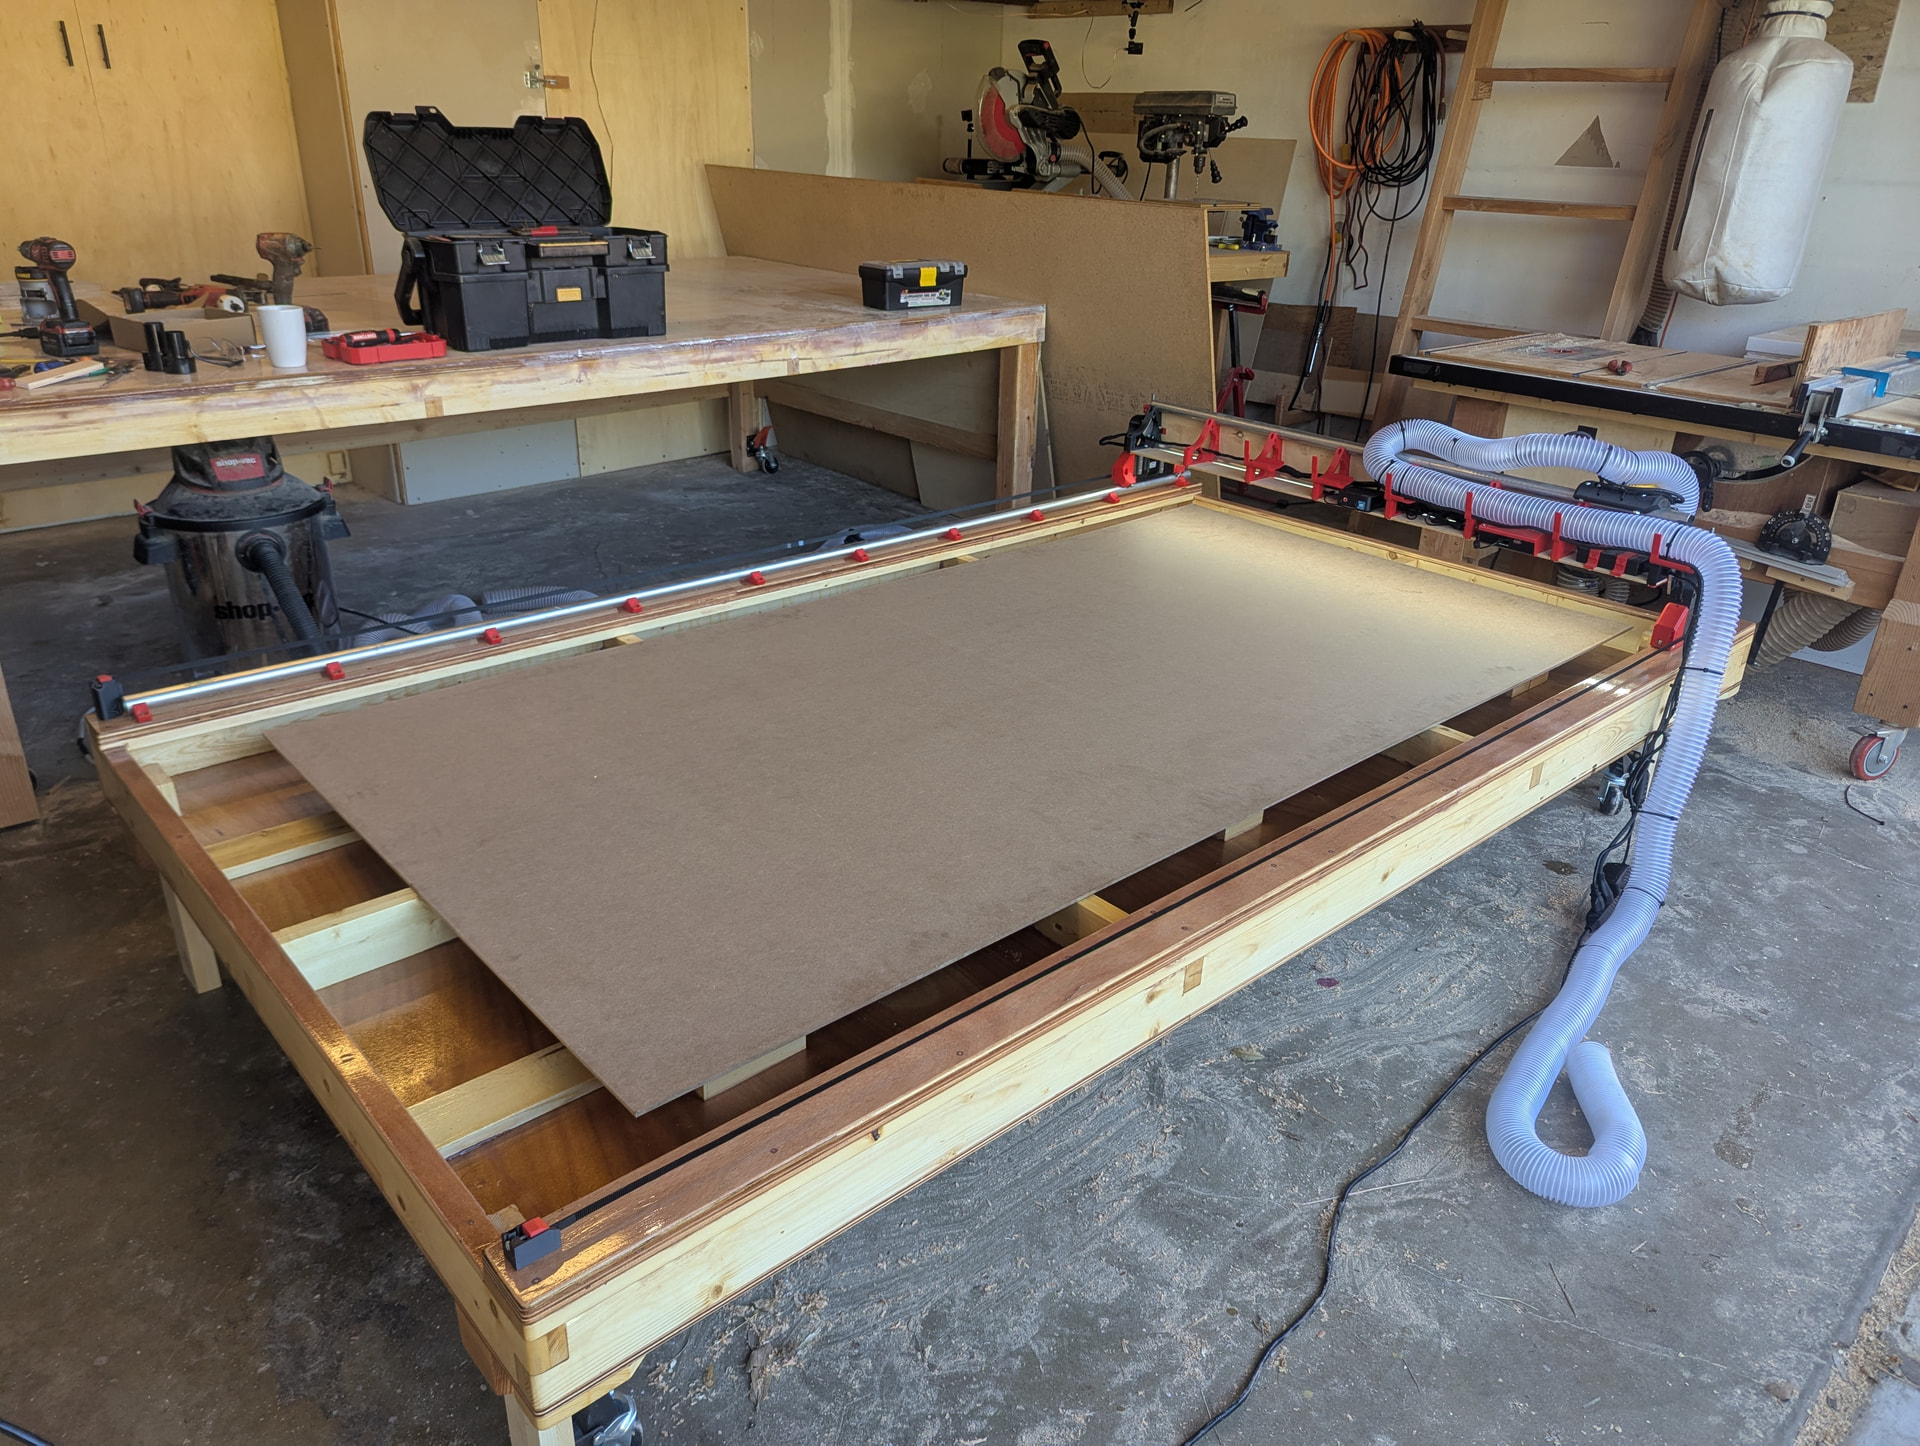
Got the table built and started driving a bit. Table is pretty freaking sturdy and squared. It’s low so it can slide under the giant bench and be protected from dust and dings. Ultimate plan is to shave the ribs and supports (they’re furniture grade pine) to be plumb to the machine using a 3/8” router bit, lay on a 3/8” particle board onto that with nylon screws, then 1/4” MDF spoilboard on top of that.