When I set out to build my LR4 I knew I wanted a smaller footprint than my current 4’x4’ LR3. Originally when I built that machine, I was entirely new to CNC and didn’t really know what kind of things I would be building, so I figured I should go for a reasonably large build. Since then, 99% of the jobs I have ran could fit withing a 1’x1’ space so for my next CNC I knew to go smaller. I was very close to going MPCNC here, but decided if I was going through all the trouble of building, I should at least leave some room for larger jobs, just not 4’x4’ worth.
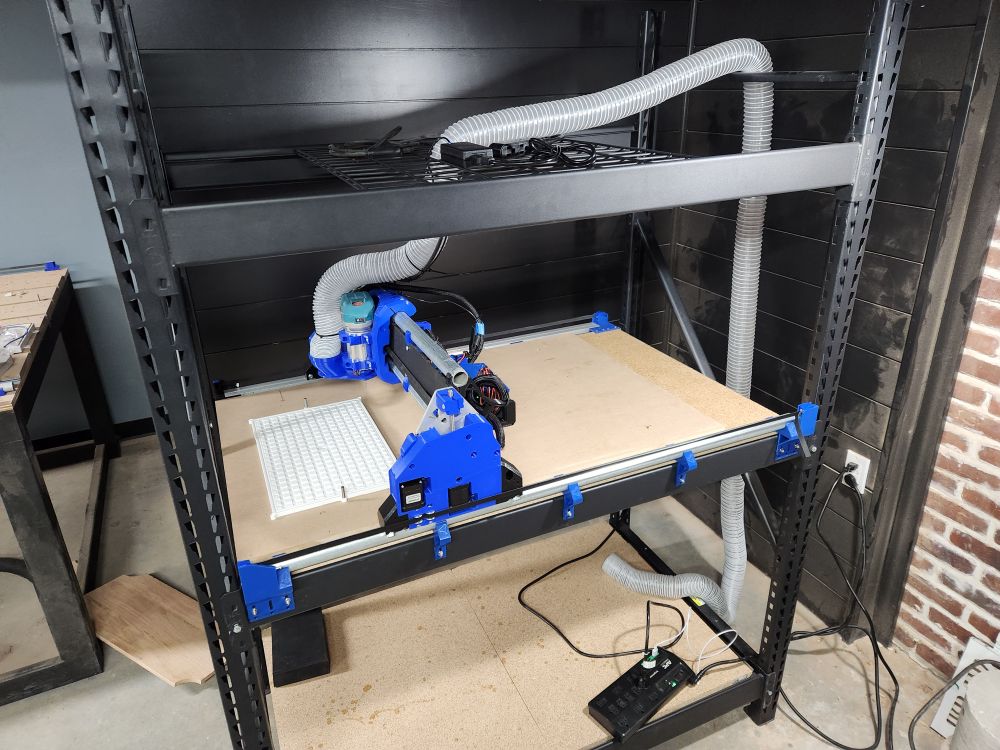
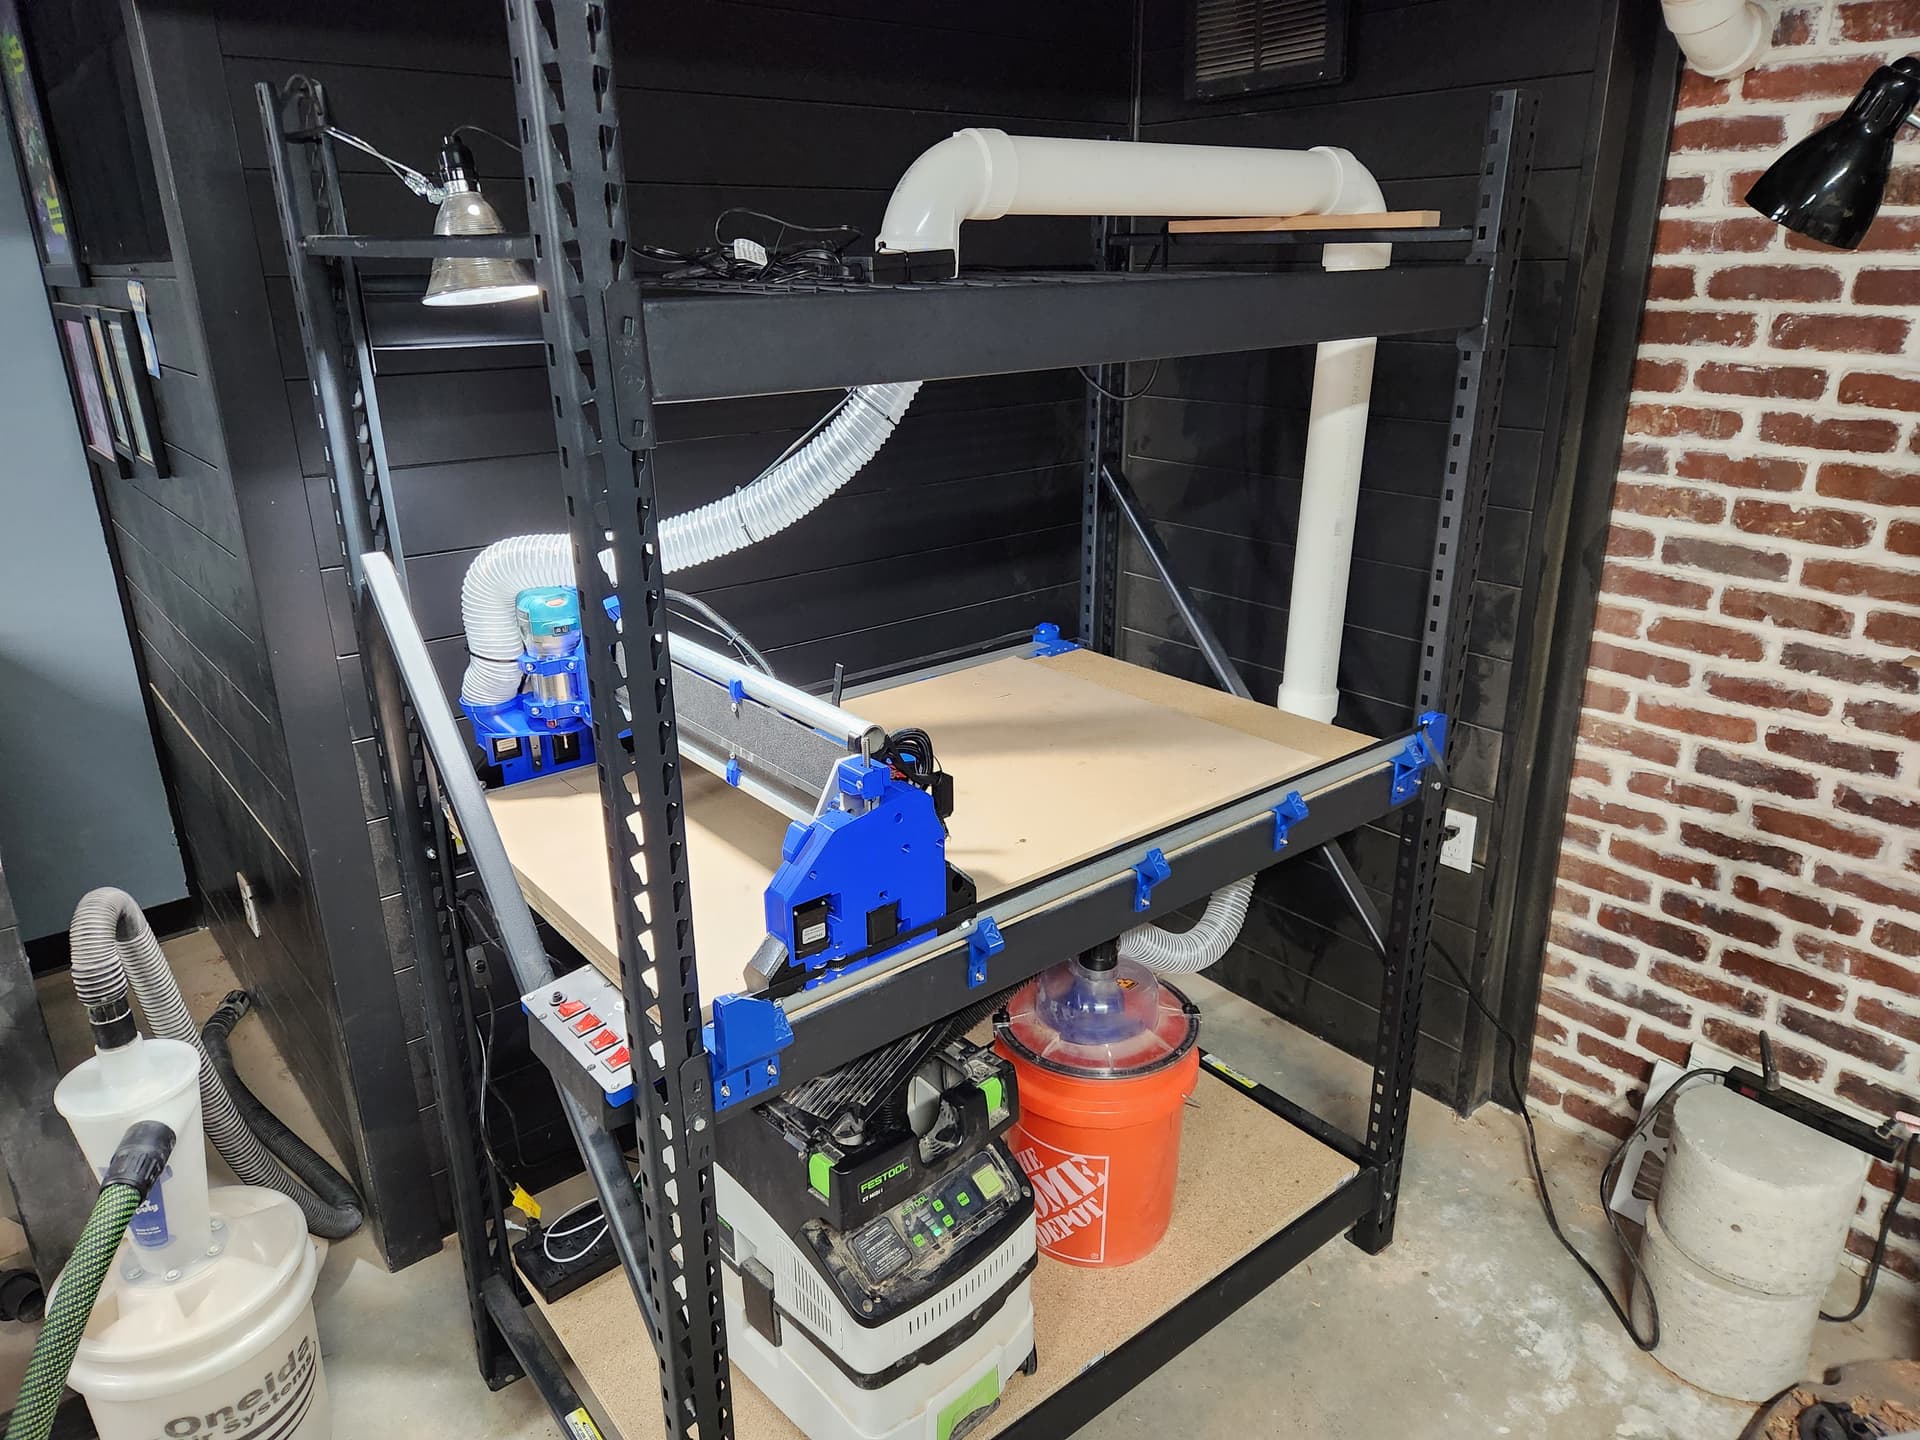
Easily my least favorite part of this process is building the initial table, so I started to think of ways that I could cheat this step. This is how I ended up settling on building the LR4 on one of those big box store modular steel shelving systems. Originally when I set out, I was pretty convinced I could stack two machines on top of eachother for double the CNC in the same amount of space. I’m not sure how feasible that is anymore, but here we are.
Originally I planned to have the X axis run along the wide section of the shelf, as obviously this would make the machine the most accessible. Then I started thinking that if I went the other direction, my gantry would be much smaller and perhaps more rigid overall. Not sure how much of a difference that would make, but the decision was made.
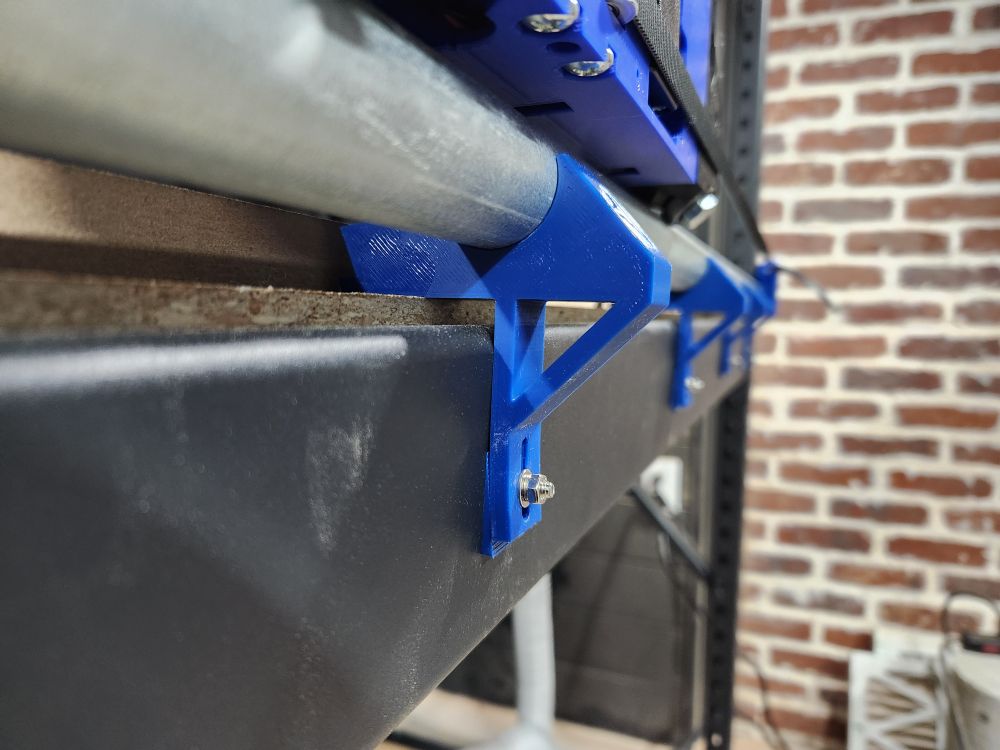
This made the X-Axis range rather small, so I wanted to devise a way to squeeze a little more room out without losing too much real estate to the Y-Rails. This lead to a lot of custom hacking and printing of the Y Rail parts so they would mount onto the side of the shelf. Of course this took tons of trial and error, and I more than lost all the time I would have saved just building my own table, but that is the nature of rabbit holes I suppose.
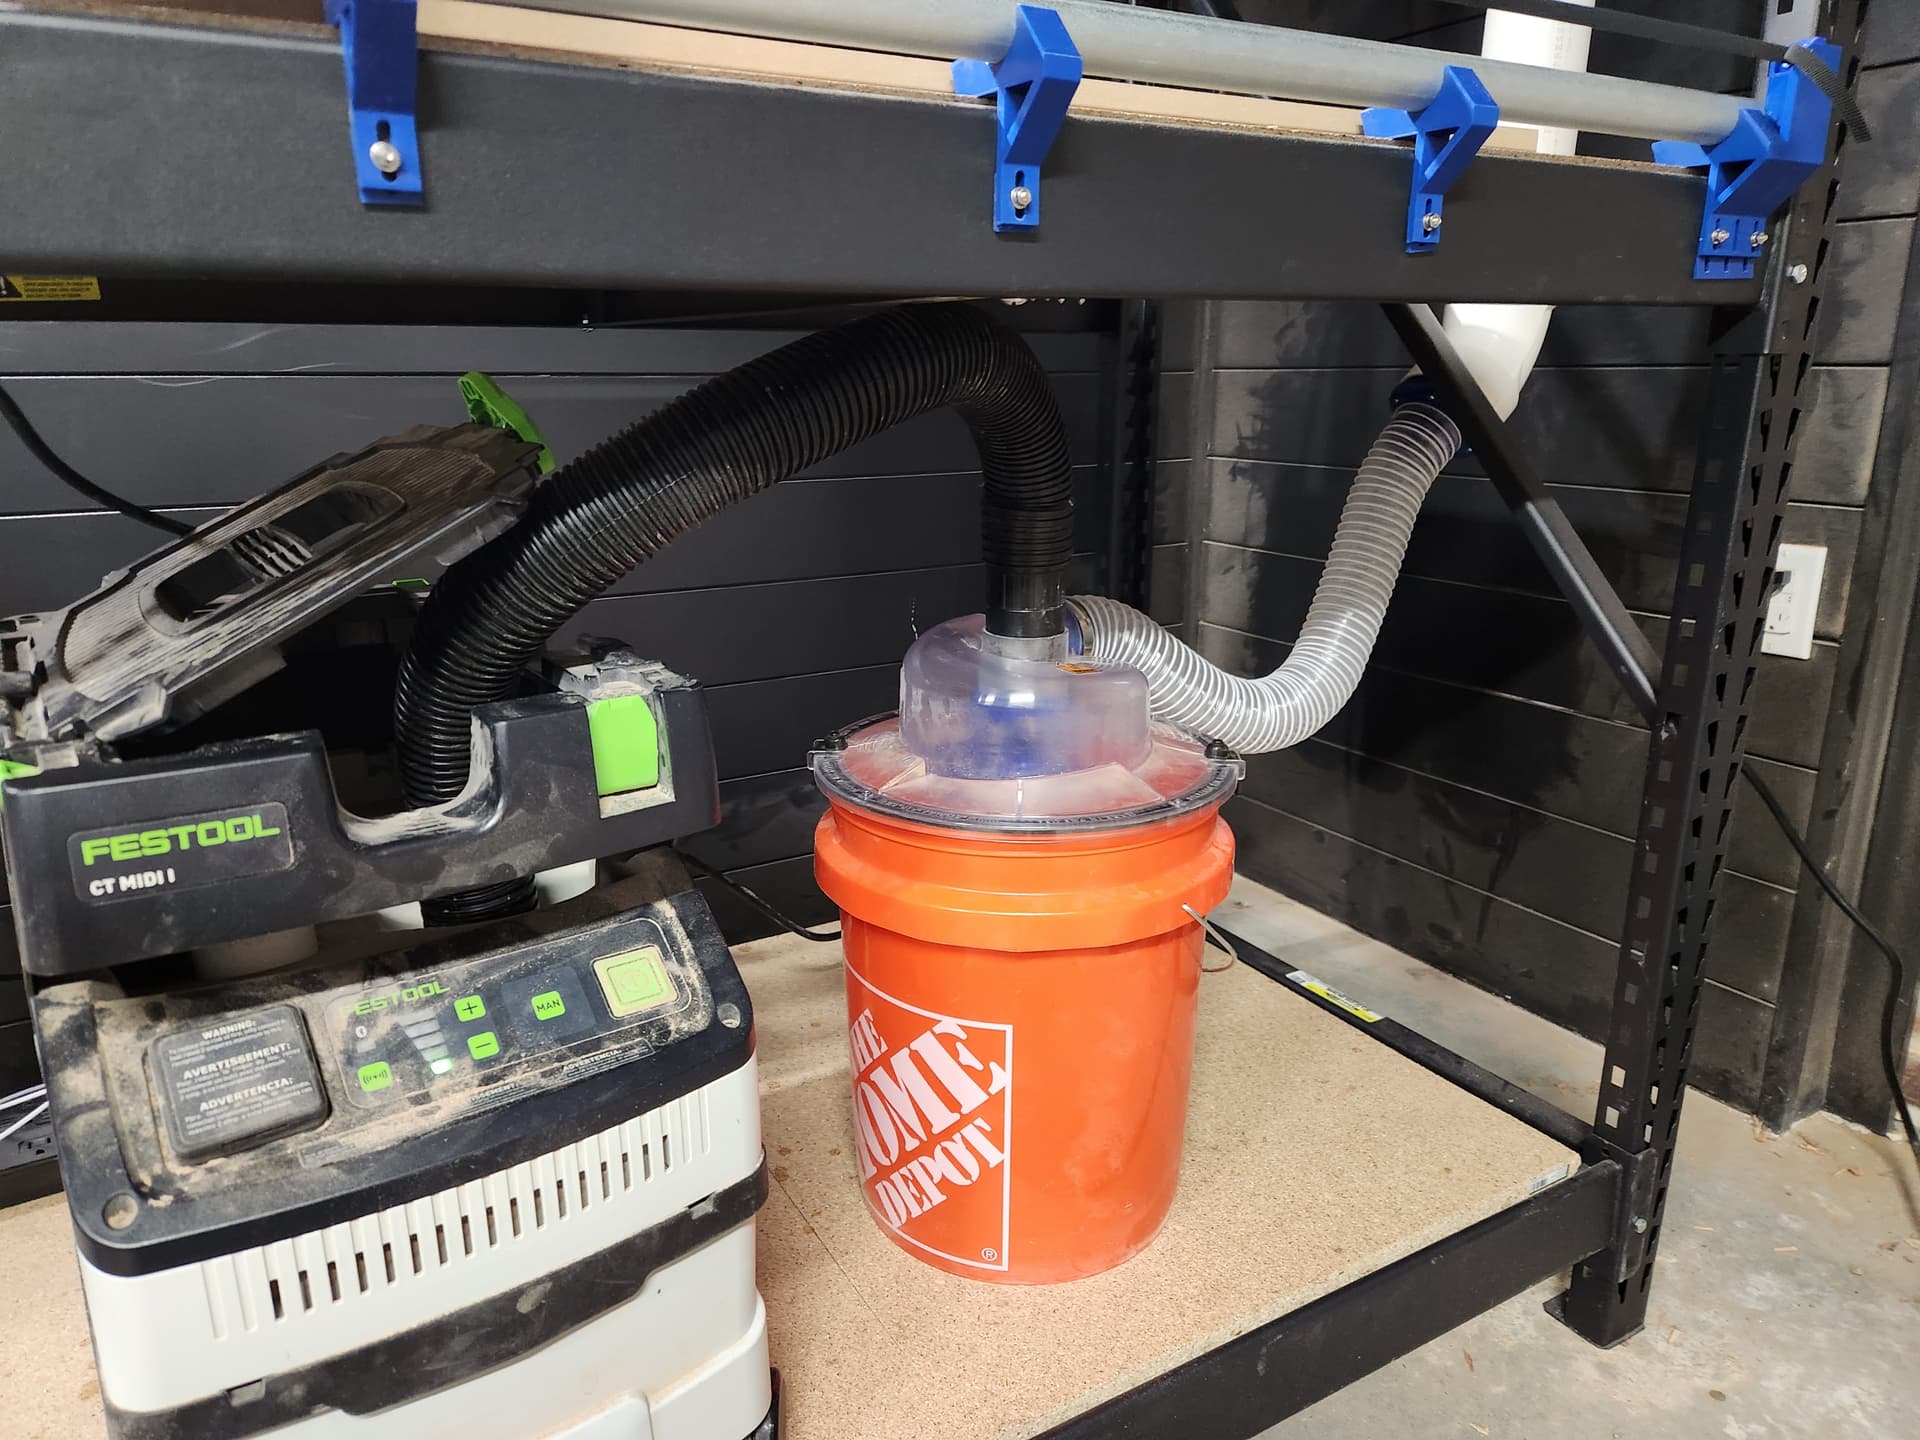
Overall, I am still happy with the setup (Or maybe I am still in denial?). I’m stoked to have my vacuum pump, dust extractor and other bits organized on the bottom shelf, and top wire rack seems to work well so far for organizing the dust hose and power cables. So far the initial squaring has come out good, but I have yet to get it dirty with a real cut. I suppose time will tell how well this expirement plays out over time.
Edit:
You can find the models here if you want to play around with them yourself.
I was just looking at some shelves very similar to that in Costco thinking those would make some fantastic rails for a lowrider. Nice to see someone has done it! Congrats on the build.
Great stuff! I have been pondering a very similar concept although mine has the laser on the “top floor”!- it makes enclosing the machines very simple for sure. I’m looking forward to seeing your next “floor”.
Getting close to real cutting, hopefully by tomorrow I will start making dust!
One thing I noticed when driving the machine around was that the weight of the hose hanging off the side would be enough that sometimes it would pull all the slack out, which means in other areas the hose would get really stretched trying to get somewhere with no slack.
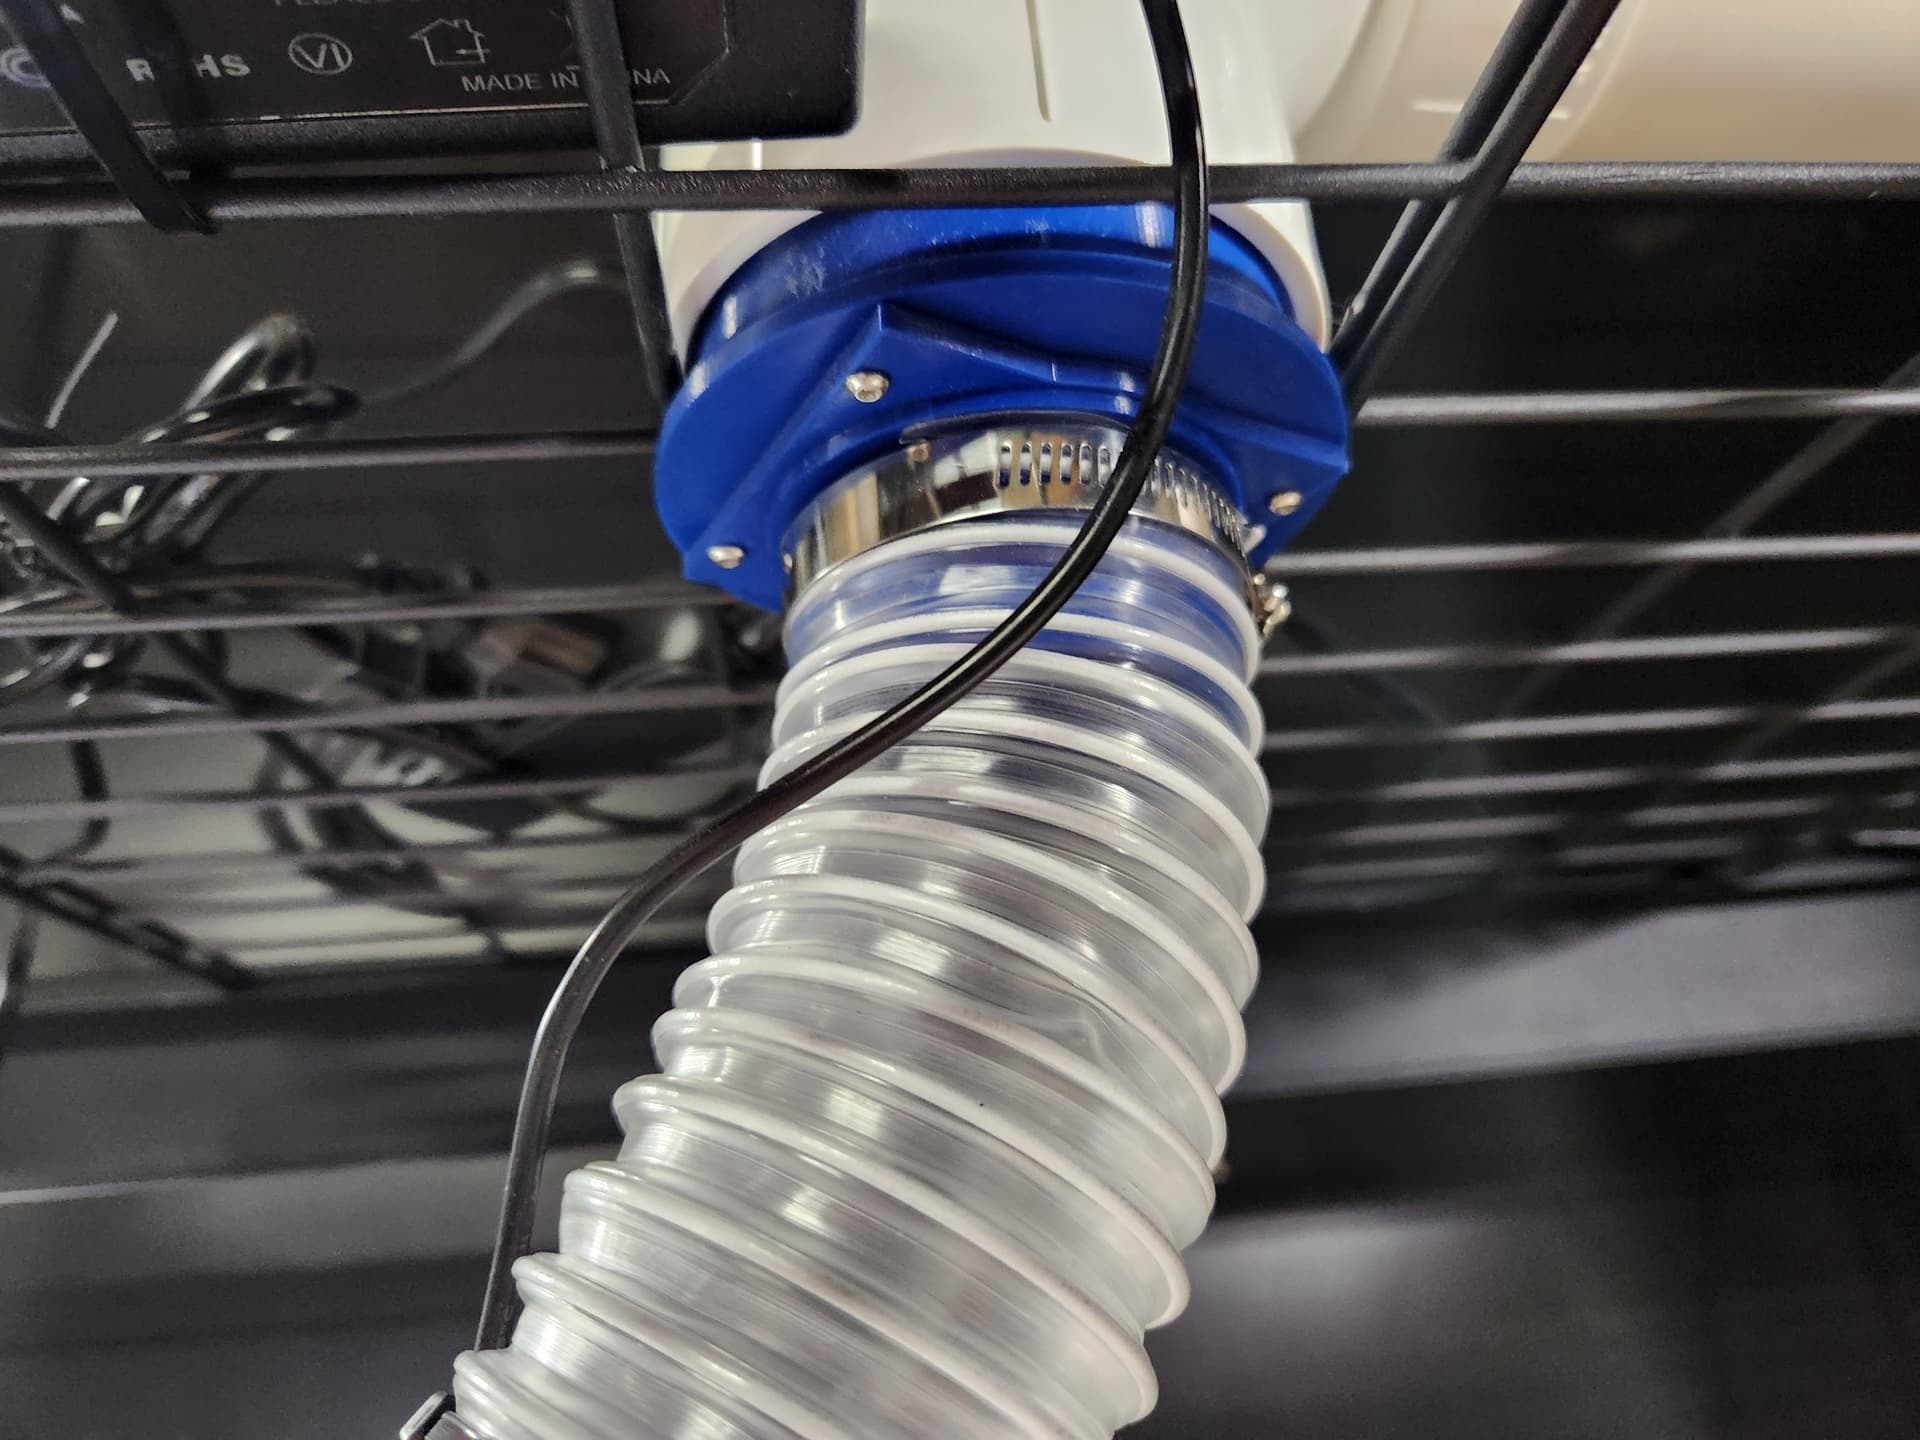
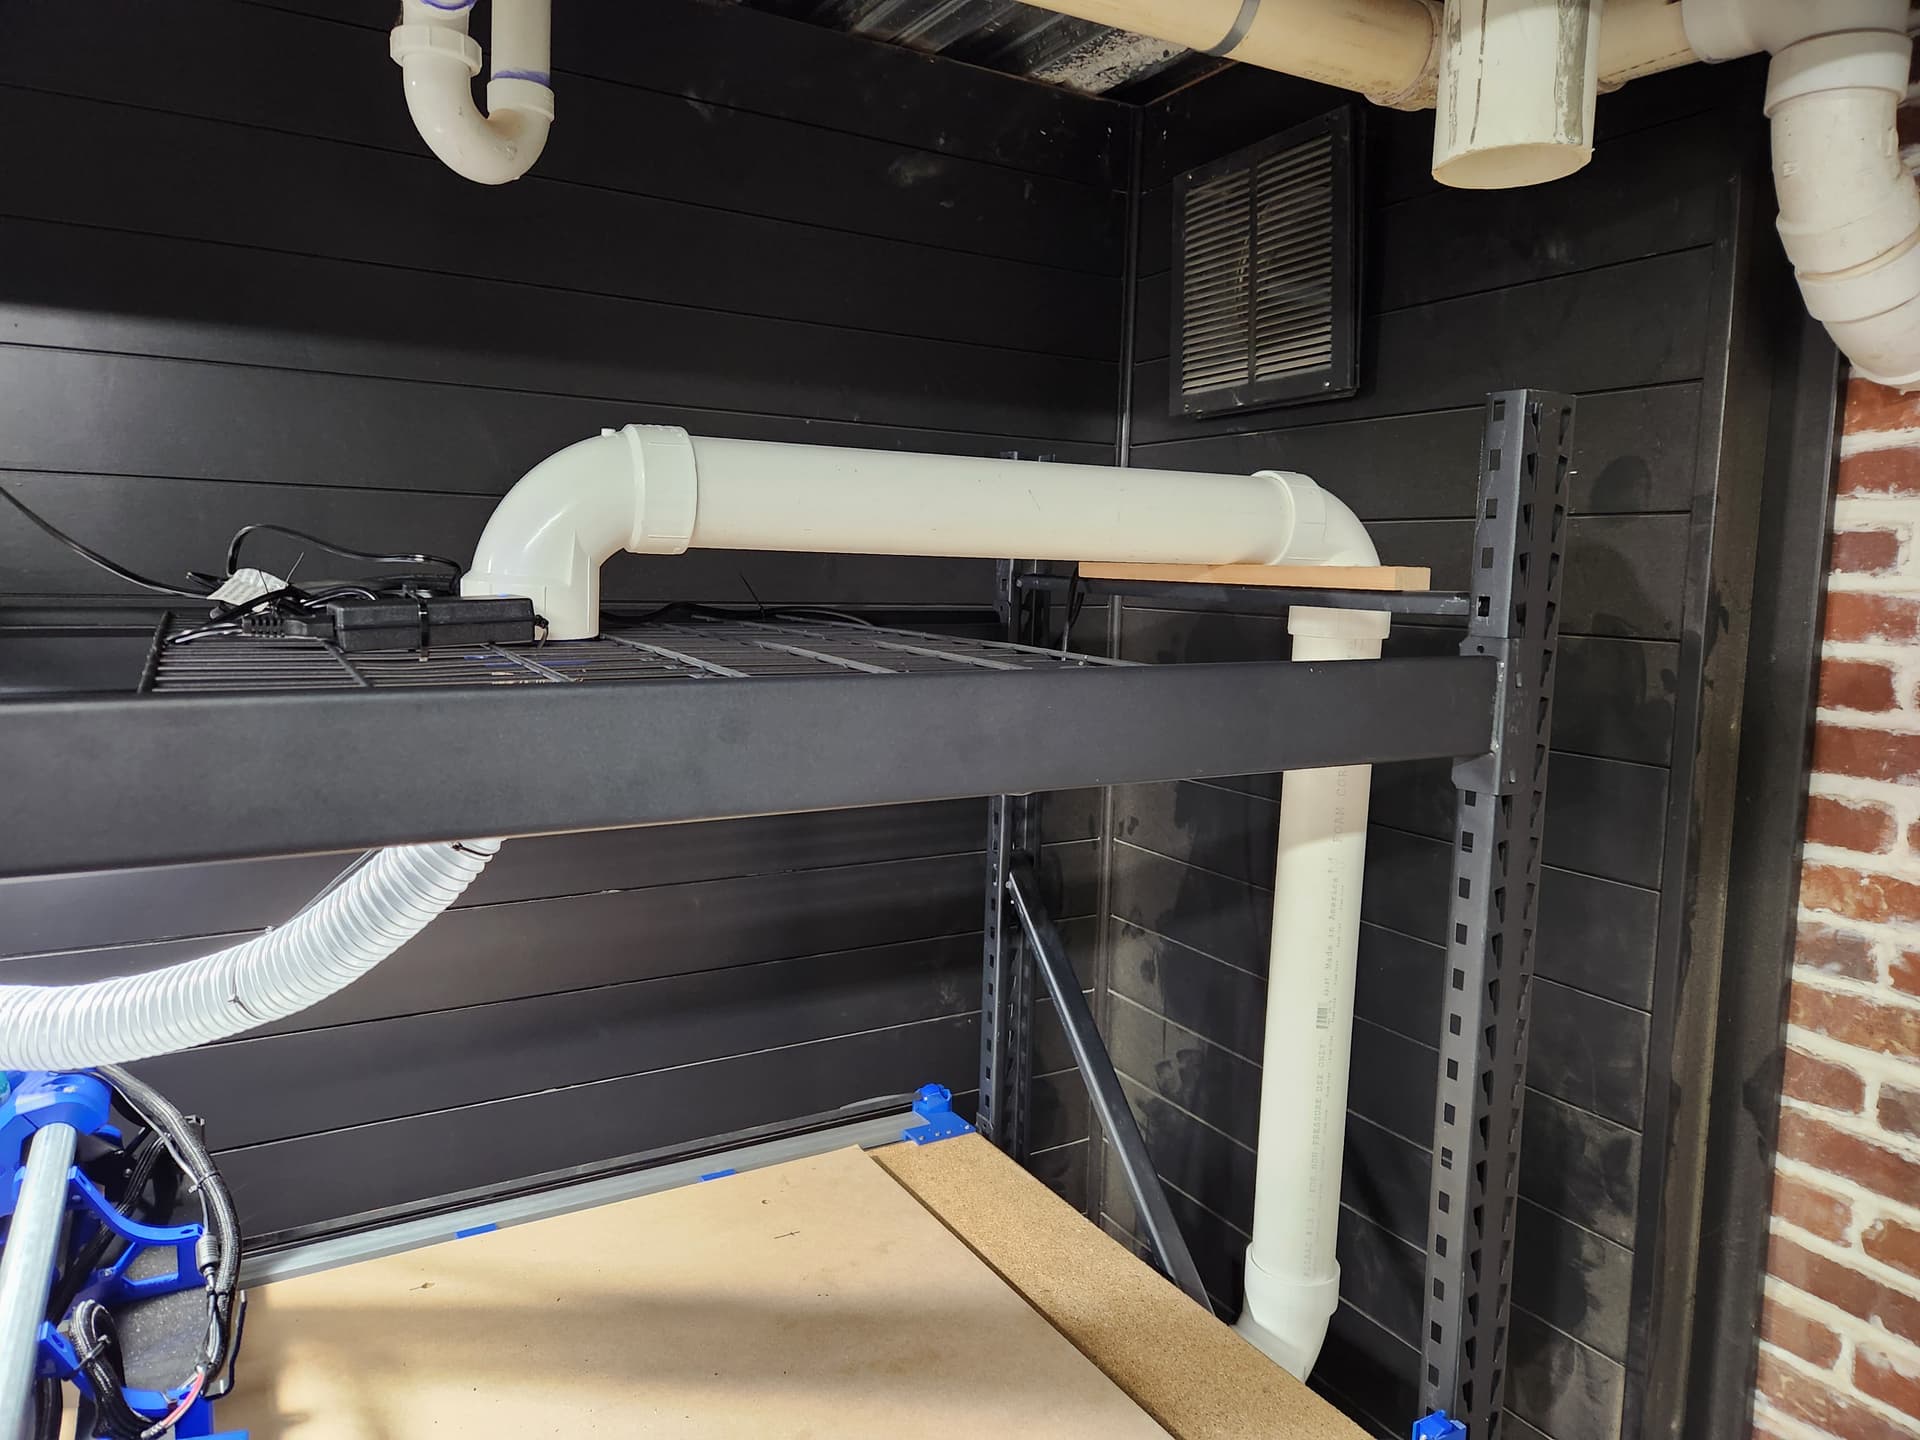
To fix the hose in place better, I found this blast gate model conveniently designed to go from 3" PVC to the 2.5" dust hose. I put that together minus the blast gate part, and installed a run of PVC down to where my dust extractor lives.
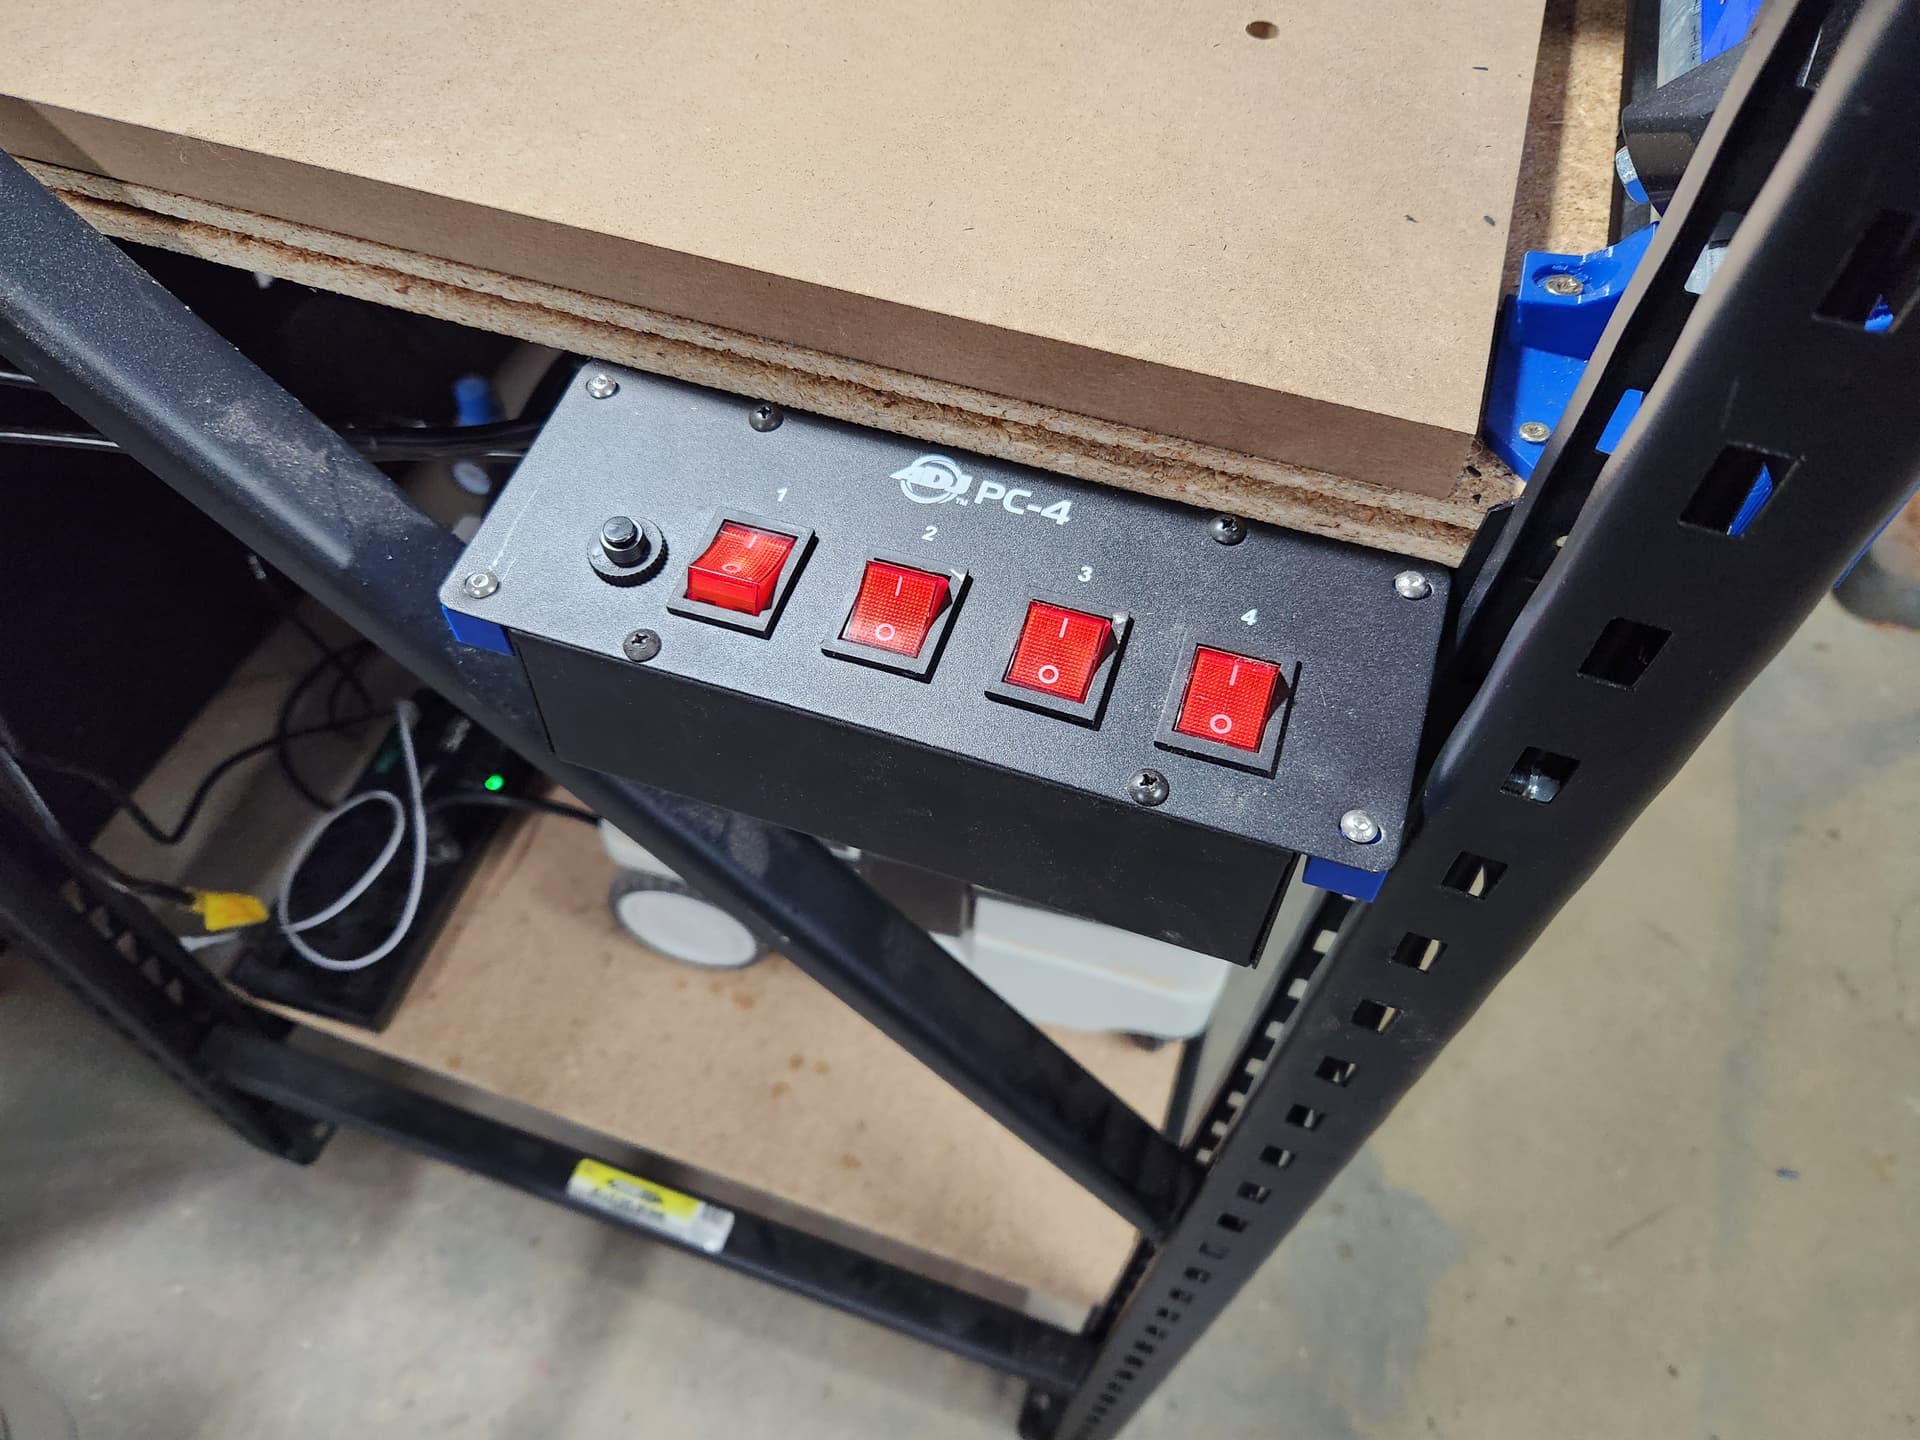
I also mounted this ADJ switchable power strip thing. I have had a lot of success with it on my LR3. One switch plugs into the CNC and the Router, and another to my vacuum pump. It makes turning things on and off nice and easy. I especially appreciate the off part because more than once it has functioned as an emergency stop.
Did a couple passes surfacing the spoilboard. One issue I had was the hose kept partially slipping out of the slot when driving back and forth. Seems like others have had this issue just depending on the hose, and it looks like someone else here made this model which lets you clamp the hose onto an adapter and slide that into the hose port. This worked out really well and stayed in place for me even without using a ziptie.
The hose needs to be securely fastened to the top of the core to keep strain from messing with your accuracy. That should keep anything from popping out.
I think the problem I was seeing with the hose popping might have more to do with me running the hose up and out the top of the shelf, rather than having it supported on the back of the gantry as normal. The hose comes down from the center of the table, so it gets most stretched when the machine is on the min or max Y axis. I think as I was driving back and forth surfacing, the hose was just walking its way out of the slot.
I’ll make sure to get it secured to the core again though, thanks for the heads up.
Edit: Ohhhh I see what you mean now. There is a second zip tie on the very top of the core. I was thinking you were referring to the one that is part of the tool mount for some reason. Yeah, that will definitely help.