I posted back in 2022 that I was going to build a LR3 and had all the parts printed. However, I just never got around to it and when I started looking again, I saw that there was a LR4 in beta so I just figured I’d wait.
Well, I’ve finally gotten going on building it. I took apart my old Burly MPCNC which was a great CNC but I made it too big and it wasn’t stable enough for my needs. I’m hoping this LR4 will allow me to build the projects in the old brain noggin.
My current plan is to build a 1/2 sheet CNC for in my basement and eventually I’ll see about a full sheet table in my garage when the kids move out and there’s more room. It may be after that though as most of the junk in the garage taking up space is my stuff
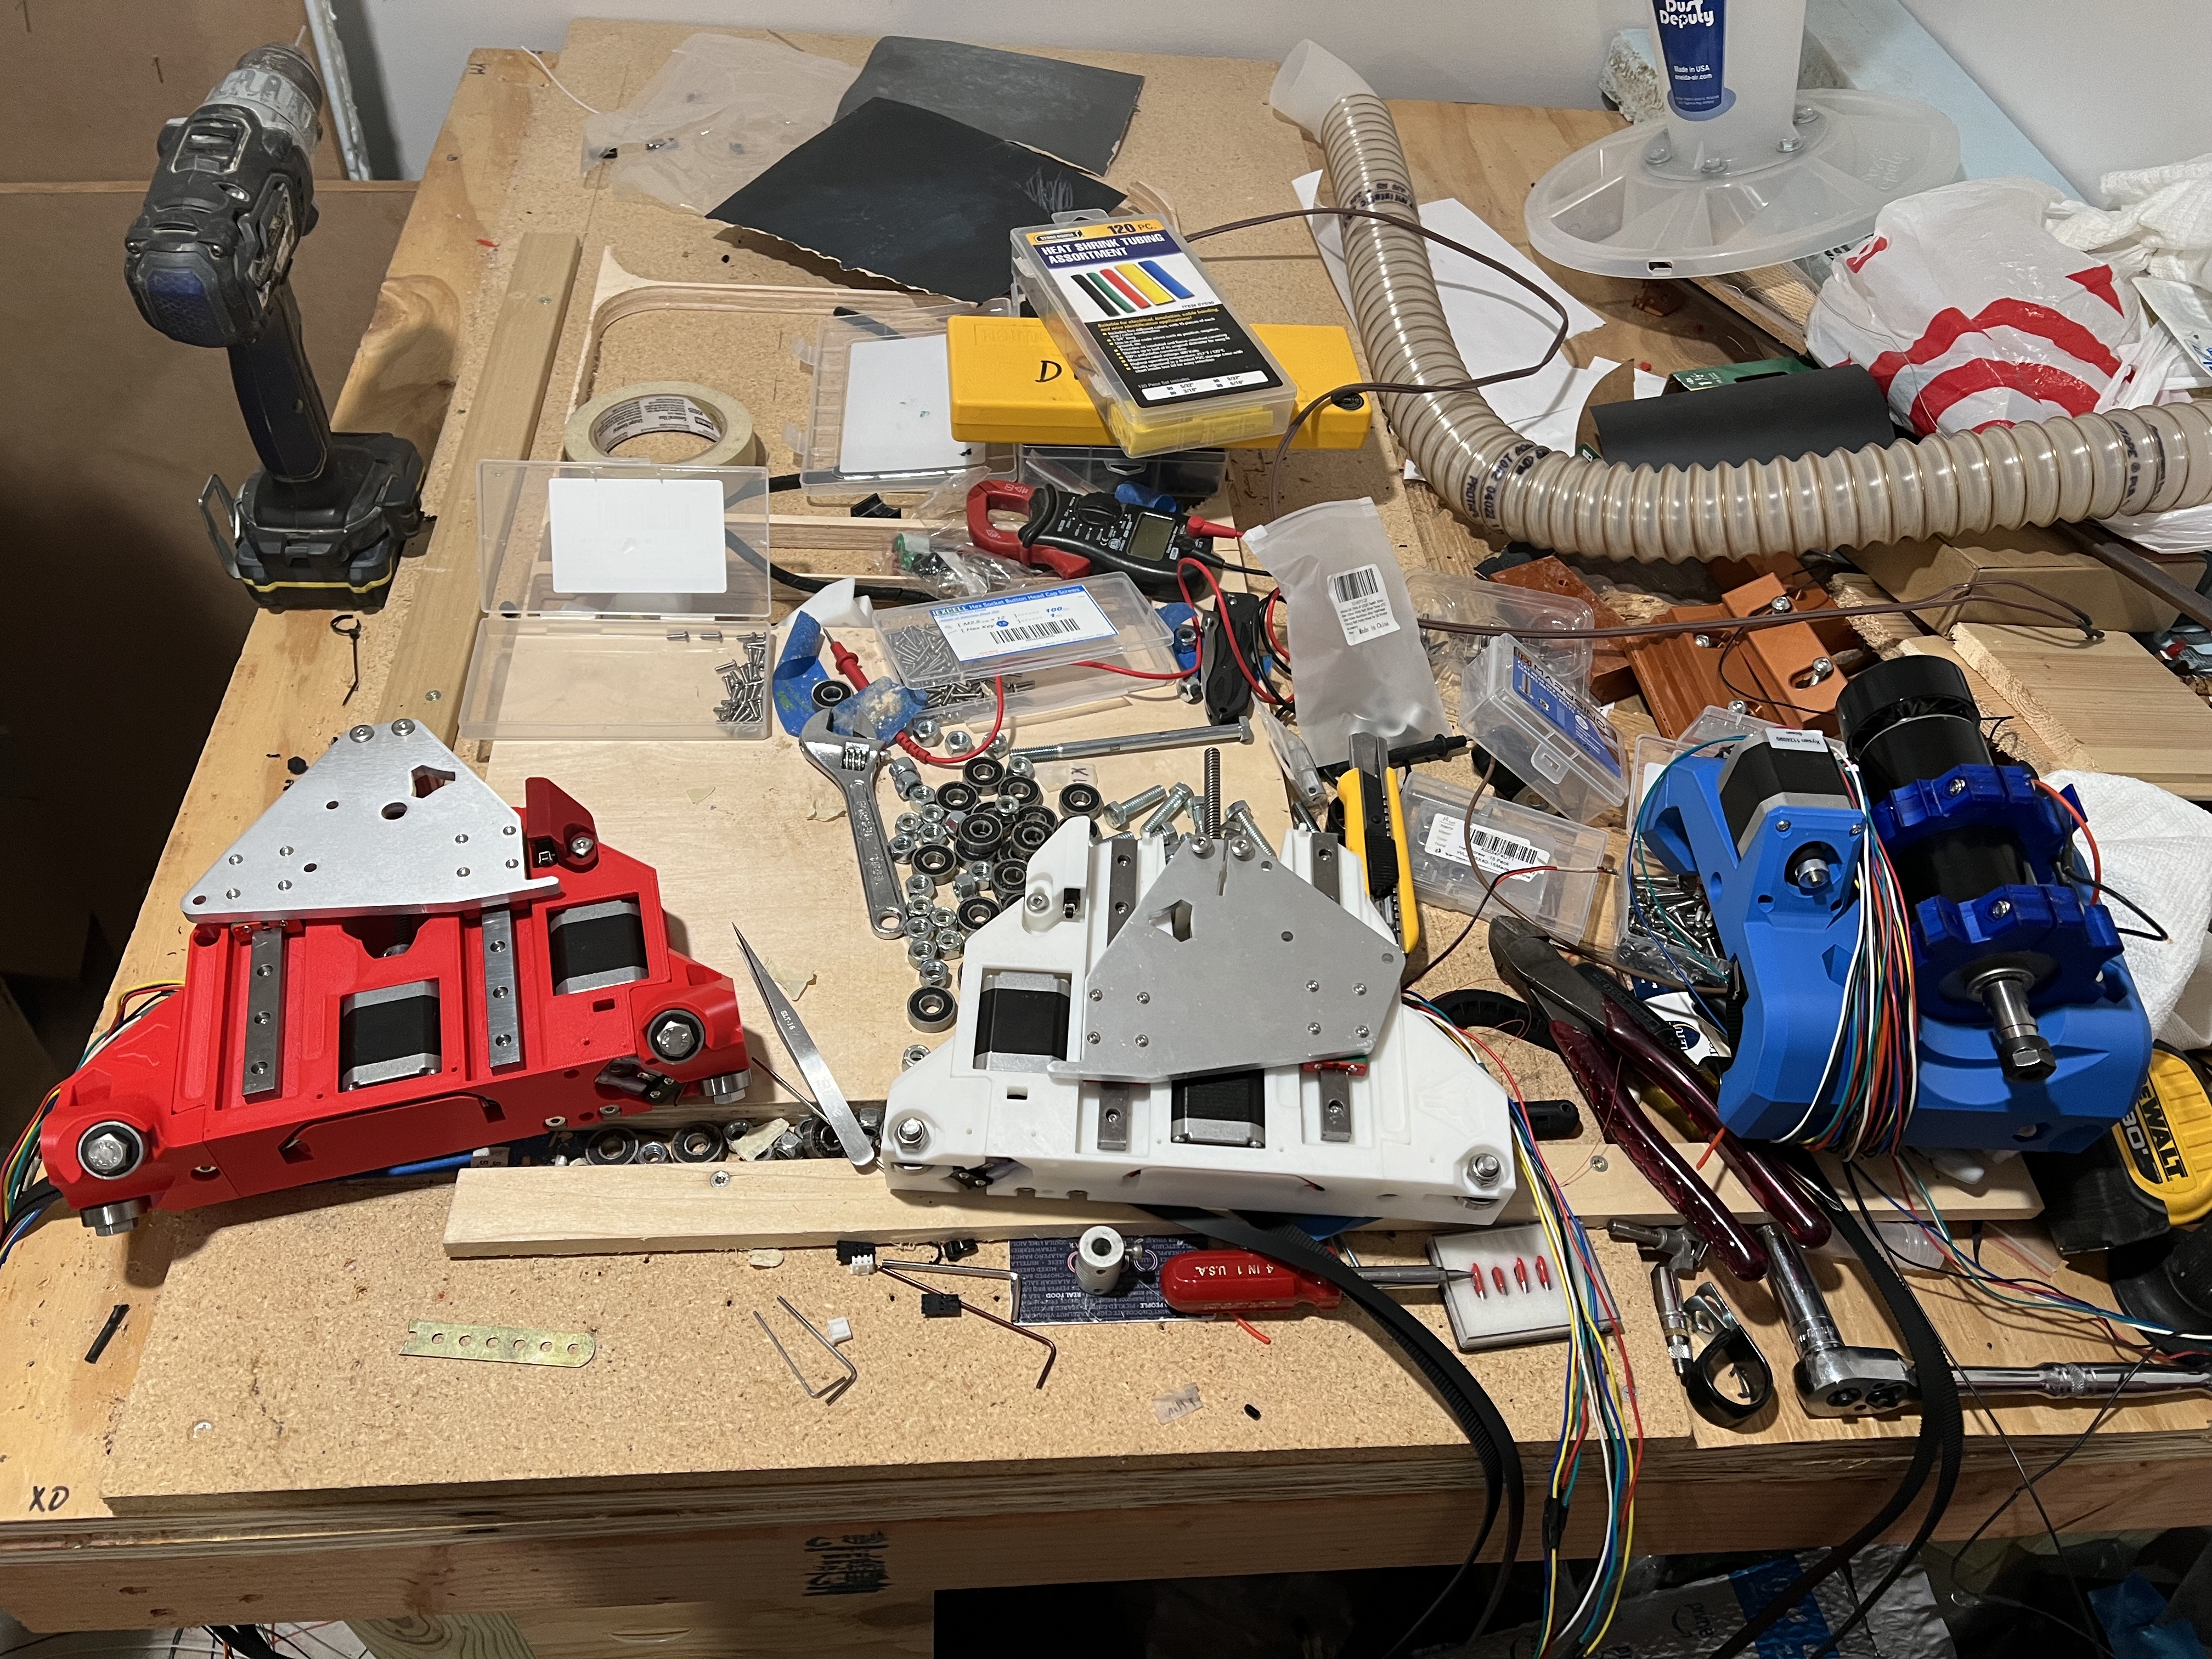
So far, I’ve built the core and both YZ plates. I’m working on the gantry now when I have time. The build is taking longer than I was hoping as my youngest kid is playing basketball and we live in the middle of nowhere and games are hours away. However, I’m still waiting on the Jackpot to come from China so I’ve got some time.
I’ll try to post some pics, especially when I get to making some chips but I’m getting more excited as things are coming together.
Oh, I almost forgot, the build theme is Red White and Blue, #merica!
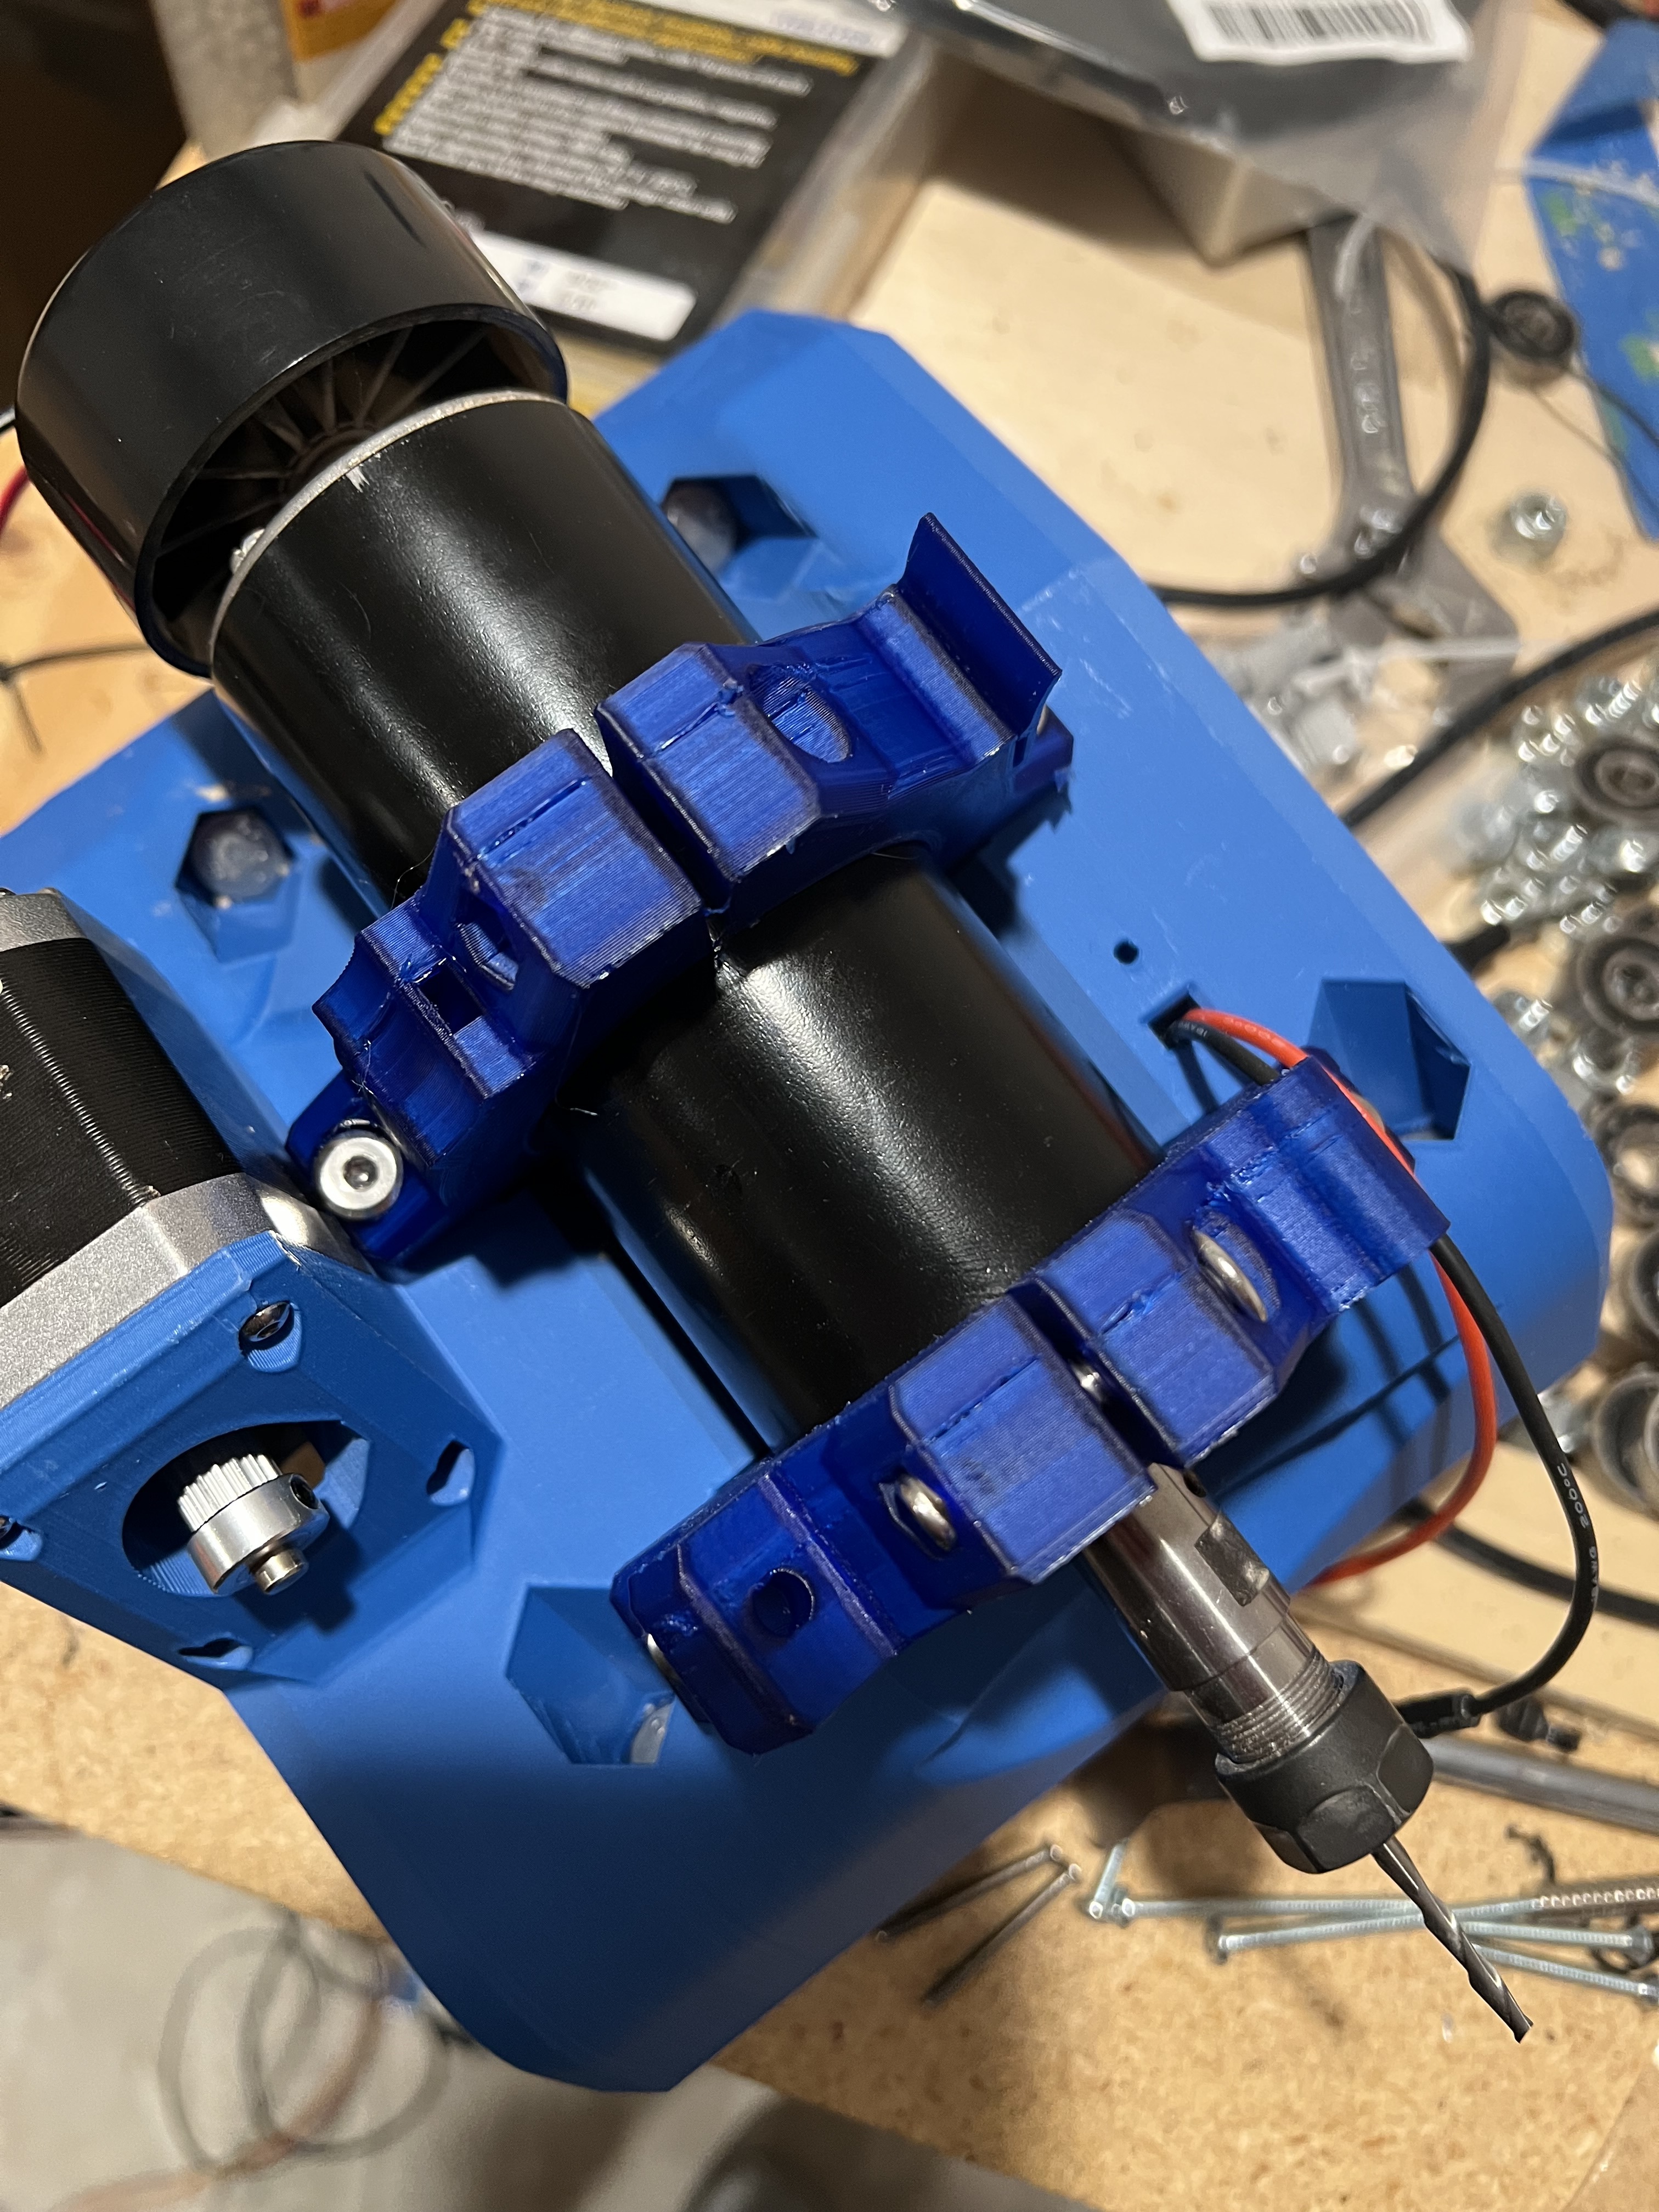
Here are some pics of the build so far. I had to design a new tool holder for my spindle as it’s a wonky 52mm diameter. Luckily someone posted a 55mm diameter one to Printables so I just tweaked that one.
I’m also planning on air bushing the strut plate so it fades from white on the left to blue in the middle and then to red on the right. That way, it’ll match the printed part colors better.
Thanks for that @DougJoseph. Hopefully it’ll look better when I get things cleaned up.
I’ve got to say, you’re an inspiration to me! The projects you work on and document are top-notch and a major help! I’ve got the m5 dial coming my way (soon I hope) so I can make the pendant.
If I can make some stuff 1/2 as well as you do, then I’ll consider that a success!
I’m sorry to hear that. I hope you get back to feeling 100% again soon!
I’ve been down-and-out since September when I broke my leg while I was going deer hunting. Luckily my son was with me and he was able to run up the hill and get a cell signal to call my wife to help. Surgery, 11 screws, two plates and a metal band to hold my bones in place followed by 10 weeks of no weight bearing time has really impacted my winter plans.
I’m finally able to walk down the stairs to my nerd room and work on building the CNC. It’s been nice to get back into it.
Sorry I wasn’t trying to one-up you. I was just thinking that it’s interesting how life can get crazy really quickly for lots of different reasons. I do hope you’re feeling better soon!
Thanks! I’ve been on the forum for a few years now but I haven’t had a chance to be all that active. Hopefully I’ll chime in more once I get to making some chips fly with this thing!
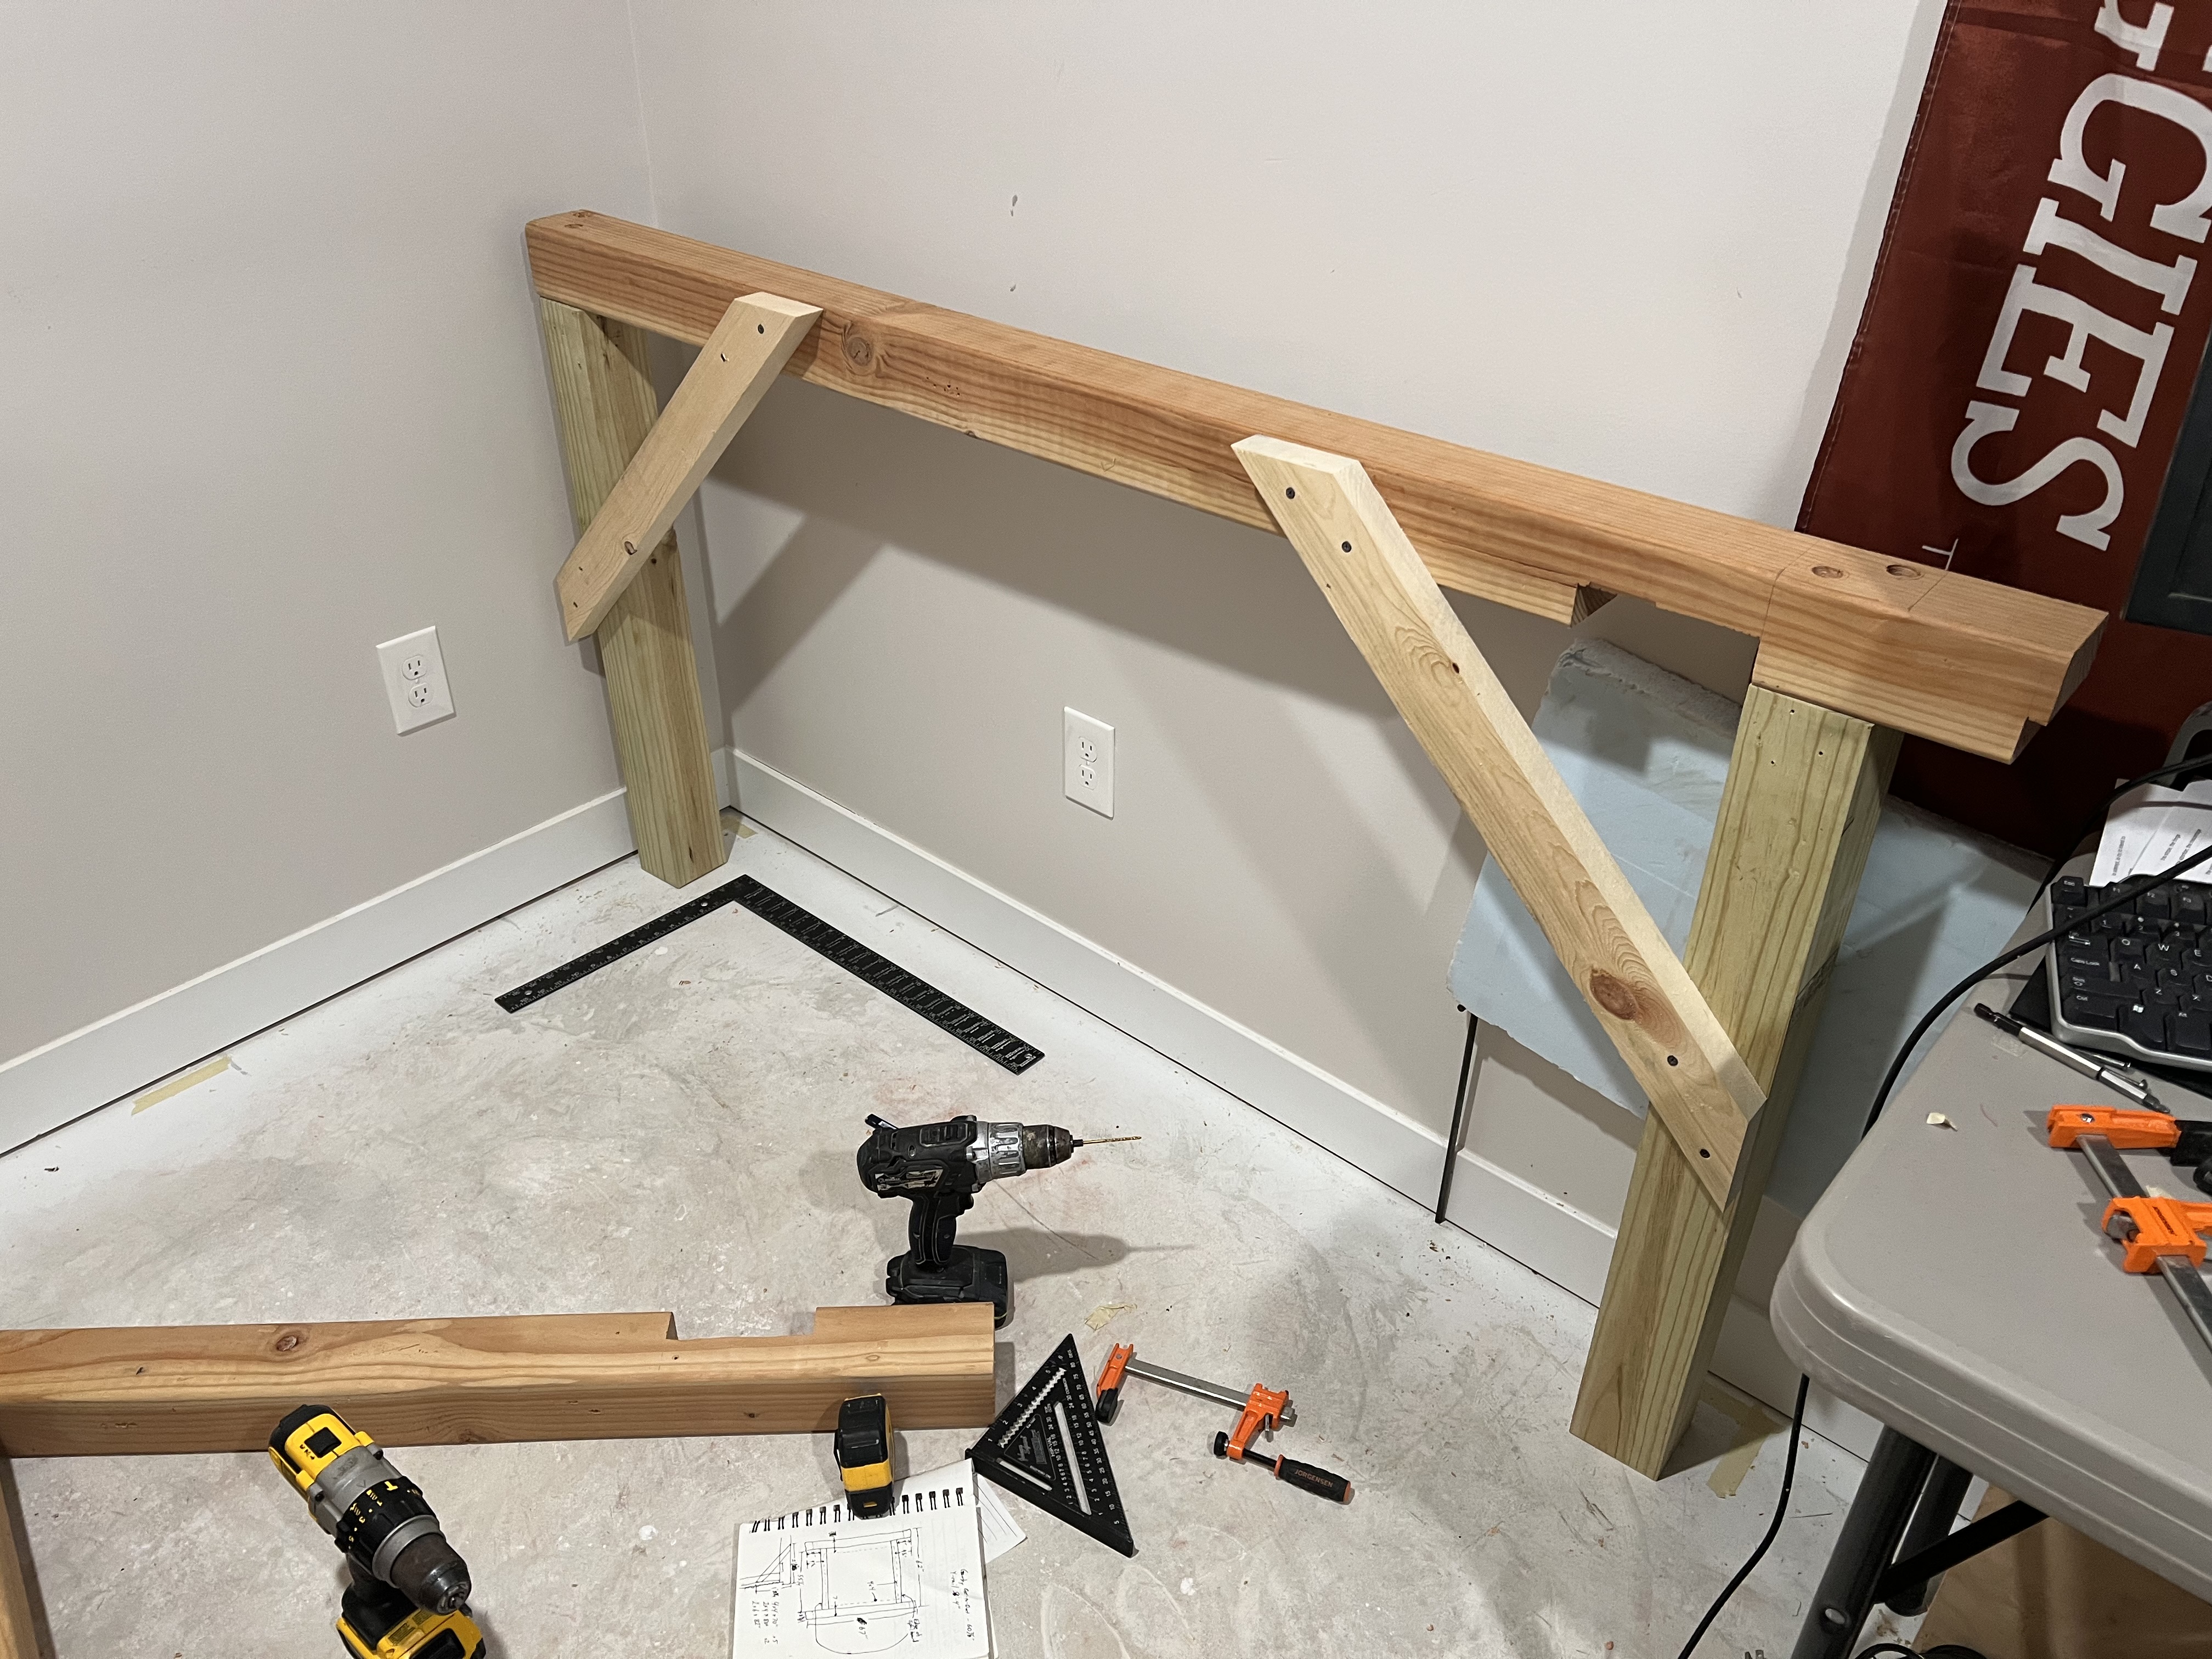
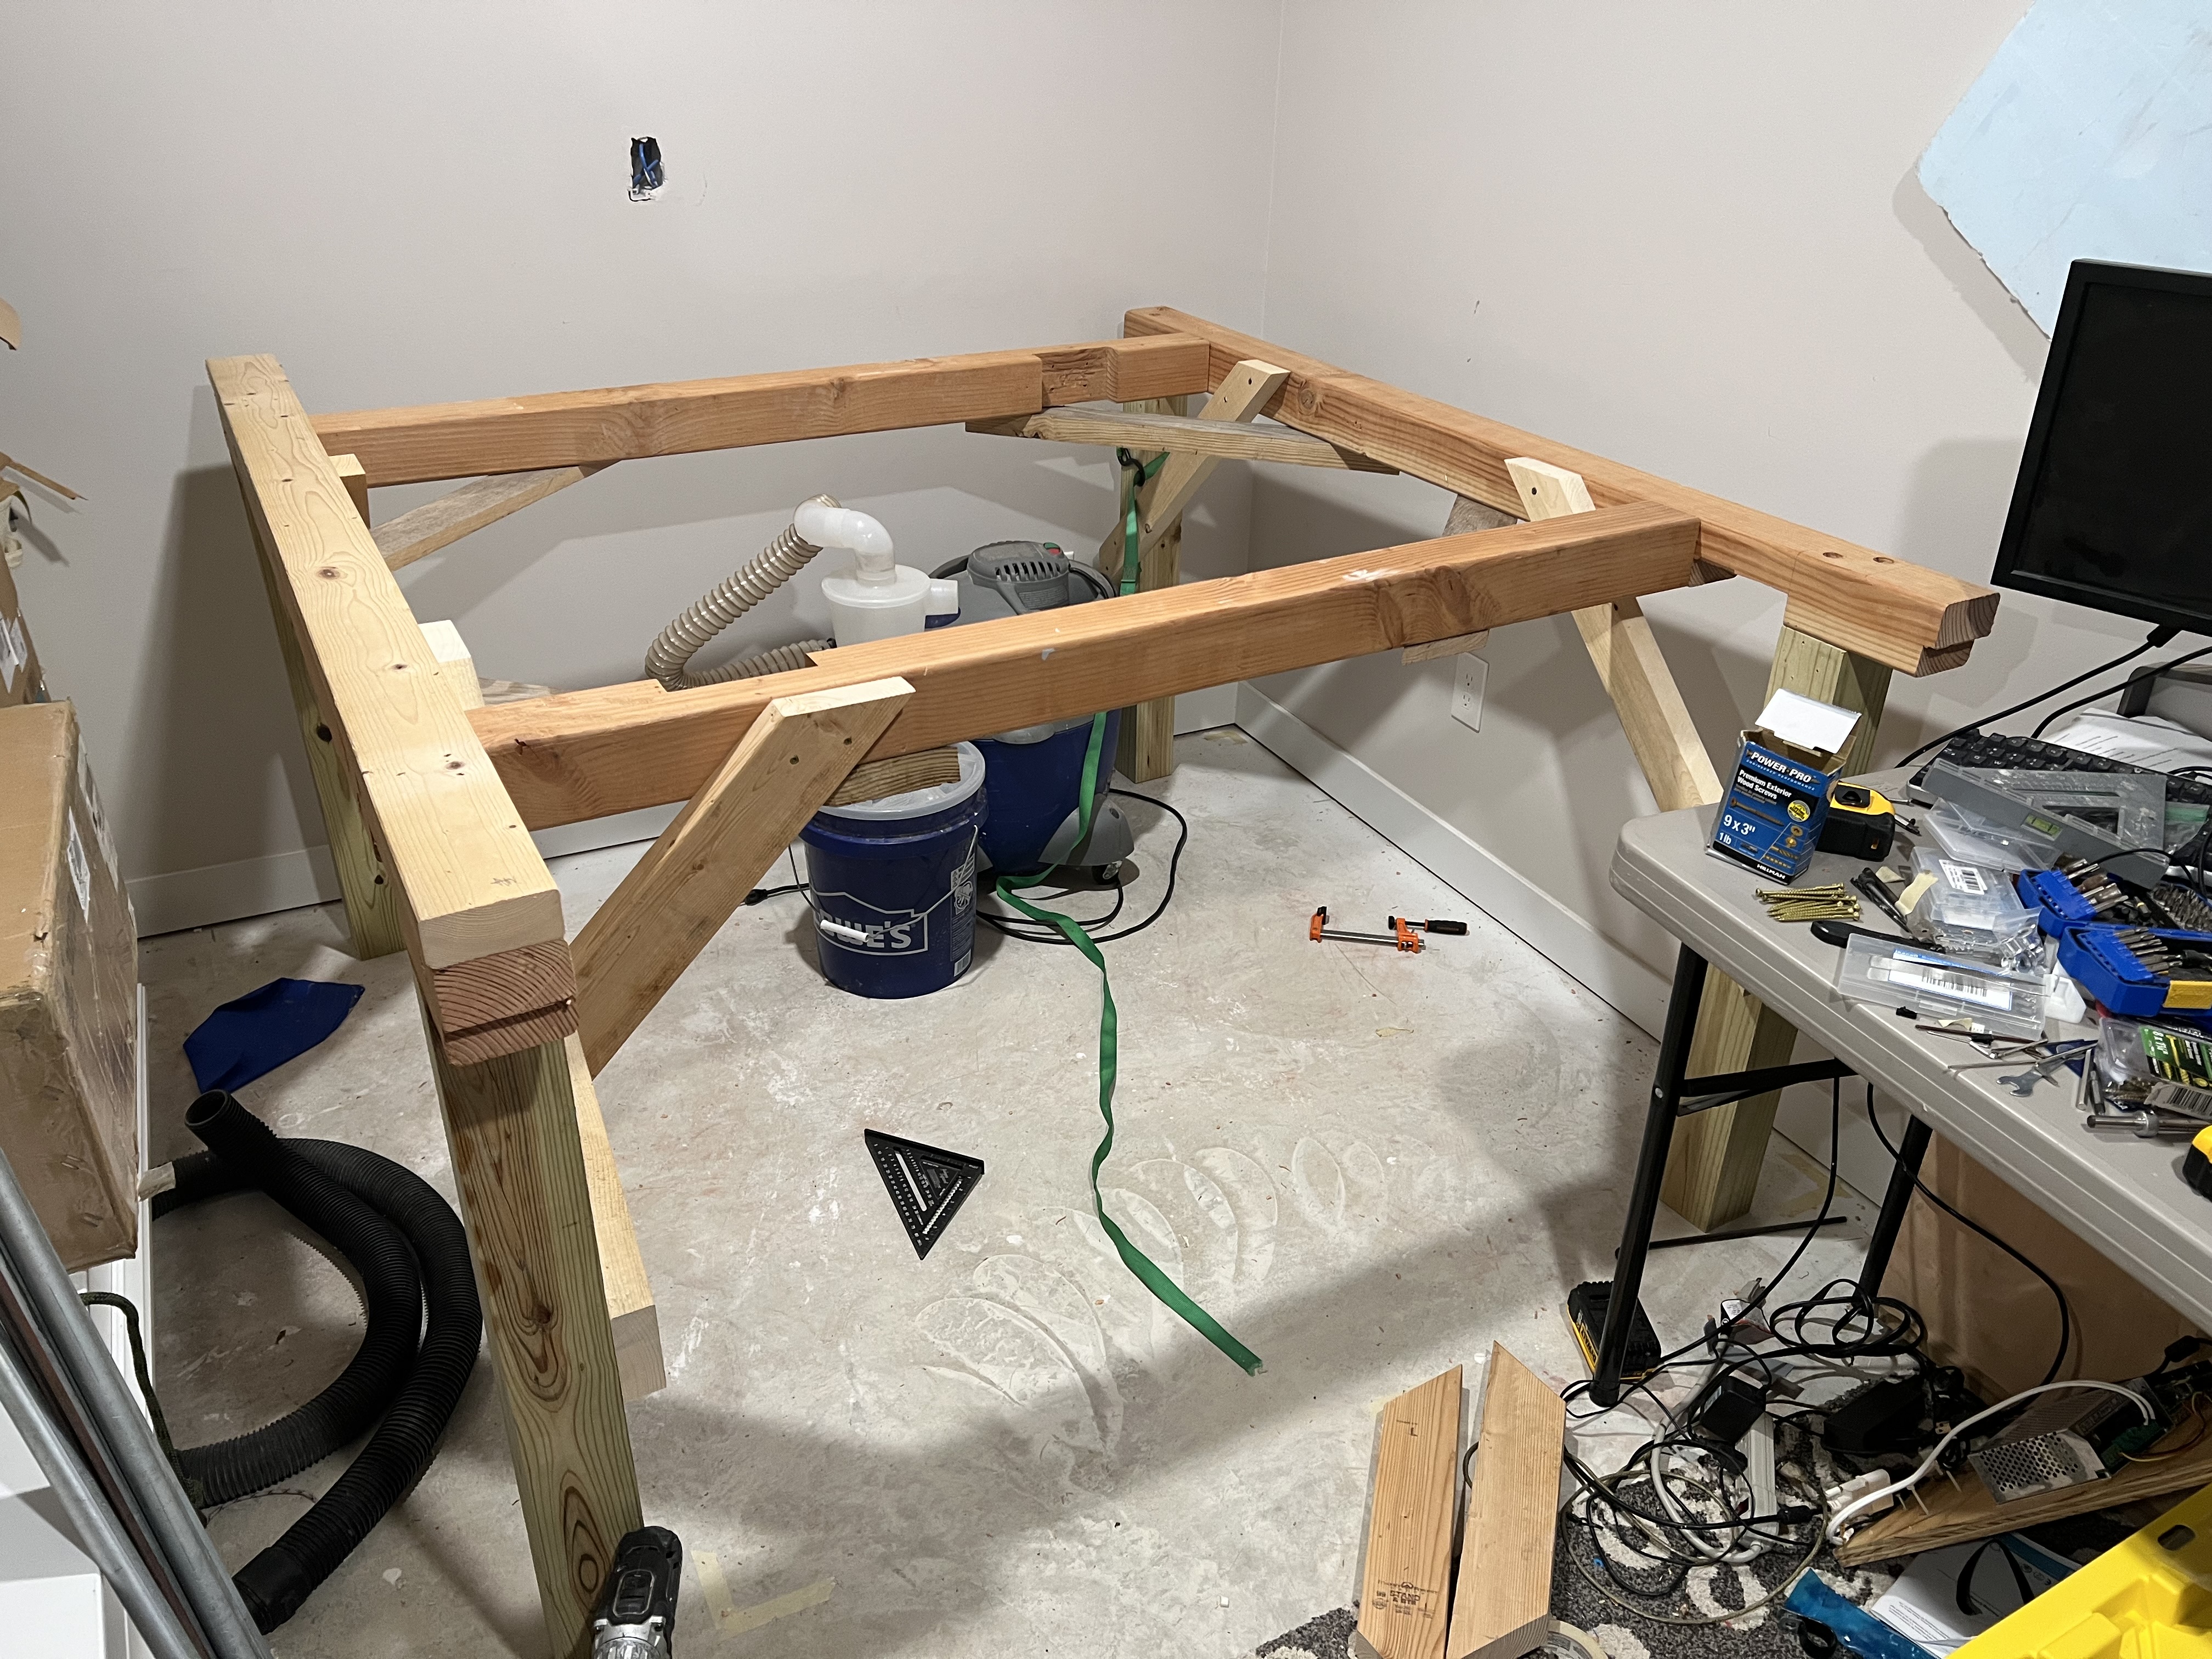
I completed the gantry, mostly. I’m waiting on a few more electronics bits and then I’ll clean up the wiring. I thought I’d shift to building the table. I had to use wood from older projects like my son’s old loft bed but I was able to piece everything together pretty well. It’s bulky but should be pretty stable. One day I’ll build a nice table for it but oh well.
I designed this a little on the larger side so I can put a half sheet of MDF in it with a little room around the outside for wiggle room. I’ve got some threaded inserts for M5 bolts that I’m hoping to use in the spoil board for work holding. We will see how well that goes in practice though.
If you will be using threaded inserts to bolt down the spoil board, especially if doing so in the ‘field’, I suggest nylon just incase the tool would hit the spoil board.
I used M8’s, and the LR4 to drill and pocket the holes…
Peter, I’m in the process of completing my table for an LR4 which I’m also about 1/2 completed (the LR4). I was going to use threaded inserts (metal) set below the surface of the TABLE for the sacrificial spoil boards which will be 3/4" thick 5.5" wide, in addition I’ll be adding 1/2" “T” slots installed below the table surface between the spoil boards for hold downs. I’d planned on using nylon screws to hold down the spoil boards.
Are you suggesting the threaded inserts should also be nylon?
Hi Dan, I am referring to nylon M8 bolts… my inserts are metal and sit flush with table top… the 3/4 MDF is a lot of material as spoil board a bit would need to go through all of that thickness before digging into the metal threaded inserts. I too have thought about aluminum t-slots as well. Likely will just wood screw them into the table top and then use the nylon bolts to fasten the MDF. The bit would need to go 1/4 down through the spoil board before hitting the t-slot aluminum, prob safe unless an error occurs where it dives real deep.
I did not plan well in that my threaded inserts were designed to hold the full sheet, not accommodating sections with t-track in between. I will probably build another table top (l like building stuff anyway) to do exactly that.
My plan is to install the T slots into the table top surface such that they will be useful in the event I want to remove the the spoil boards altogether and utilize the bench as a work / assembly surface. The upside being that I’ll have the majority of the 3/4" spoil board to wiz through before getting close to the bench surface and T slots.
It’ll be awhile before I get to that point but when ready I’ll share some pics.
Right, I’m having way too much fun with this already! It’s so much more stable than the oversized mpcnc I made a few years ago.
Now it’s time to surface the spoil board and get some threaded inserts in for holding. I do like the idea of the nylon bolts. I’ll have to look into those. I’m also planning on doing the circular cutouts for small chunks of pvc pipe to go into for butting up for the zero location.