Ryan blindfolded, me not. And I bet he still beats me LOL. But he has the full cad plastered in his head as a cheat sheet ![]()
Actually I do. Just send me a free kit and I’ll race you.
I honestly think I could do it in 4-6 hours if I don’t have to crimp and test wire connectors, remembered the right assembly order and had all parts laid out with the right tools nearby. My major time suck is stopping to think about the best way to do “this thing” or find that bolt or fishing wire back and forth because I forgot one… then grab a snack while I consider other bling options and try to remember where I put that one tool or clear off space from my miniature work space.
It is fun though. I love the first movements once it has taken shape and starts to work.
1 Like
lol… I guess I forgot to mention the part where the blindfolds get pulled off when it starts ![]()
Just so you start on an even footing.
1 Like
Yes you did! ![]()
I still think he would beat me blindfolded!
But lets see him actually build a full sheet one, not one of his baby ones ![]()
![]()
I actually just got an order for a 24" cut version so this will be my first baby LR. Should be real easy LOL. Showing me that I need another printer that can print the CF filament lol. Time to order another nozzle I guess LOL
…
That didn’t take long…
2 Likes
No new printer, just adjustments to what I already have is all. I have an entire printer that hasn’t been tuned on in 3 months. I think I am just going to take the ERCF off of it for now and get it printing PLA again so I can have 2 printing PLA and 2 printing PET-CF. Seems to make the most sense rather than it sitting there collecting dust LOL
I’ll send the ERCF to you, you can get it working good for me and then send it back ![]()
yeah…sure…that’ll happen… ![]()
1 Like
Hmm, I really thought it would take me 2-3 hours to get it together. The thing that took me longest where the endstops on my RC2 because my cables were too short and it was a pain getting them in.
If you buy Ryan’s kit, you only have to crimp the endstops, right? And one connection between them and the cables you bought? The rest ist just a million screws.
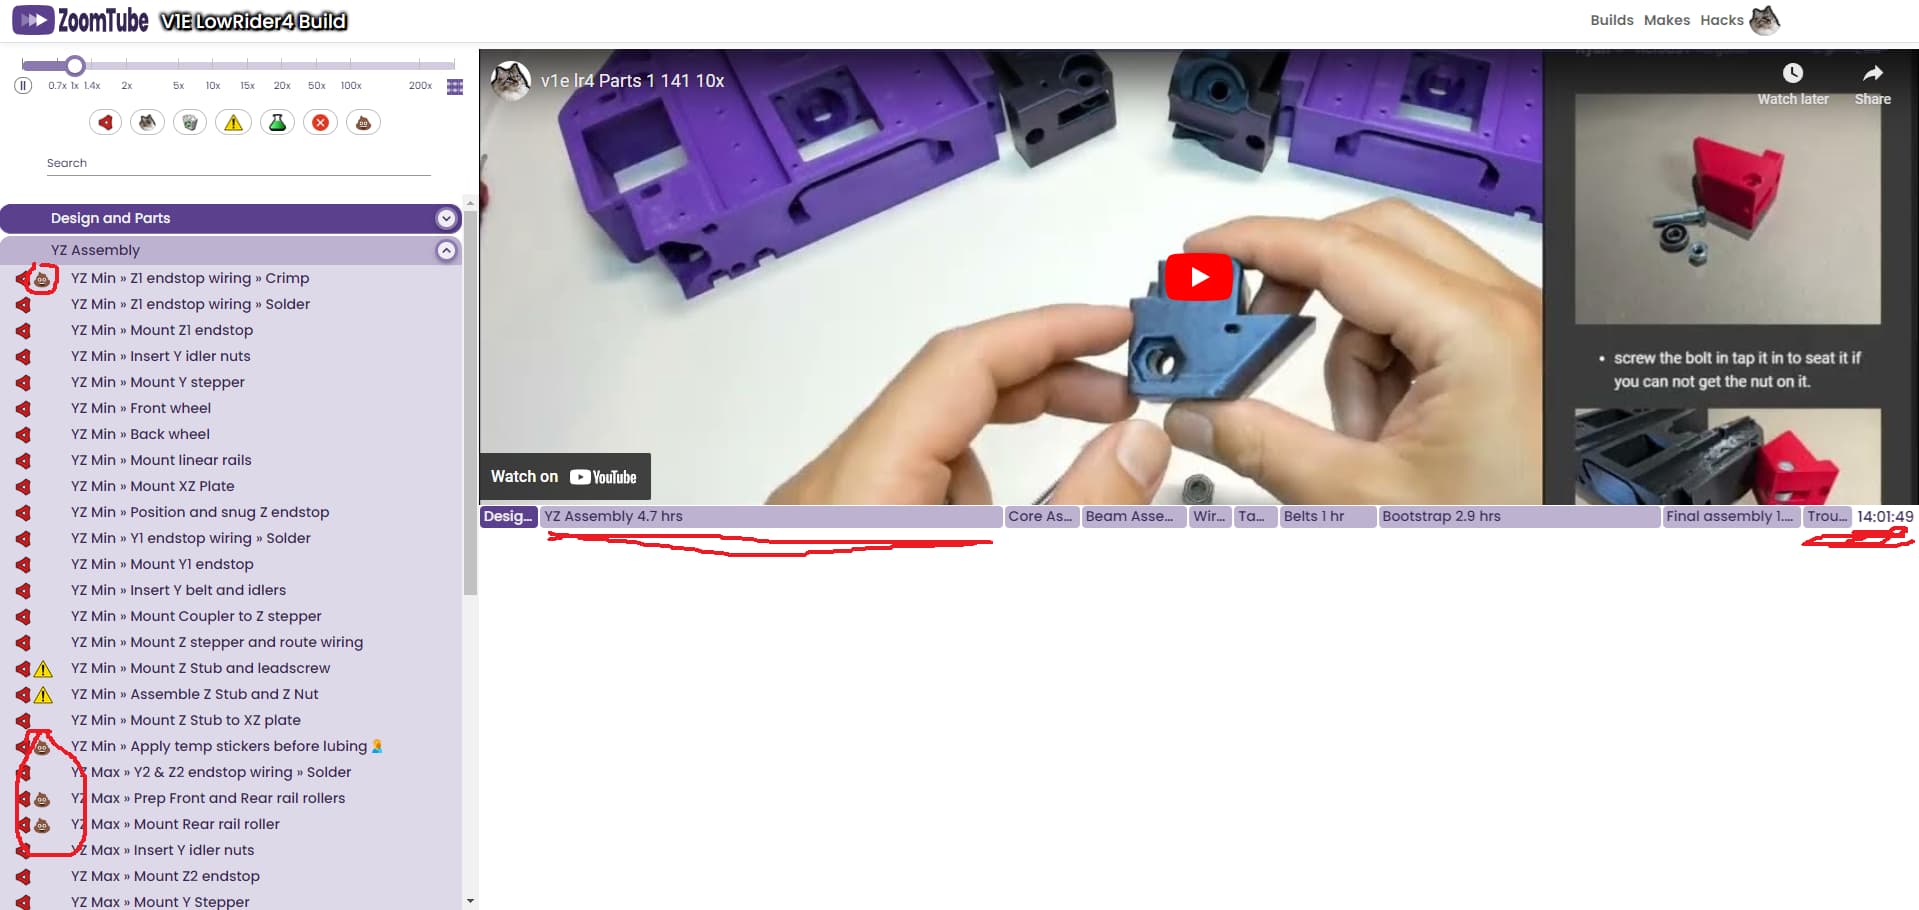
Core, Beam and Wiring were super fast to assemble. Belt mount and adjusting was bit finicky but better than LR3. Most time was spent on building YZ, makes sense since there’s a bunch of stuff crammed into the YZs.
For RC2, due to a mix of limited docs and my limited understanding, I did some ![]() wrong, slowing my progress, that and all the micro analyzing feedback cycles for stuff to help maximize success for future builders. Docs and video would’ve significantly helped avoid some missteps…
wrong, slowing my progress, that and all the micro analyzing feedback cycles for stuff to help maximize success for future builders. Docs and video would’ve significantly helped avoid some missteps…
2nd LR4 RC3 assembly was way way faster. James and I built YZs, Core and Beam in just a few hours despite the drinking.
Expecting future people reading this post, will be able to build much faster given the Docs, Videos and forum Support available.
Maslow CNC folks ran a few in-person open house build workshop sessions soon after they first started shipping Maslow 4.
This was a great mutually beneficial experience for the Makers, and the Maslow CNC folks.
The Makers got dedicated time, space, tools and a test cutting sled. Great environment to build and tryout their Maslow 4’s. Which otherwise may have remained boxed and gathering dust. Makers got to build their Maslow 4’s relatively quickly compared to muddling through fresh instructions alone. They got to meet and connect with other like minded Makers, and help one another with their builds.
Maslow CNC folks got to observe build experience for first timers, and experienced builders. Obtain realtime feedback, gain insights that shifted/broadened their perspective and assumptions. The workshop helped Maslow folks accelerate the number of Maslow 4’s out there actually up and running doing stuff, this in turn provided more opportunities to get feedback and tune hardware/firmware/instructions.
Anyway, that’s my observation, consider chatting with Bar for his perspective, if something along these lines e.g. hybrid in-person and online workshop would help everyone involved.
2 Likes
I am hopefully going to be able to film the next assembly and also make a short guide. If I get the parts before the next weekend, that should easily be doable, because it’s a long weekend. ![]()
5 Likes
Narrator: “It wasn’t easily doable.”
7 Likes
I recently bought a QIDI XPlus3 to print enclosed materials and I must say it prints any material you through it in with no problems.
2 Likes
It’s been a long journey to finish my LR4 as a complete cnc noob but it’s been incredibly enlightening. It’s hard to estimate the time involved since it was spread over months as life got in the way and I had to redesign my shop garage space to accommodate a big cnc. Thank you so much for the lengthy documentation, but I do have a couple of suggestions for improvements to the noob experience:
- Overview diagrams/pictures! Even just a labeled completed picture of an LR4 would be extremely helpful for a noob trying to wrap their mind around some of these concepts. This would include labels like the max/min, the coordinate space (0,0, 1,0, 1,1, 0,1), and travel direction. Also good would be labels for some of the printed parts in the completed build. For people experienced these are probably straight forward, but I managed to waste a lot of time doing some things backward because sometimes descriptive text in the instructions (when facing the machine it’s to the left, etc) wasn’t as clear to an idiot like me. I also spent a lot of time pausing and puzzling over hard to see elements in the video that would be clearer in a few bright pictures with labels.
- Suggest in the docs to upgrade the firmware to 3.9.5+ and the V3 web UI. As someone so ignorant of CNCs that I generally can’t even remember what that’s an acronym for (computin’ n’ cuttin?) I found the default firmware and UI in the Jackpot boards to be extremely confusing (I think it was 3.9.1 and presumably V1 UI). I had a homing issue that was actually a cable mistake but was exacerbated by being confused about homing in fluid. The fluid wiki is also pretty confusing to a noob. When I noticed my fluid firmware was older than the recommended 3.9.5 on the Jackpot page I upgraded and went ahead and selected the newest UI as well and that immediately resolved my confusion. The newer UI is much clearer on what everything does and has fewer mystery buttons. I didn’t find the firmware upgrade process any issue but I do come at this from plenty of computer experience and zero cnc. Maybe it’s an issue for someone on the opposite end of that spectrum.
5 Likes
Currently 3.9.5 is the newest we have fully tested, several versions after that had issues that MIGHT be fixed in 3.9.8. The docs are current.
As for UI v3 same deal, we have pending fixes that are waiting to get merged into the main branch of fluidnc. So currently webui v2 is the recommended UI.
Thank you for the feedback, I am currently upgrading the LR4 docs. I just merged two massive updates the last week. Still more to come. So I will keep your suggestions in mind as I make progress.
5 Likes
Just finished my build last night and had the same experience with the extended timeline and everything ![]() well, I haven’t updated my firmware or UI yet, but I’m not in a hurry to break what I just fixed lol. Stopping and starting and not having the dedicated table ready first are what killed me… I’d stop for like a week and when I picked it back up, I’d forgotten stuff and so would end up skipping steps and then weeks later wonder why it isn’t working. Now that I’ve done it I feel like I could do it all in a weekend?
well, I haven’t updated my firmware or UI yet, but I’m not in a hurry to break what I just fixed lol. Stopping and starting and not having the dedicated table ready first are what killed me… I’d stop for like a week and when I picked it back up, I’d forgotten stuff and so would end up skipping steps and then weeks later wonder why it isn’t working. Now that I’ve done it I feel like I could do it all in a weekend?
My biggest advice to newbies is to establish your work area first.. big thanks to Ryan for merging my change to bump the table up to the first spot in the build guide!
Now that my LR4 is finally done, I won’t feel like a poser writing edits to the guide so I should be back at it here shortly. Focus will be on labeled pictures of both the individual parts and the whole unit, because that also had me doing everything multiple times not realizing I had the wrong side in my hand lol. And if someone is already working on it/beats me to it then I obviously won’t be mad about it lol
But yes so friggin excited to have it complete and to be ready to experiment and actually make stuff, cannot thank the community here enough!
3 Likes
Proud papa couldn’t wait to share the progress on my interim LR4 build. I’ve got it set up in the full size “bootstrap” configuration so I can mill the permanent braces and spars/struts for a torsion box I plan to suspend from my shop ceiling with a hoist. As you can see from the picture I attempted to print the crown pic, which would have worked better if the cardboard was flat. I’ve got a few tweaks to make before I start flinging chips, but overall pretty happy with the progress so far, especially considering I started printing the parts on Oct 22, which took an entire week on my old Monoprice MP10 printer. Props to Ryan for some pretty clever engineering.
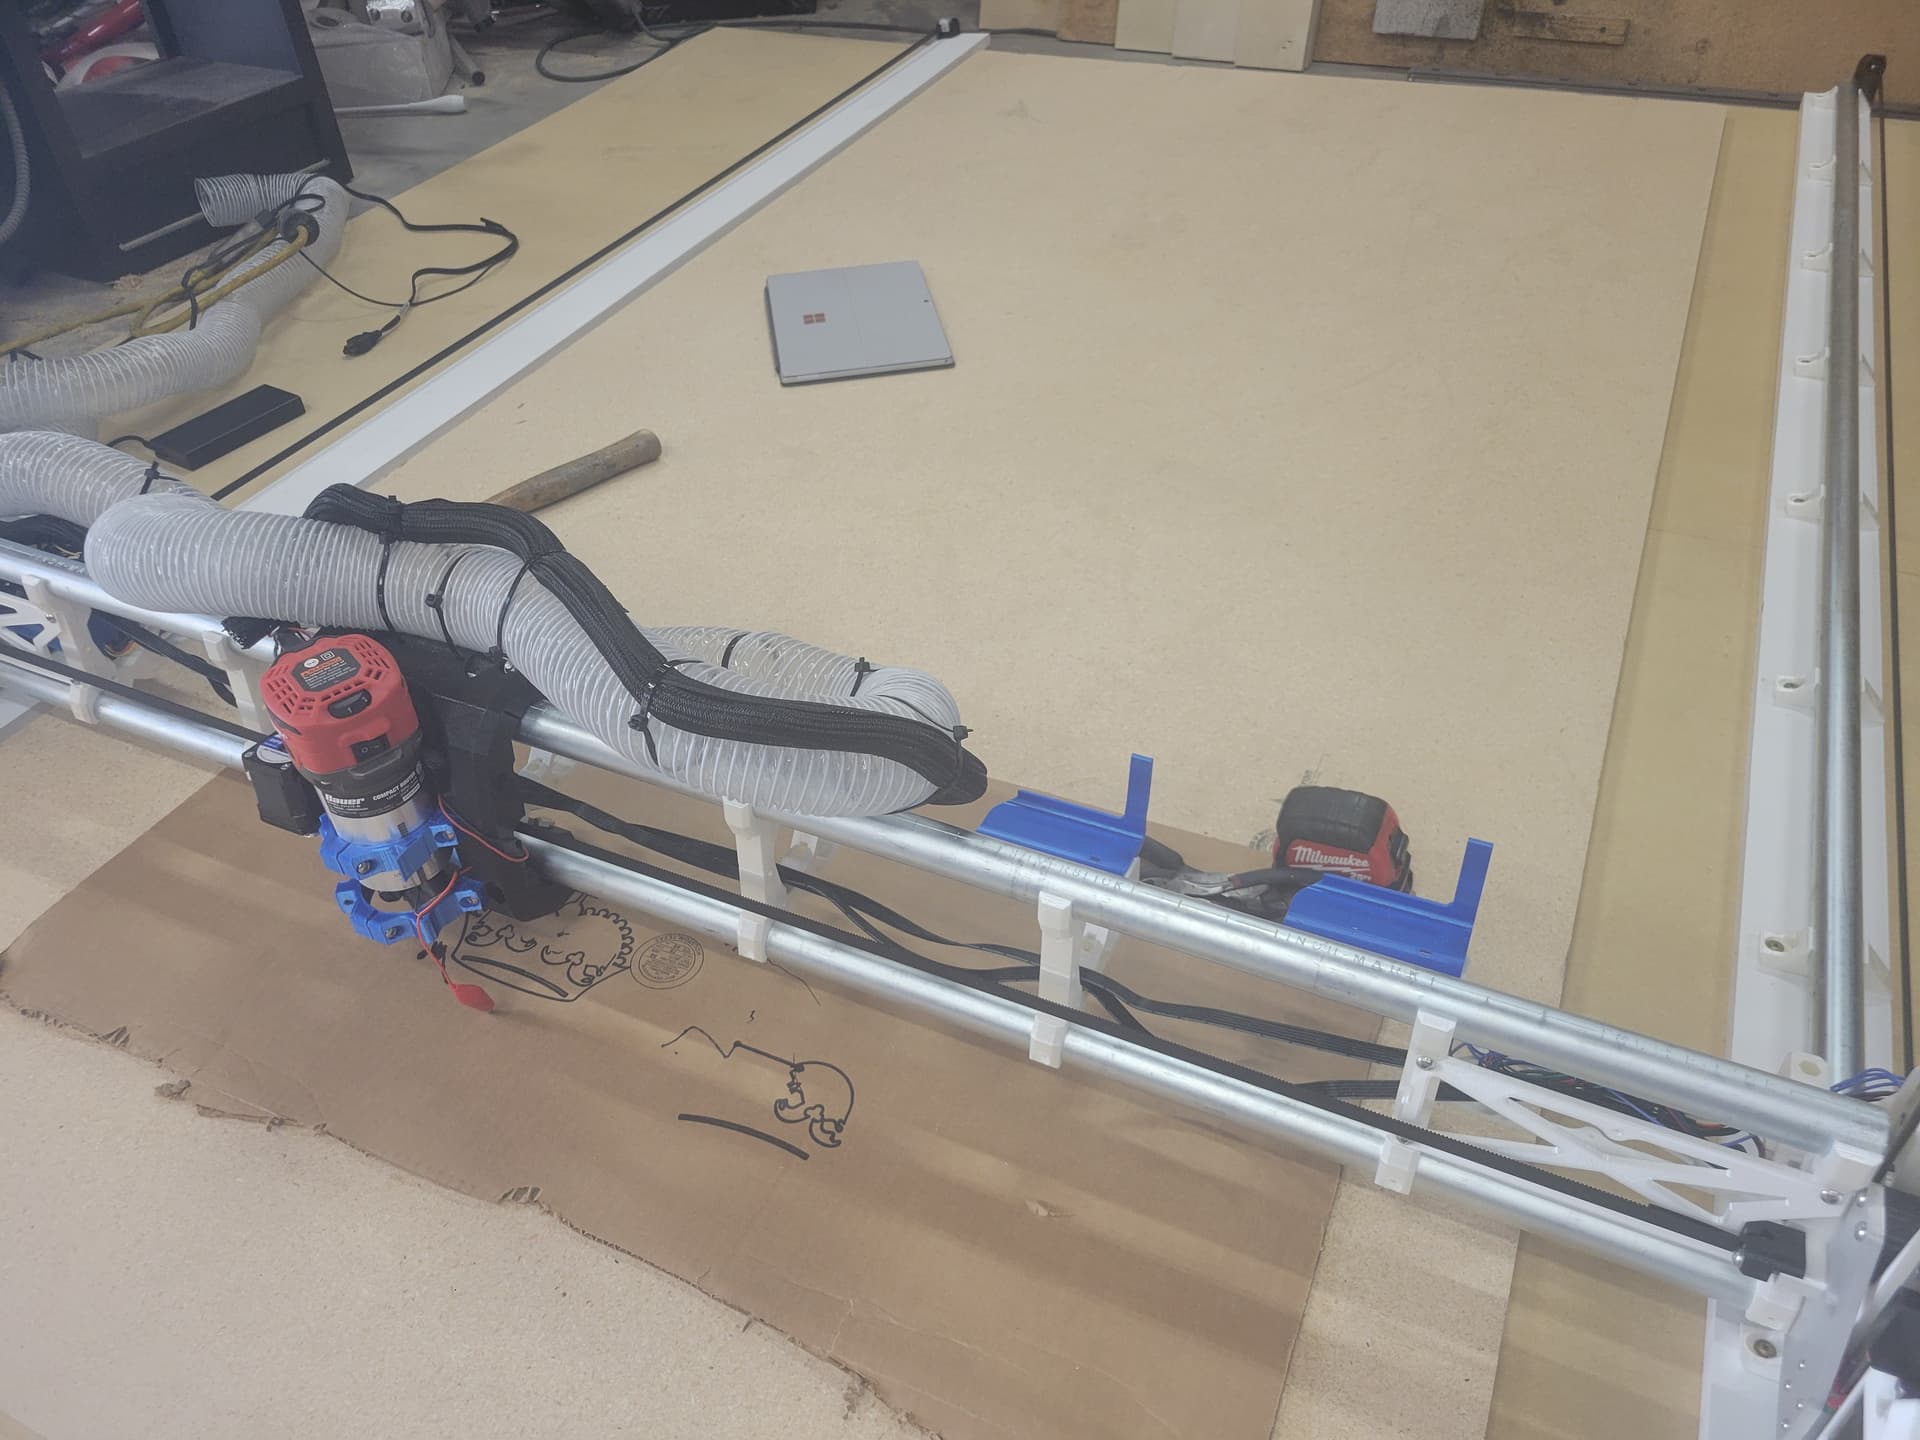
10 Likes
I love it! Welcome in, thank you for sharing.
I would love to follow along with the progress, start a fresh thread in “Your Builds” and we can more easily follow along with your entire build.
3 Likes
Good job guyski. Keep going. LR4 is an awesome machine.
I am particularly keen on details on your solution in using the mosfet outputs (gpio2 or gpio16) on jackpot to power your router via a relay as i am battling with this one where my relay module is getting constant power despite the switching state of the jackpot output.
Whenever I see your profile picture I think of Steven Seagall. ![]()
2 Likes