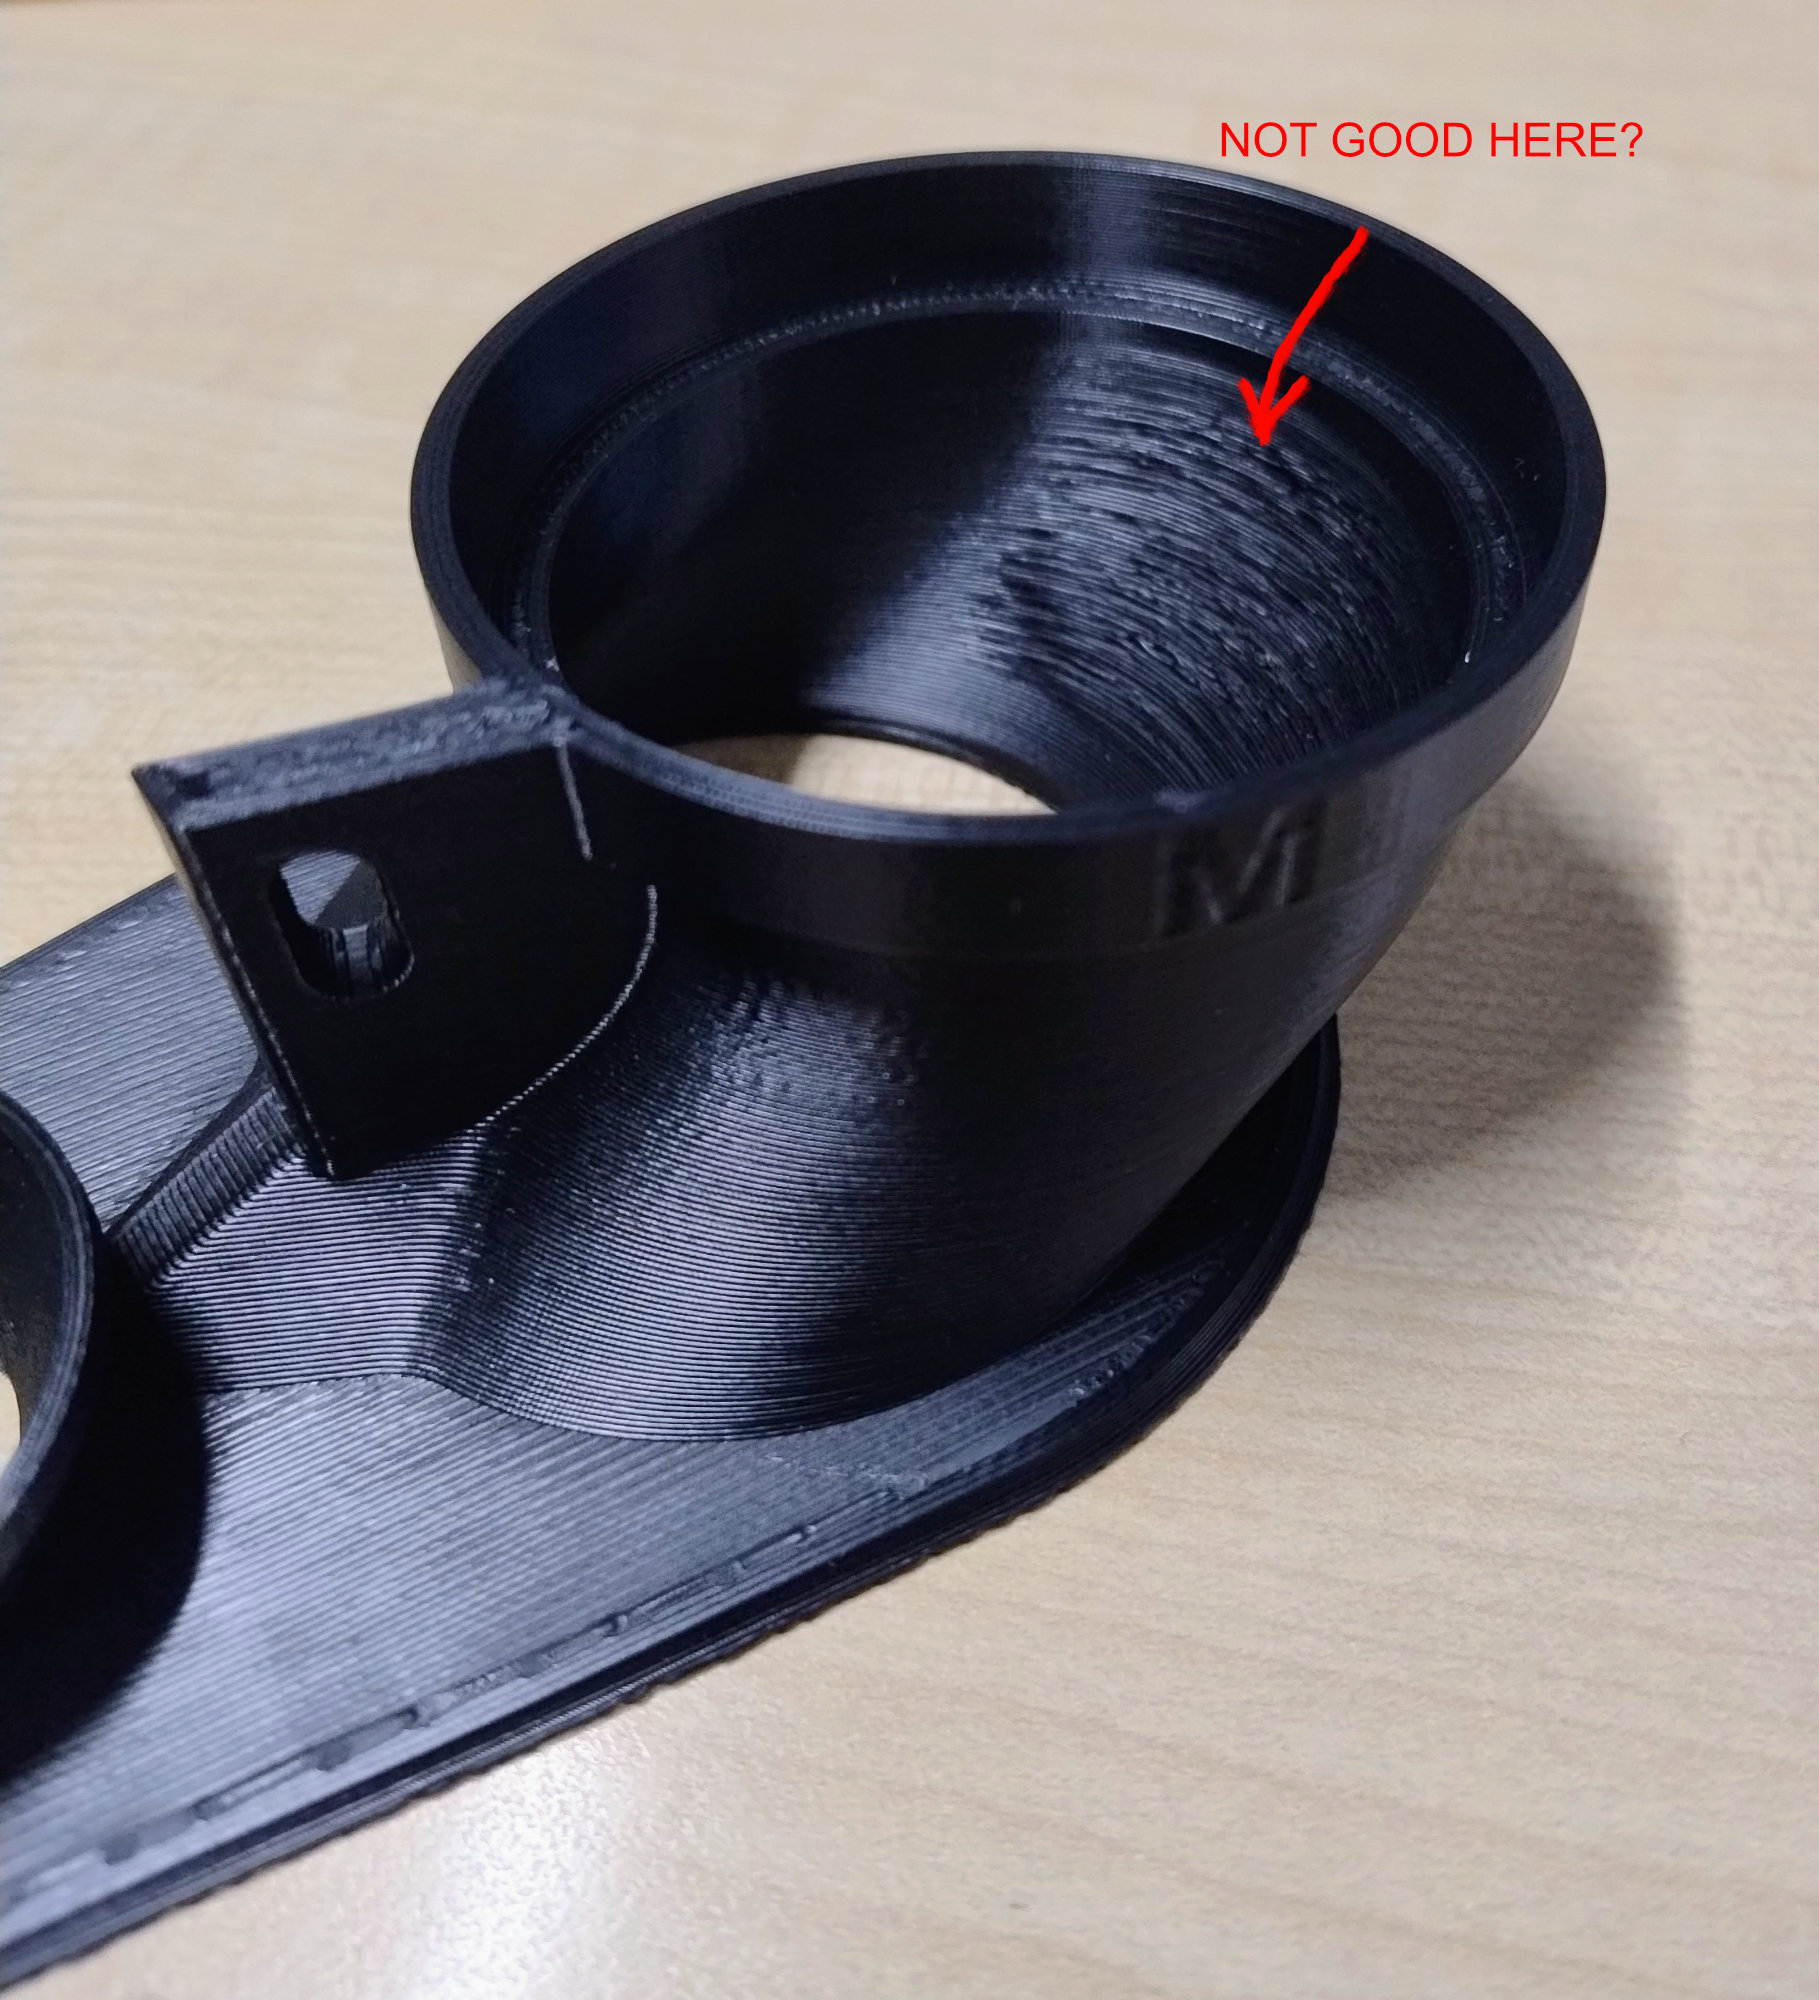
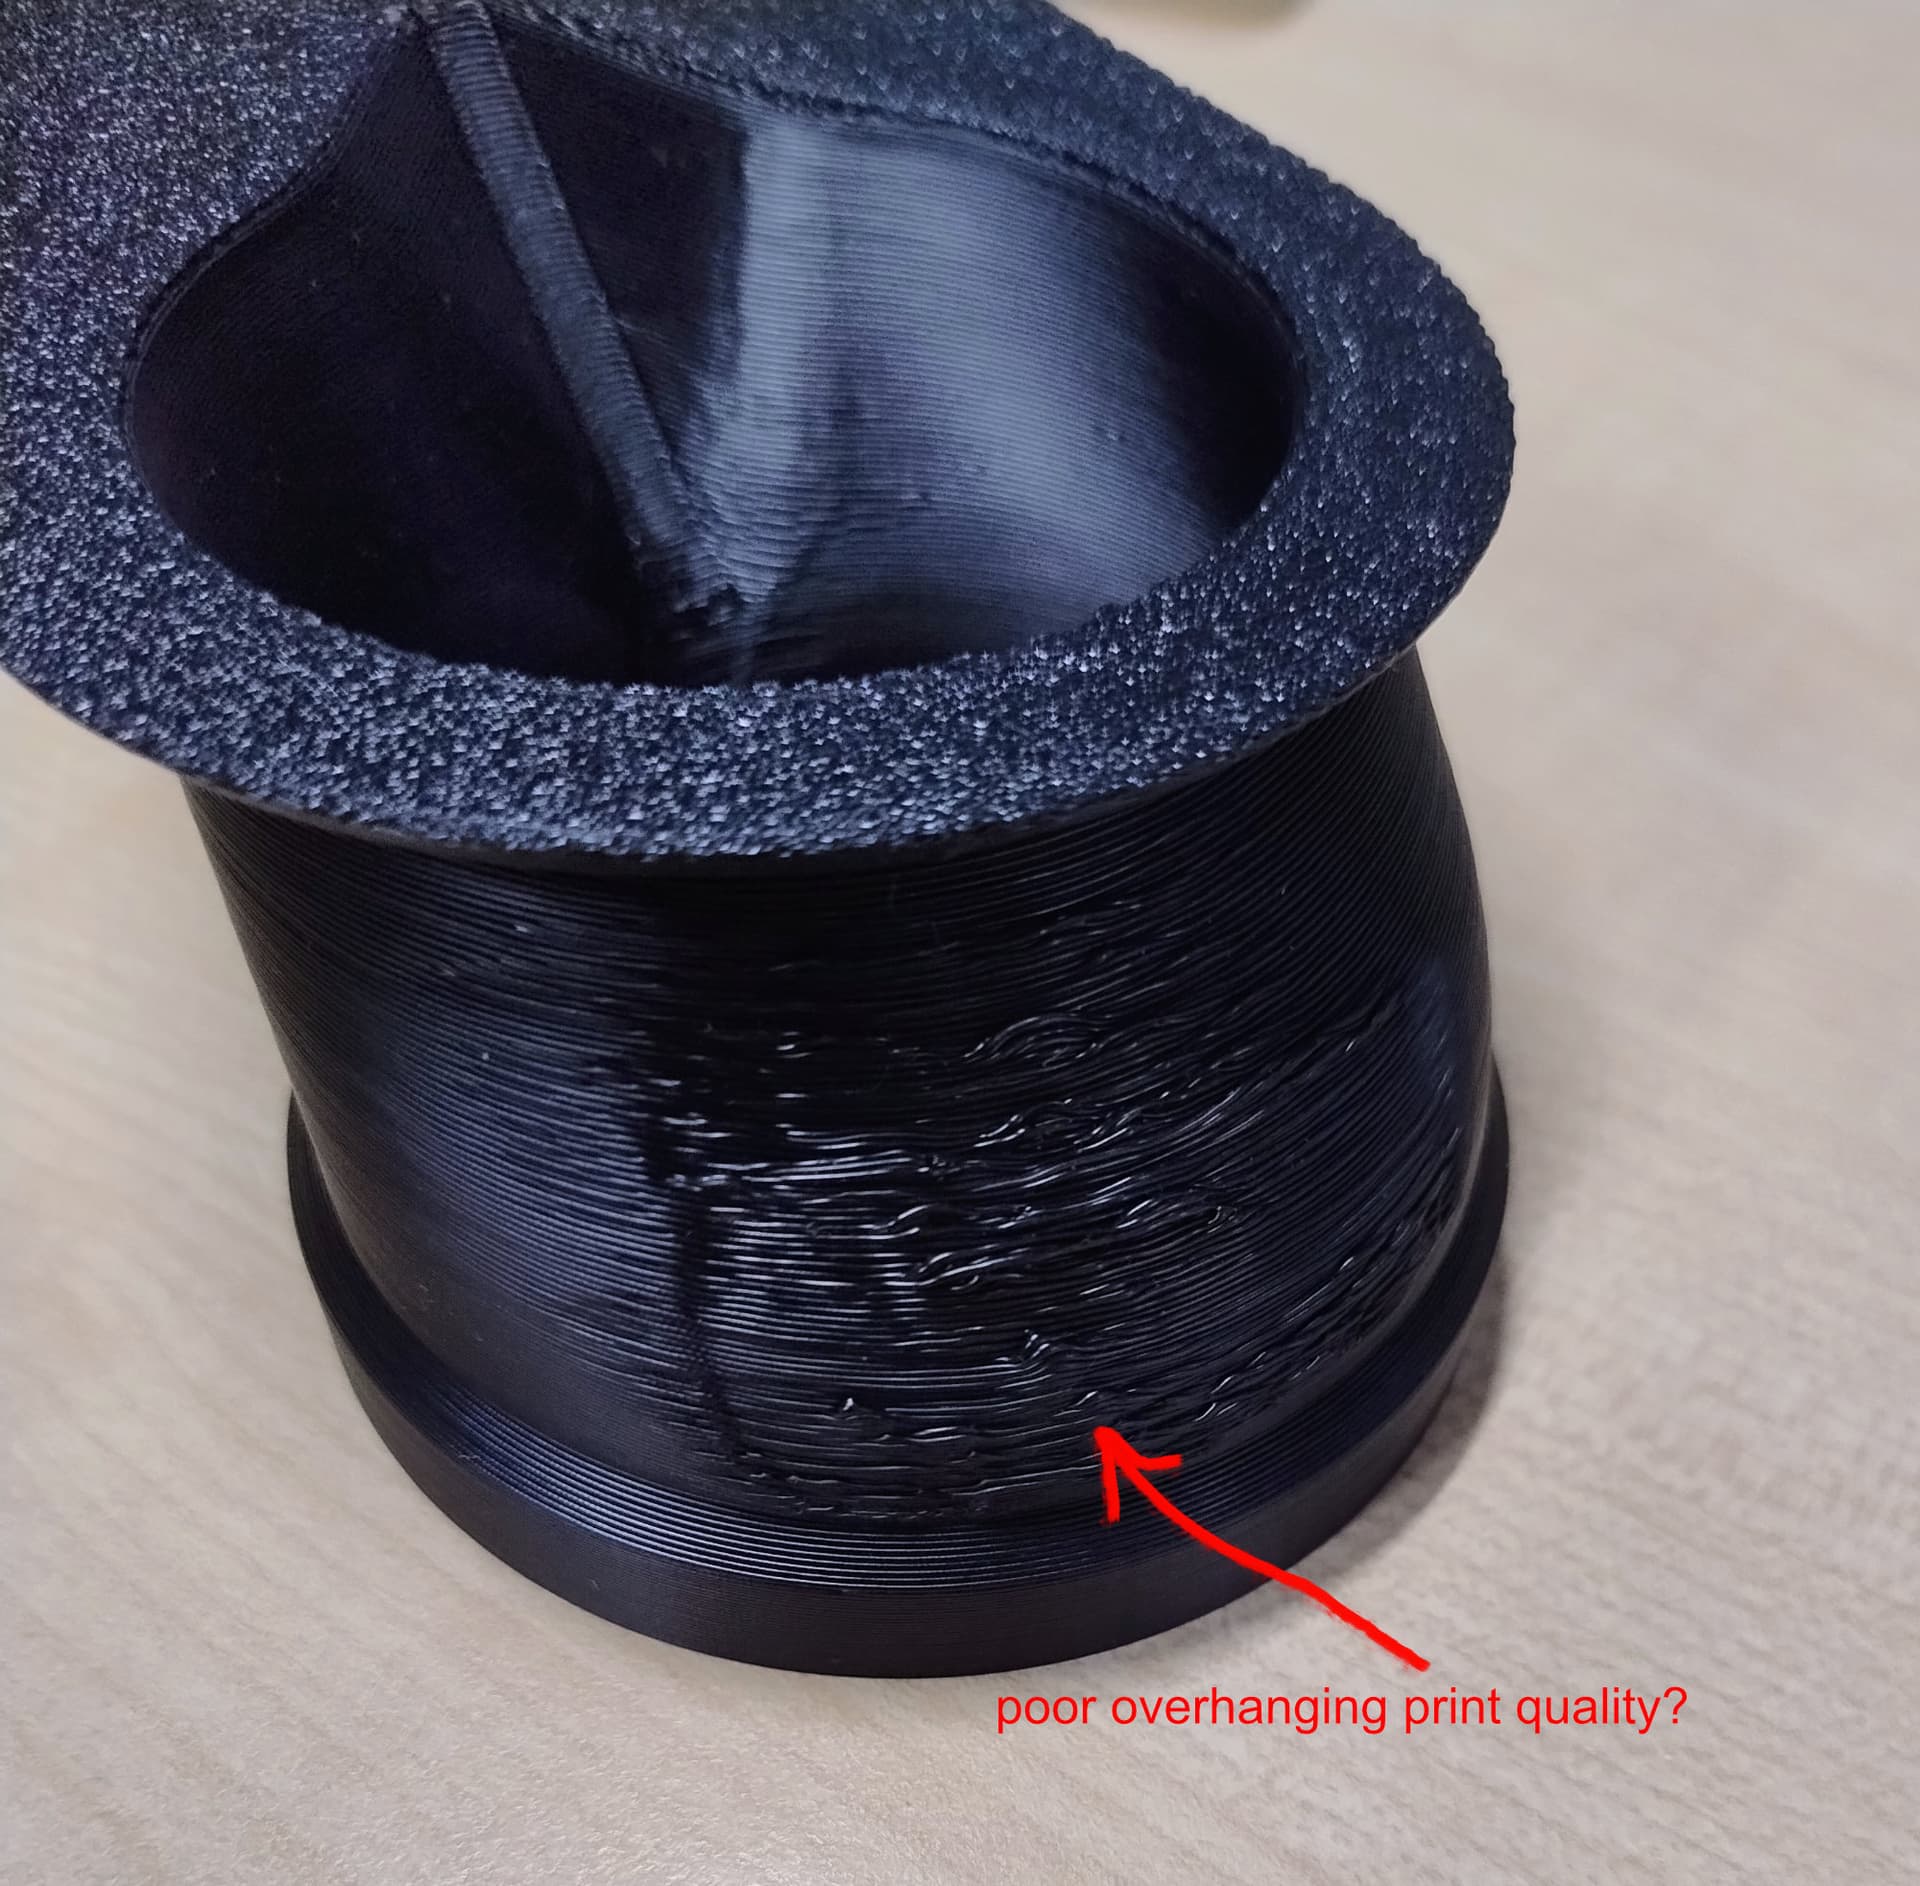
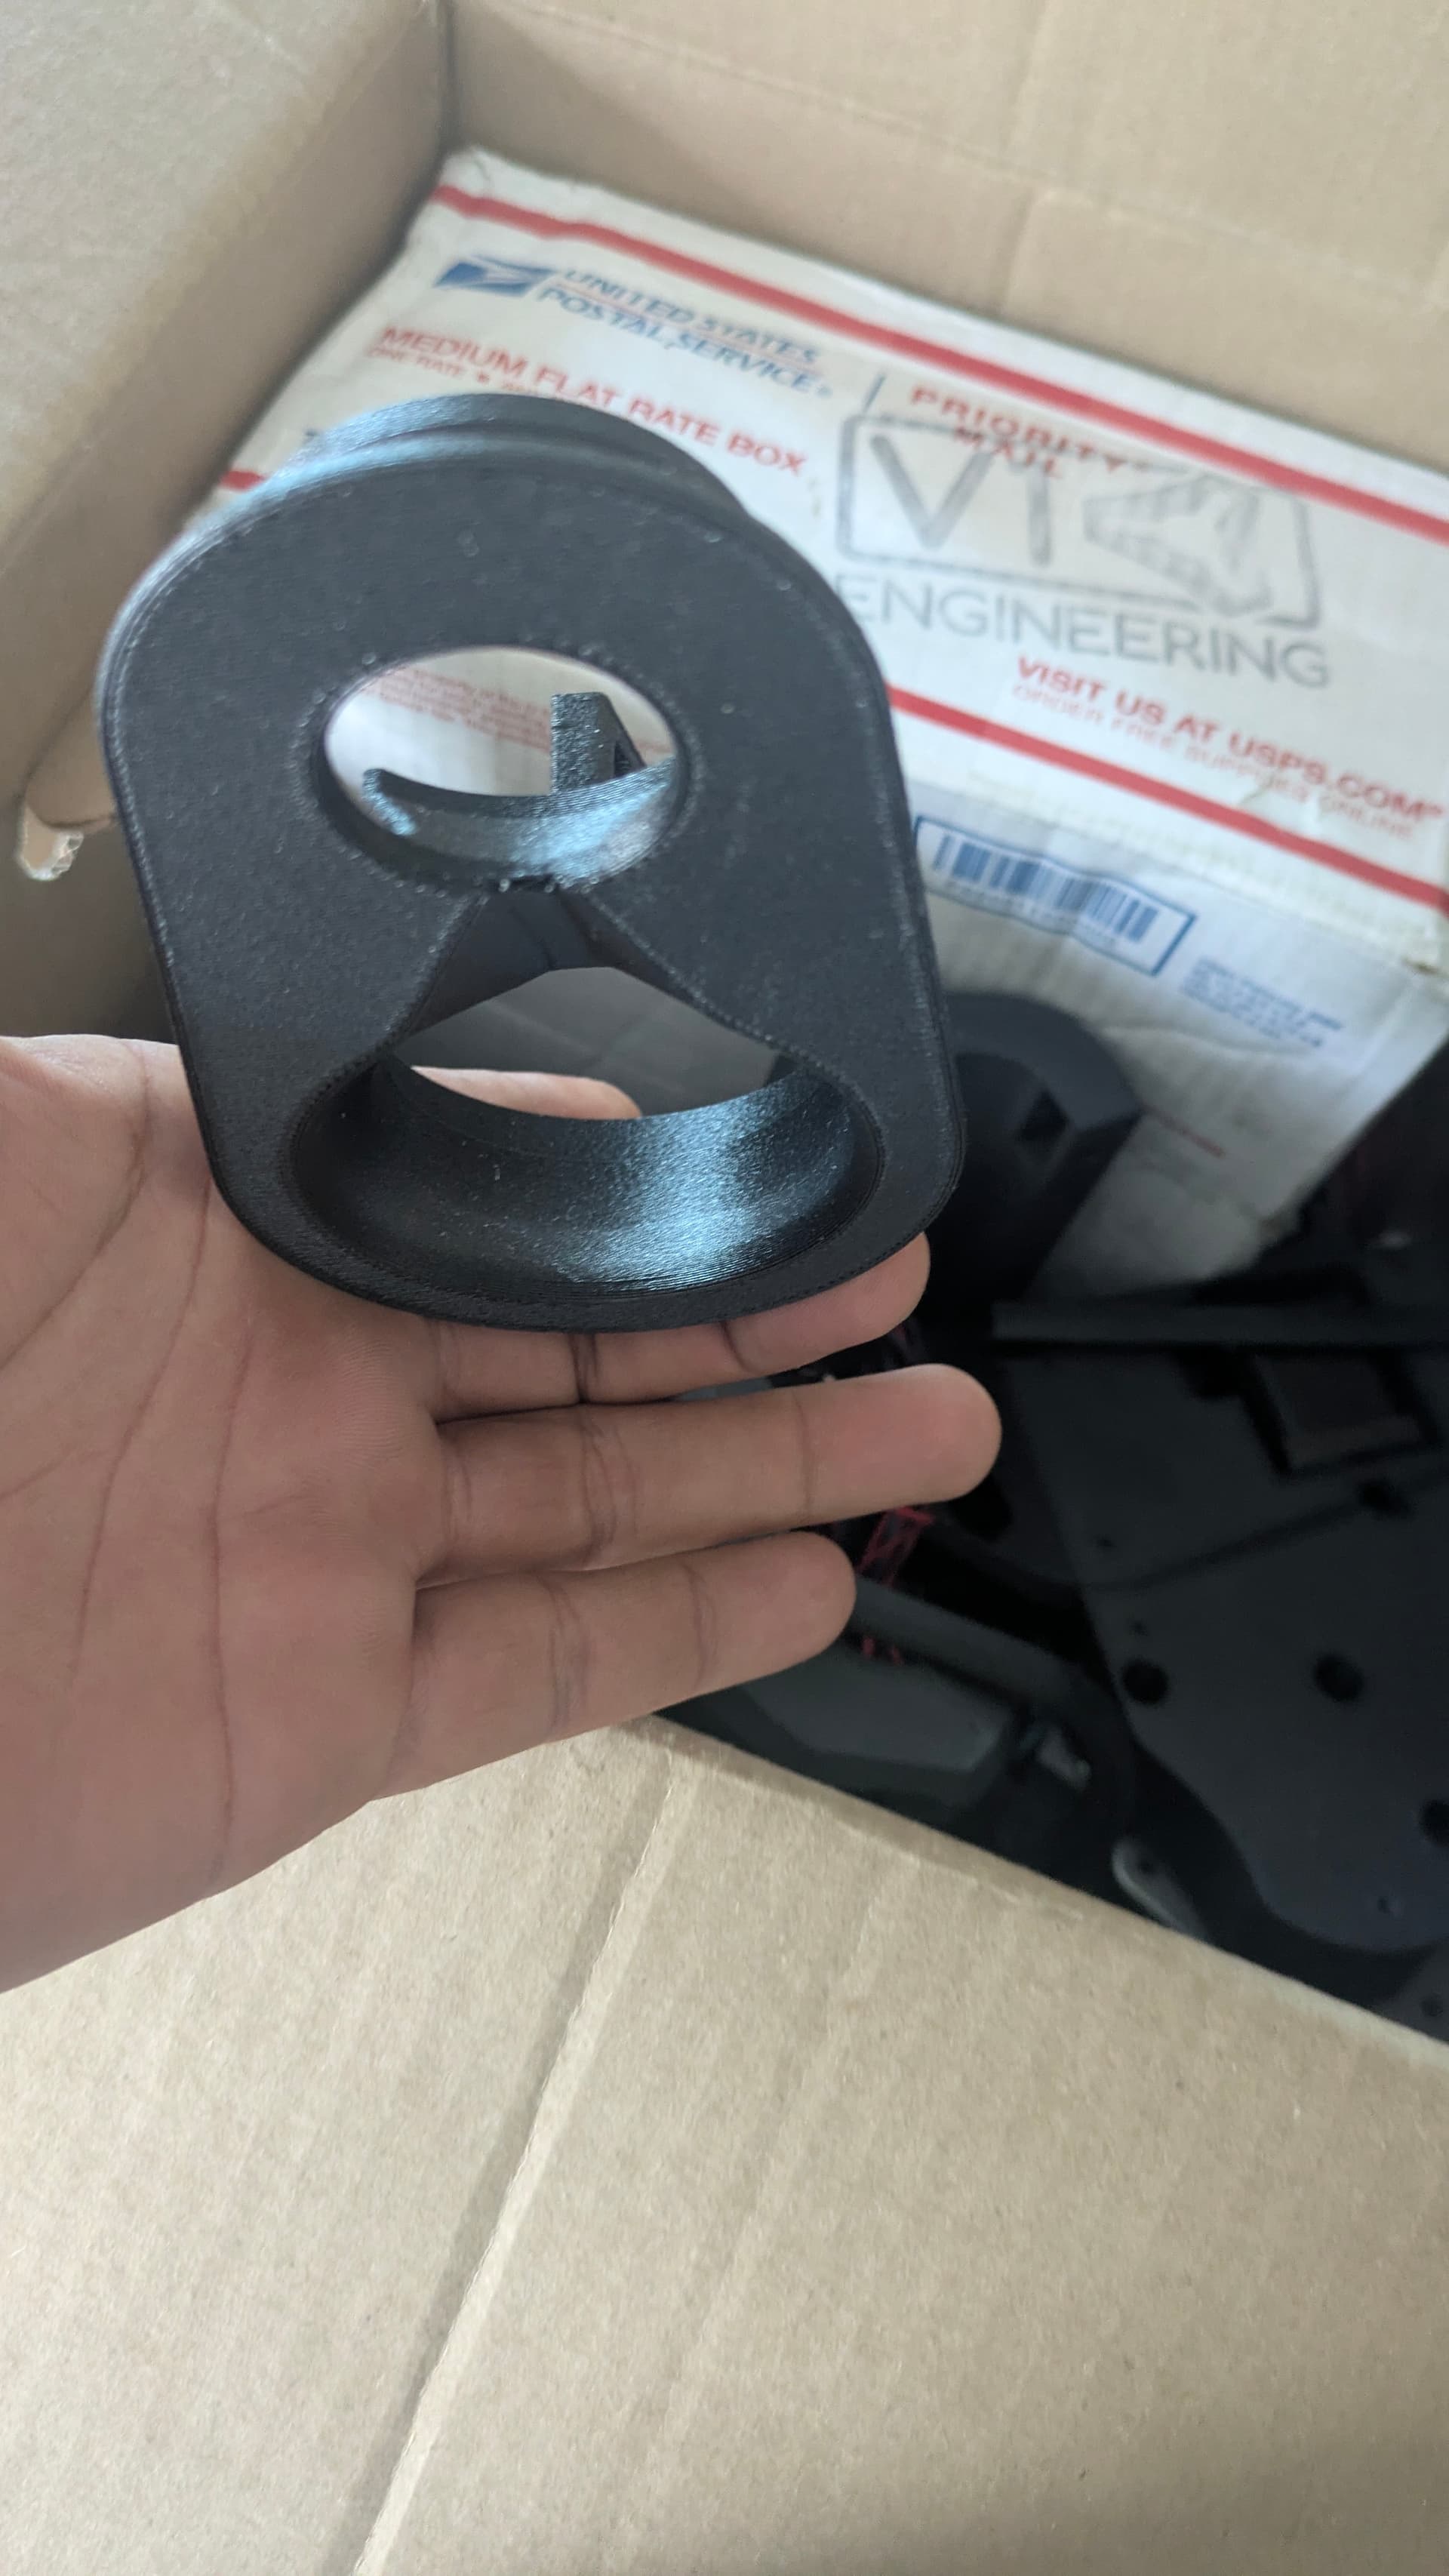
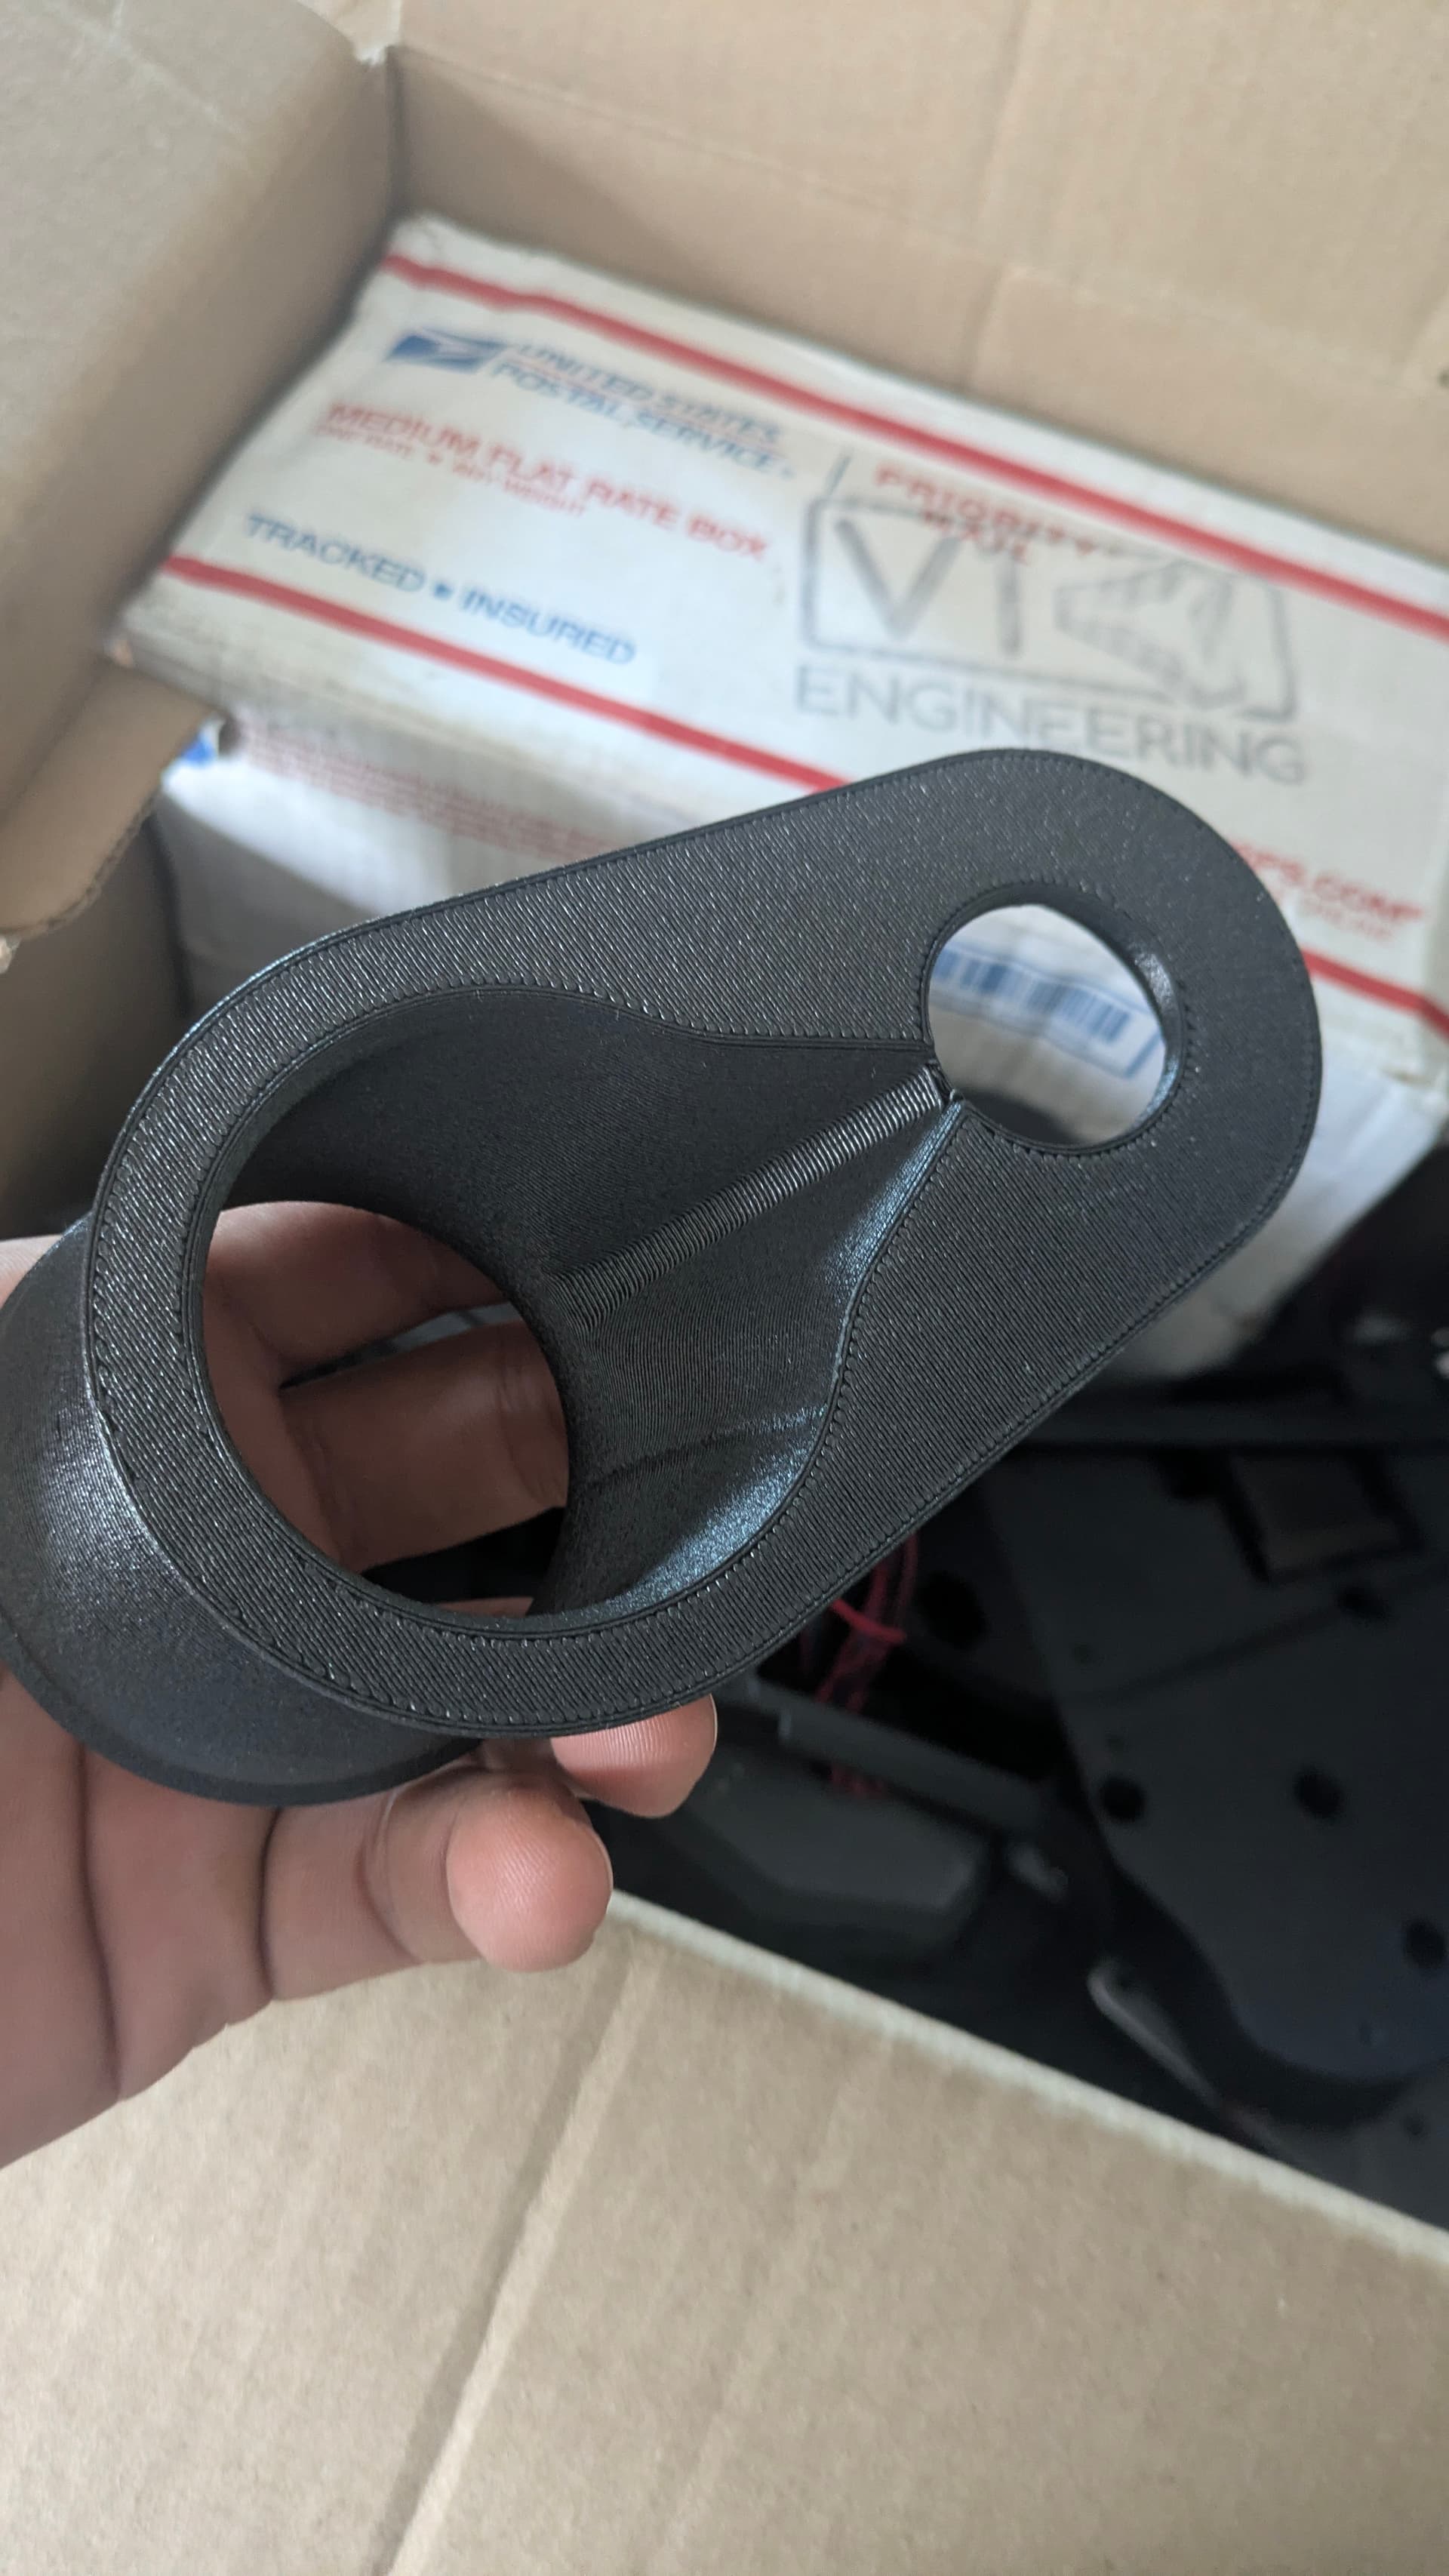
As you can see in these photos the overhangs on my dust boot didn’t print well. Is this normal or do I need to tune the overhangs made by my printer before starting to print the core? The dust boot would still be functional but normally my printer does pretty well at printing overhangs. Perhaps I have a slicer setting wrong somewhere?
What slicer are you using?
If Orca, do you have inner-outer-inner enabled? That can cause some of the overhangs on V1 parts to sag a little.
2 Likes
I am using Orca slicer with “inner/outer/infill” setting. I think this is the default setting as I didn’t intentionally change this.
1 Like
Ok good to at least know I need to do better…
I’m wondering if there is a problem with your part cooling fan. ??? At least for me, Orcaslicer outputs such files so that the overhangs get printed slower, giving the part cooling fan time to cool down the overhang before revisiting it.
I got splendid overhangs there. Not all part cooling fans and ducts are “made equal.” What is your printer make and model?
That’s part of the printer profile. The FlashForge A5M profile does that, but some pre-made profiles do not and self made ones… do whatever they do.
It IS an idea to try slowing down bridging. Back when I started 3D printing, most profiles sped up for bridging, particularly perimeters, but part cooling fans werent a part of the printers I had or saw back then.
Thinner layers can also.help that kind of overhang. If the angle makes a perimeter completely overhang it’s likely to show problems. A thinner layer means less X/Y shift and part of the layer could still be supported. I can do more extreme overhangs with thinner layers than thicker, but when it starts to fail, it can be more dramatic.
2 Likes
You might be onto something here Doug. I had a 12V fan being driven by 24V previously and remember swapping it for a 24V fan but perhaps this lowered the fan output.
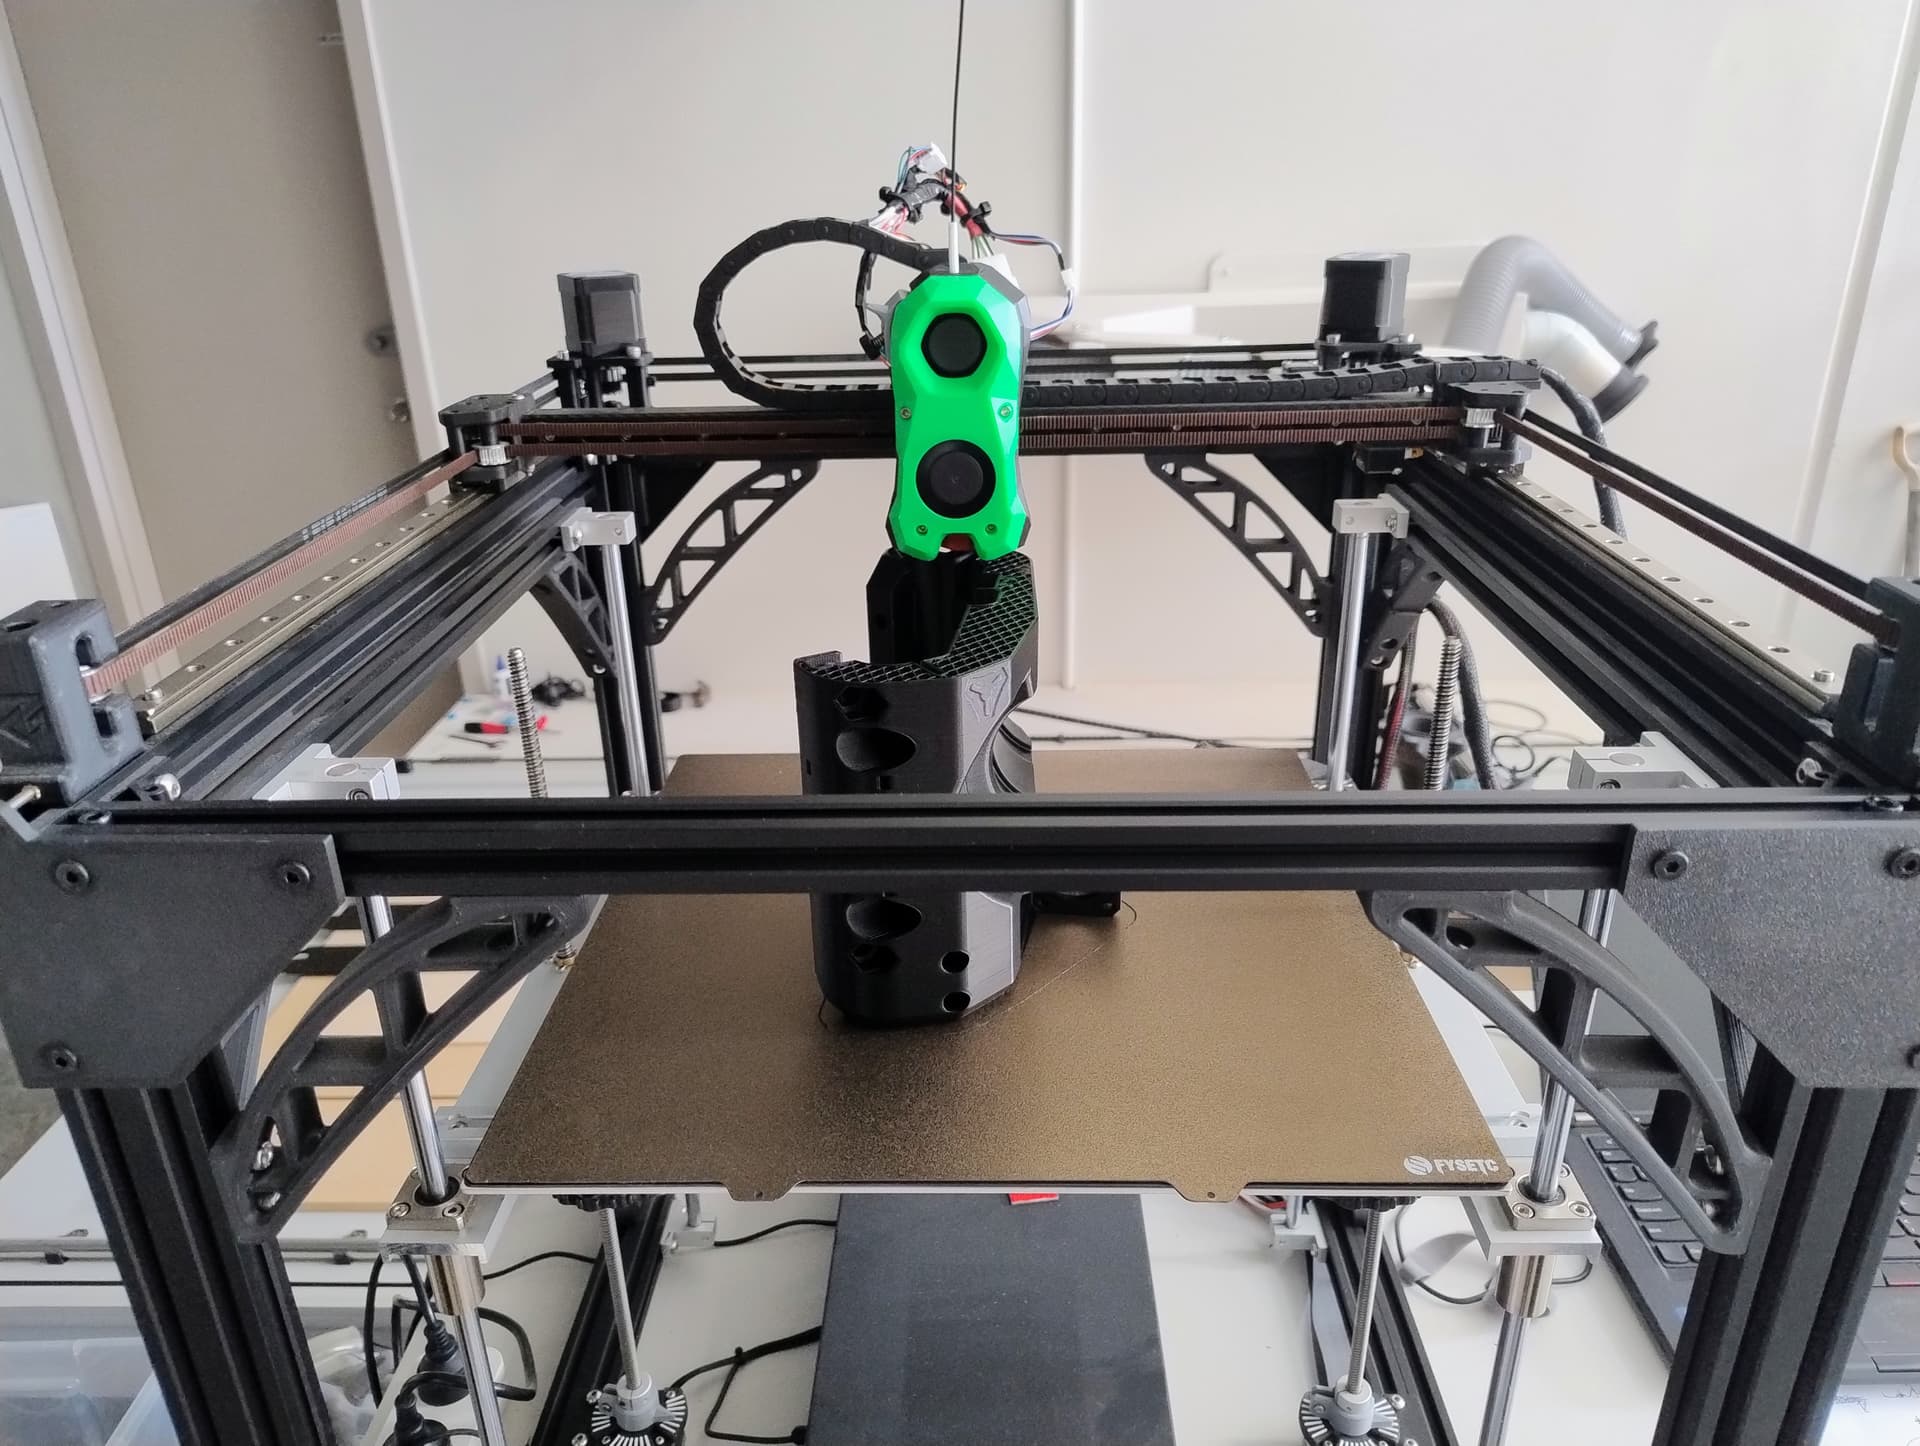
My printer was originally an Ender 5plus that was converted to a Zero G core XY. I have seen some great quality prints done but it is easy to make a change that loses the consistency.
I am trying a slower print with 0.20mm layers instead of my default 0.30mm layers. I generally use 0.60mm nozzles as I get inpatient. Will update on how this next print goes.
2 Likes
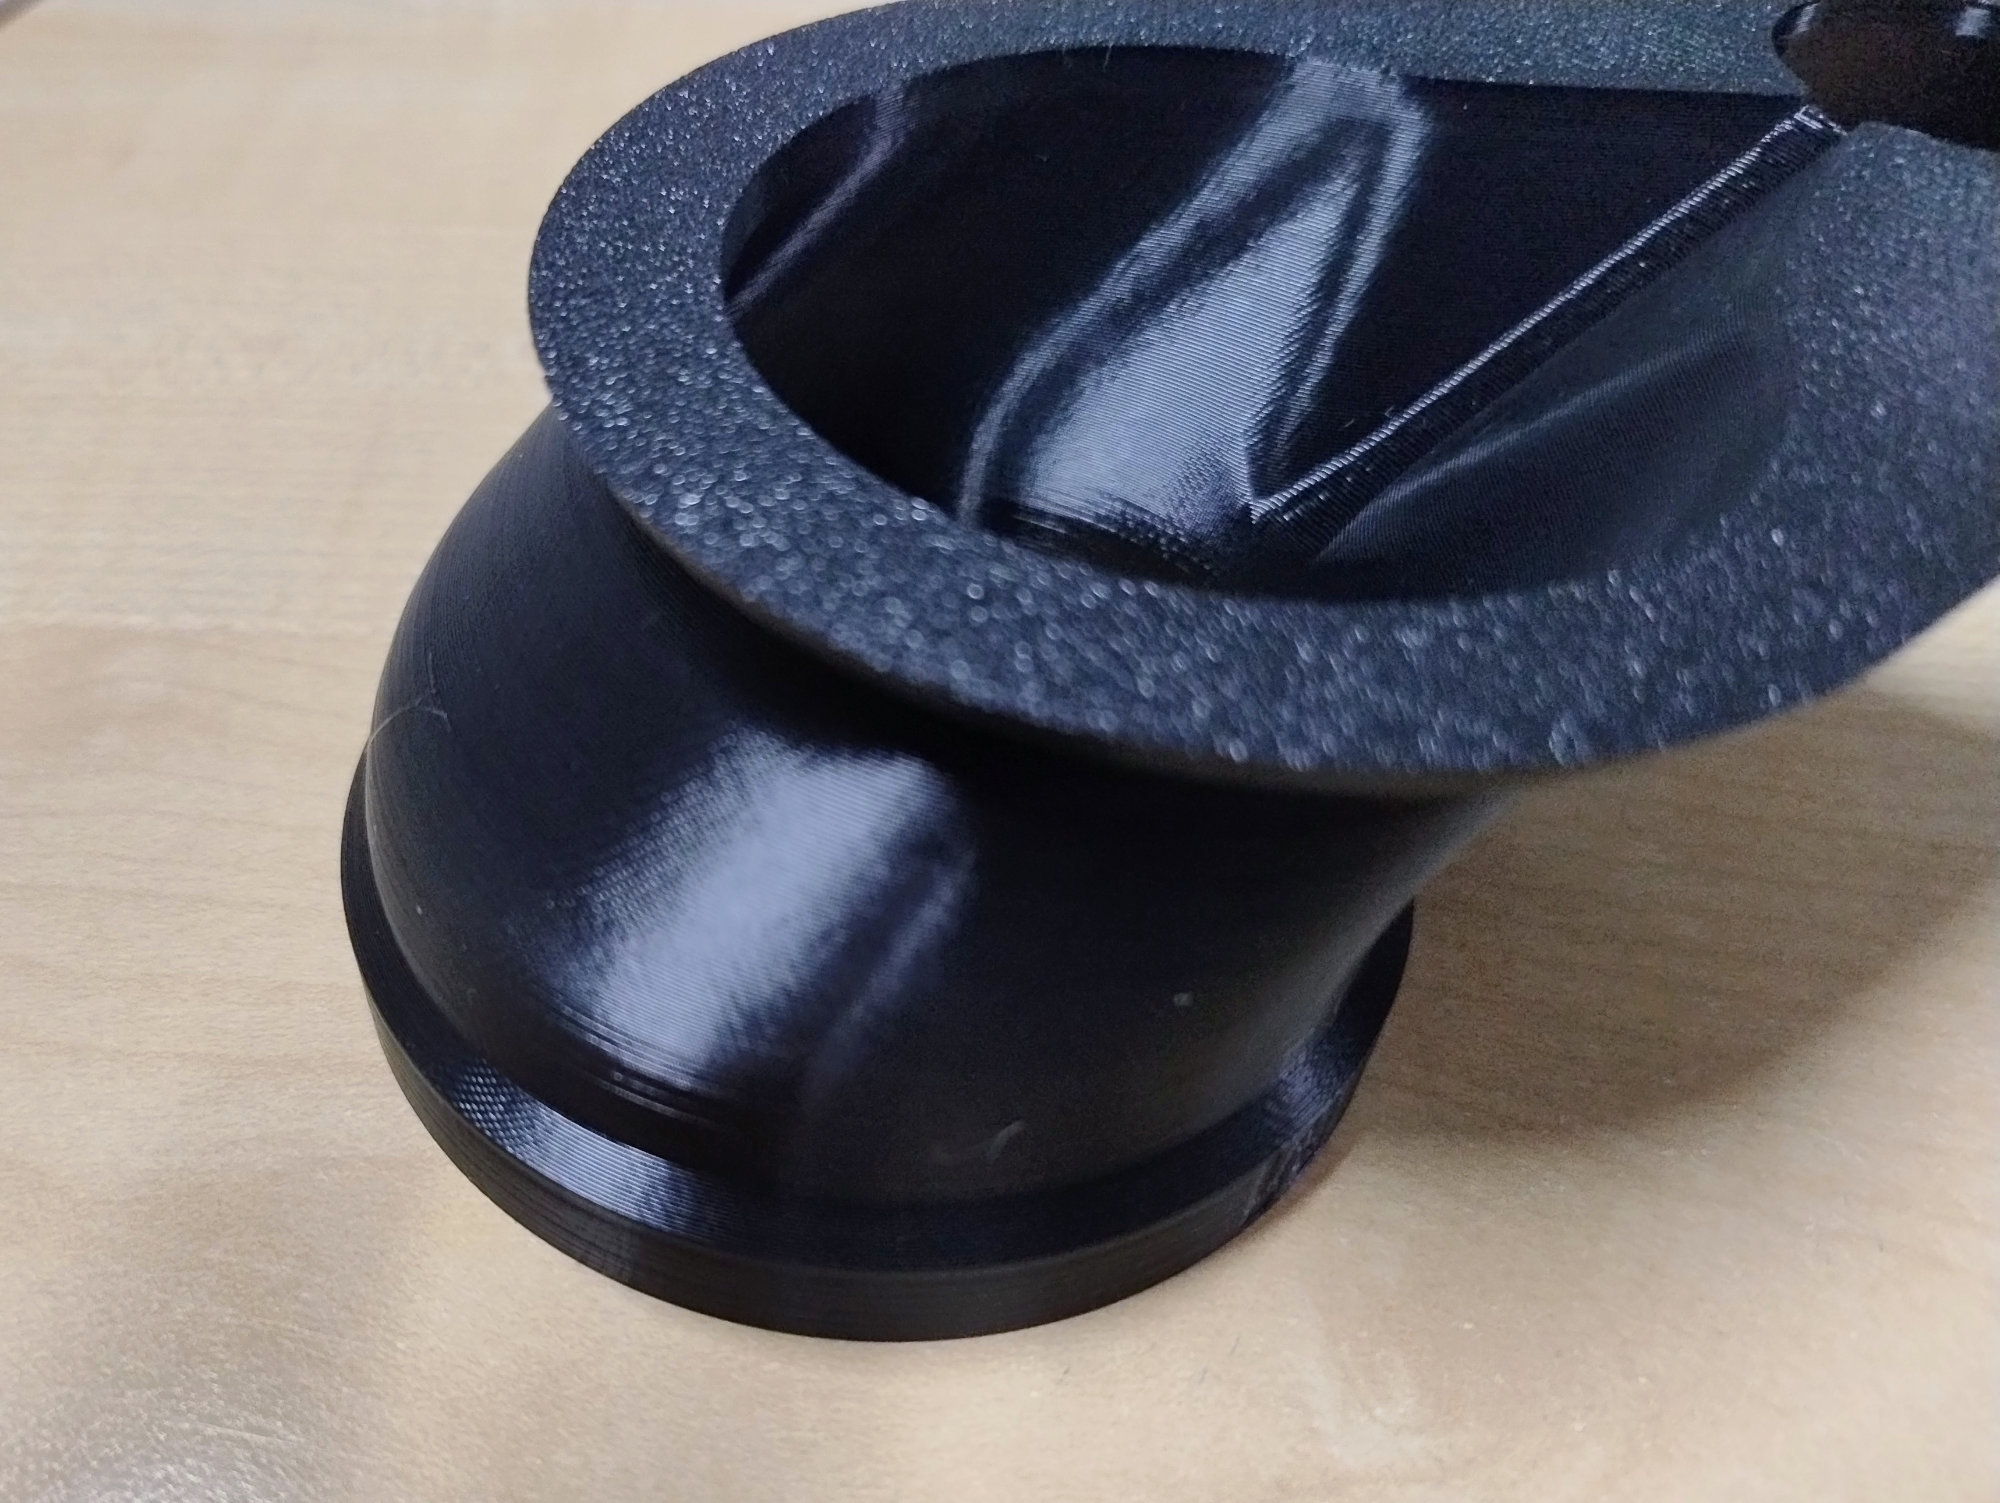
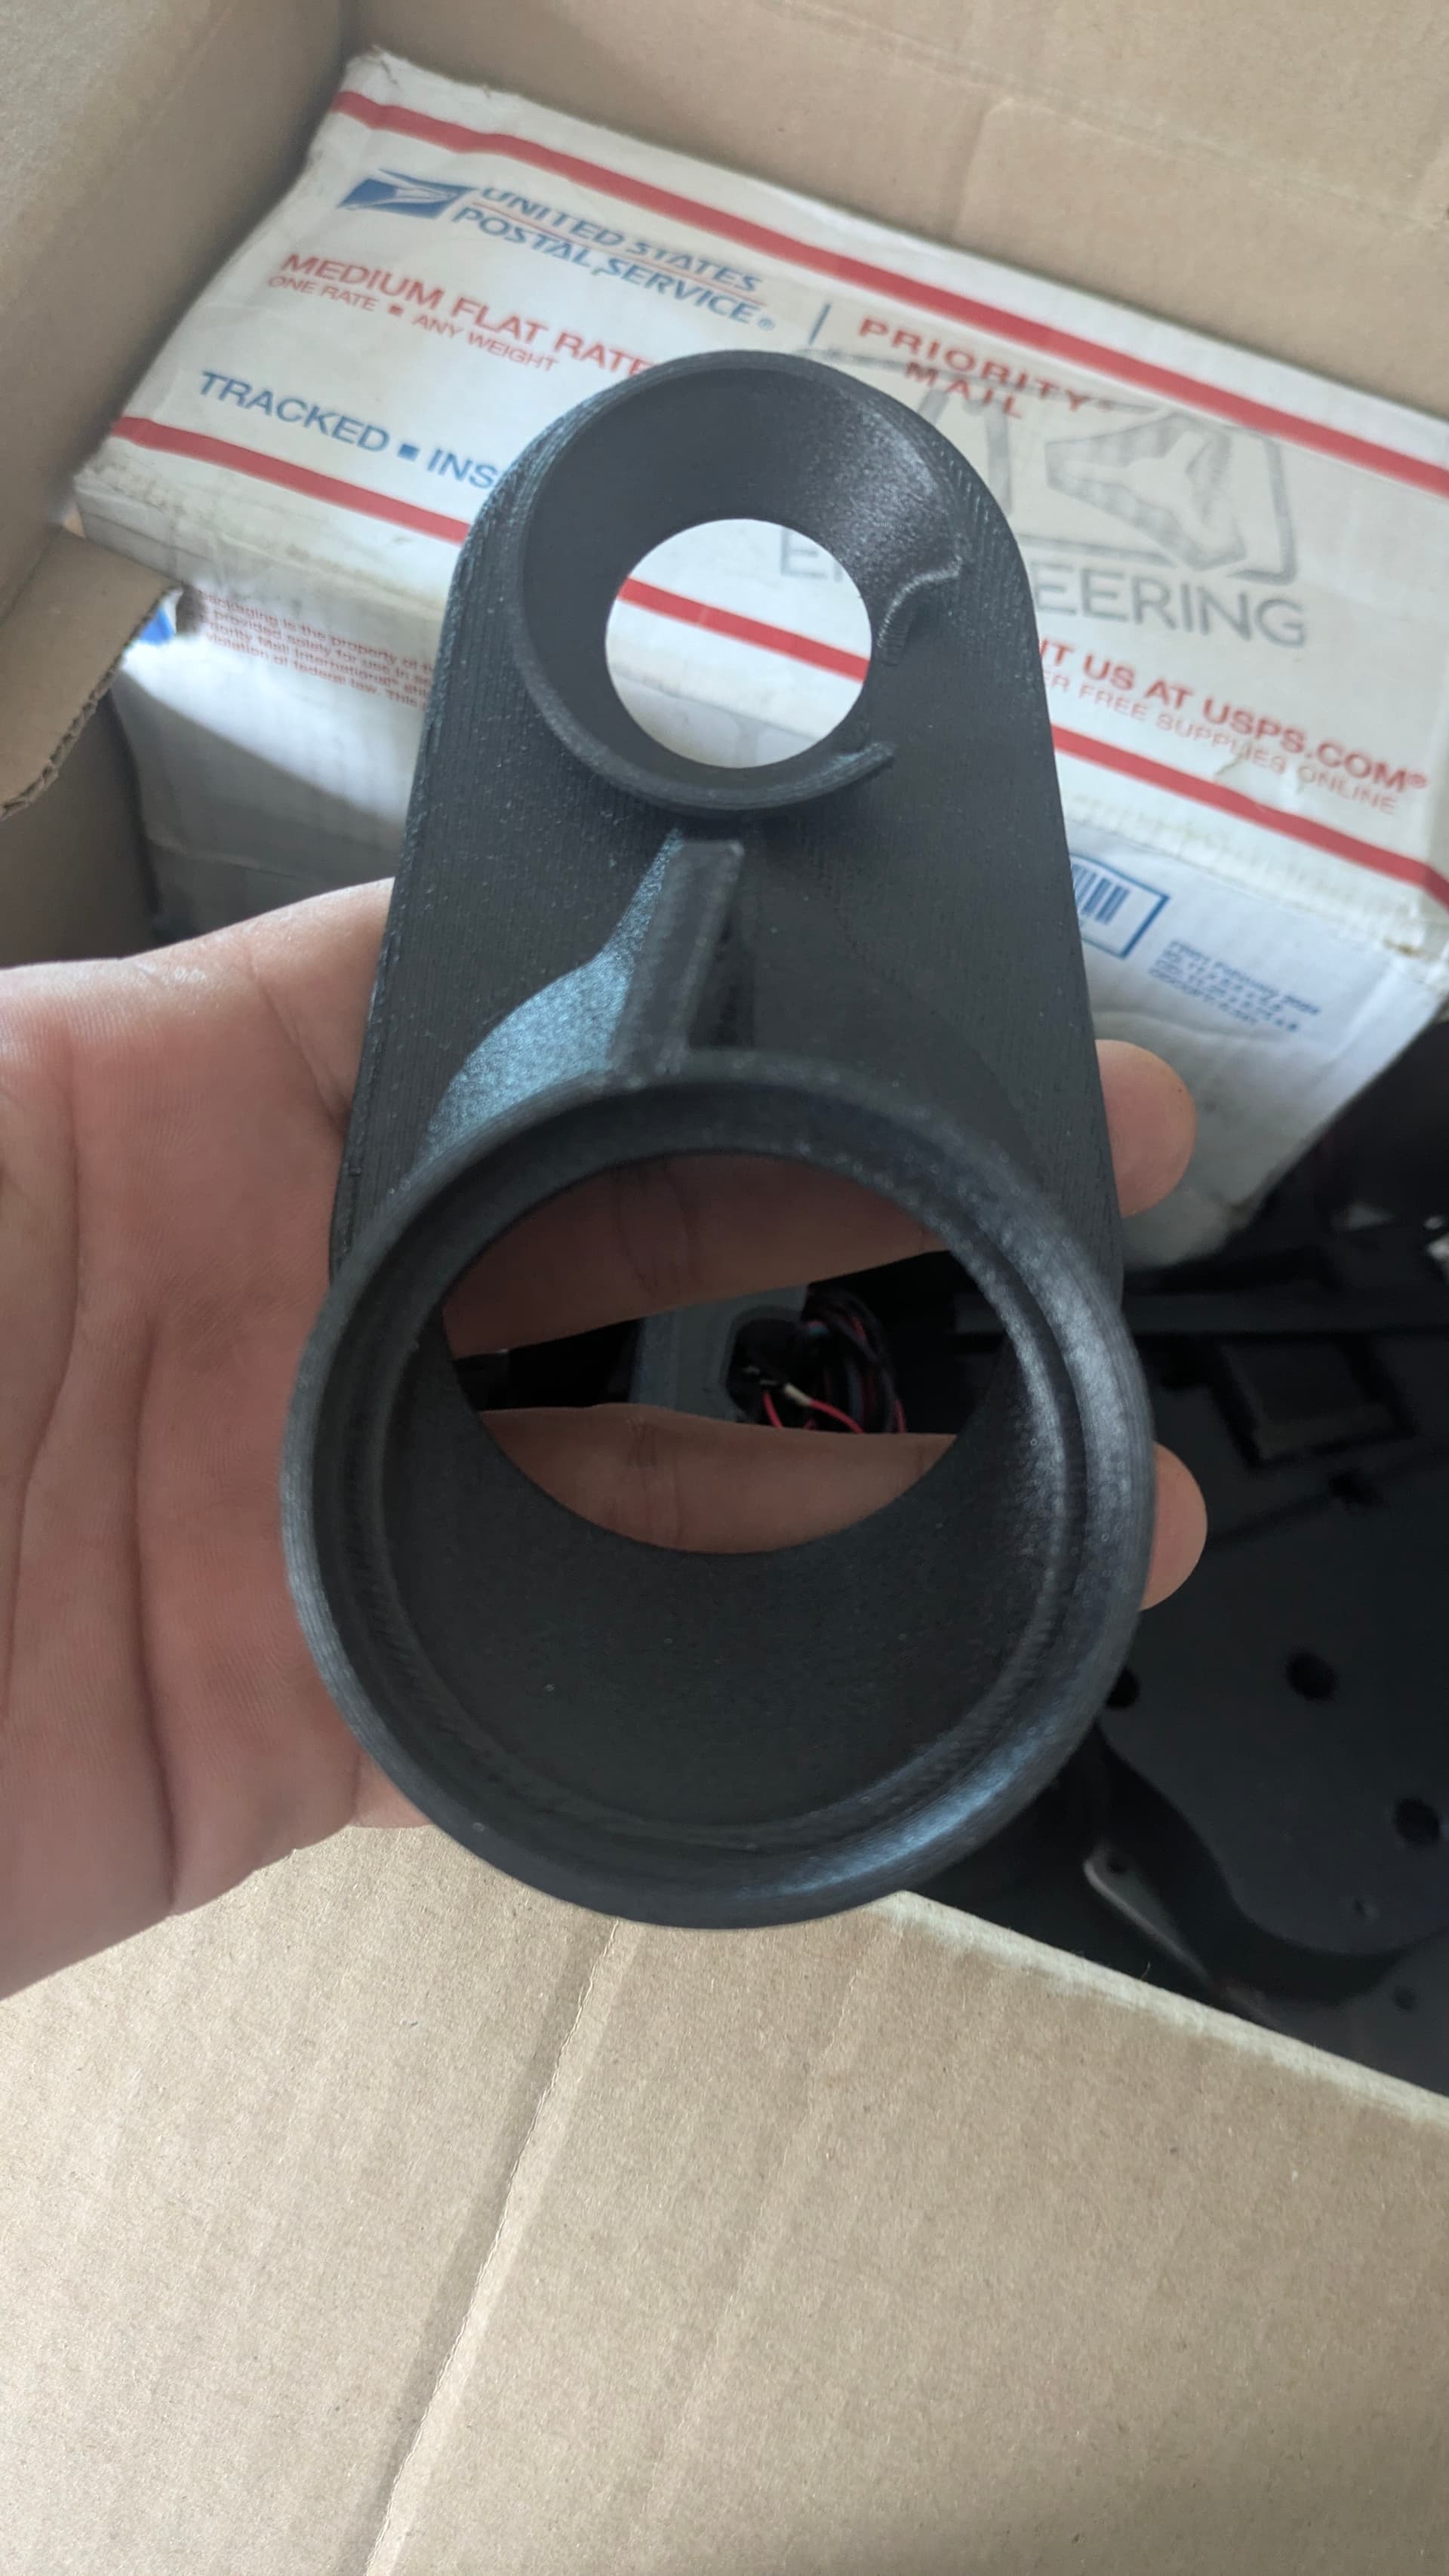
Changing to a 0.20mm layer height and slowing the print speed down a bit did the trick. This print is very smooth around the overhand inside and out now.
7 Likes

For me, with a 0.6mm nozzle at 0.3 layer height the only change i did for the orca profile was to set the temps at it maximum (wich is the lowest recomended for the filament used)
1 Like
Glad you got it sorted! Great looking print!
1 Like
Interesting to see it is possible with 0.30mm layers. I was expecting my printer could do this also but perhaps my cooling needs some work.
E5 Plus with Mercury One.1???
Very nice. I have a pro and a plus converted over. They make great printers that way. My pro is being a pain in the butt though. Needs a LOT more tuning I guess LOL.
1 Like
i used a flashforge ad5m printer
1 Like