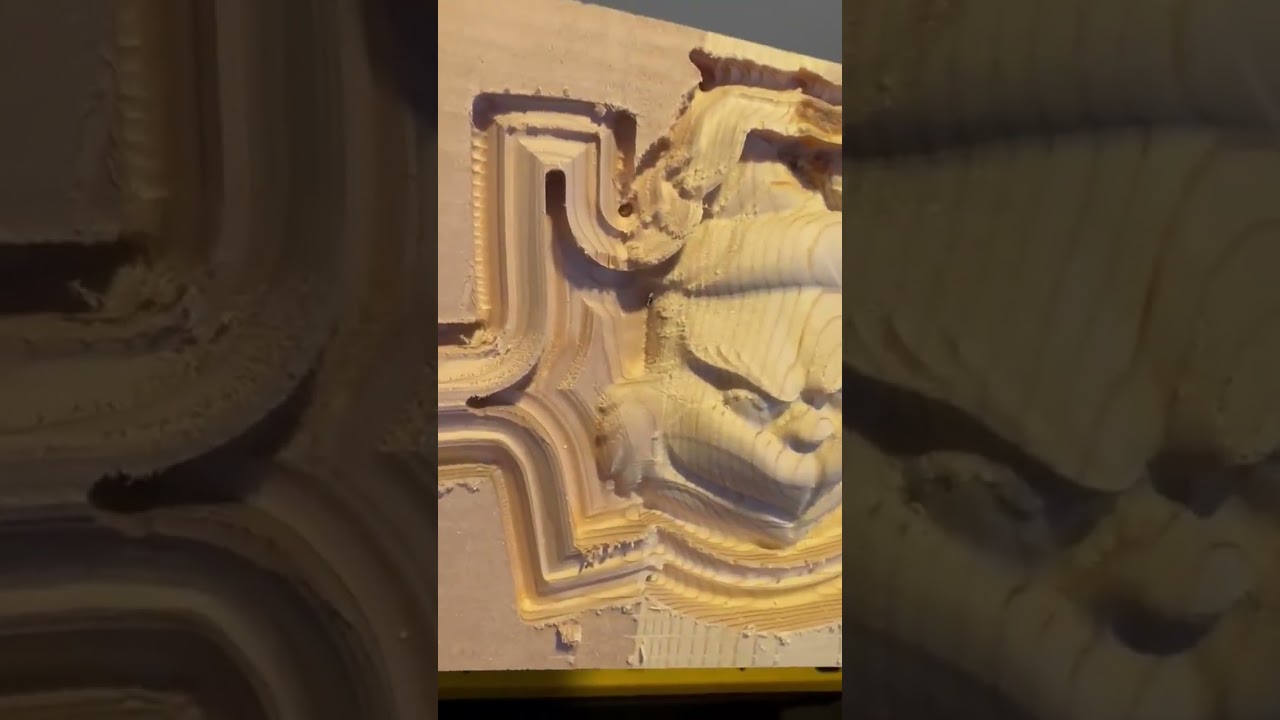
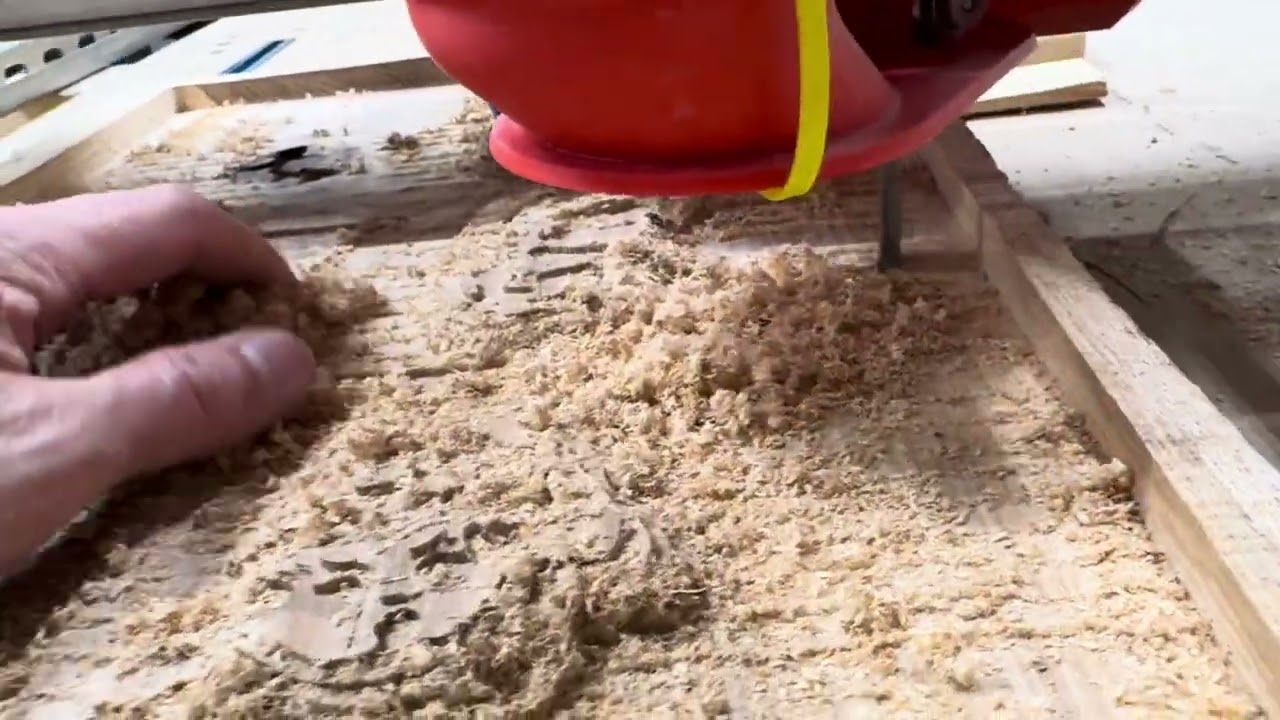
LR4 built for speed!

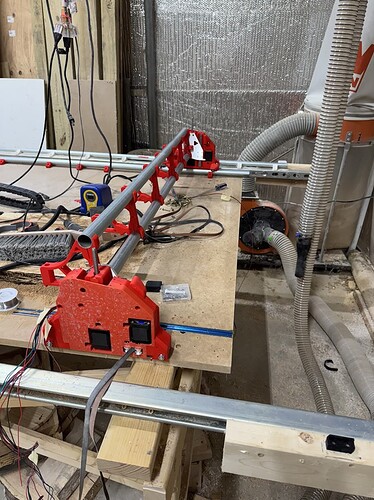
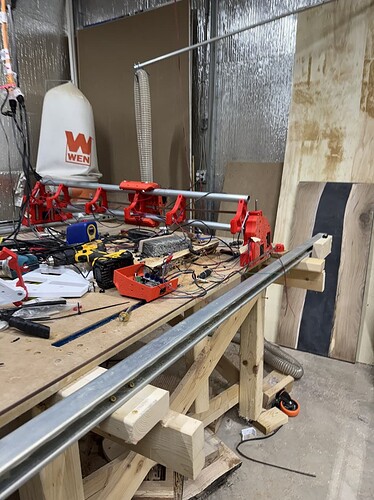
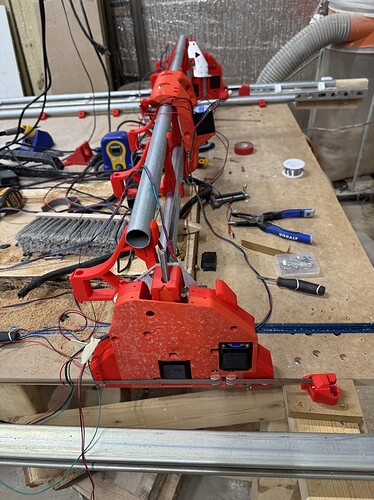
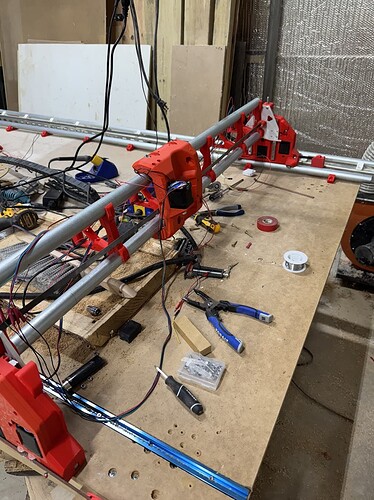
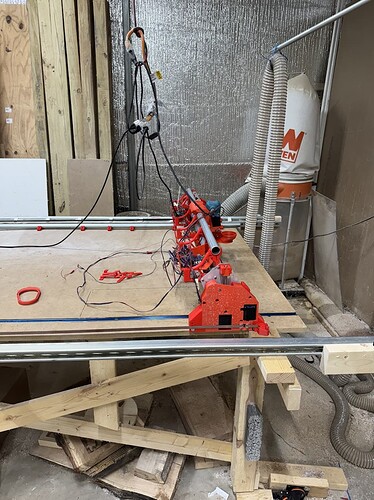
Well I’m almost there, so I figured I’d grace you all with my clean workspace and shop!

I’m still VERY new to all this, as I haven’t really messed with my LR3 since last winter, and the property is proving that will be my down time to work on woodworking project and the cnc.

That being said, I hit the LR3 hard near the end and was starting to break parts because 30hrs of CNC run time does not compute in my head.

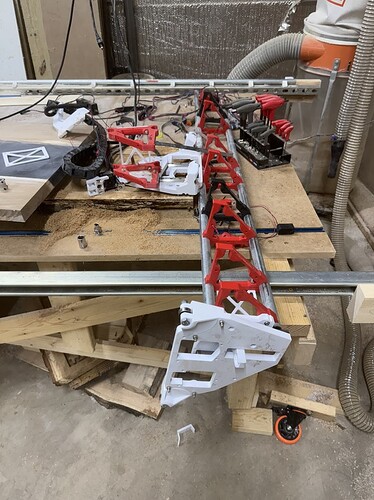
I decided to keep it on my 4x8 table but make it a little smaller on the x axis for now, eventually it will likely be 3-4 of these 2ft cutting on the x axis and 4ft cutting on the y axis to ramp up production if I get good enough!

Let’s start by saying goodbye to the real MVP here the LR3

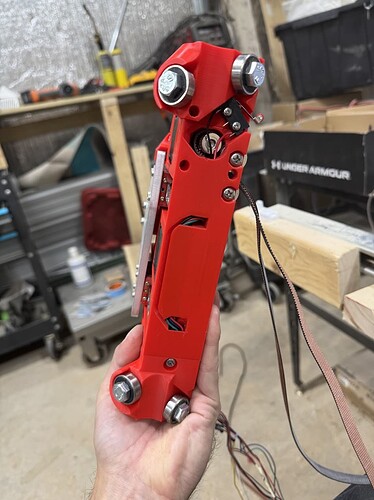
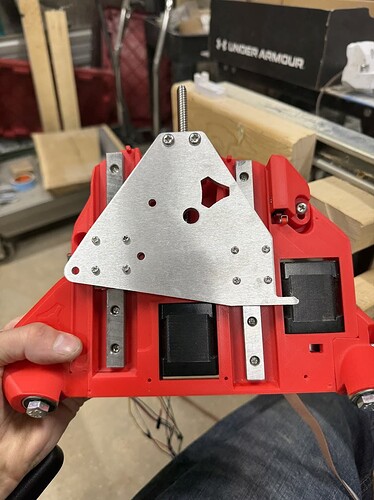
Next this time I decided to go with the upgrade kit as DIY could have been some of my problems, the 3D printed XZ plates on the LR3 were a bit weak for speed

Also this will come to a shock to you in the later pictures, but HOLY I love the wire routing that Ryan put in here, it’s absolutely mint! I’m not going to gripe, but it was very similar to working on a car trying to route things through here, but if you keep at it, it’s flawless!

Now where it gets tricky… I did this pre-documentation and like I said I only have built a single CNC, and that is the only CNC machine I have ever seen in real life, I have technology and construction background but never machining or anything like it.

I got it here and had to beg borrow and steal my way through by trying one thing after another to get it all on, but with the help of the forum it’s there!

Remember when I said I love the wire routing, well cable management is not my strong suit, but I can recognize good LOL, I will be playing with cable management for the next couple weeks, trying to get it right but as you can see above it’s starting to come along! Also don’t work like me kids, keep a clean workspace it was and always is a train wreck finding stuff.

Also I went with all red this time because I couldn’t decide accent colors, if it’s anything like the LR3, I’ll break stuff and when I do it gets printed in whatever color is loaded anyway.

She runs though, still figuring out the end stops on the Jackpot, but the interface and response times on jackpot are so much better! Also I can crank up the speed right from the interface, and that’s what I need is more speed haha!

Thanks to Ryan for the creation and keeping it budget friendly allowing me to learn this bad a$$ hobby! Also thanks to everyone on here for answering my incoherent questions and helping me break things less!
14 Likes

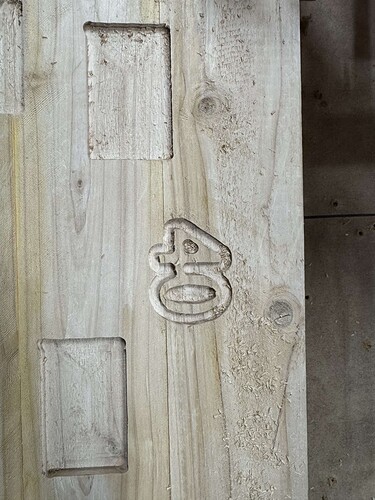
First cuts are a speed test I’m doing, still figuring out the GRBl commands and Fluid, but getting there!

The image above will eventually look like this with 40IN/min and so on for each box, going with 3MM DOC, so hoping I can figure out speed = Depth X movement somehow. Like is it faster to just cut a bit slower and go deeper, or is it faster to cut shallow and more movements.

5 Likes

Congrats on the great progress! Awesome!

1 Like

Getting it there! I think I need to figure out speeds and feeds better, and maybe tighten up the x belt.

7 Likes

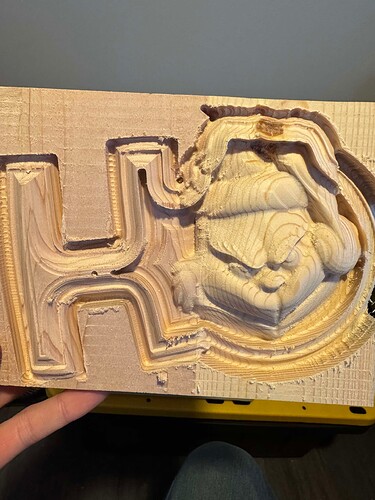
Totally Sick!! Would love to know you approach to carving with the LR4… My main plan was to use it to cut scenic elements for theatre sets. so mostly 2d stuff that would be nice to not have to draw and jigsaw…but this inspires me !!

(I have a feeling that I’m over thinking the build because of all the initial 3D printer calibration talk…)

2 Likes

I’m still learning big time, I’ve made some small 2D cuts on my LR3, but I started playing with carvings this year and while it’s extremely frustrating because I’m new, it’s also really cool to see it do stuff that I could never do by hand.

I tried my hand at Fusion 360, and it would work but I had so many issues with toolpaths and the software itself I ended up purchasing Vcarve Pro and it is insanely easy, just set the wood dimensions, import the model add a rectangle around it and set the bits for roughing and finishing pass

Now I’m trying to figure out how fast I can go, because carving means it’s slower than a 2d cut and I’m learning that the different depths means it’s very important to have everything correct. But I think this will help me get the LR4 fine tuned and my 2d cuts will be even better!

3 Likes

Full 3D carving can be as simple as opening an STL file in ESTLcam. The user interface in ESTLcam changes entirely when you open a 3D mesh model (like what a printer would print from) as compared to what it shows when you open a vector drawing for two dimensional (2.5D) cutting.

2 Likes

The Grinch would look amazing if you stained him with those colored stains from Minwax. That would be really cool to see. Awesome machine.

How do you like the Wen dust collection? I need get one myself, but always thought I would get the one from Harbor Freight.

2 Likes

So did you buy that design, or create yourself?

1 Like

I bought that design, I wanted to take the errors of my mesh/models out of the issue pool haha

2 Likes

Well it took some playing with it and a brand new 1/4" upcut endmill, but we’re there everyone! 100 IN/MIN in oak or 42 MM/Second

Lowrider v4 100 inches / min oak

8 Likes

Awesome!!

1 Like

I can do that on my MPCNC

(DOC 0.001mm)

1 Like