LR4 - Black Forest - Southern Germany

A big thank you to Ryan for releasing the latest V1E creation. I somehow got sucked into the hype of the new release while looking for a new bigger CNC that would allow me to cut full sheets of ply.

A little background on me:: My CNC journey started back in my teenage years. I searched the web for a reasonably priced CNC and back then it was very rare to find anything under 3000€.

Since I was still in high school, I was working at the local gas station on the weekends to make a few bucks to fulfill my dream of owning my own CNC. At 6€/hour it took a few months to get the money together and once I had it, I was reluctant to spend it all on a tool. Which is understandable in retrospect, as my friends bought the first used car for about the same amount of money.

After a night out, I ended up at 5am scrolling through ebay for some CNCs when I suddenly stumbled across a used machine for “just” around 2000€. A few clicks later and I owned my first CNC :partying_face:

Now I faced a new challenge. How to tell my parents, who were going to wake up in about 2h, that we had to drive 300km the next day to pick up the CNC :thinking: My parents were surprisingly chill about the purchase. And soon I was sitting in the car with my dad. A few hours later we arrived in the middle of a forest in a vacation home settlement. The seller was an RC enthusiast who bought the CNC for himself but never got it to work.

The condition of the machine was questionable, but somehow I got the old win95 computer started and to my surprise got the CNC to move a few millimeters. It was the only time I ever got it to move with the even for those days outdated hardware and software. I paid cash and had all my hard earned money in an envelope. I handed it to the seller, he looked at me, said I trust you and put the wallet in his pocket :money_with_wings: My mouth fell open because I had just made my biggest purchase ever and he didn’t even think about counting the bills.

After a long drive home, I started to disassemble everything. And many days later I finally got LinuxCNC configured and the machine was moving for the second time. It was a long road to get my workflow up and running. It was far from perfect, but good enough to start building my first projects. After finishing high school I had some time to build a multicopter, which taught me a lot.

I was so fascinated by the ability to create parts that I changed my plans from studying computer science to mechatronics just before the deadline for applying to university. Once Uni started my CNC didn’t quite receive the love it deserved. My priorities had shifted and little freetime was left, as the engineering course took all my attention.

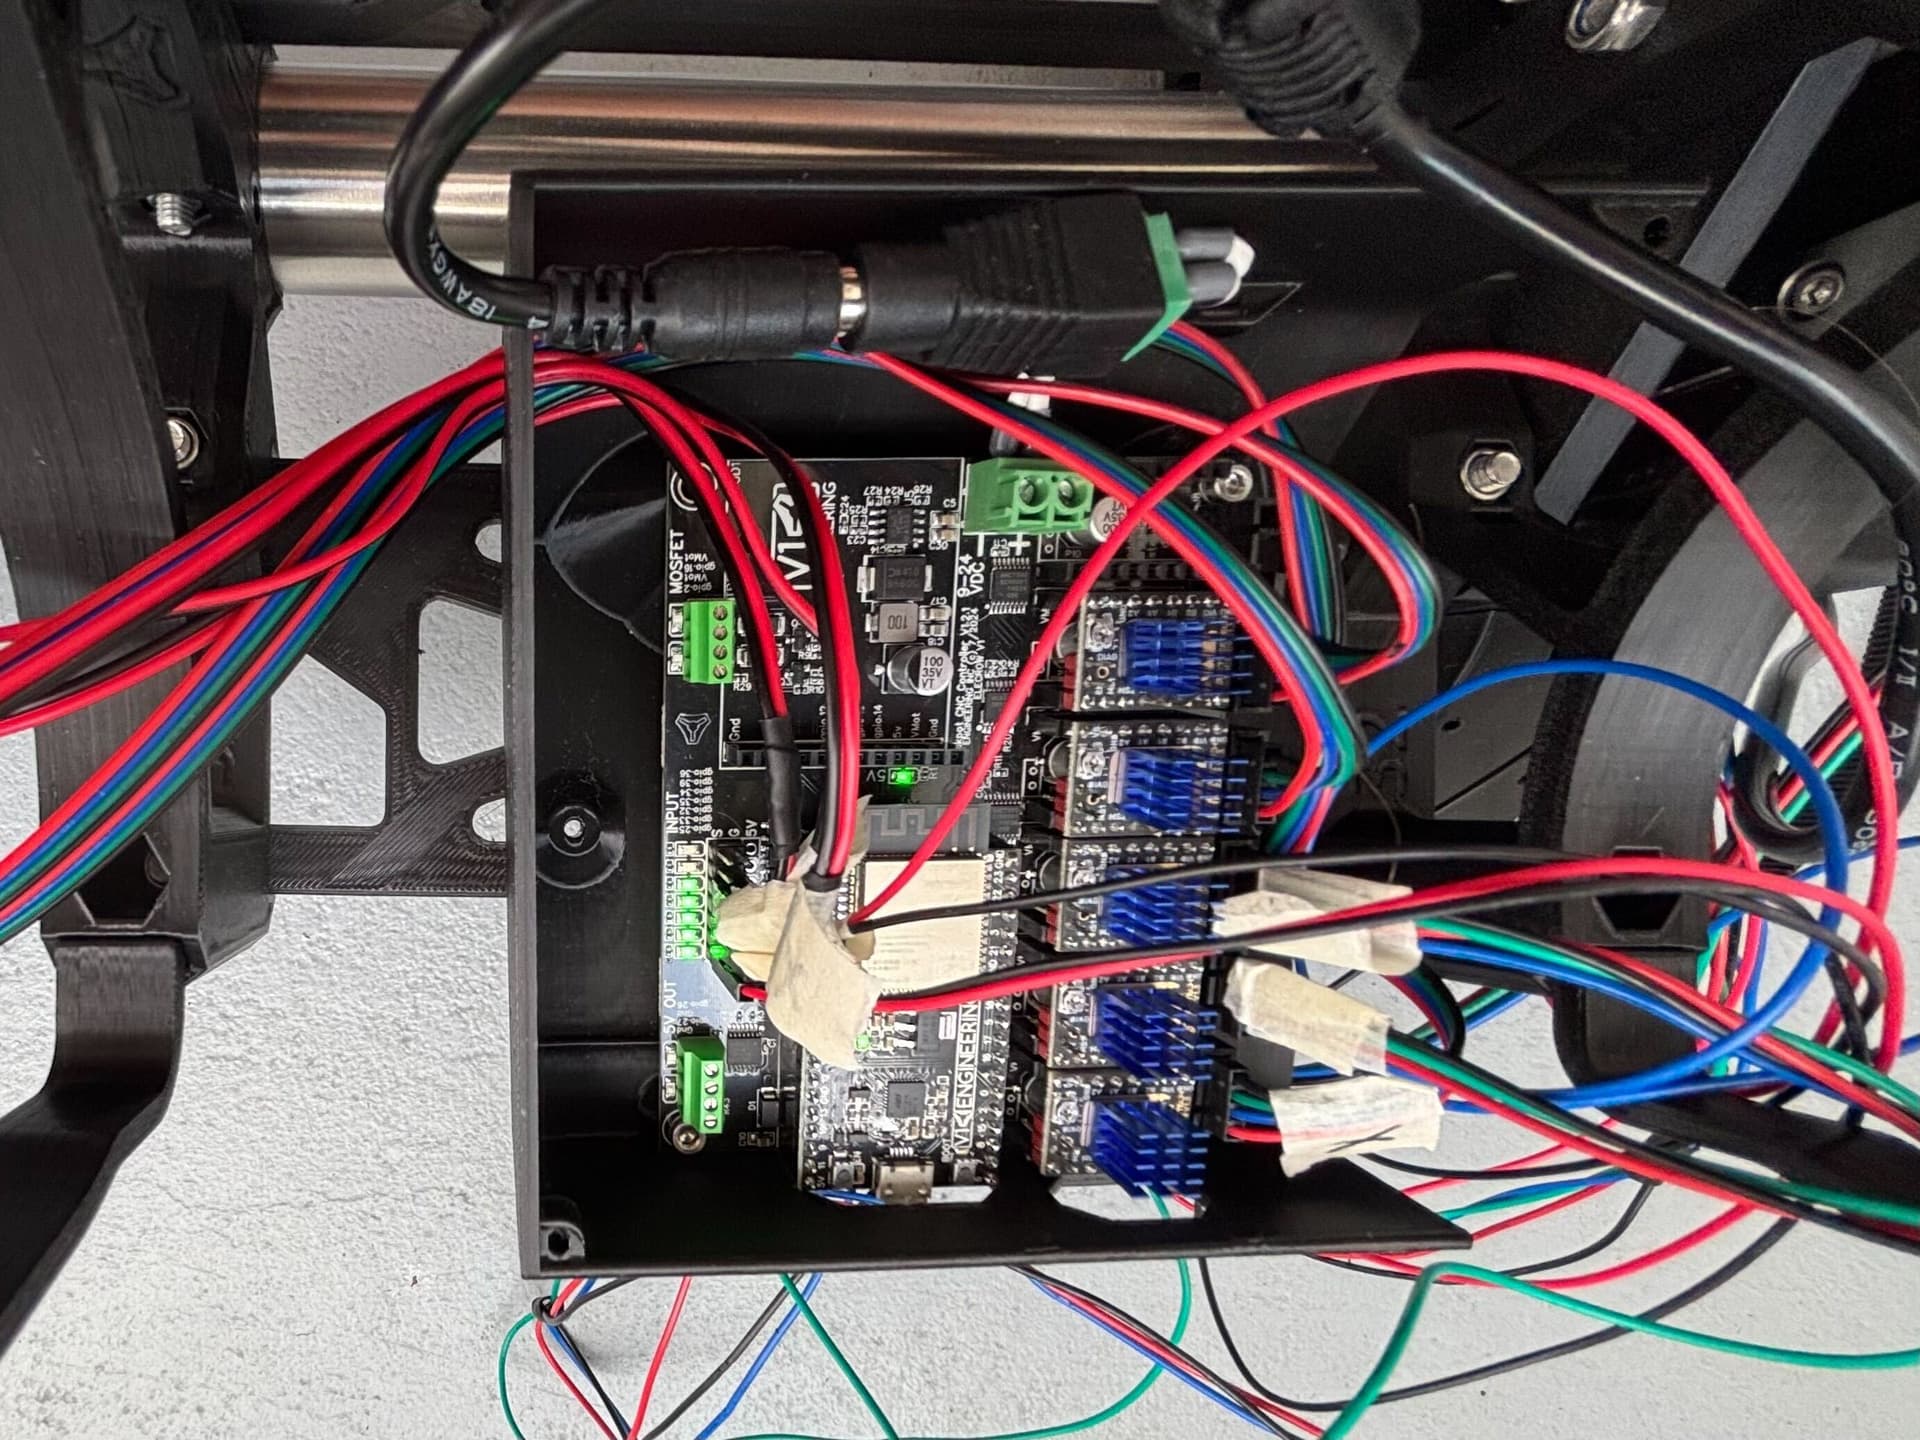
Things took a turn in 2020 when I was ready to pack my bags and head to the States to write my master’s thesis in robotics at CMU. The last exams I had to take before jumping on the plane were canceled and studying abroad was completely off the table. However, I finally had time for my CNC again. I rebuilt it from the ground up and gave it new GRBL based electronics because it was getting harder and harder to find computers that could control it via the parallel port.

The new electronics made it much easier to use. Some limitations didn’t change. The small lead screw diameter limited the maximum speed and the build size of 1000*400mm limited the size of my dreams. I always wanted to go bigger and faster. I don’t need a super rigid machine as I mostly cut wood, but it shouldn’t be a big step down from the current machine in terms of precision.

I was researching the web for my next CNC. I stumbled upon the Maslow, but it seemed a bit imprecise to me. I looked into building an large all ballscrew driven machine. But even now, working as an IT consultant, the price tag is still a bit too much for my taste and the space required to store it would be even more challenging to find.

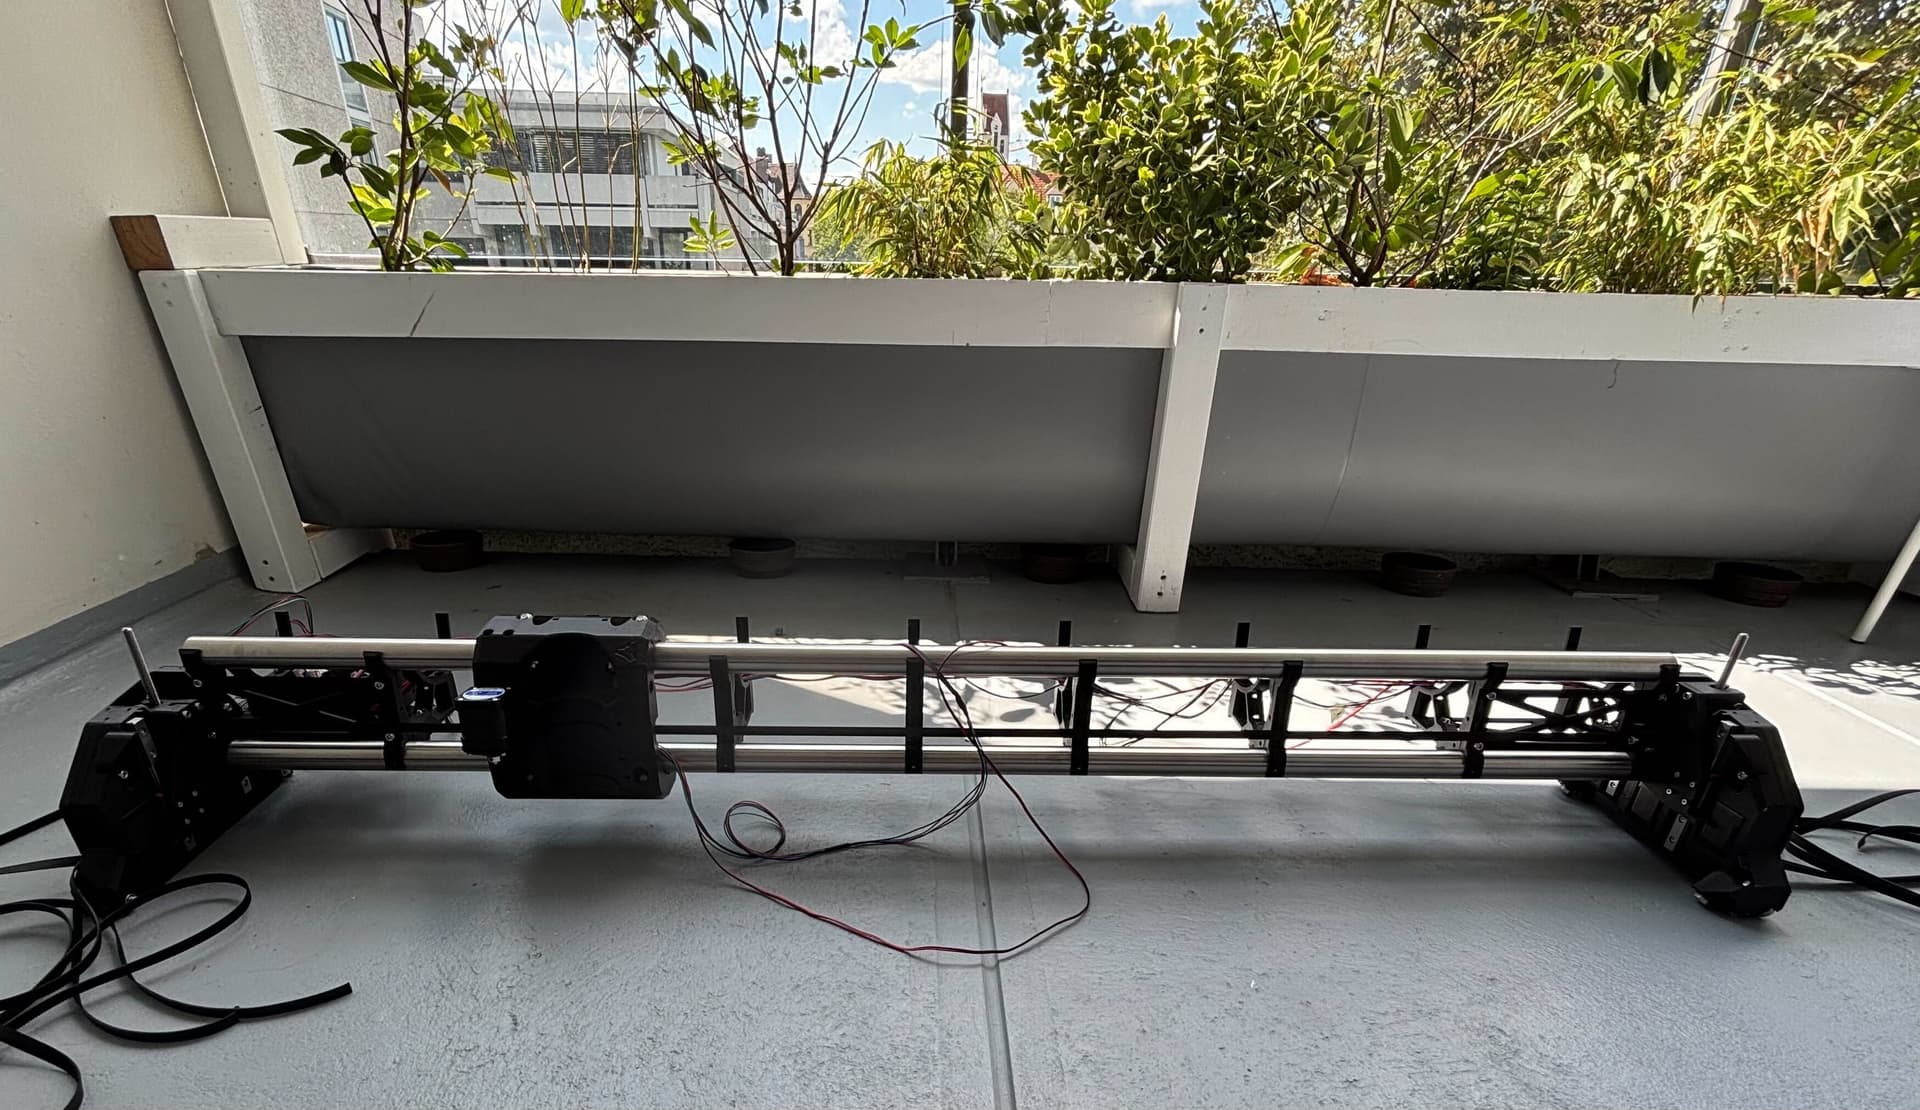
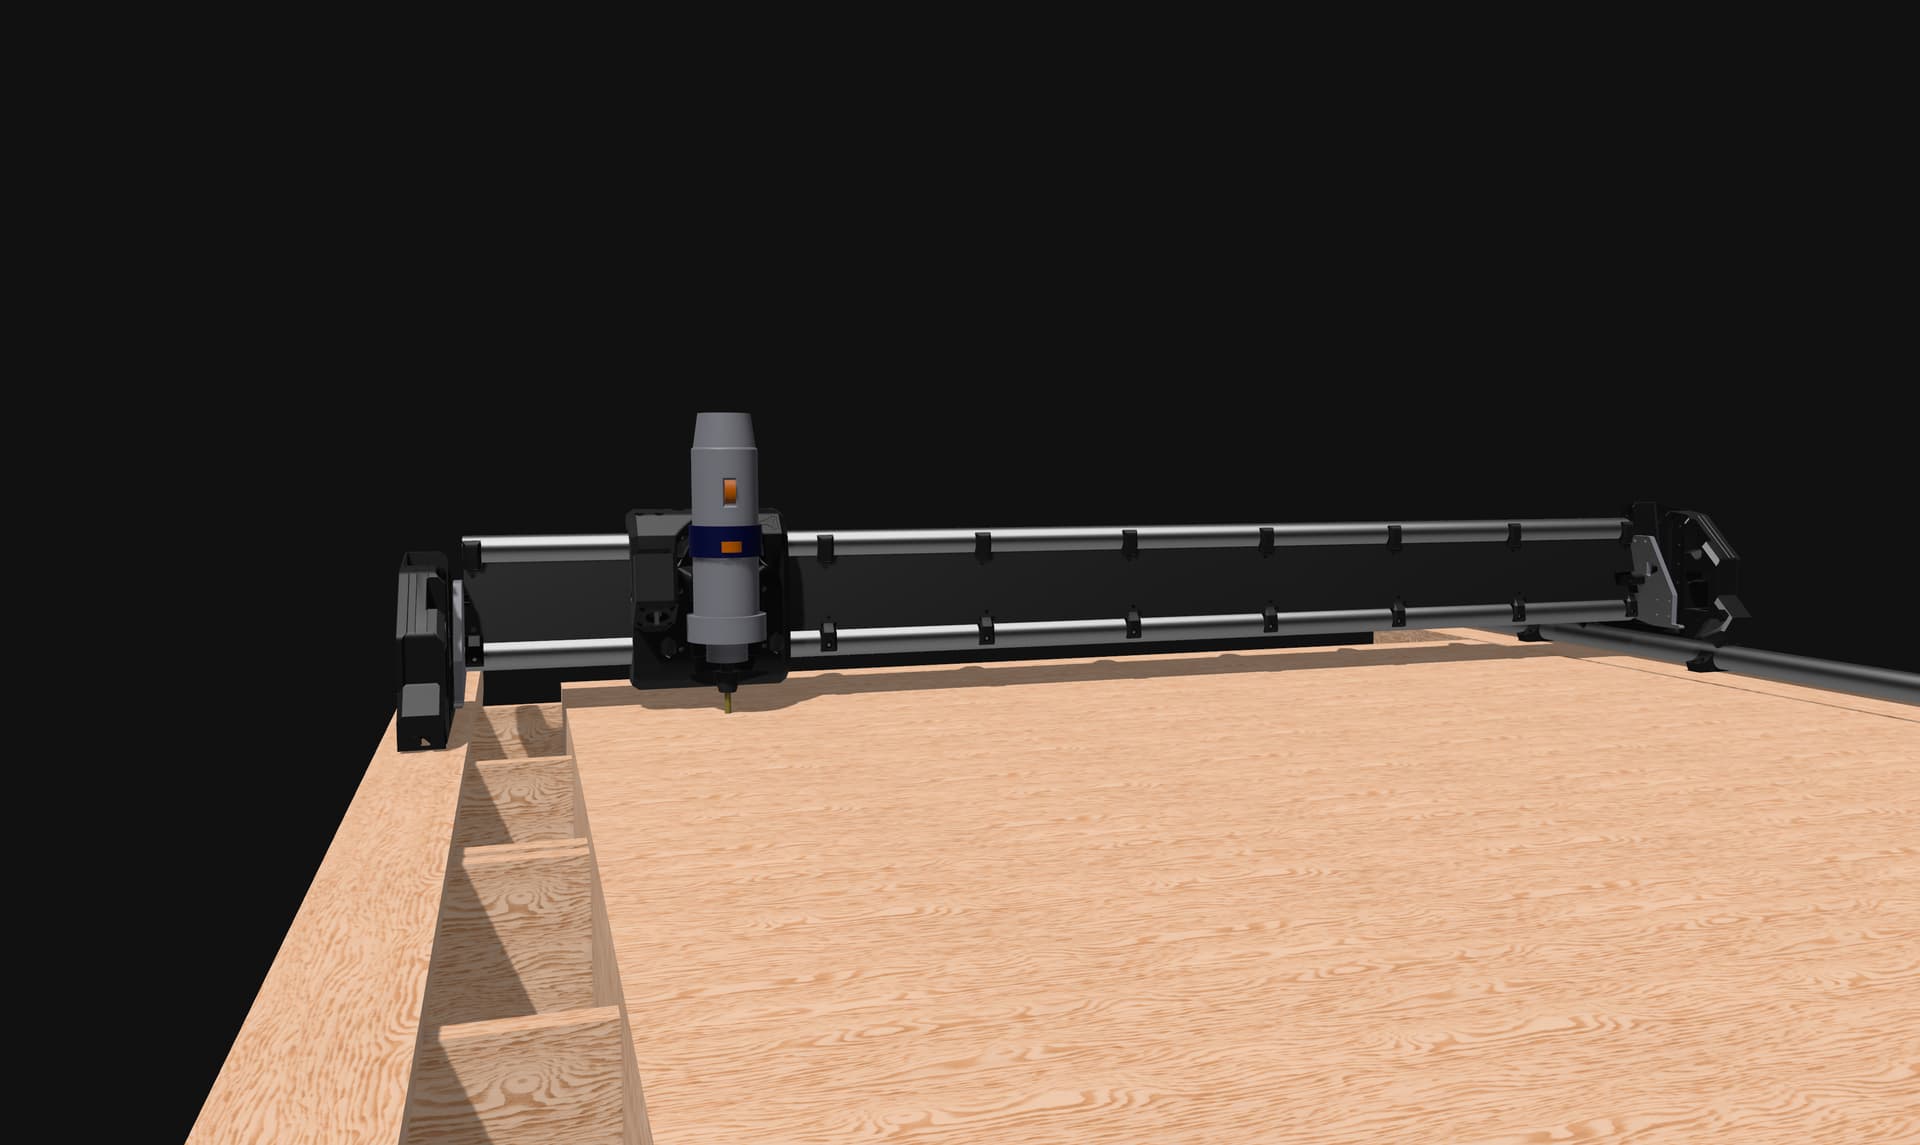
Everything changed when I stumbled across the Lowrider V3 and immediately fell in love with the concept. Easily taken of the bed for storage, suitable for full sheet cutting and a price tag thats half of what i spent 12 years ago.

There was just one issue the 25mm tubes seemed a bit too flimsy for my taste. I loaded up the parts in the CAD and checked if i could upscale the tubes a bit until, i read something about the LR4. As soon as i saw the first video i was hooked. That’s it that’s my next CNC.

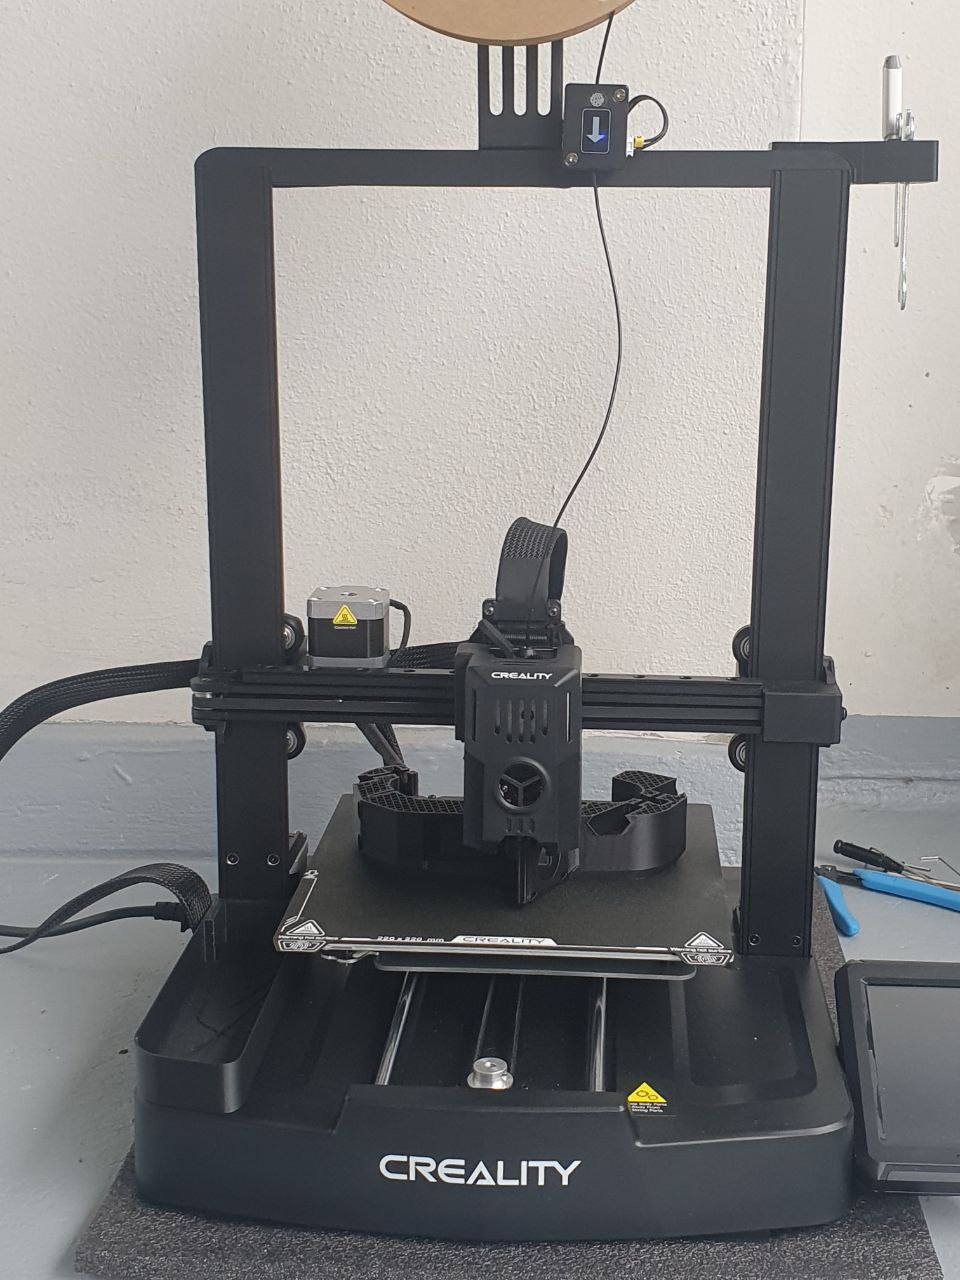
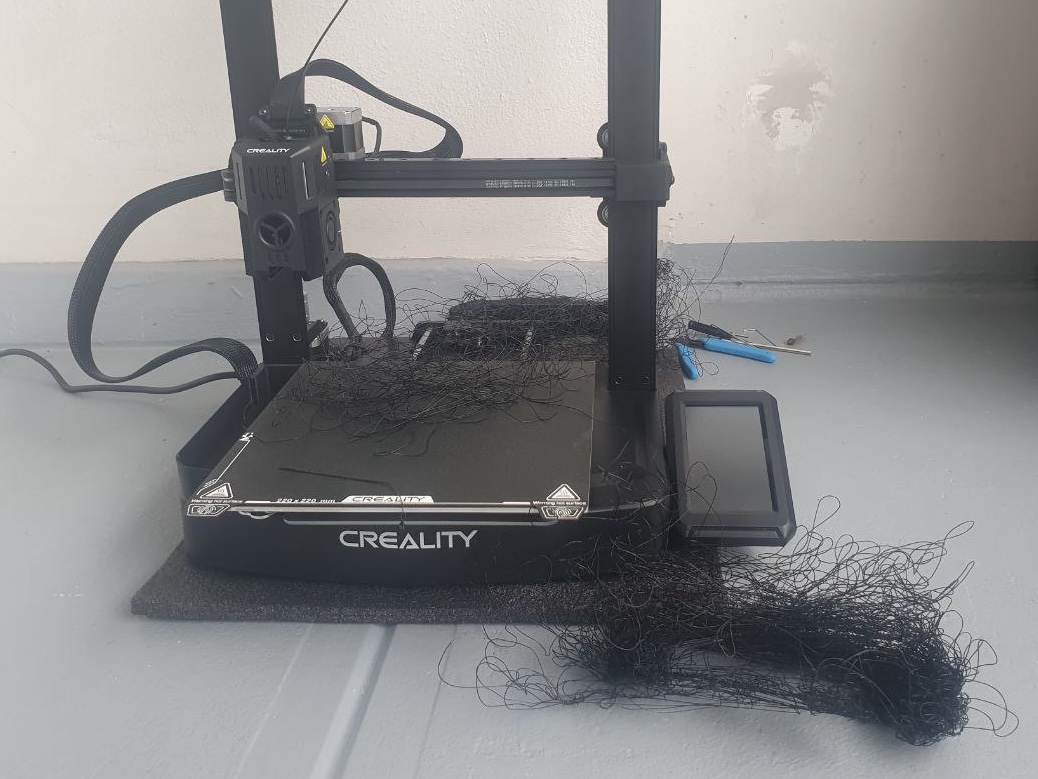
In the following days I read every new post on the status. I ordered my first 3D printer to print the parts as soon as they would be published. I guess many of you come from the other direction, starting first with 3D printing and then transitioning to CNC cutting. For me I was surprised how easy it is to get started into 3D printing. Within 2h of receiving the package, the printer was chunking out parts and the same day it was fully set up.

In the next couple of posts I will document my build journey step by step.

13 Likes

DAY 0 - getting the printer ready

As a newbie to 3D printing, I highly appreciate Ryan’s recommendation to use the calilantern to get the printer dialed in.

Three Iterations later my score went up from 620 to 935. As I got diminishing returns, I accepted the score. As i bought a cheap used Ender-3 V3 KE, there might not be too much room for improvement left.

6 Likes

DAY 1 - chunking out the first parts

When I woke up this morning I first checked to see if Ryan had posted any new parts on Printables and HE HAD. The full set of parts for the LR4 was released. I couldn’t stop myself from printing the first braces. I wasn’t sure which infill to choose, cubic or rectilinear. I couldn’t spend too much time thinking about the infill before my first work meetings started. So I ended up choosing neither and sticking with the default crosshatch of the Orca Slicer.

Later I found out that the other patterns are a lot faster to print. I will probably choose cubic for the other parts.

8 Likes

Wohooo, welcome. We used to vacation in Todtmoos a lot since my Grandparents owned a house there. Are you this far south?
Besides that I am glad to have another German around here. Though, since this is the Internet, distances do not really matter much.
Funnily enough I didn‘t really start woodworking until my early 30s and since I am one of those computer kids I had always wanted a CNC and a 3D printer. You can imagine how happy I was when I found the Burly (and then waited for the Primo, just like you did with the LR4 now) and had a reason to buy a printer! I went with the Prusa Mini and printed a Prusa sign, the Benchy and then the Core… :smiley: With that out of the way, the rest was easy.
I hope you‘ll have a lot of fun with the machine, the LR4 is a brilliant tool and it is a blast to use it, eliminating all the little downsides the LR3 might have had. :slight_smile:

3 Likes

Welcome to the V1 community.
I think you’ll love the LR4 machine, and the rest of the community is here to help you as you go.

Thank you for starting a build thread and sharing your excitment back to the community.

1 Like

I’m debating whether to buy one of these new. Any feedback on your experience would be great!

Welcome and congratulations on your journey! I look forward to seeing what you will make!

1 Like

I have worked with a few grads from the master’s robotics at CMU. They are smart cookies and some good friends. Weird to think we might have worked together and now we are on the same forum enthusiastic about the same project.

4 Likes

After using only around one spool of filament in the first week my experience with it is still very limited. However I’m quite please with the printer so far.

The first thing i did was rooting it and installing Fluidd to make full use of Klipper. Being able to send the files from the slicer straight to the printer is a huge benefit that i don’t wanna miss anymore. The filament sensor also already did the job of saving my last print job once the end of the spool was reached. Overall it seems to be a rather complete package.

Initially I wanted to get a used Prusa, as they are praised for their reliability, where the previous generations of enders haven’t quite kept up. With the KE i couldn’t read that many negative points only and so far haven’t experienced many myself.T he only issue i had so far was the grinding on the infill which seems to be a common issue. Adjusting the extruder temperature, reducing the speed and flow seem to mitigate the issue. I’m still on the journey myself to figure out the best setting. The easiest solution is to avoid intersecting infills, but I’m not giving up yet and the adjustments seem promising so far.

1 Like

Not quite, I grew up a bit further north and spent much of the last decade in Karlsruhe during my studies at KIT. Actually, I live in Munich these days, but the CNC will be based at my parents’ house, as it is not the best roommate in a rather cozy 2-room apartment in the city center. Particularly with the Kress spindle. I had hoped that the acoustics had improved with the newer AMB branded generation. But watching your videos, my ears felt right at home. It comes with the feature to be able to monitor the progress of the cuts from the floor above, the concrete ceiling brings the noise down to a fairly “pleasant” level. “Play it by the ears” takes on a whole new meaning in this context.

I took that as inspiration to jump straight to the core, well I will share the spaghetti mess in another post :rofl:

2 Likes

Haha, the AMB itself is pretty silent compared to the Makita, the loud sound are the cutting noises with a dull endmill. :smiley:

And boy are you in luck that I already made a remix for the AMB mount. :slight_smile:

4 Likes

Day 2 - Grinding through the core and turning it into a spaghetti monster

I could’t resist the excitement of jumping straight to the core after extruding the first few braces. This time I followed the manual and chose the cubic infill. The drawback of the longer print time of the cross hatch infill was just a bit too much this time. My experience with my new printer has been without any major hiccups, so I felt ready to try cubic infill.

I woke up early to start printing before heading to the office. After the first few layers were laid down, I was rather unpleasantly notified that the infill had been reached. The grinding sound of the print head scraping over the previous layers was unmistakable. At this point, I was about to jump on the subway. I quickly sent the command to reduce the flow rate and hoped for the best.

I was pleased to receive a picture from my wife a few hours later showing the first quarter of the core growing nicely on the print bed. I was relieved that everything seemed to be working. My wife told me that she didn’t notice any abnormal noise from the printer as the street was generally a bit noisier that day.

I was peacefully spending my day in the meetings being secretly excited about holding the core in my hands once I return home. :heart_eyes:

Seven hours after the print started, I glanced at my phone to see if there were any updates:

“I got too distracted with work” “sorryyy” “should I cancel or pause” “I paused”

A big shoutout to my wife that actually watches my printer while doing home office. :heart:

And there was nothing to be sorry for, as it was all my fault. :grimacing: I shouldn’t have started such a big print job that uses half a spool of filament with new print settings while not being at home.

Some lessons were learned, but the cause of the failure was still not completely clear:

  • I suspect that the grinding continued throughout the print, putting additional stress on the adhesion between the print and the bed.
  • I rotated the print 90° to reduce the movement of the bed during the print, as its rather noisy. I was hoping that this wouldn’t affect the adhesion to the bed when the print gets taller.
  • My printer is on the balcony. I don’t want the VOCs to build up in my apartment, even if it’s “just” PLA. On the day of printing, the temperature dropped to only about 10°C (50°F). This may have had a negative effect on bed adhesion and caused the filament to cool down more quickly after extrusion.
5 Likes

Thanks for sharing your AMB mount, I was super excited once i saw you put it straight on printables after the release :heart_eyes:

3 Likes

Yep, 3D printing can be challenging even when printing some basic materials such as PLA…as you said, lessons learned :+1: