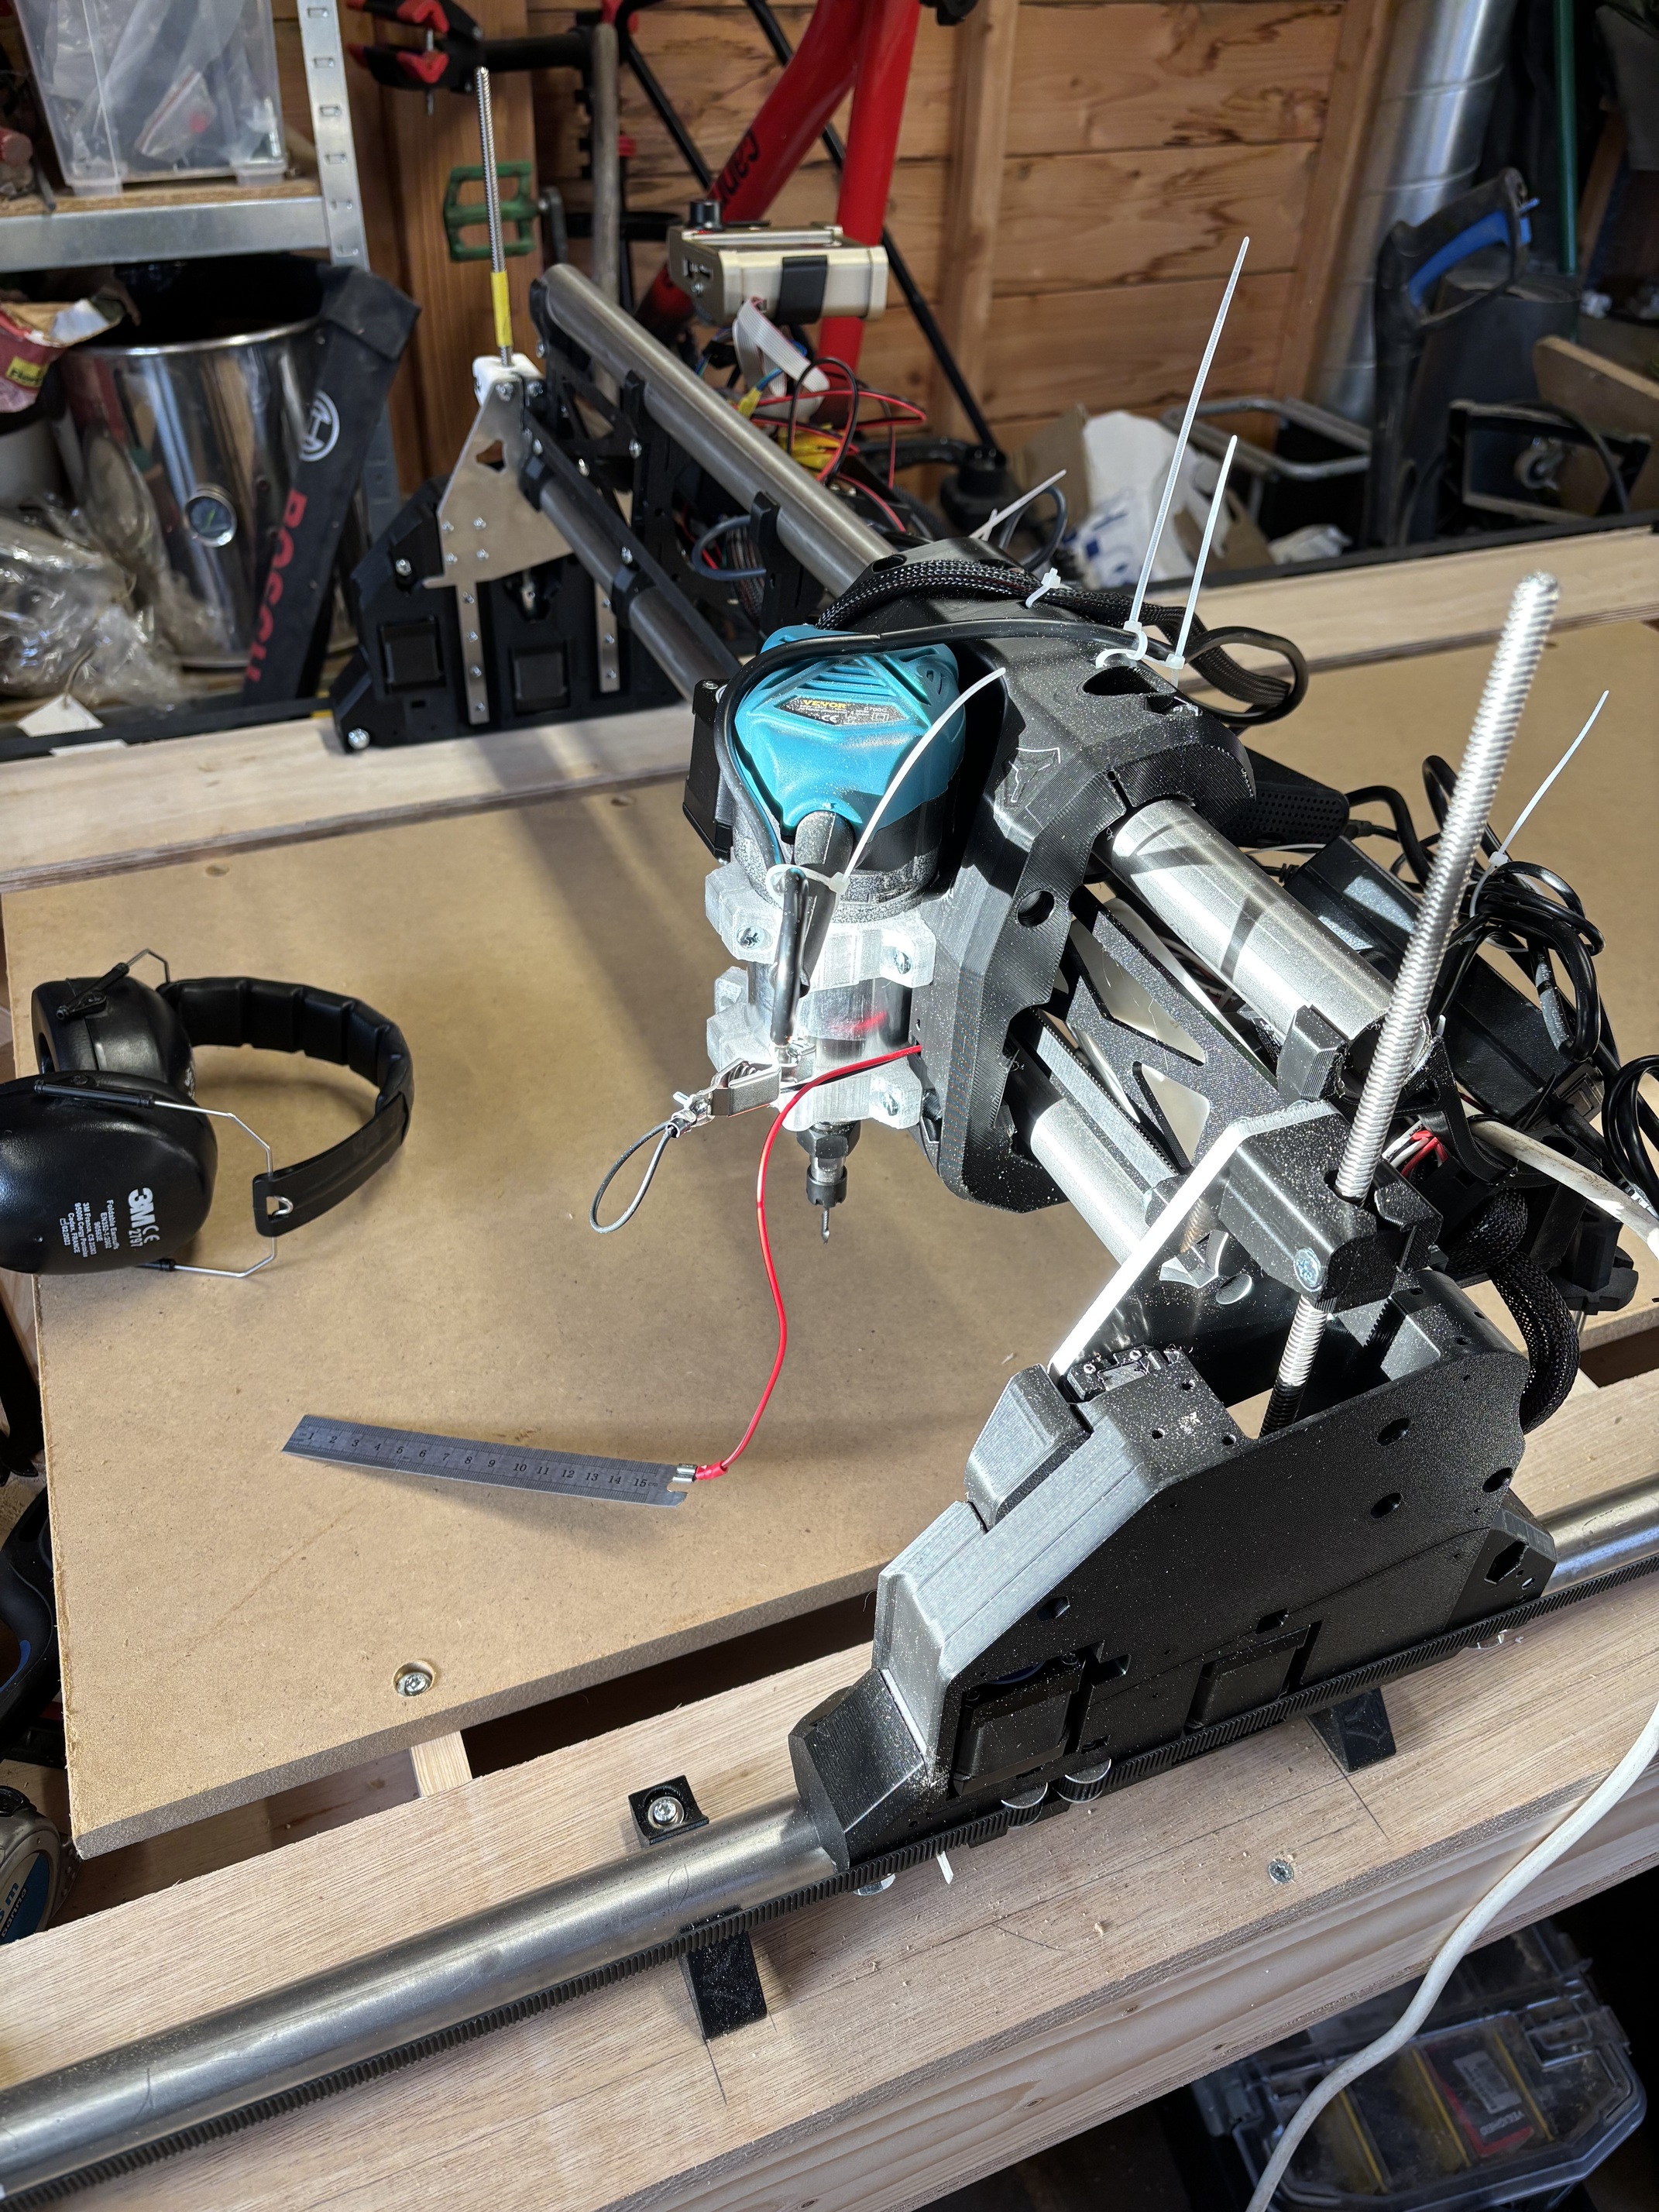
LR4 another build near Nijmegen

Hi all,

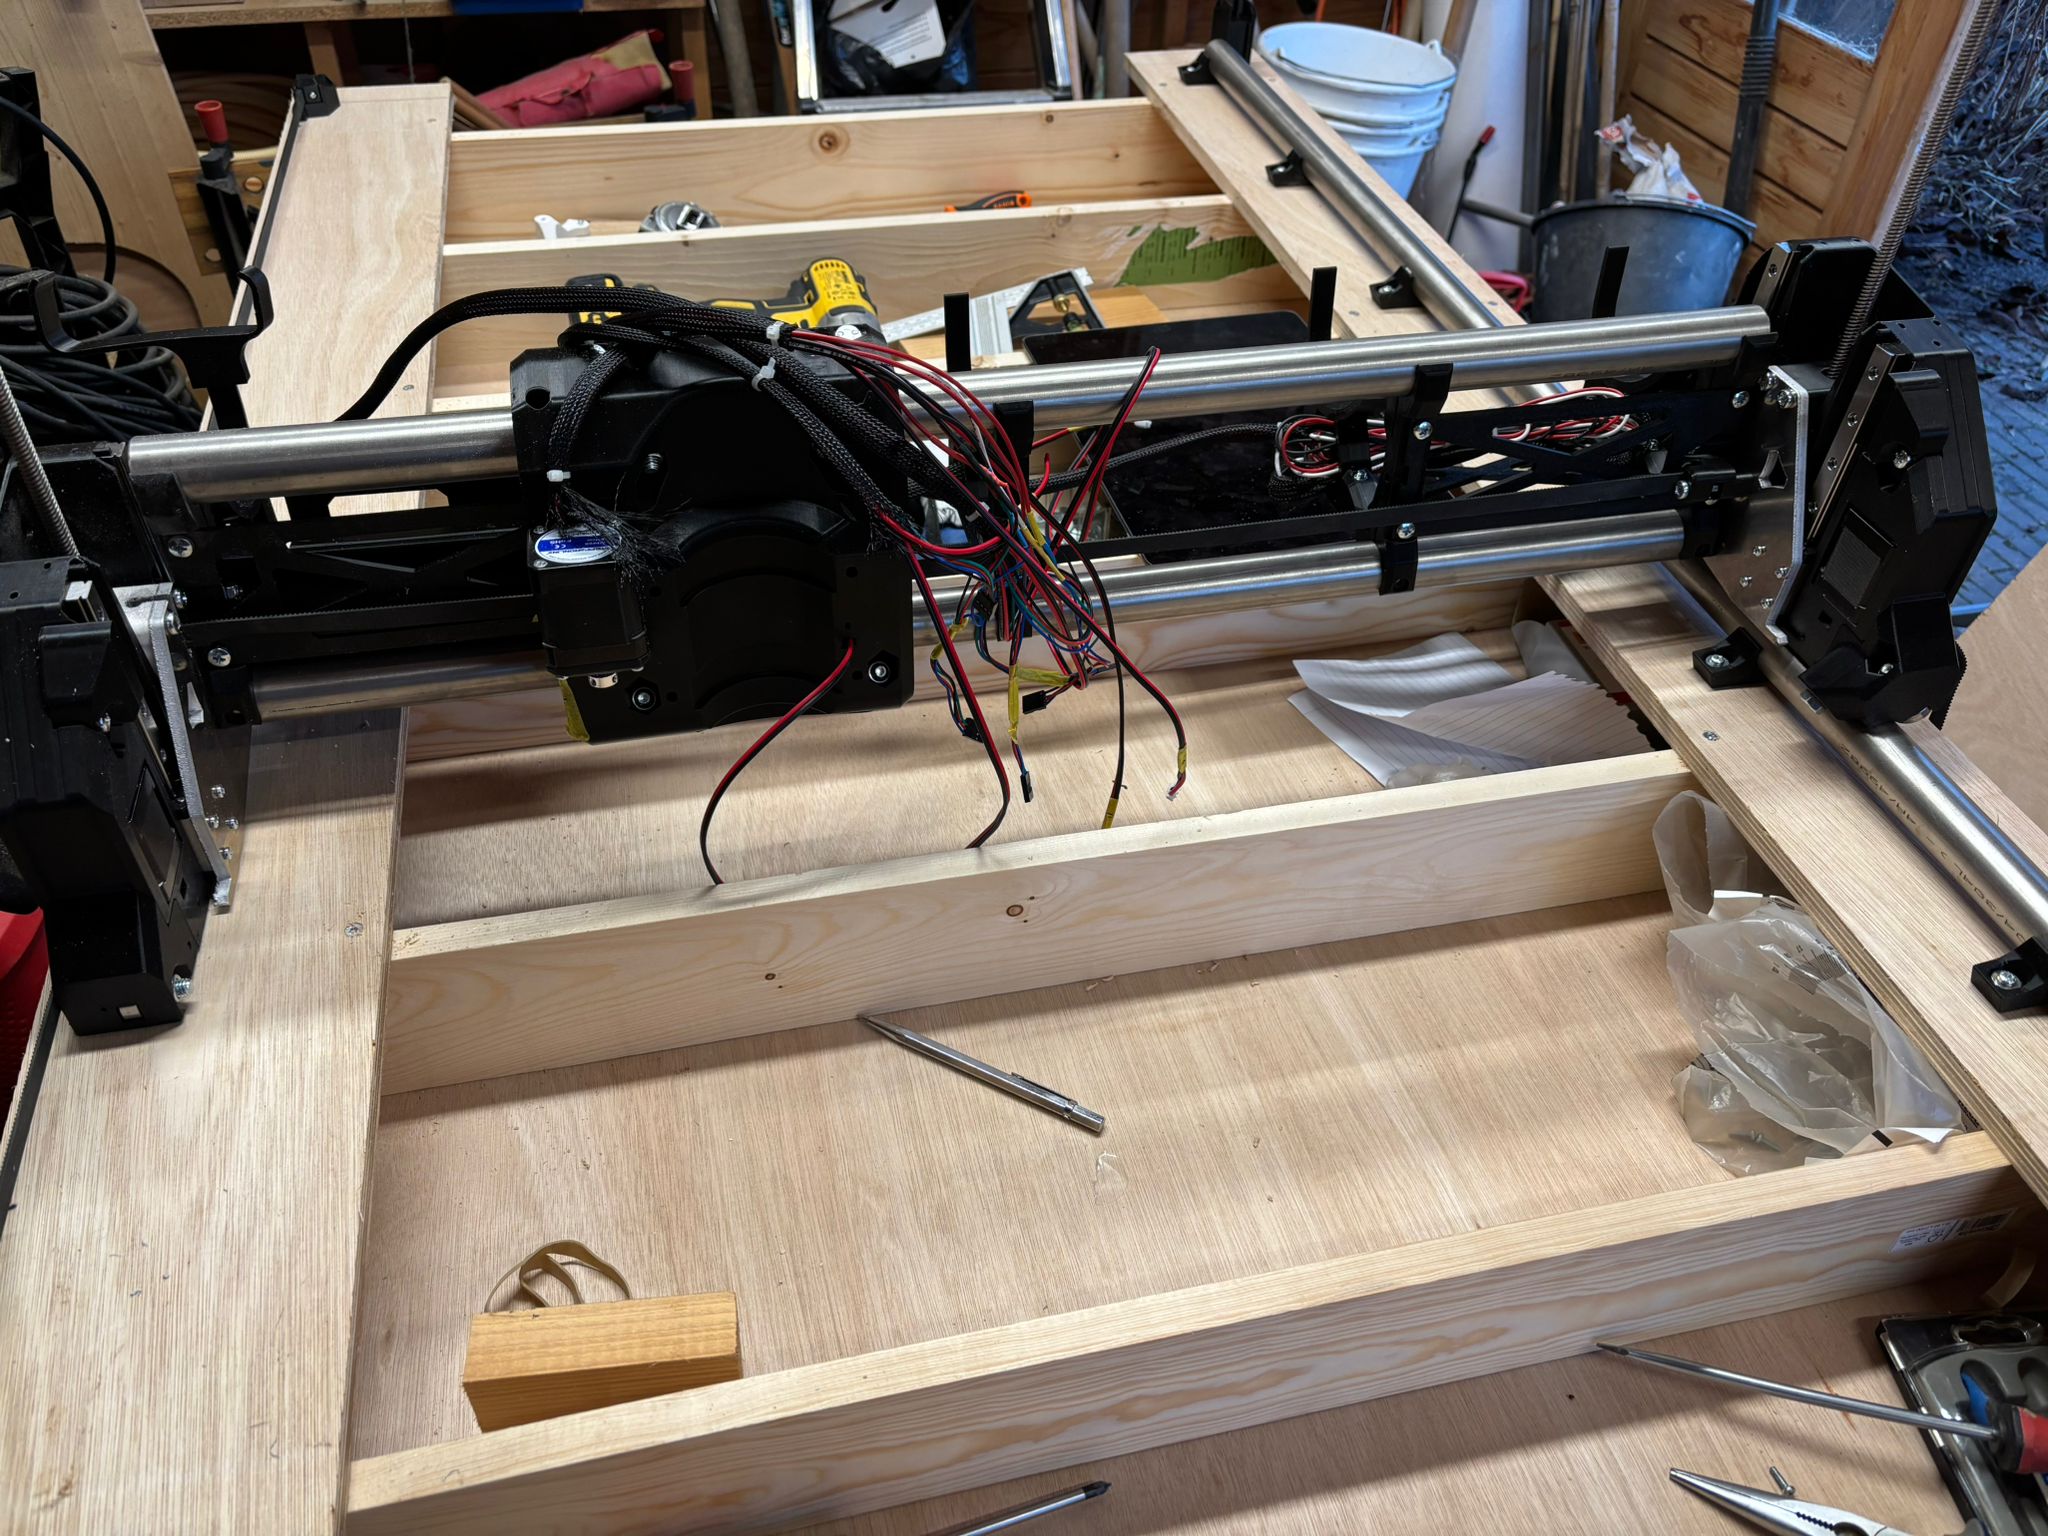
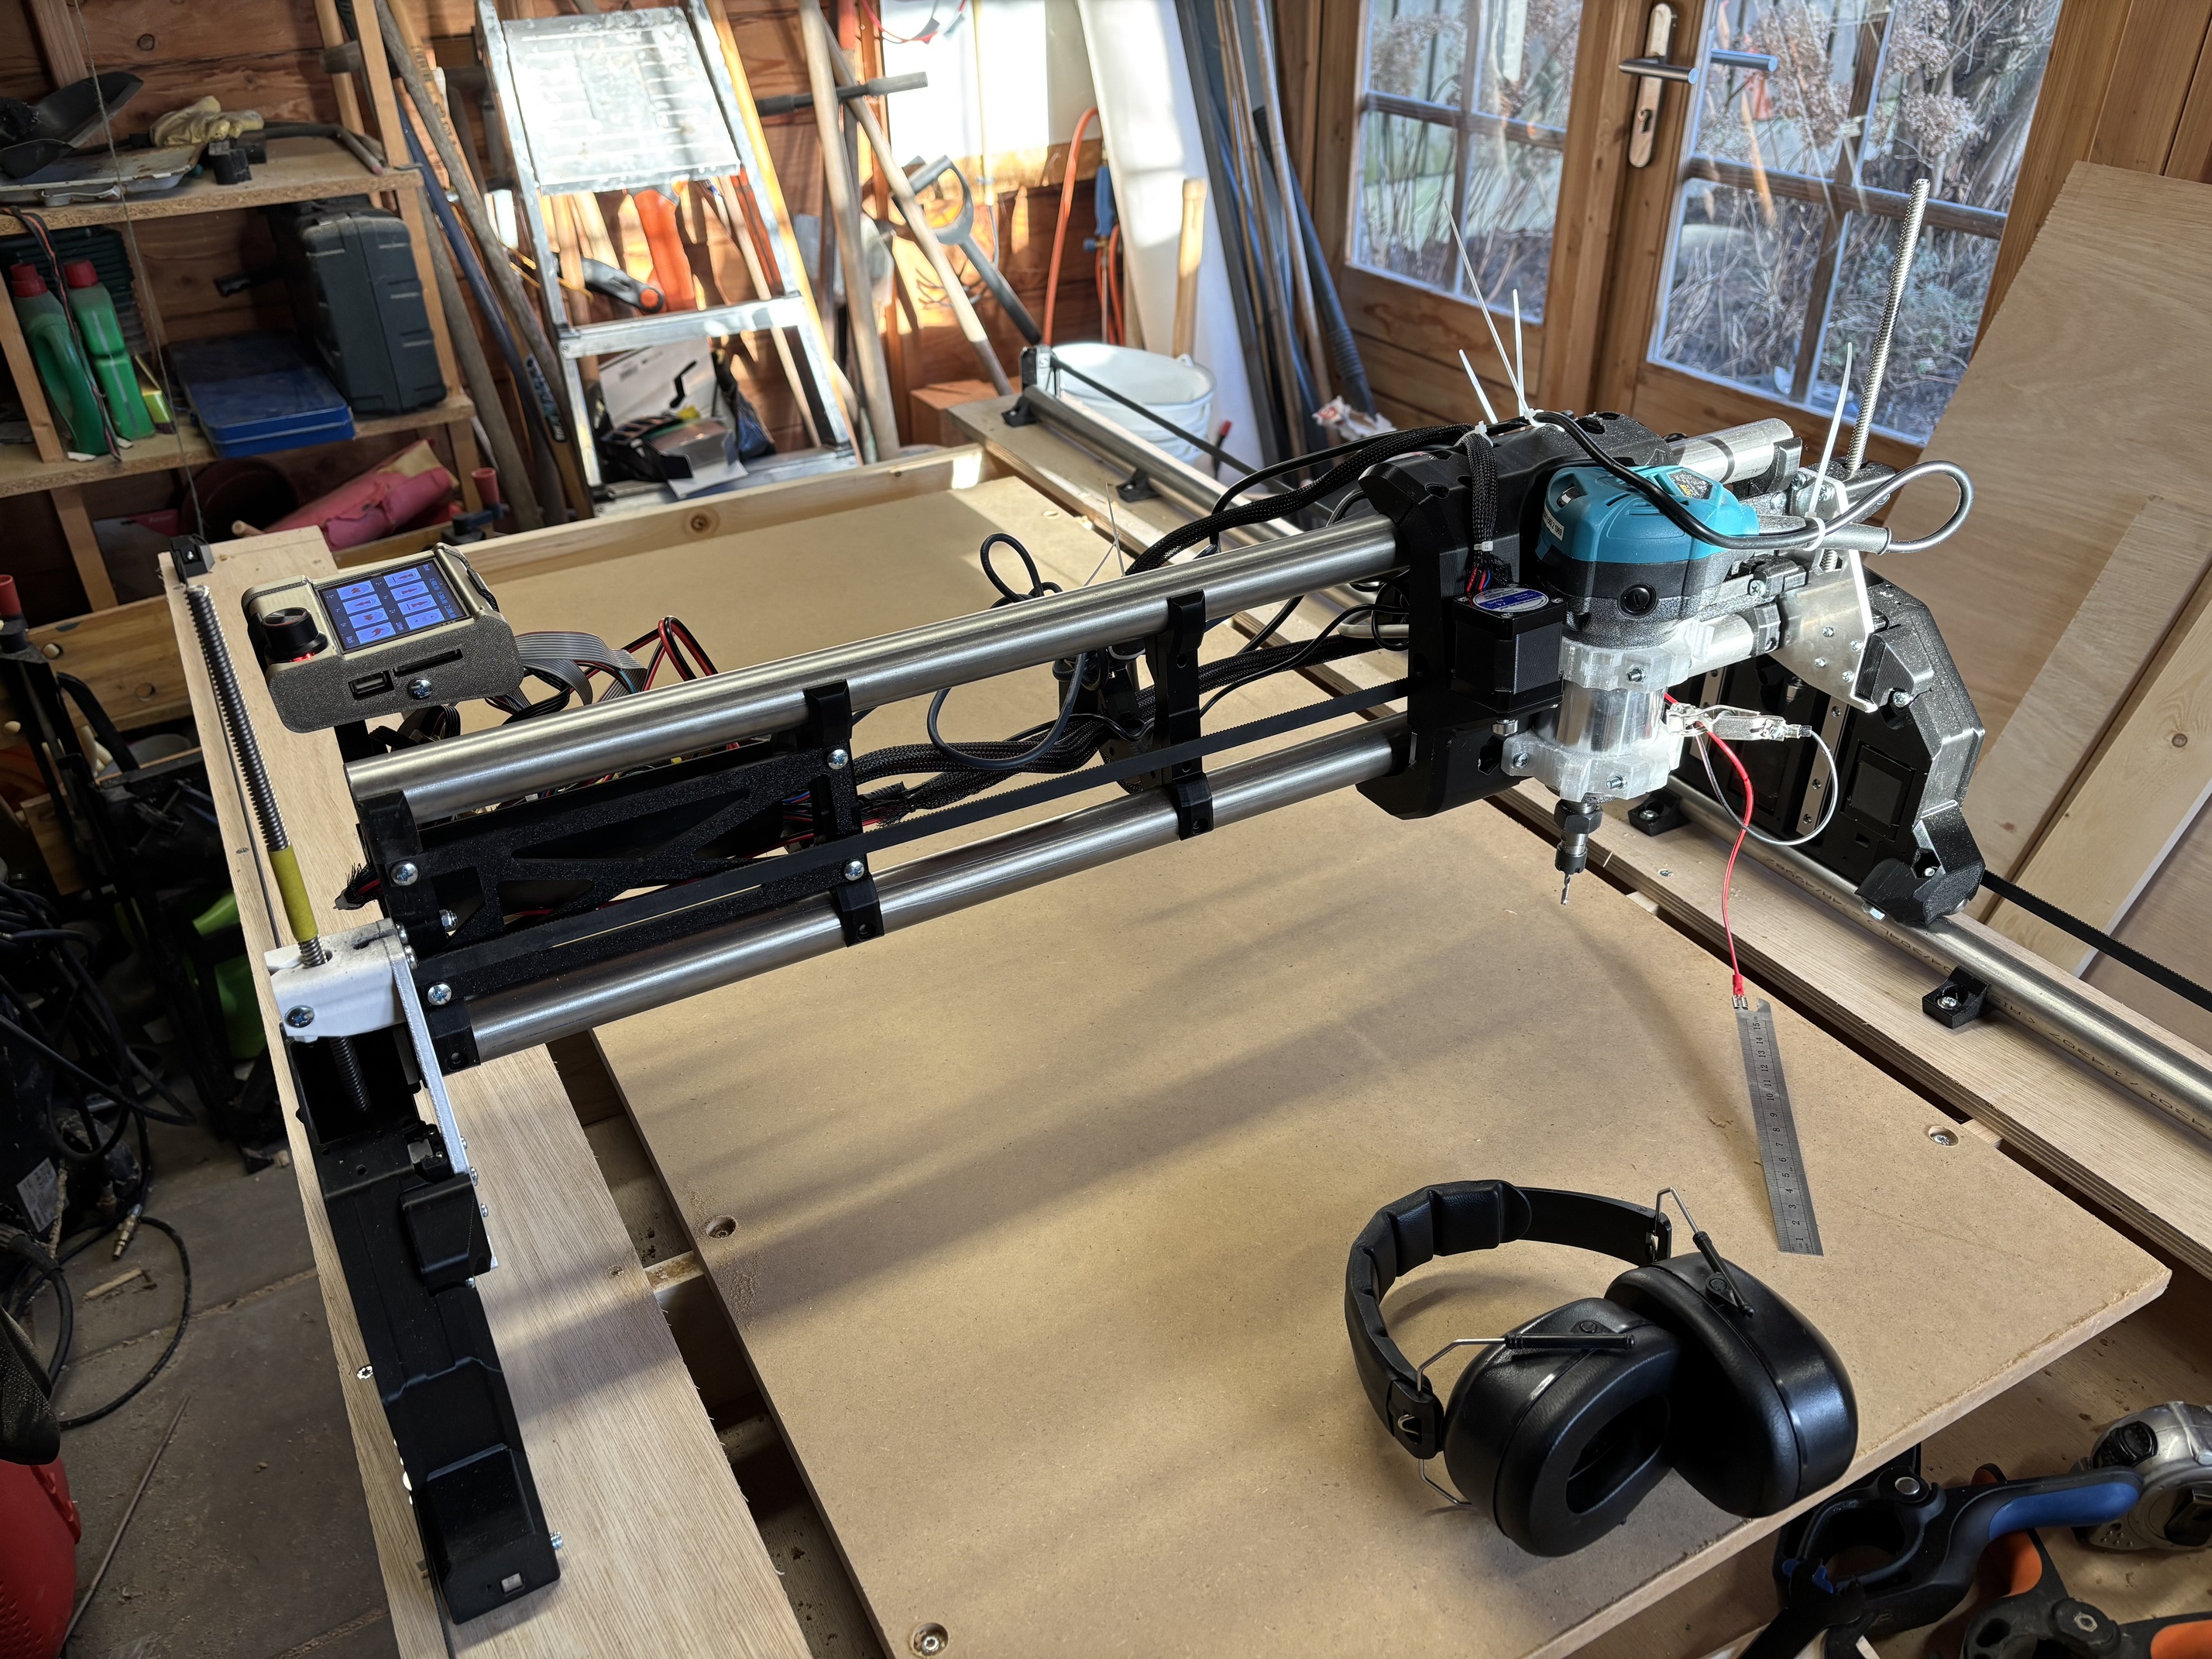
After a month of collecting and printing all materials, this week I started building a LR4. I’m making a version suited for quarter plates (1220 X 610) since I don’t have space for a full sheet version.

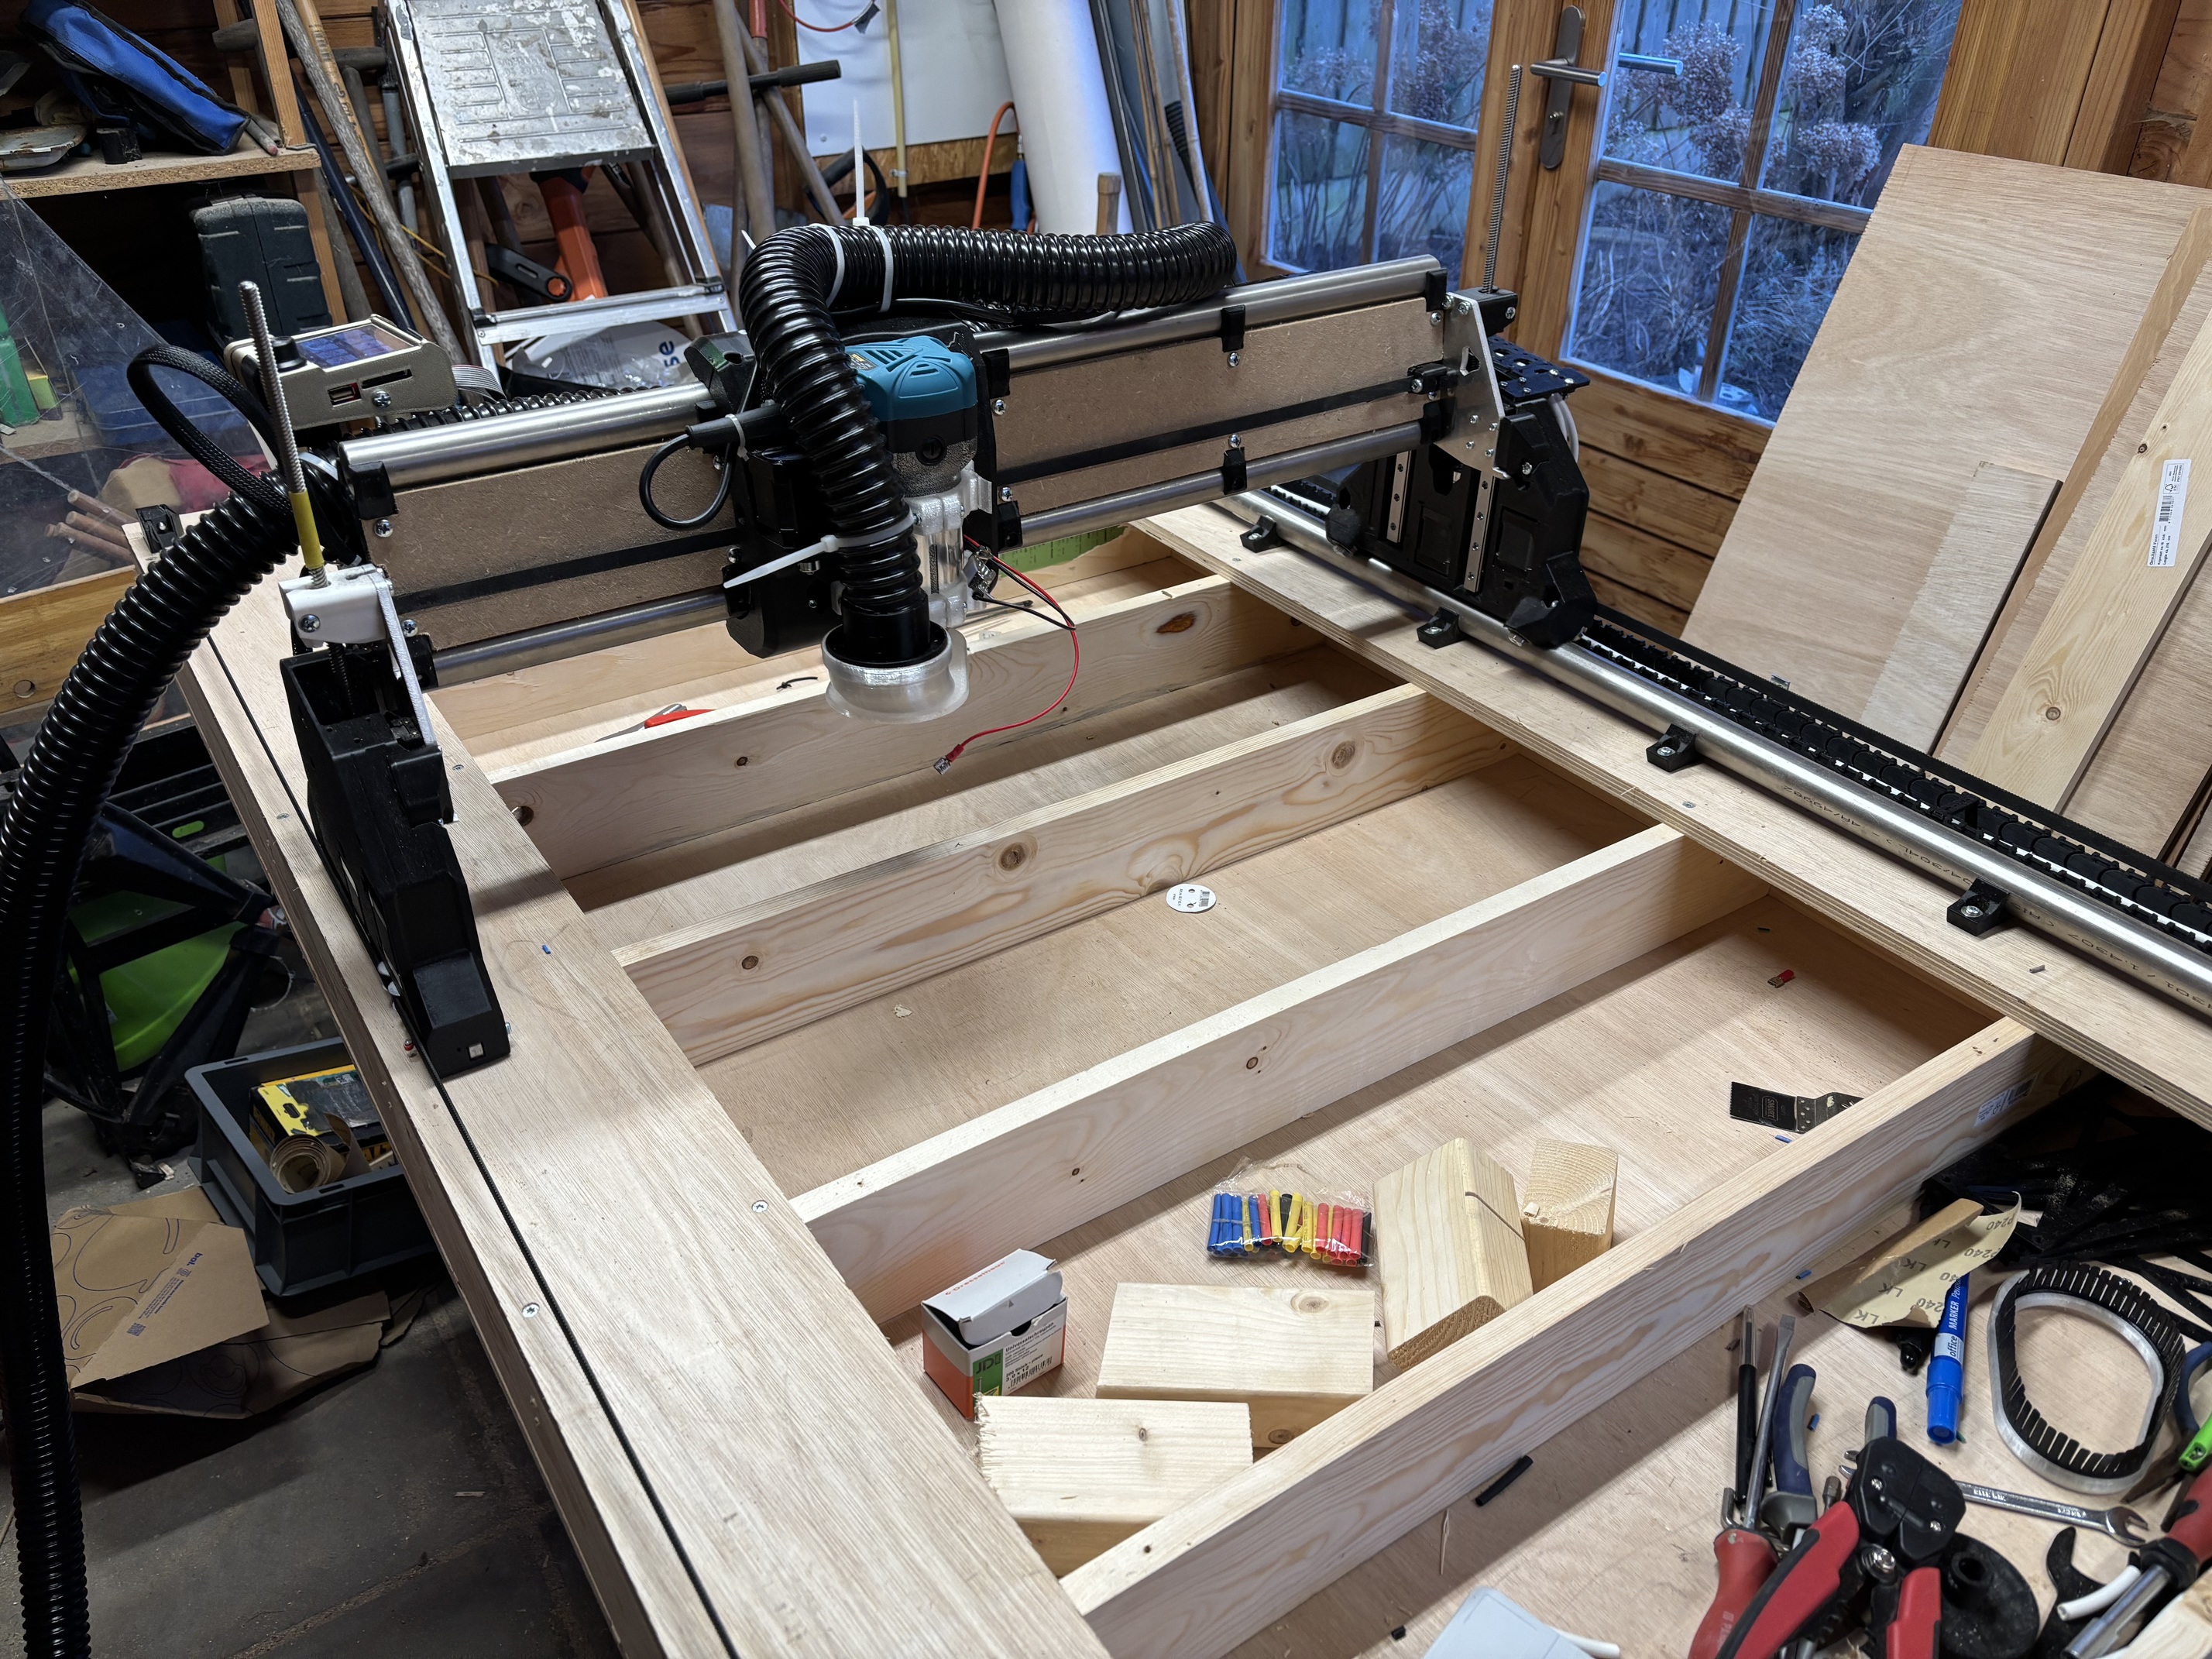
Beginning of the week I completed the main body, and today I made a table. The idea is to make a foldable table like this https://www.youtube.com/watch?v=FwEuSi5xRCo

Some feadback I got from building it:

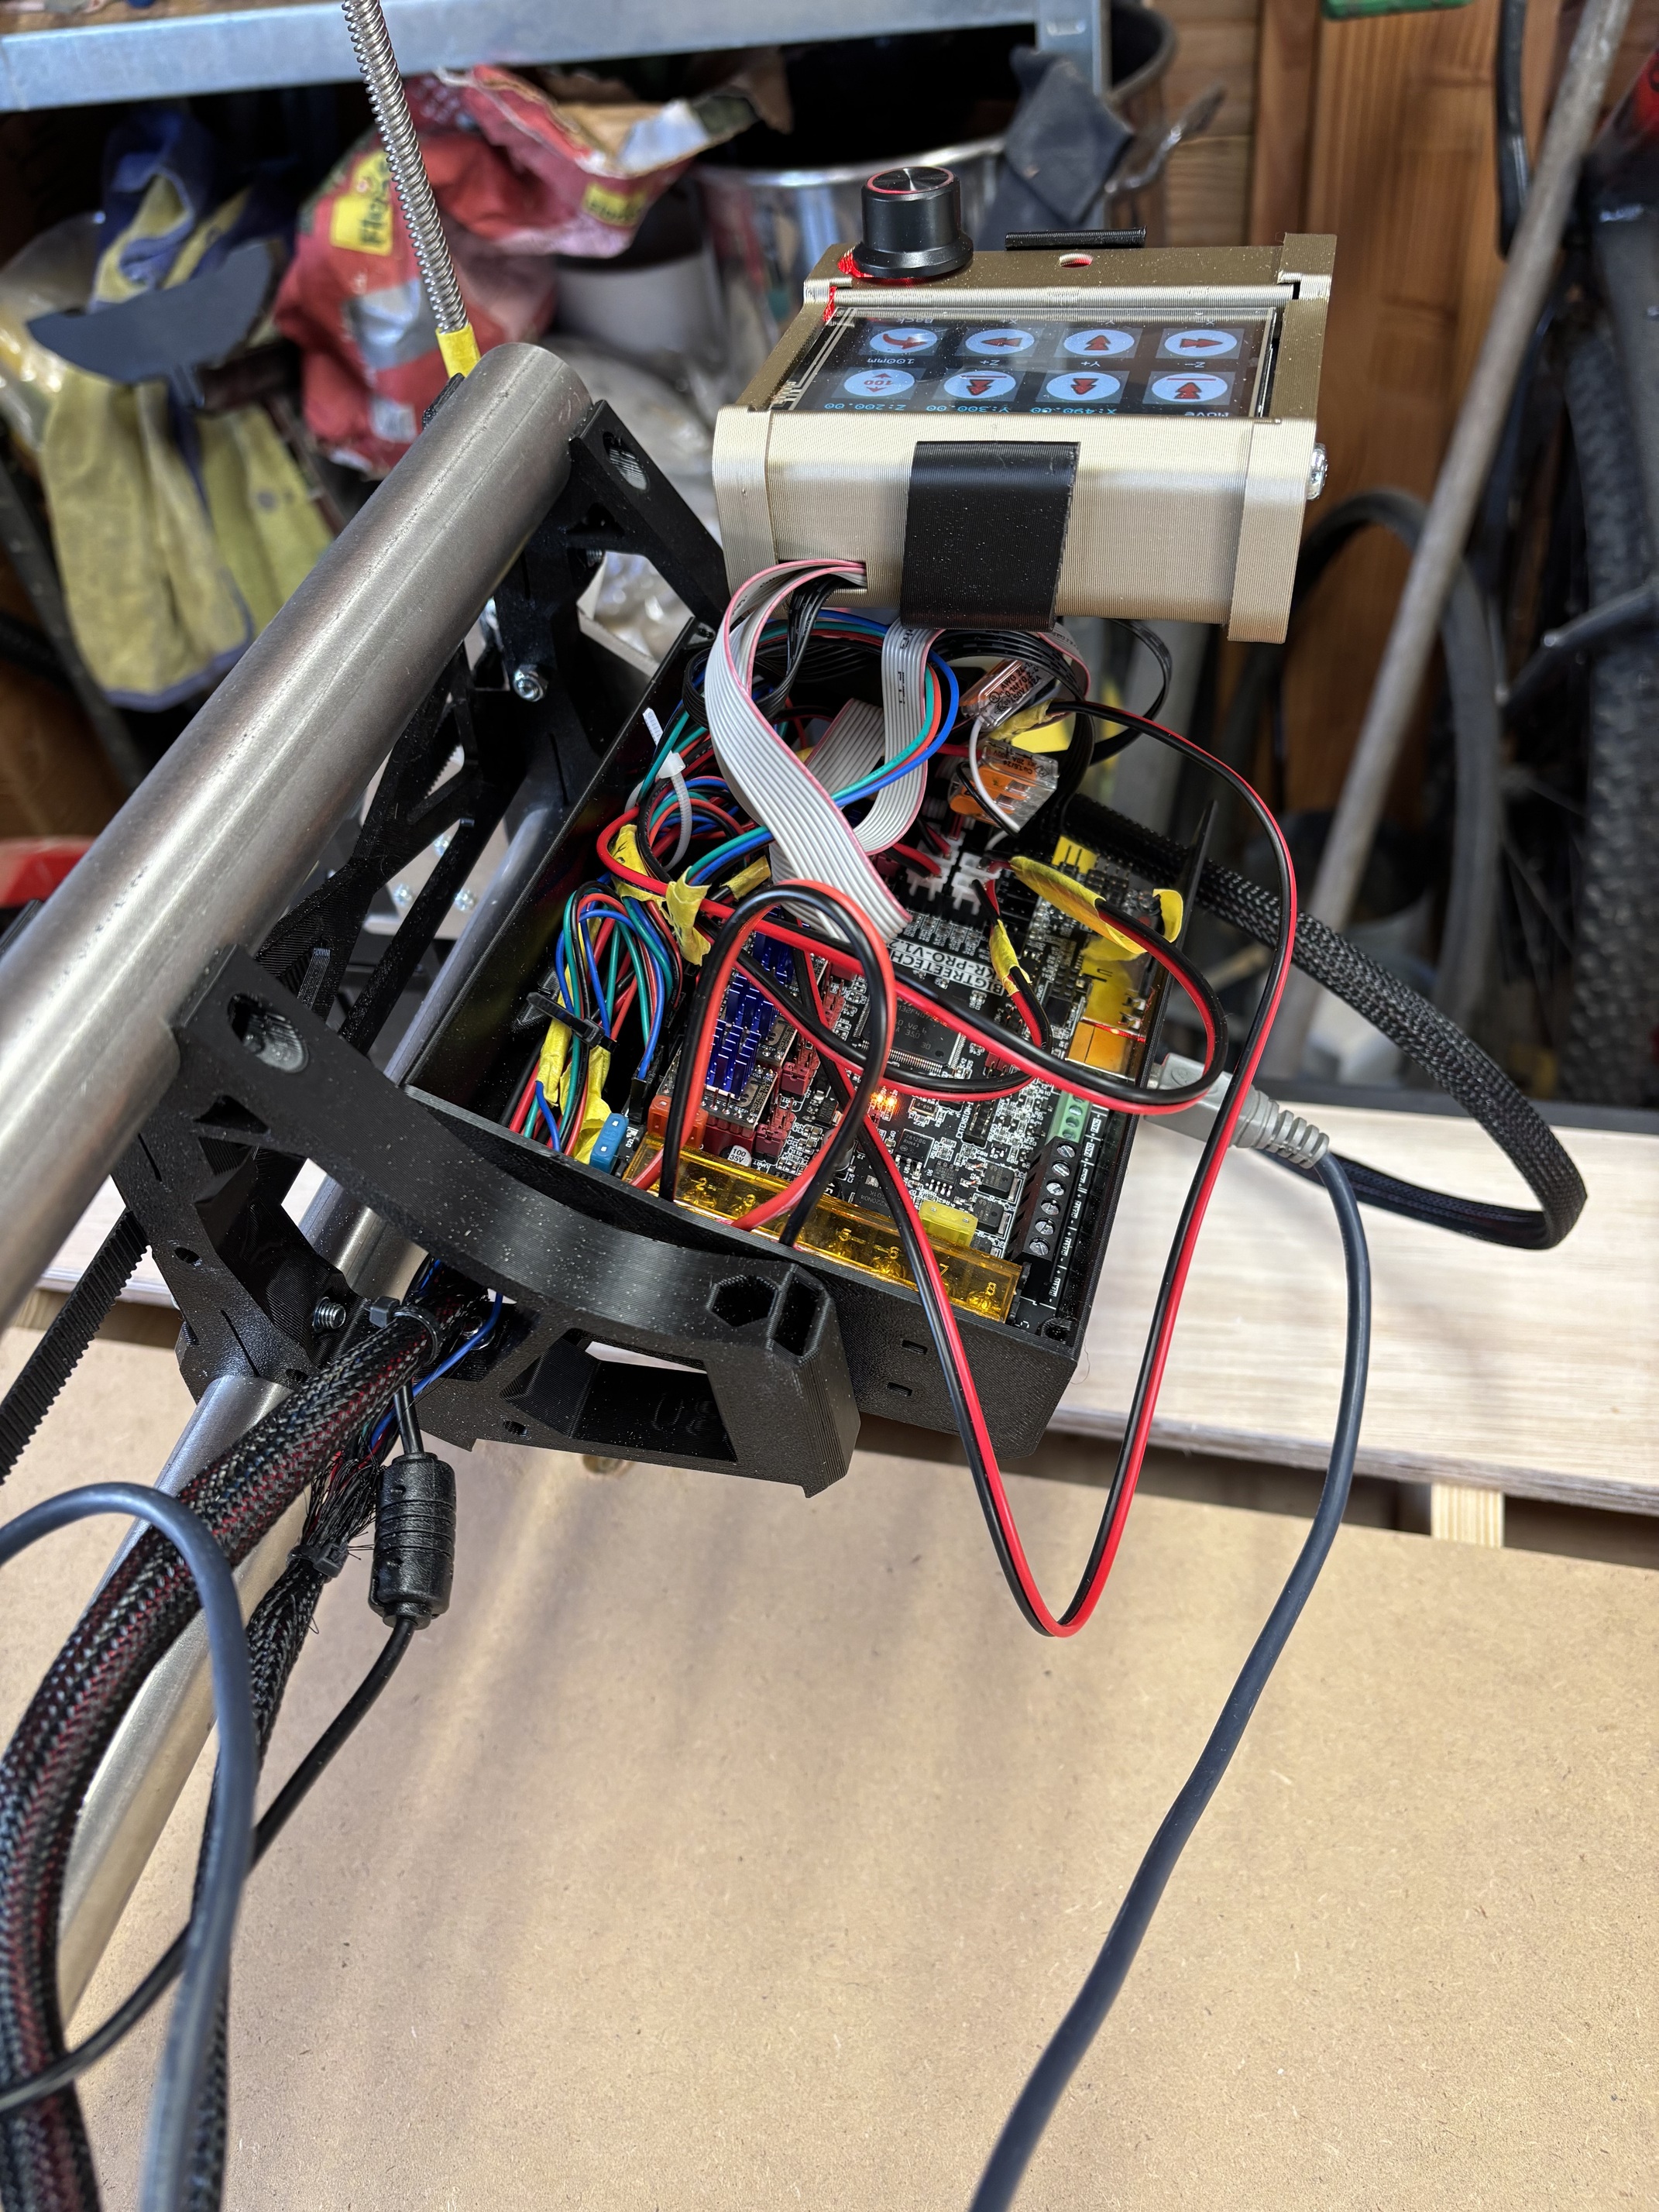
I used 0,5 mm2 speakerwire for the endstops, which turned out to be a bit thick. Wiring all the wires through the thight channels was hard, but I managed.

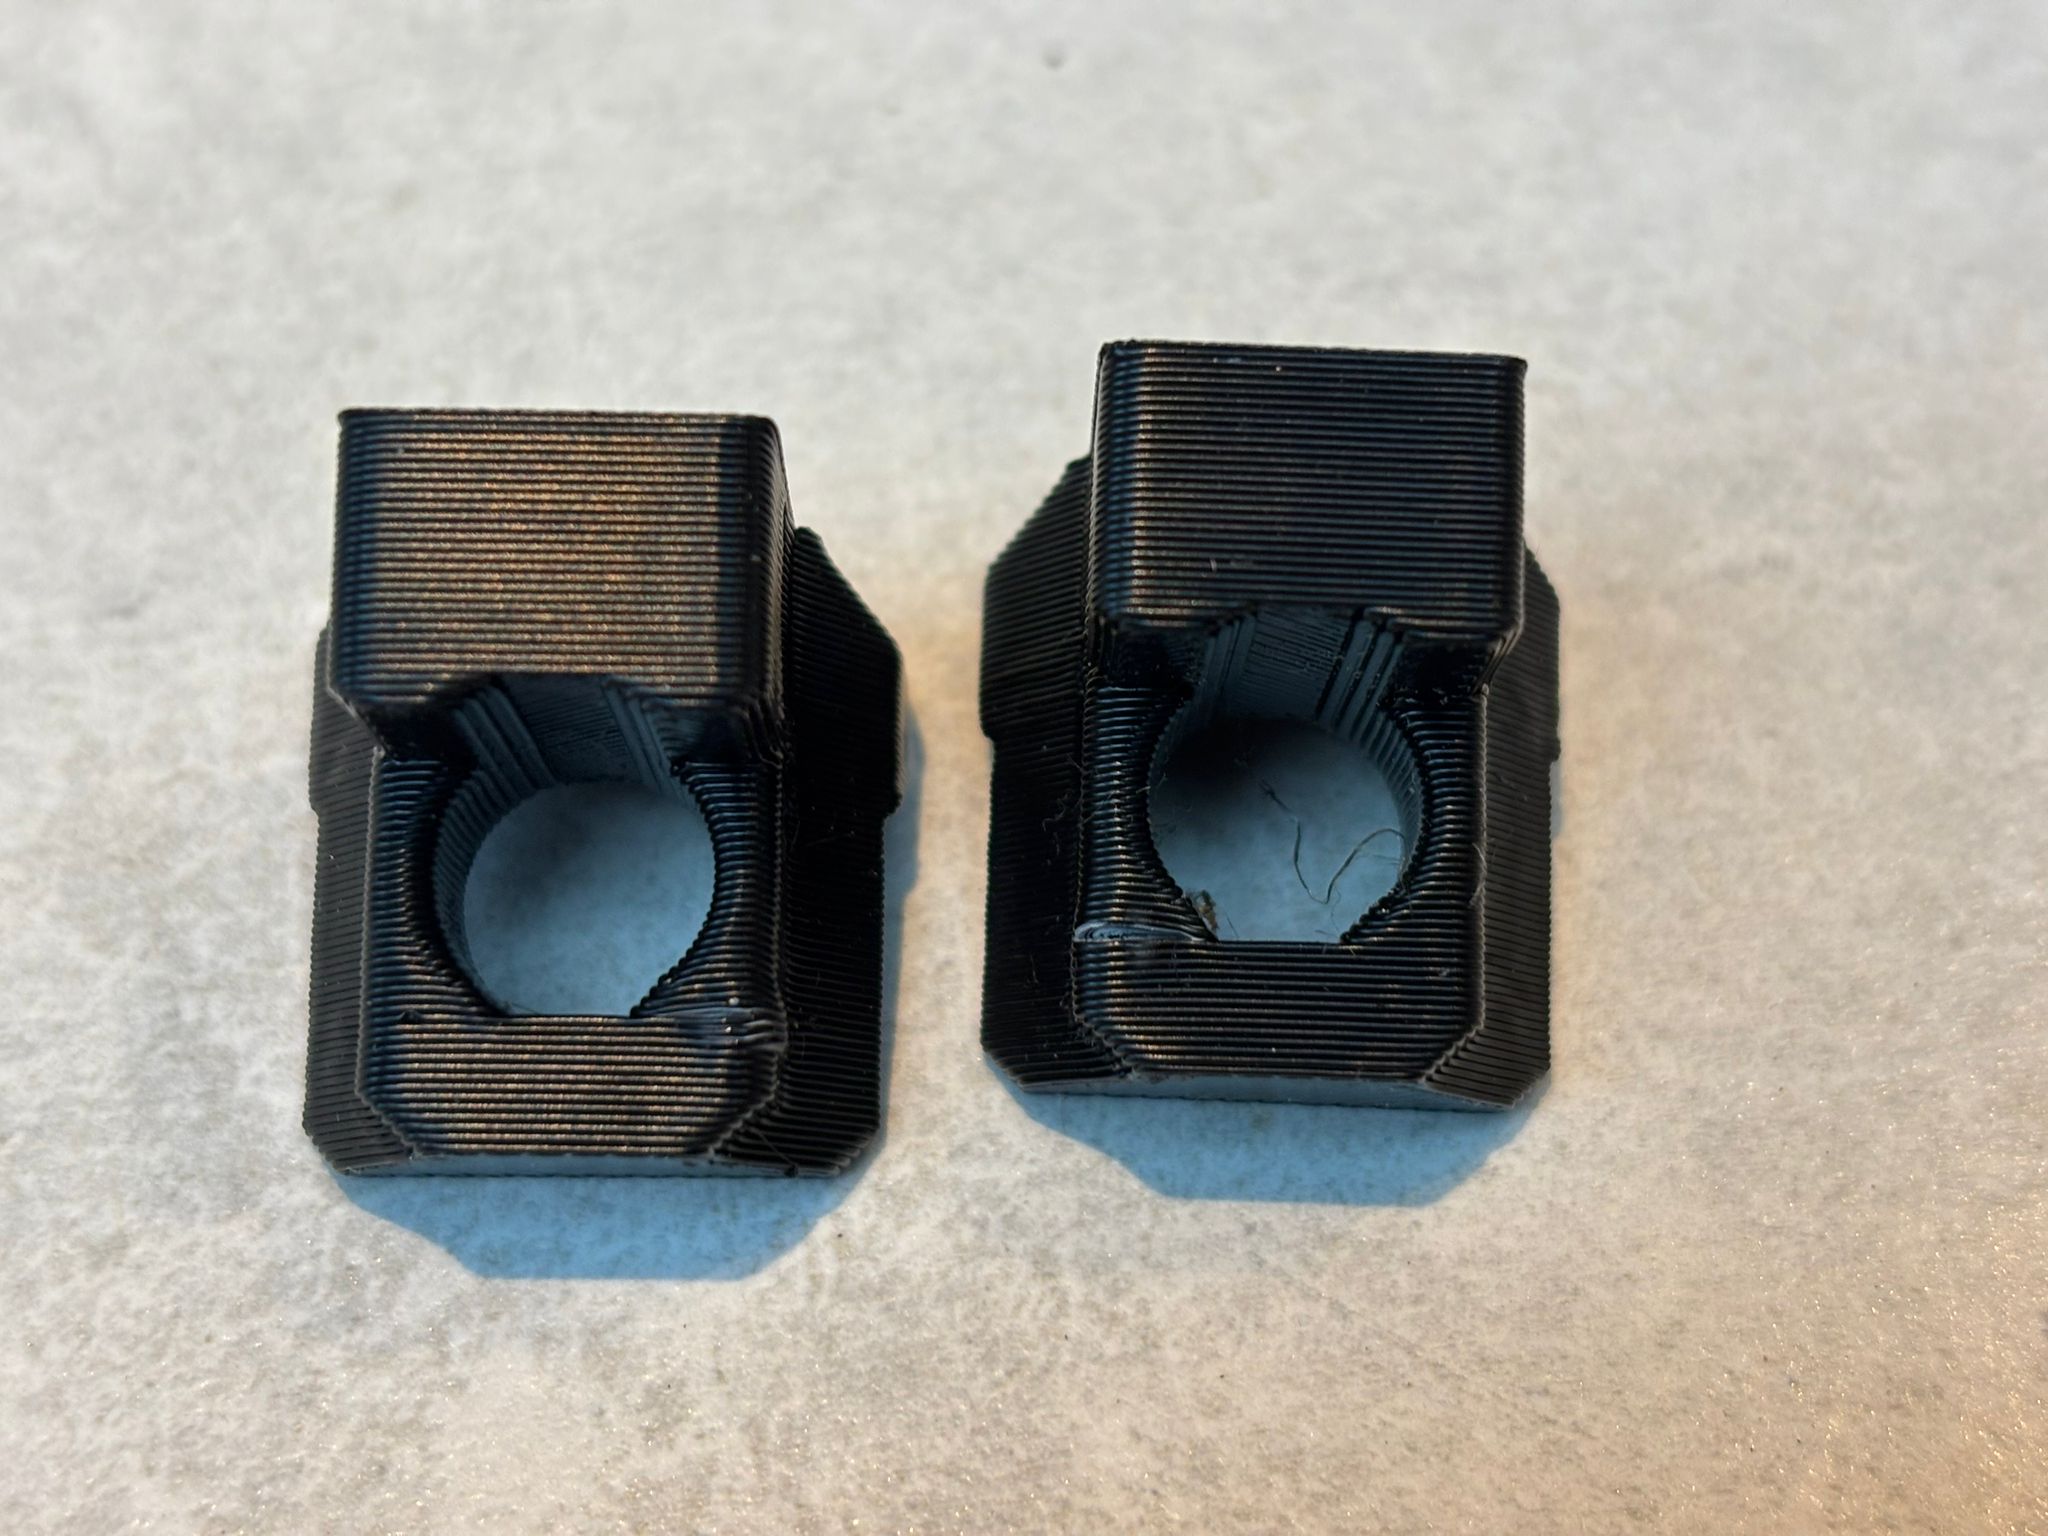
The Znuts tend to break when screwing in the brass nut, I had to reprint several times. I think a bit shorter screw would avoid this. (I used m3 10mm)

I might have missed it, but the manual does not mention when to attach the Znut to the Zstub. Only to “leave out the cross tentioner for now”

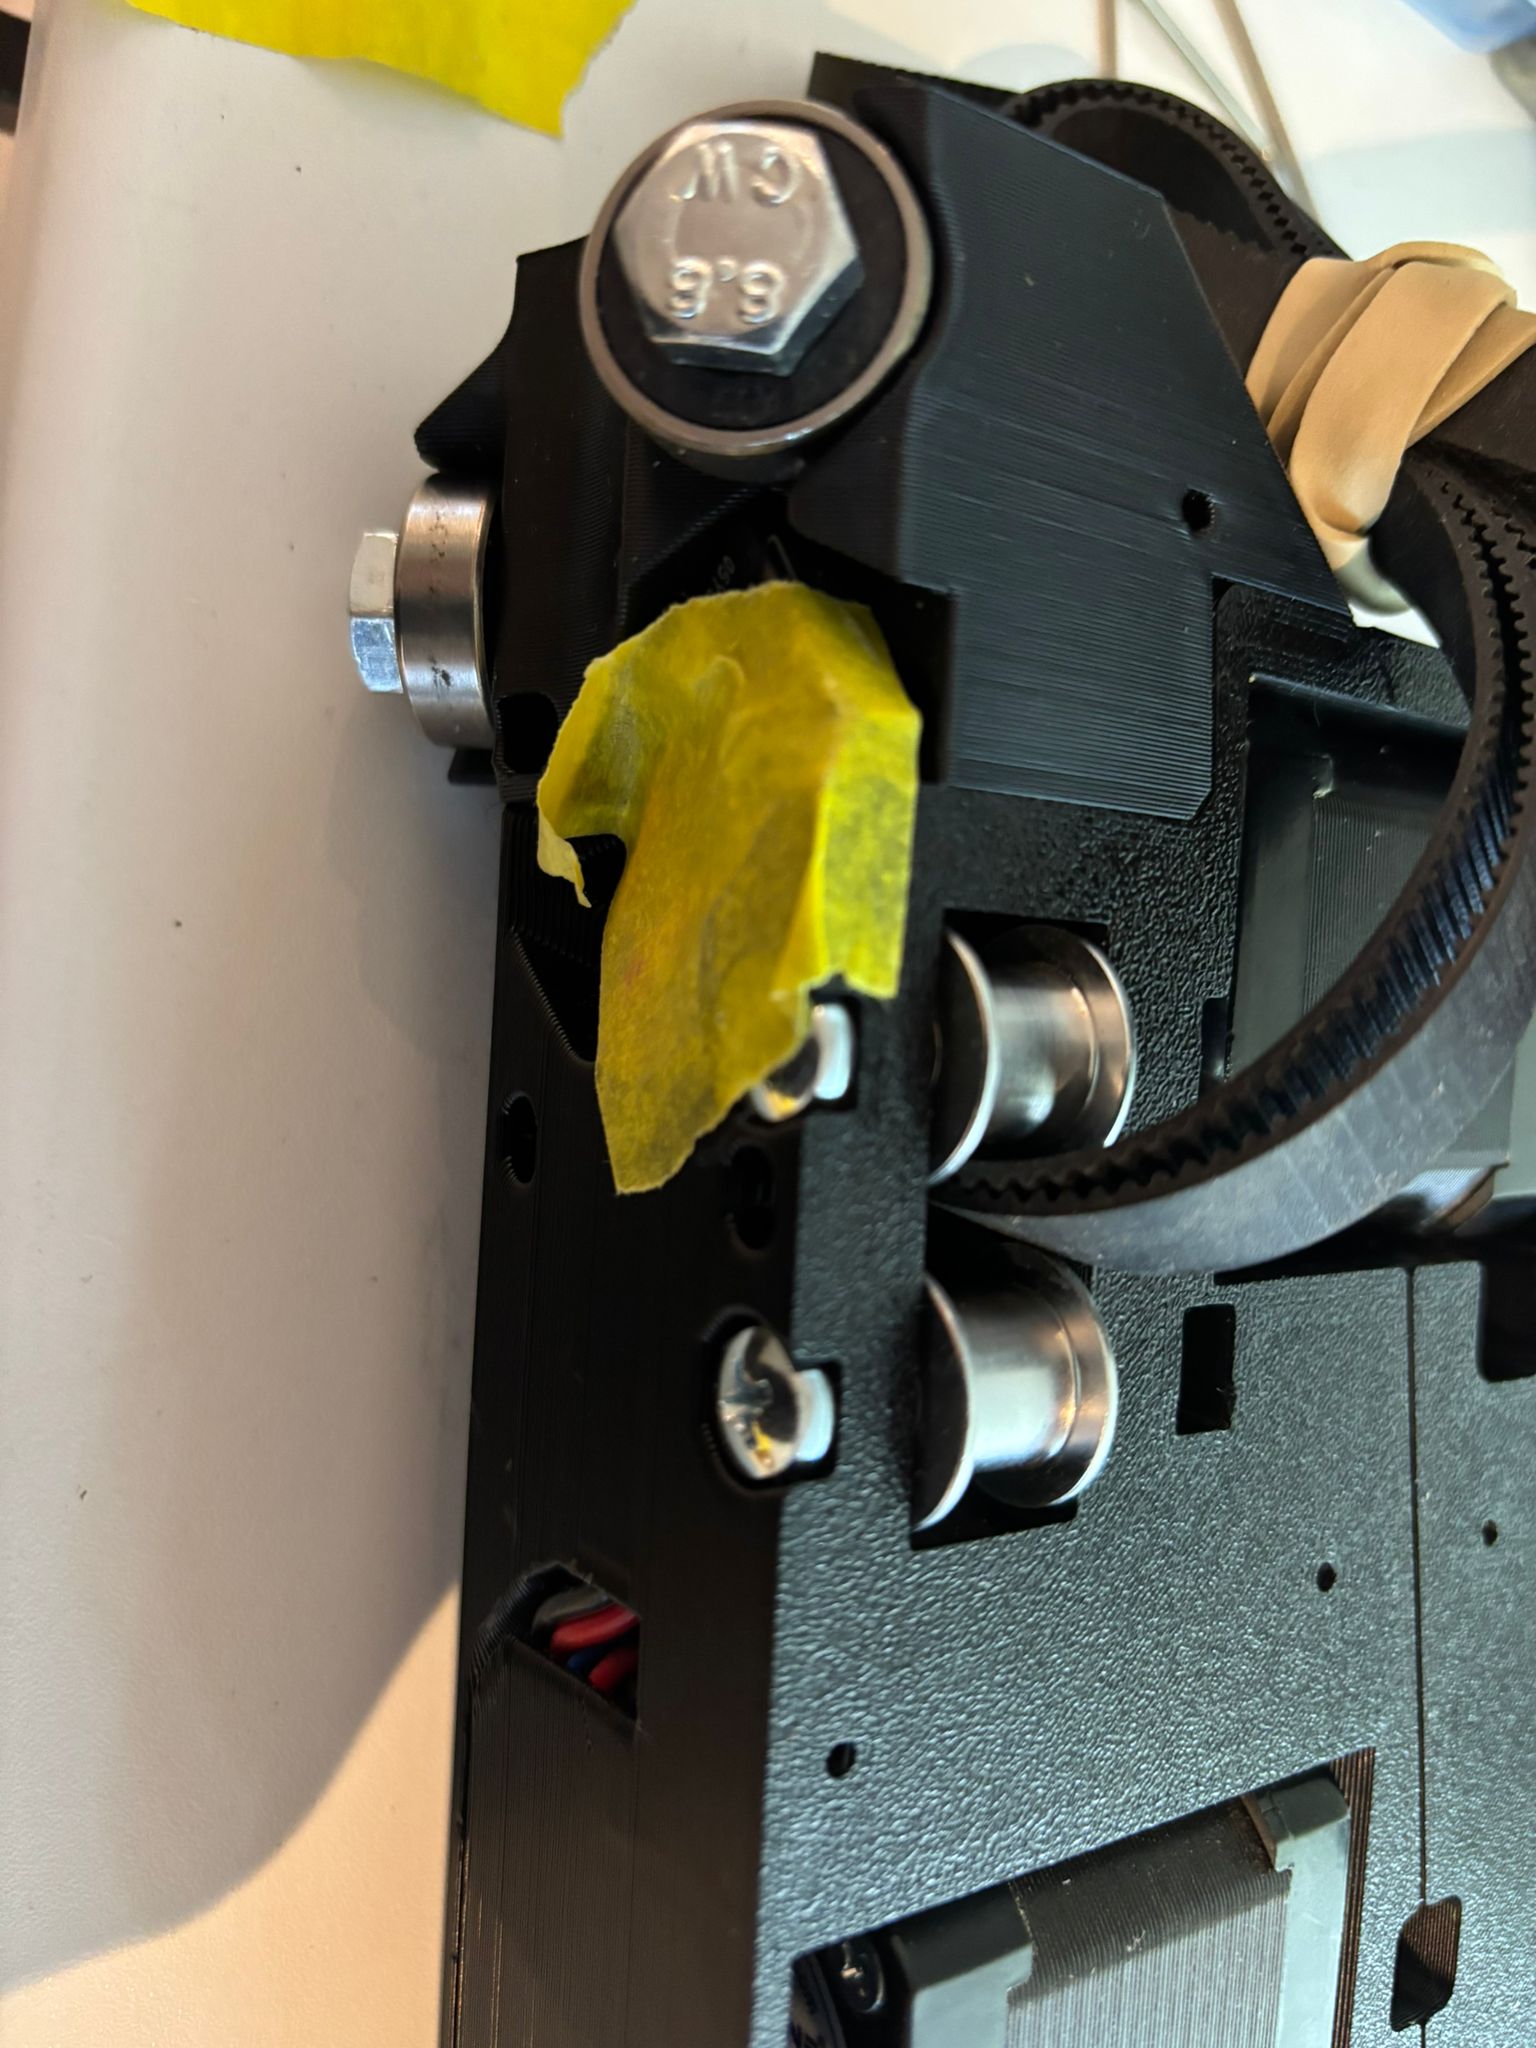
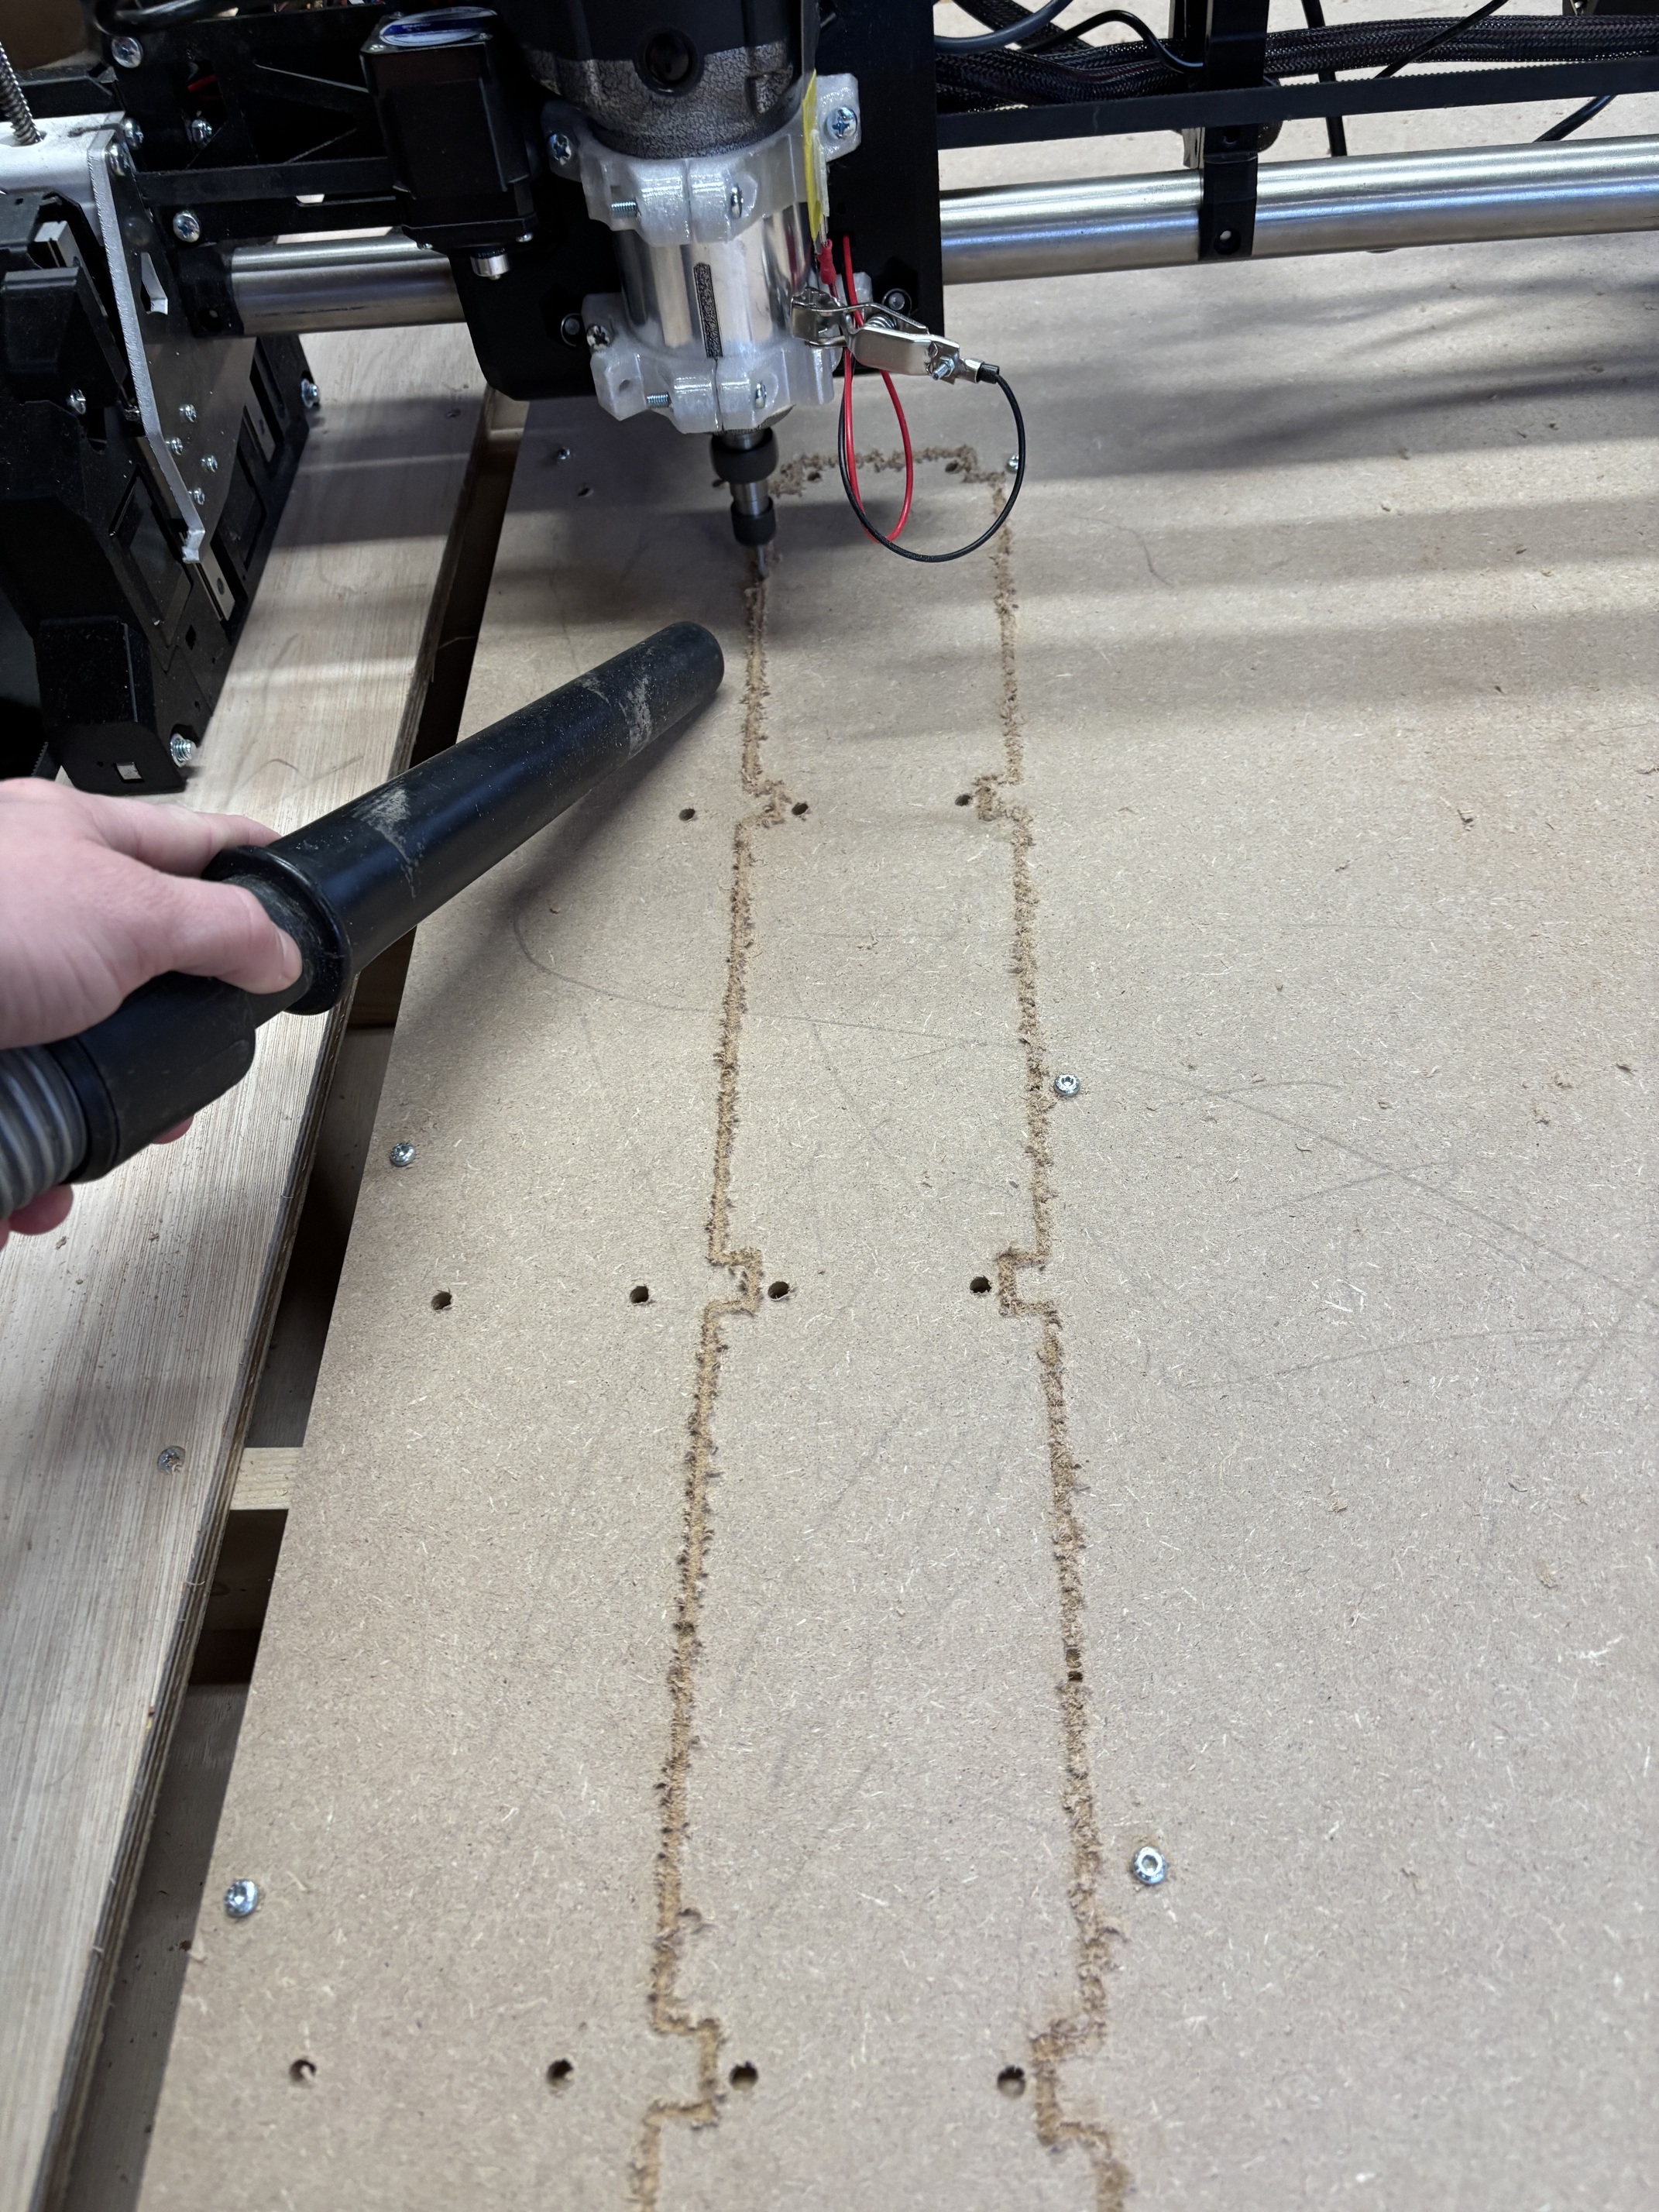
I used a little bit of painter tape to tape the y-endstops to the body. As the manual mentions, they can easly break of, and knowing myself, I wanted to avoid this. This worked great! Took the tape of after setting the main part on the table.

It took me several minutes to discover how to attache YZ plates to the core. The screws can be insterted from the side if you set the plates on the corresponding heigth.

I printed al parts in black. After looking at some other builts, I regret not using a bit more color. I guess I can still add it by putting on the “peter plates”.

I have some polycarbonate sheet laying around which I planned to use for the strut plates. The thing is, they are 2 mm thick. Do you think I can still use these, or maybe make 2 or 3 and add them together? Like to here your opinion.

5 Likes

Looks good! More pics?

This is the state it is in now! Still have to attach the SKR board and attach the wiring.

Heres some pictures of the feedback
znuts breaking:

Tape over endstop

I also had a very hard time getting the x-belt seated in the slots in the plates/printed parts. I don’t know if I have some sort of thicker belt, the y-belts I managed to get, although also with a lot of force. For the X-belt I had to grind the aluminum plate a bit, drill the hole bigger in the stub and on the max side I did not insert a screw, only just the belt as this seems to be very tight/strong already.

1 Like

Last couple of days I continued the build. I cleaned up all the wires and completed the squaring and probing. This took longer than expected, but I think I managed. For the Z probing I had a difference of 0.2 mm between X min and max. I don’t know if this is acceptable, to me it seems good.

Today I stated with the strut plates. I wanted to make them of 2 mm polycarbonate I have laying around. Used a 1/8 single flute, and settings I found on some forums. Cutting the holes went fine, but when it started cutting the parts, the lowrider quickly derailed. Not sure what I did wrong. Could be debt of cut, feed rate or spindle speed. I did some test cuts afterwards with different settings, and discovered that the polycarbonate was also not clamped to the washboard enough. I screwed it to the waste board, but in the middle it was still coming loose from the board, which resulted in missing steps.

So now I’m planning to use 6 mm MDF. Any recommendations for cutting this with the plastic temporary strut plates?

3 Likes

I would say that’s good enough. You could do a little bit better if you want to chase zeroes. If you do go that route, make sure you test it a couple times to see how repeatable that difference is before changing anything.

2 Likes

Tried cutting the strut plates again today. Seems like it went ok. However the cut is not as clean as I see others cutting mdf.

Used 3.175 mm bit single flute
Feed rate of 20 mm/s
Spindle on about position 3 (18000 rpm??)
DOF of 2 mm

1 Like

You’d be surprised how much that will clean up just taking some sandpaper to the top of it.

1 Like

Yes thanks, I m not too worried about it. Only had time to do the cuts, not the finishing. But since I’m new to cnc I was wondering if this is expected, or could be due to my settings. Watched some videos on YouTube and their cuts are directly very clean. Don’t know what bit/settings they use, could be that it is simply a down cut bit that they use.

Your cut is pretty ragged but it can also depend on your material. Some is more like compressed paper and some is more like wood.

Can I see a picture of your endmill please.

1 Like

That collet looks really long.

1 Like

It looks like some kind of 1/4 to 1/8 adapter???

It actually is an adapter, i used to own one before it failed catastrophicly with my first lr2

Keep a close eye on it. Typically, they are trash and a new collet is a much safer, more accurate answer. Or you can even get 1/4" shank 1/8" endmill.

If you have a good one, then you should be okay.

1 Like

thats what i said they fail no matter what, collets you can get the size you want 1/8" 1/4"(stock) 3mm,6mm , they are bit pricey but as you said, safer

I’m using an adapter for er11 collet (C8-ER11), which was suggested somewhere else in this forum. I know it is not ideal, but I’m having troubles finding a makita collet for 1/8 bits or similar smaller sizes in Europe. I also ordered a sort of sleeve adapter, but that has not arrived.

I now ordered a few bits with 6mm shank and 3 mm endmill. However choice of types of endmills is also limited.

Best would be the 1/8 makita collet, so if anyone has any links or suggestion for ordering one (with reasonable [shipping] price) I would be very grateful!

Thats the one I have.

The XYZ touchplate they sell on that site looks like it would be easy to make too…

They are available in ebay, also i bought them from a vendor in Europe, will update this comment with the link

Thank you, but the cost of this collet is a fair bit higher than the ones from Ryan or Elaire, and including shipping it is the same. I’ll prefer ordering on the V1e shop in that case. I can’t seem to find other sellers in the EU, also not on eBay.

I also learned that the carbide3d collet should also fit. But also could not find a reseller.

Any recent experiences with taxes from packages from V1e to eu?

Short update on the build! After retightening the grub screws and also checking all other screws, the cnc is now much better! I have milled the strut plates and added them.

Next I completed the dust extraction, and cleaned up the wires etc. Also added and estop and 3D printed drag chain on the y-axis.

Lastly I replaced the end stops of both the y-axis with the type from the parts list. Now this also works better.

Next I want to do some more calibration, and check how accurate the machine is. And also add some color and protection by adding the Peter-plates!!


4 Likes

Nice progress! And glad that tightening the screws solved your issue.