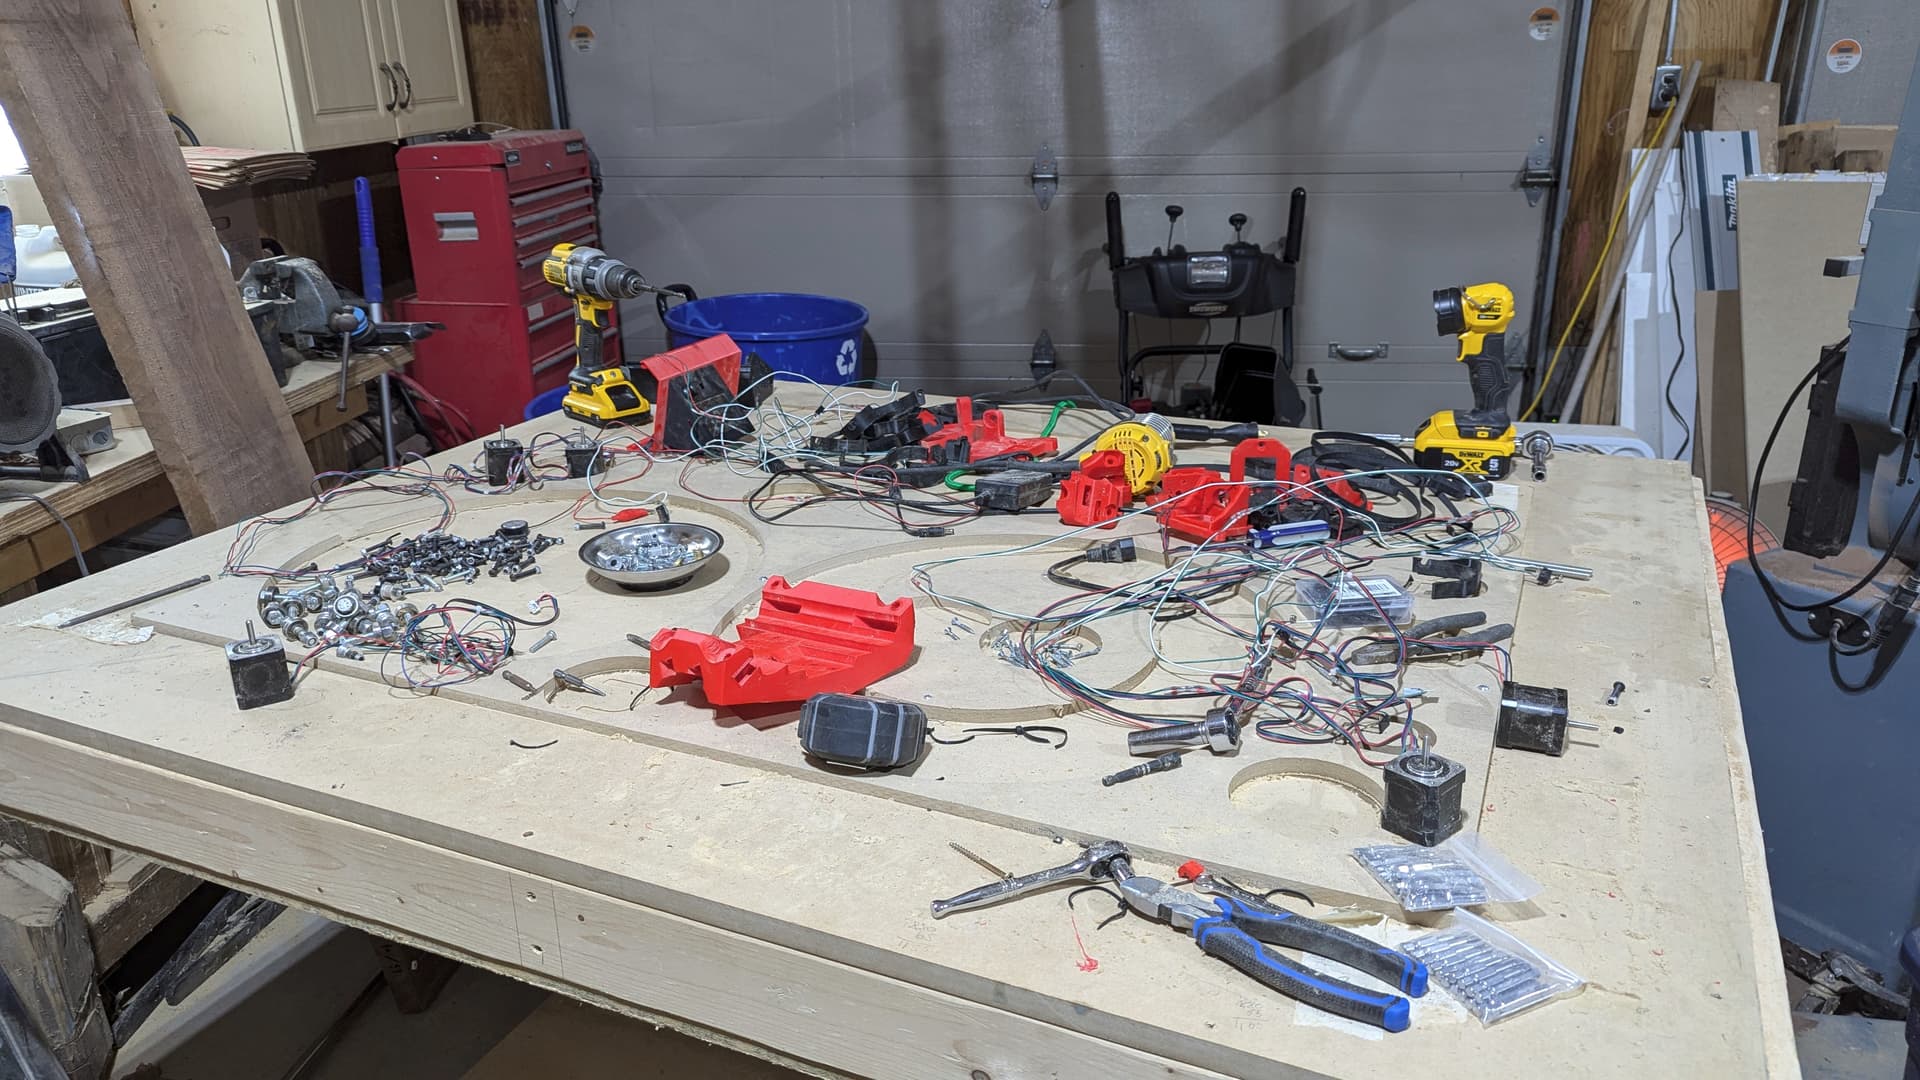
Well, here we go! Build progress to follow but for now, lets admire the de(con)struction of my LR3 build! Only 1 M5 nylock nut was lost in the disassembly process as it wont come out of the LR3 core, no matter what I do!
I am going to essentially flip my X and Y directions for the LR4 build so it will be a 36"x48" build. I was having problems with my rail Z not moving correctly and so I was not able to cut out my LR4 struts using the LR3 so temp struts will be going onto this LR4 to start.
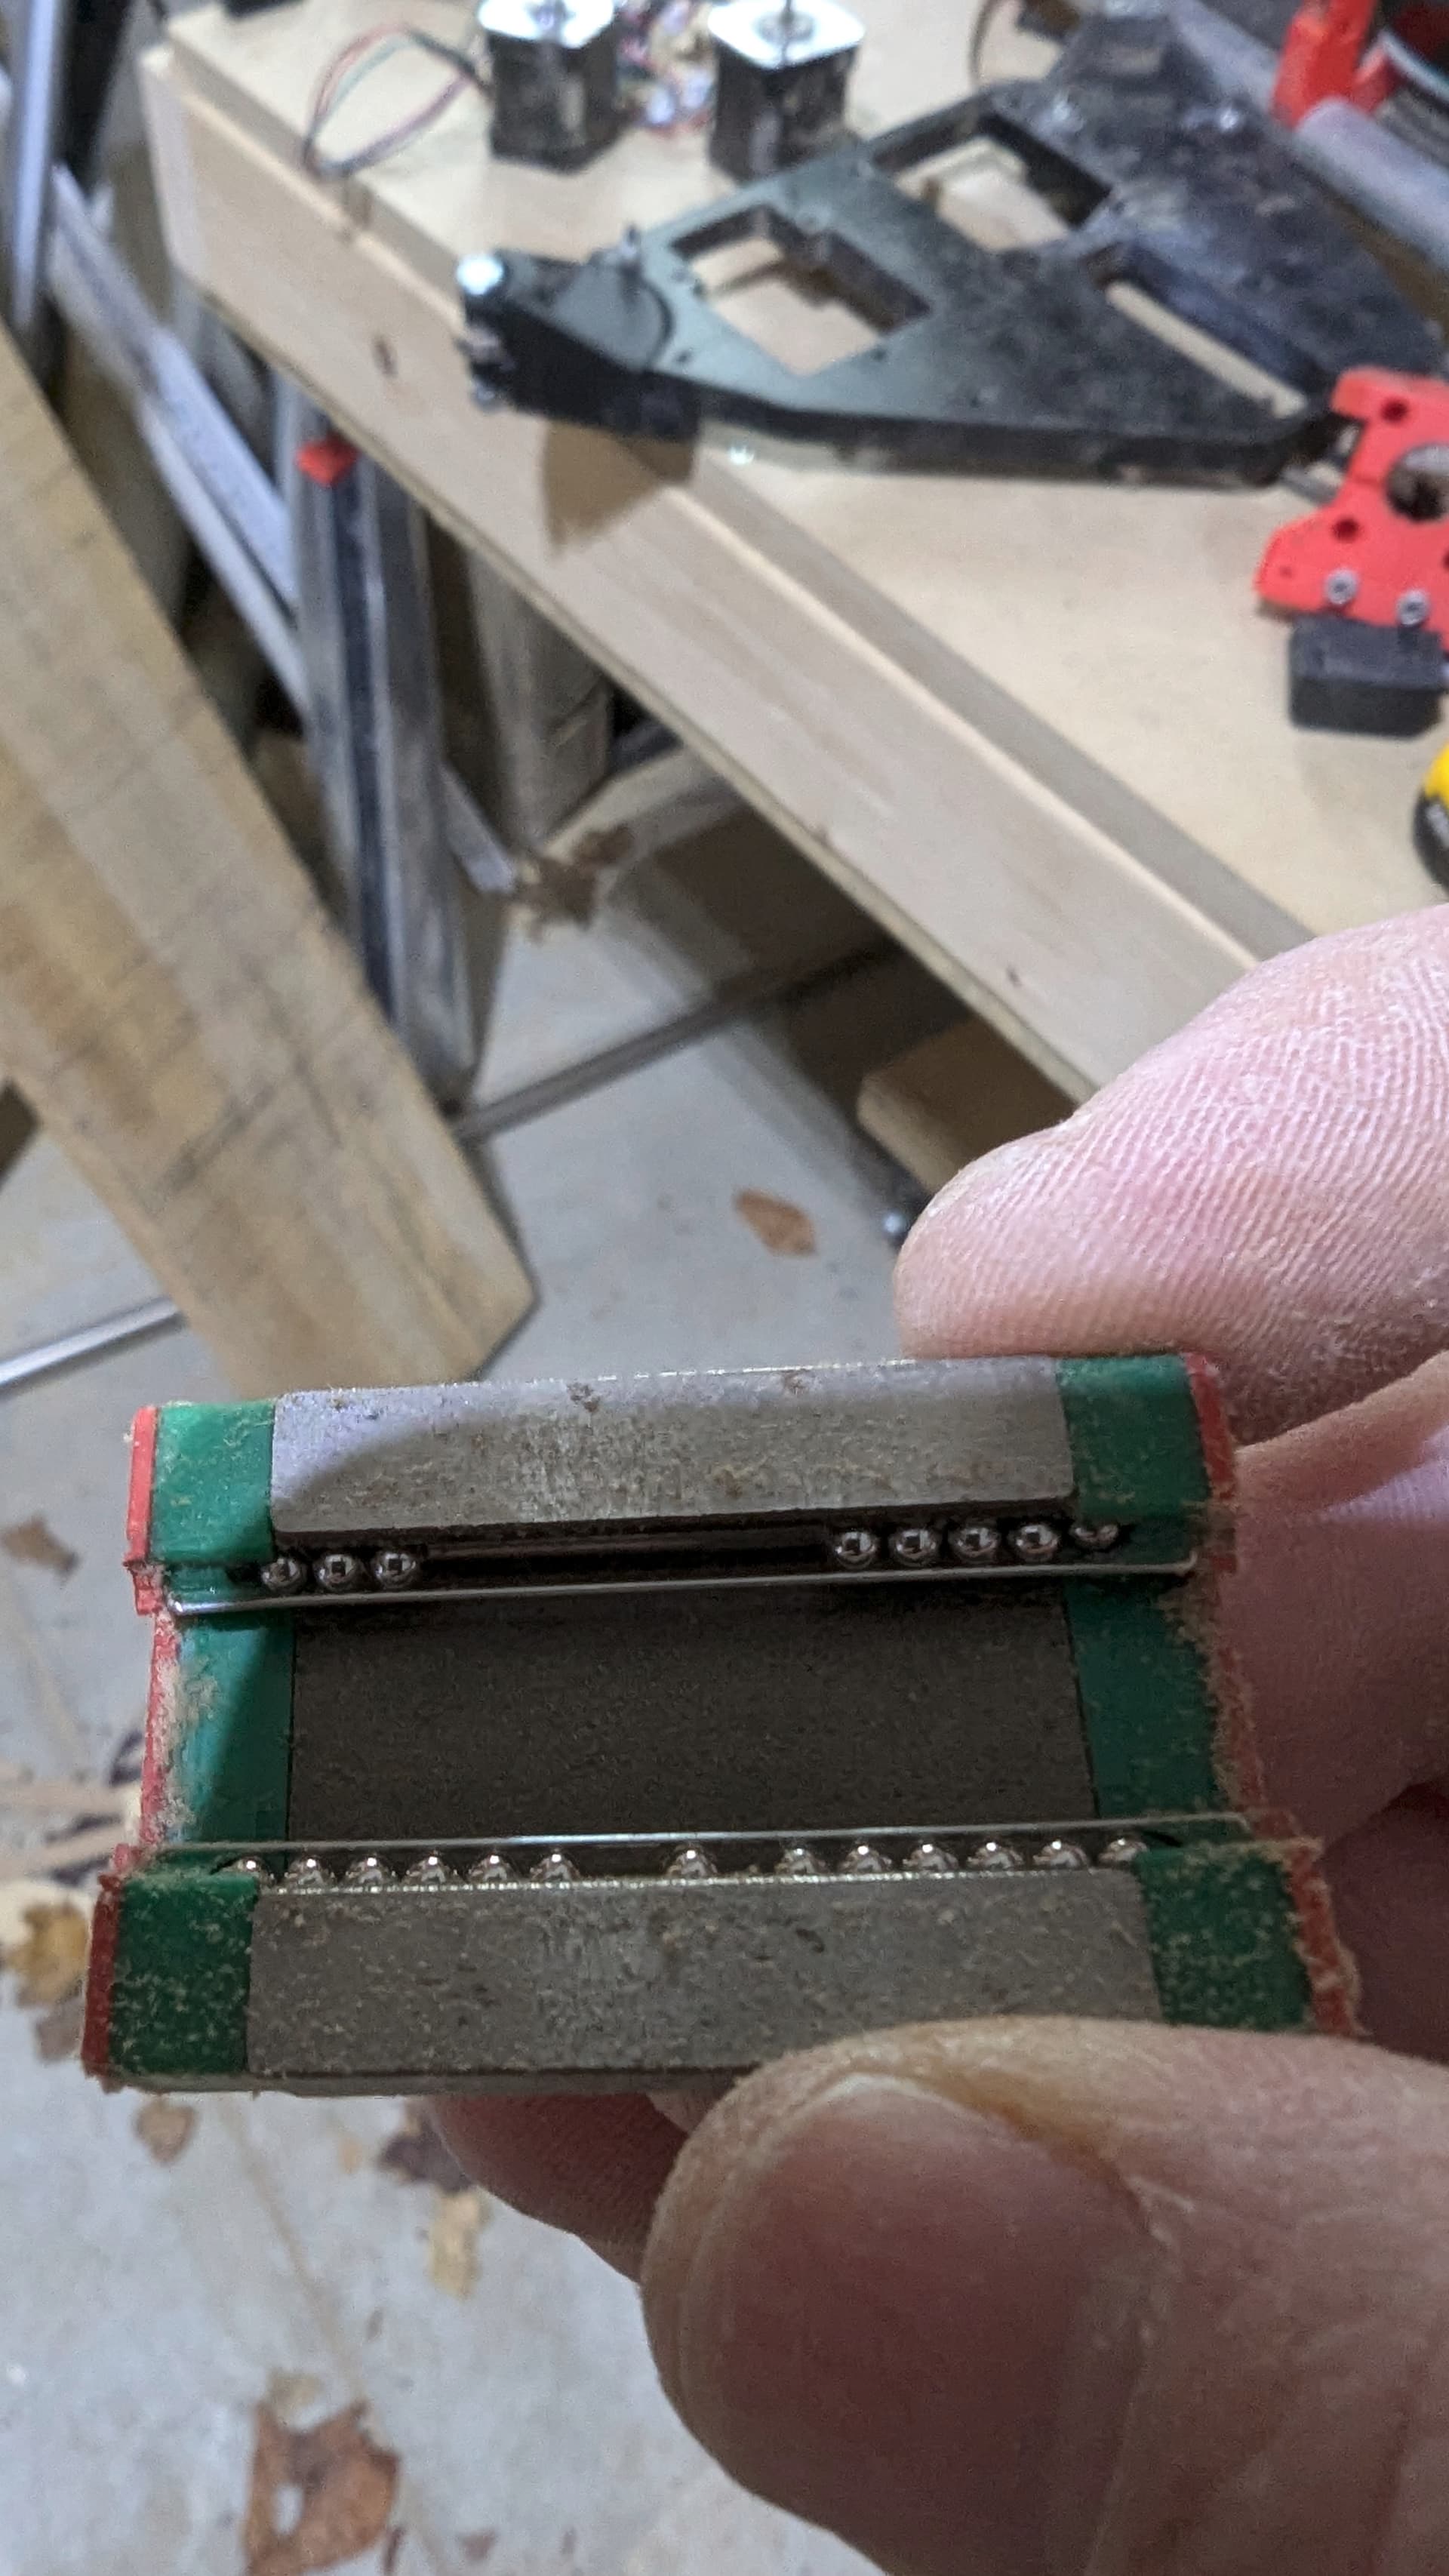
Today I took apart my linear rails in prep for cleaning in a bath of iso propyl alcohol to try and make them slide nicer. I will put the rails in too just to give them a good clean. I am going to go grab some silicone ptfe grease to lubricate the bearings and rail before I put them on.
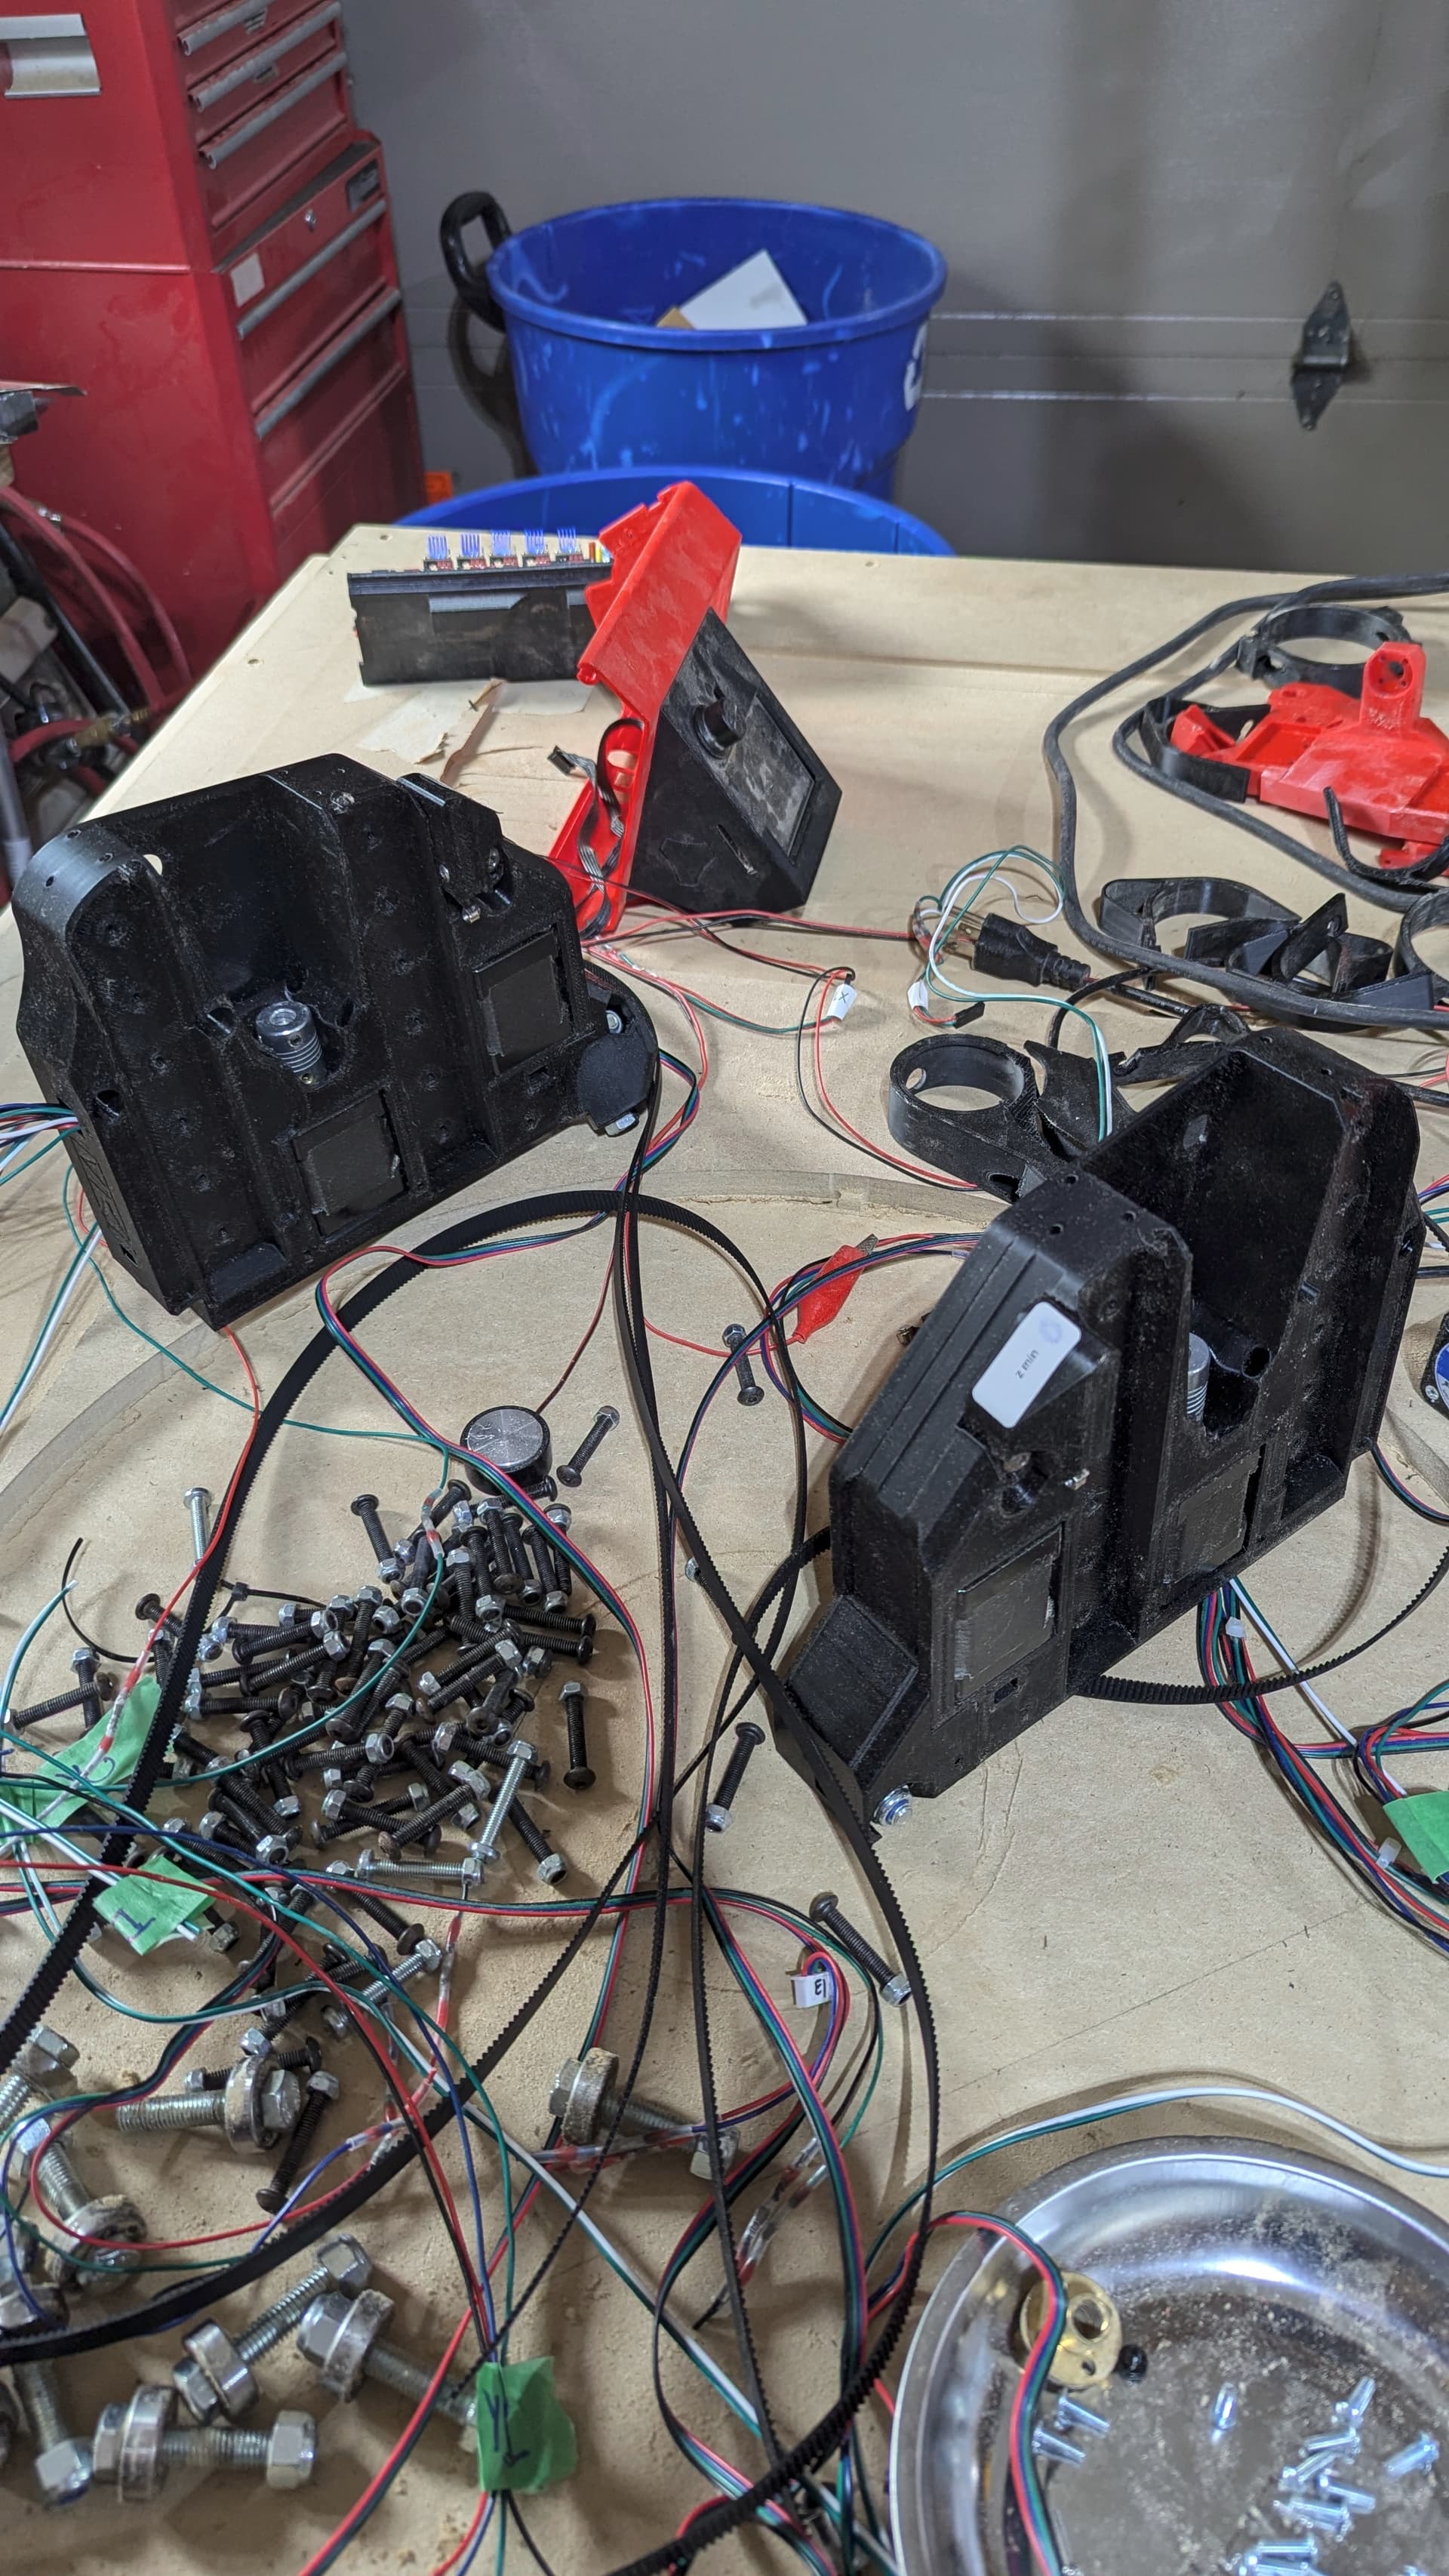
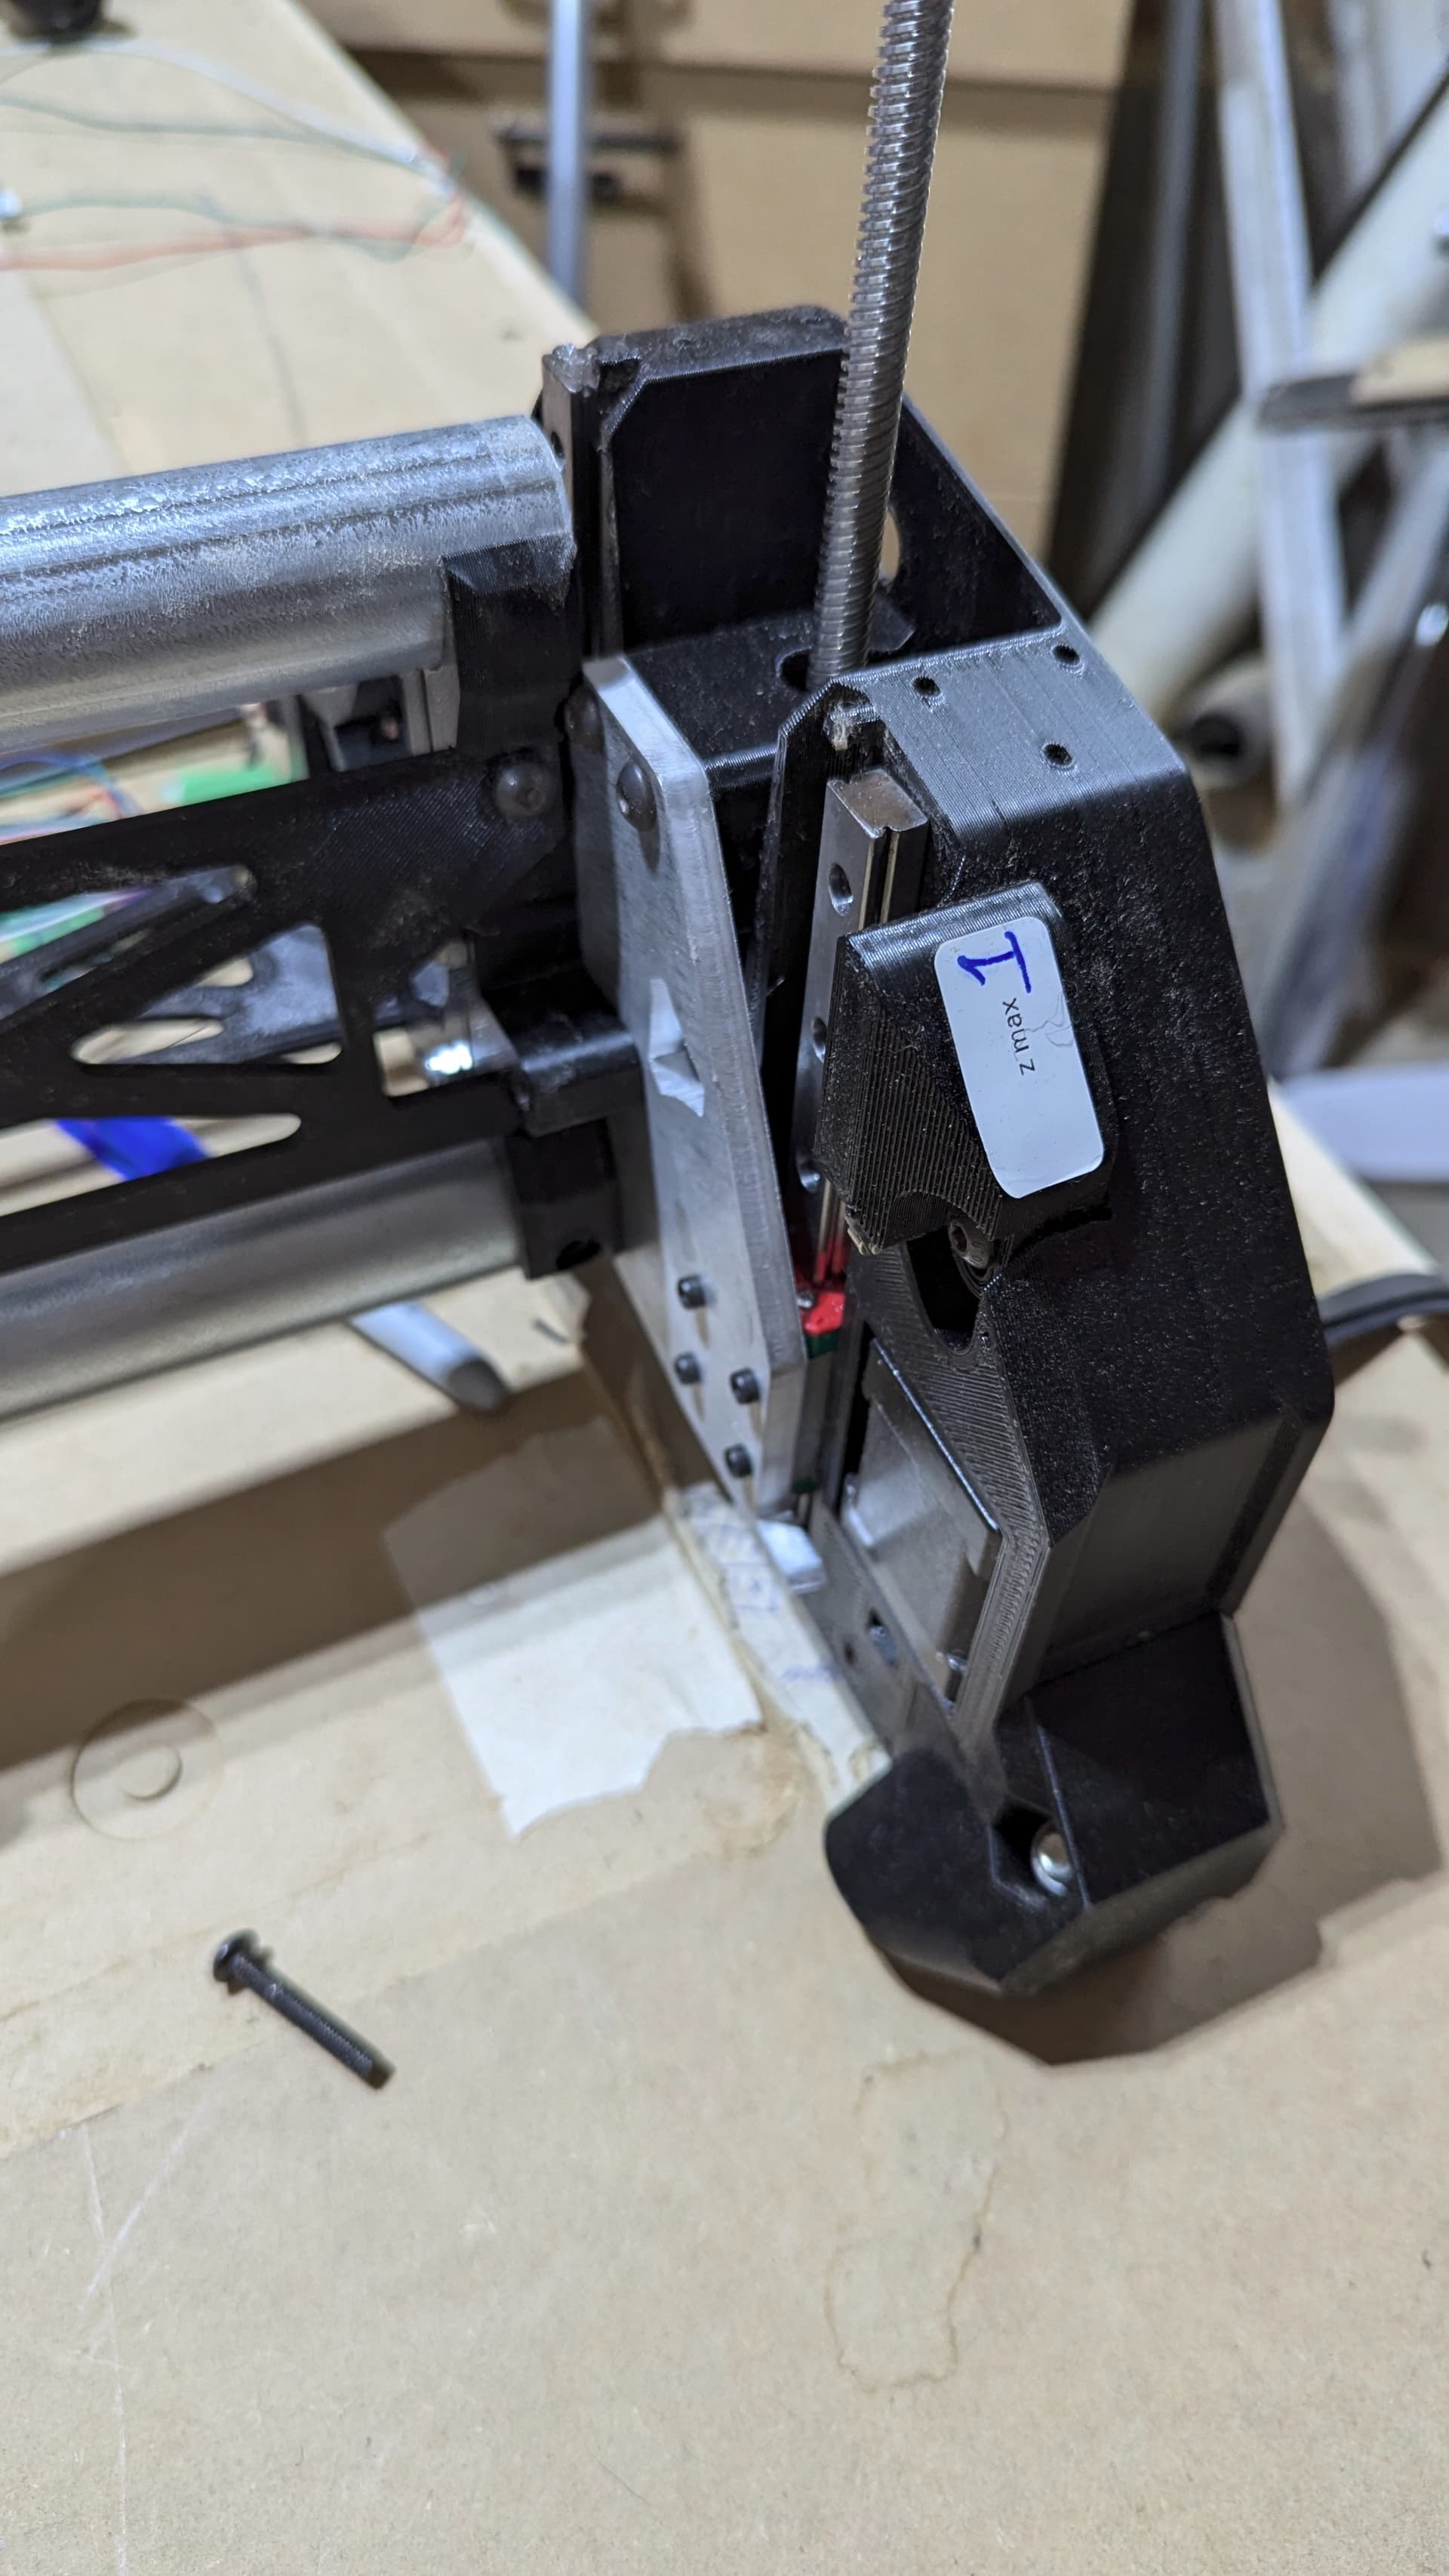
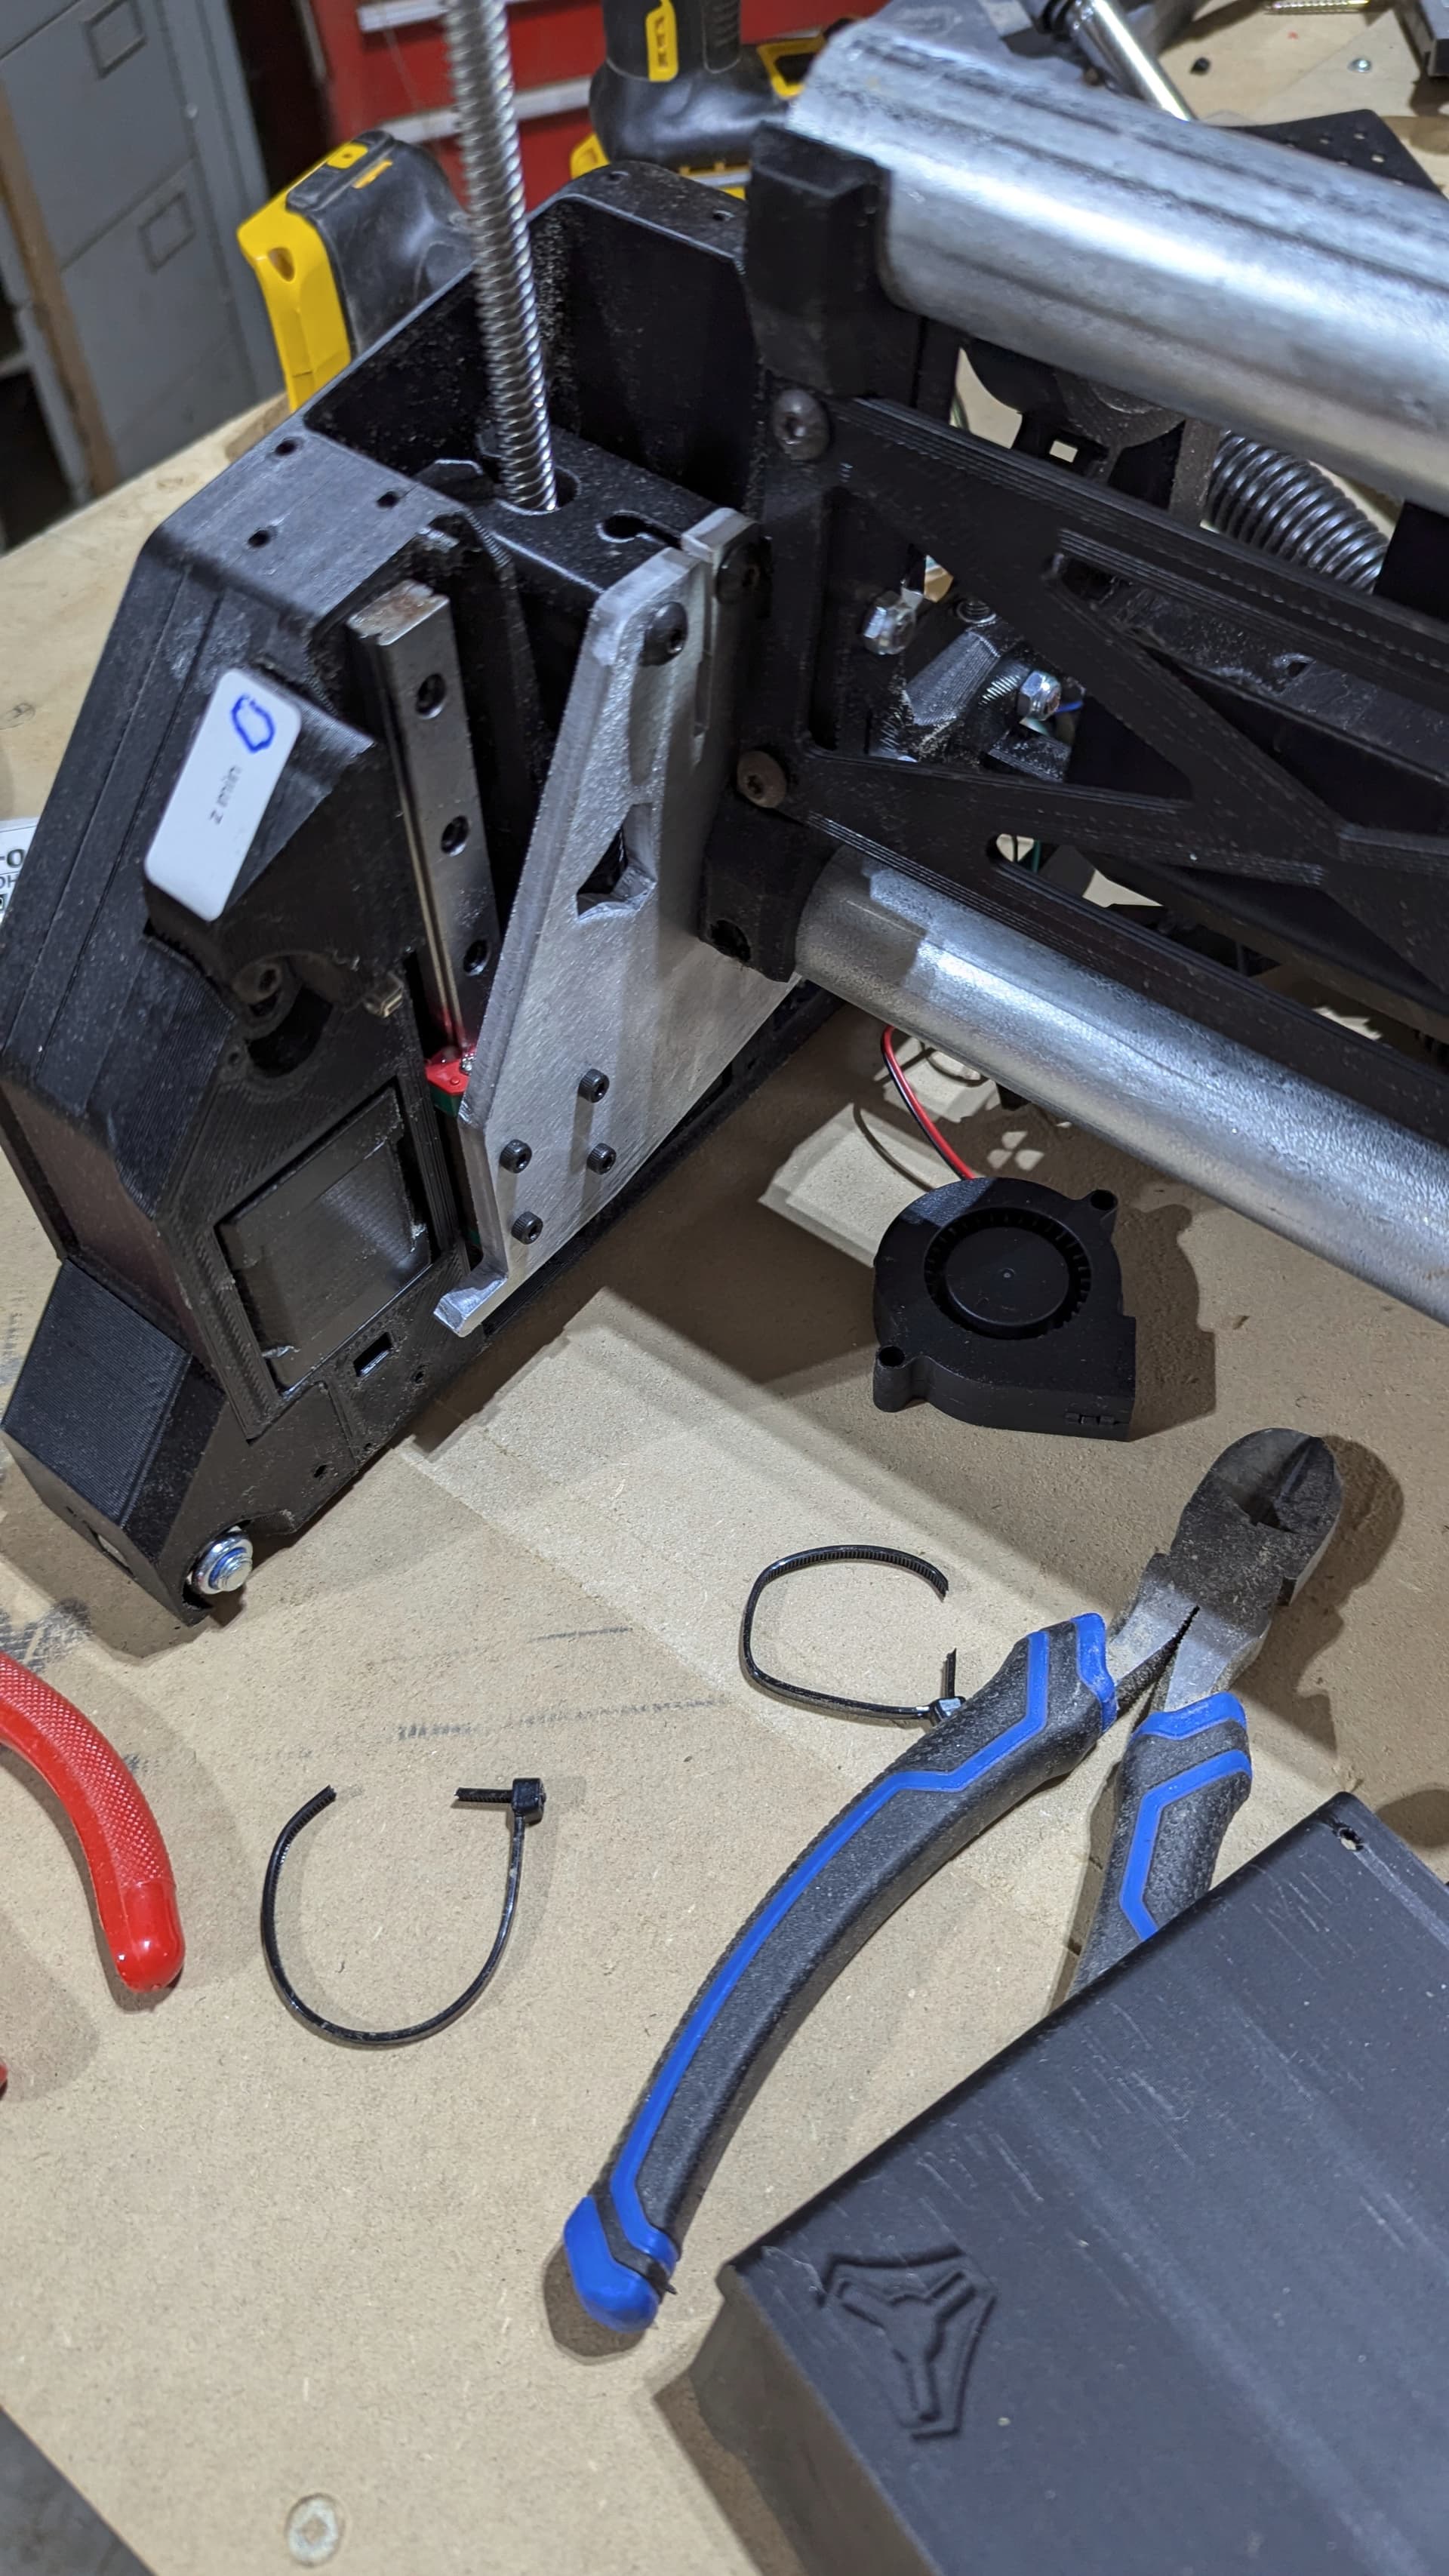
I also have most of the YZ assemblies complete. I had to cut off the stepper motor tidy zip ties and connectors off so I could fit them through the cable channel. I found with the second assembly that if you fed the wires individually through the channel instead of pushing it down to get it under the tab was much easier.
While I wait for the IPA to clean the bearing blocks up, maybe I will start assembling the core! The number of screws and nuts that have fallen down out of reach onto the floor while assembling these parts has been way too high, lol!
Got the xz plates on after lubricating the rails and carriers. Unfortunately one side slides great, the other not so great. I think I am going to disassemble the rails again and this time fully remove all the balls from the carriage and do a deep clean. One of my rails has a bit of a rough spot in one area so I may just have to buy a whole new set of rails.
Got all the way to the x idler pulleys tonight. Unfortunately one of the nuts won’t go into its place so I will have to take a look on the forums to see what I could do there. It just seems like it doesn’t want to disappear into the hole like it is supposed to.
They are also hard to move if the rails are not exactly parallel. I‘d loosen all the screws half a turn and try to move the plate again. See if it runs more smoothly then.
Thank you for the suggestion, I was thinking of doing this but I didnt know if it was acceptable to have them a little loose. I guess the gantry will be attached to them so they wont exactly come loose? Obviously within reason.
You will fasten them again if they run smoothly. I start at the bottom, then push them up and fasten the screw that is the furthest up I can reach. That mostly helps.
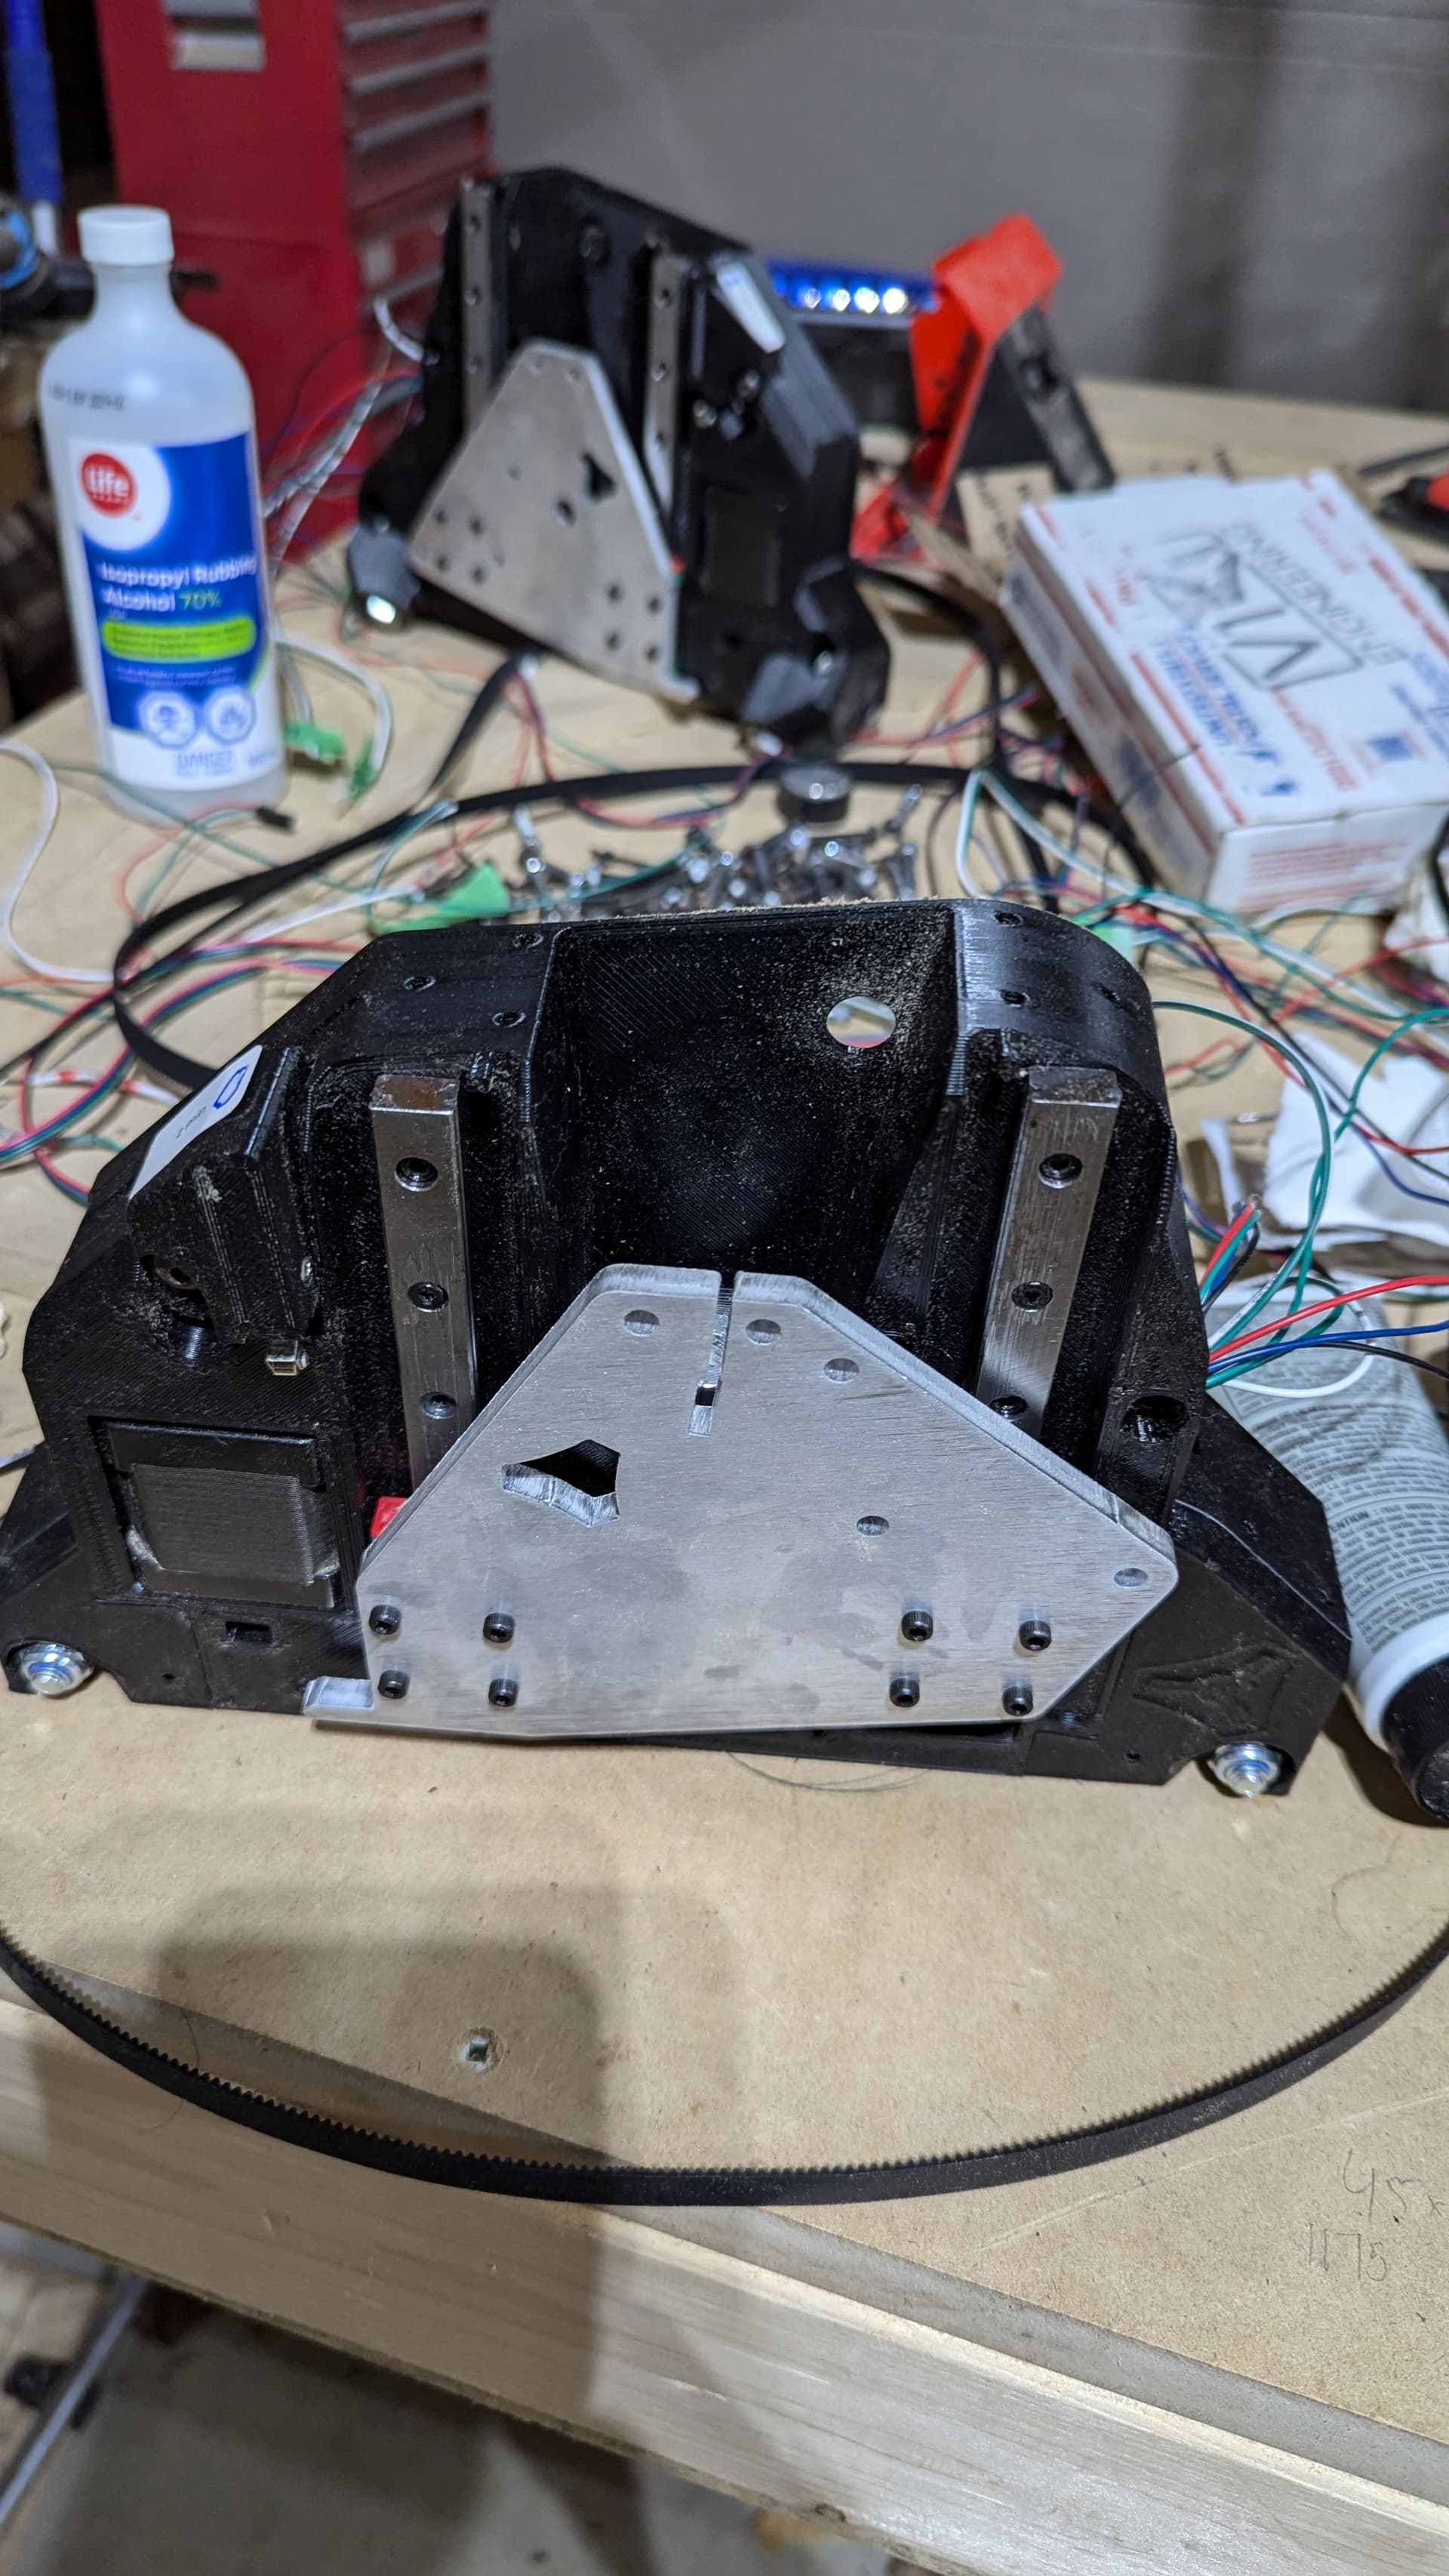
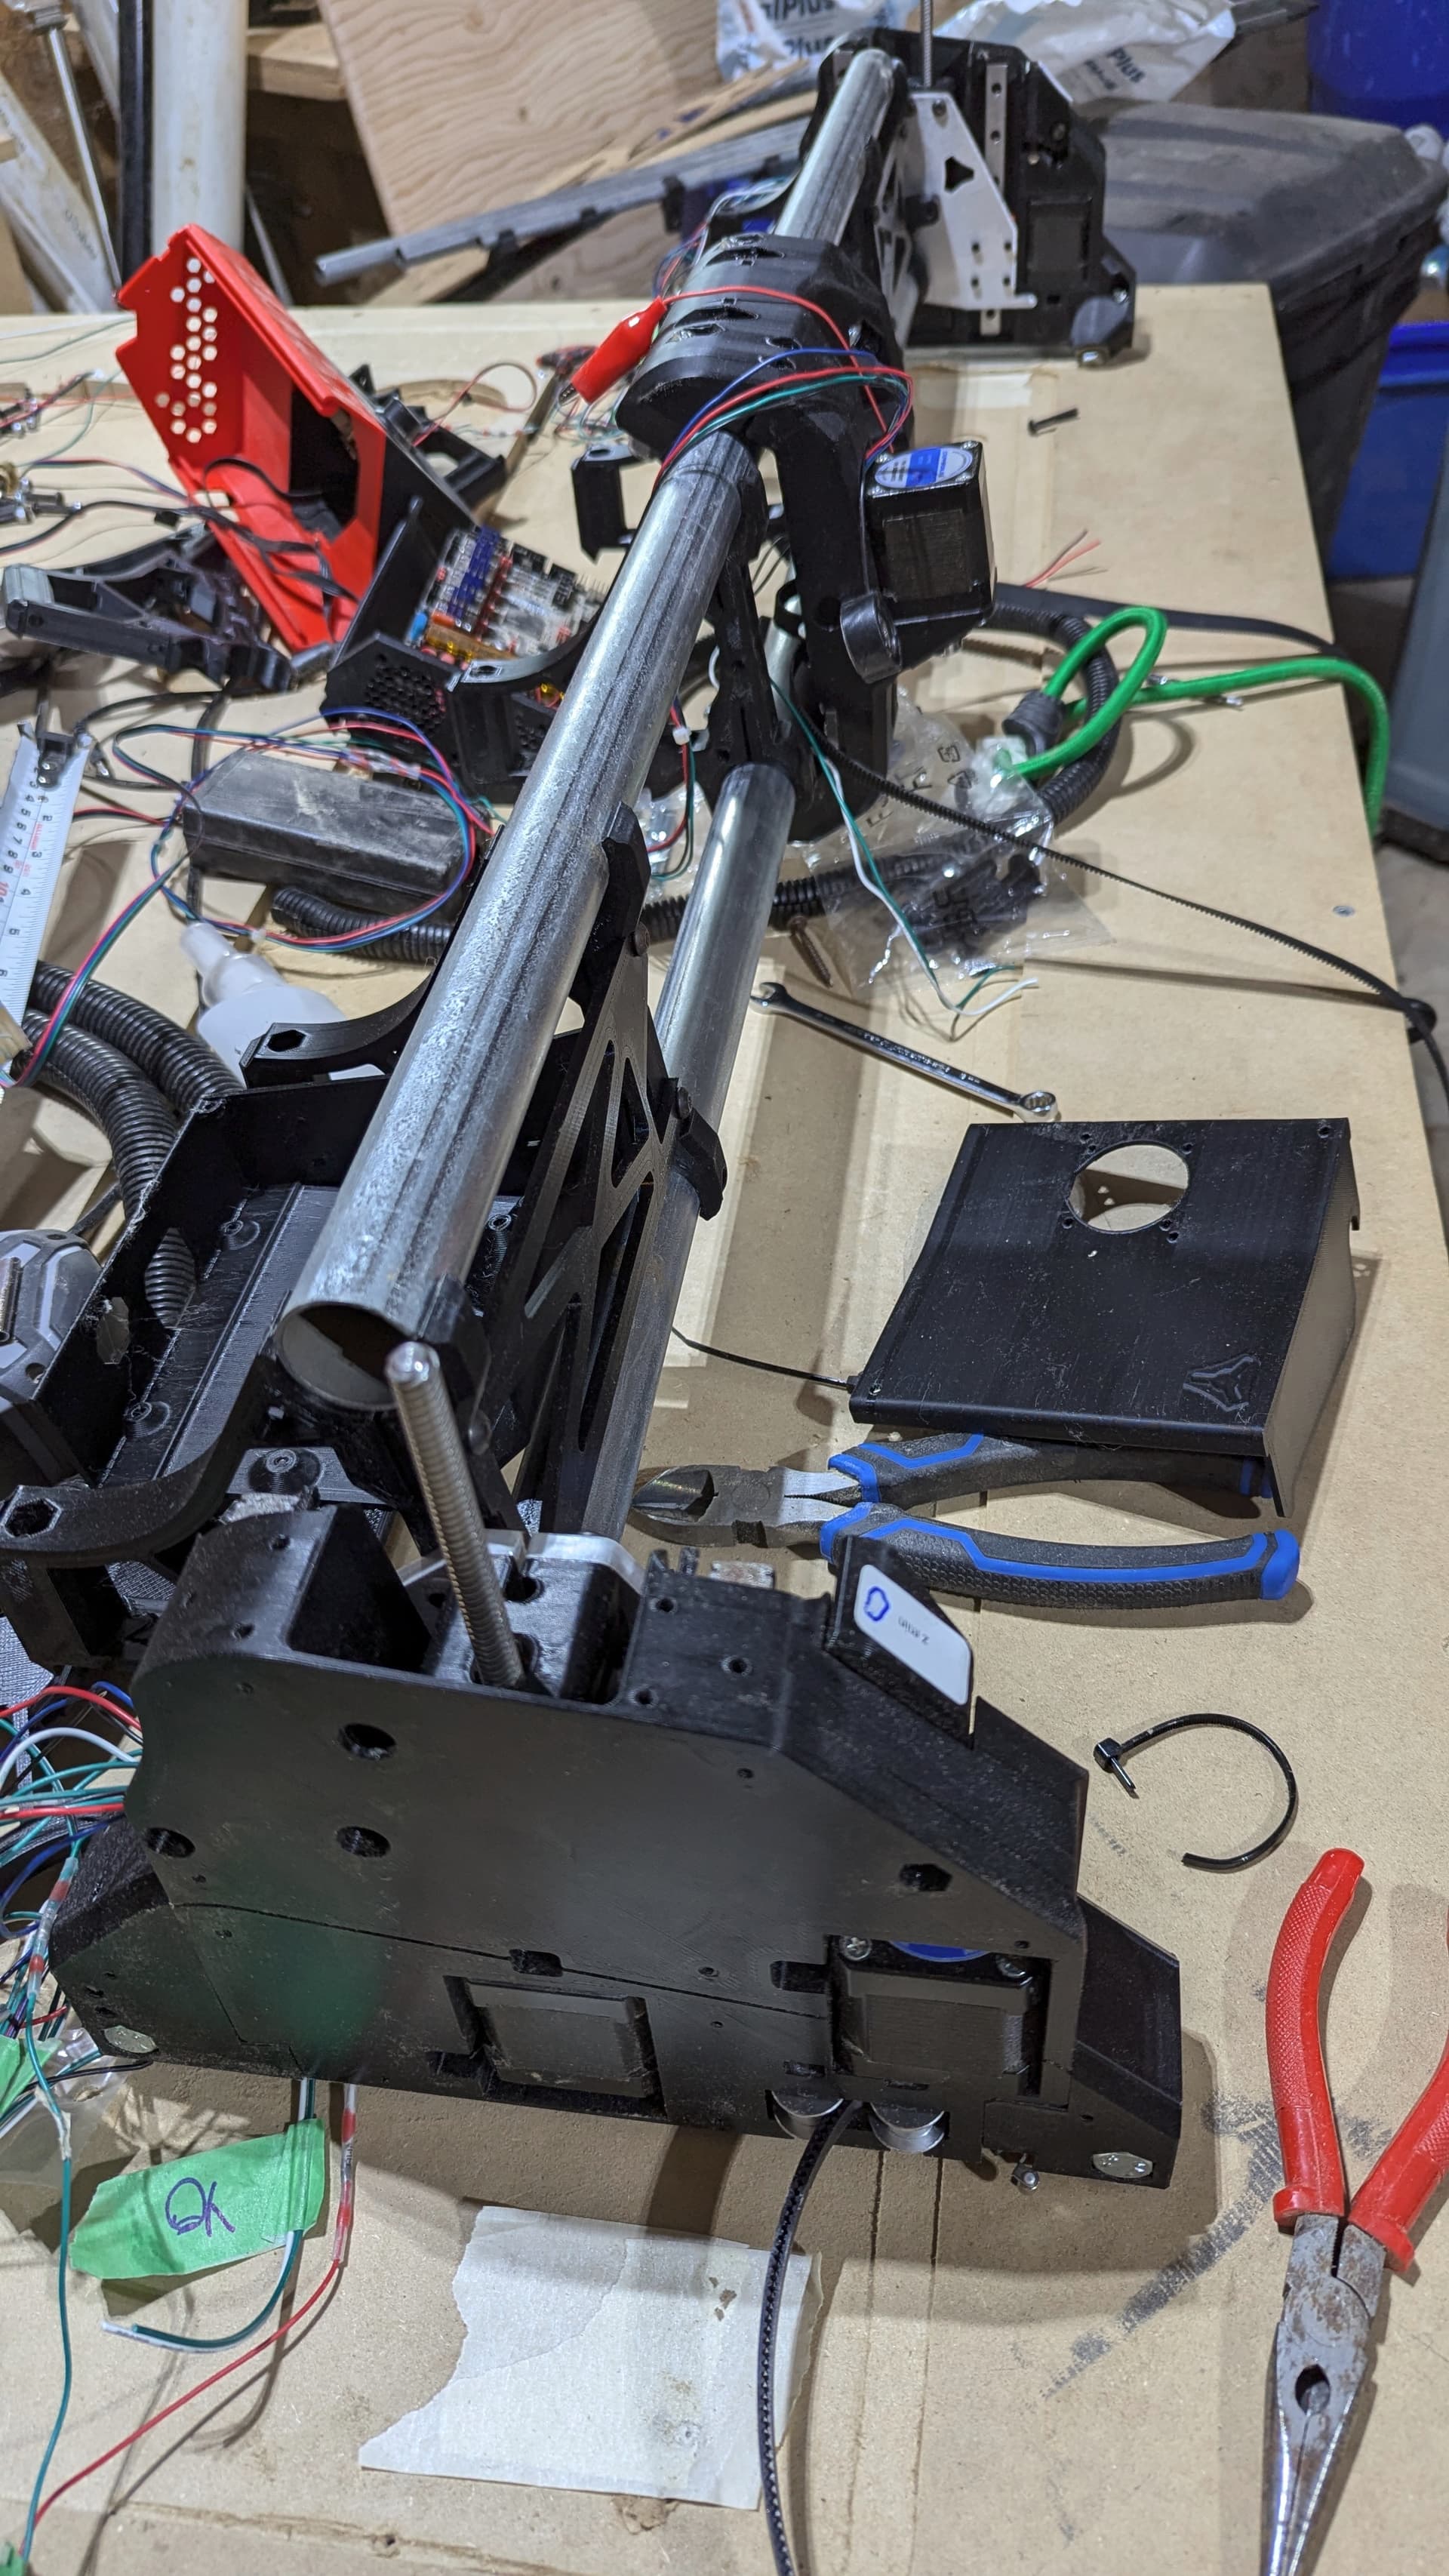
Today I have the gantry built and fastened to the YZ assemblies!
I have exercised the linear rails and they slide ok for now, until I can get some replacements in but I am hoping everything goes smoothly.
I had to take the core off after I assembled it all because the wires were routed in the wrong spots. Hoping to have the cnc done in the next couple days.
I measured heel and toe and I was within a 1/16" of an inch. I figure that is good enough??
Got the belts all on and the conduit fitted to my table. Time for some homing and moving around!
I used the individual move steps to see if the steppers were wired the right way or not and after some quick reversals (power off of course) I was able to get my first successful homing.
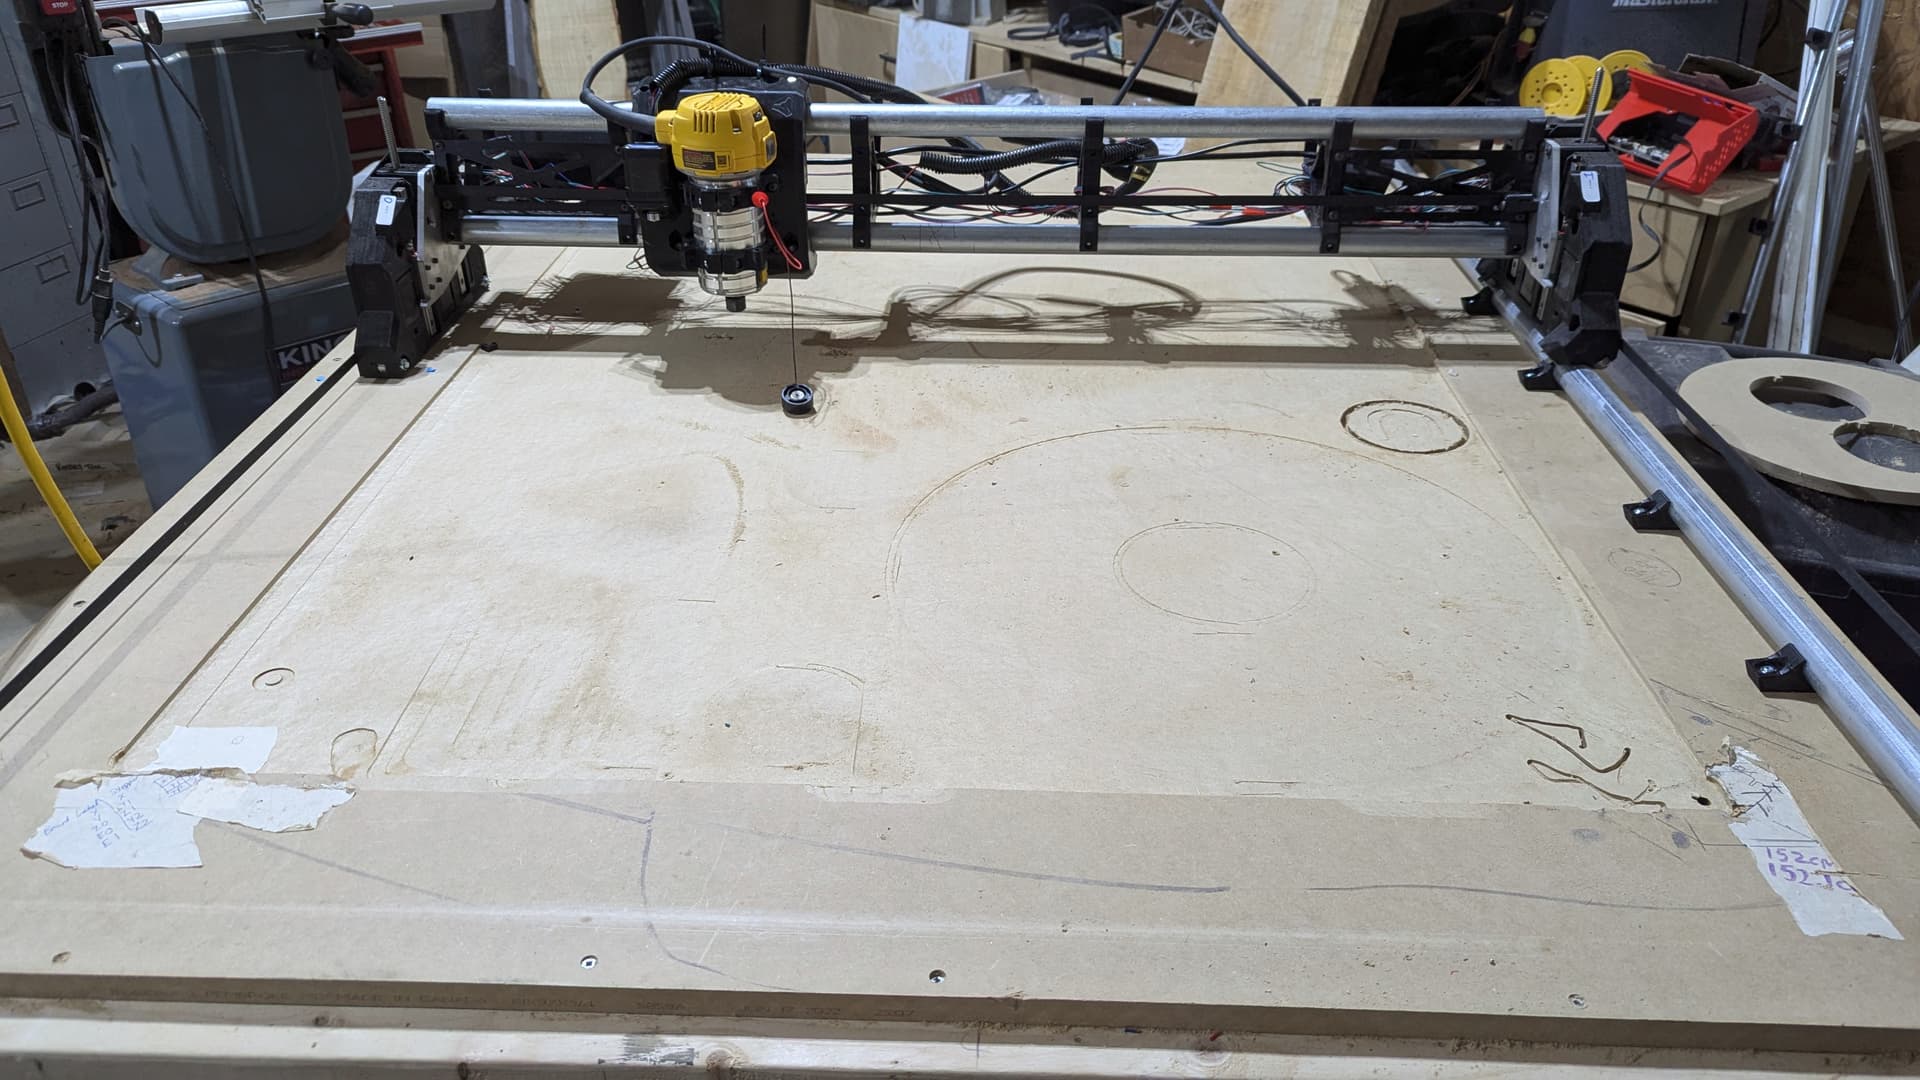
Please dismiss the mess…things are a work in progress!
After homing, we needed to try some G0 commands from the webUI. Mission accomplished! I will need to do some major cable management as it will cause problems otherwise.
Next after the cable management is to figure out probing with GRBL as G38.2 Z0 did not work for me for some reason. I did notice that I had a loose wire that was rectified but it just didnt seem to work for me for some reason.
Early this morning I couldn’t sleep (stupid shift work!) so I got out into the shop while everyone else was sleeping.
Today so far I have had the following happen:
Power Cord short out on me, replaced it with a new cord. Thankfully it did not short out my electronics so it was game on.
End stop wires coming out of the jackpot terminals not allowing me to home the machine, resolution still in progress. I am probably going to re-terminate the connectors. I had red jst connectors in there first but switched to the black servo connectors as the red connectors were too bulky.
First squaring attempt. Initially I thought I had /1453 and \1494 corner to corner respectively but I decided to do a re-measurement and found it was /1492 and \1494…WAYYYY better. I checked my end stops and I am pretty certain I have a lazy lever on the Y min that is attributing to the difference so I am not really going to worry about it!
I have not done the Z leveling yet as you can see I am using my old waste board and my depths are kind of wonky across it.
I have downloaded the SVG for the struts and will work in estlcam today to try and get some toolpaths together. I have to go get some material from the store anyway so no big rush just yet.
Cables have been “managed” for now but a more elegant solution will have to be in my future. I am going to print off the dust collection this afternoon and see if we cant make some dust soon!
Today I got my 1/8" hardboard to do my strut plates with.
I also successfully troubleshot the problem with my endstop wires not sitting into the male pins. Some of the servo female pins were JST pins and were not far enough into the connector. Got the new ones crimped up and it’s nice and snug again! I also took care of some nefarious wires running all over the place which should make the connectors easier to stay seated.
I thought, why not improve on the LR3 experience by doing an air cut just to see if the file will work!!
Seems like everything is working well. However, I have an issue with my probe at the start of the program. I have listed it below for scrutiny please. My issue is that at the M0 parts, I dont get a pause. For example, once I touch the probe to indicate Z0, it goes right to cutting the program…instead of me being able to remove the probe and turn on the router. I was researching online and some sources were suggesting M0 P? where ? is the pause duration in milliseconds. I did remove the ( ) around the MSG part of the start code…is that where I am going wrong? I just dont get the prompt on ESP3D for clicking continue etc…