Any reason(s) why front strut needs to have the triangle cutouts? Can front be solid, and personalized even?
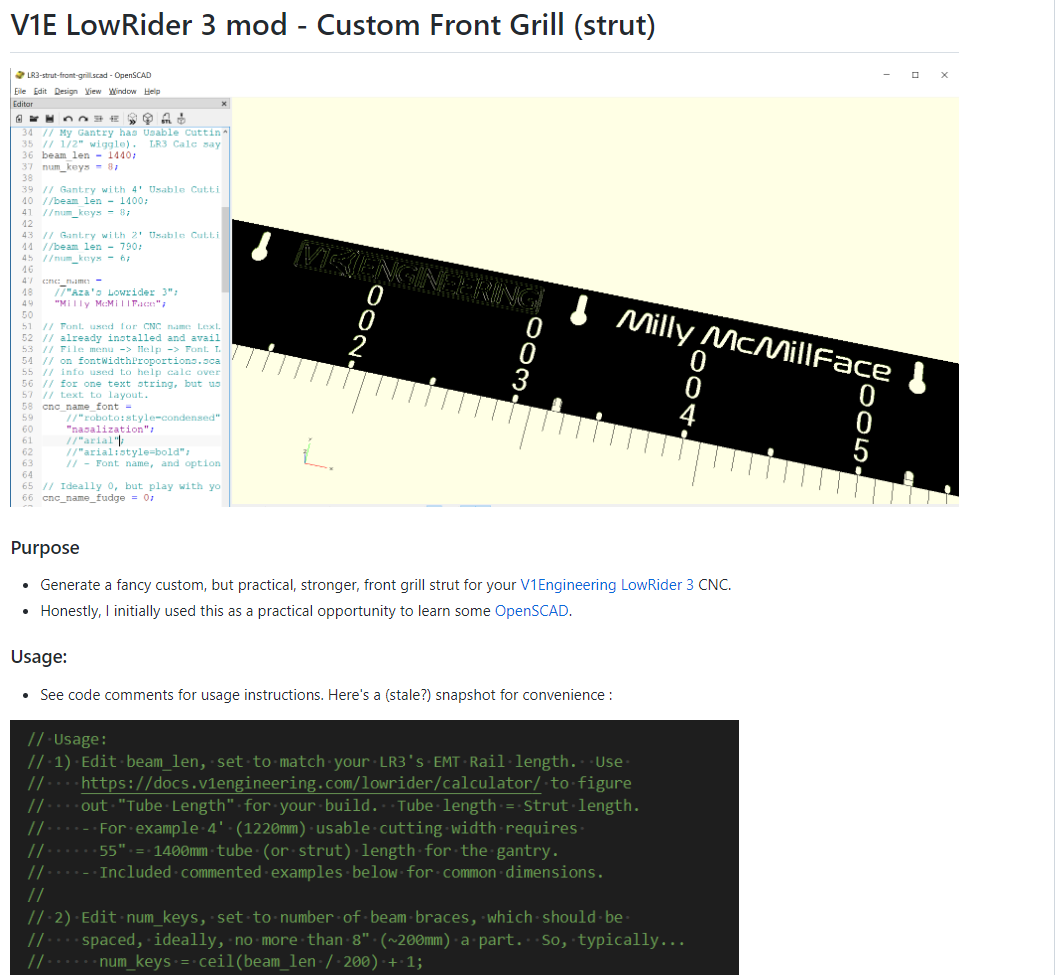
Have cut custom sized rear and bottom struts thanks to @jamiek’s awesome LR3 Strut Plate variable sizes plus OpenScad script. Figured doing something different for the front would be good opportunity to learn a bit of OpenScad, not used before, so apologies for naive questions.
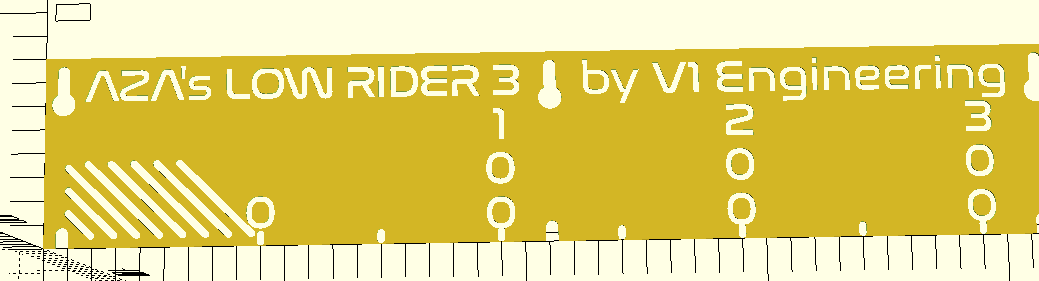
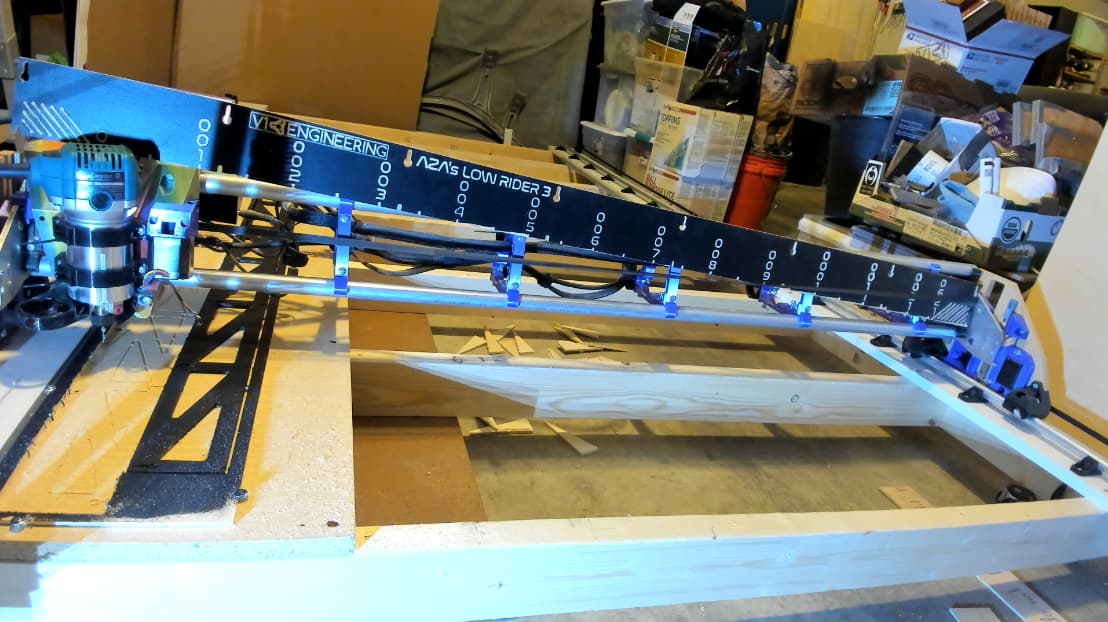
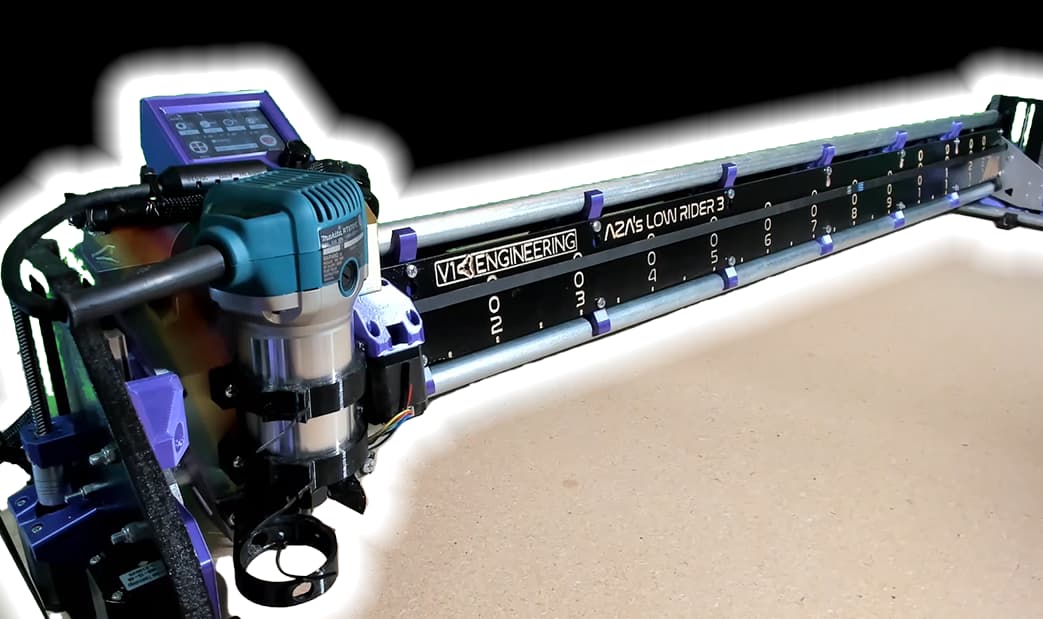
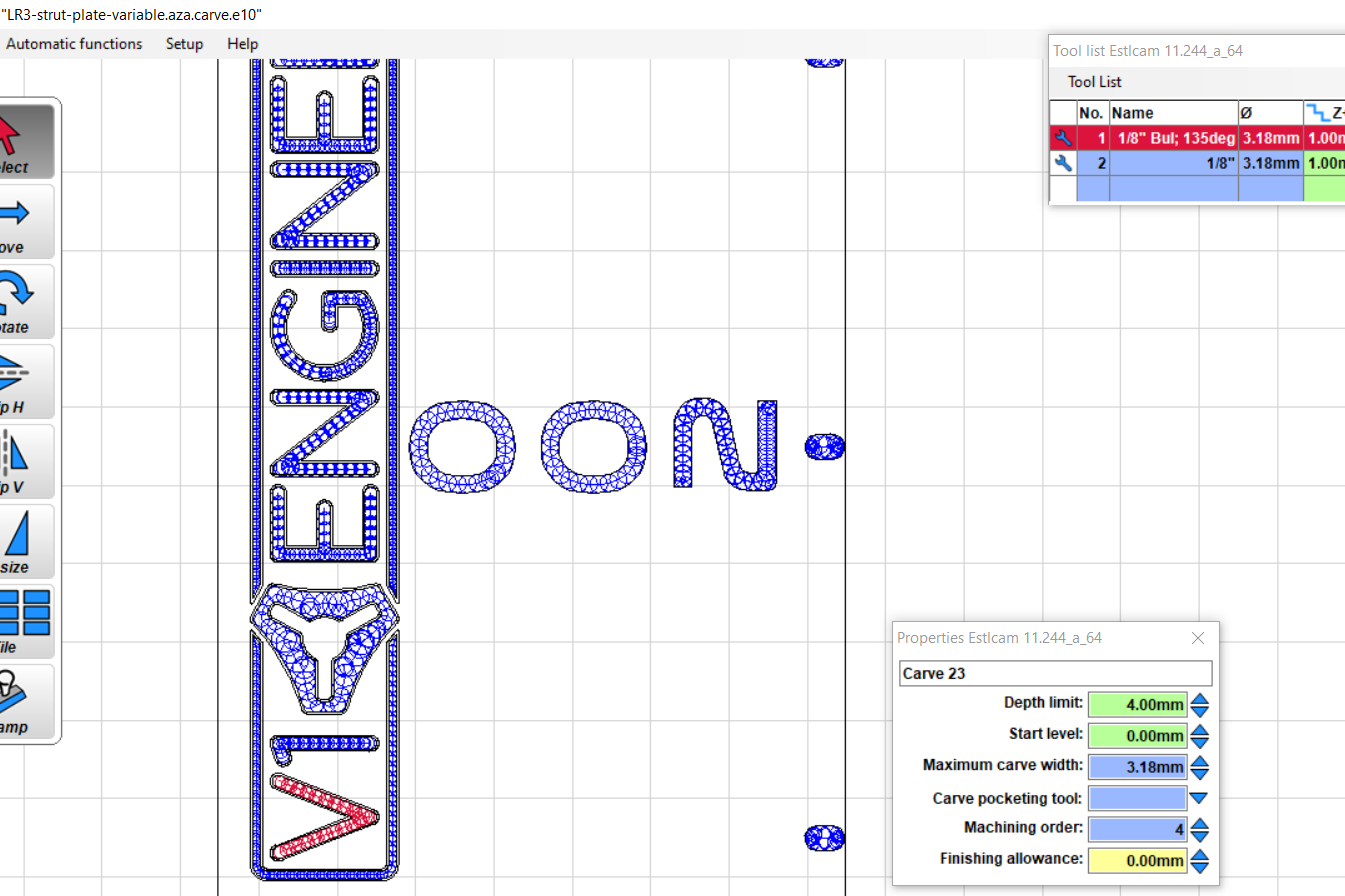
Hacked and made mess of Jamie’s script and came up with personalized solid front, my initial goal was to reduce dust getting into the beam. But then I figured, why not stamp a name, and some useful information even. Anyone seeing issues with this? Am cutting 1/4" painted stock will be creating 2mm depth cuts for the markers/text. Will probably use @jamiek surfacing script to flatten/tram spoilboard, before setting down and securing stock to cut the custom strut.
Is there an official font that’s recommended to be used for V1 Engineering inspired models? Currently using Nasa font. Cheers!
Edit: Found Logos | V1 Engineering Inc and noticed Roboto or DIN Next fonts being used. Editing the script some more, may need separate 1/16" bit for finer engraving. Will share if it turns out ok and seems useful.
I’m sure the intent with the triangle cutouts is to get the maximum strength with the minimum weight.
Also, getting the nuts on the bolts can be a challenge if you don’t have access through the struts.
So, you can do what you like as long as you don’t compromise the rigidity of the strut (I don’t think your mods would compromise rigidity), and you can still get the nuts on. You will pay a small penalty in overall weight of the beam, but probably not enough to be a problem.
Should’ve used MDF/hardboard or something else? Plywood teared out along the bottom.
Should’ve patiently waited for cleaner cutting 90 degree vcarve bit arrival, instead of making do with bullnose bit.
Should’ve double checked tab setup, instead of relying on cat like reflexes to pounce on an almost done, almost airborne strut.
Should’ve surfaced the spoil board before making Strut cuts.
Should’ve painted (2 coats) and Shellac’d before Strut cuts. Would’ve been able to paint fill carved lettering more easily if black was protected by Shellac.