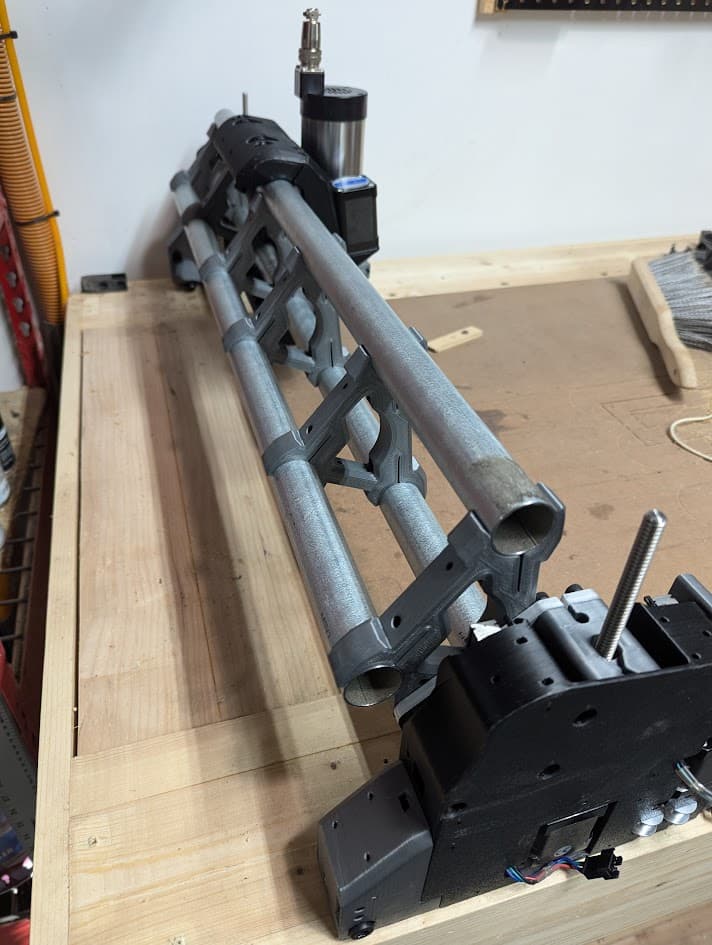
Welp, I got most of my prints for the LR4 done last weekend (Overture black PLA for the big parts, gray for the accents). I originally printed everything in matte PLA but as much as I like how the matte looks printed, it sounds like it’s not as strong or possibly not as stiff anyway as regular PLA. I printed everything with a .6mm noz, .3mm layers, 4 walls.
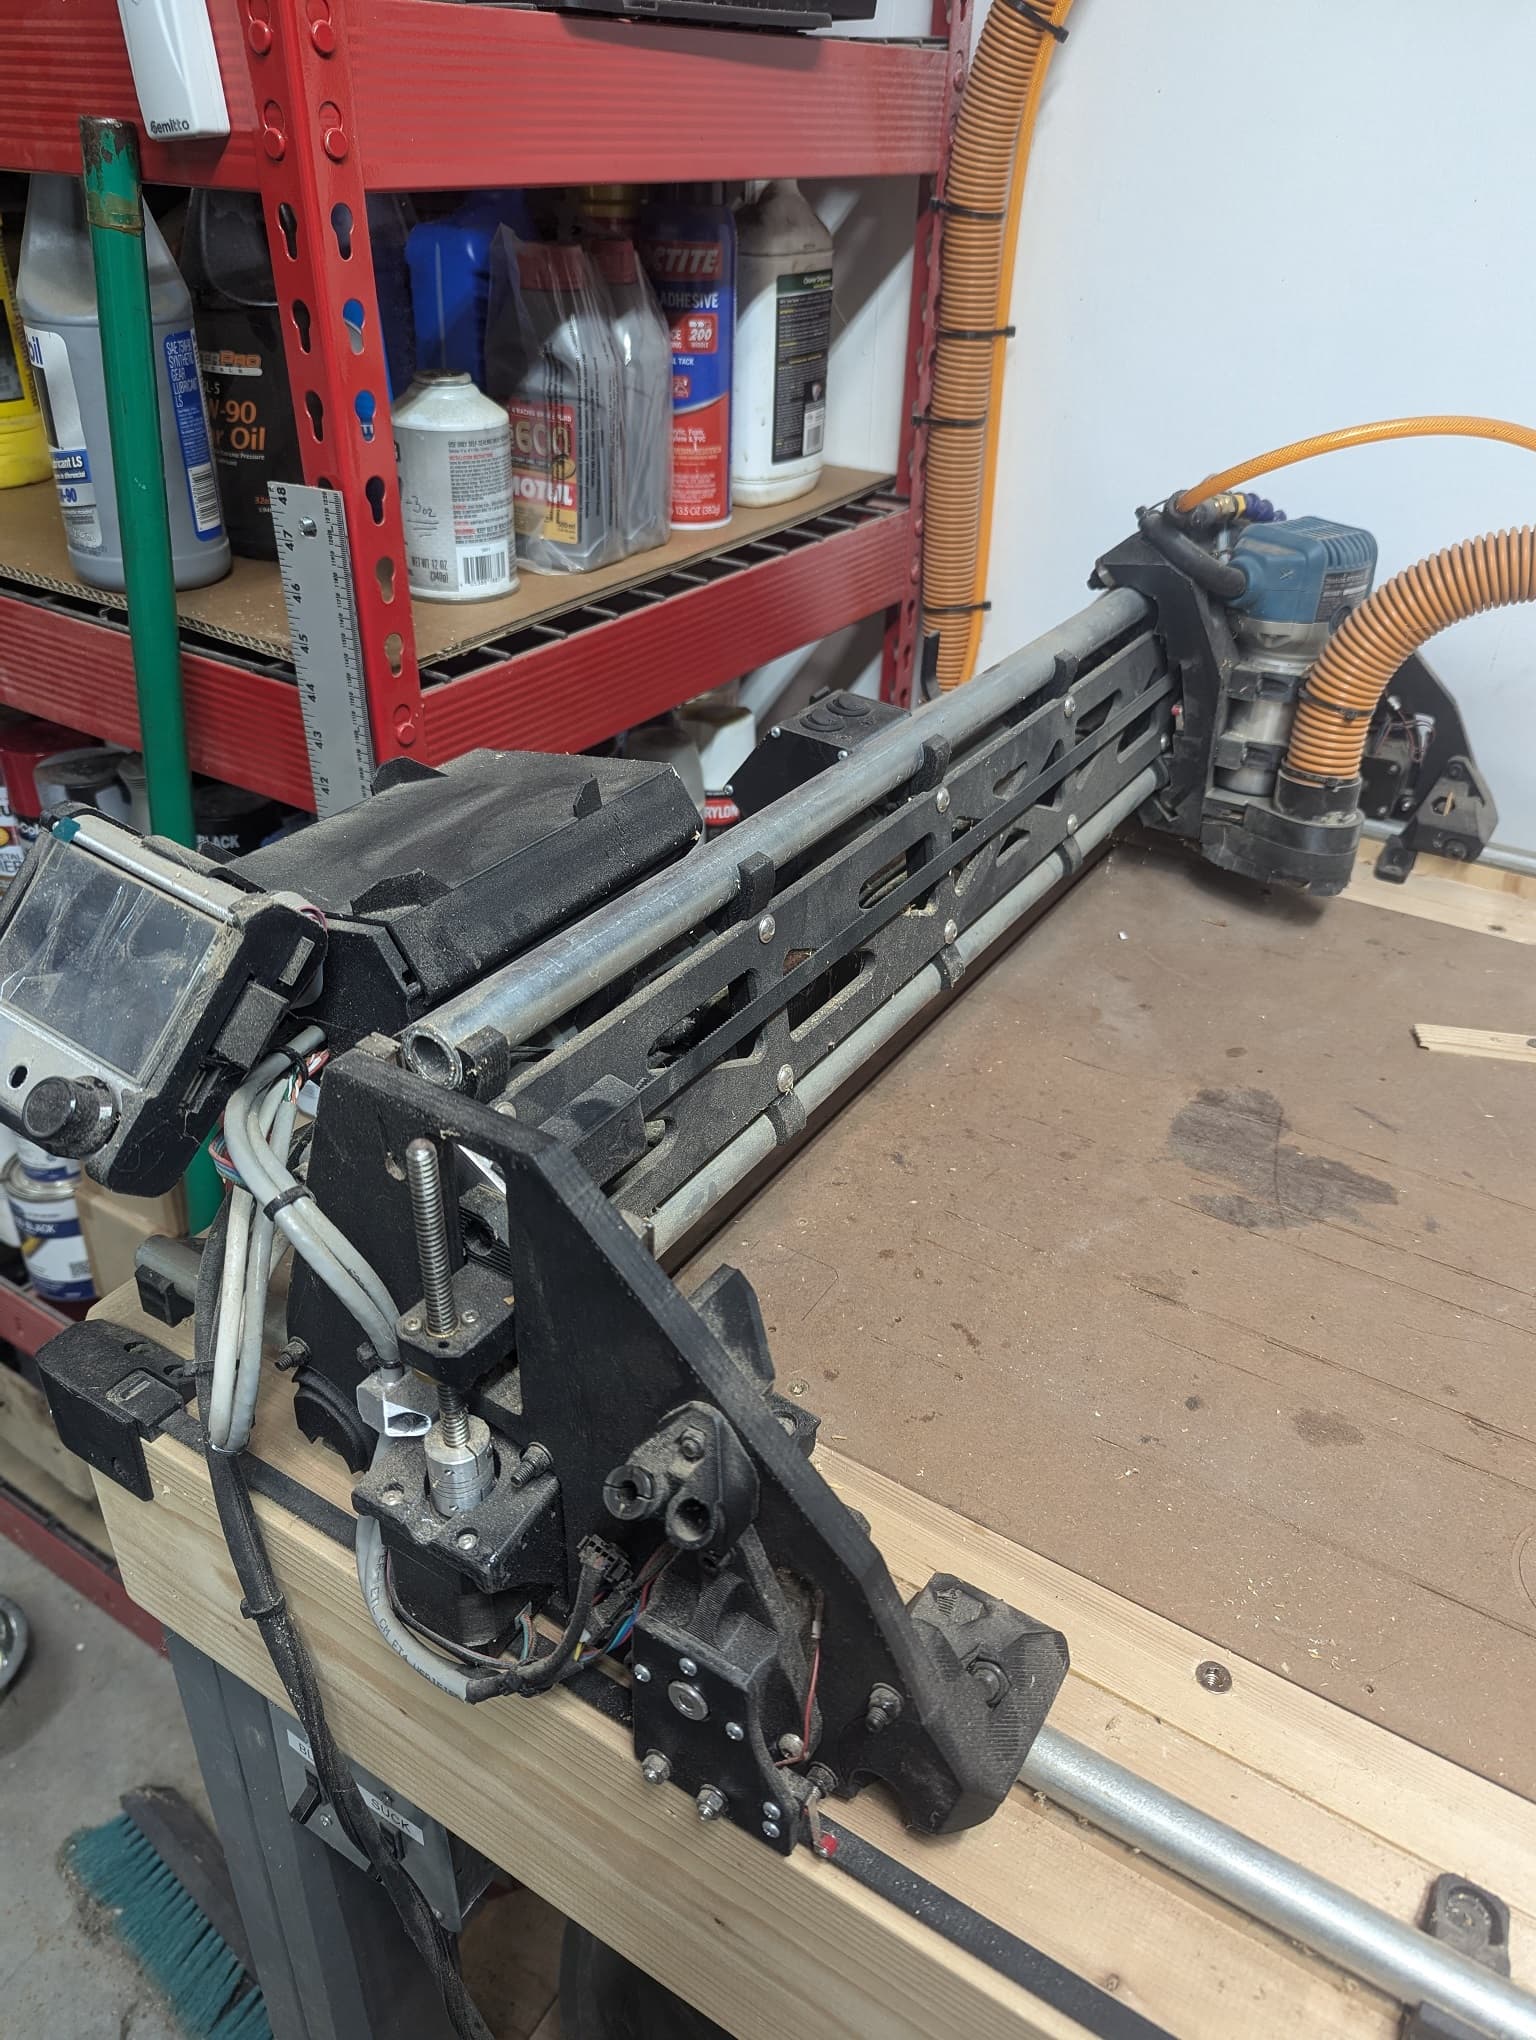
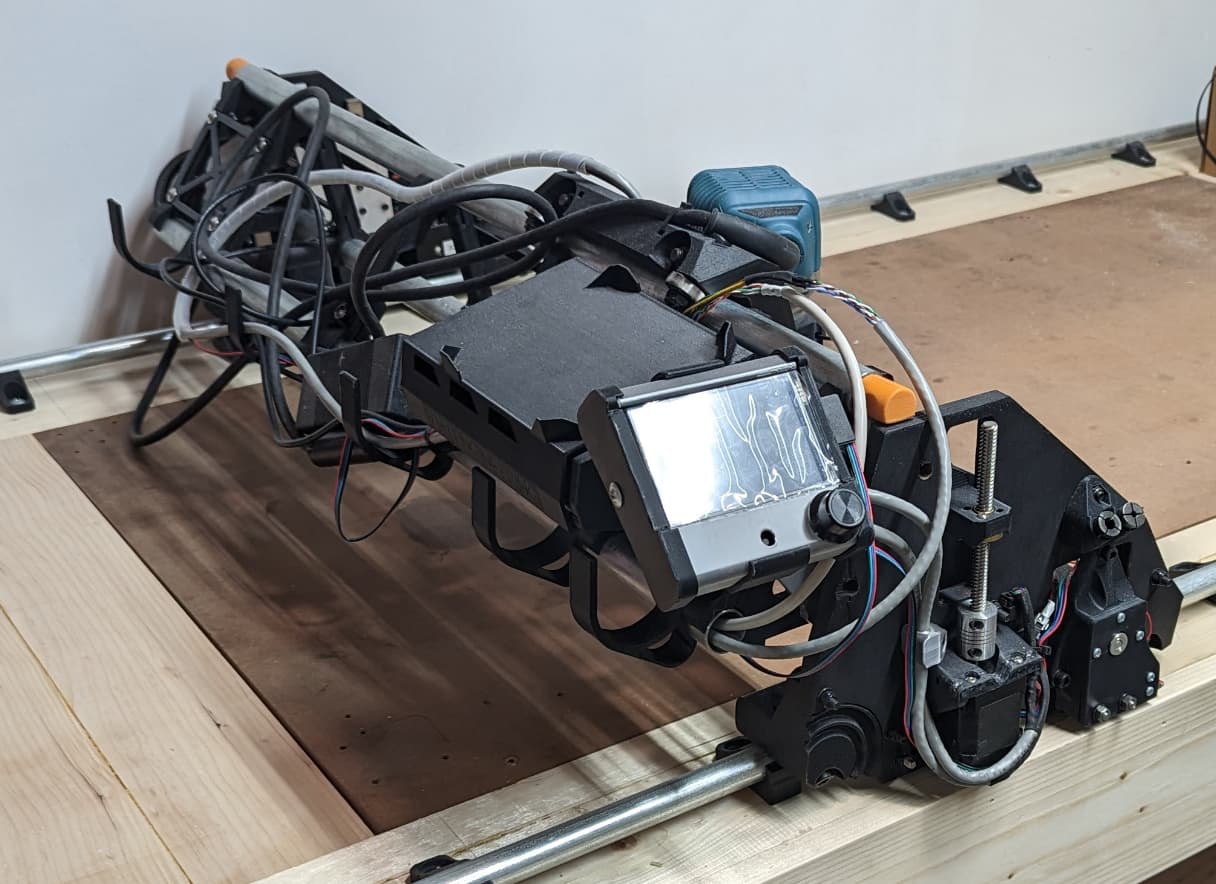
I’ve finally disassembled the LR3. Last time to see her in her former glory:
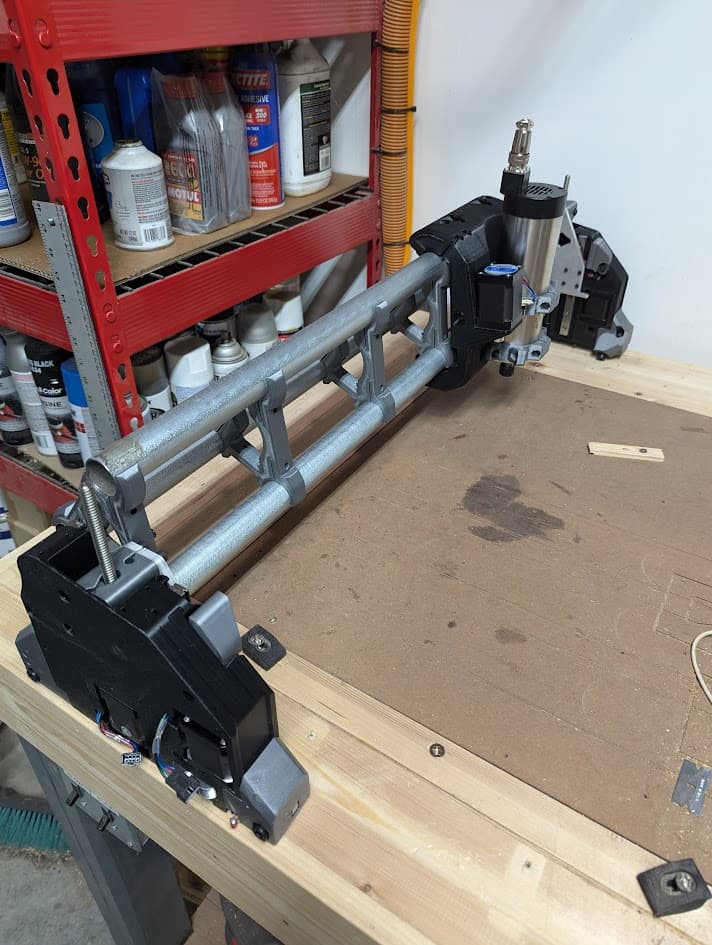
If you’ve seen my previous thread, I was the goofball who (probably totally unnecessarily) had a few modifications including a 3 tube gantry, dual Y rails, and a belt mod that was really more of an attempt to keep the belt out of the way from getting bumped when I used my table as a table. Ryan pointed out that keeping it vertical keeps the belt cleaner, and he was absolutely right. I didn’t have too many problems but I kept blowing the belt off with air.
This time around I’m going to stick to the design regarding the single Y rail and I may just detach the LR4 when not in use for table things as designed.
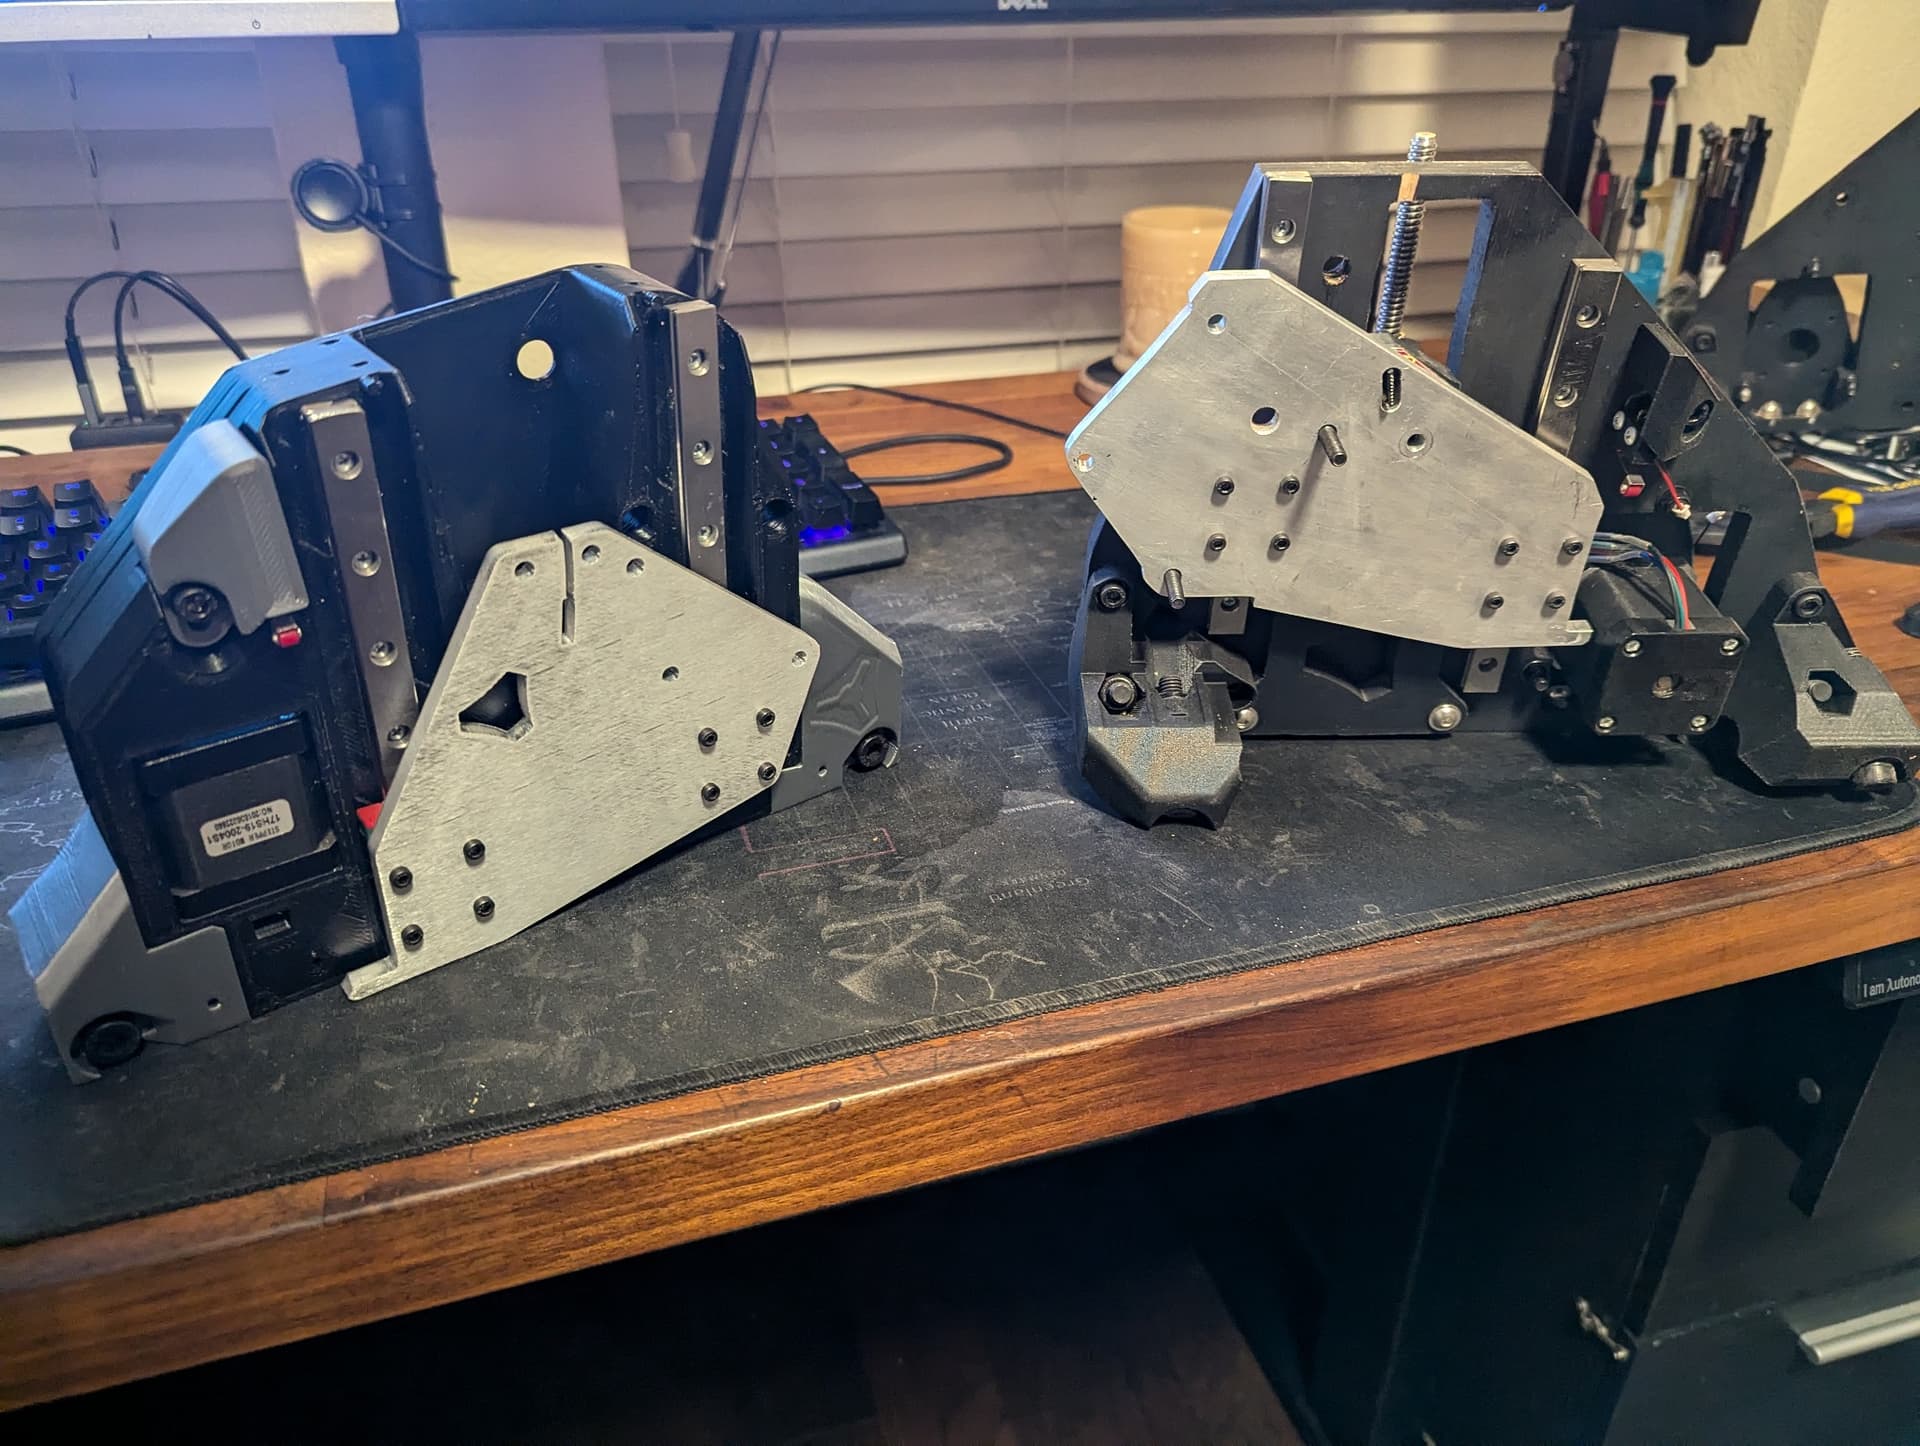
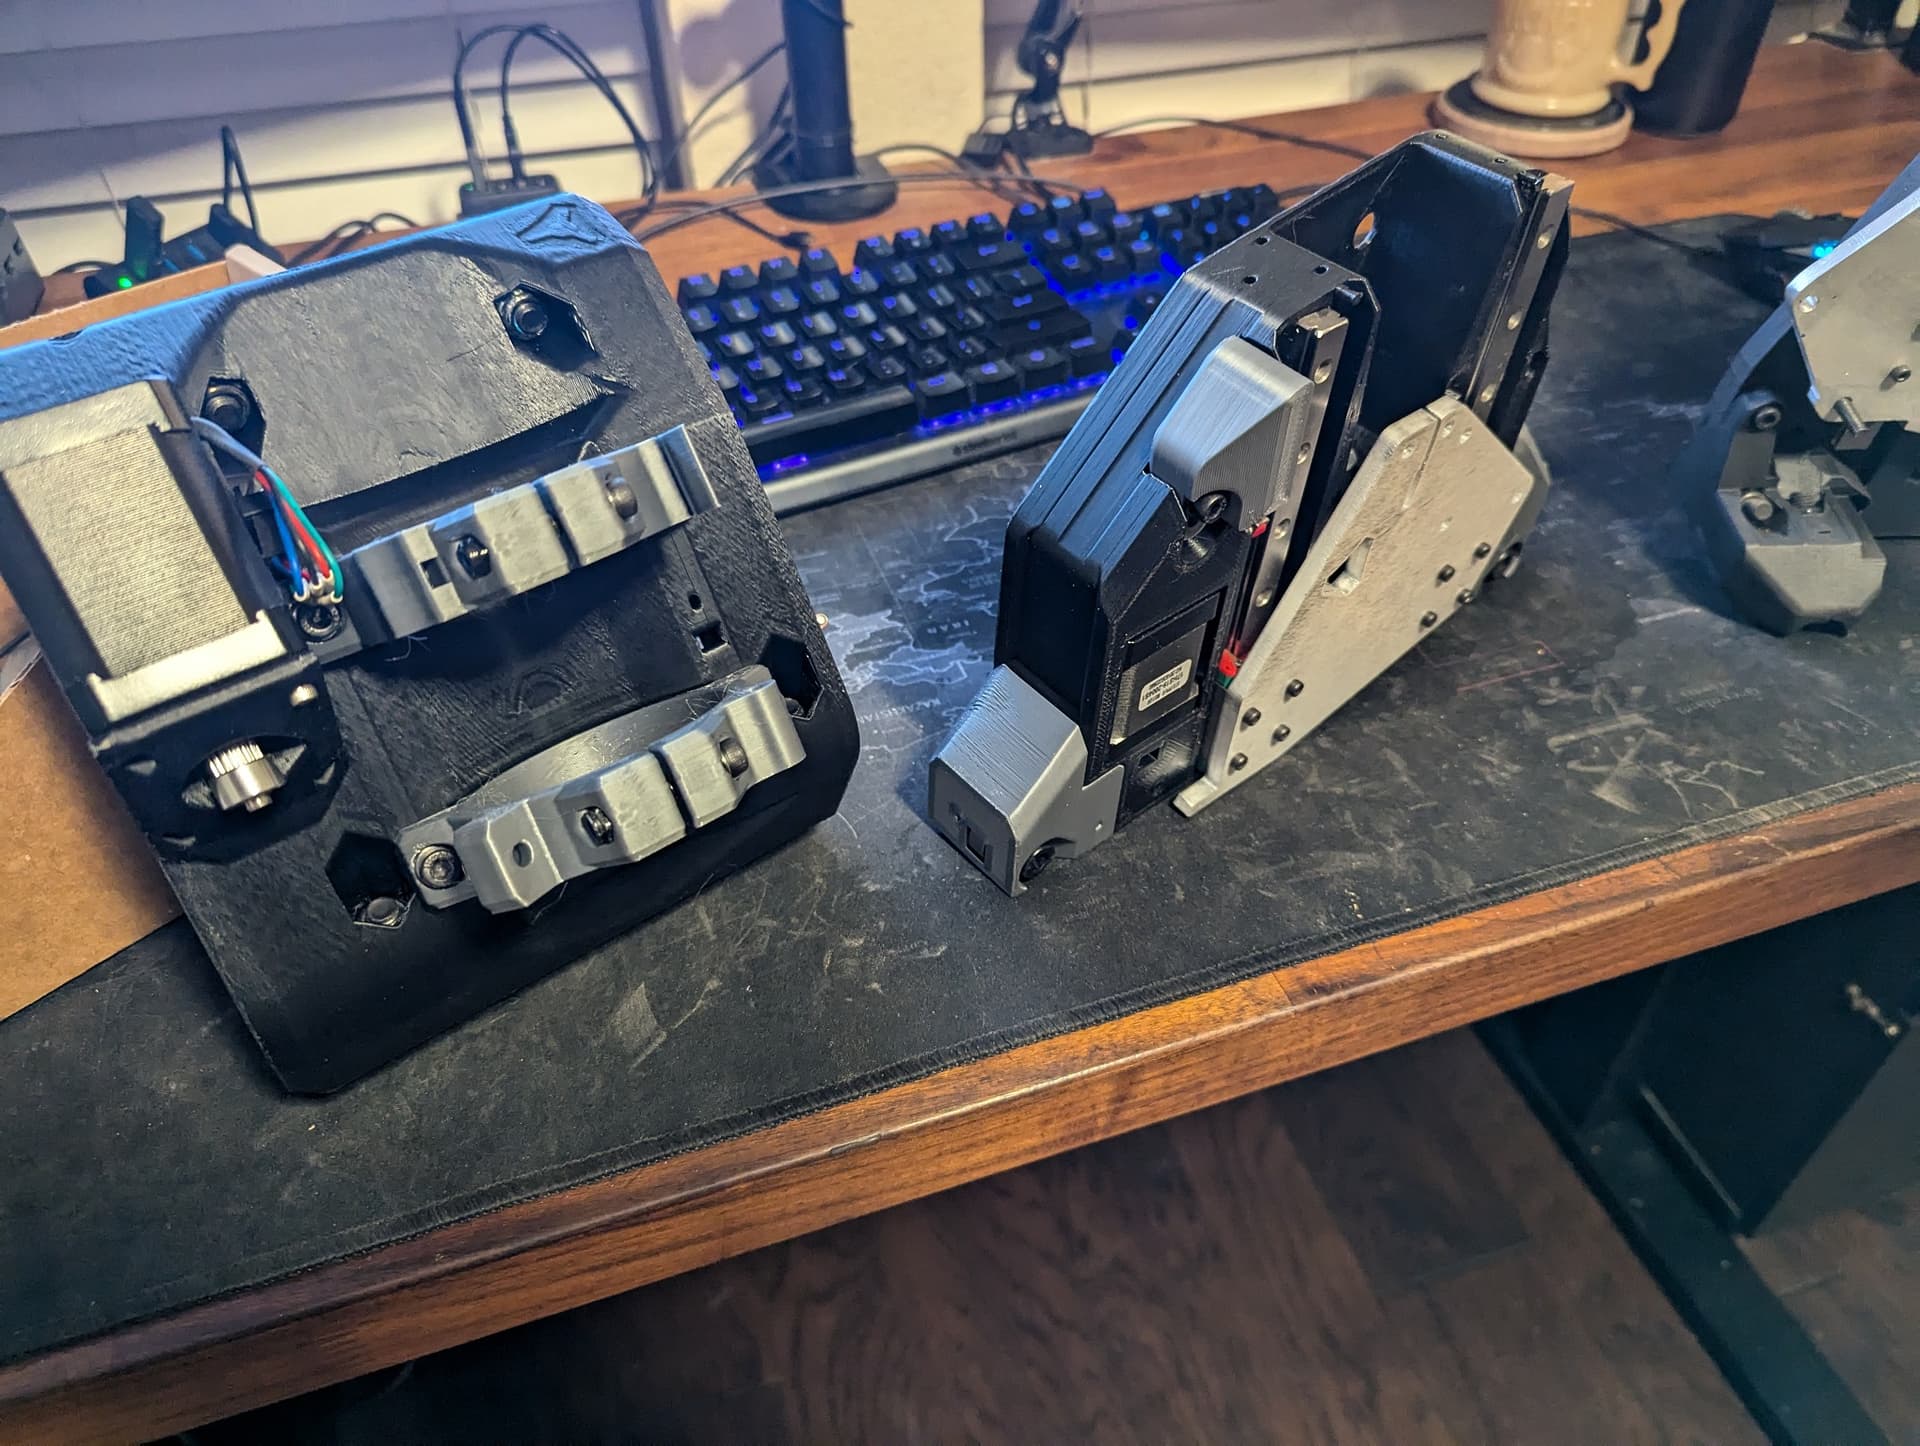
I got my plates from Ryan pretty quick! Very nice pieces, bolted right up. Old vs new.
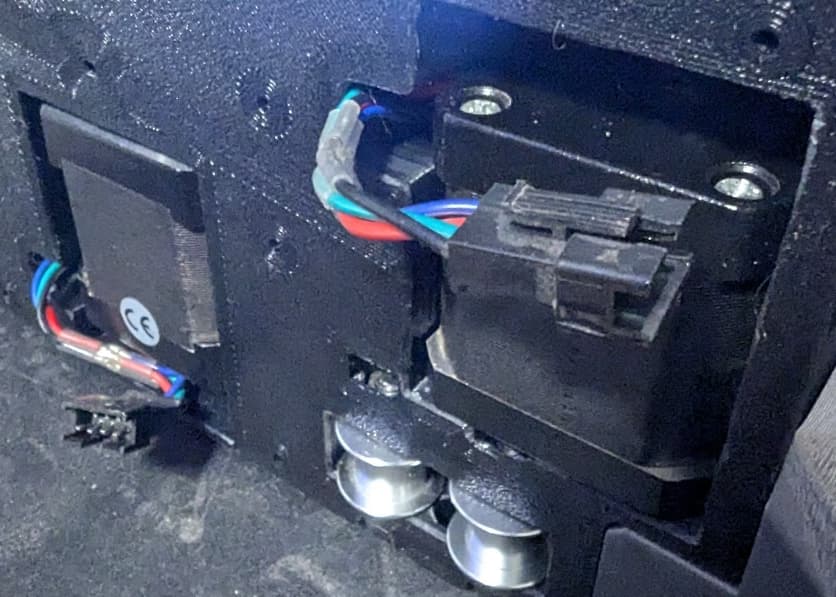
Just plugging away at making sure everything fits. I’m going to have to redo my connectors on my steppers with just straight wire to make use of the well thought out cable management.
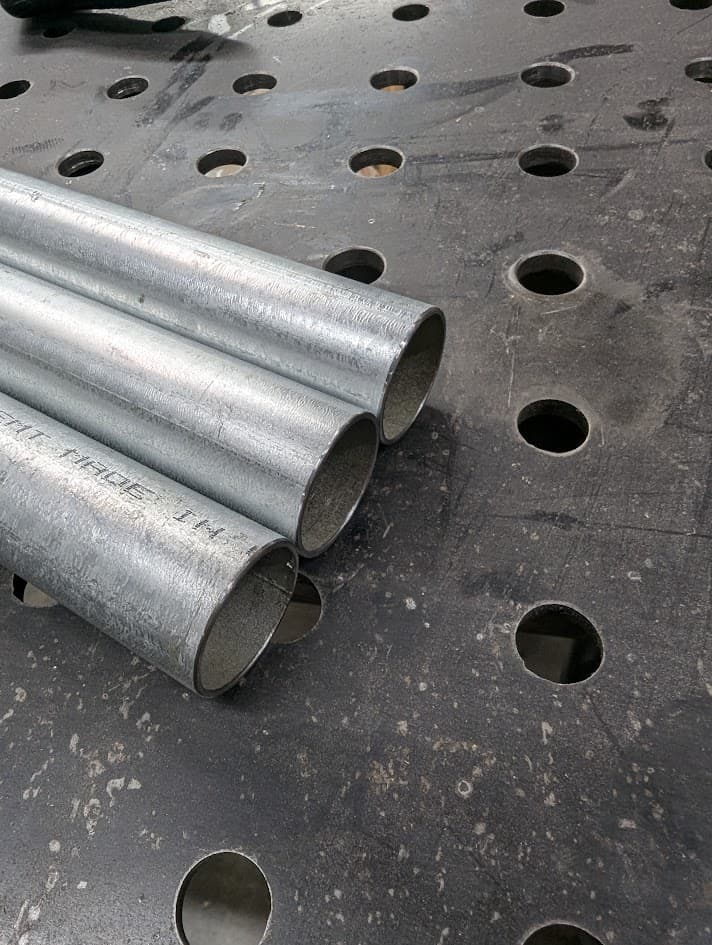
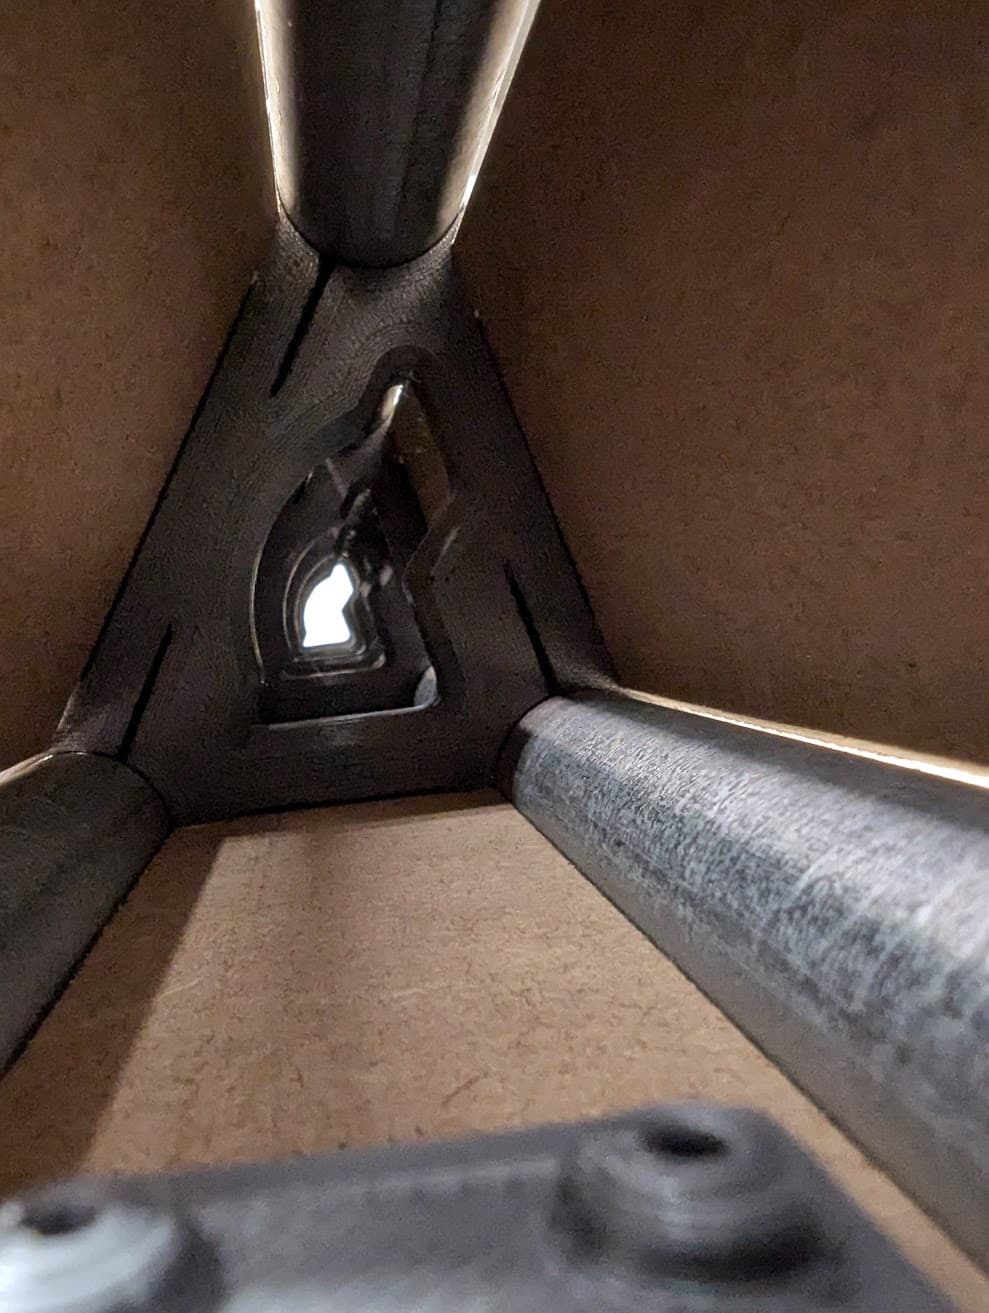
I totally acknowledge this may not even be a good idea, we’ll see. I plan on pretty much getting all of my wiring and controls to fit inside a mostly sealed gantry with a filtered fan blowing in and across for cooling. If it sucks, easy enough to print out the standard braces. More pics to come, just picked up the 1" conduit earlier today.
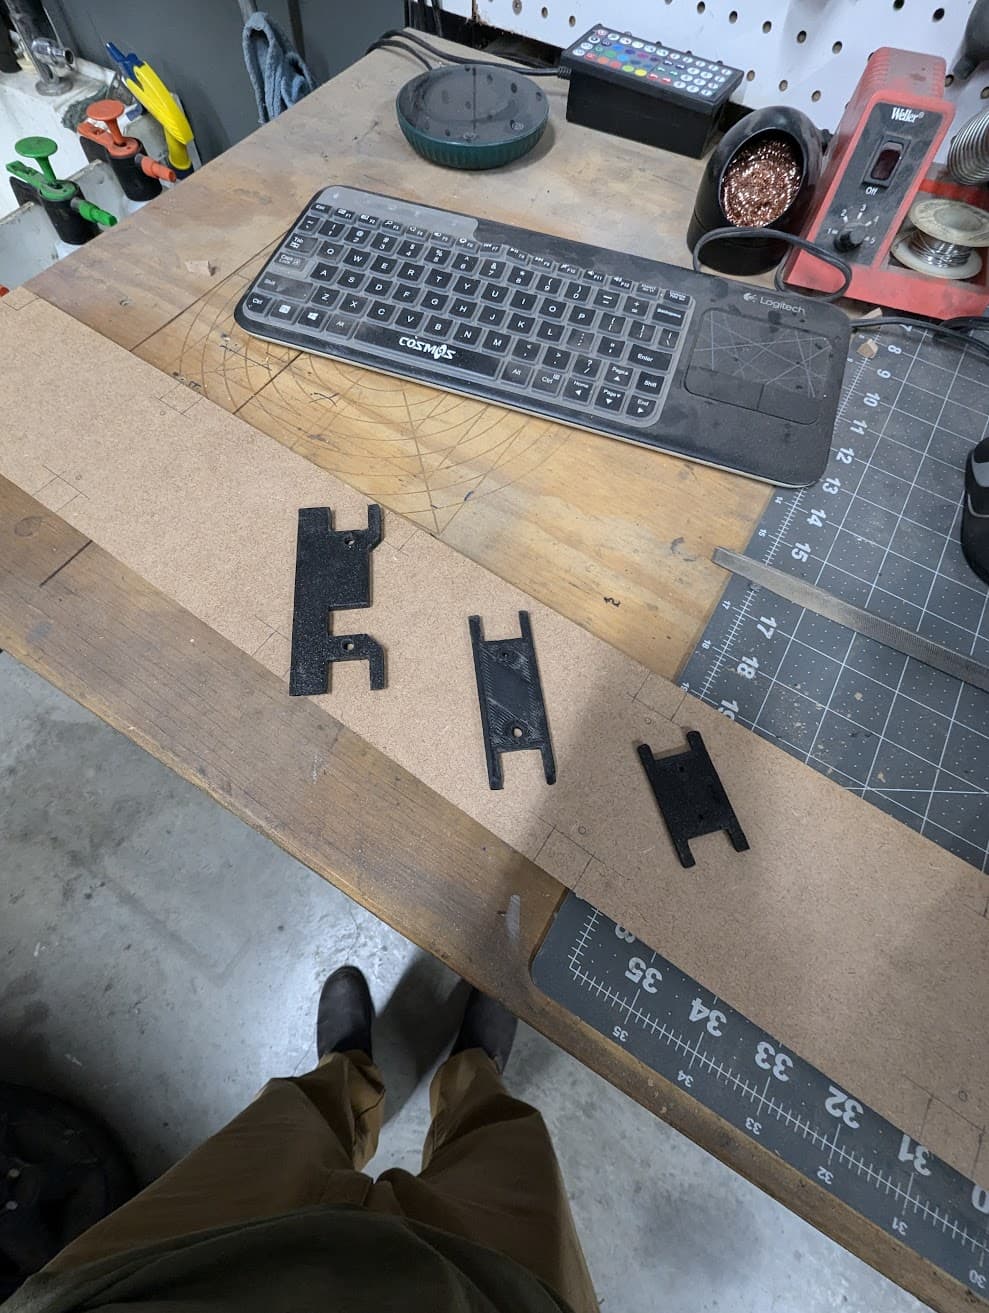
Next up is a slight modification to my max brace (hits the linear rail screws because I don’t know what I’m doing). And will probably cut out the front brace insert thing since I can use the calculator. The bottom and back I’ll have to figure out.
I’ll have to figure out how I want to mount the belts right up to the edge of the table, I cut the table a little too close to cut a full 24" width. I think I can make it work.
Nice build and lathe. Liked your LR3 belts, look forward to seeing how your modded LR4 turns out.
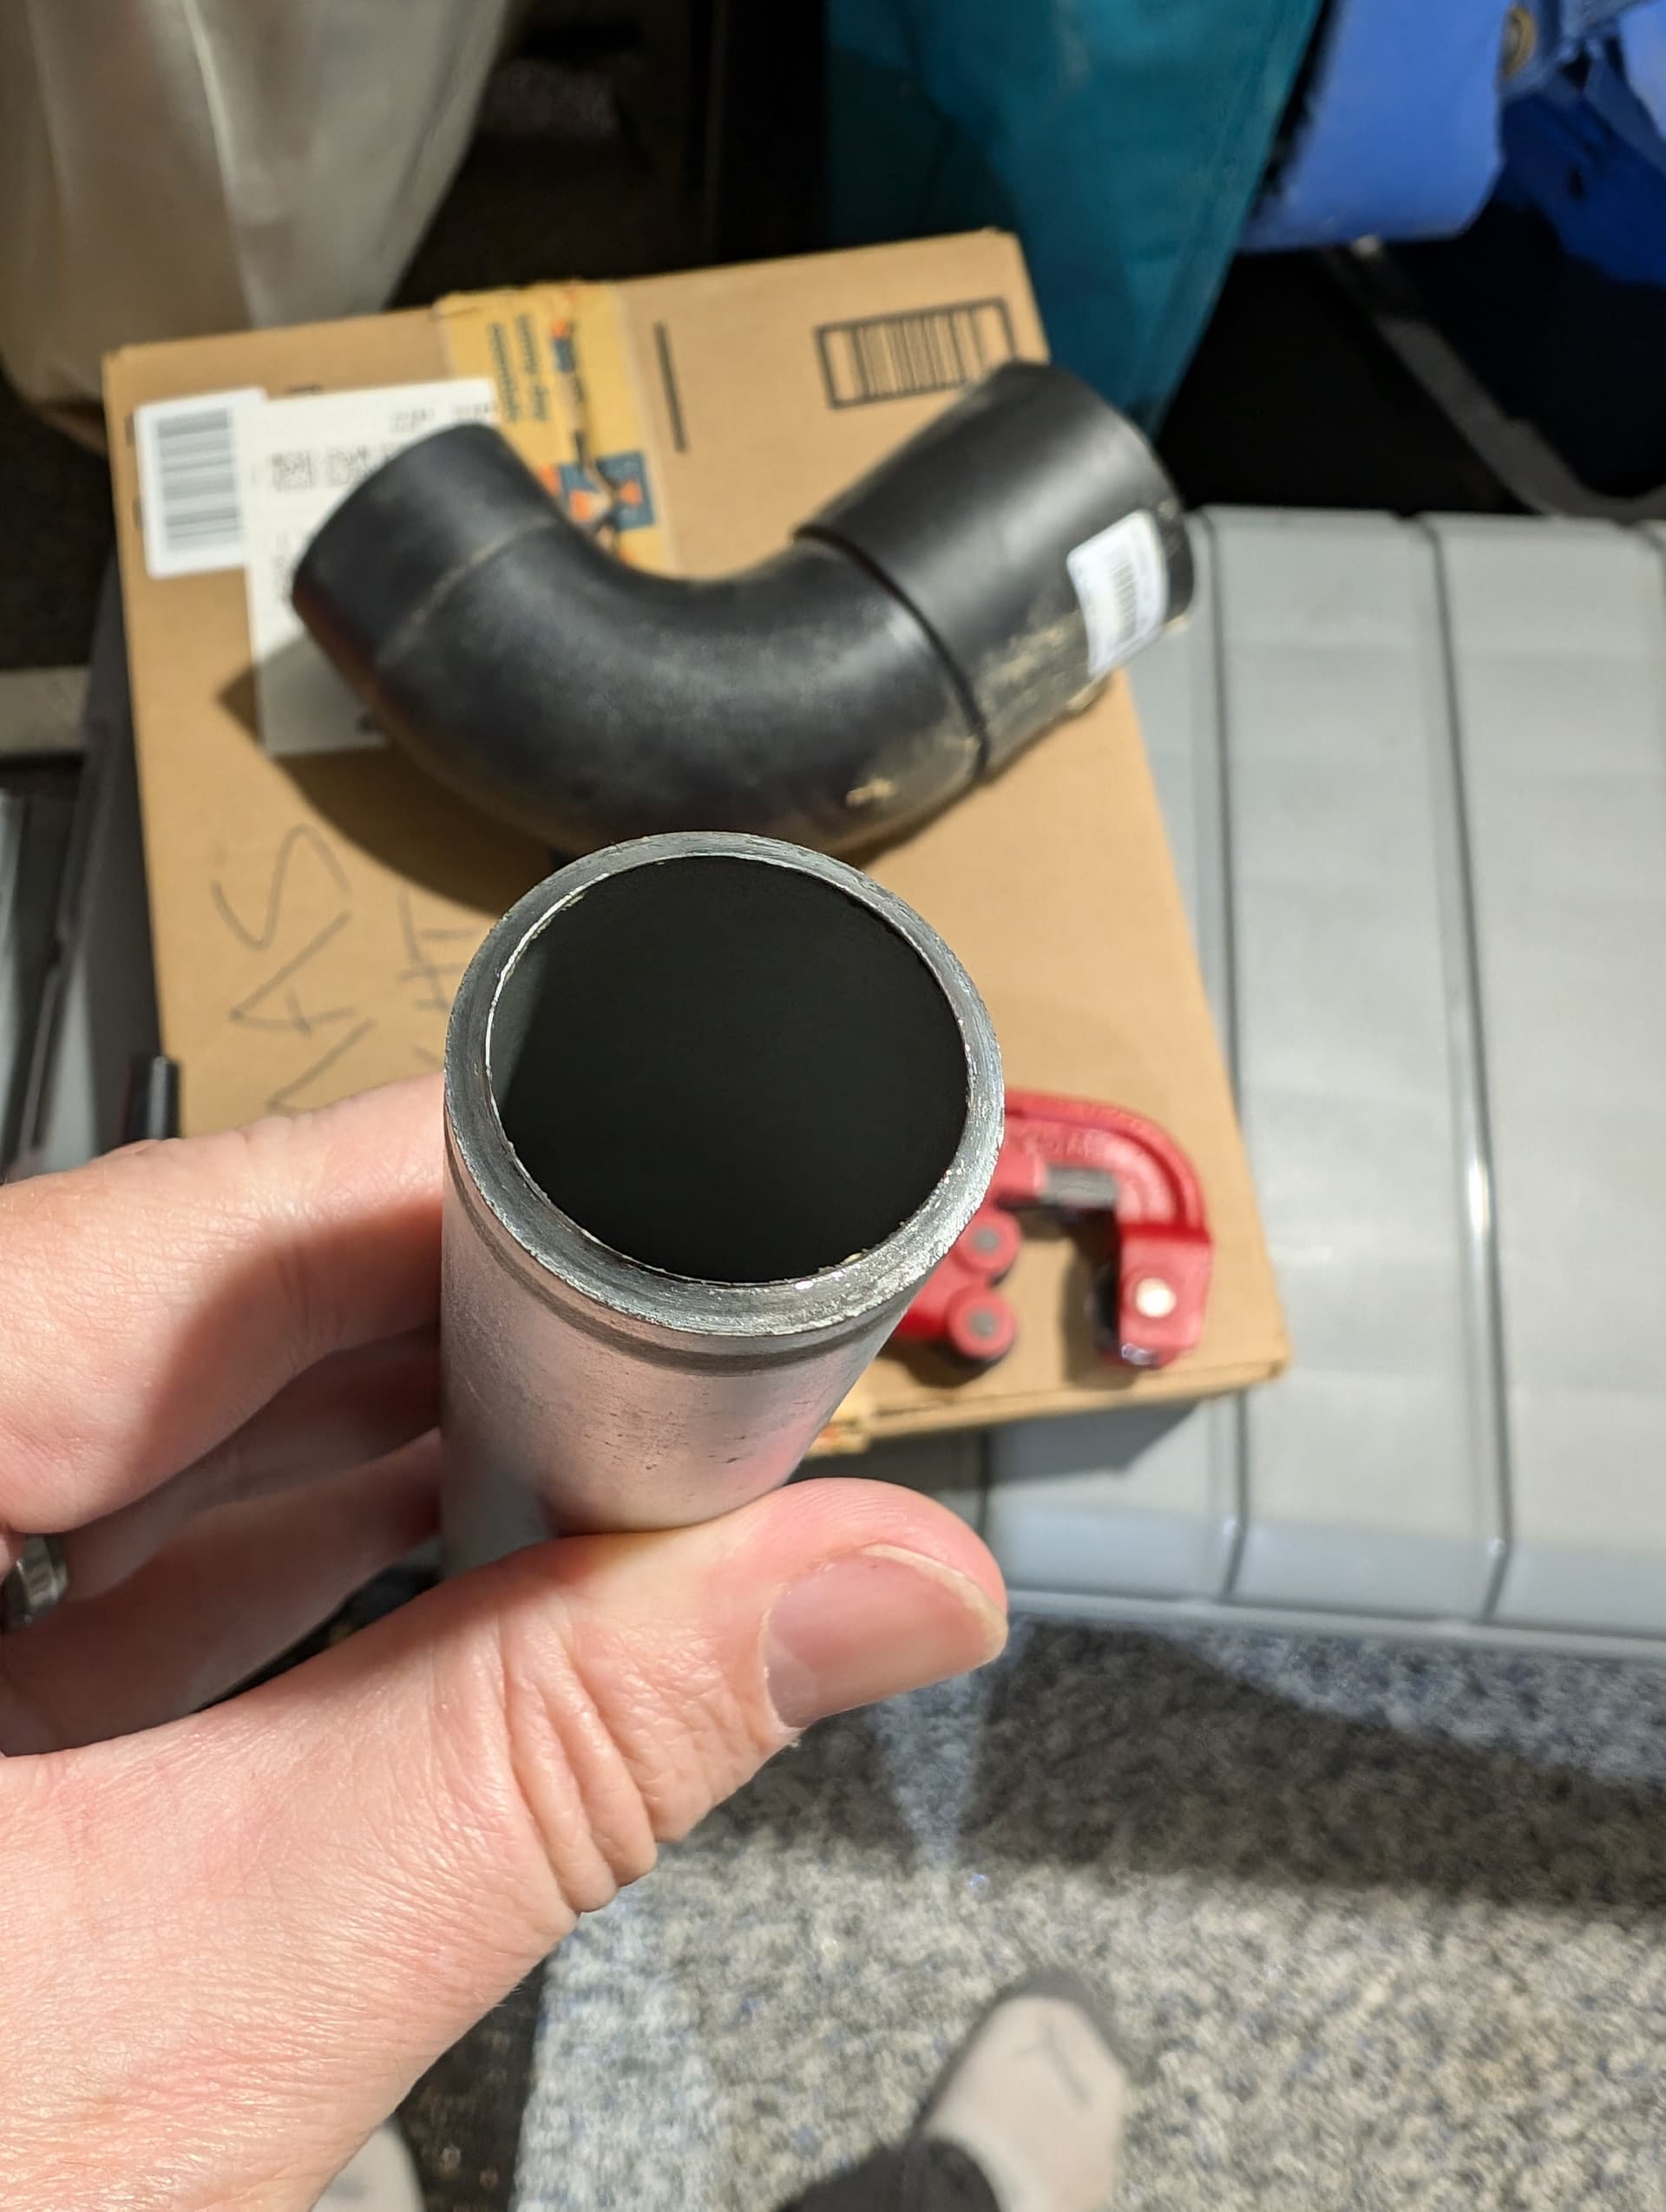
Used Home Depot Husky Pipe cutter already on hand, thin wall EMT conduit is about the thickest thing I’d want to use that cutter with that’s mainly used for cutting softer copper.
For thick wall pipe, guessing angle grinder + hopes and prayers are the way to go, or, chopsaw + metal cutting blade?
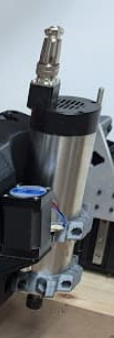
Is that an aviation connector, and not some water/air cooling setup on top of a ~70mm 1.1kw spindle?
Thanks! Yeah, I didn’t know how deformed a pipe cutter would make the ends. I only have one for brake tubing. I tried cutting the stuff with a hacksaw at home depot and gave up and just put a red flag on it lol.
It’s a 220v 800w 65mm air cooled spindle, it comes with an aviation connector. I may switch to a 1.5kw I believe that should be the same diameter but holding out to see how this works and for a deal. The VFD I have will handle 1.5kw.
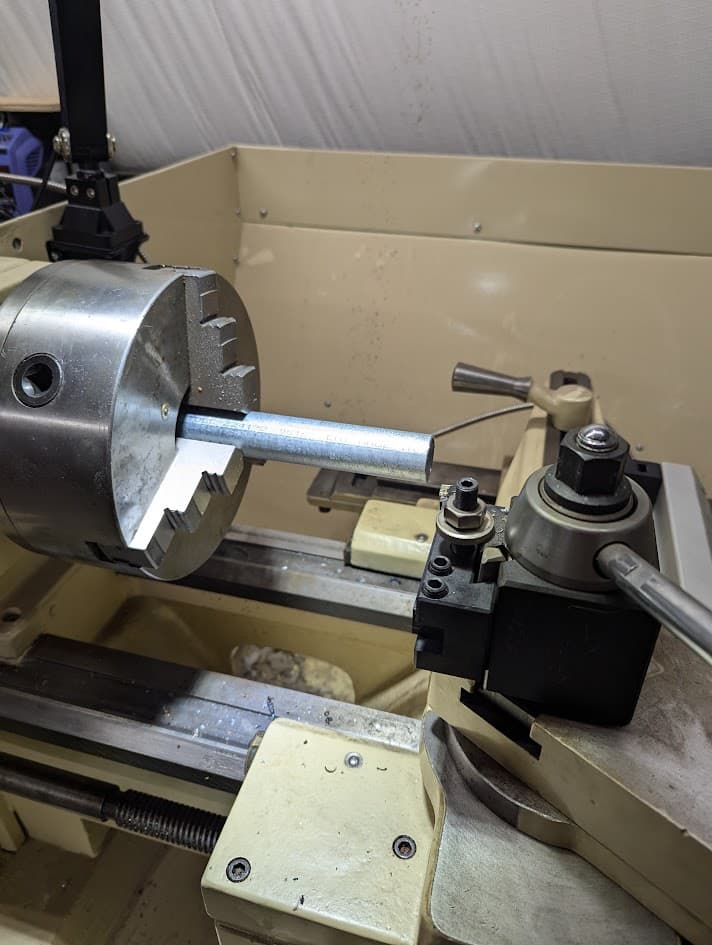
Did it seem to squish the tubing on the end much? I always deal with that with brake line no matter how light I try to turn the knob, always requires chasing with a chamfering tool. Maybe that’s less of a thing on larger tubing. I wanted the ends straight so I know I get a solid grip on the end braces and so any plugs fit in well.
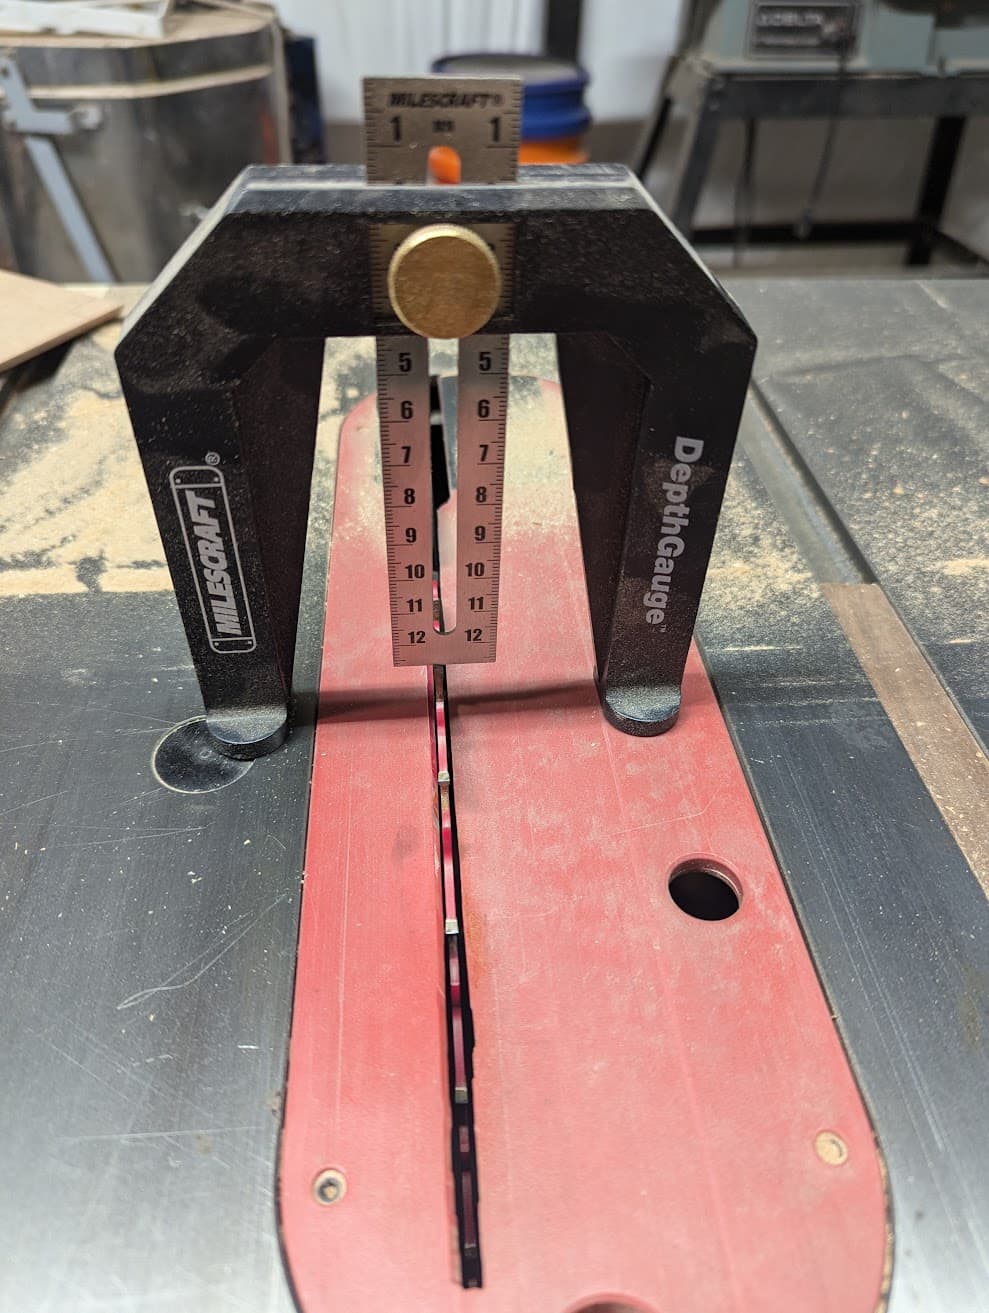
I went very slowly and only advanced the blade a small fraction of a turn per rotation. I didn’t notice any deformation, 1" EMT is fairly beefy (didn’t notice any deformation with 3/4" for the LR3 either.)
I also used this exact same pipe cutter. The main issue I had was keeping it “square”, which is really circular in this case, or making sure it stayed in the same groove after 1 full rotation. It had the tendency to move up/down the pipe in a screw like pattern, just takes a bit of going slower and making sure it’s lining up correctly. Cut both 3/4 and 1in emt great. It left a slight chamfered/ ridge on the end of the pipe. The only reason this really matters is if you plan on sticking a 3D printed cover on the end of the pipe to look nice, the inner pipe dimension is different than normal.
Pipe cutters work by pressing the blade against the material, which inevitably leads to slight distortion (compression) of the material at the thinnest section just before it cuts through the inner wall.
That is why most of them include a triangular reamer, that is meant to cut away this small section of distorted material to restore the proper ID. It usually takes just a few rotations on softer materials (copper), but may take several rotations on harder material (steel or stainless)
The type of cutting disc that you are using also matters. A General Purpose disc will eventually cut through hard materials such as Stainless Steel, but requires much greater cutting force, resulting in greater distortion. The disc will also dull much quicker, requiring even more cutting force.
A purpose built cutting disc designed for use on Stainless Steel should cut hard materials easier, cause somewhat less distortion, and last longer.
I’ll need to leave the back plate removable, but I wonder if there are any benefits to gluing the braces and struts together (with like construction adhesive). Either way, my plan is to use some foam strips on the inside or adhesive or caulk to mostly seal the inside from dust ingress and I’ll add a filtered fan on the back to help cool the Jackpot, power supply, etc.
Yes, yes he did. Loctite PL Max Premium is definitely something you should not use on front and bottom Struts if you’re looking to follow the yellow brick road
Just goofin’ around because triangles are neat and I was going to need to buy 2 joints of tubing anyway. If anything it’s totally aesthetic so I can try to hide wiring.
@azab2c What’s the story with PL Premium max? I was considering PL Premium, is there a warning regarding using it? I know it’d mean I wouldn’t be able to disassemble the gantry, but if I need to do that for whatever reason (like making it bigger), not a huge deal to print out some more braces and struts.