Hello friends,
This is the build topic of my LR3 to LR4 conversion, and I think it’s gonna be a loooong one ![]()
take a seat and welcome to my blog, 2000’s are back ![]()
Prologue
For starters, I’ve been very happy with my LR3.
It’s been almost 3 years since I built it as an upgrade from the LR2, and I have to say it… just works…
In the past 2 years, this machine has been more of a tool than a project, and believe me, I say that as a real good thing ![]()
It’s been said numerous times already, but Ryan made a fantastic job designing this machine, evolving from a “good concept” LR2 into a real product.
So much so that (amongst other things) I didn’t really feel the need to upgrade to the LR4 for the past year.
It just works… why bother?
OK, ok, I lied… but only a bit…. ![]()
First attempt
Back in oct. 2024, following the release of the LR4 after the beta program, I tried to print a few parts on my Artillery X3.
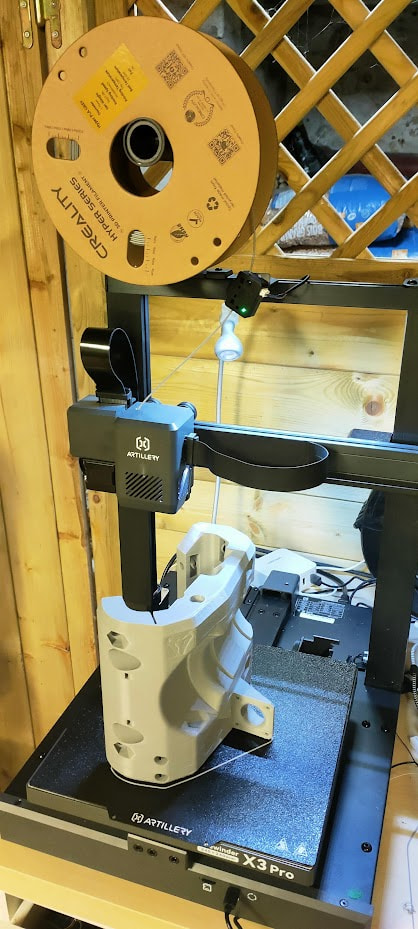
This printer has never really been a “great printer”, but I managed to print the whole LR3 with it, and had acceptable prints for other stuff…
It suffered from “misprint streaks”, where it would print just fine for weeks, and then would just fail a dozen prints in a row….
Also, it printed small parts almost OK, but strugled severly on big parts: layer shifts, under extrusion, nozzle rubbing on the part… you name it…
Let’s say the result was…. sub-par…. well yeah… awful ![]()

I shelved the parts knowing very well I wouldn’t use it ever and called it a day…
A new start!
Fast forward March 09 2026
I needed to make a small repair on the car, I was printing a lot of small parts and, again, the X3 just kept failing…
As I was mumbling at the desk, my wife just said:
“Wouldn’t it be better if you bought a nice reliable porinter rather than a cheap one for once?”
Little did she know the browser tab was already opened on the Bambulab website, and a printer already added to the cart….

So, of course, I did just as she told me (and maybe forgot to tell her imemdiately, but shhhh :p)
Fun fact: the X3 just decided to prove me wrong a single day after this purchase by successfully printing 4 large parts in one go, but I convinced myself it was too late to cancel the order ![]()
March 12
A few days later, the printer showed up, I cleaned the mess around the printers and installed it.

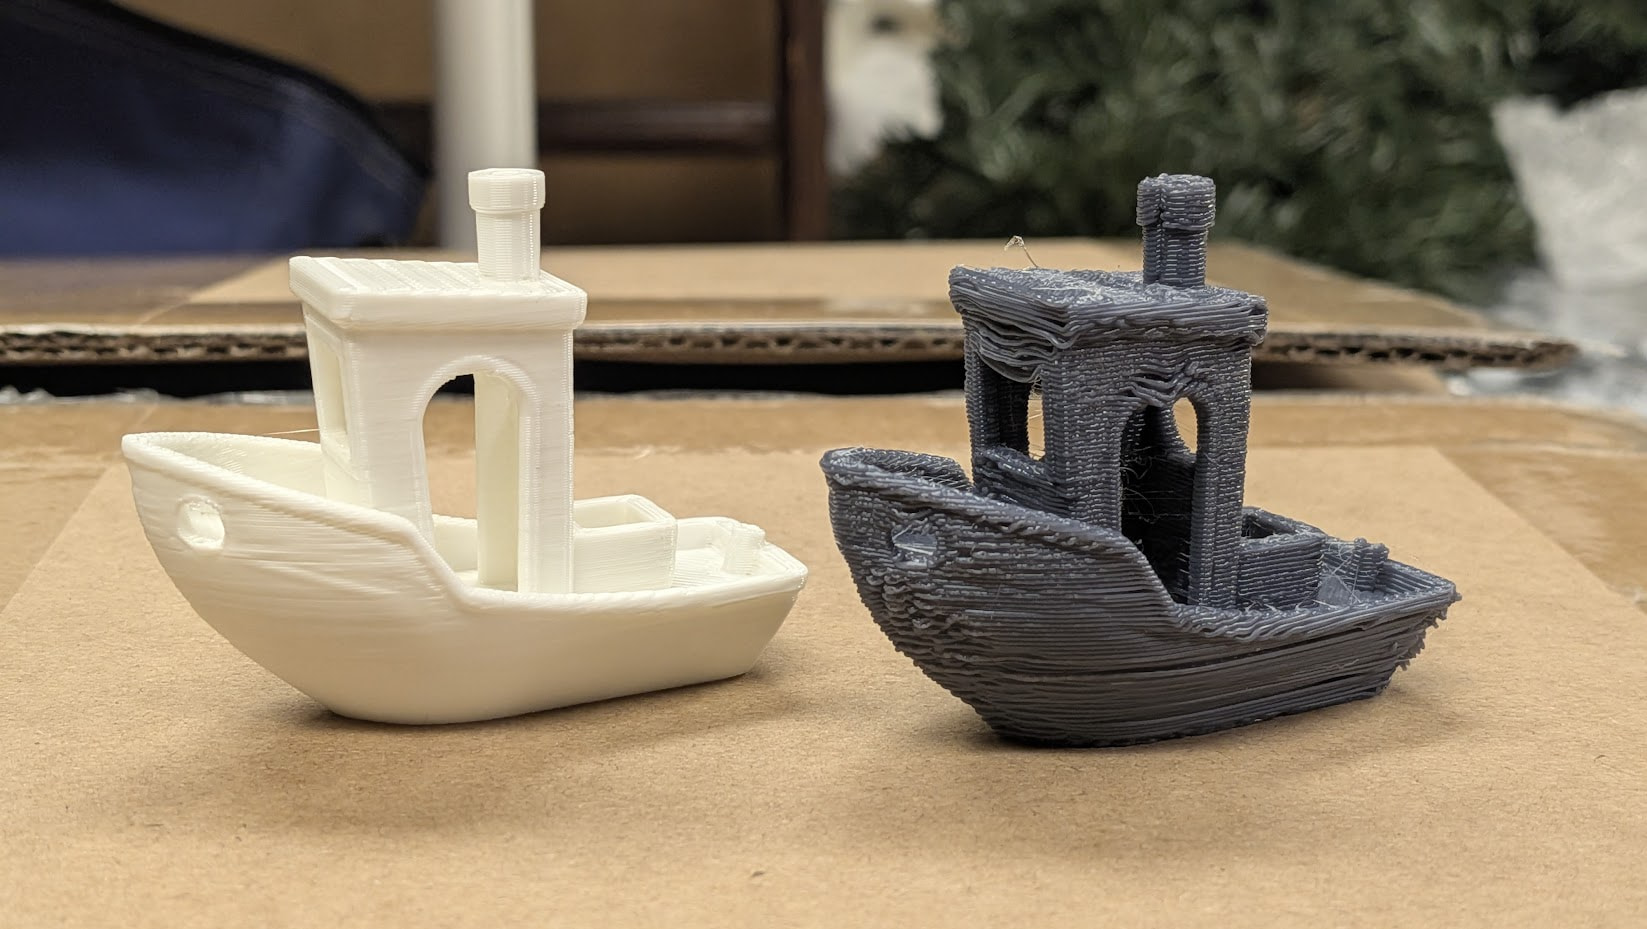
Quick assembly, setup and calibration, first benchy was ready just an hour later
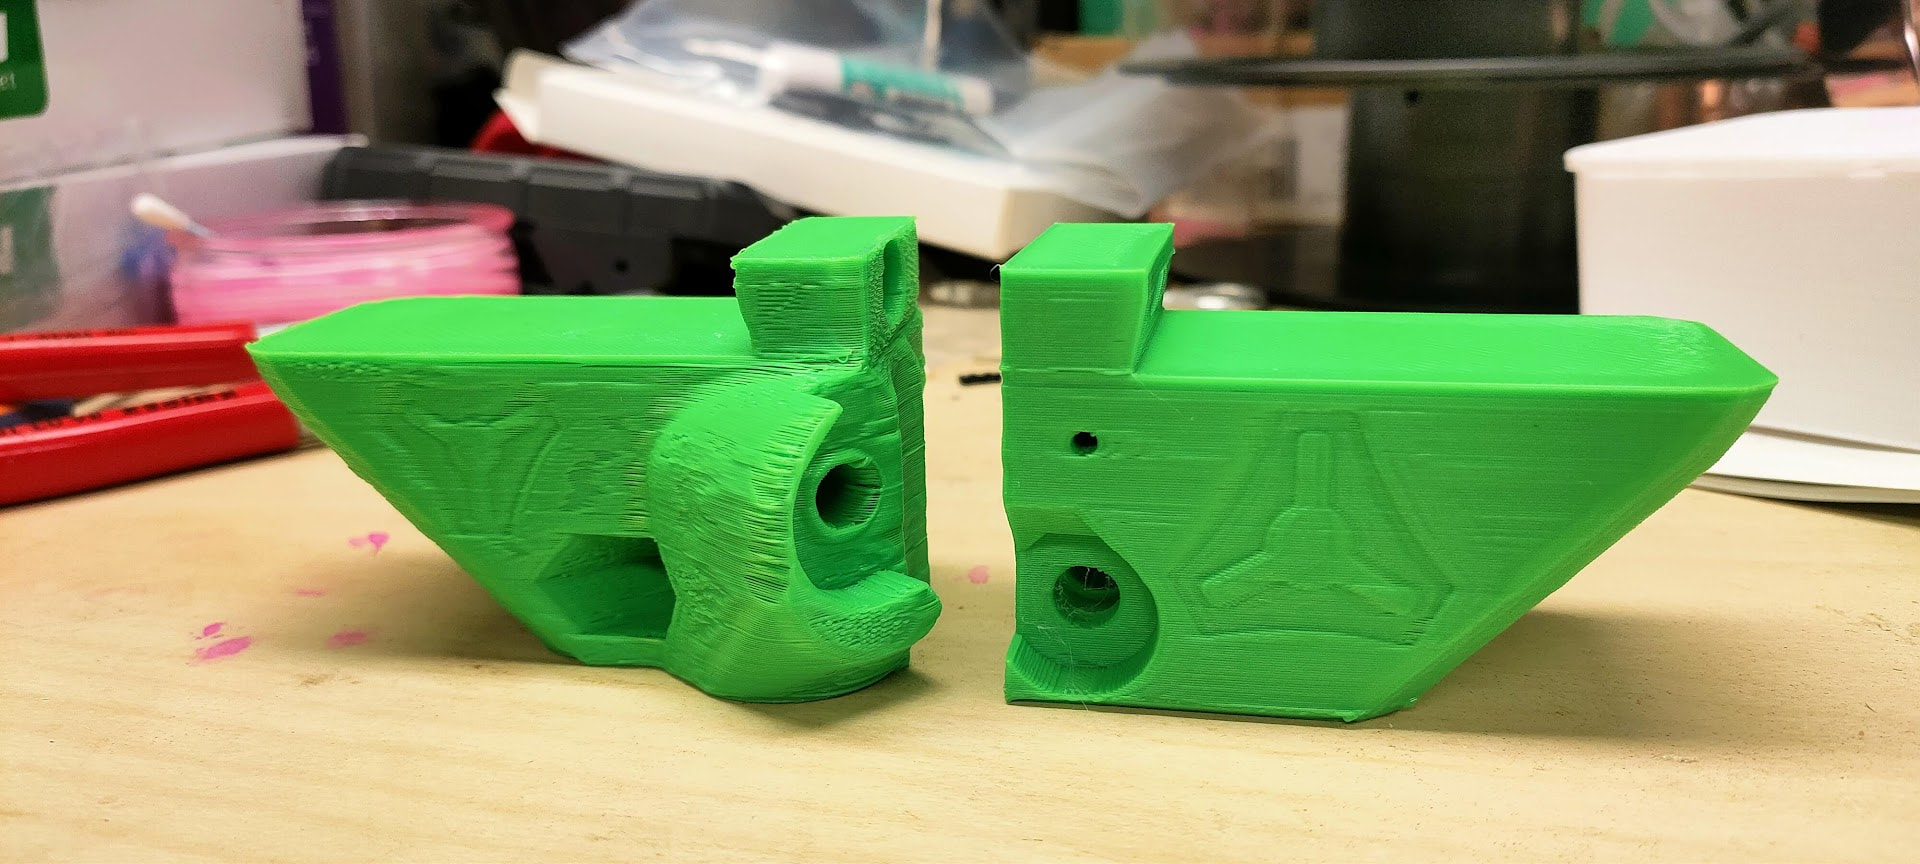
Quality didn’t impress too much, but I later discovered I printed it in “support material” which explains quite a lot of things….
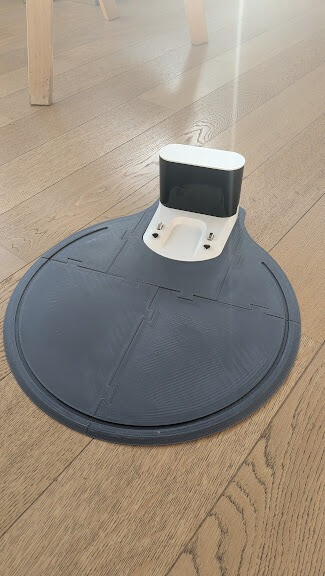
As a reminder, I launched another benchy on the X3 at the same time and… well… I’ll let you judge ![]()
This awful benchy was printed just after the vacuum base I showed earlier too… which is crazy…
The most keen eyed may have spotted I ordered some PLA along the machine, in the same colors as my first failed LR4 attempt…. I clearly had something on my mind
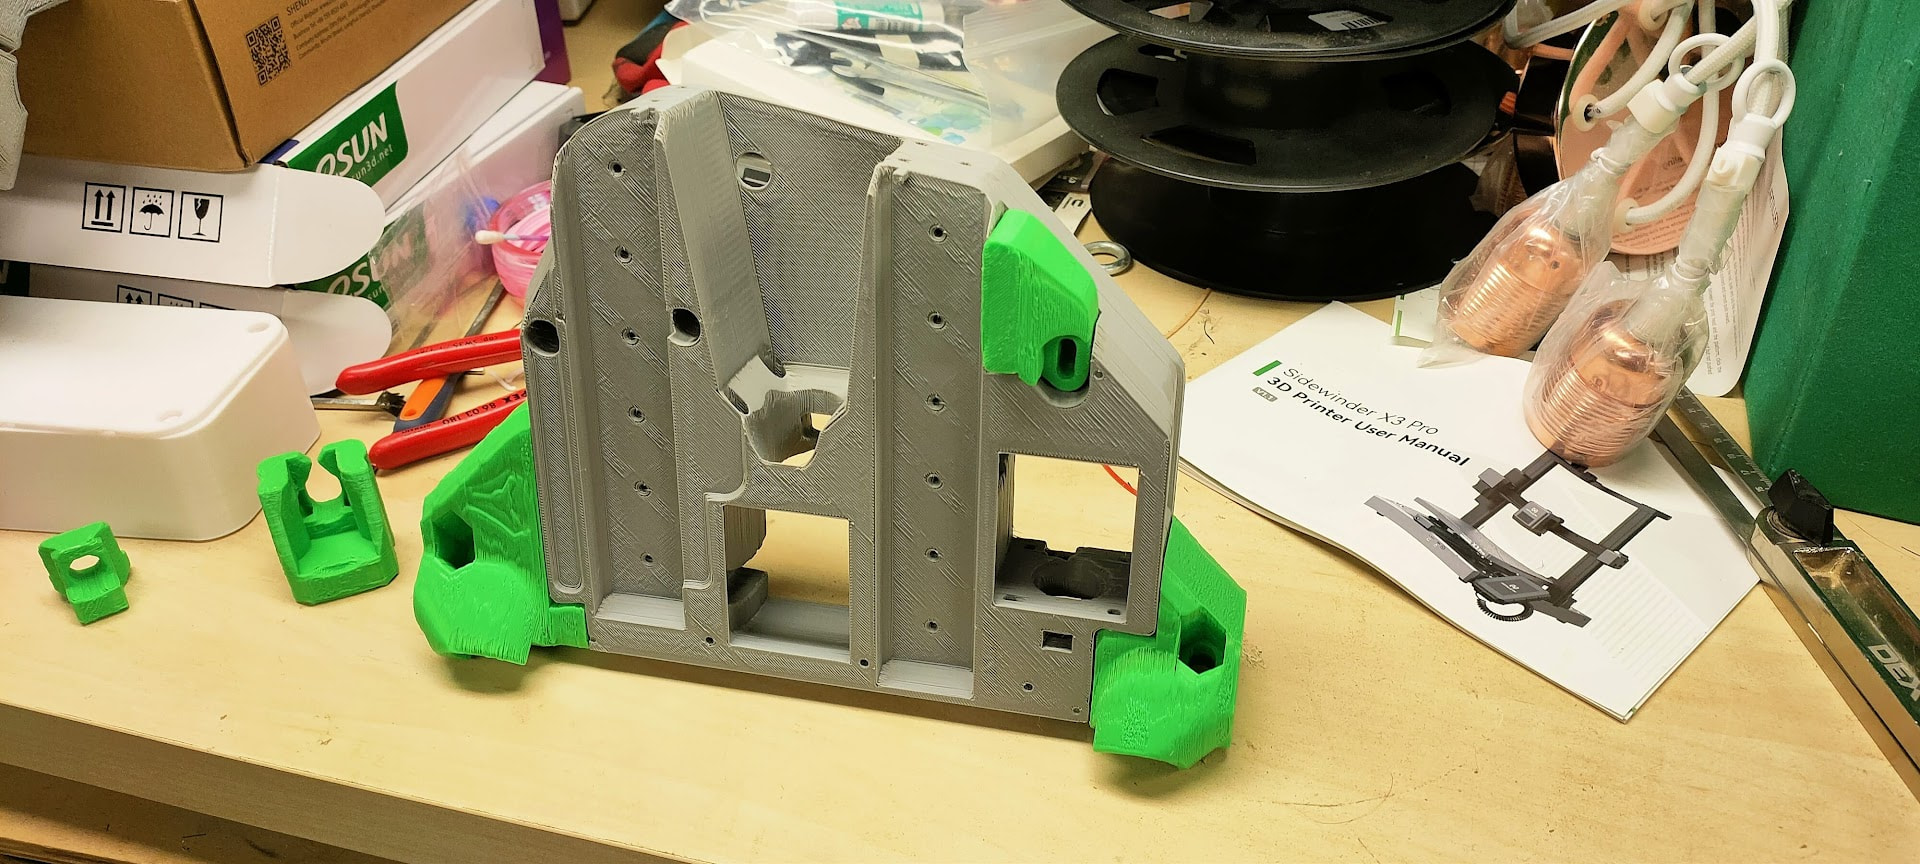
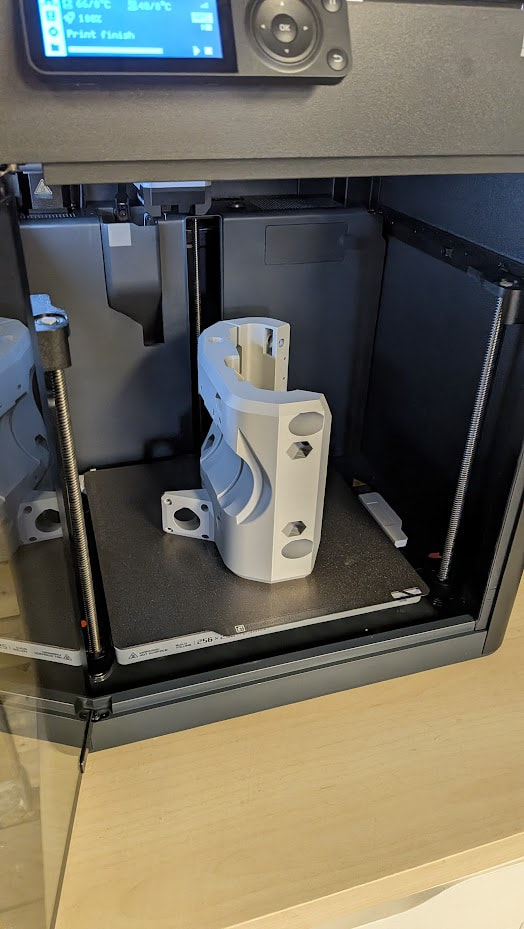
March 13, as a first real print, I started printing the core ![]()
What better first print test could you have than a 16 hours long , 600gr print? ![]()
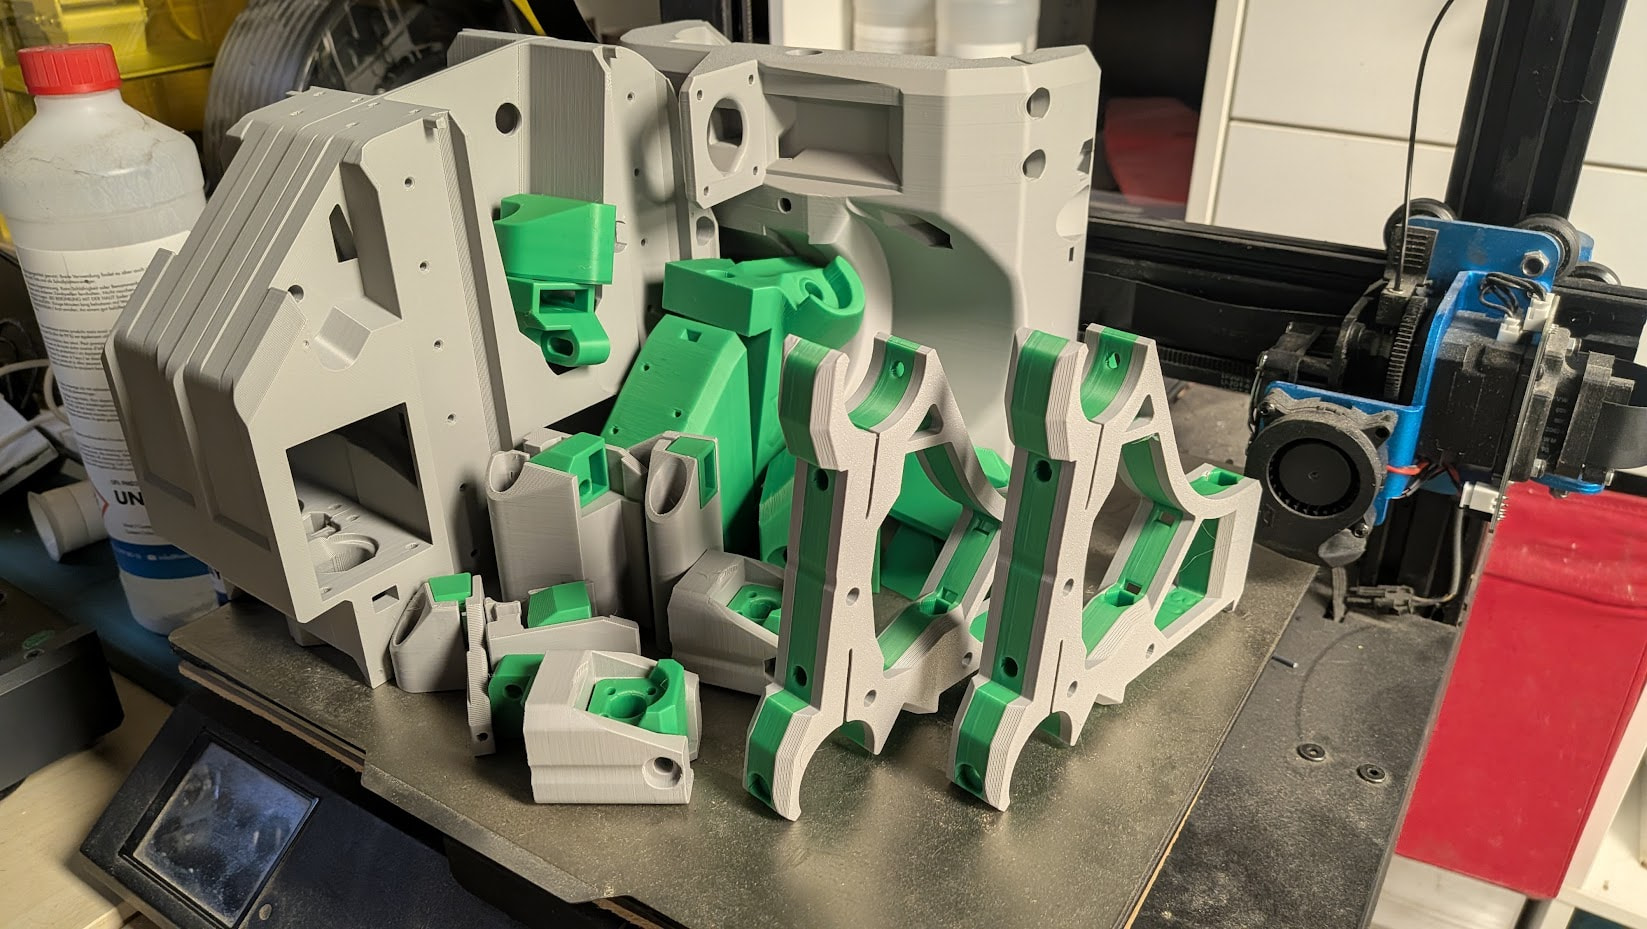
March 14 I started printing the sides and feet

March 15, I had most of the parts printed
Tried my hand at some layer color change with the AMS on the braces too
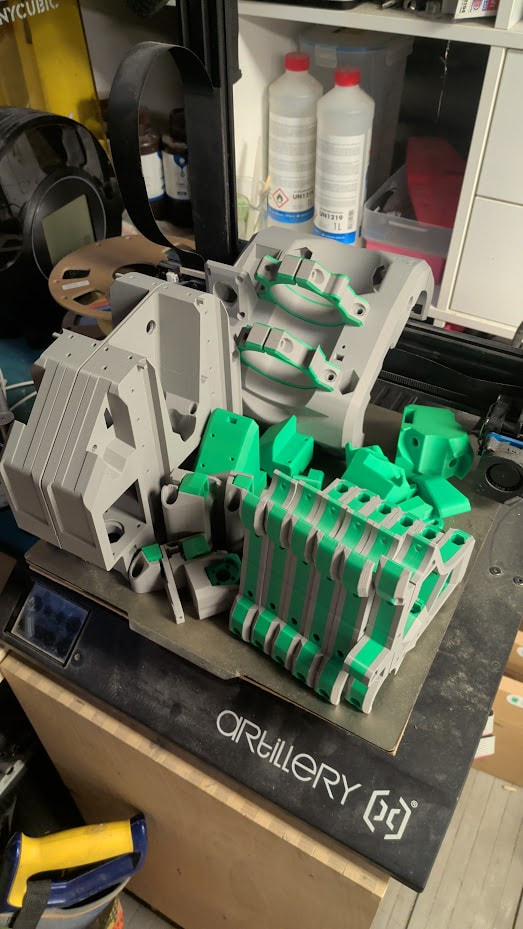
March 16, all parts were ready! (except for the dust collection)
Next steps
- XZ plates have been ordered from the almighty @Tokoloshe / Hawiwe shop.
Thanks again for helping the EU community with those cuts! - 30mm rails have been ordered.
I only found a semi-professional shop selling 6 metters long tubes, but it seems they can cut it and non-professional can order and collect at the shop, which is great
25€ for 6 meters of 30mm OB / 2mm thick steel tubing seems likea reasonable price given the difficulty to find them in Europe - I need to clean the shop, bring down the LR3 table and rebuild it… this one will be a hard task… -_-
Bambulab P1S thoughts:
There you have it: a whole LR4, printed in 4 days…
No hassle, No failed parts, No tinkering… just a tool that reliably prints good quality parts
This was exactly what I was looking for…
I know the brand is not a favorite amongst DIY enthusiasts, and vendor lock-in will be a problem at some point
But I just needed a “tool”, and this printer fully succeded at this.
Maybe at some point I’ll build a “true DIY” corexy using my P1S too, but at the moment it’s not something I’m willing to do.
I recently saw a Swedsh maker video where he says “I’m interested in 3D printing, not in 3D printers”, which is exactly how I feel at the moment
Makerworld thoughts:
Makerworld is the de-facto “standard” for bambulabs printers, focusing on “click-and-print” functionnality, allowing users to completely skip the “slicer” part and print directly from the mobile app if they want to.
I found the MakerWorld LR4 page and used a print profile shared by another user
https://makerworld.com/en/models/976448-lowrider-4-cnc?from=search#profileId-1438932
As I launched the print, I had a bad feeling about the parameters. The profile was meant for PLA-CF or other funky filaments, accent colors didn’t seem respected on some parts….
So I checked the file on the PC app, and found out the infills were completely off…
Also, it was a bit difficult to see at first glance if some parts were to be printed multiple times, and which parts were rail-size dependent
I stopped the print real quick, checked the documentation (really great documentation from Ryan as always…) and got to work…
This is what I came up with:

I tried my best to provide a clear and beginner-friendly profile:
- Parts separated on plates by accent color
- Checked and fixed every infill following the documentation
- Directly cloned the very few parts that need multiple prints (eg: z-nut)
- Fitted multiple clones of the same part on a build plate when the build requires multiple prints of them (eg: clips, braces, …) and added a text indication on the toal recommended amount
Note: User can print this build plate multiple times, and can easily “unselect” some parts in the app if he needs only some of them - Added “title” plates and texts to make it clear which parts are rail-size dependent
- Duplicated the “min brace” with a 60% infill alongside the “max brace”and marked it with a printed text for easy recognition after the print
Note: the “Hose holders” plate is still unfinished as I didn’t print it yet
My LR4 has entirely been printed with this file as a sanity check
It’s pretty cumbersome to go through each and every part to set the correct infill and settings, and easy to miss a configuration doing so
I, myself missed an infill configuration on the clips, and almost forgot to print the starting brace at 60% infill
I really think a real 3mf project with correct settings and clear indications - alongside the already great documentation - can really help bootstraping new users, and diminish issues tied to a bad print.
@vicious1 I’d really like your thoughts on this, and I can , of course, provide, modify, upgrade the file if it’s of any interest to you.
Pushing this as the “designer” profile on makerworld would greatly help new users.