I converted my MPCNC Burly to a LR3. I am using the Rambo 1.4 board and it homes X,Y and Z just fine but I can’t get the touch plate to work. it’s hooked to the top right S & -. It worked just fine on the MPCNC. Any help would be appreciated.
What firmware are you running for your Lowrider? If you are running Lowrider Dual firmware, homing for Z is up to square the Z axis. For touch plates with that firmware, you must use probing (G38.2). How do you trigger your touch plate code?
If you are not running Lowrider dual firmware, then please explain what firmware you are running, and what do you mean by, “can’t get the touch plate to work.” Does it move downward, but fail stop, or does it not move at all? Is there a small amount of movement in the wrong direction?
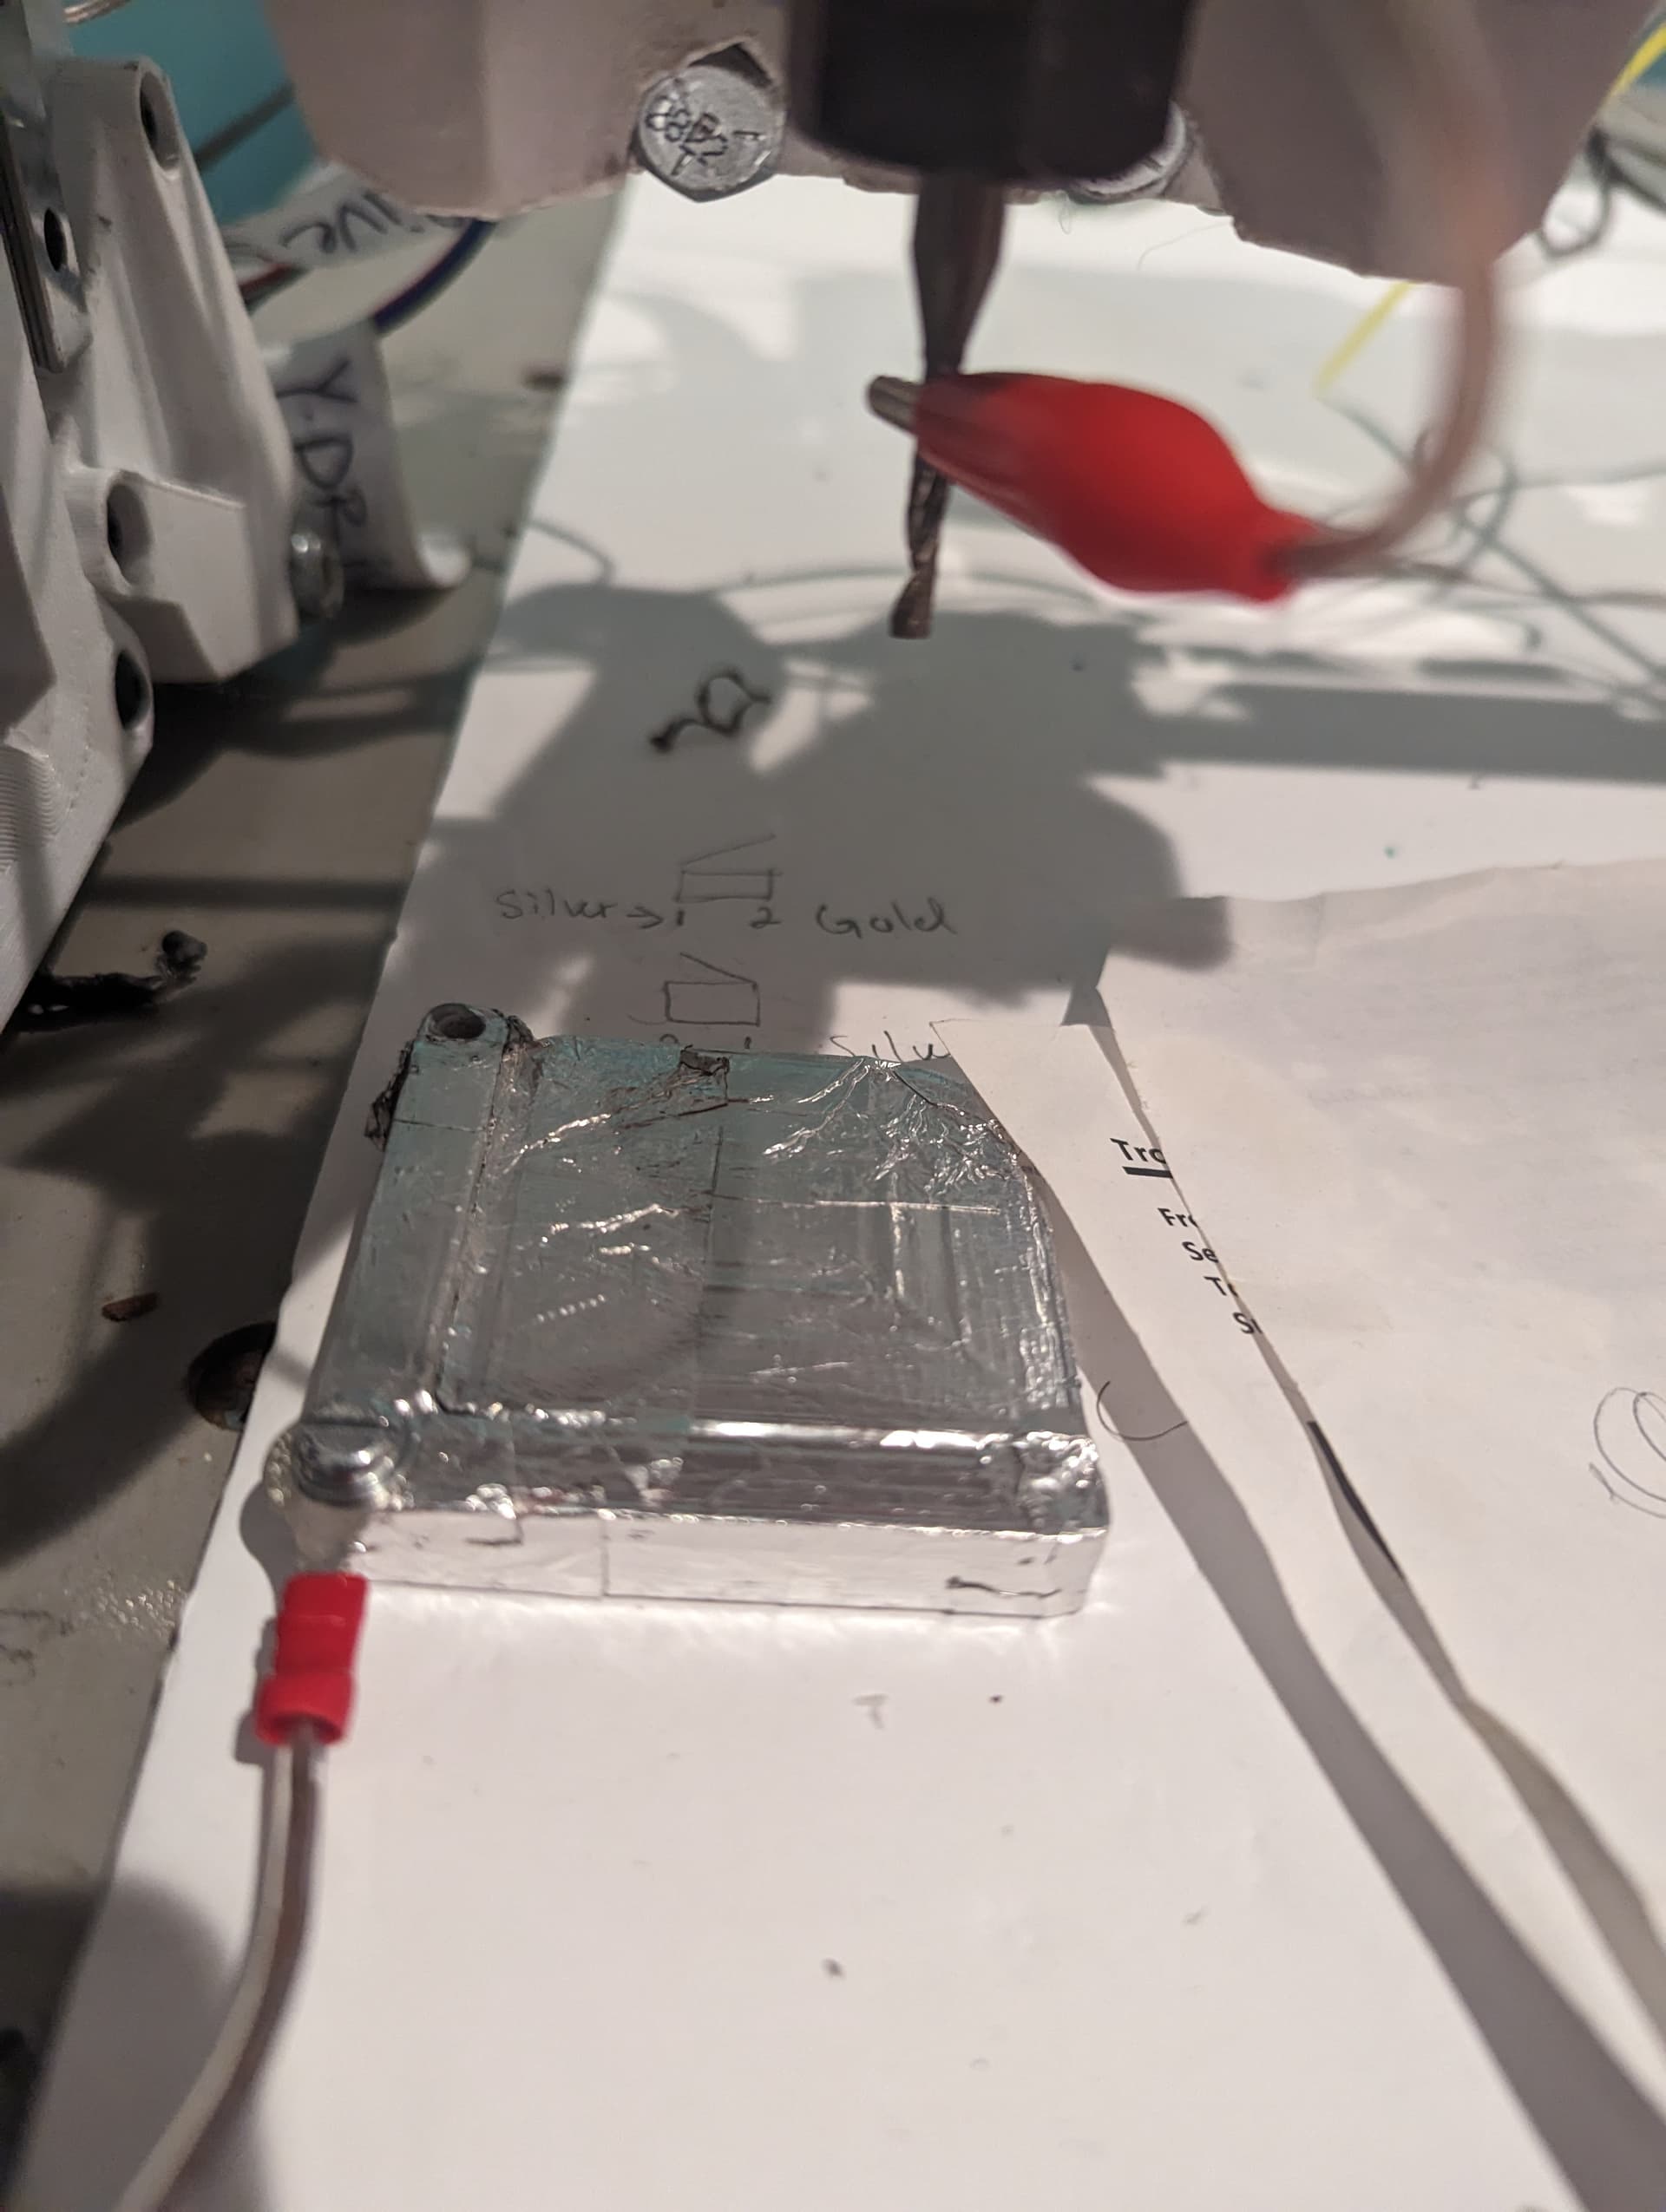
I think I’m using the current LR dual end stop firmware. The display says 515DL 2.1.1. I got the code to call the touch plate off the forum somewhere. I believe “G28 Z” calls the touch plate. I changed it to “G38.2 Z” but that didn’t work.
“G90”
“G1 Z10 F150”
“M0”
“G28 Z”
“G1 Z2 F150”
“M0”
“G1 Z-1.43 F150”
“G92 Z0”
“G0 Z5.0000 F480”
“G0 X0.0000 Y0.0000 Z0.0000 F2100”
“G0 Z20.0000 F480”
“M0”
“G00 X0.0000 Y0.0000 Z0.0000 F2100”
“G00 Z3.0000 F480”
If you are using Lowrider Dual endstop firmware, you will be required to use G38.2 for your touch plate.
G38.2 requires a target position. I’ve just recently started using G38.2 on my Primo (instead of G28). My understanding is that it probes towards that target from its current location and throws an error if it reaches that position before reaching the touch plate. Personally, I put in a target that is below any possible value my machine could attain. Something like:
G38.2 Z-1000
If you are always homing your Z axis up, and you are only touching off the plate once per job, you can use 0 as your target.
So, code to probe might look like:
G38.2 Z-1000 ; Probe to touch plate
G92 Z0.5     ; Account for touch plate thickness
G0 Z5 F480   ; Lift the bit off the touch plate
The 0.5 is the thickness of the Ryans touch plate. Adjust as appropriate. The 5 in Z5 is an absolute value and must be larger than the thickness of your touch plate.
1 Like
Thank you very much that did the trick. I just added M0 at the end so it would pause for me to remove the probe.
I’m having the same issue with my lr3 should I have something else downloaded to my motherboard in not understanding particular details I have my endstops working this is the actual last part for me .
Can you break it down in another way please I’m not following completely

How do you get to these options for the lr ??
On my Primo, this particular screen can be found in Configuration/Advanced Settings/Probe Offsets, but I’ve never made any changes in this menu. You want the Z offset to be 0, which is the default.
What firmware are you running? My observation that G38.2 needs to be used only applies to the LowerRider Dual firmware. The number following the ‘Z’ is important. In the following case, I use -1000. Try just executing the following and let me know what happens:
G38.2 Z-1000
The -1000 tells probing what direction (from the current position) to probe. If the probe reaches that position before the probe is triggered, it generates an error. So, the “safest” course of action is to pick a negative number with a magnitude greater than the working Z height of your machine.
You also want to test your touch plate (both touching and not touching) with an M119 to verify you have it wired correctly.
1 Like
They are connected I’ve checked for all inputs .
So according to my image is supposed to go to a -1000 value after moving the knob ?
You should not change Probe Offset. Leave Probe Offset for Z at a value at 0. In theory, you could use the Probe Offset for Z to adjust for the touch plate thickness, but for now just leave it at 0.
To test probing, you want to execute the g-code I listed in my last post. If you are using Repetier-Host, you can enter it on the Manual Control tab. If you have a display with an SD card slot, you can put it in a text file with the “.gcode” extension, and run it from the display like any other g-code file. It can be added to the V1 custom menu, but that requires recompiling and re-flashing the firmware.
The way I’m suggesting you use probing, the -1000 provides a relative direction for the probing. Any Z coordinate your machine will have will be greater than -1000, so it will probe in the downward direction, and it should touch the plate long before it reaches -1000. If I instead used positive 1000, the machine would probe in the upward direction.