Sorry, I think I misread your post here. I thought you were asking about something different.
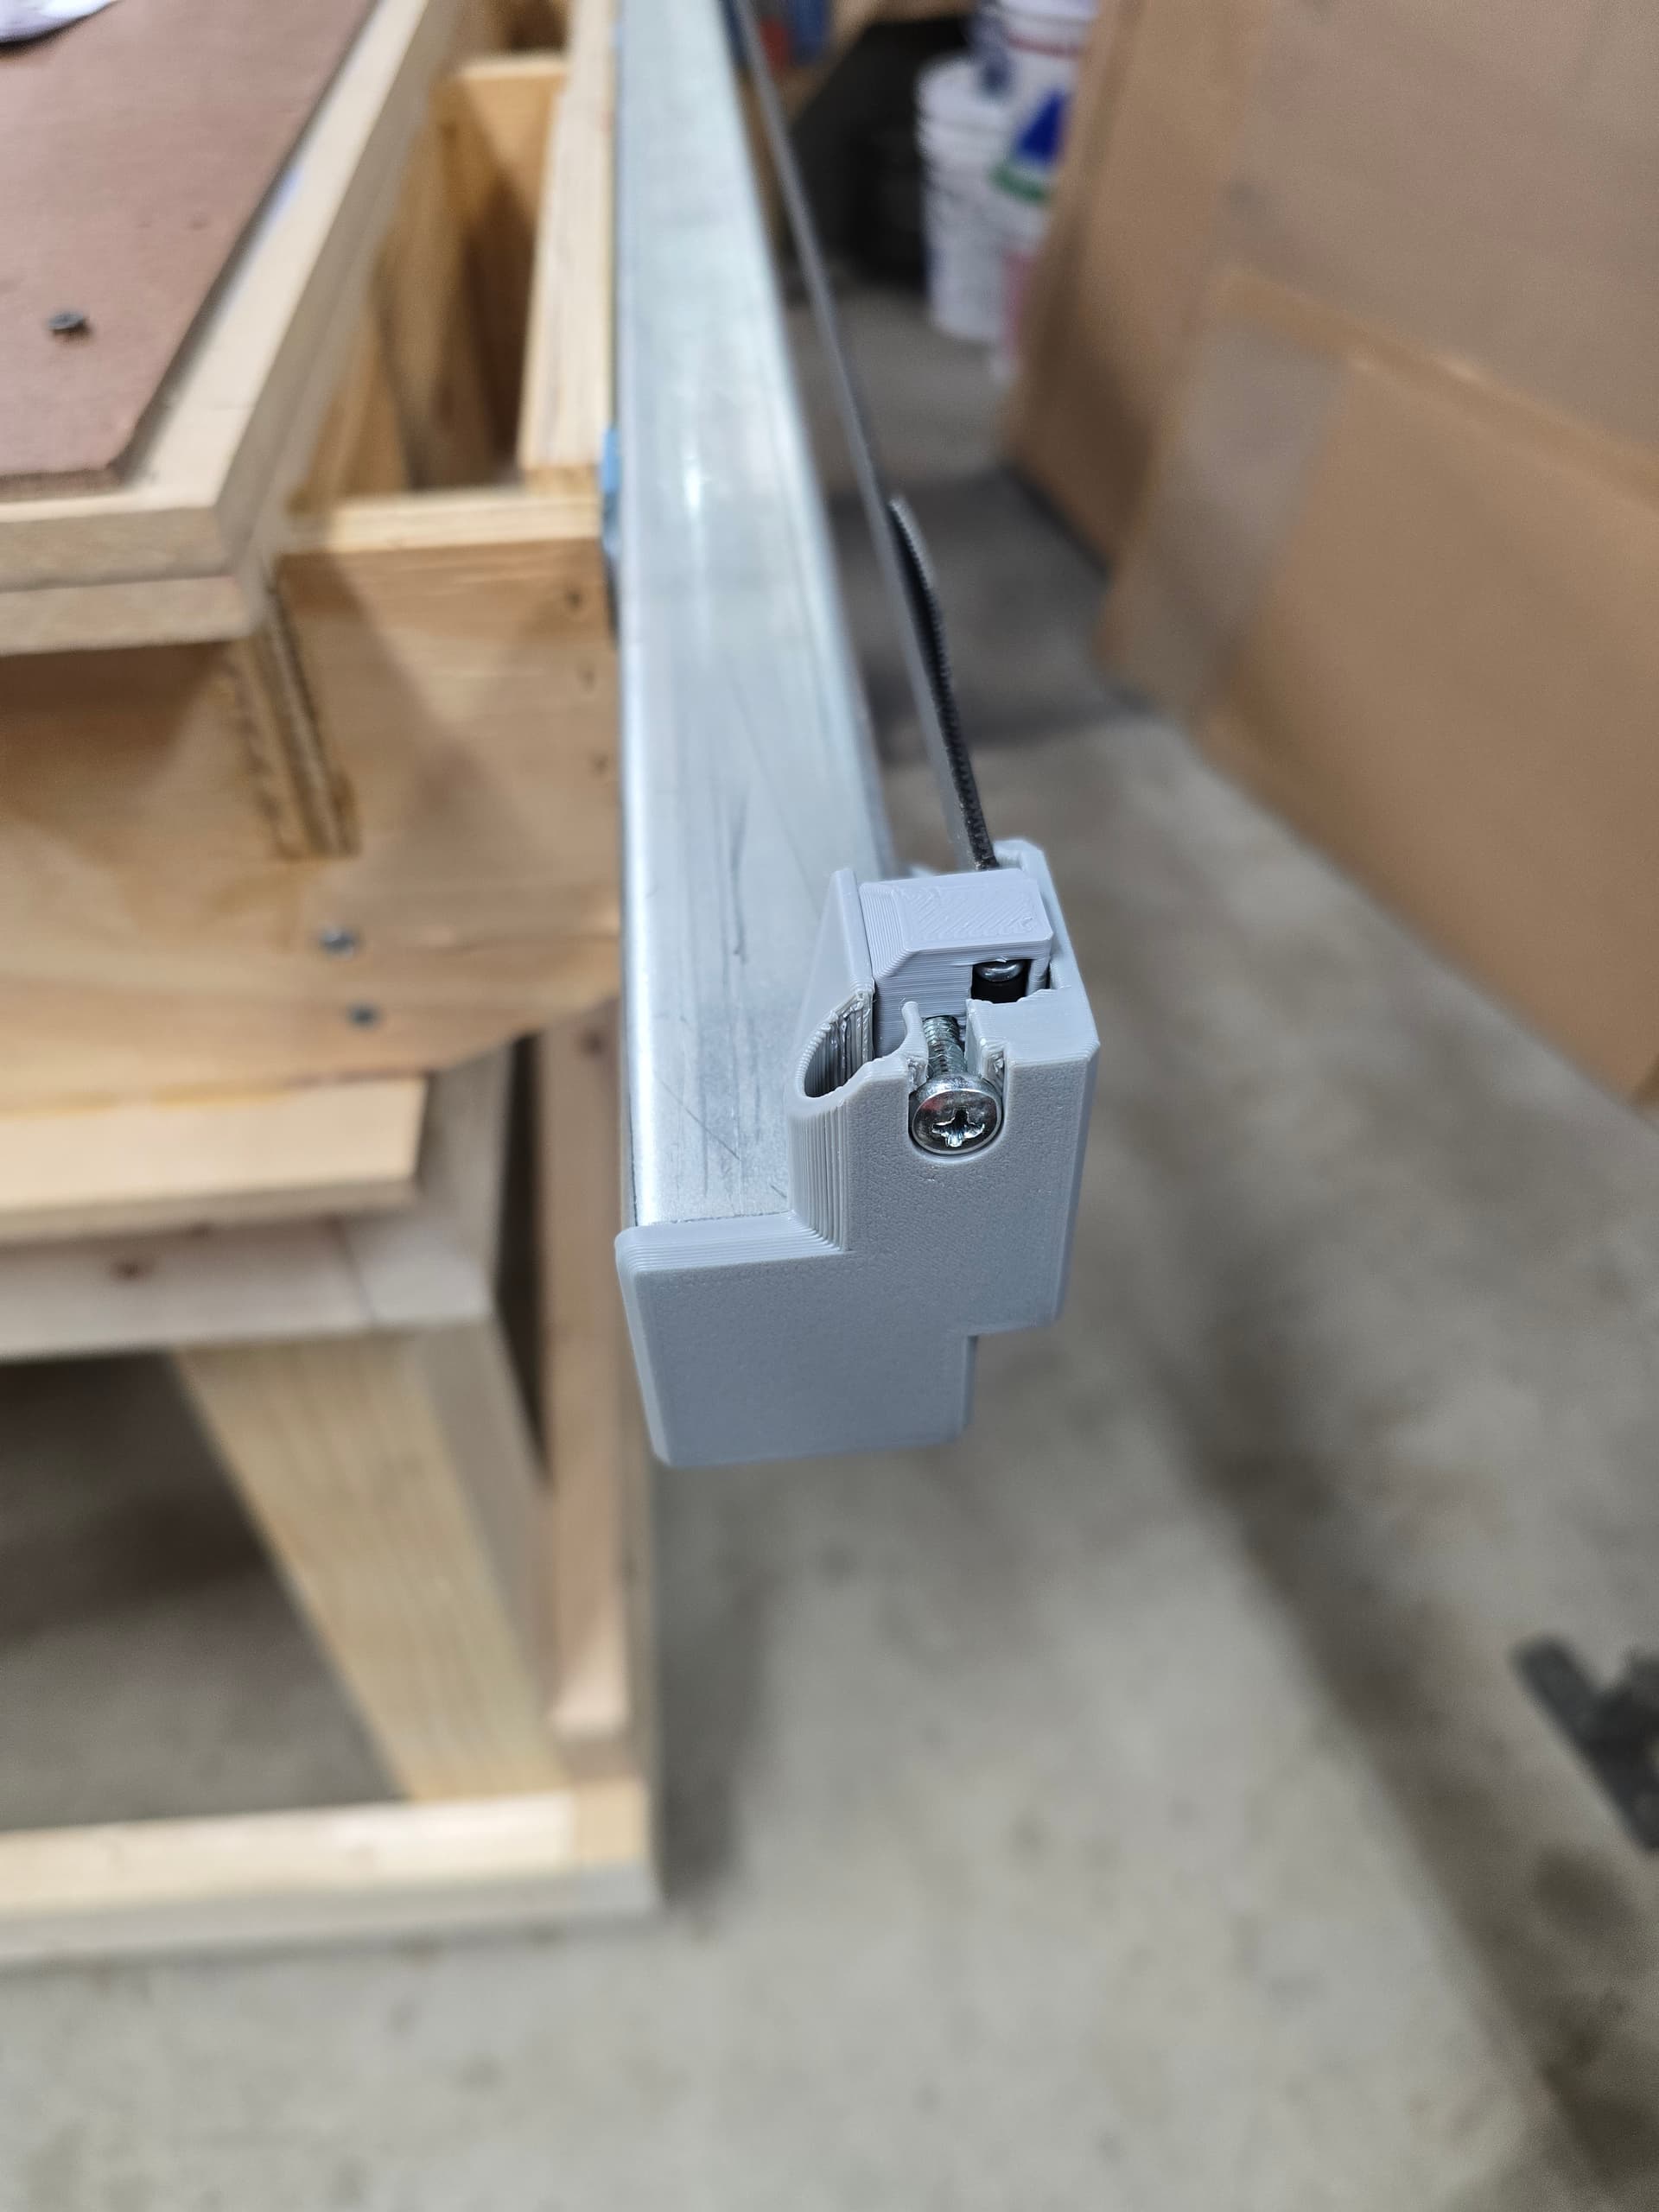
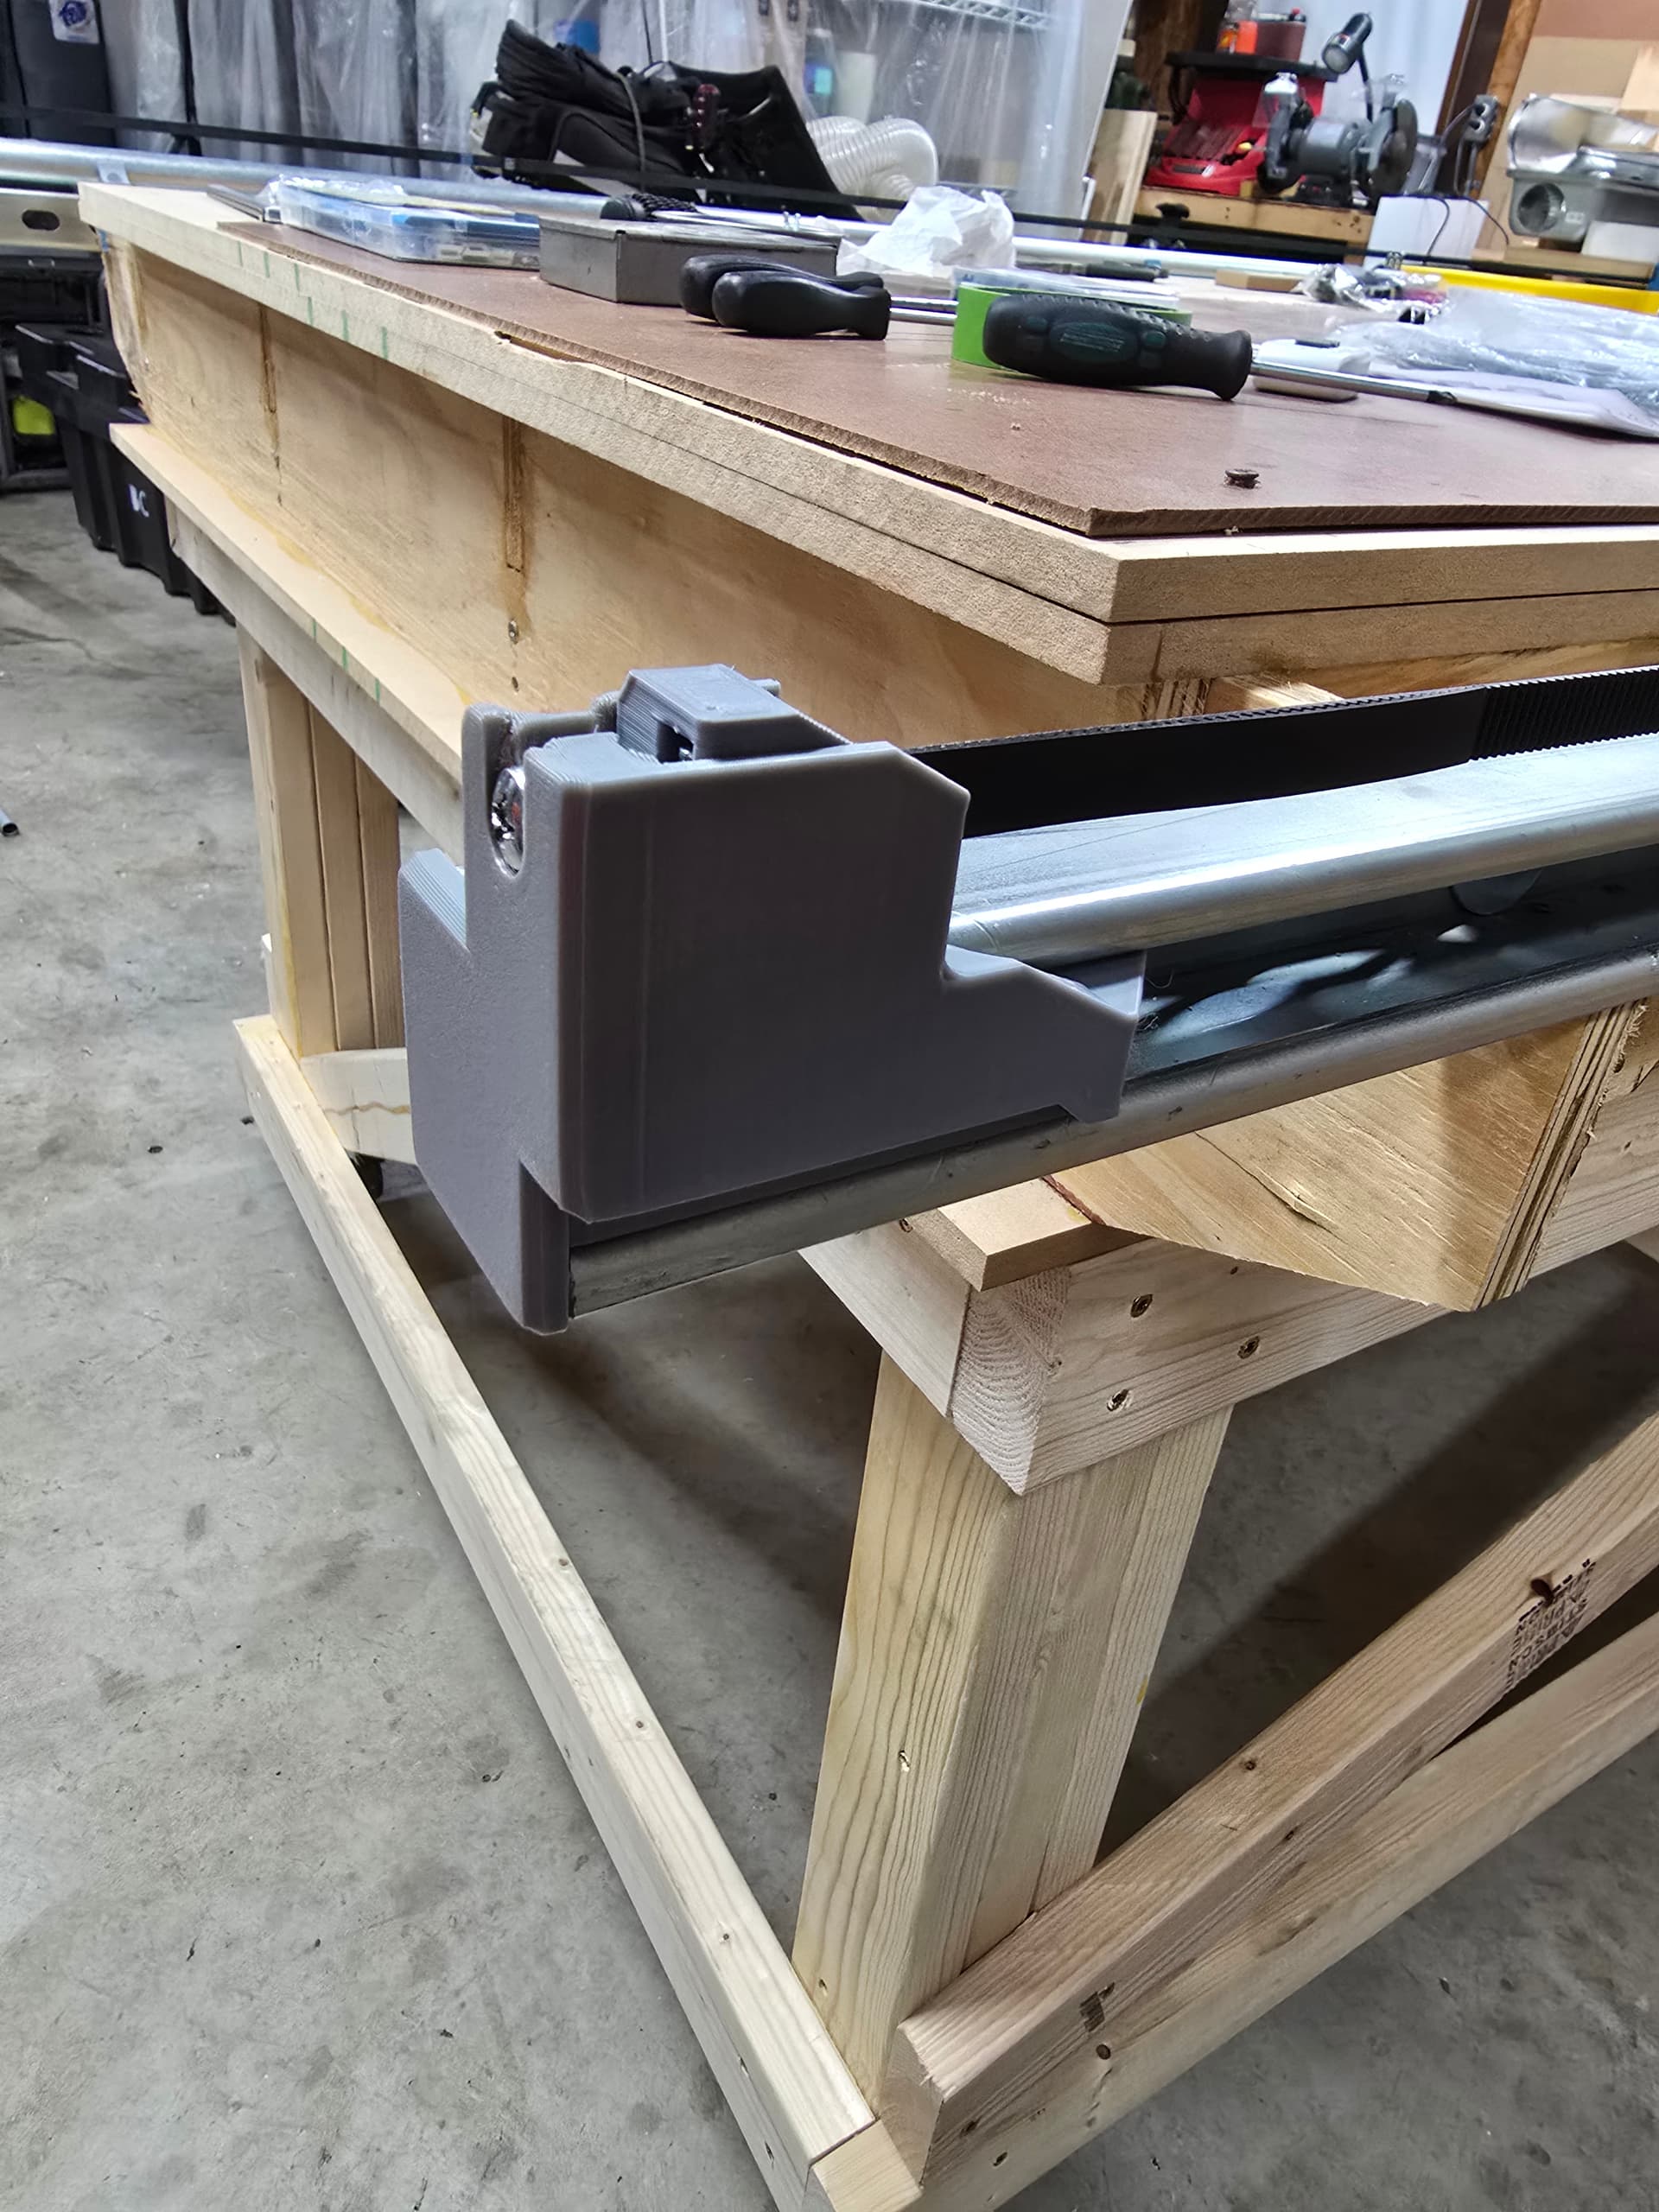
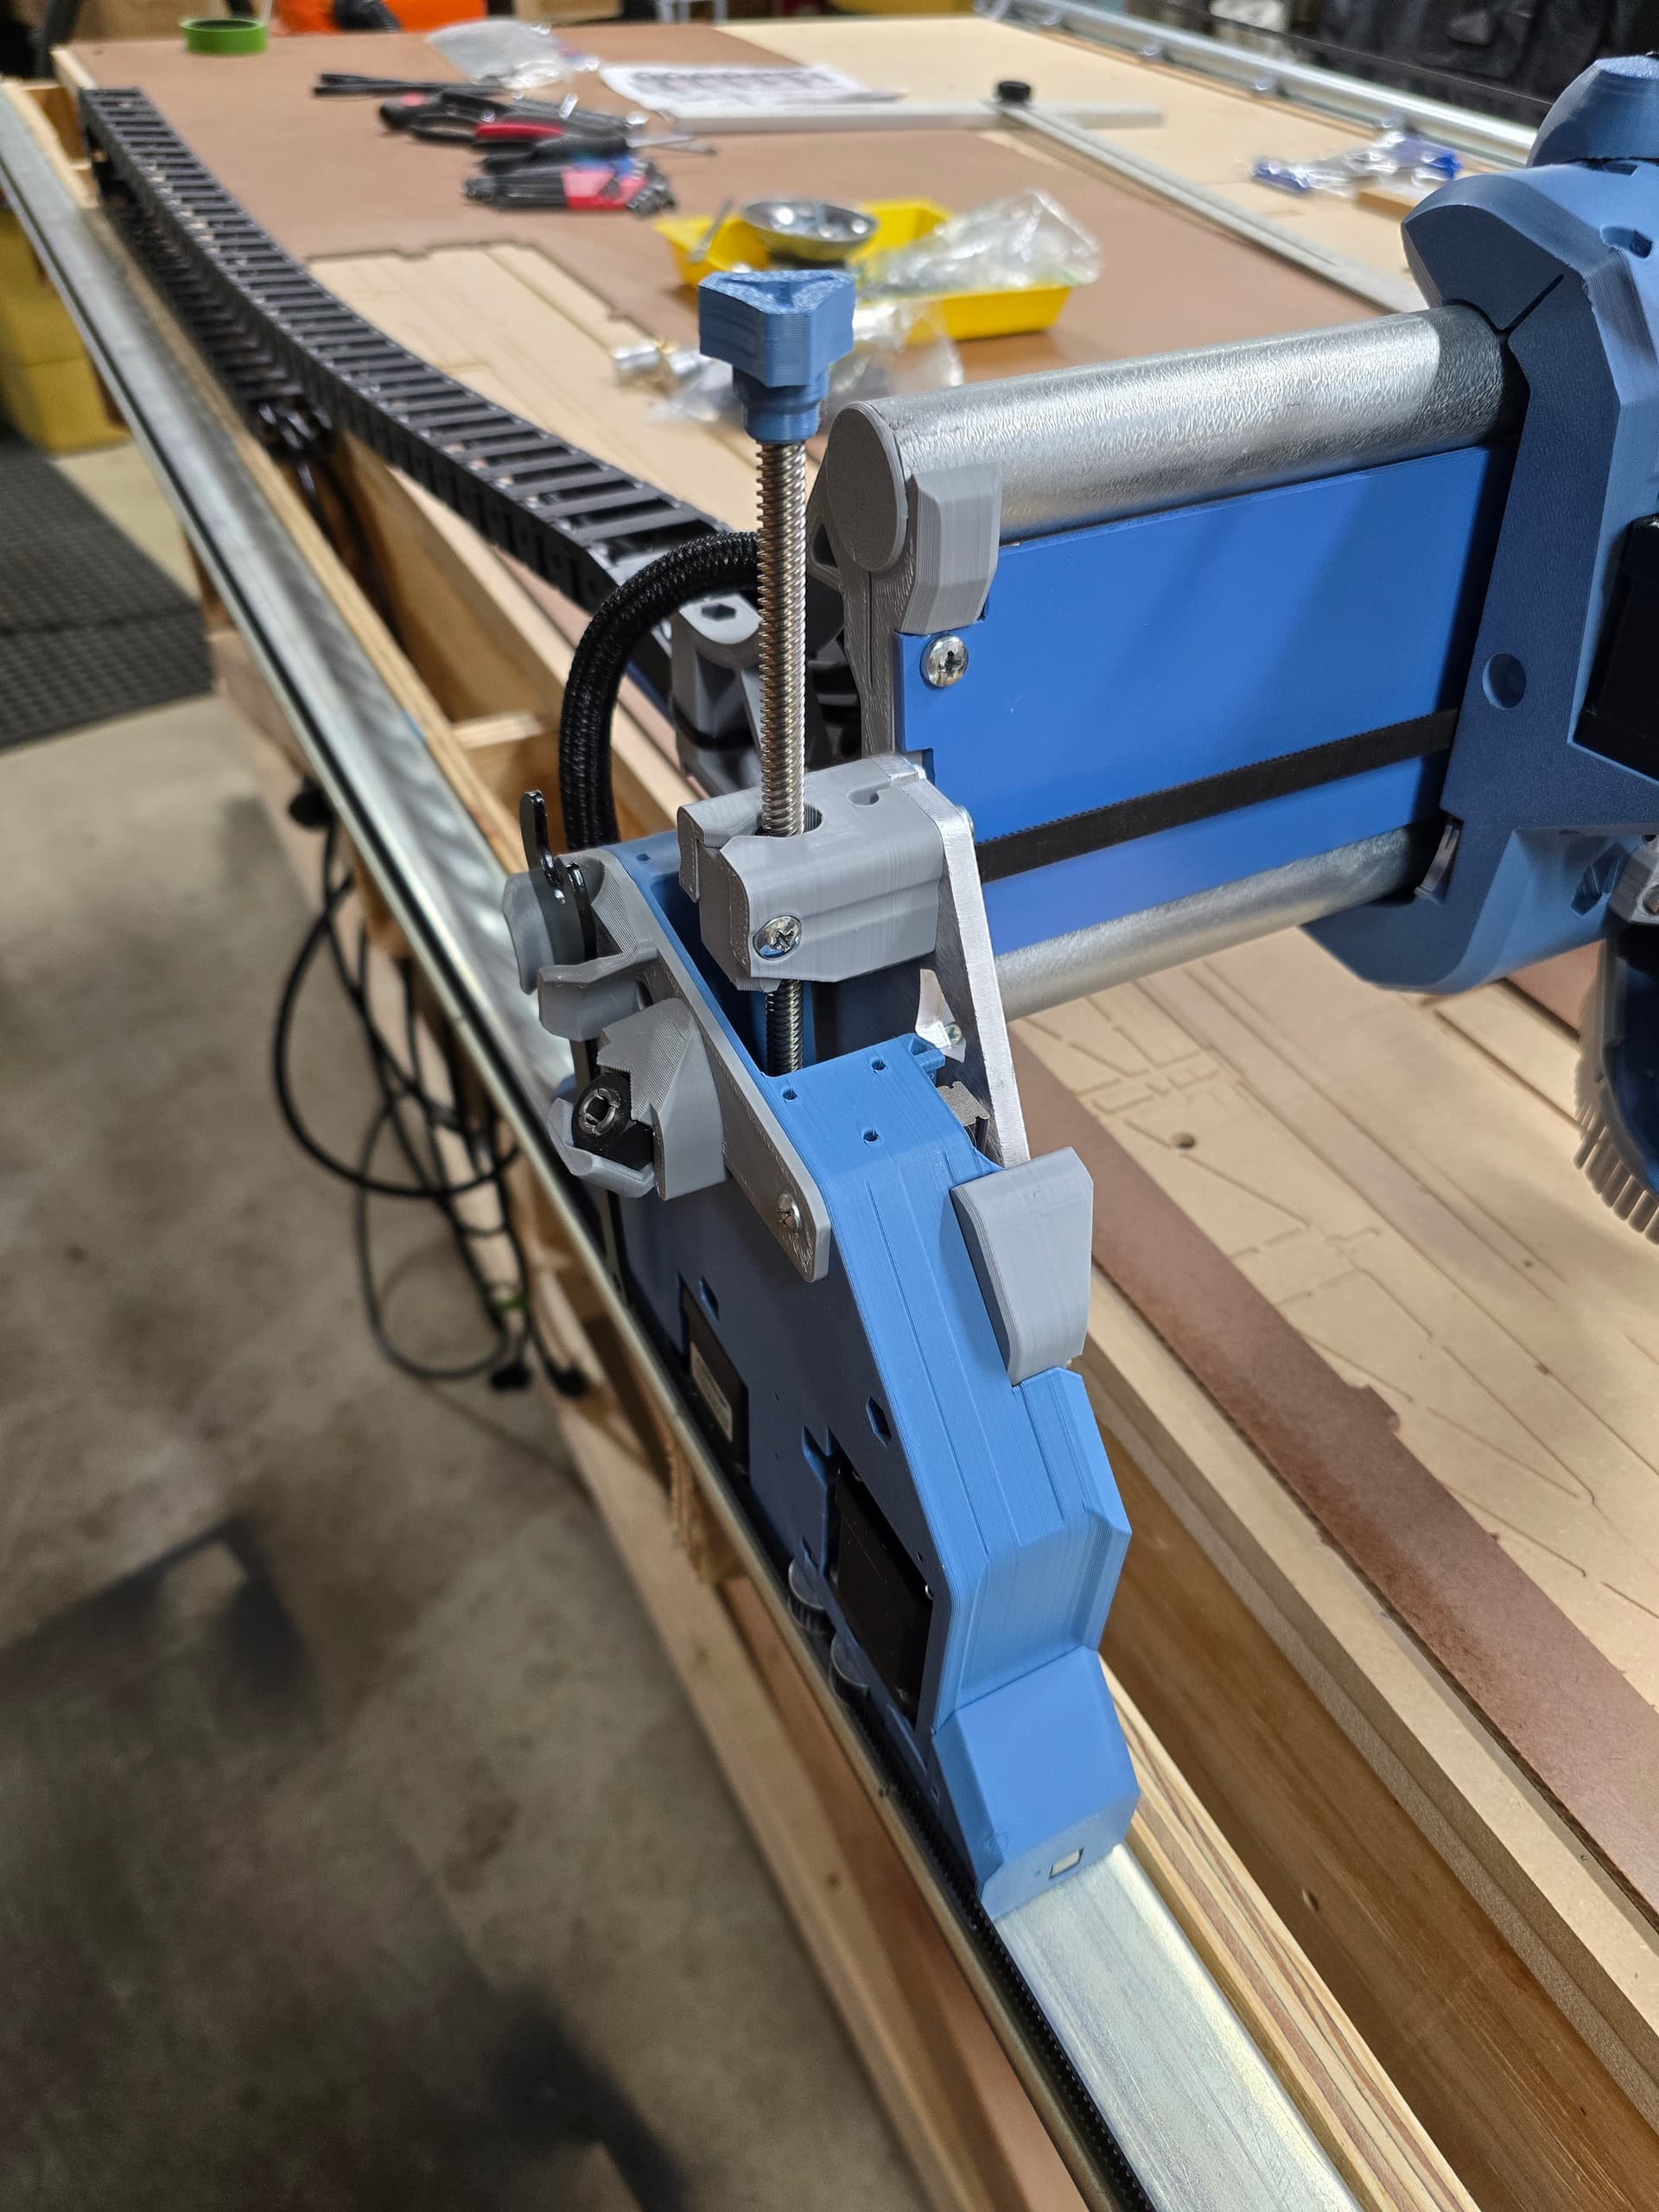
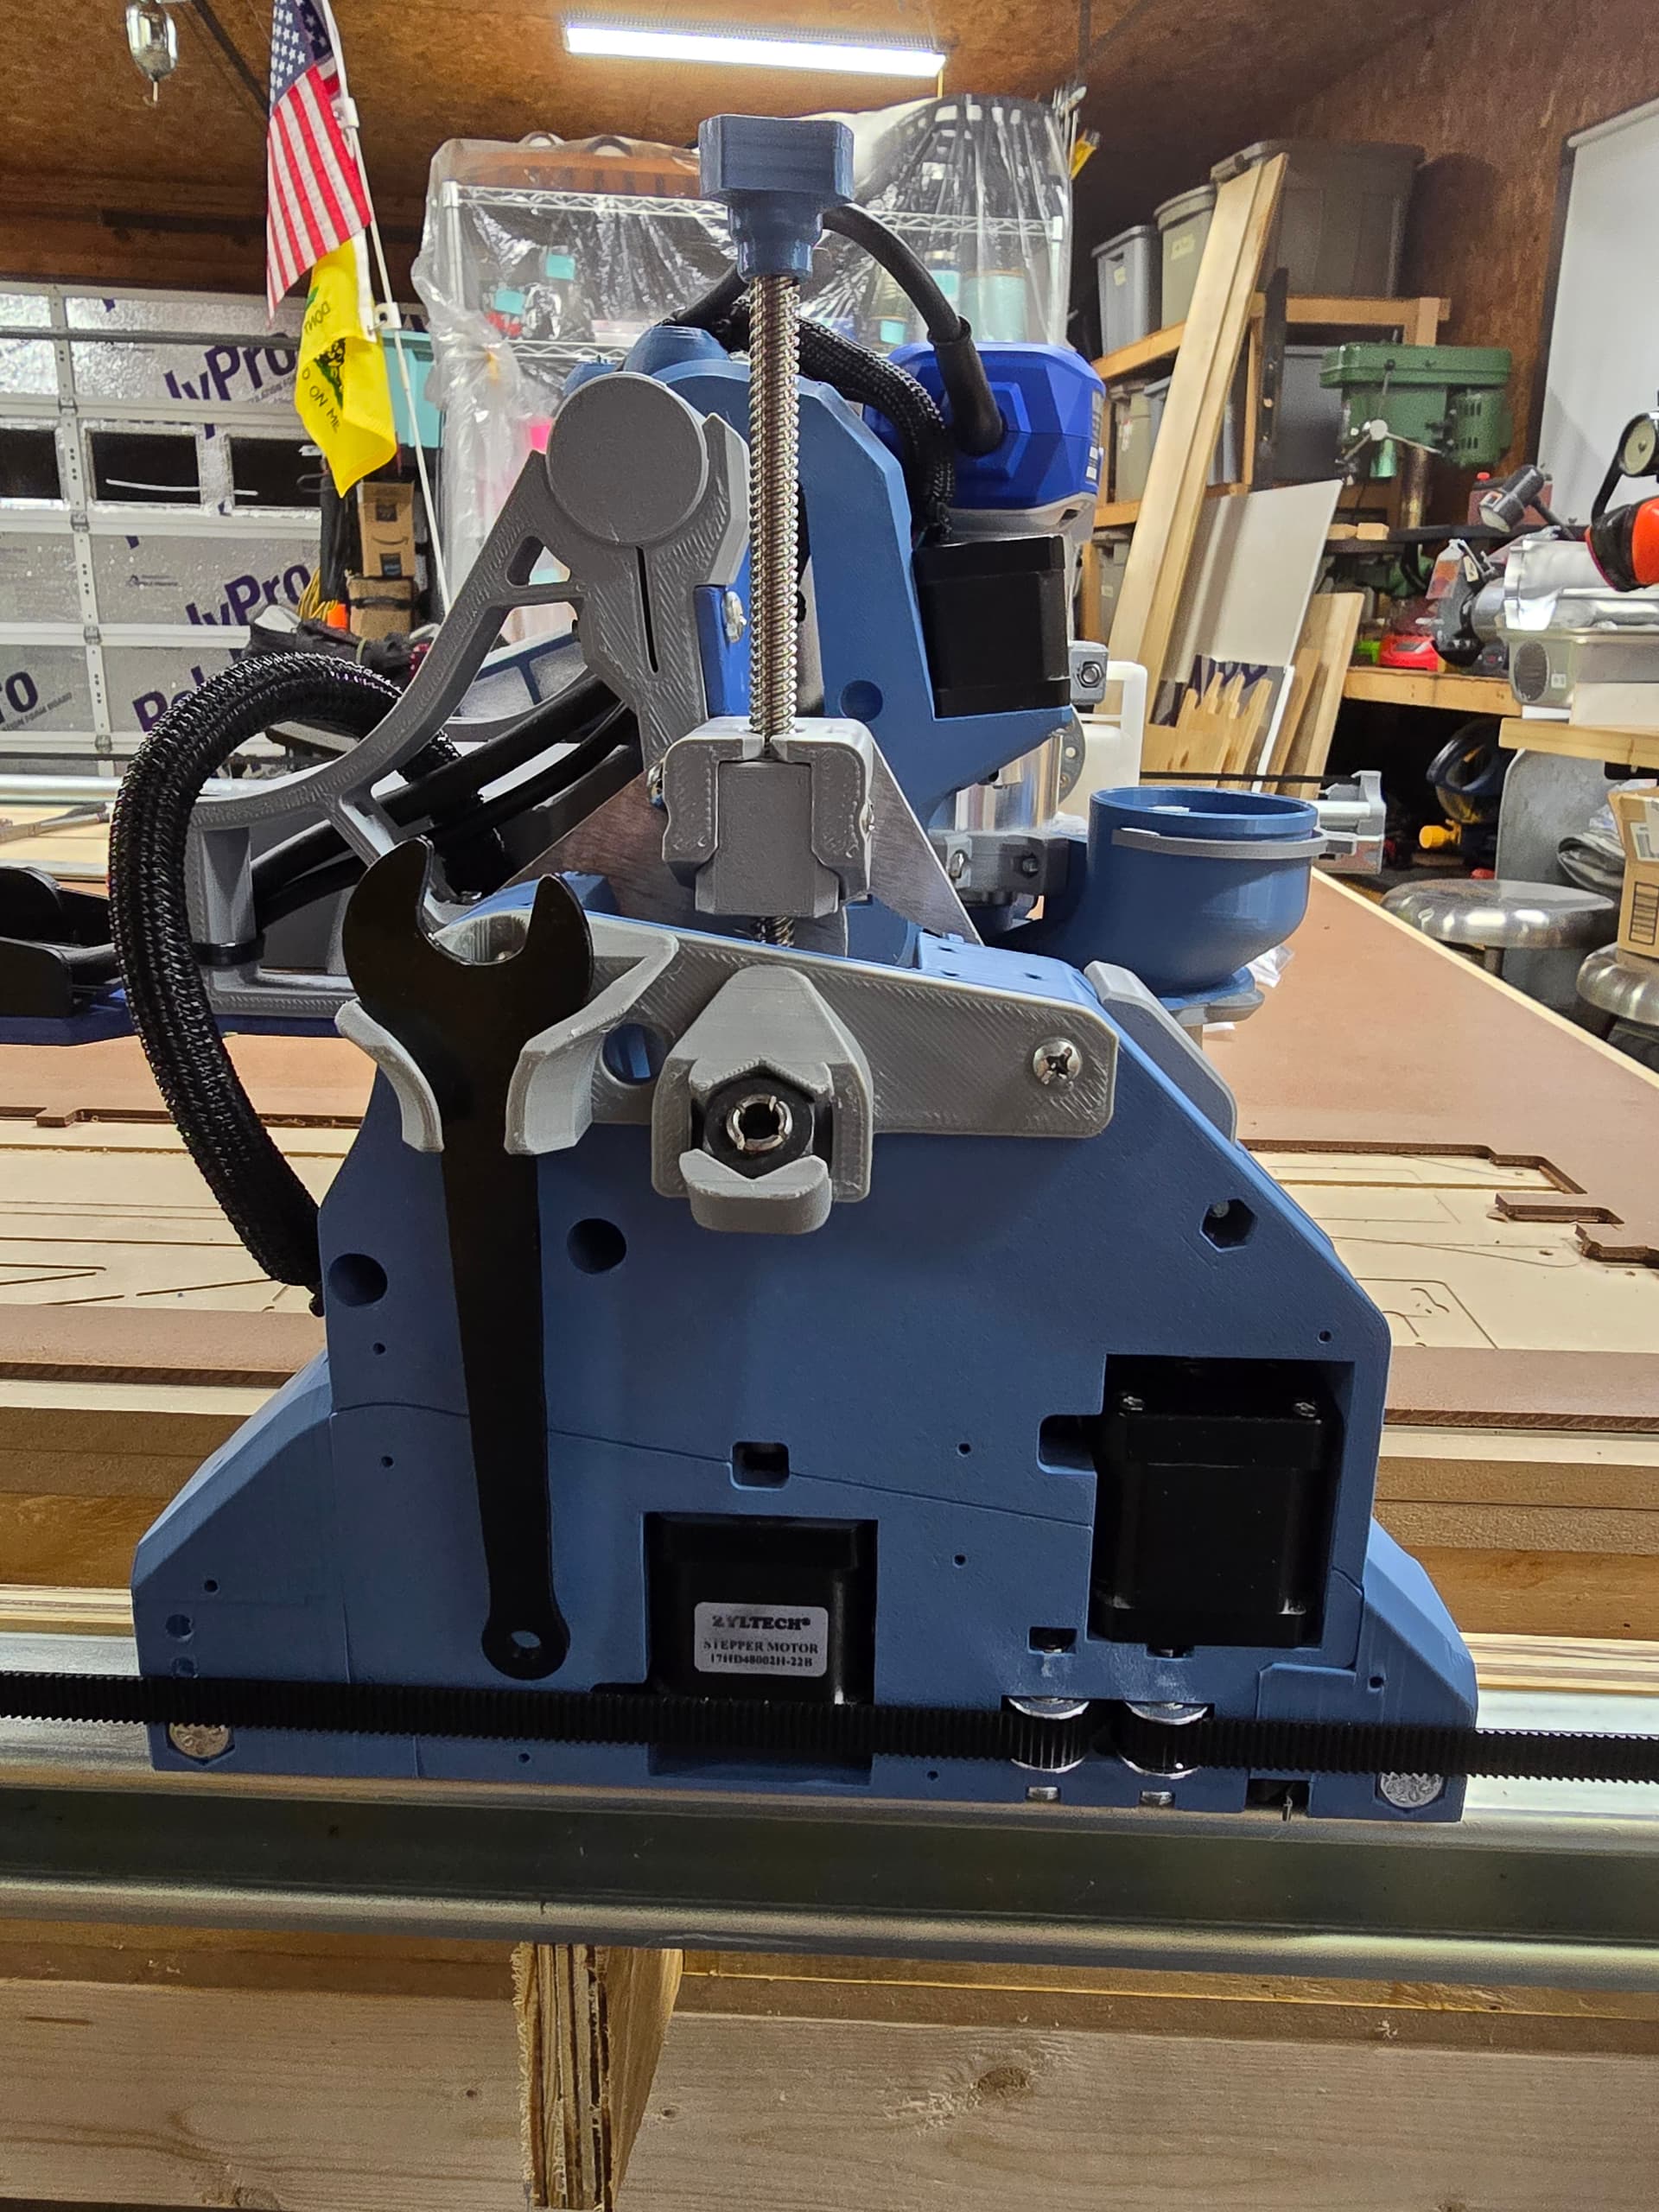
As for the belt tension caps, I remixed one of @DougJoseph rail end caps and @vicious1 belt tension towers, and came to something that worked great for my build dimensionally. It would be different for every builder though as the tolerances for activating the microswitches is minute. Depending on the exact width of your LR4 build will change the requirement for the tower offsets in relation to the rail end caps. Here are some pictures of what I came up with, but like I said, it will be different for each builder and my remix doesnt allow for change. I use Tinkercad, and only wish I was smart enough to wield actual full-on CAD design software like a lot of the others in here.


If you don’t already have a table that uses Unistrut metal for your “riding plates” then it is probably easier to have *MDF or other wooden riding plate area, and use the stock tensioners. If you do already have Unistrut metal then the approach that @Ovalworks and I have done can work. I already did something similar, except mine has the stock tensioners bolted to the printed inserts that I call “table extenders.”
*Home Depot sells 12’ long MDF strips that could perhaps serve as riding plates.
Did exactly this, bought primed MDF boards from Home Depot and used them to mount my y rail and belt holders on each side. My main reason for doing this to be honest was that I trusted the factory edge of the mdf much more than I trusted my hand cut table top in terms of straightness. However, it does provide slightly more depth when cutting thicker material which is nice.
Nice!
Speaking of… MDF has some helpful properties, like stability (assuming it is painted or sealed against absorbing moisture). One downside is it does not hold onto screw threads as well as normal wood or OSB or plywood. So if using it for holding belt tensioners, it may good to run bolts into washers and nuts on the underside.
So I learned a valuable lesson, not to force the gantry into the air while powered on or off.
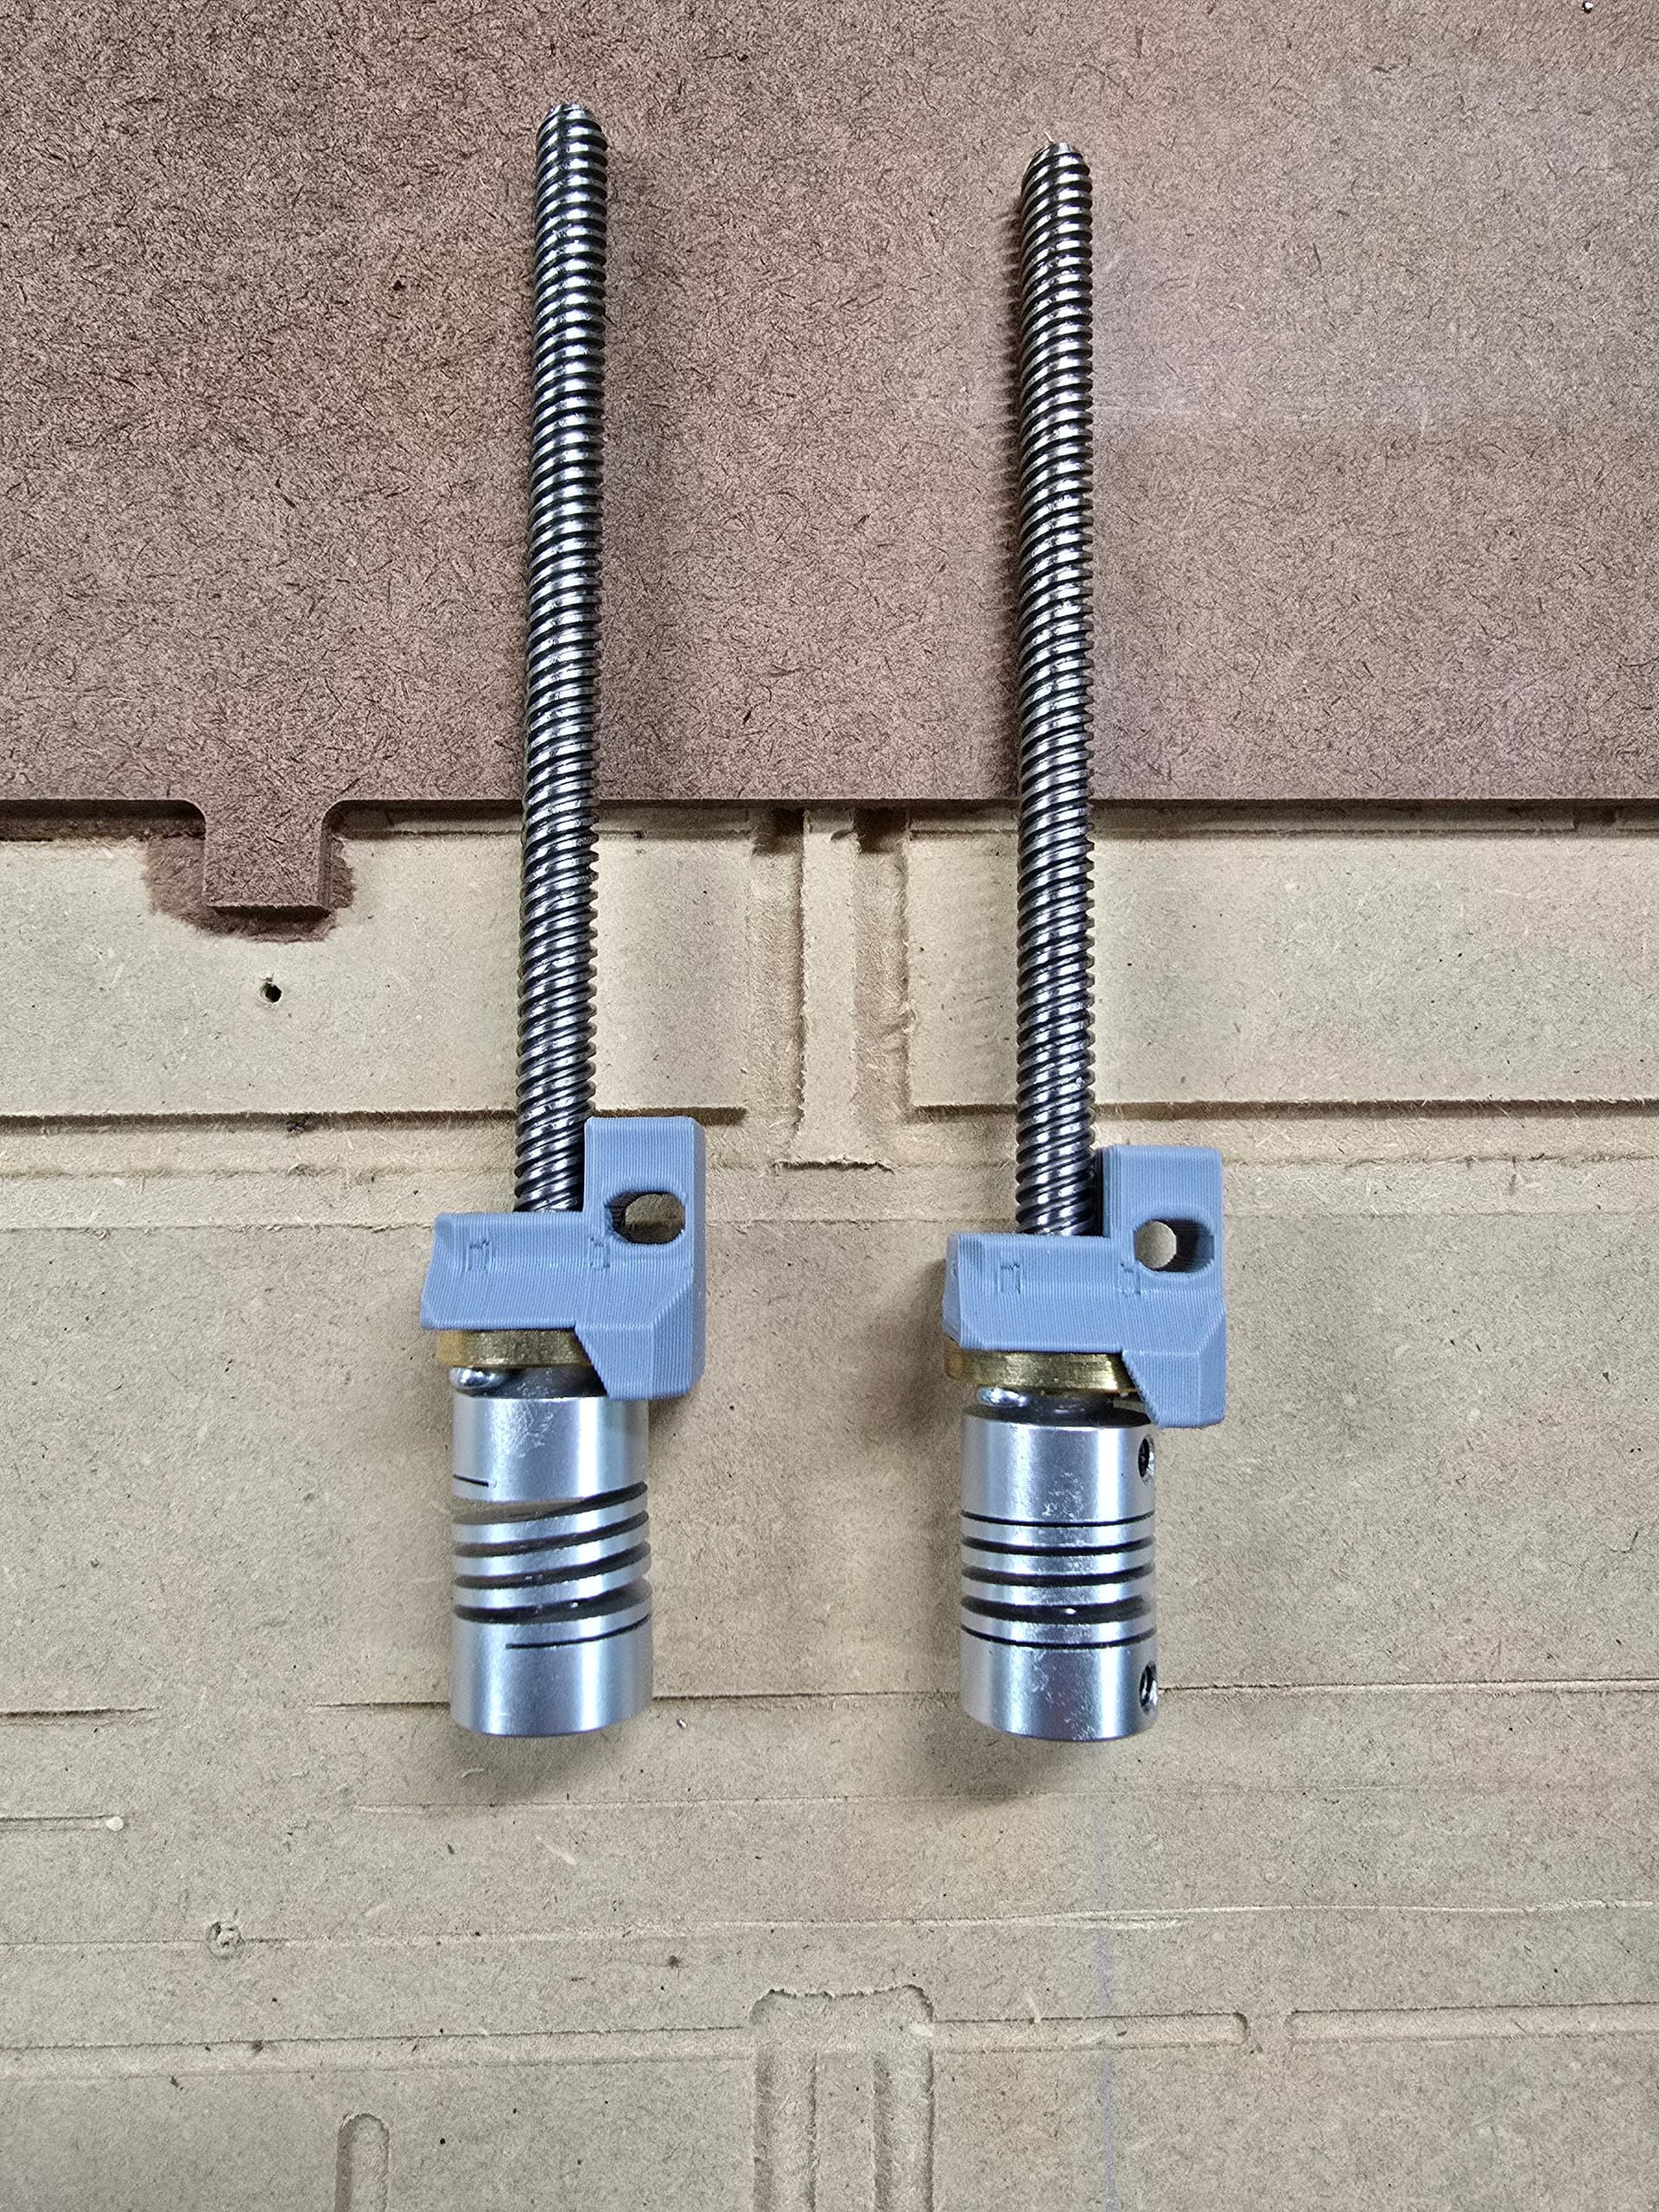
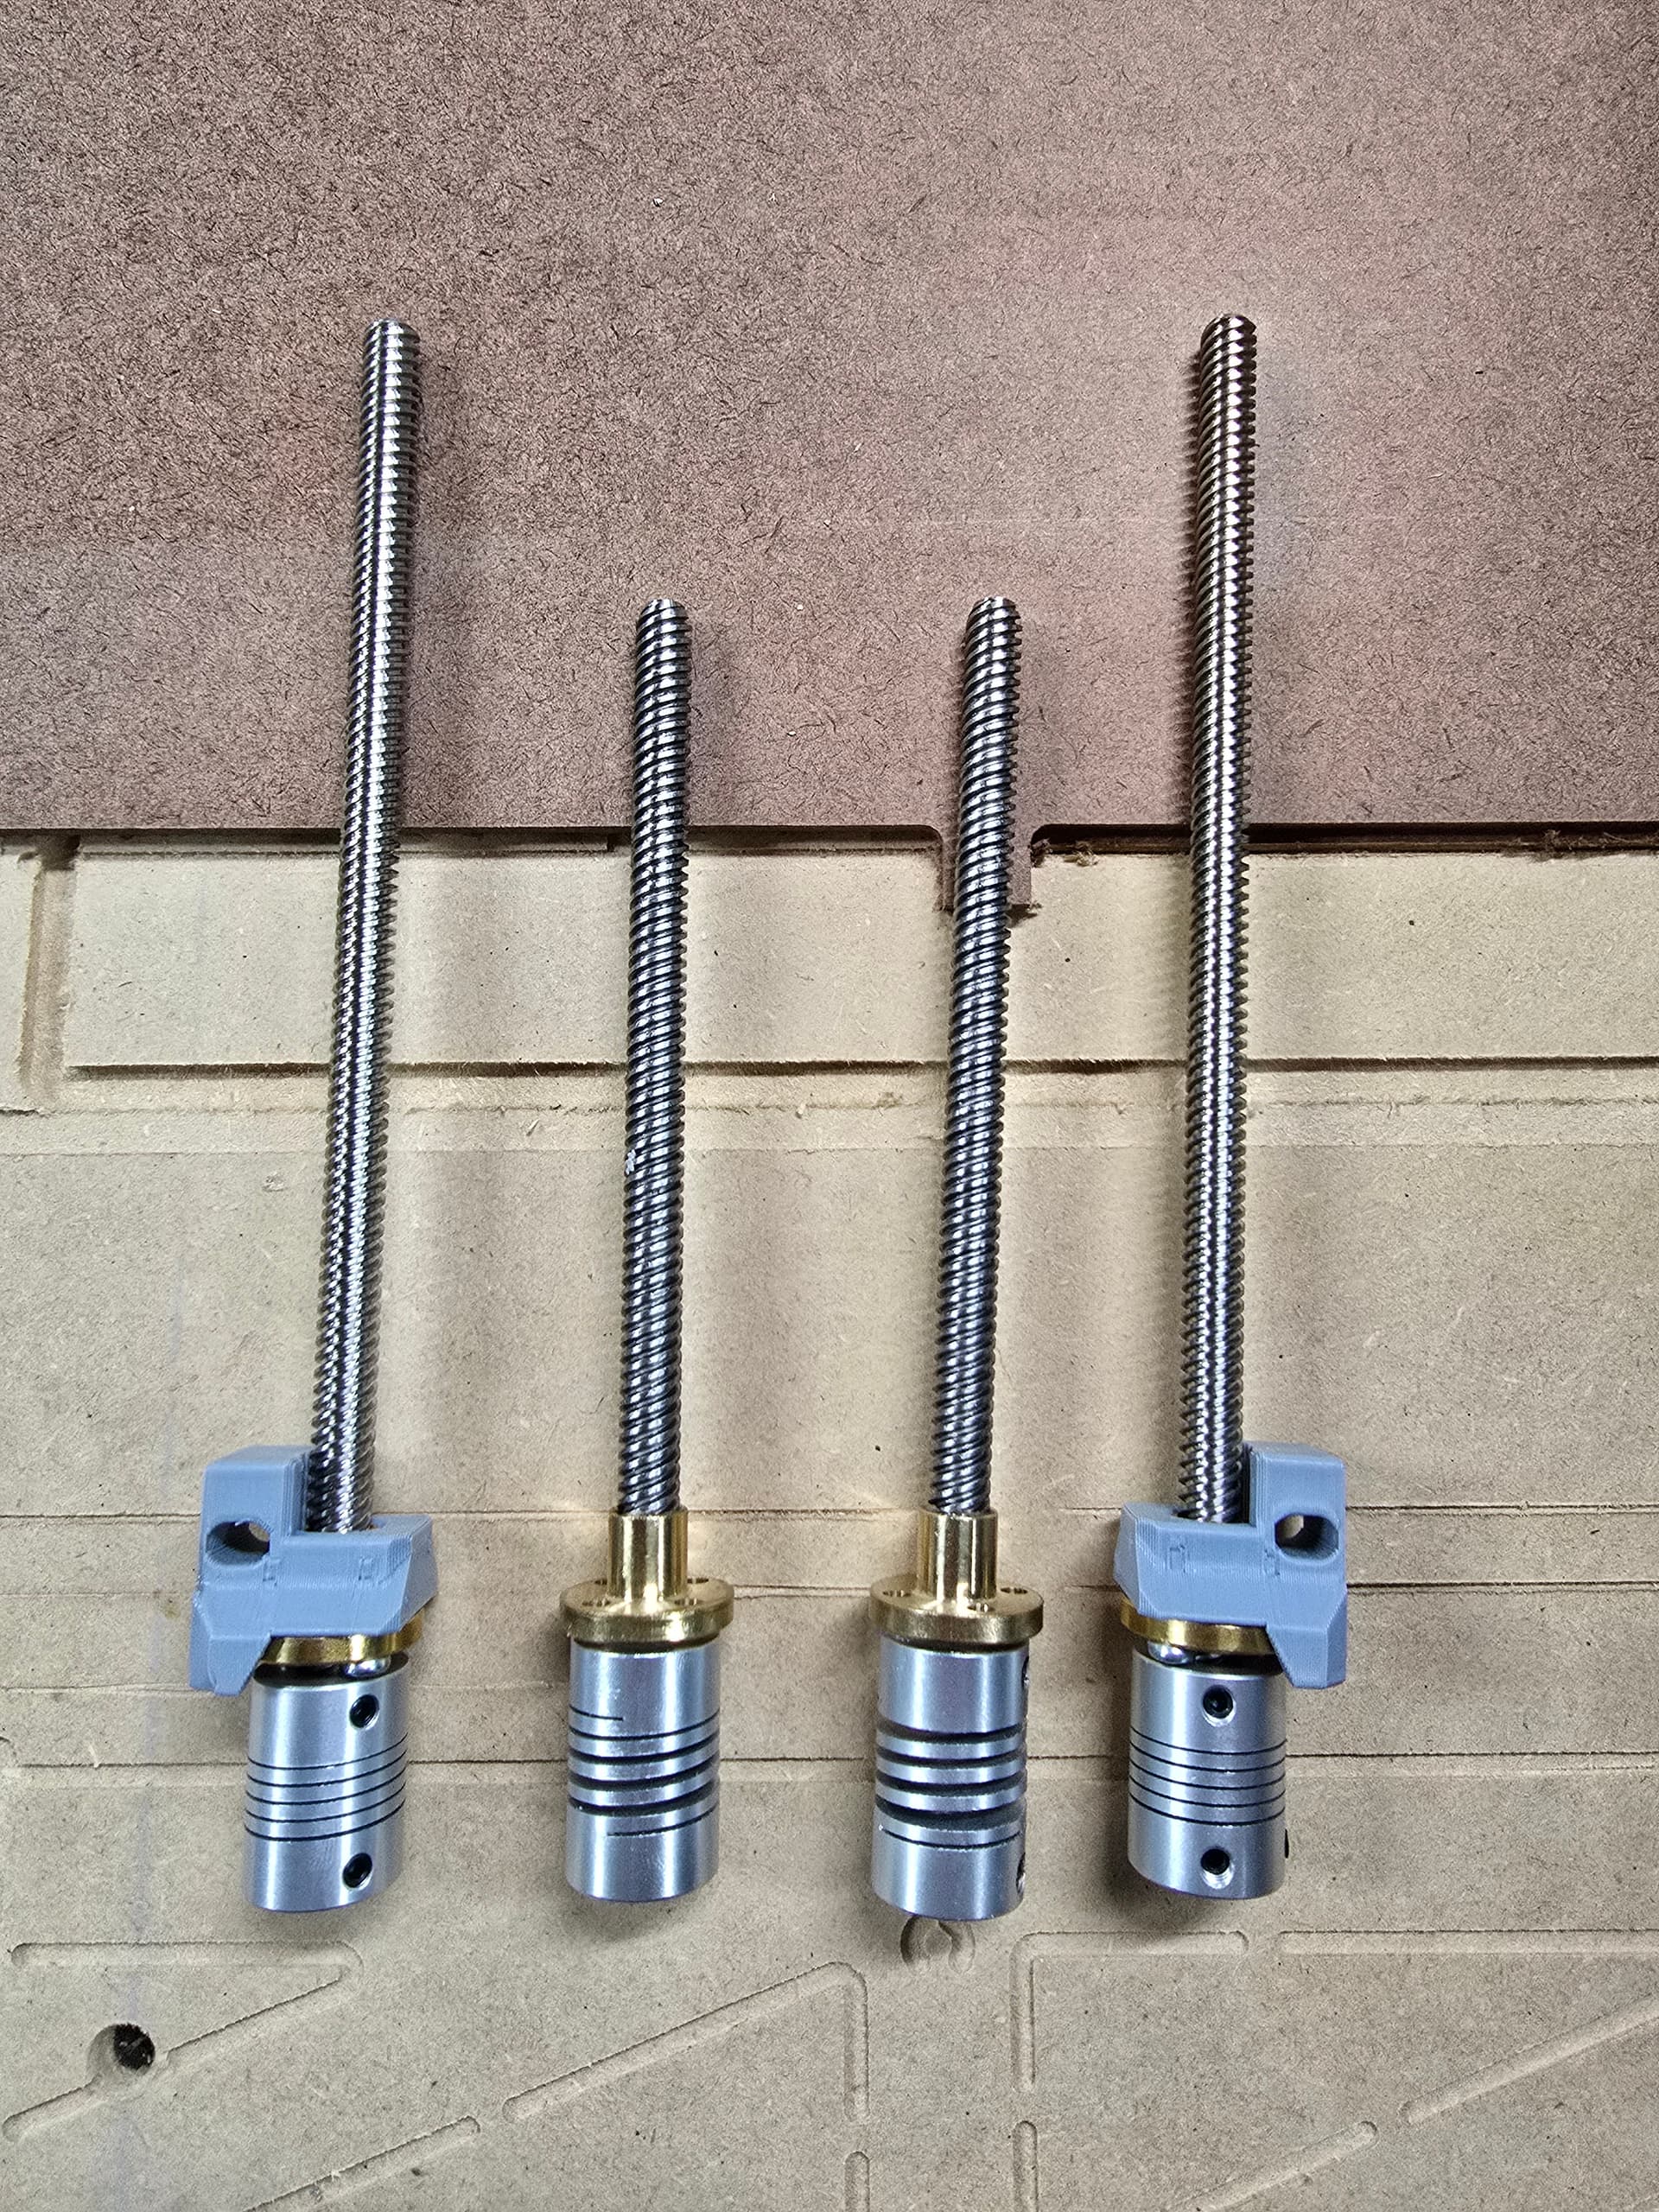
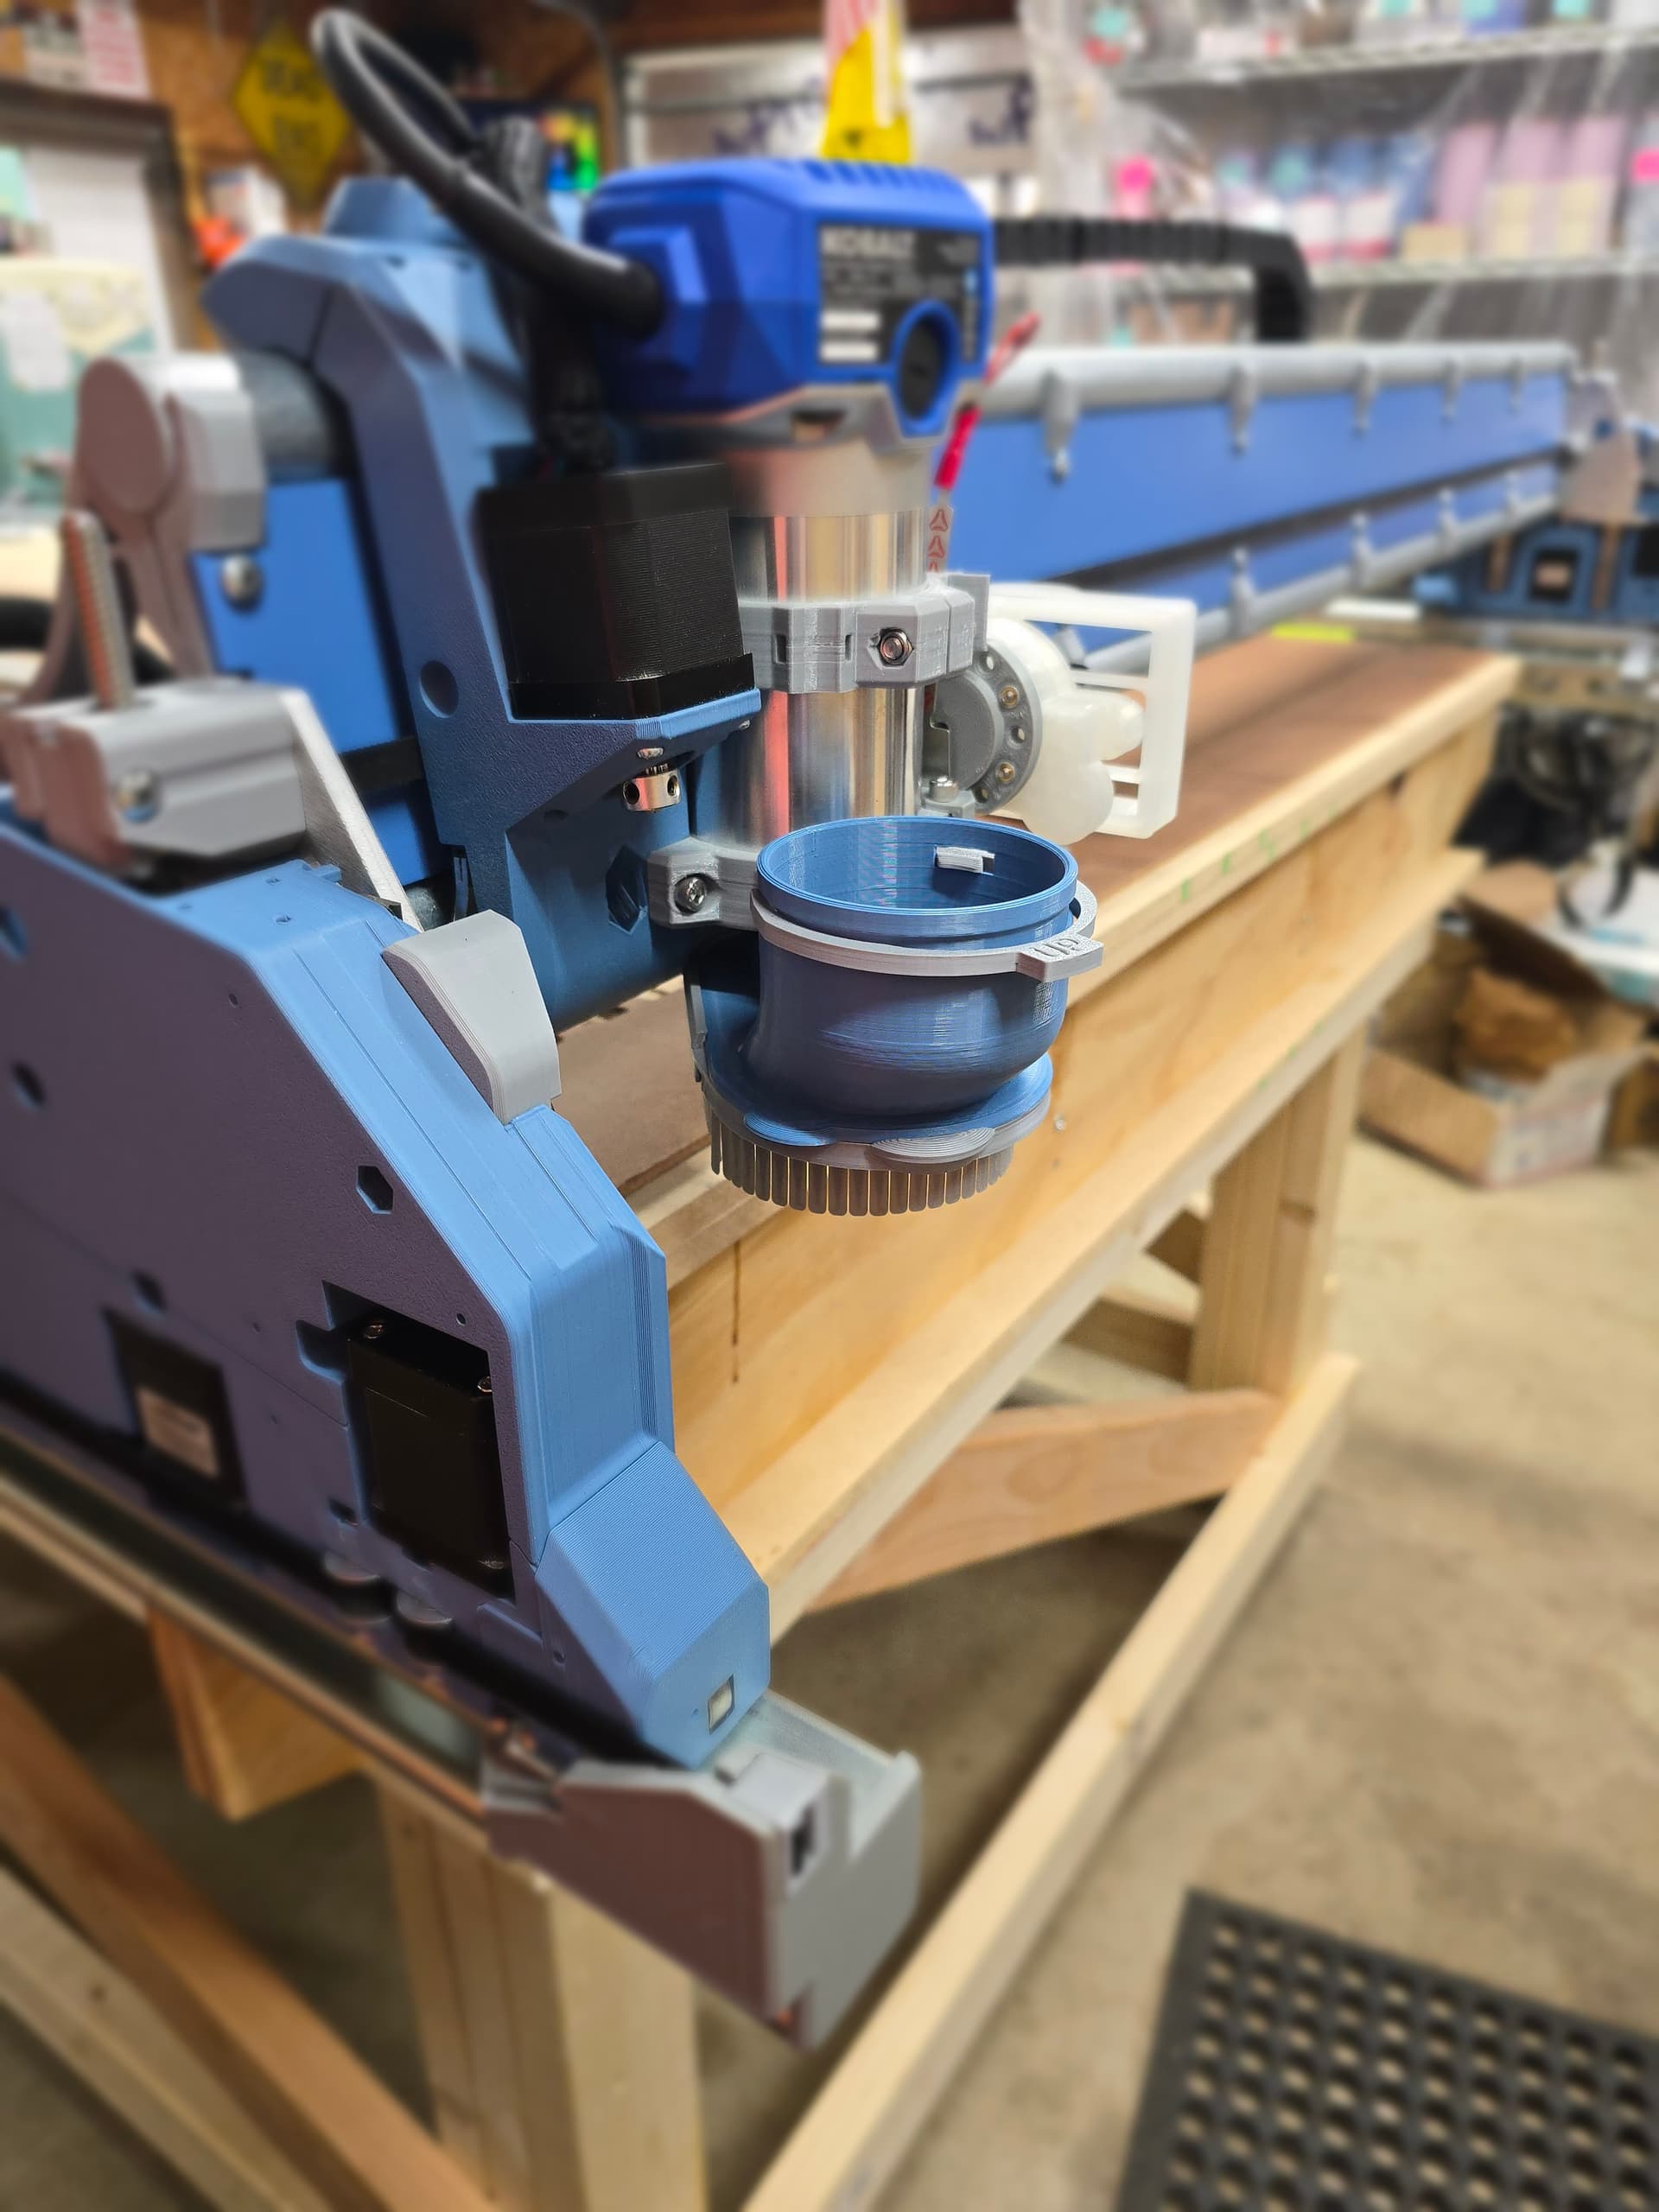
It sprang the flexible couplings which meant I had to replace them. It did give me an opportunity to swap out the lead screws with longer ones though to allow the use of the toppers
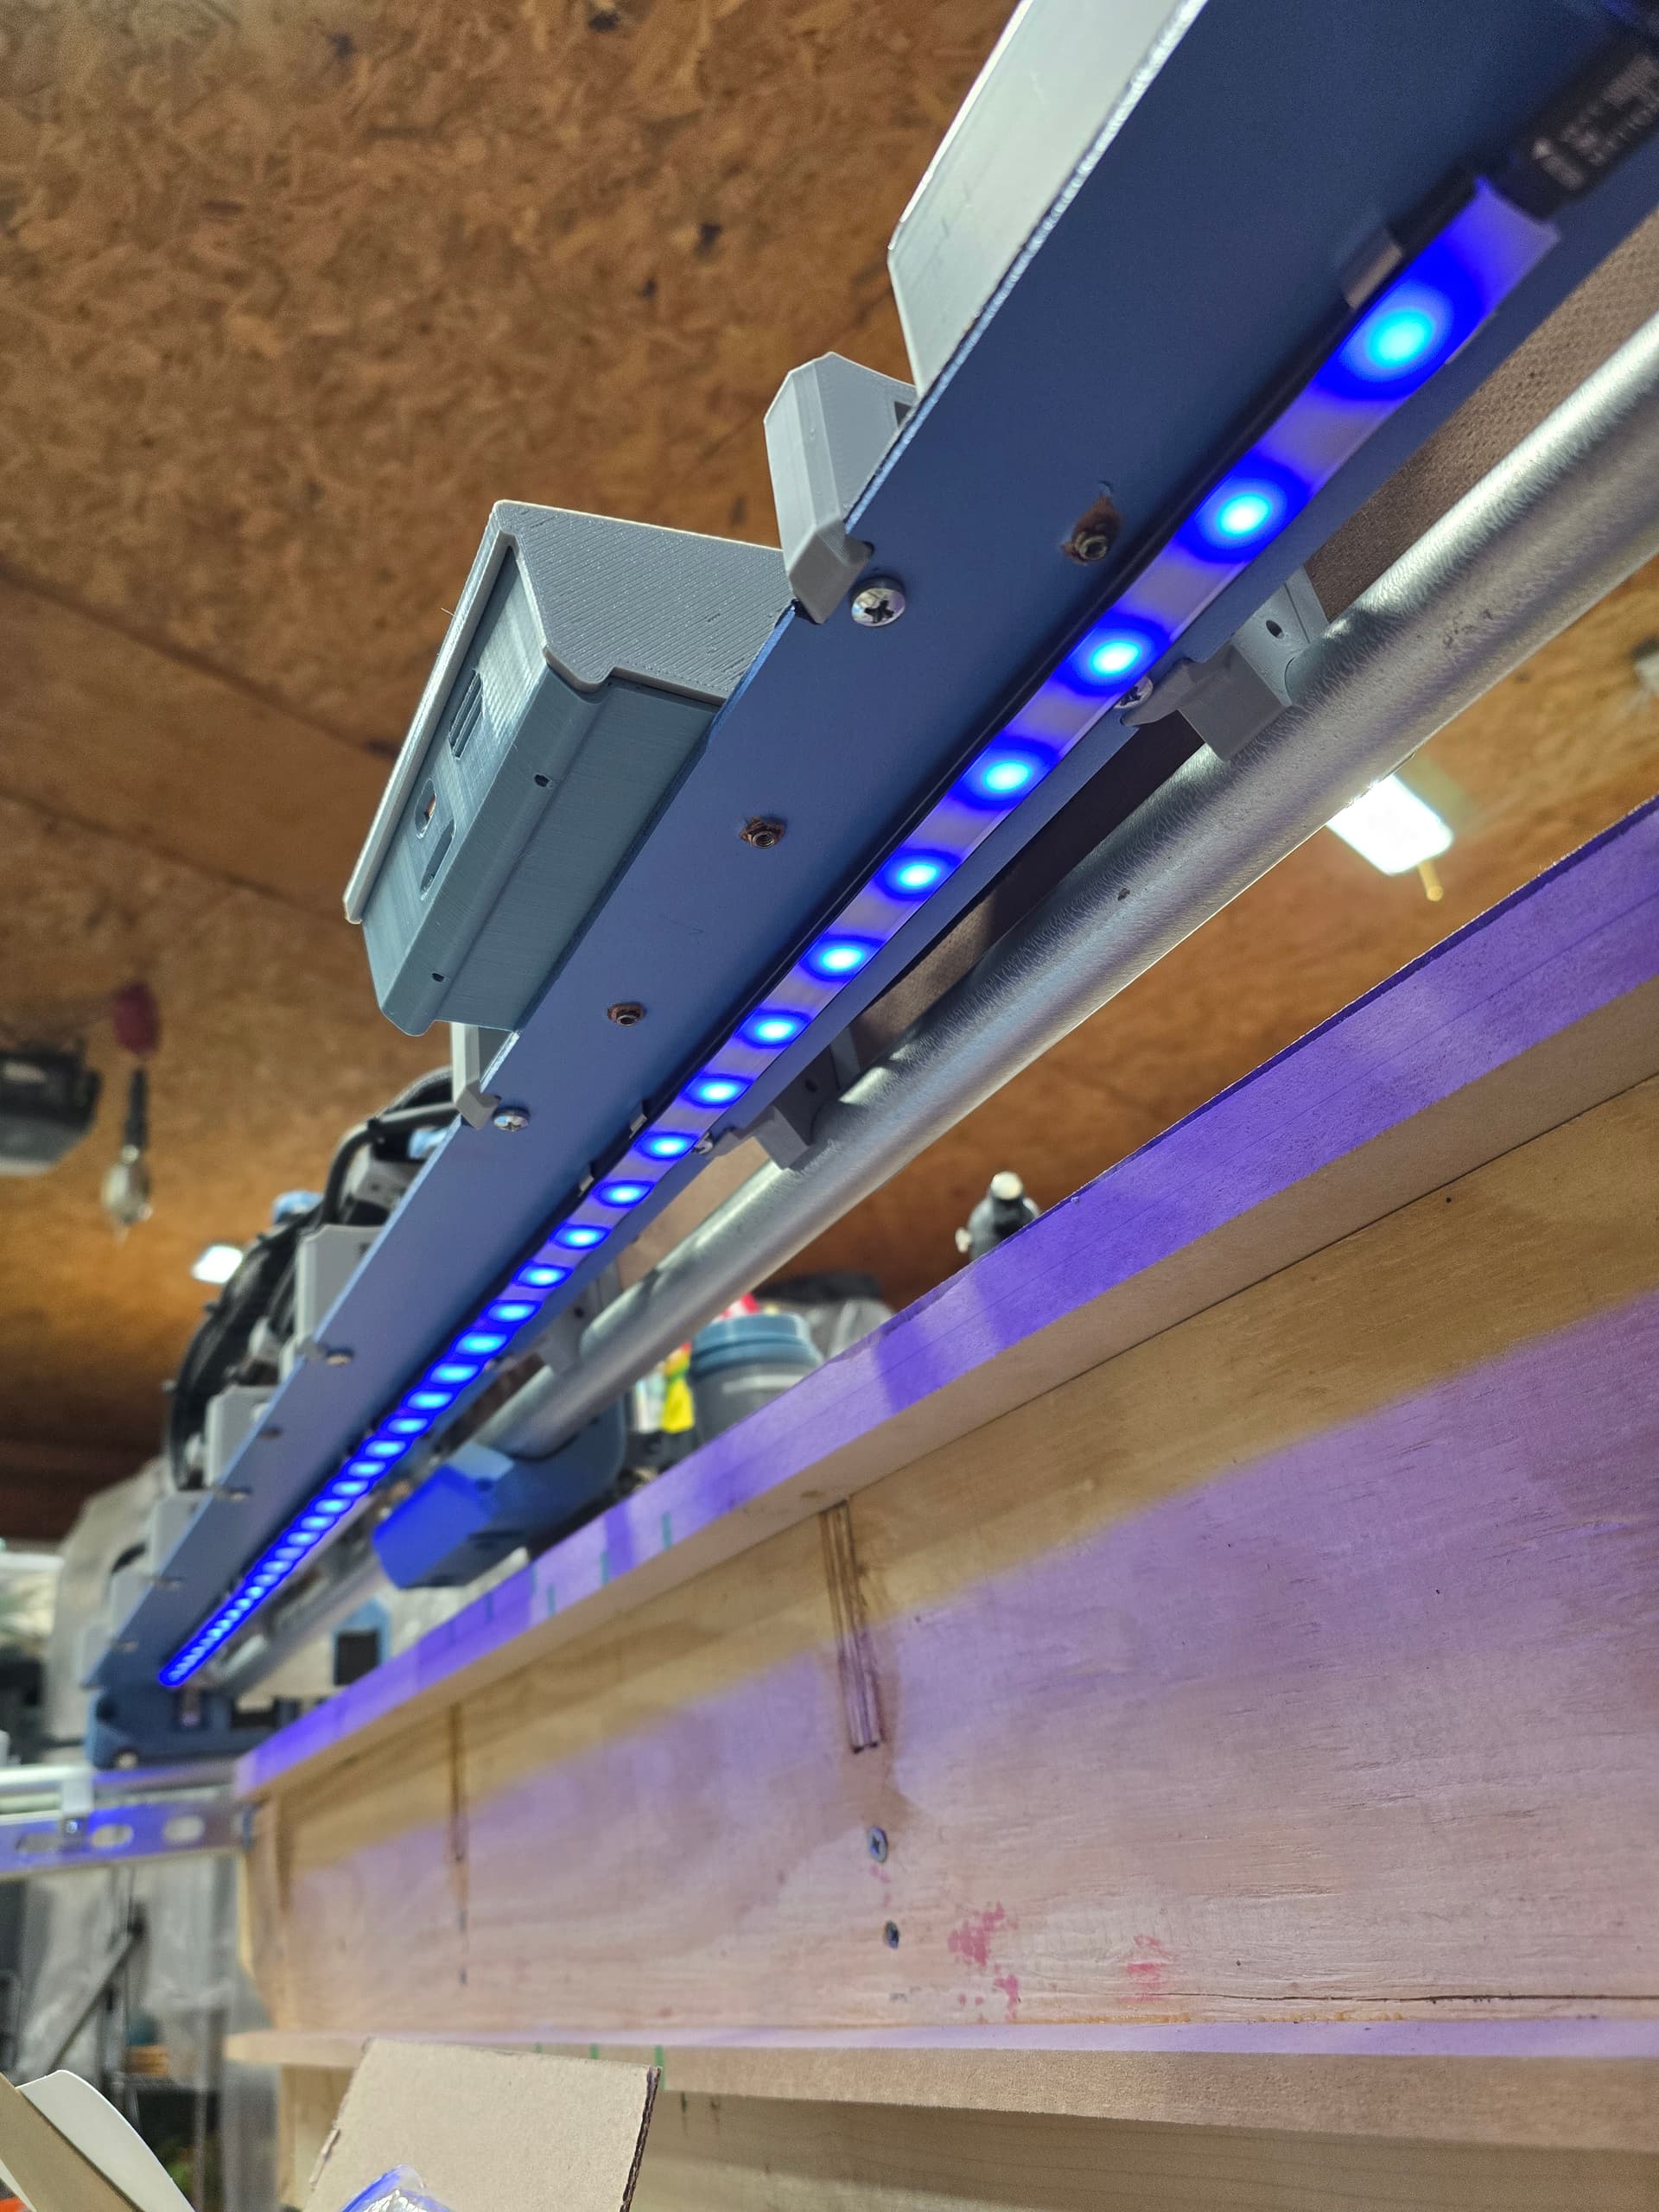
Took the time to mount some RGB LEDs since it seems so popular, and the LR4 looks so much cooler with coordinated underlighting
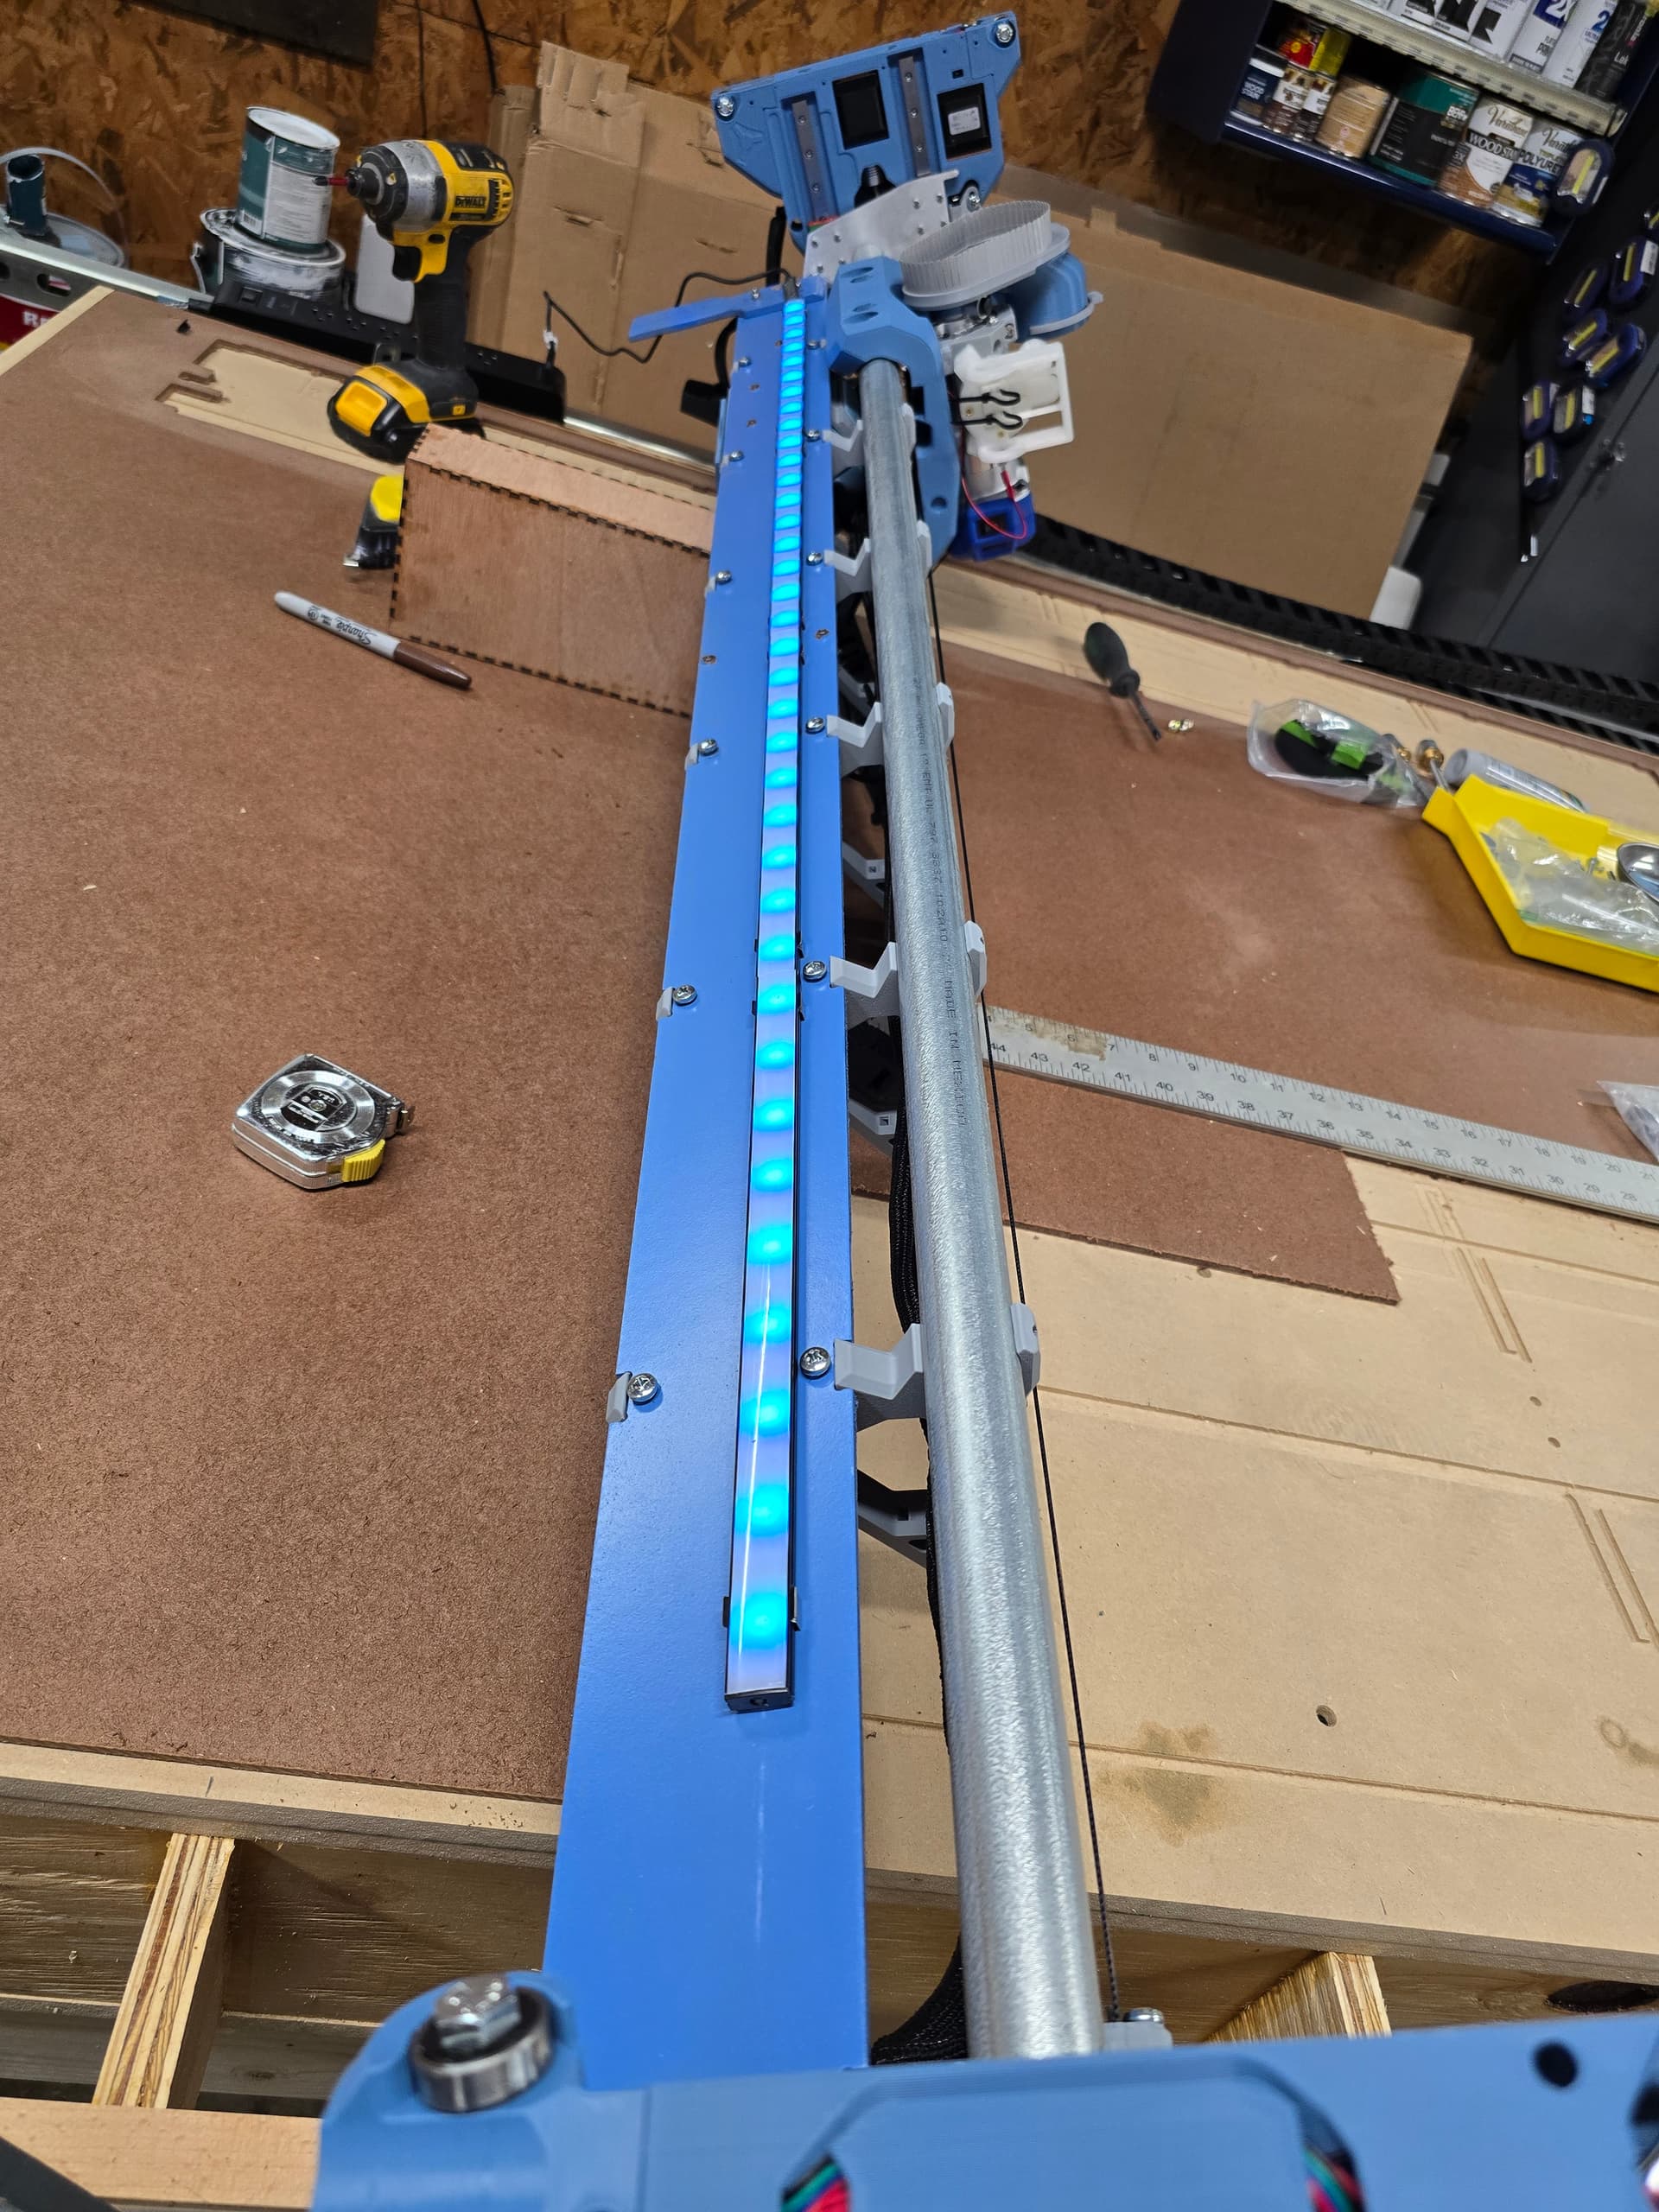

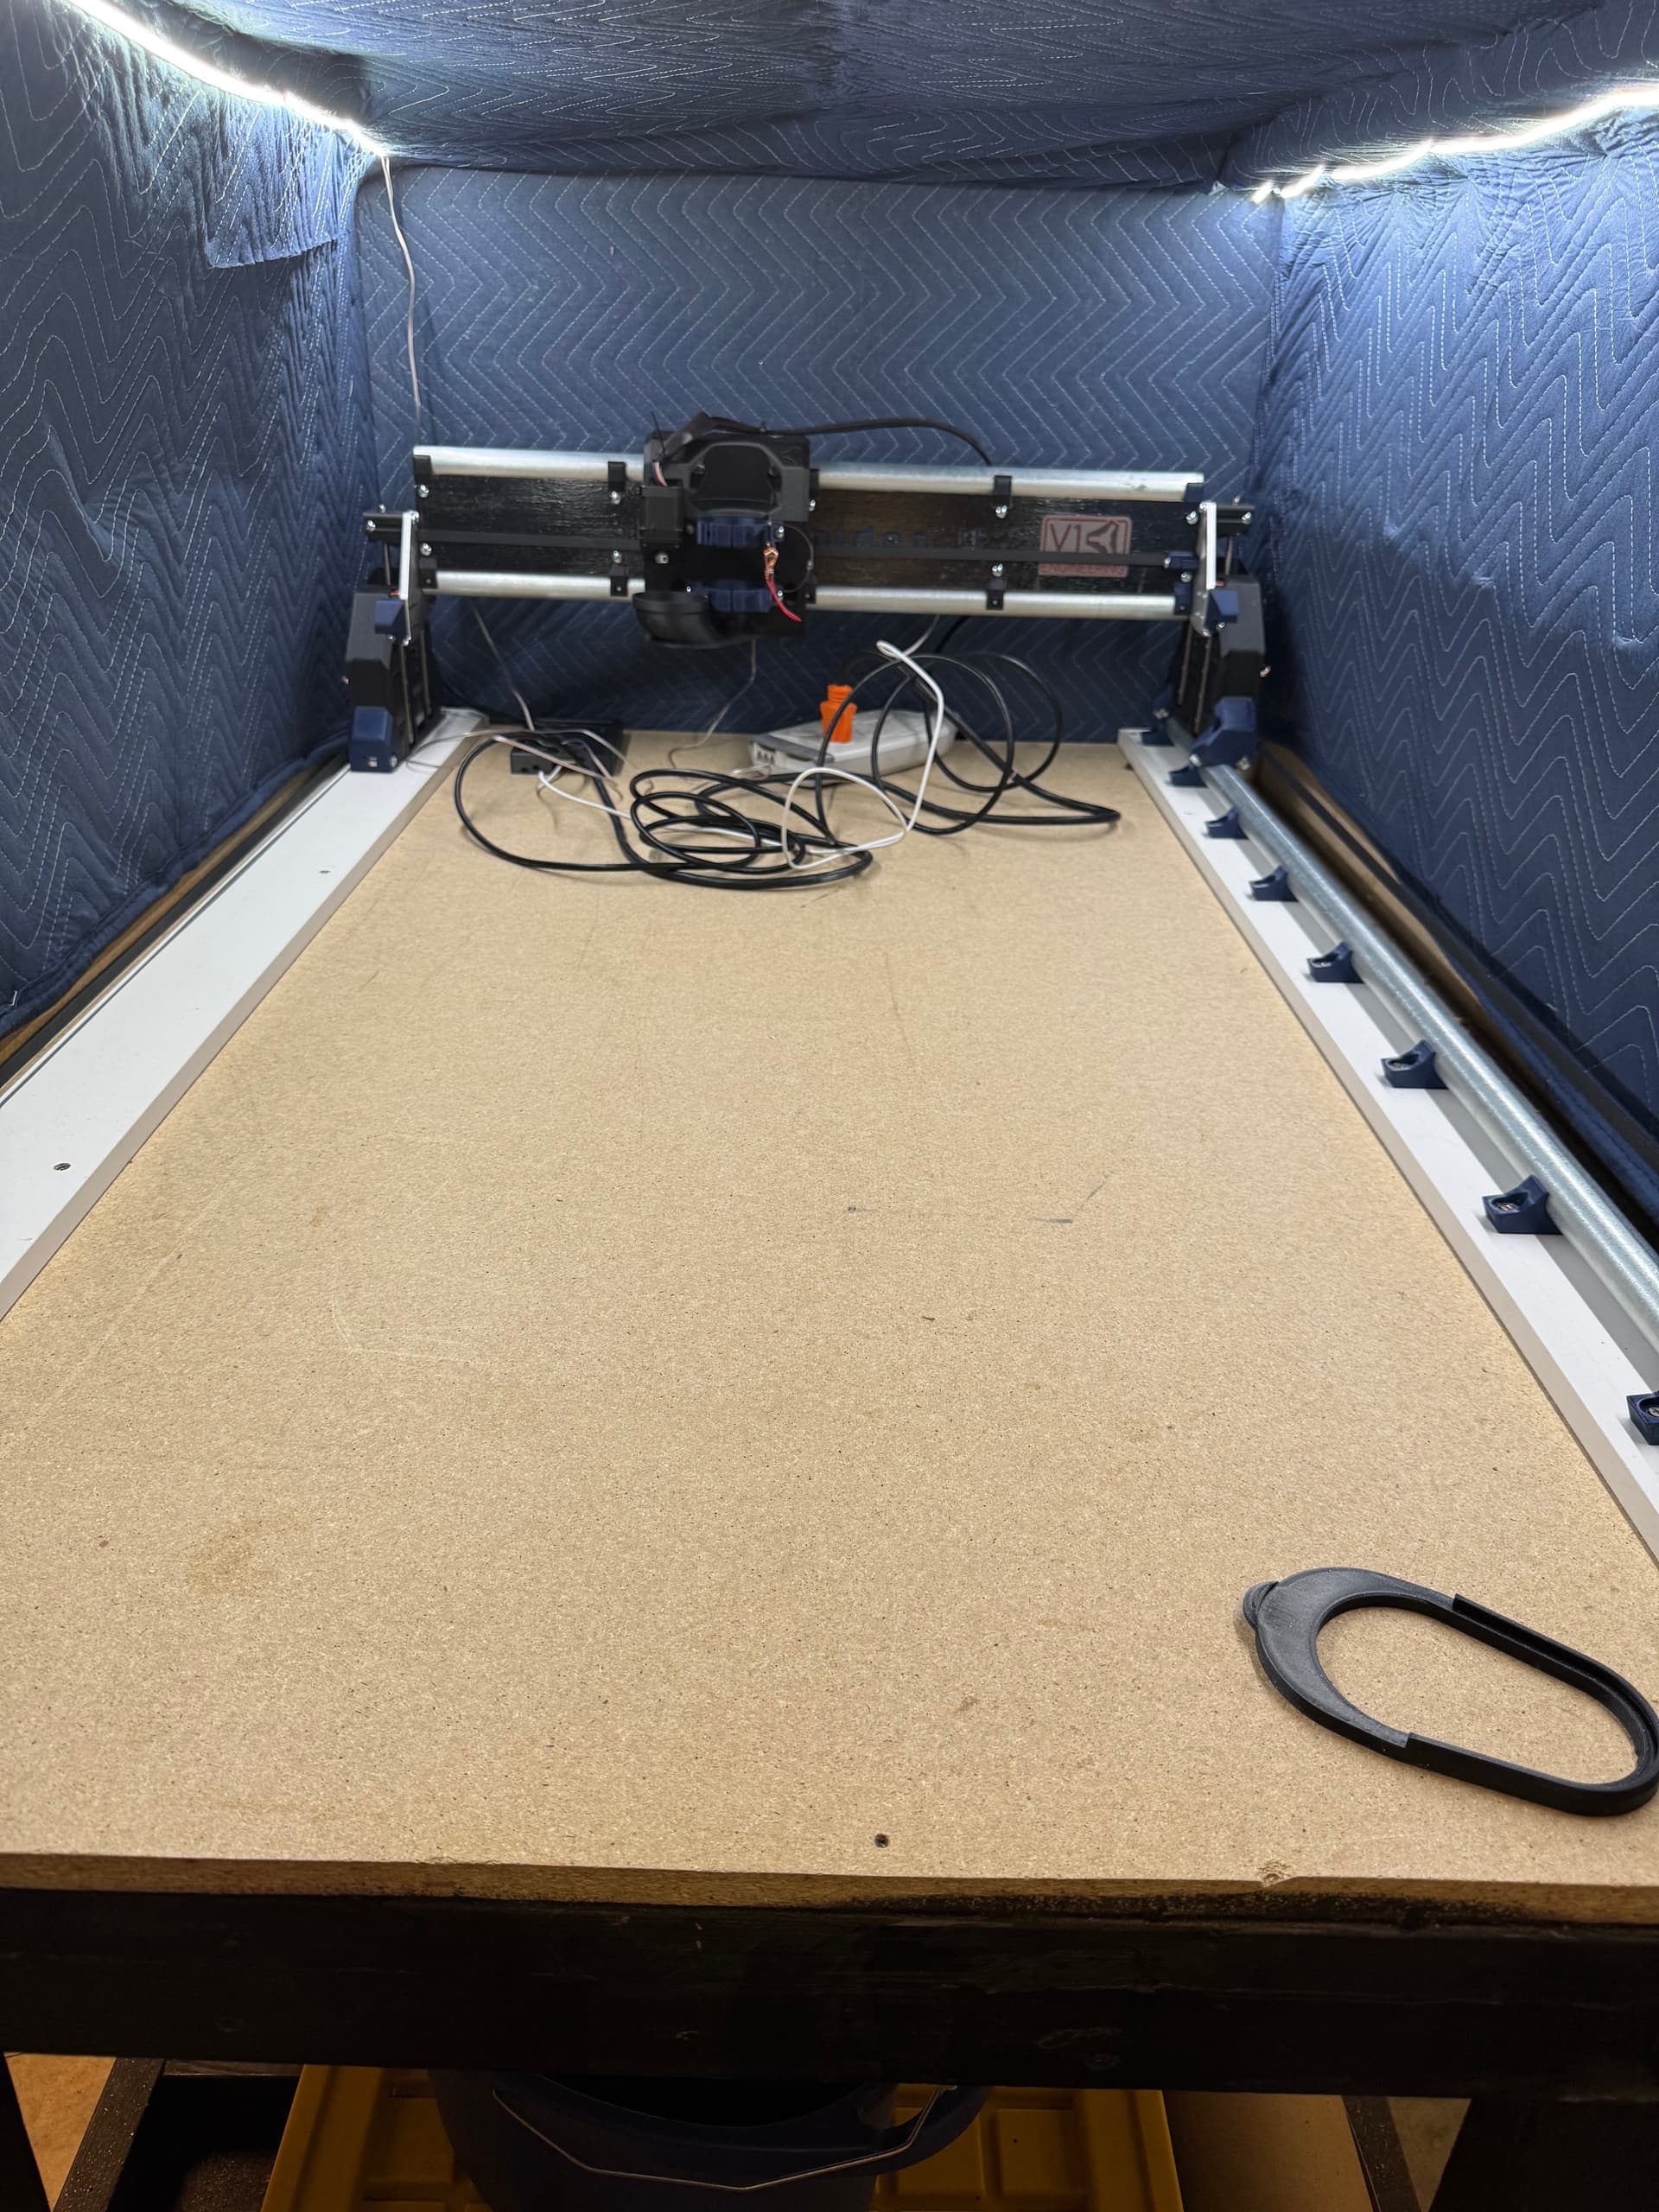
Loosened all the bolts on the gantry to square things up. Almost ready to put it to work!
Haha, when i first notice your post with the toppers not fitting, I though “I want them, I wonder if i can just use longer lead screws”.
Very nice.
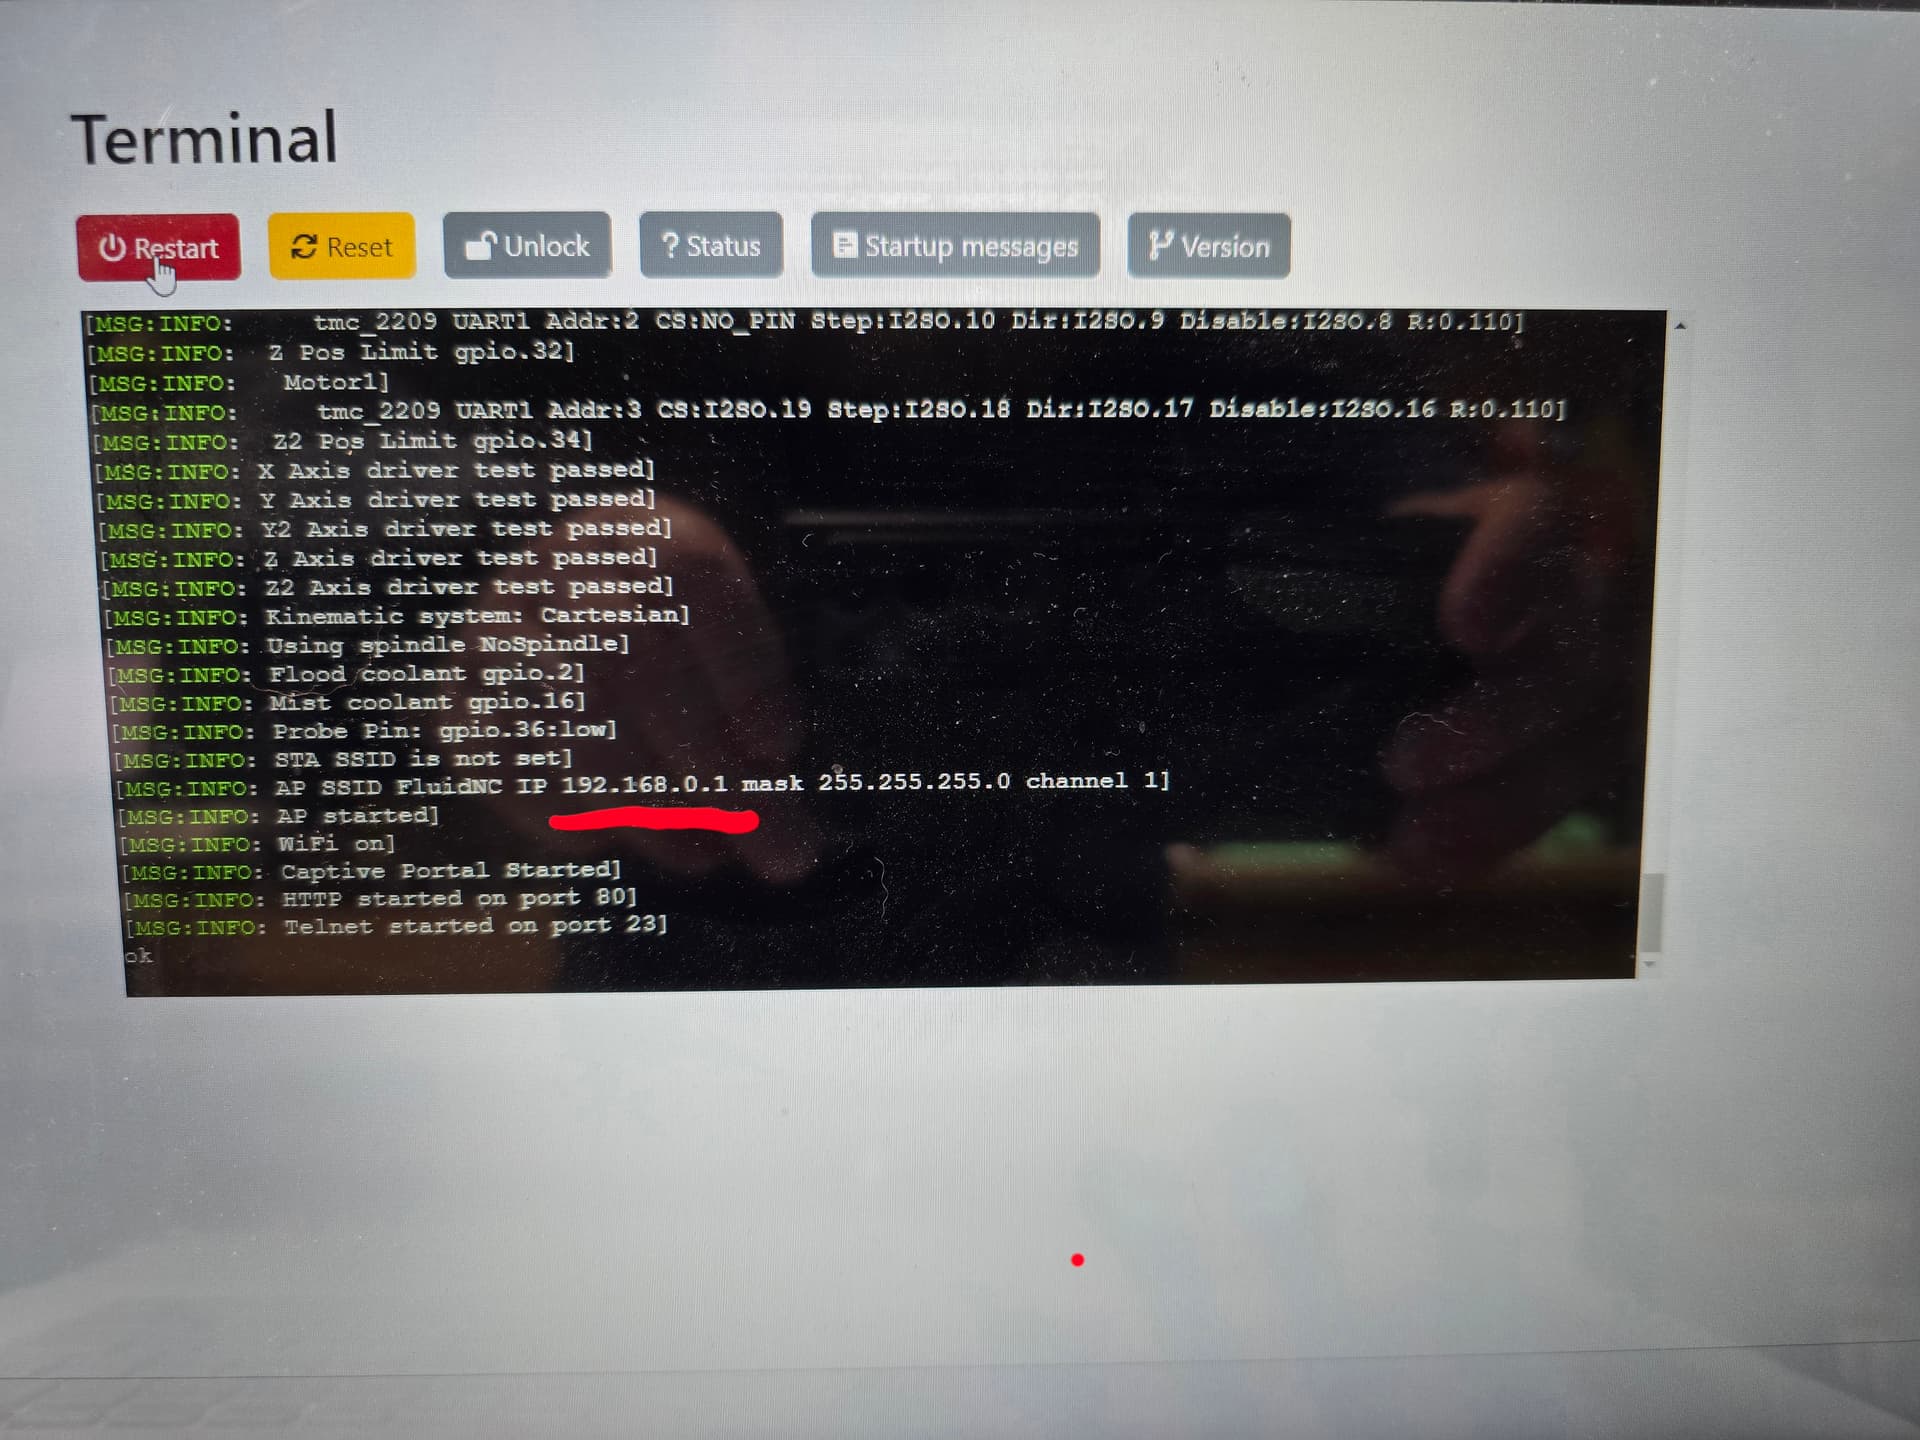
Hit a brick wall today after finally getting back to the project. I finished wiring it up and went to connect via WiFi and…nothing. Searched the forum for fixes and tried what I found (192.198.0.1, fluidnc.local, and connecting directly via cable). Still cannot pull up fluidnc. Pictured is what I have when connected directly via cable after I sent “$SS” in command prompt. Noticed SSID is set to 192.168.0.1 so what am I missing that I cannot connect over the web like before I rebuilt to LR4?
Any help appreciated!
It is in access point mode so you need to connect to the network “fluidNC”, pass 12345678.
Thanks Ryan! Brain fart on my end. Glad to be getting back to working the project!!!
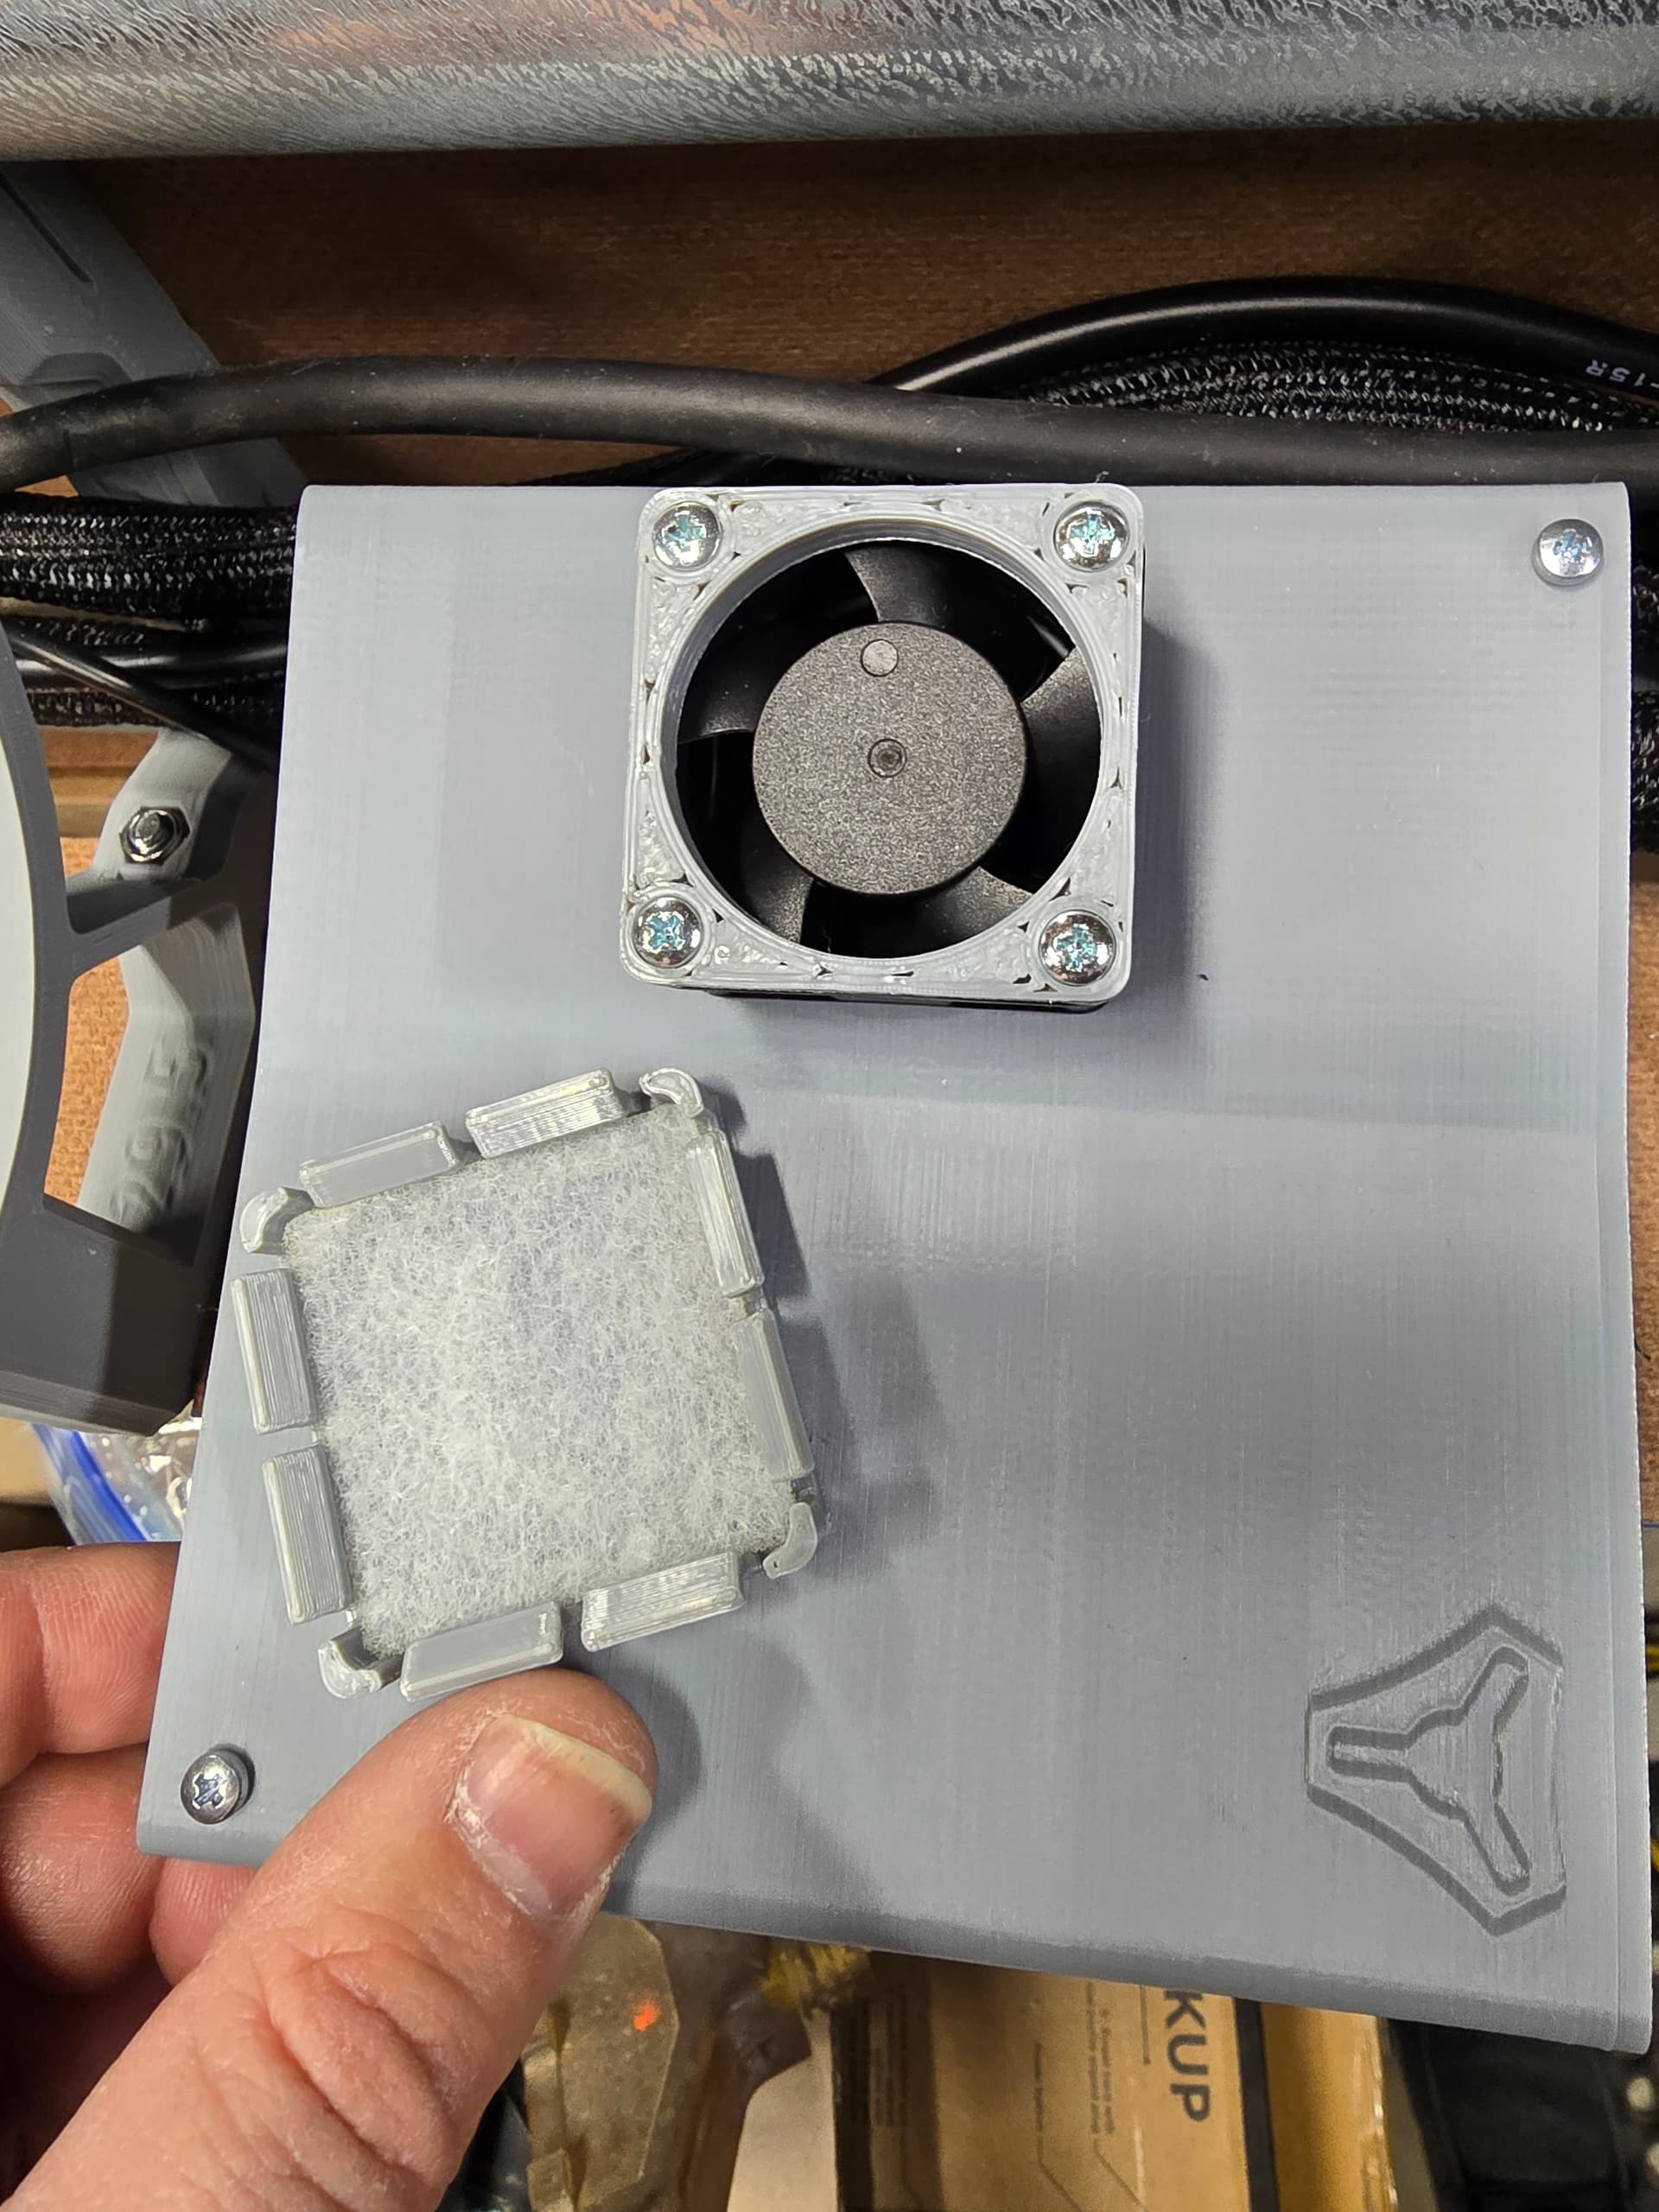
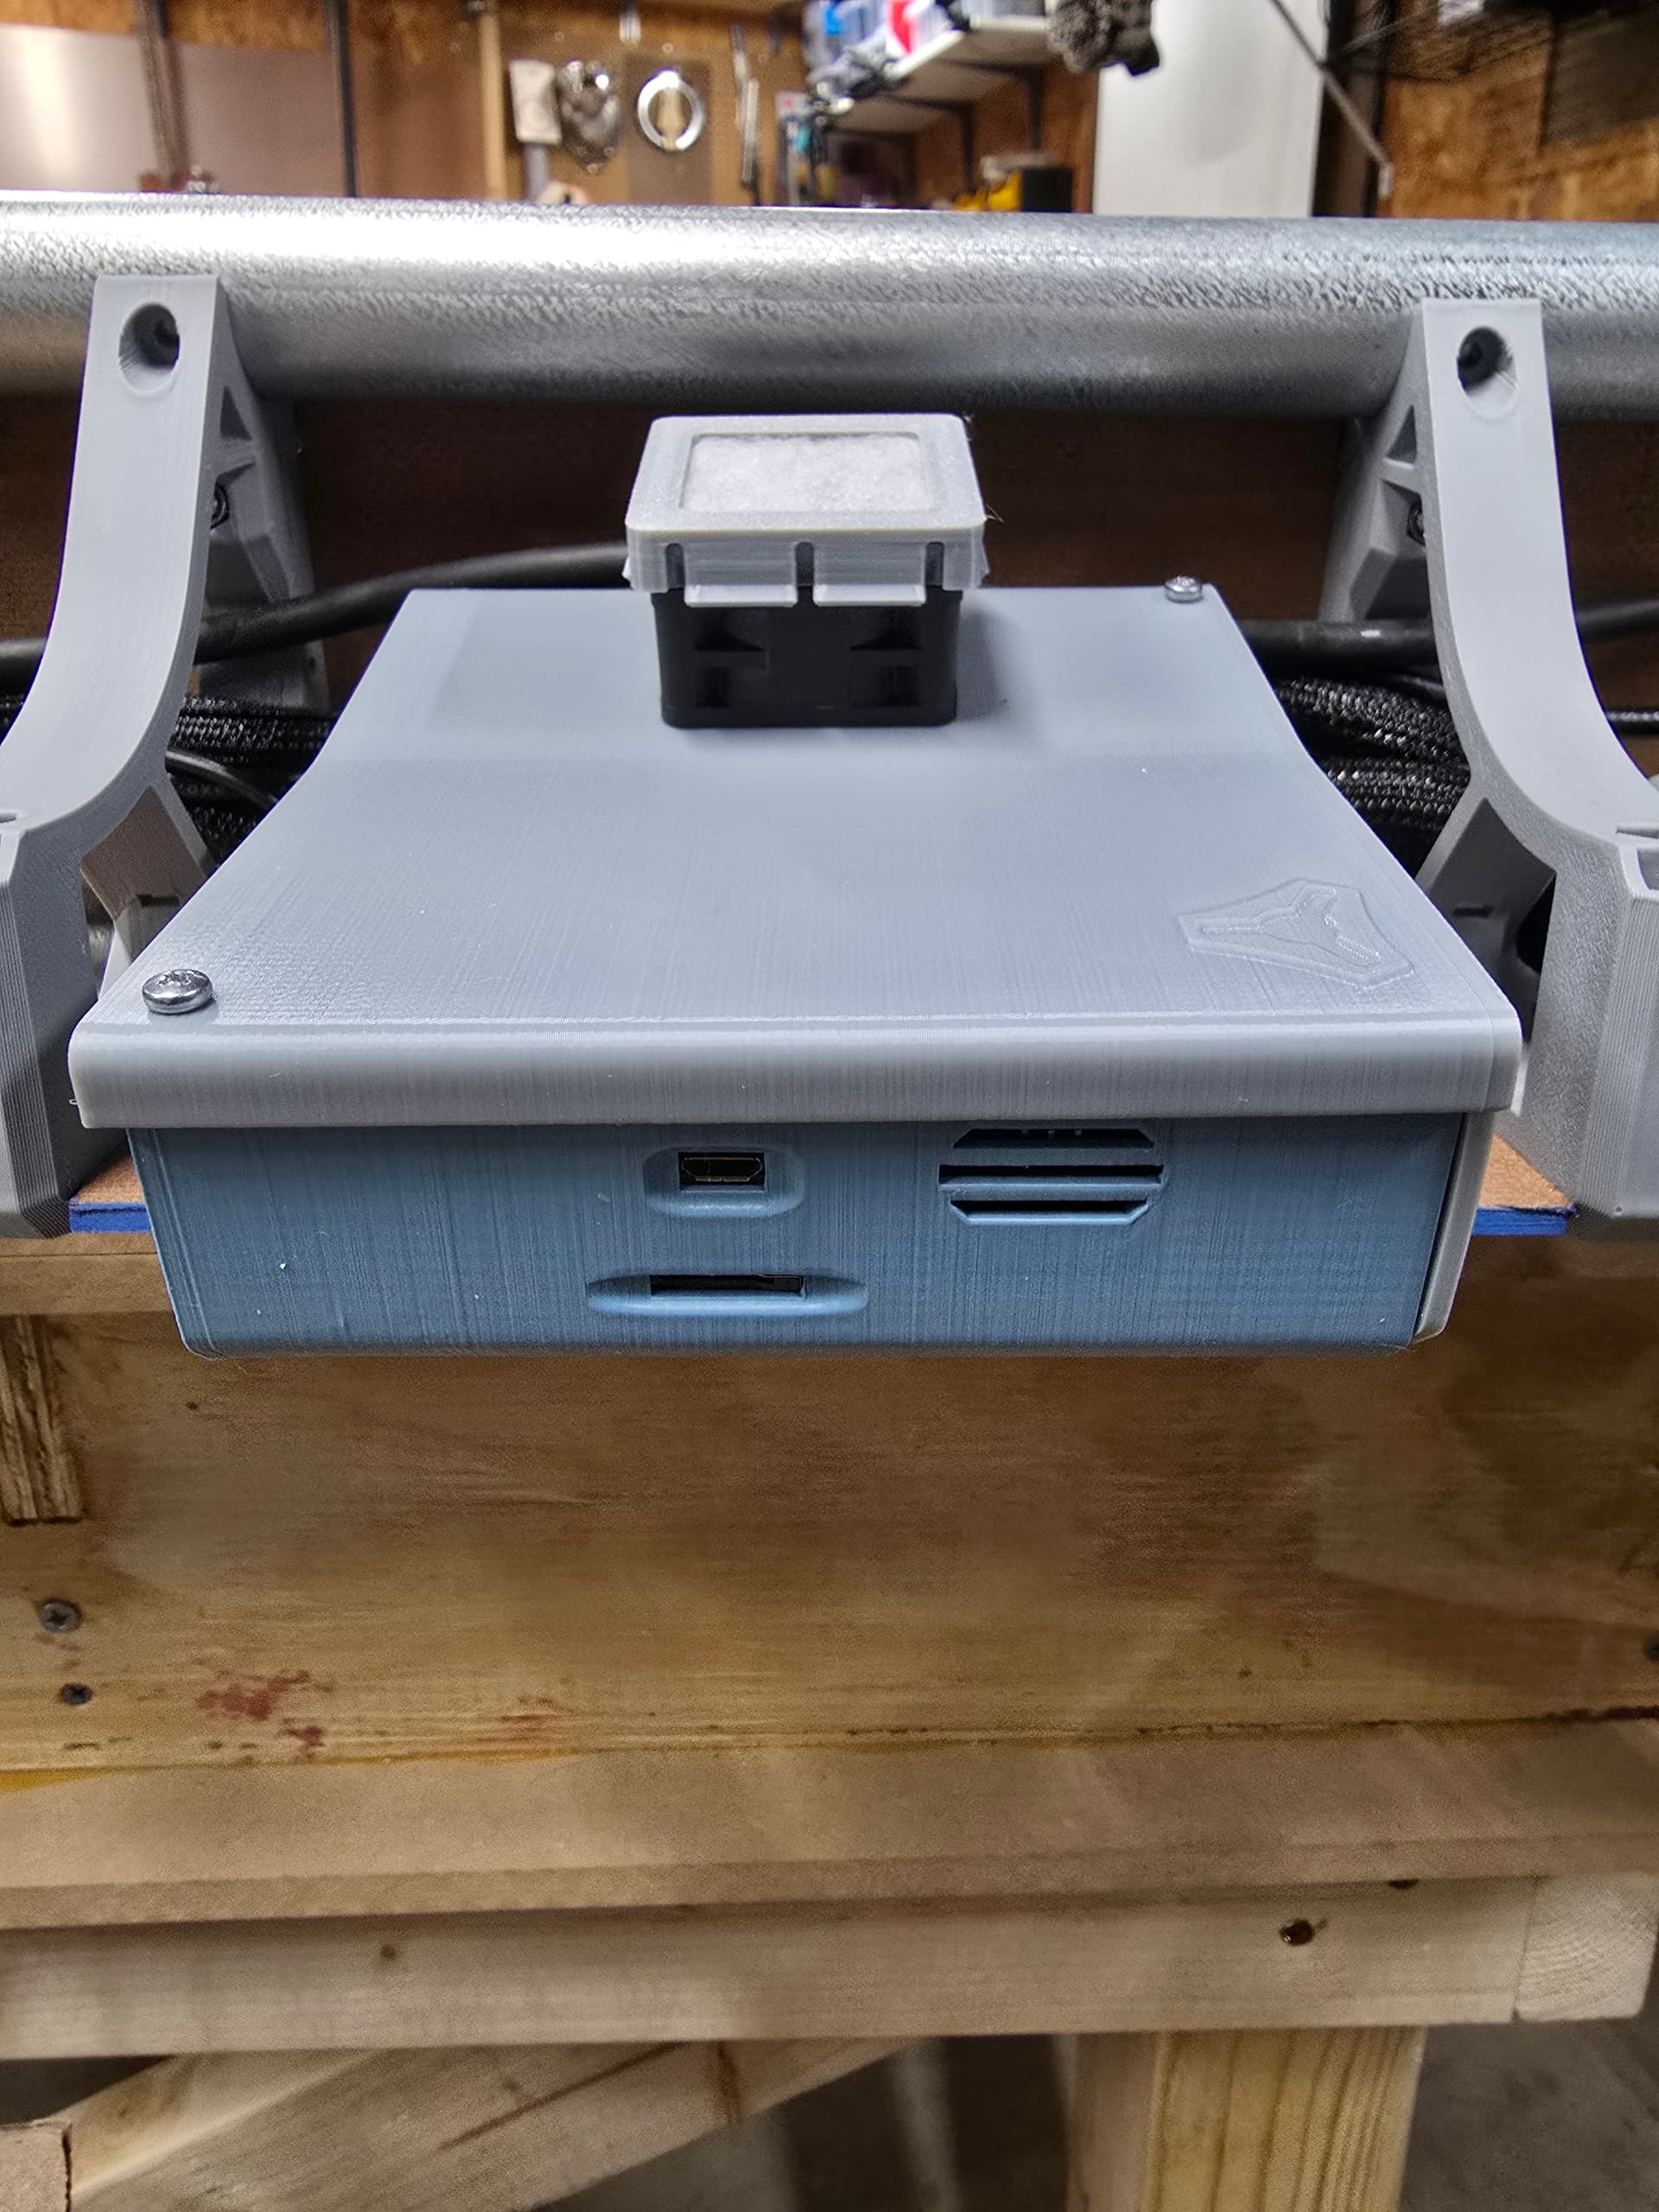
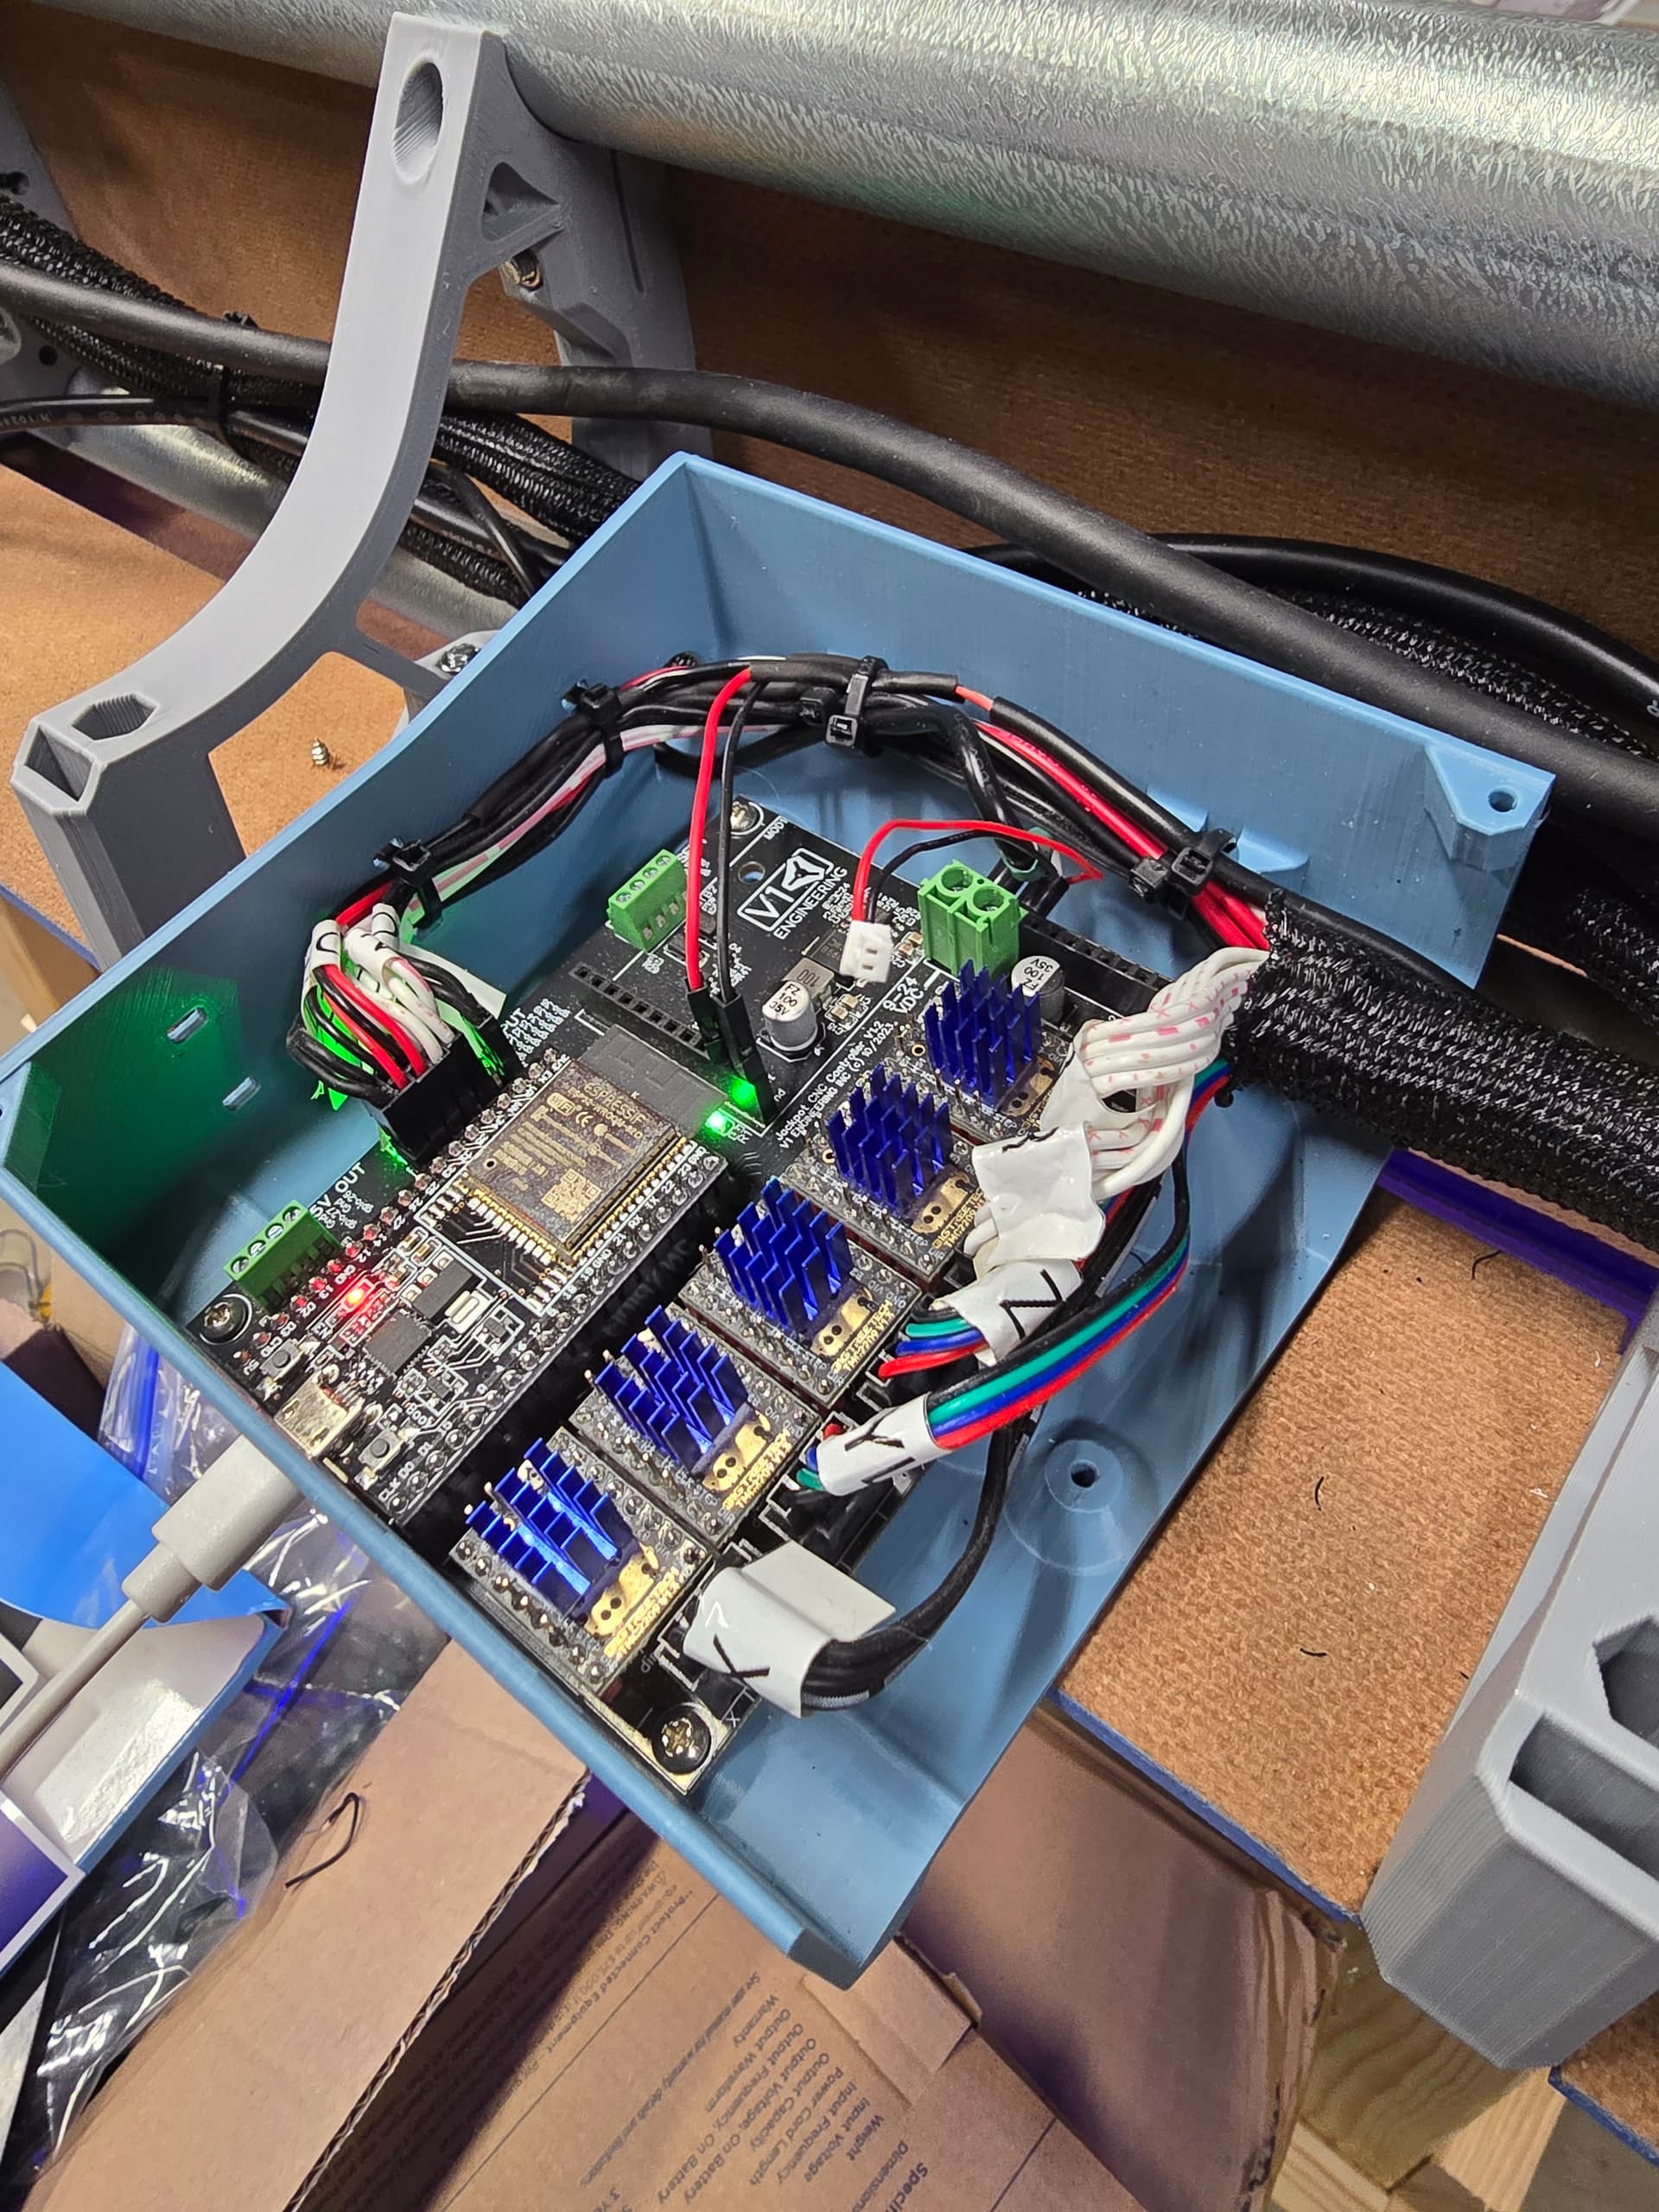
Tweaked a few things on the control board case to fit my needs and include a filter element above the fan that pulls air in for positive pressure in the box. Connected LEDs to the 5v pinout on the Jackpot board. Almost there…
Looking great! Get that sucker cutting ![]()
At another dead end and have been working for days trying to figure it out. Searched the forum and have found nothing that matches. I am working on squaring up the gantry and have an issue with homing my Z axis. Upon startup, I am able to move in ALL directions manually. I can also home the X and Y axis without issue. Upon trying to home the Z axis, instead of moving up toward the stops, the gantry moves downward at a slowed pace and stops. Once it stops, FluidNC shows an alarm and accepts no more input. I cycle power, and the same thing repeats the same. I have adjusted the pull-off from 4 to 6mm, but since it is not even engaging those, I don’t think that is the problem. Wiring is set up exactly as it was before, and have also replaced the micro switches with no affect.
Would anyone have any ideas that I could try? I am out of ideas. ![]()

What happens if you power cycle and try to jog +Z? What direction does it go? up or down? (should be up). Same with -Z (should be down). You might just have the Z steppers plugged in backwards. If it jogs in the correct direction, then we’ll have to take a look at your config.yaml.
You’re getting that error because it it’s not hitting the endstop within a certain distance.
Manual movement of Z up or down work as it should, but as soon as I select Z Home button, it moves down and errors out and prevents any other action and has to be power cycled.
I know nothing about config.yaml. How would I see/display any conflicts here that could help with diagnosis?
I’m assuming you just uploaded the standard LowRider config.yaml from the V1 github repo? Or do you just have whatever came on the Jackpot?
Download it and post it here. You might have to put it in a zip file.
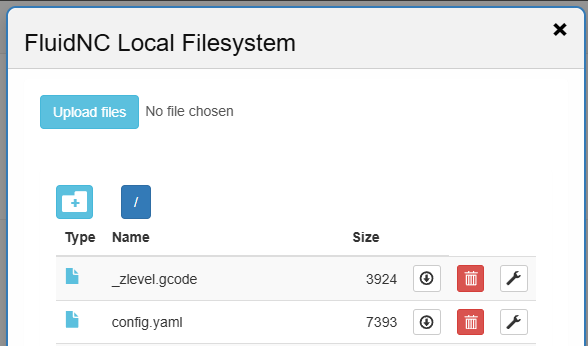
- FluidNC tab

- Manage Local Files button
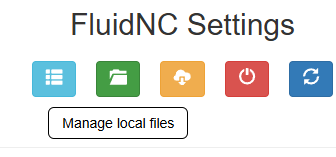
- Click the little download icon next to config.yaml to download it.
There are settings in that file that define the homing direction for each axis.
homing: positive_direction
  z:
    steps_per_mm: 200.000000
    max_rate_mm_per_min: 1200.000000
    acceleration_mm_per_sec2: 80.000000
    max_travel_mm: 300.000000
    soft_limits: false
    homing:
      cycle: 1
      allow_single_axis: true
      positive_direction: true
      mpos_mm: 0.000000
      feed_mm_per_min: 300.000000
      seek_mm_per_min: 800.000000
      settle_ms: 500
      seek_scaler: 1.100000
      feed_scaler: 1.100000
I’m also curious what version of FluidNC you have. At one point, there was a version where homing was messed up. When you start it up, it’s one of the first messages. You can also enter $SS in the command window to output this info.
[MSG:INFO: FluidNC v3.9.2-pre1 (main-937cf762) https://github.com/bdring/FluidNC.git]
Version 3.7.10 is what I have and not sure how to update if required…
config.zip (1.5 KB)
This sounds like an open circuit on the endstops
I opened the control board cover (Again) and looked at the wiring/lights and found that the Left Z Stop light was not lit like all the others. Using my finger, I manually activated the micro switch back and forth a few times and the light came on steady. I then selected Z Home on FluidNC and it homed beautifully (went the right direction and didn’t error out). I believed both the switches to be good since I replaced them both with new ones during the upgrade, but looks like one of the new ones was faulty, and led me down a long (days) road worth of pointless trouble shooting and kicking things. Guess that is what I get for assuming…I believe replacing it to be the solution and I appreciate Jason and your help SO MUCH!!!
Off to find the extra parts box…
Well, that’s a bit older (from November 2023) but I don’t think that’s an issue.
Your config looks ok except I was surprised to see you have soft and hard limits set. I have those disabled so I’m not sure if that has any impact here.
If a Z endstop is already triggered when you go to home, that would throw an alarm as well. It looks like error code 8 is a homing pulloff fail which happens when the endstop is still triggered after pull-off.