Lowrider2 - pingpong build

Long time reader, and I bought @peeteebee ’s disassembled LR2 with great plans to get straight into a rebuild to get chips flying…. Then life got in the way!

I have too many projects on the go. House renovation, box truck conversion to horse transporter (with living accommodation), antique horse drawn carriage restoration, moped restoration to name a few…. Oh and of course a full time job and the aforementioned horse to care for. All this means that getting the low rider back together and working has taken a back seat.

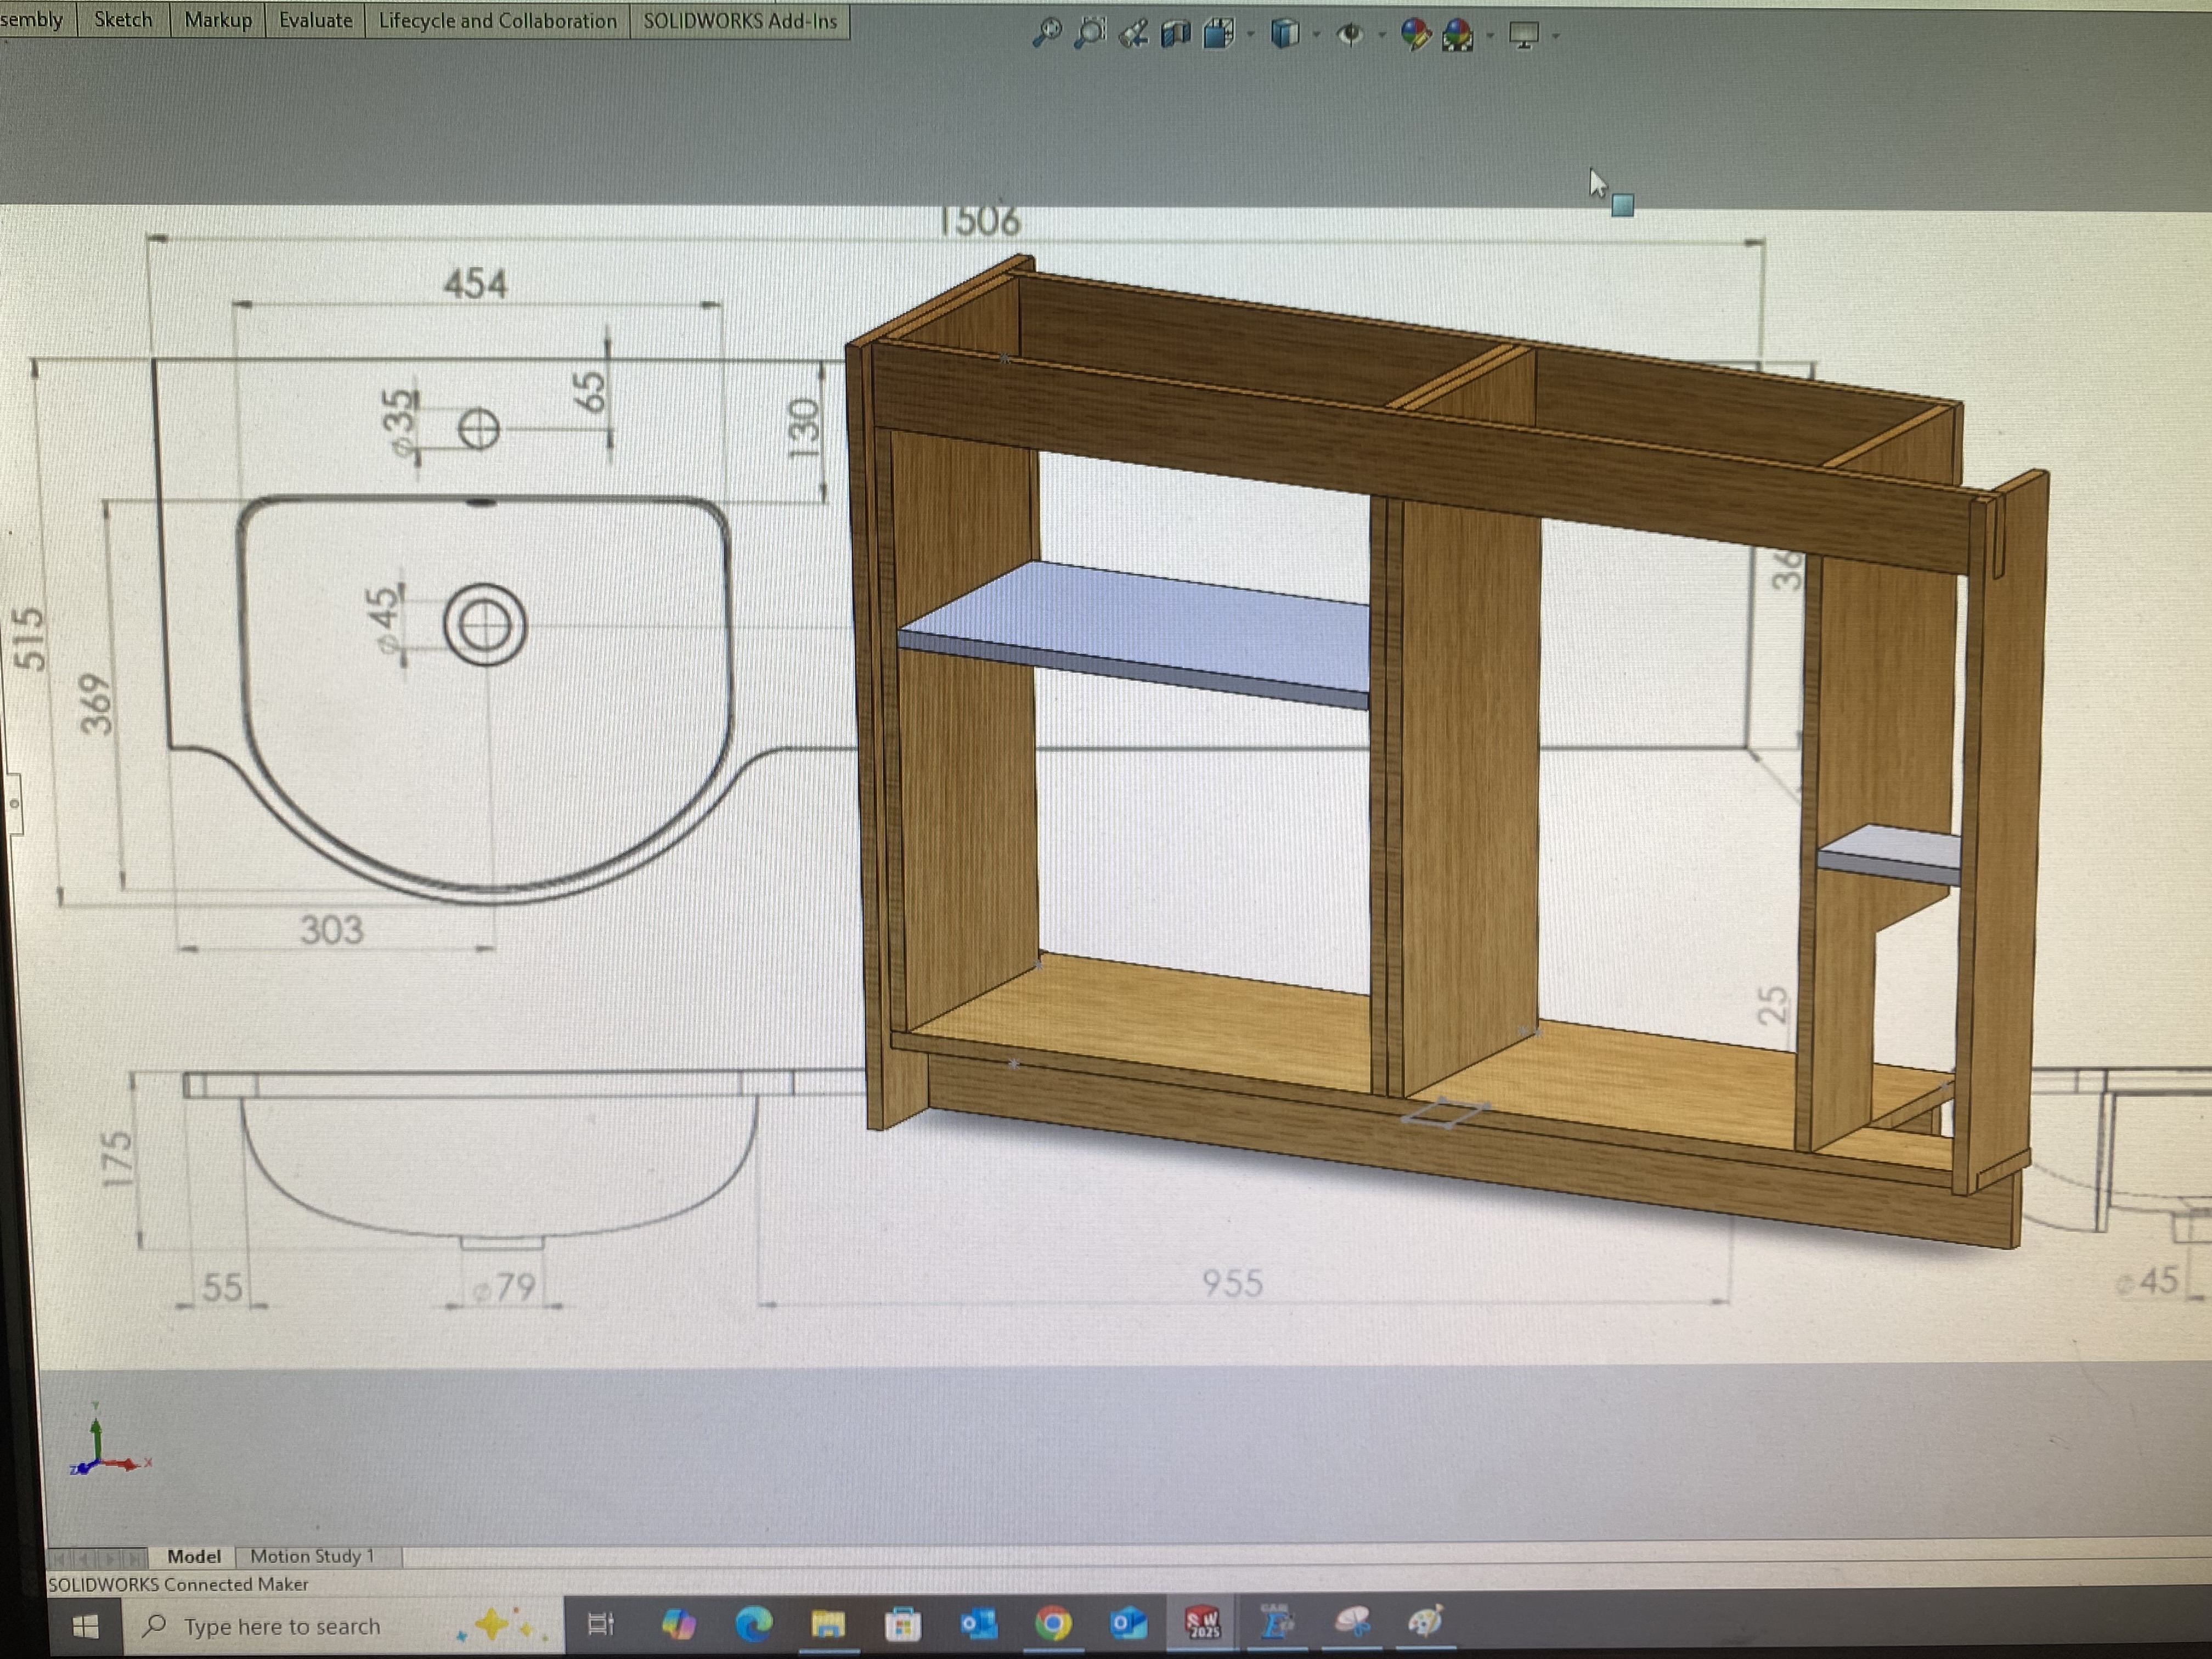
I also have a space problem, because the main projects I have in mind for the low rider will be require a full sheet bed (cabinet cutting, and sheet material cutting to make side skirts for the truck). In the UK most normal house only have a single garage, and mine is full with the carriage restoration, and a new bathroom (waiting for vanity cabinets!). I’m lucky to also have a 20’x8’ workshop in the garden, but that is also full to bursting.

Fully appreciate I am wayyy behind the curve here, but I have too many things on to build a lr4 so I’m working with what have and what I can hopefully get together and running quickly… at this stage it’s sheet particle board (old ikea wardrobes is cheap stock as they are faced, and no one wants to move them) and acm/dibond that I want to cut, so I thing the lr2 will do it just fine.

With all this in mind, the LR2 I have LR2 (disassembled), and having read a lot on here about tables (especially https://forum.v1e.com/t/table-ideas-for-those-just-getting-started/41036) Ive settled out on a using a folding ping pong / table tennis table as my basis. The reasons being.

  1. They come up cheap, because people don’t want to move them —> this is no issue for me.
  2. They fold up - see space constraints above. And if the lr2 is supported right it can live protected inside the files table.
  3. They are nearly fully sheet when open (9x5’)
  4. You can fold one half for smaller jobs.
  5. You could only have the lr2 on one half, then use the other half as an out feed table or for other projects
  6. The one I got is on wheels - which is wheely good when you need to move it.

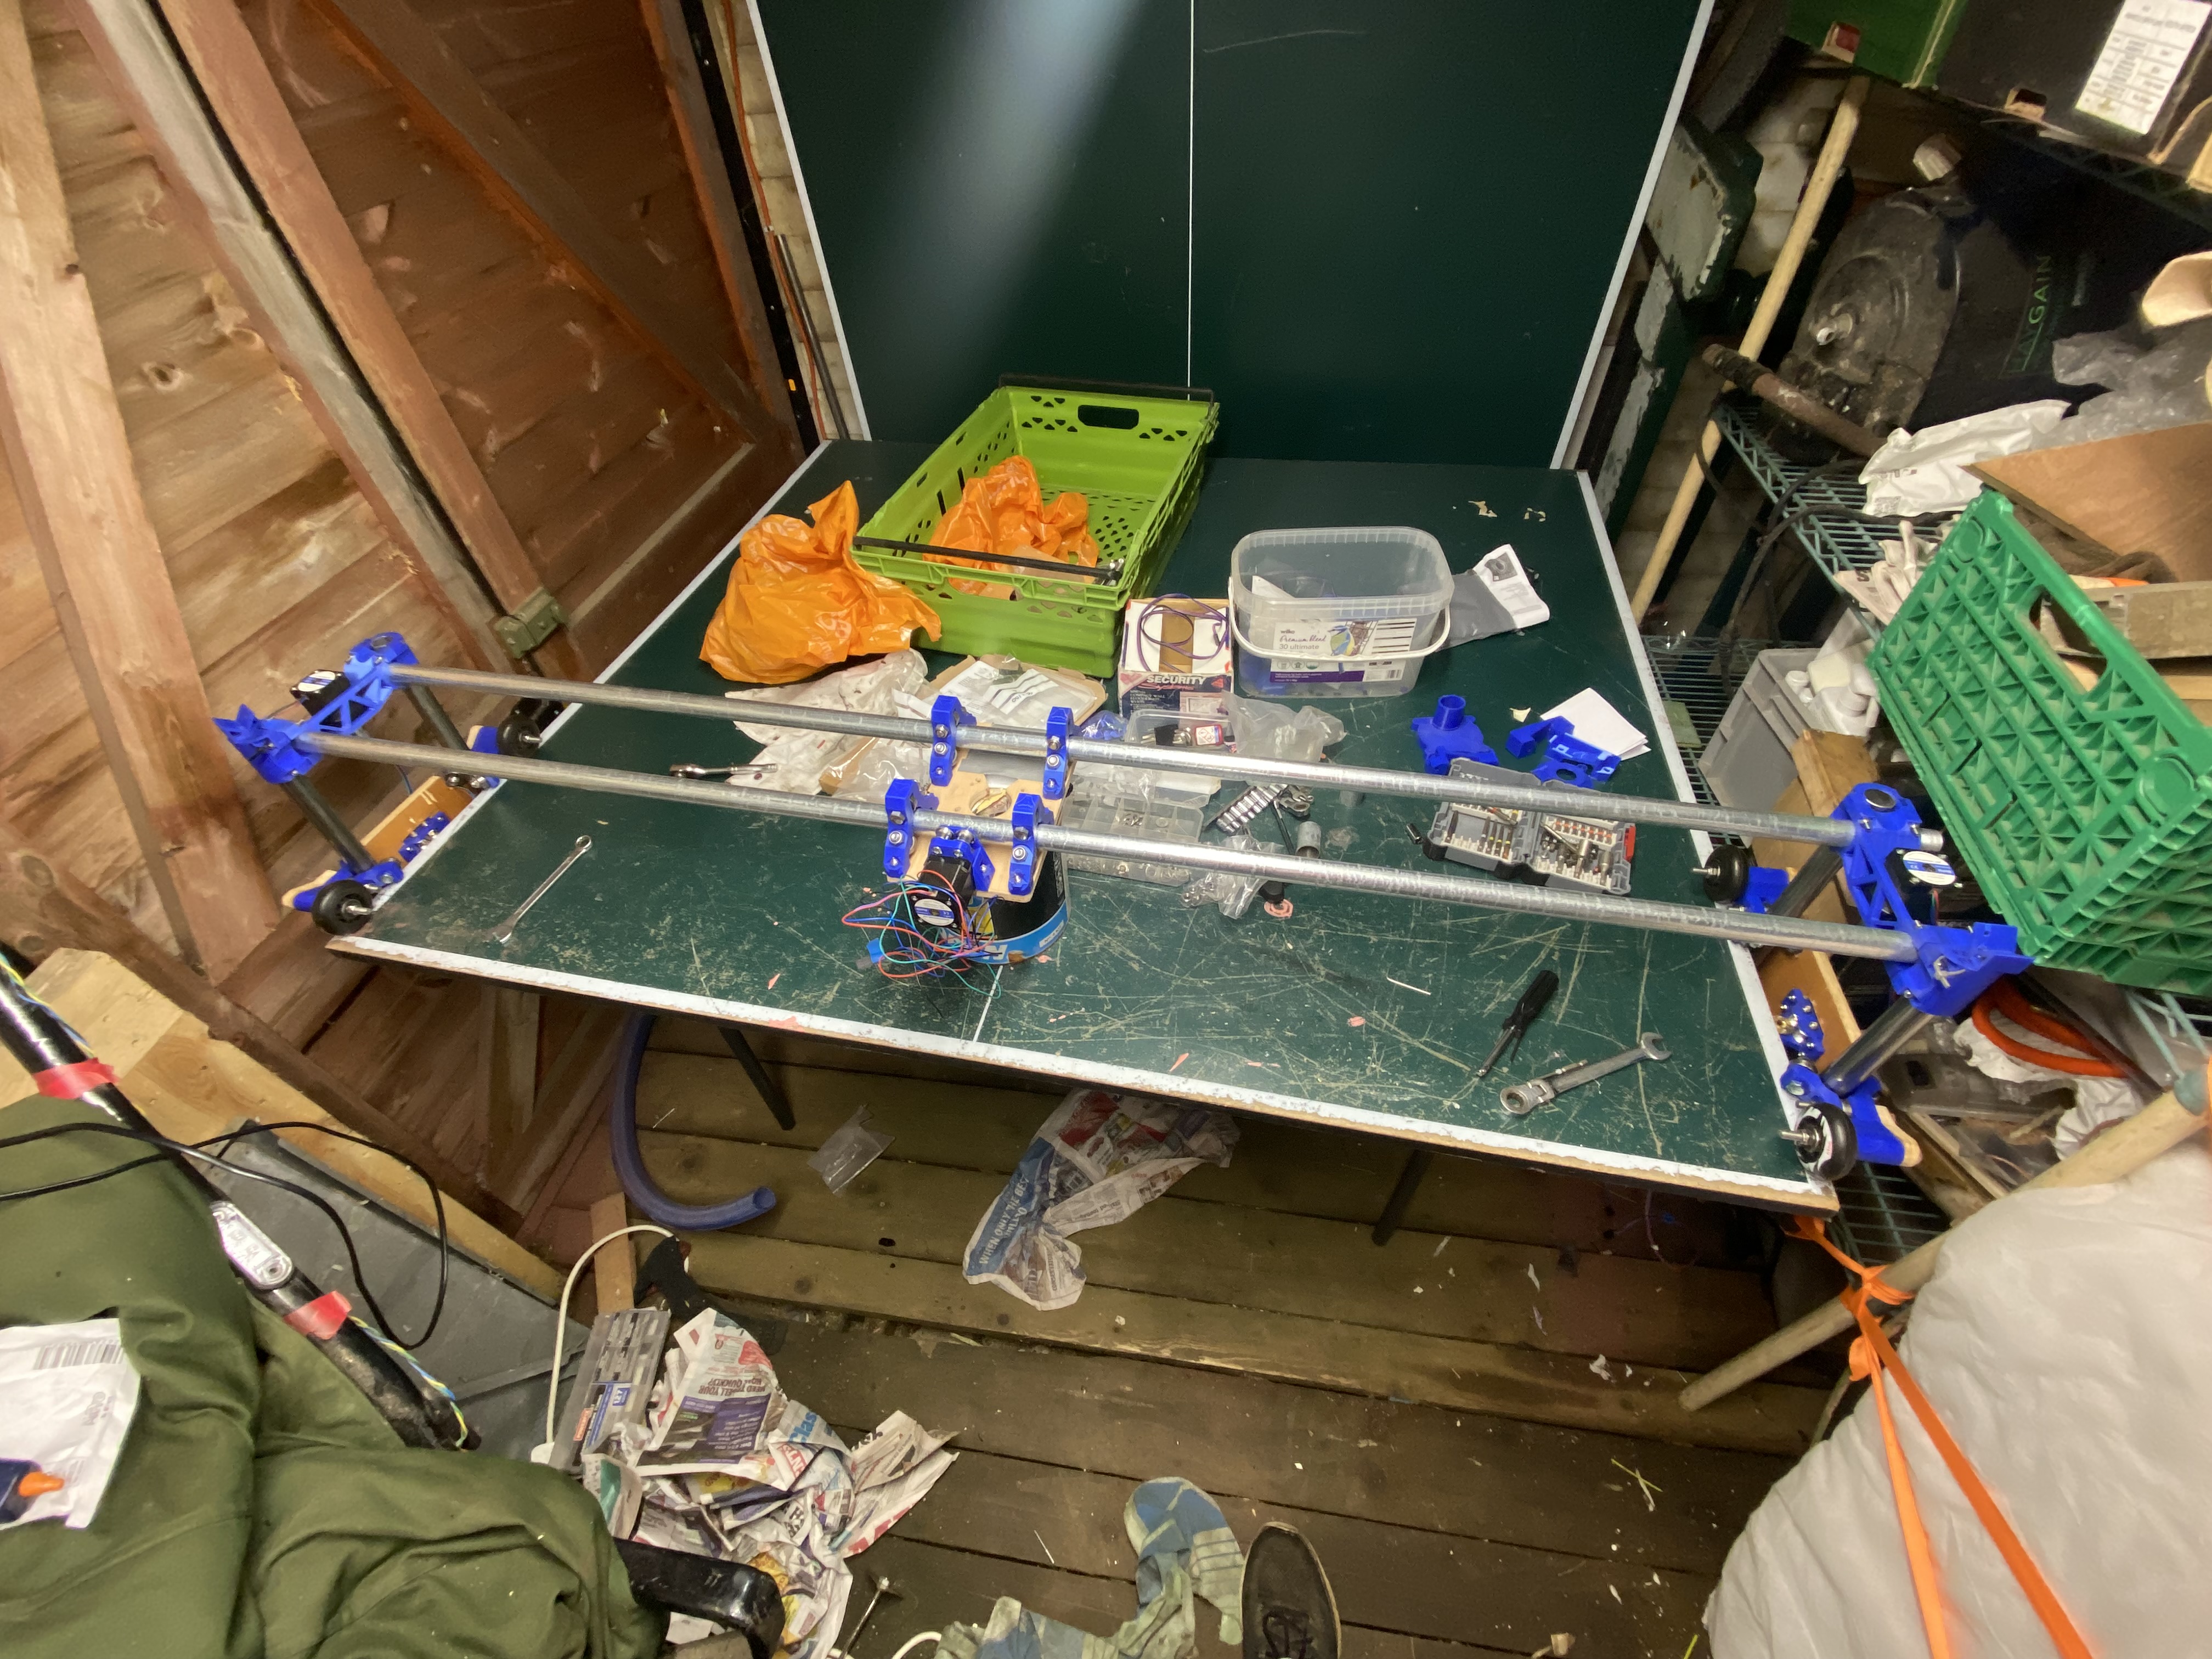
So I bought one, similar to this


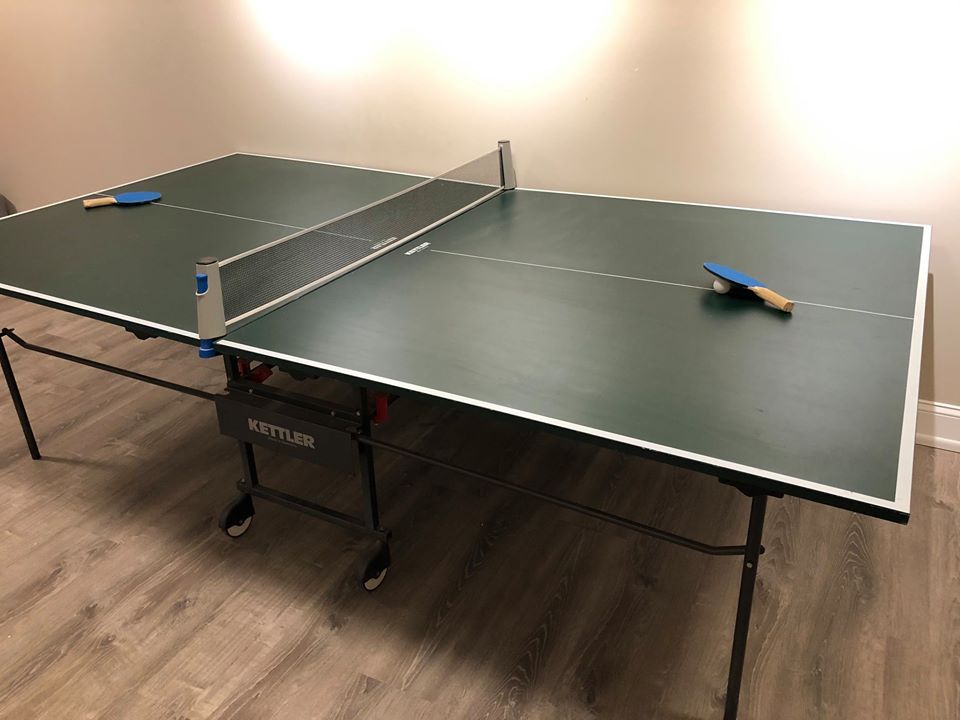
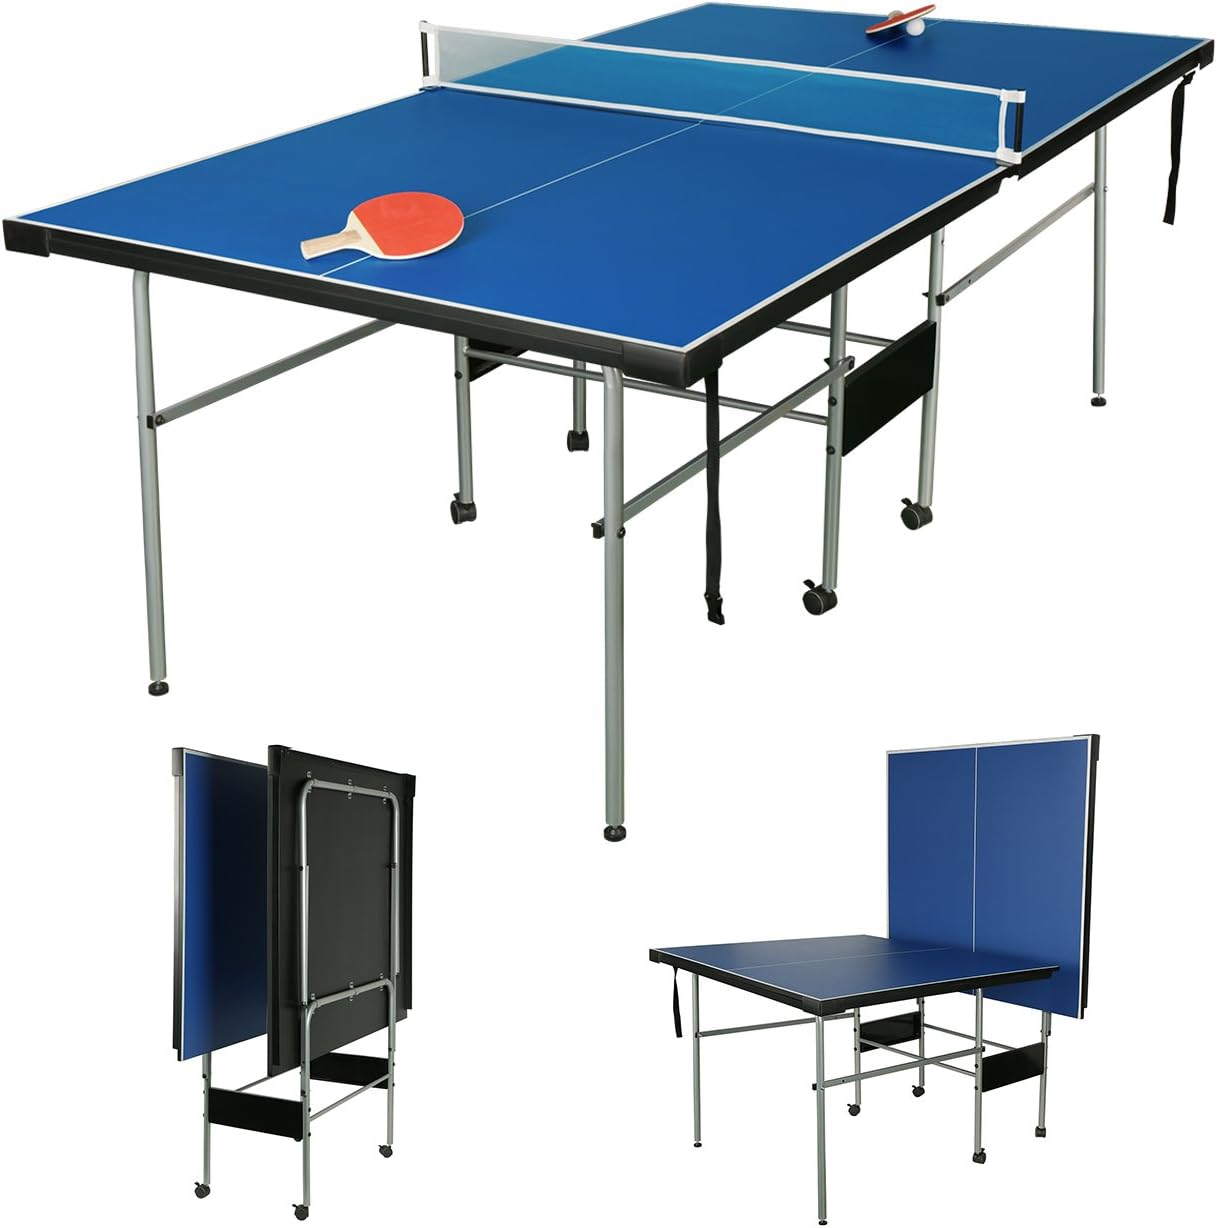
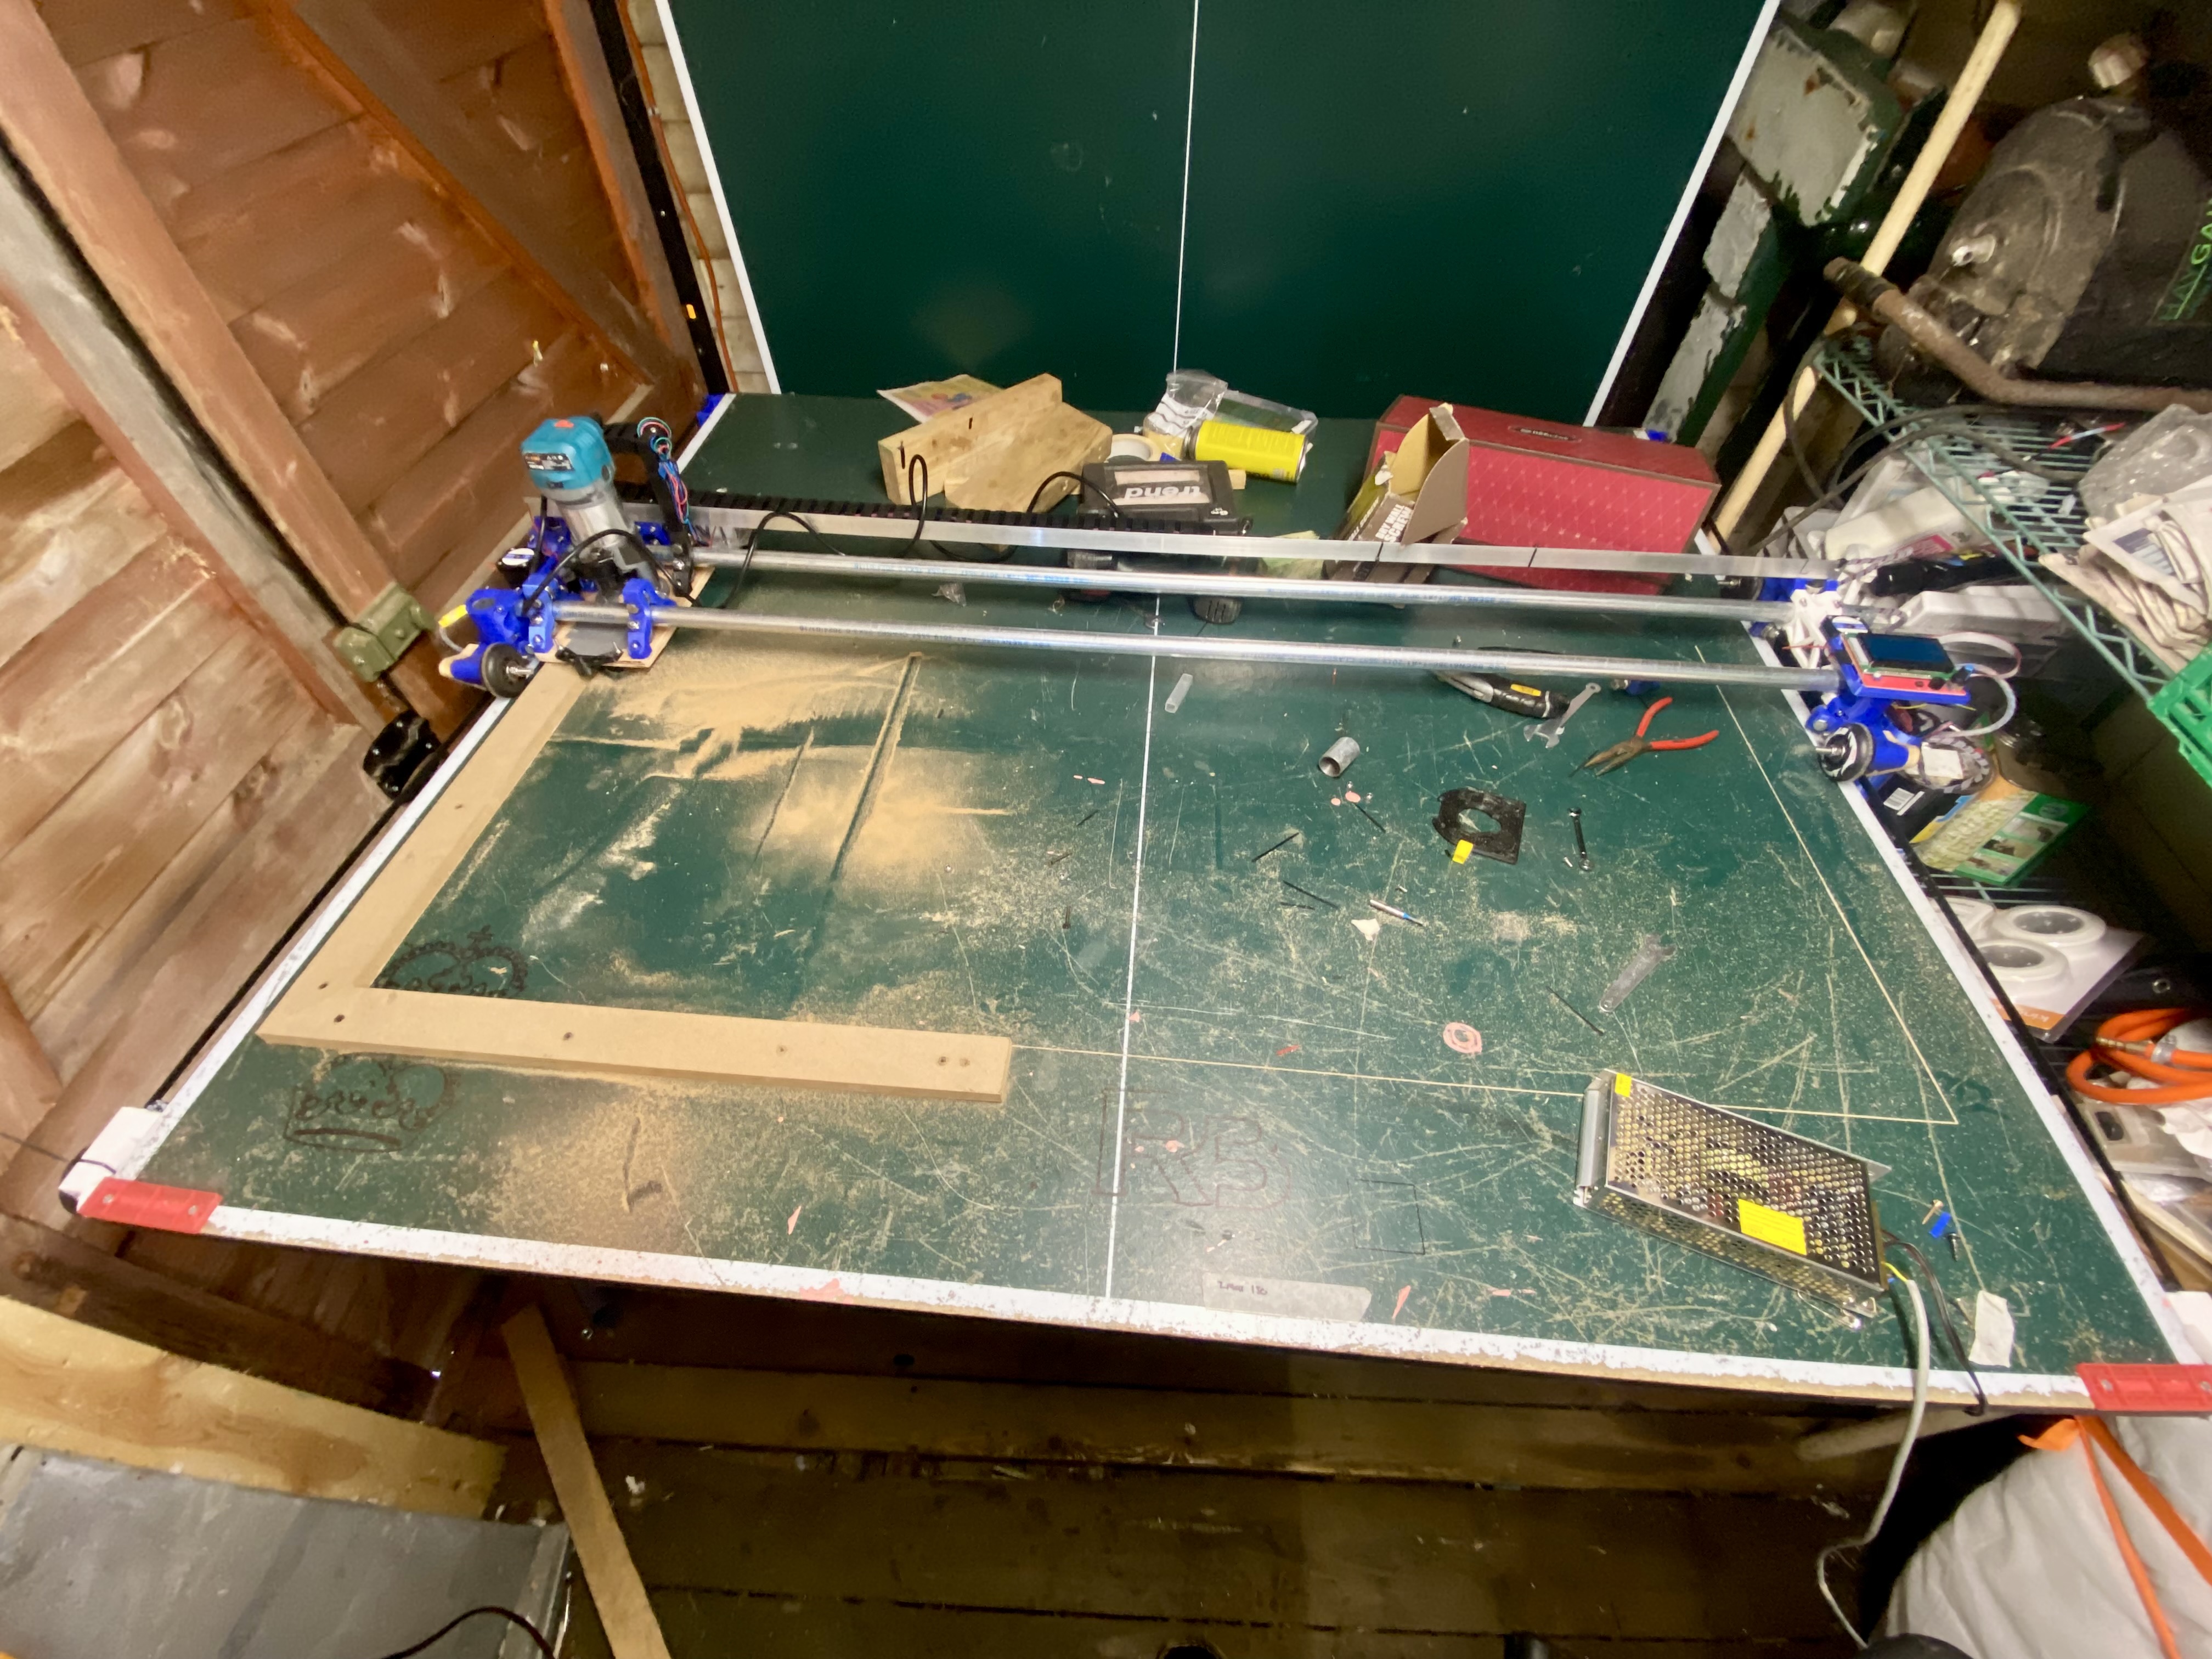
Metal frame, mdf table surface. Not 100%flat, quite warped across the width but can be braced if needed (I’m planning through cuts of sheet materials, so flatness isnt critical)

It barely fits in the shed, I can only open one side at a time, but the important thing is it fits!

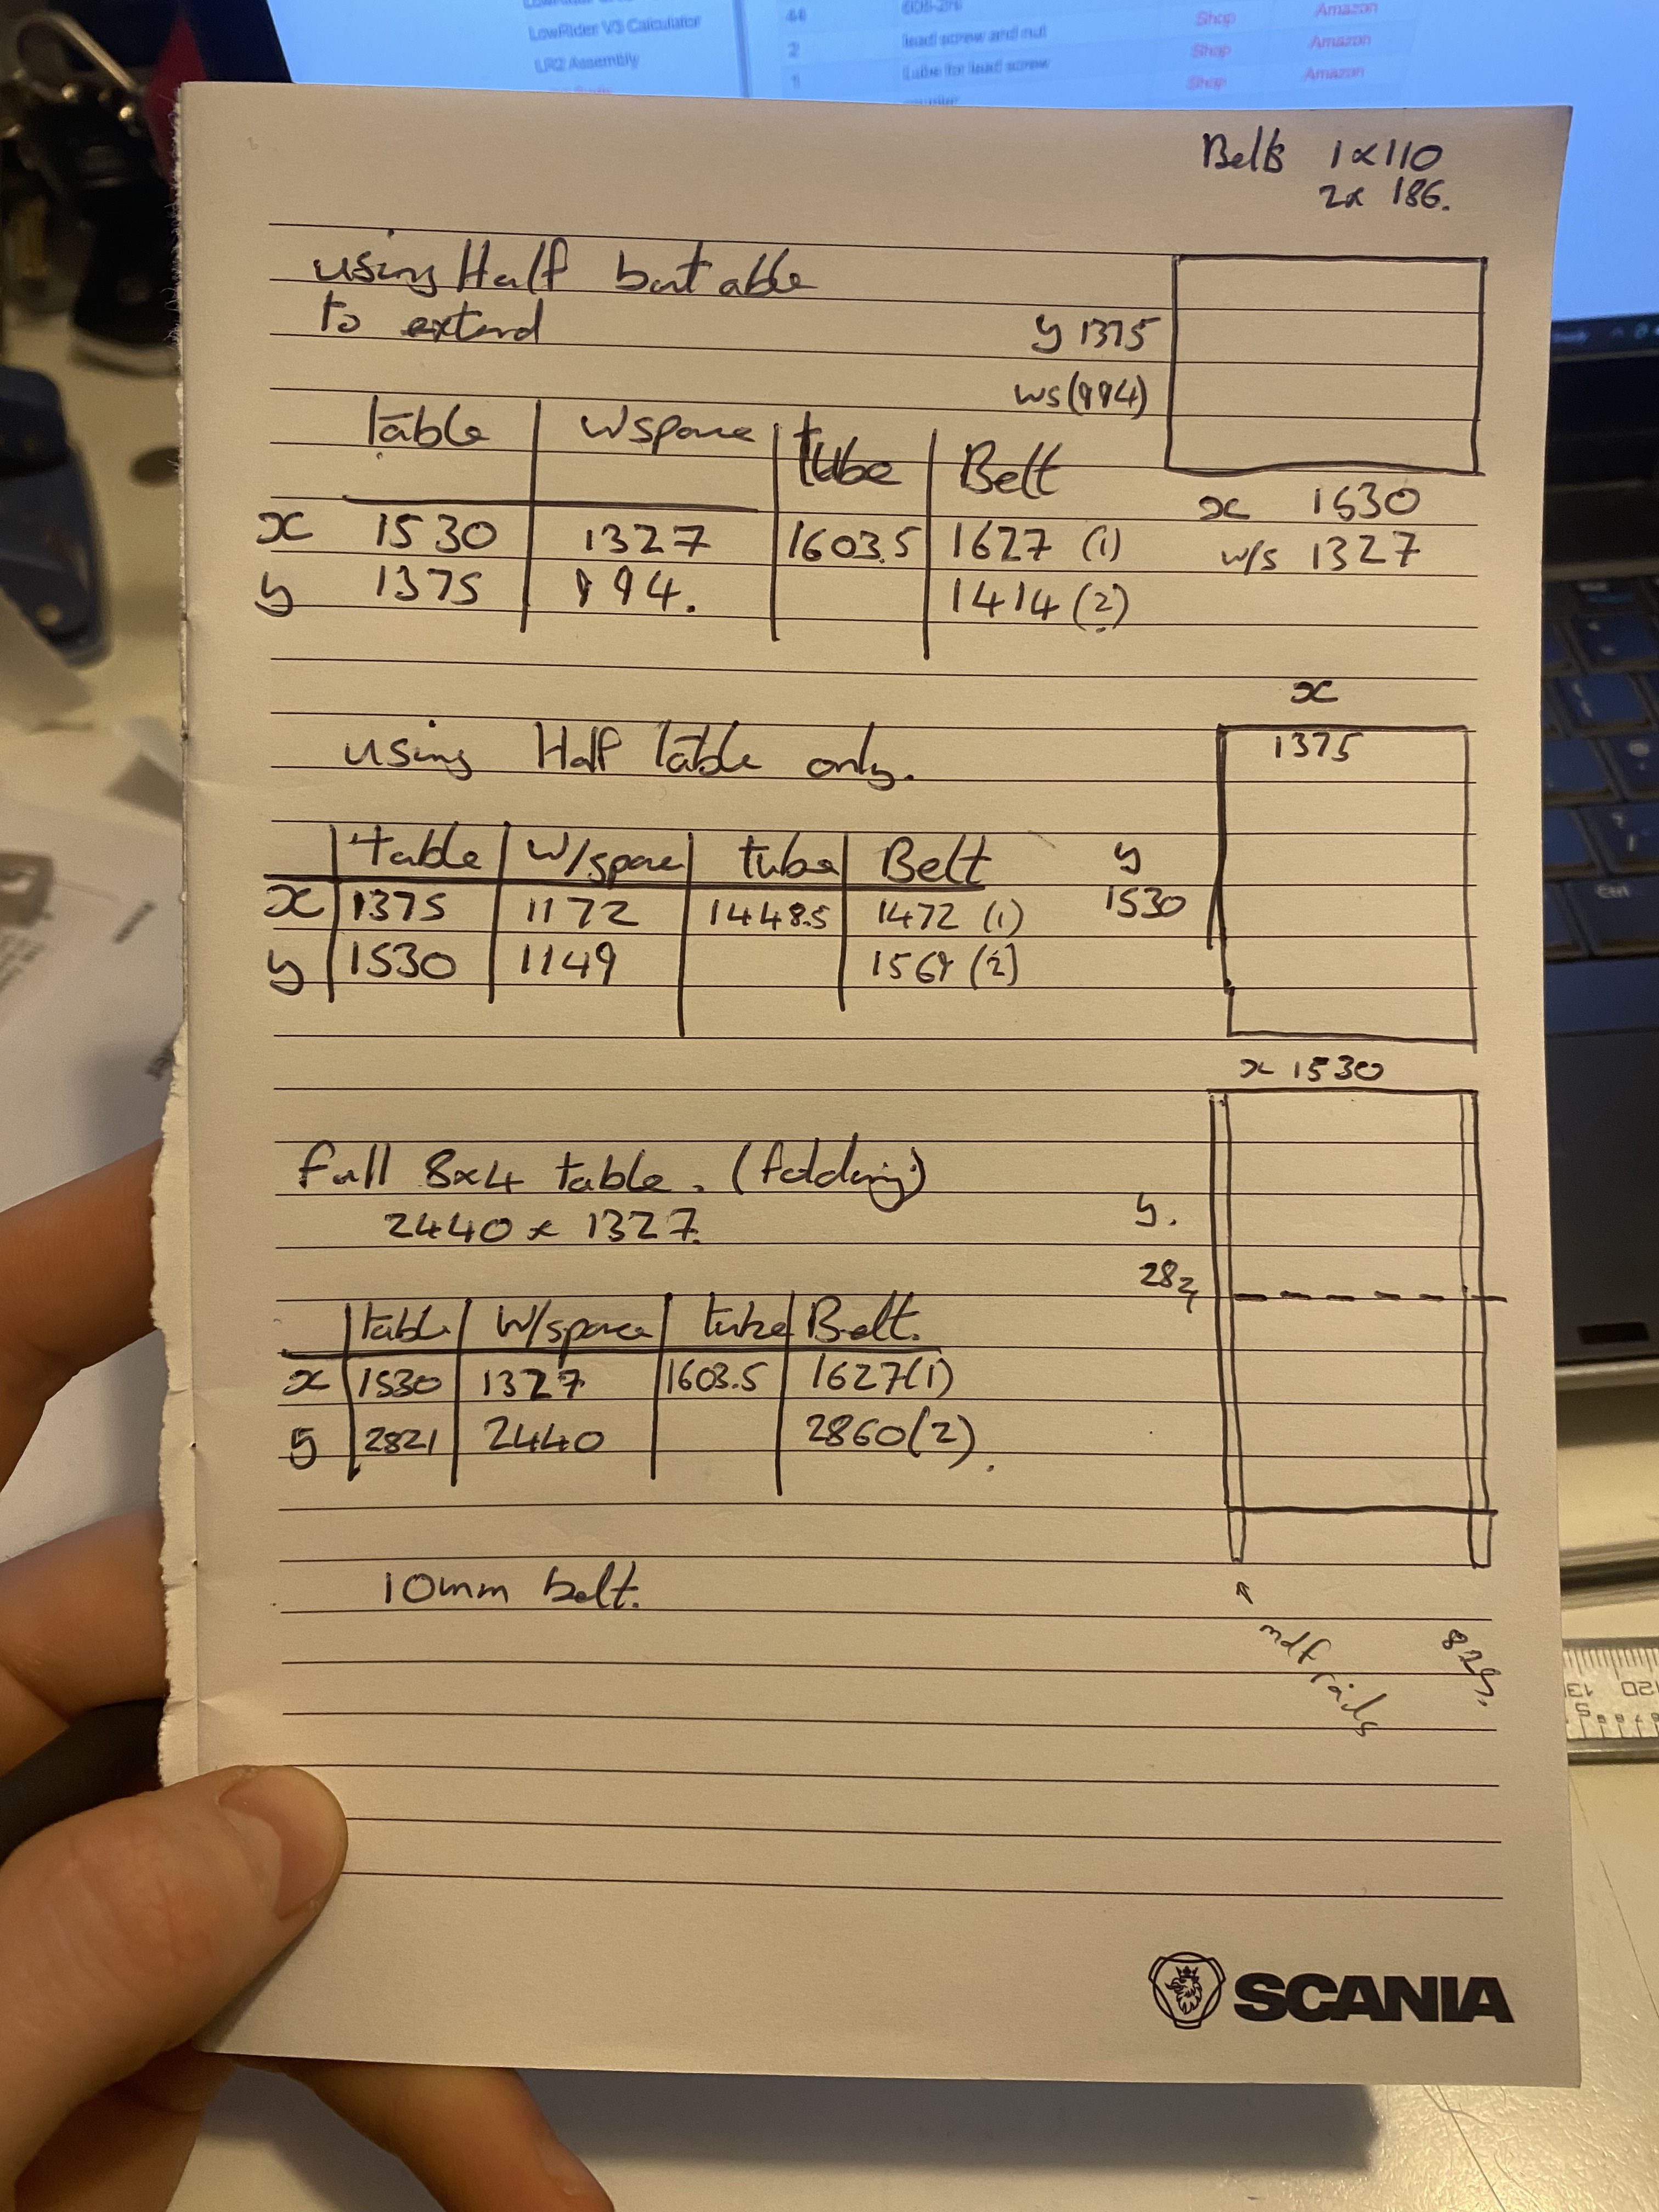
So, I’m a the stage where I have 3 options as far as I see it:

  1. Half table machine, x-axis 5ft table width, y axis 4.5ft table length, and use other side of the table for outfeed.
    Pros:
    Can build in situ, only use one half for a start. Then only use 2nd half when needed for outfeed table.
    Only need to extend belts (or deal with long belts with excess length) to get to full sheet machine using 2nd half of table.
    No issue with aligning table halves.
    Can use other half table for other things when needed without disturbing cnc.

Cons:
X is greater than Y axis.
Not full sheet capable - need to use registery holes/dowels
Potentially waste half the table

  1. Use half the table, but have xaxis across the width:
    Pros:
    Y axis greater than x
    Can build in situ, only use one half.
    No issue with aligning table halves.
    Can use other half table for other things when needed without disturbing cnc.

Cons:
Not full sheet capable - need to use registery holes/dowels
No outfeed capability.
Potentially waste half the table

  1. Full 9x5 table machine, x-axis 5ft table width, y axis 9ft table length, nearly full sheet
    Pros:
    Full sheet

Can use most of table for other things when needed without disturbing cnc.

Cons:
X is greater than Y axis.
issue with aligning table halves.
Need more space! May have to be used outside, or wait until garage is clear (garage only 8’x17)
Would need extending to get to a full 8ft working length.

I used the LR2 table calculator backwards to get these workspace dimensions


(Would be a good option to be able to plug in a fixed table size, and the calculator work out what workspace you can have - @vicious1 what are your thoughts for lr4 people with fixed table dimensions?)

Given all the above, I’m leaning to option one for now, with the option to go to full sheet when space and project require it. The only thing that I am majorly concerned about though is the 5ft axis, especially as the tubes are 25mm galvanised conduit - so x-axis deformation over length may be a problem?

What do you guys think? I haven’t found a ping pong table build that covers this so would be interested to hear from anyone who has been down this route, or wider-x LR2’s.

As always, massive thanks to all who contribute to the forum, it’s an amazing space and somewhere I come to read and learn everyday as a wind-down. Thanks to you Ryan’s for creating the machines and the community that give us all such incredible opportunities to build and enjoy within our own homes!

3 Likes

It is very easy to change the configuration. Use what you have, leave extra belt bundled up. Get started using it. Once you get a few projects under your belt you will see what you prefer.

1 Like

Thanks Ryan, I figured as much, and will go with option 1 with full length belts.

Do you think the 5ft x-span will be an issue for my use cases? Im a bit concerned about deflection but not sure if I am being over-cautious?

Yes, smaller is better. LR3 and 4 don’t hang over the edge so they are easier to use on any size table, and the gantries on those are far far more rigid for a wider build.

It will work but it will be slower because of it.

Honestly, I am not seeing the ping pong table as a very good option. Some 2x4’s and some sheet material and you have the exact size table you need, you can even hinge it to the wall or add wheels.

1 Like

Hi Rupert

Great to hear that you’re finally getting round to using my old LR2.
Having sold it to you (two years ago!!) stating that I had no requirement for it, and it was in my way, I subsequently had a new requirement. Of course!! Hence I built my current LR3.

The ping-pong table sounds like an interesting idea. I’m sure there are hundreds of them that were 5-minute-wonders, now just sitting around cluttering homes.
Please keep us posted.

Regards

Hi Paul!

Yes time flies, but I have kept on reading one the forum and have a good idea of how I want to move forward, it’s just finding the time!

Ping pong tables are a super cheap way of getting a flat table you can move around easily and/fold up, I paid £10 for mine so couldn’t have made a table for that money! But I do heed Ryan’s words about the conduit flex over x-axis. I’m going to try it as have nothing to lose, and will report how I get on!

Great to hear that you built a Lr3! How are you getting on with it?

LR3 is great! My use is very sporadic and, as you know, my space limited. So the fact that it’s quick and easy to remove the gantry from the base board means LR3 works better for me that the LR2 did. I just lean the baseboard against a wall most of the time, and everything else is in one piece on a shelf.

Look forward to seeing your updates on the ping-pong table.

Slow progress, but progress nonetheless… I can work on it 7-8am most mornings before work, but the shed was -2degC this morning, and no heater so it takes a lot of will power to get out there and get on, when there are jobs in the warm that also need doing!

Mechanical assembly pretty much complete, just need to get Ztubes aligned better and take out lateral play between Ztubes (is there a recommended clearance gap?)

Z lead screws to go on next, then measuring up all the wiring harness extensions! https://youtu.be/_rGZ8-cSS34?si=-TypQx0KgYr8raFA

3 Likes

Finally, after a lot of mistakes and waiting on overnight parts from Japan (and Amazon), I made some chips/dust!

Table top is warped to hell, but I have a plan that is mainly screwing 2x4s underneath it to pull it straight.

Half drag chain added (because they are expensive) and some cable management, and then it was onto penplotting - crown looked pretty good (please critique!) aside from where the pen caught, or the holder flexed. Also drew out a cattle-brand style monogram for the fun of it, so cool to see designs come to life!

onto the Katsu. 22.5deg engraving bit (for 45deg bends in future ACM/dibond projects) and just 3 manually controlled/jogged straight lines to give me an idea of max workspace, and set a corner to clamp to using some mdf scraps

Then just a repeat of the crown, and a first real engrave down to 3mm of the brand, just because!


So so pleased with how this has turned out so far, well aware this is baby steps, and the size of my work area will limit me with the LR2 design, but for me this is a massive leap! Thanks again to Ryan for enabling us to turn ideas to reality through these machines! O already have a prototyping use case lined up for a custome steel plate I need to have laser cut, so I will be checking fit using an mdf milled test piece!

Next steps, table bracing, spoil board, and squareness and dimensioning checks before engraving a full grid for alignment!

4 Likes

Milled crown for critique

I think this was 1mm doc single pass, which may explain some of the tear out? really I need to sort out the probing side and work out proper feeds and speeds to be able to go from there

4 Likes

Congratulations! And I agree - will power needed to go to the garage in the winter…

I hope I’m not far behind you with my build. I decided to move inside a house with my LR3 build, but had to move out after two weeks, coz kids were complaining about play space. Like it’s only space for them to play! I have to play too, uh?

Congratulations that is cool to see another build in action!

Don’t worry about tear out in mdf it kinda always happens but should brush right off.

So a lot has been going on with work, so havent had much time to get out to the Shed but I have achieved a bit.

The pingpong table has been reinforced with 3x2 ribs under the original MDF deck, with a12mm mdf spoil board added (and 12mm mdf wheel track added to make sure the sled still clears the spoil board even at lowest Z). The table is now approx 2mm out of flat, and while I have a surfacing bit, I haven’t had the time to improve on it - most of what I will do is through cuts anyway. 600mm x-y L-corner fence added at the origin, and milled square.

The pressing project for this build is a vanity unit for the bathroom I am renovating in the house. Nothing off the shelf fits, so I have designed my own ikea style unit, and will be using recycled Ikea Pax Wardobe sides as it’s hands down the cheapest way to get faced chipboard - light oak veneer in this case. Less than £20 for all I need for this, and probably enough to do the bath surround too!


(Sink, doors and toilet not modelled, but the end result will hopefully look like this)

In reality I would have had it built by now if I didn’t have the cnc, but I want to cnc it to say I have, and to prove a point to the other half about why I spend so much time in the shed! So the design calls for accuracy, and I thought I had better test the LR2 out, before jumping in!

200mm square, parted with tabs. 2flute up upcut, 3.95mm dia
150mm pocketed circle. 2flute downcut, 3.9mm dia

Different bits as trying to learn about how they affect tear out of the facing. Looking at the the pocket though I think I haven’t got the step over set right as have wide lining

The square comes out 1.6mm (.8%) under in X, and 1.8mm (0.9%) under in Y

Circle comes out 0.5mm (.3%) under in x, 0.8mm (.5%) under in Y

Concerned that the deltas arent constant but I am also not sure I have the workflow right for the finishing pass?

But based on the above how should I move forward? Is this primarily a belt tension issue ? I know grub screws are first thing, but they are loctited to the moon and back so confident they are not the issue. Or do I need to adjust steps per mm? If so is there a step by step walkthrough for this?

Thanks as always for the help and advice! Really bitten by the bug now, just want to make sure I’m doing the machine justice!

2 Likes