Disclaimer: this is not a stock system and is intended as an instruction manual. Please see the docs for the supported use case.
As part of the Lowrider beta test group, one of the lowriders I built was a first edition beta system. It drew a crown and then we were off to the next version. Not wanting to just toss this lowrider because at the time it was one of the best prints off the v4 I’ve ever seen and so I’d like to preserve it as part of the LR4 legacy. Printing all the parts took 70+ hours. I see little sense in tossing it in part because the parts I used to build it were nonstandard so it had to be judiciously modified for parts to fit, so reprinting new parts that require modification would be an unnecessary exercise. Additionally I think I like it more than my mpcnc (which is a very good machine), but the beta is larger than the table. It appears that the lowrider tubes can be cut down to fit the mpcnc table which will enable its legacy to continue. This may allow a larger lowrider to be made out of the stock mpcnc parts and its skr… with the addition of a few linear slides and more belts.
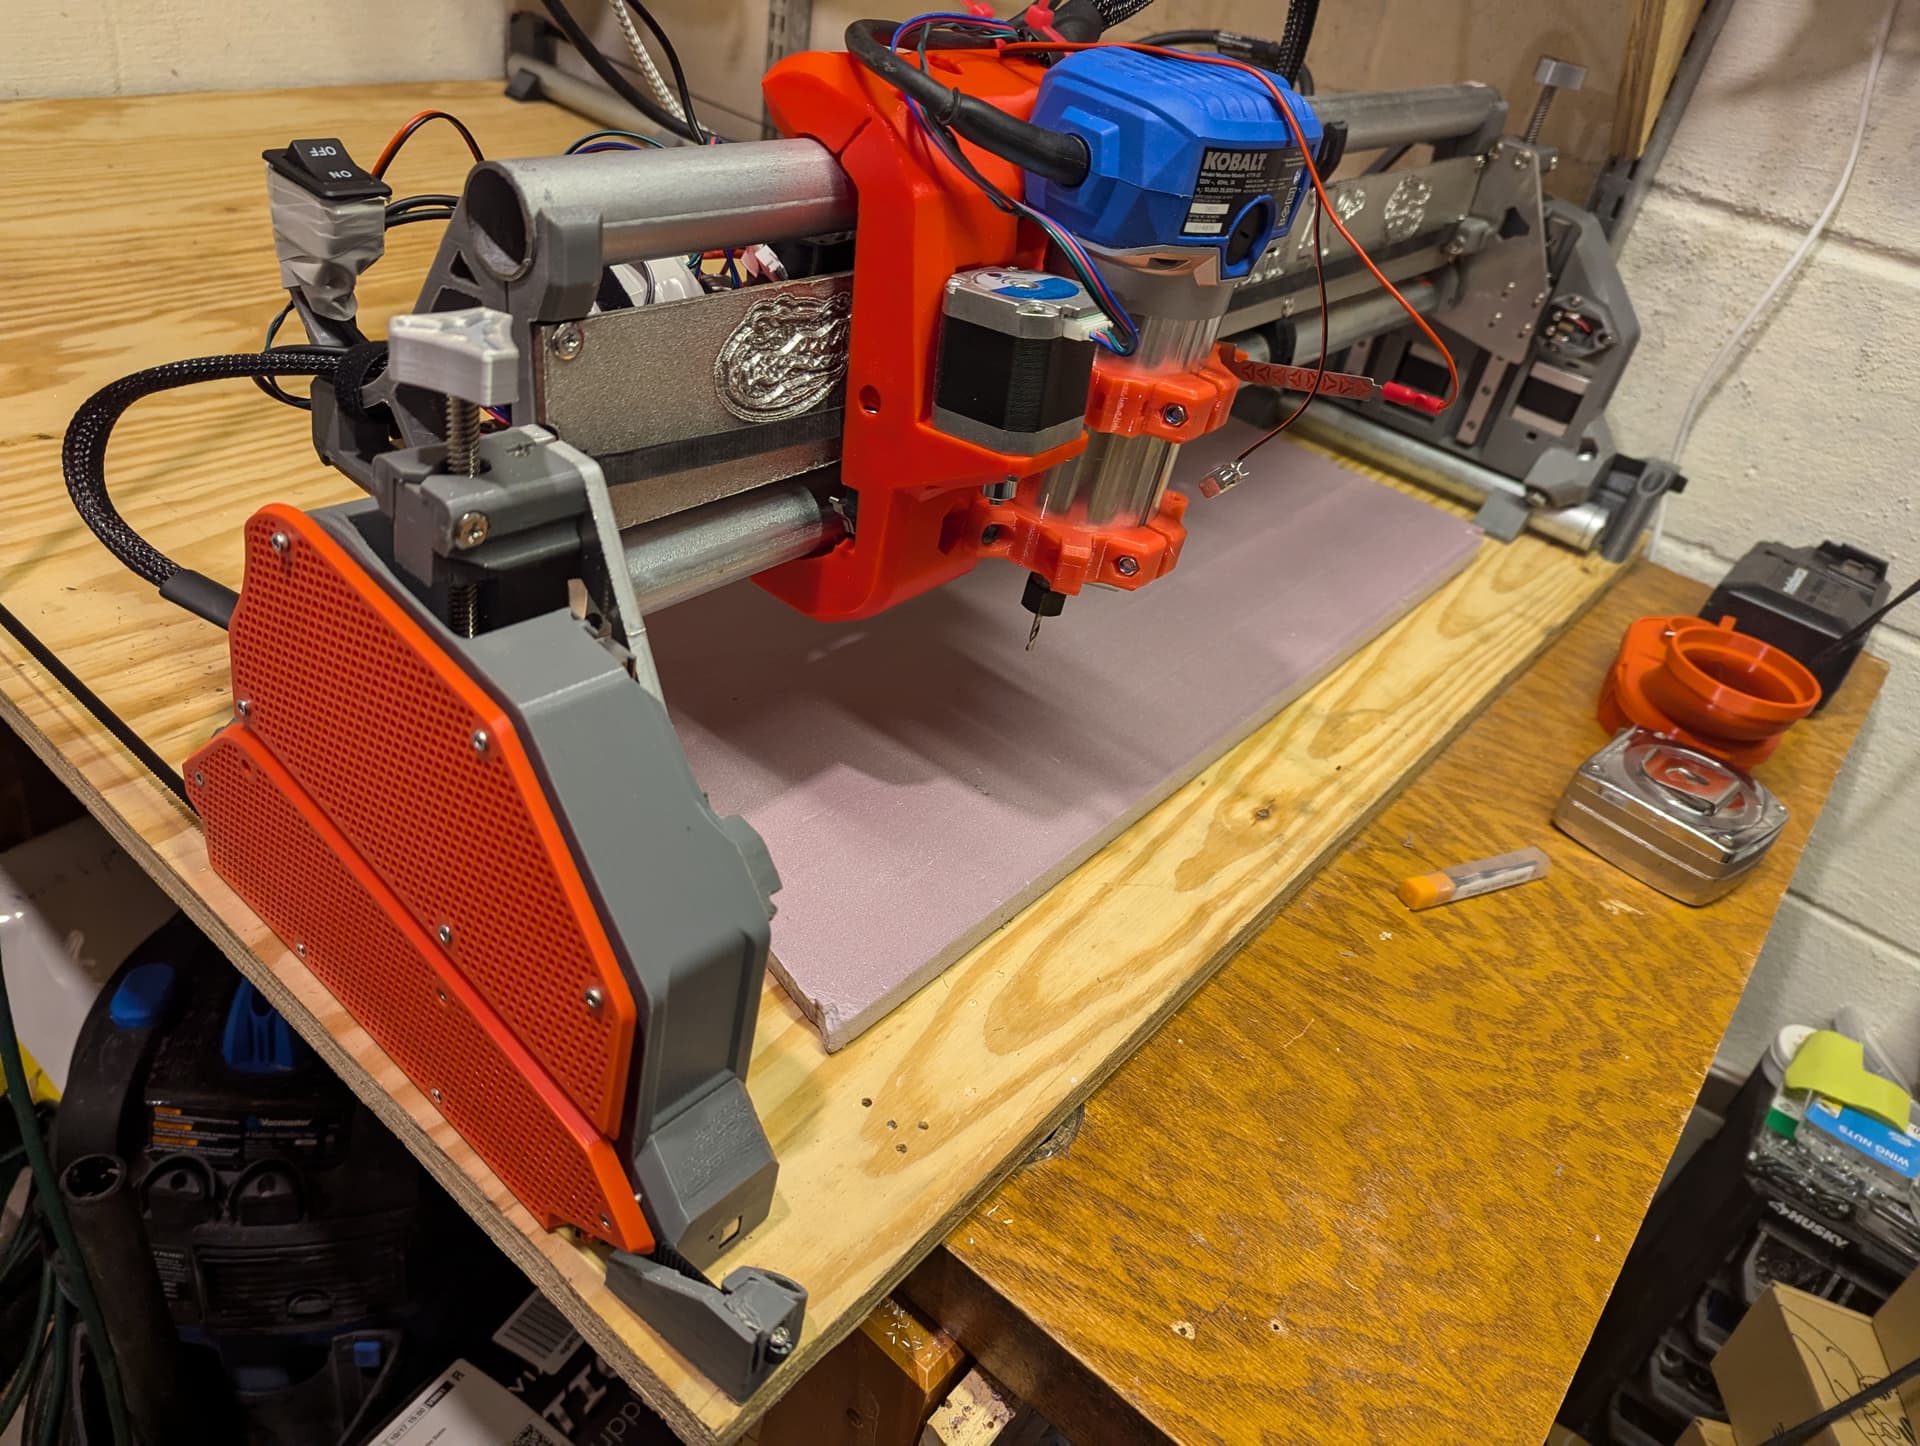
Here is a the front strut plate for it:

It is painted 1/4" hardboard. The mpcnc is currently mounted and the lowrider will be mounted on an old solid wood door as the table. It is probably the easiest way to get a sturdy flat surface if a good piece of plywood isn’t available.