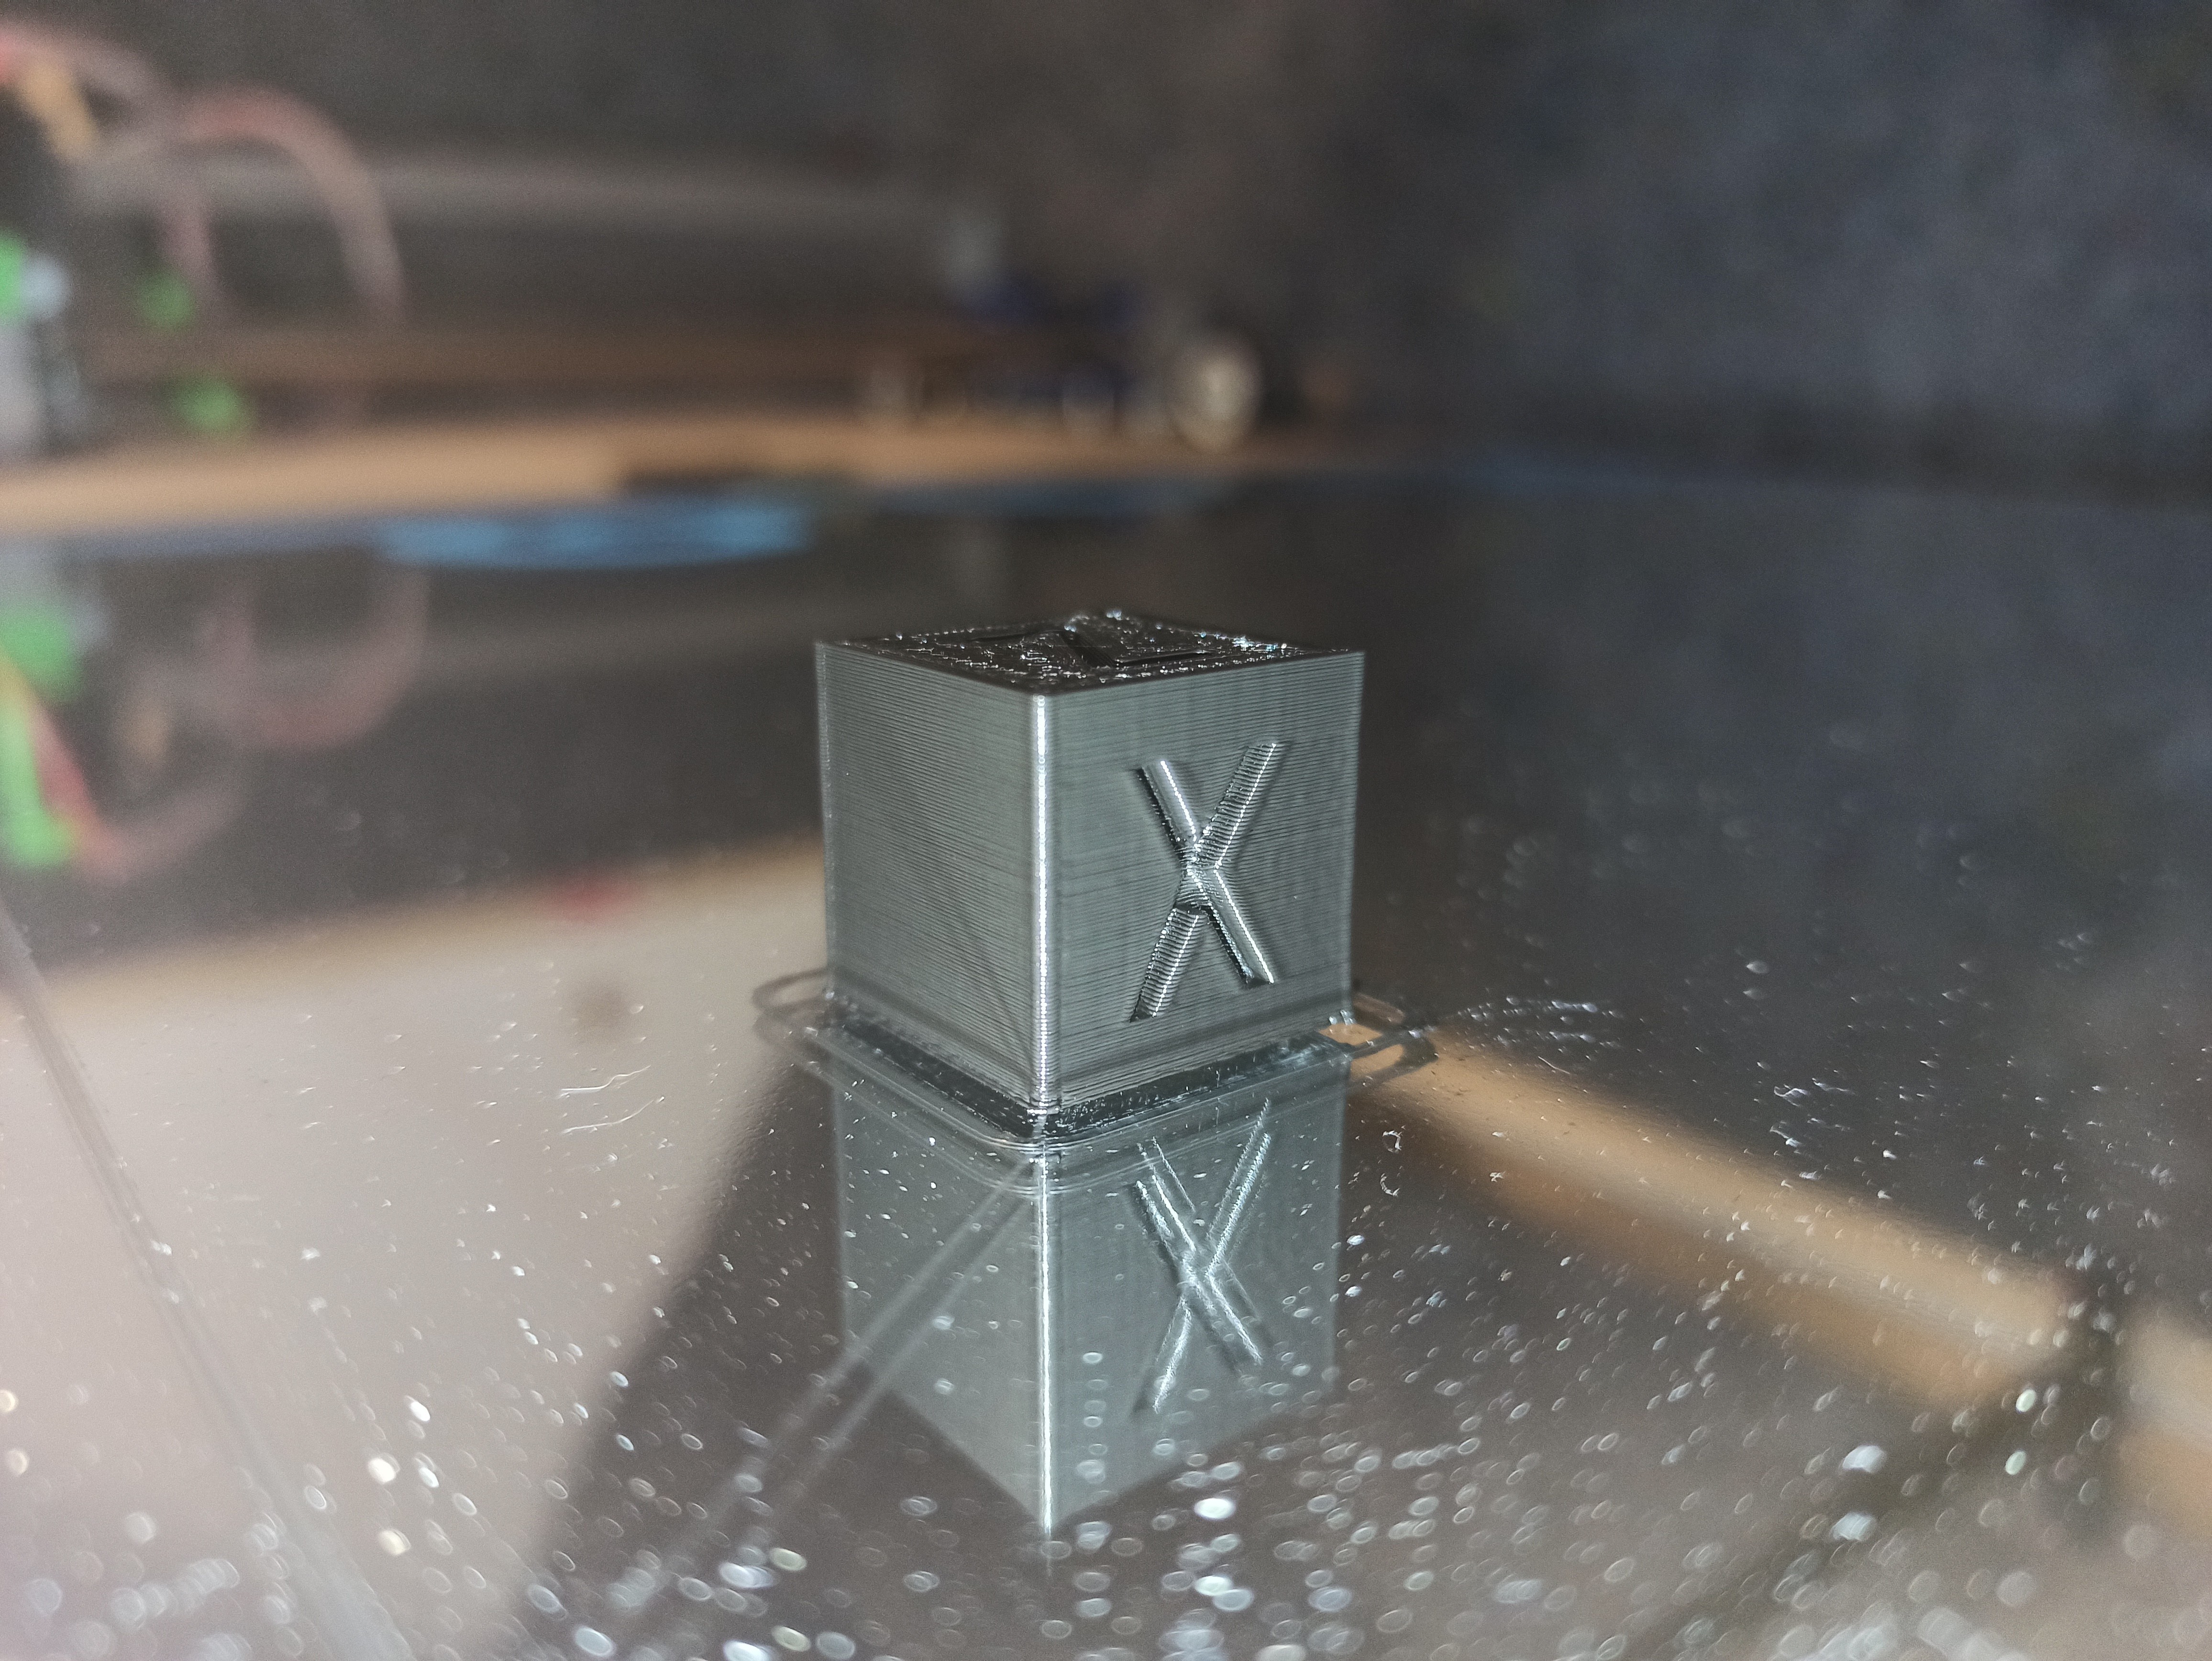
It works decently as a printer actually, much better than most people imagne.
most people who say that it’s a bad printer haven’t really tried.
So yeah, don’t worry about that, it works well
Maybe you can reduce the cost by making your printer with a rectangular shape, since you need to print stuff that is large in only one direction. This way you could save a lot on heating pads as well as on the aluminum plate.
My pleasure, thanks for the kind words
If not done already I suggest you to look at my other thread with my old MPCNC, since it is more relevant to what you’ll try to build.
Sorry about that, I assumed you had little experience with 3D printing because of some stuff you said earlier, plus we get lots of people who begin using 3D printers on the forum so it’s always better to assume they don’t necessarily know what we are talking about. Anyway, sorry for the misunderstanding.
I was wondering, just out of curiosity, do you know what kind of force is exerced by the strings in a violin? a cello?
That would be my biggest concern regarding feasibility, but I have no idea how much force those strings add up to.
Of course not. No ego involved here from my side. I’m an expert in some stuff and an idiot in other parts of life. When we got our first child, my wife and I thought we know stuff about babies. Oh nooooo!
And I think that’s with most things in life, you don’t know anything before you really tried it out to see if it works.
And there are priorities of course, kids and family first. Hobby is way behind everything else, so this little build will last me… I think 2-4 years? We will see
There are 3 different points for the string forces acting on the instrument.
The neck, over the bridge on the deck and over the tailpiece on the saddle.
Then what kind of cello string you using? There are soft, medium and hard kinds. A medium is about 18-20kg of string tension. You have 4 strings. Sitting on the bridge.
You can calculate the forces on the bridge here:
[Calculating Downforce on the Bridge]
Ok, I change my plans and build a MPCNC 3d printer for my cello project in the Primo Version.
That’s good, because I already printed a Primo Core some month ago, for updating my CNC. But I don’t think an update is Necessary any more.
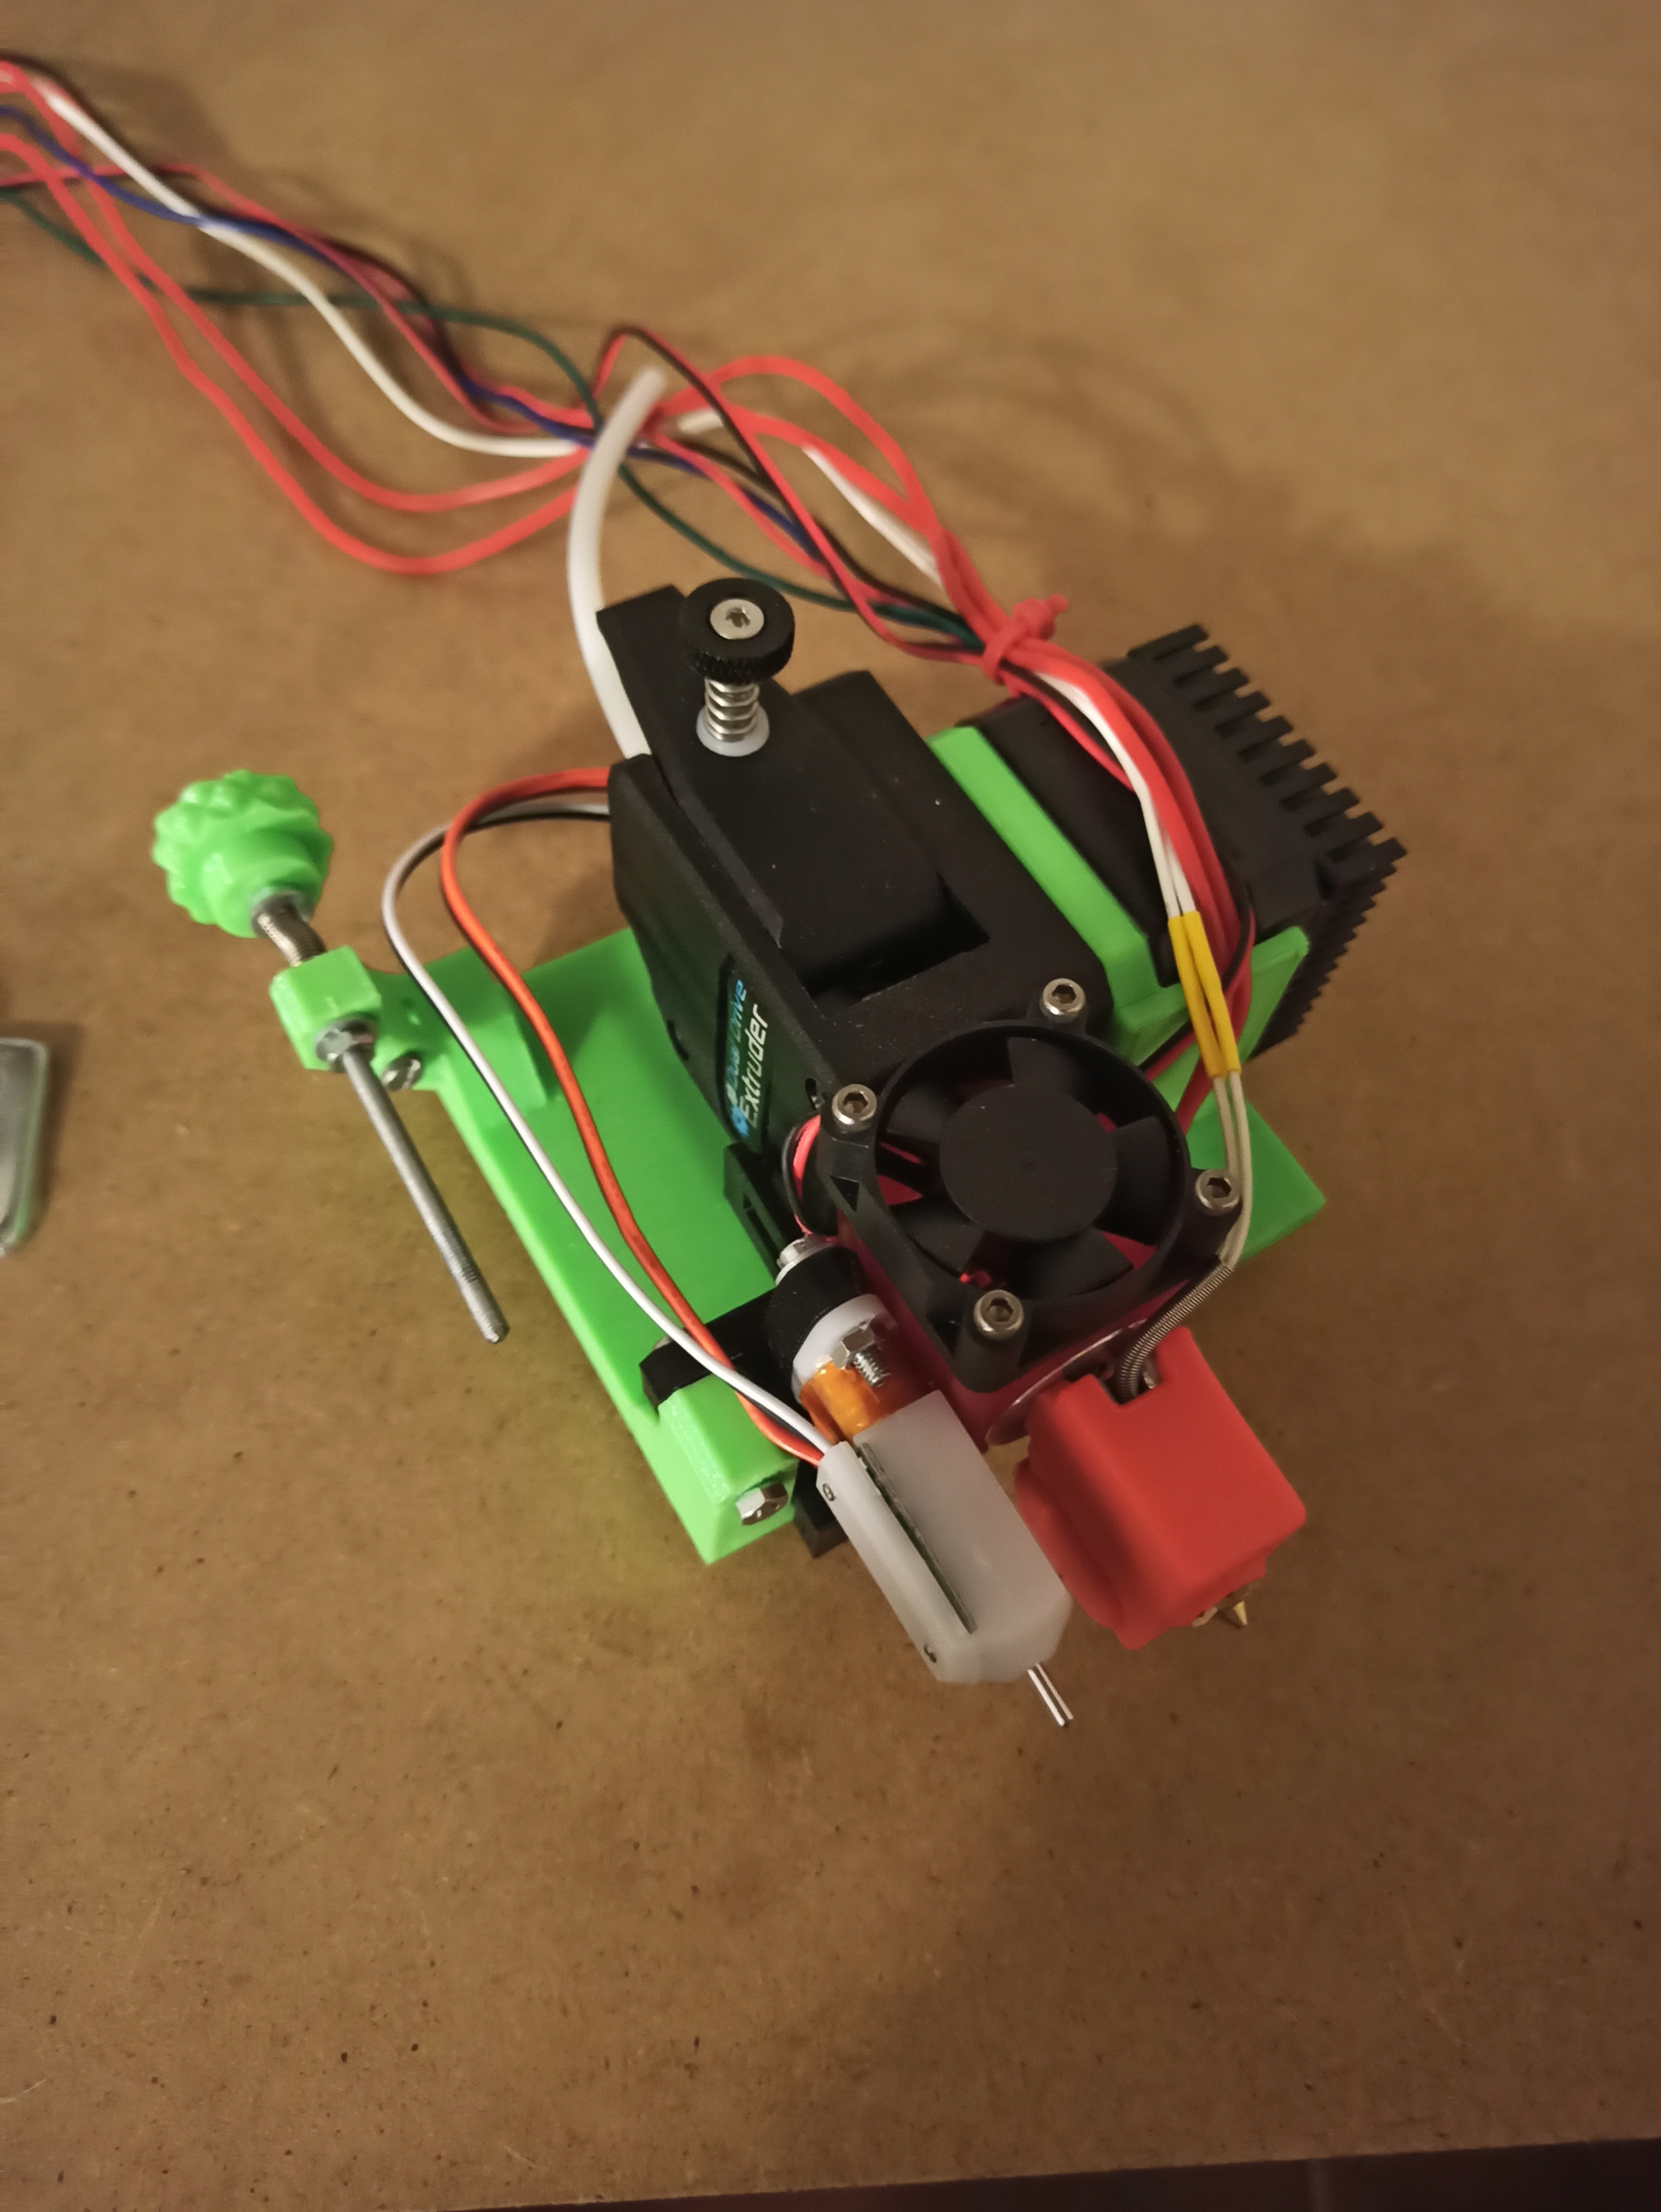
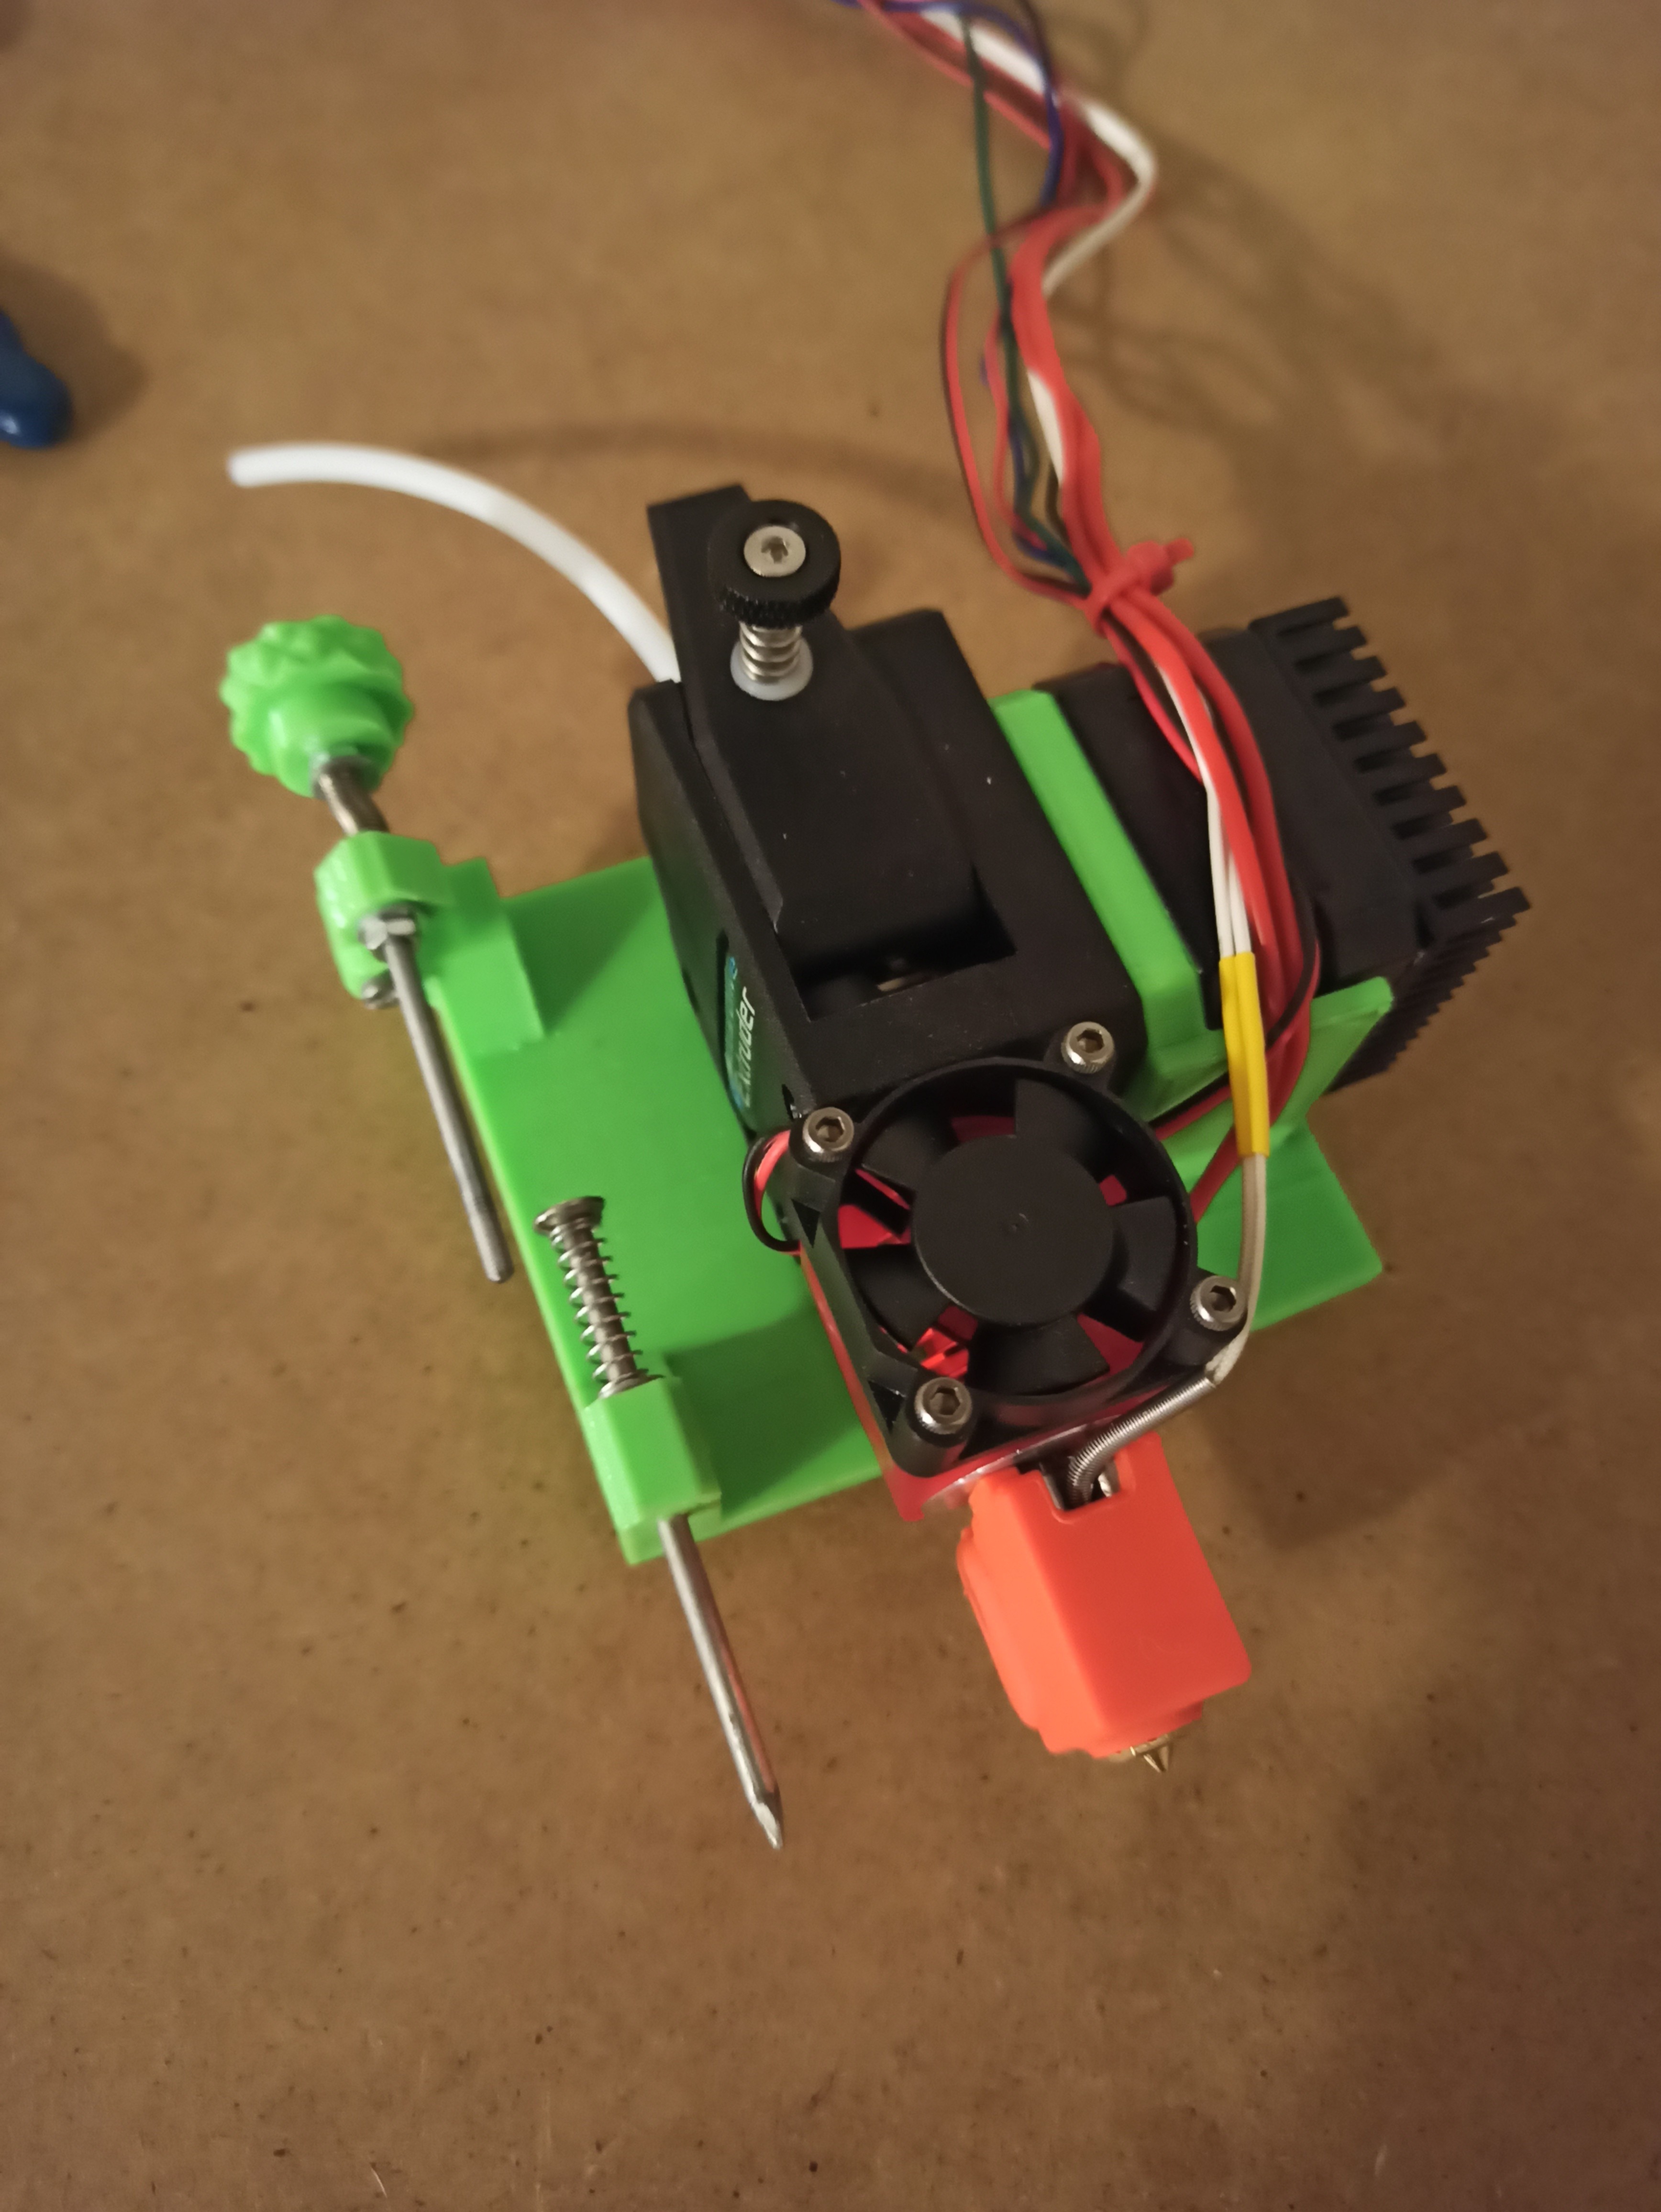
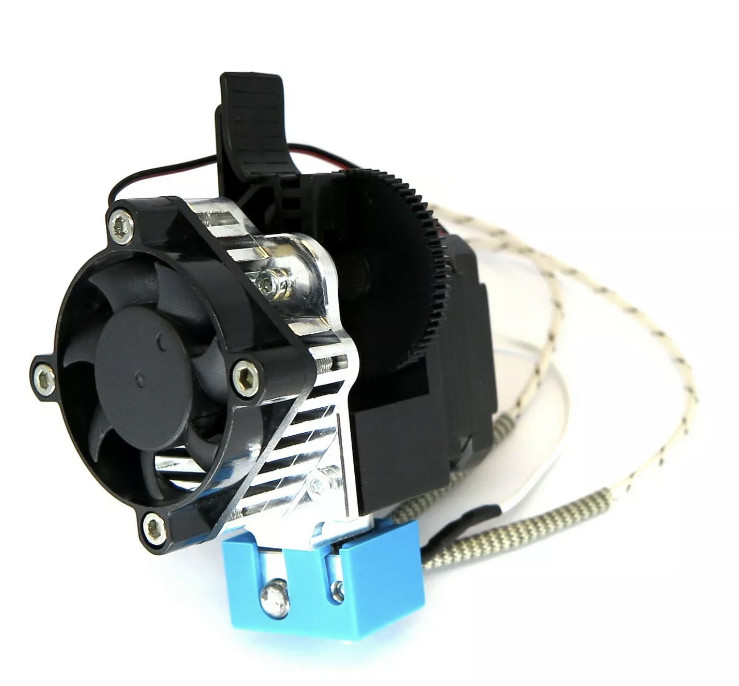
I almost have everything, too. Motors, belts, a Titan Aero extruder
I fell down this rabbit hole when I got a long sick-leave from work. To keep my mind busy, I figured out that I wanted to make a water wheel electric generator, for a small stream passing our house. Coming from humanities I didn’t have AANNYY idea about how to approach this. I tried building something with construction wood, but it turned out huuge and very impractical for our little creek. An engineer friend of my said: “you have to get a CNC to cut plastic parts out and weld them”. “What is a CNC?”, was my reply, and after that the google led me to this very place.
I’m profoundly thankful to Ryan and this community. I don’t know if the water wheel ever will be finished, but I sure found a great hobby!
I’m actually in the same situation as you - with small kids and full time job. Sometimes it feels like this hobby is the only thing that I do out of pleasure, rather than duty - and that is a very important way to cope with all the demands of everyday life!
Edit: I forgot to say what I was planning to: Welcome to the club! This is a perfect place for lofty/crazy projects, let’s hope some of them might actually materialize!! Good luck with yours
I have not seen anyone reference this huge 3d printer in this thread yet? Hi build volume is 800x500x300 which he mentions at 20:17. Not sure he has all the plans for his design yet.
I happen to be working on it. I don’t know if I will make it work, or at least if it will work in an efficient and practical way, but as you have already mentioned, it is more of a research project.
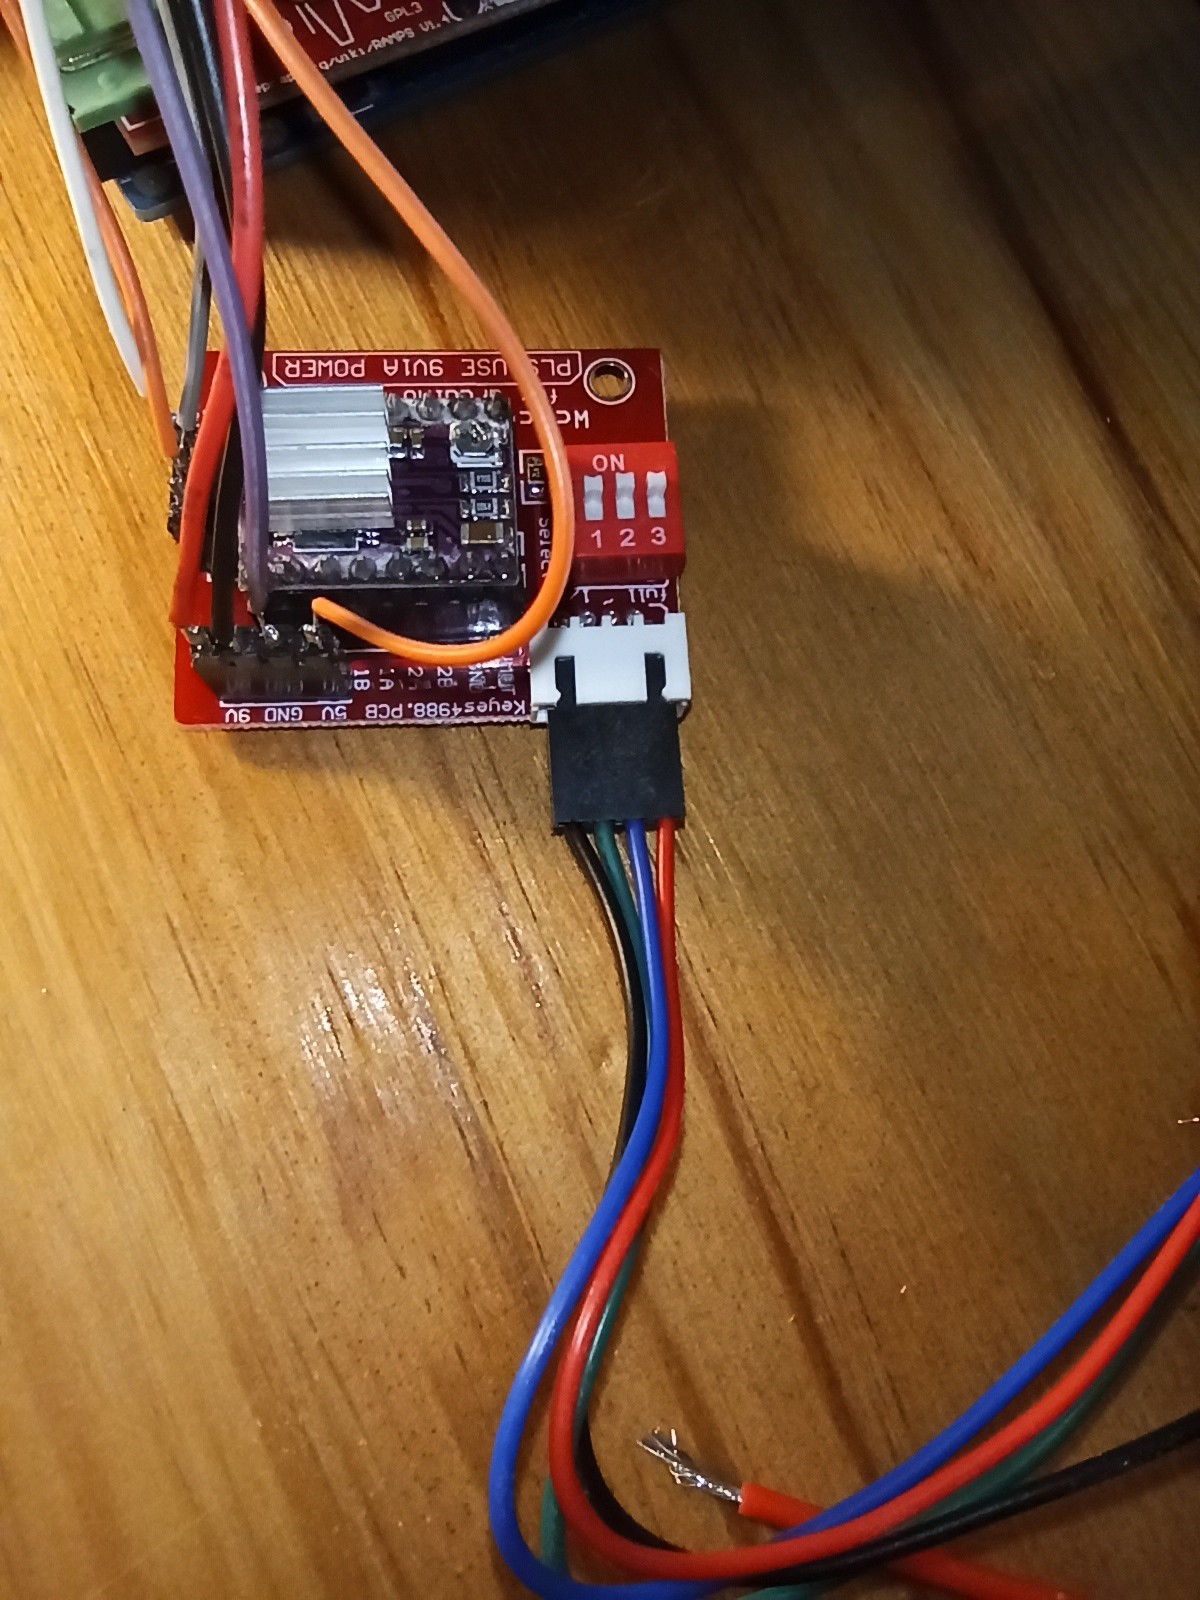
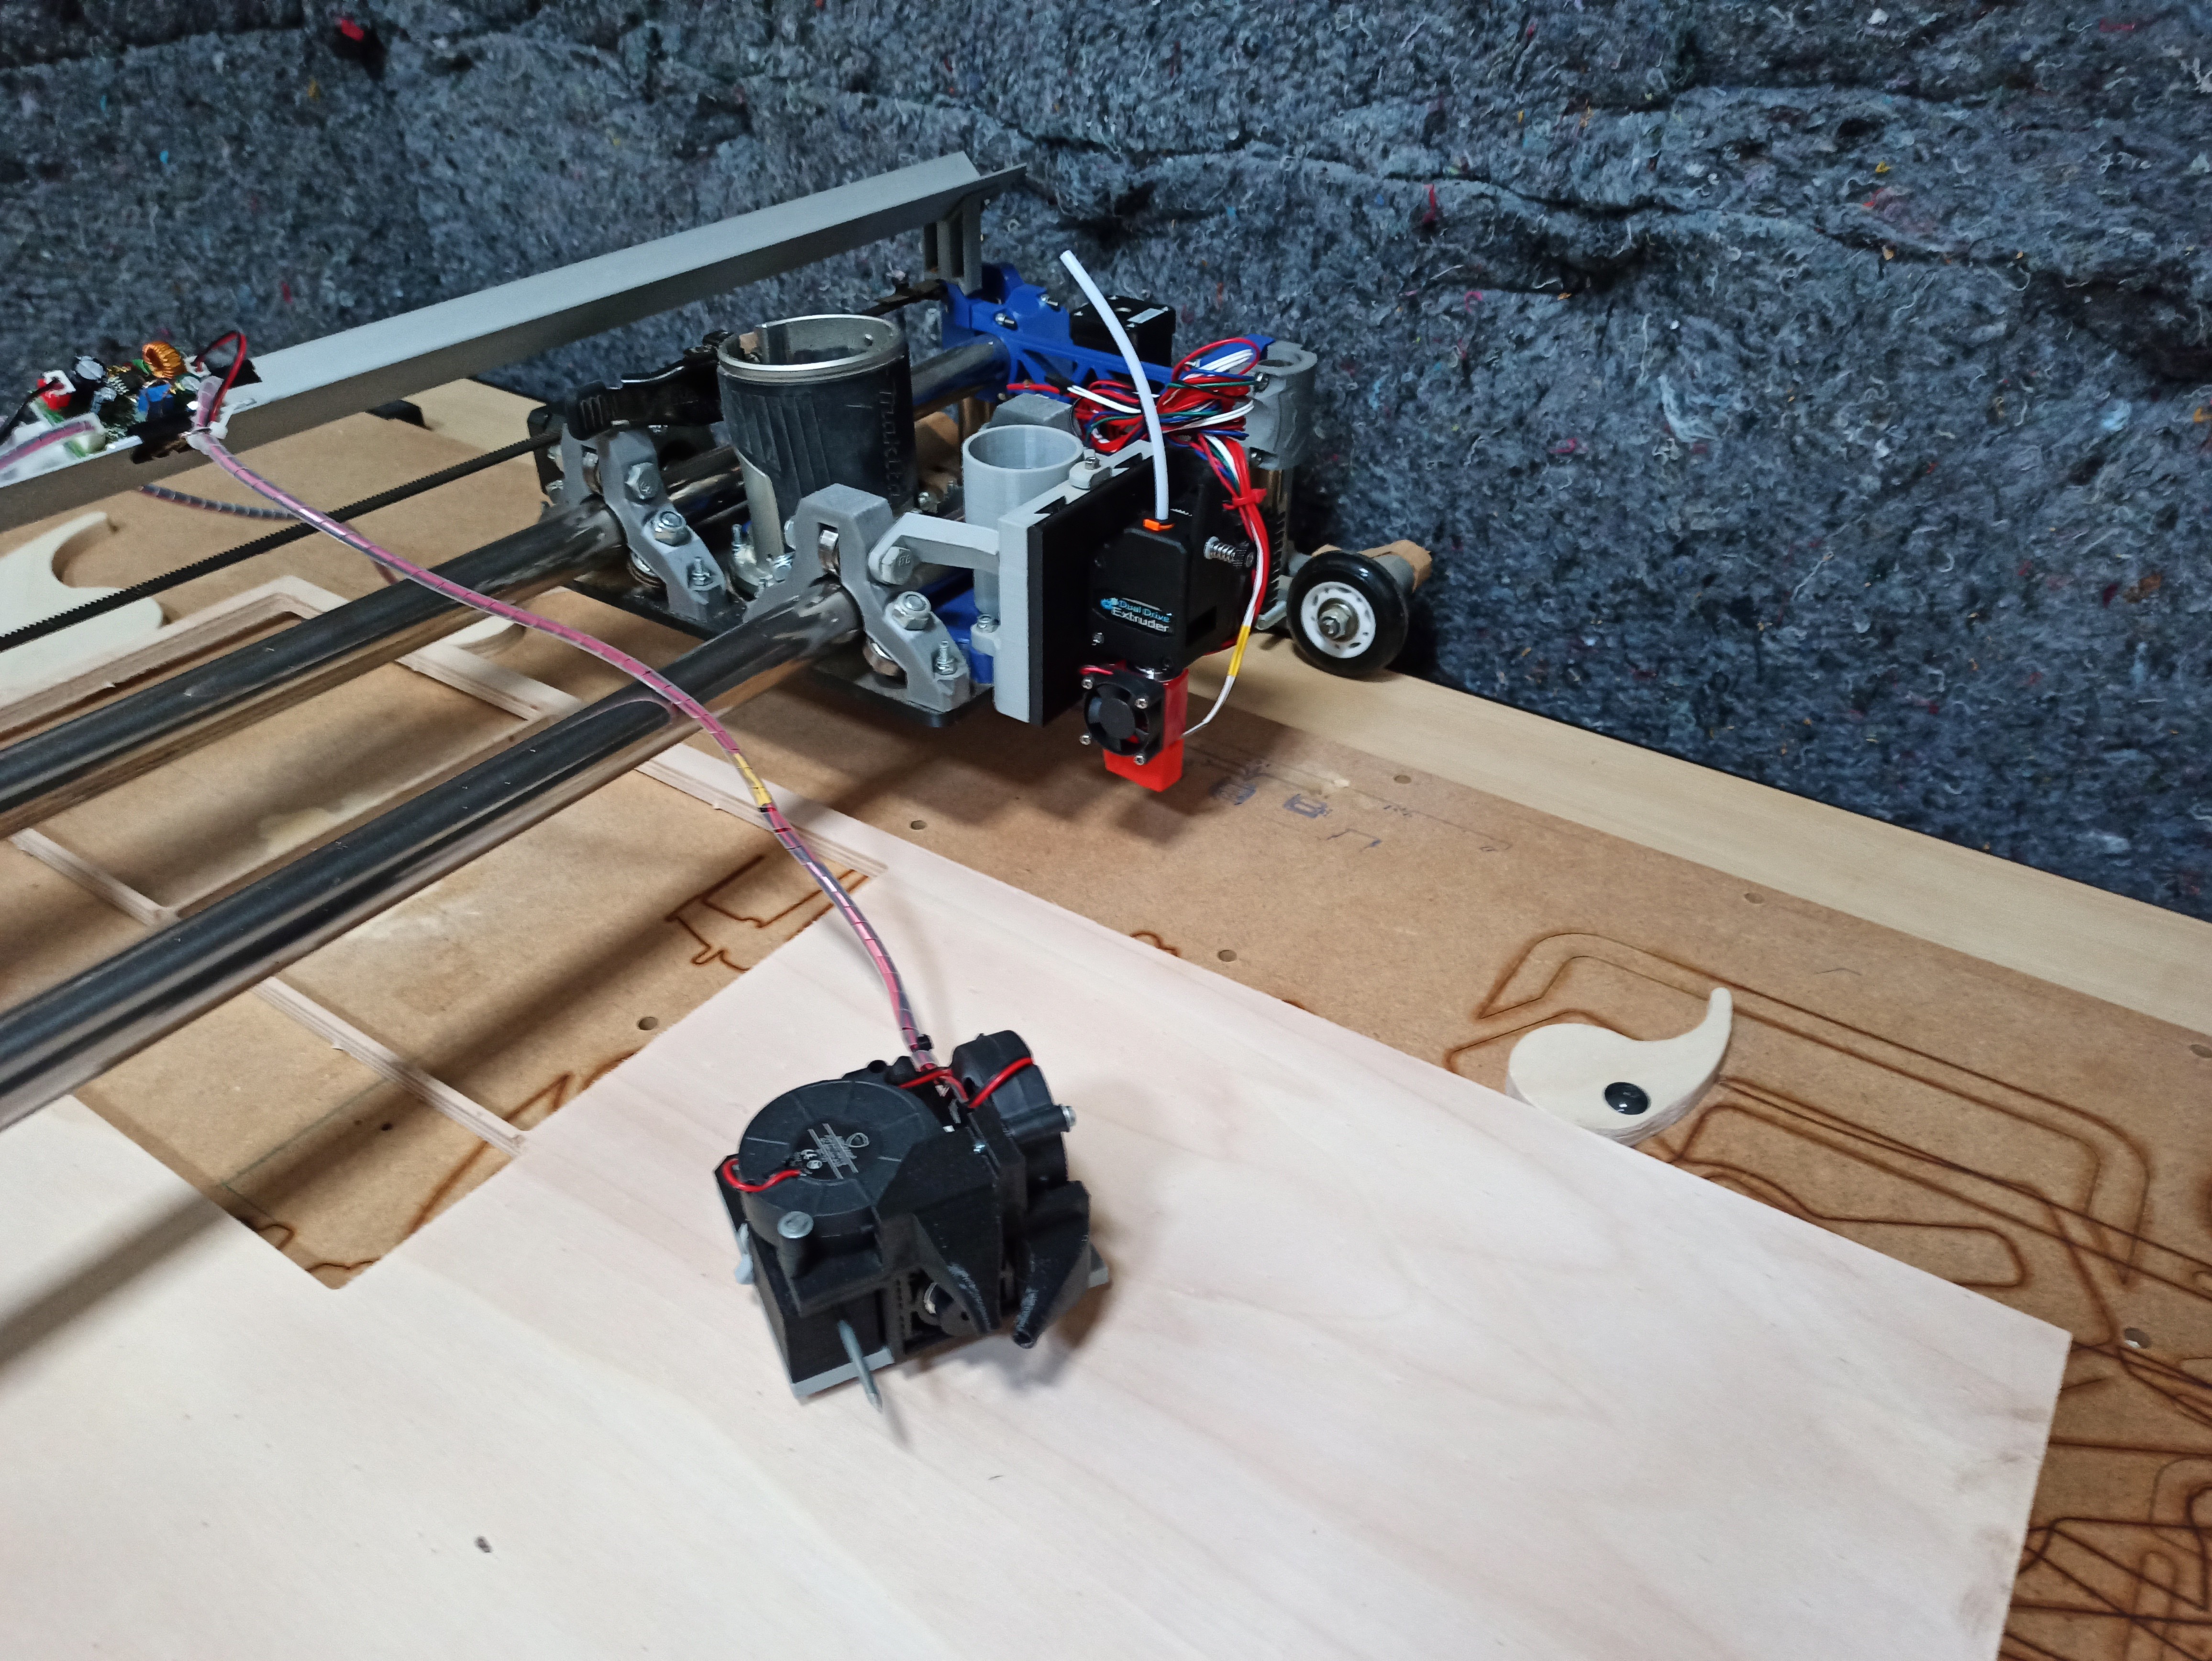
I’m going little by little, I already have the new firmware configured. As I needed one more driver for the extruder I bought an expansion module for my Ramps (I haven’t received it from China yet):
I am very interested in this as well, I have the hair-brained idea to print some parts like a car grill for my 1972 opel gt and the large area mower from Thingiverse with this platform.
I am not sure about this, I’ve printed PLA without a heated bed in the past and its been fine… I normally have my printbed at 25-30c(not too far off from room temp) and 40mm/s movement without issues… If you are worried about warping just print a raft for the first millimeter or two…
I’ve seen 2.0mm nozzles easily accessible and in some special ones at 5mm or greater(but would require you to create your own filament from pellets as well) so that could theoretically speed 5 to 12.5x current 3d printers.
First level adhesion is a question though… How are you solving that? Thin melamine board maybe? I had one 3D printer that used a 150mmx150mm pcb board which was pretty novel…
How big parts are you talking about? I’m talking about really big stuff, not something that usually fits on a regular printer.
In my experience it only works on small parts, anything beyond 300 mm starts to warp after a few centimeters of height. A raft is not really something you want to consider on huge parts, because it takes litterally hours just to print the raft on such large surfaces!
I do agree that it doesn’t always warps, but it happens much more ofter than not.
So if you want to print reliably and not having to to take a chance everytime, risking to fail a print after hours of work, then it is much wiser to invest in a heating bed. Trust me on this, I really didn’t want to make one so if it could have been avoided then I definitely would have!
In my opinion 1.2mm is the limit of what can still look good from a reasonable distance. I think that anything larger than this will start to look ugly, but that’s a matter of personal preference I guess
First layer adhesion has been totally solved in my case, I had no problem with it for months.
In my case I’ve solved it with:
-BL touch: really helps on large surfaces, there can be some big variations in height
-Glass mirror: Cheap, easy to source, can be custom made
-Heating bed: necessary in my opinion to avoid warping on big prints, it is also the only way for the print to pop off by itself after the plate cools down, if you print on a cold glass then the print will be very hard to remove.
-Glue stick: yeah, just the traditional glue stick, super cheap, easy to apply, easy to clean, doesn’t make a mess.
In the end the first layer adheres perfectly and the print pops out by itself after the plate completely cools down, I don’t even need to use the chisel or to hammer it out.
I used that on all my printers since the beginning (I had almost ten so far) and it worked every time. The other techniques I tried were not as effective, and they were more expensive so what’s not to love about it?
It is to be noted though that I print almost exclusively with PLA, I can’t guarantee that it works as well with other materials.
Anyway, sorry for the digressions, didn’t want to hijack the thread.
It’s all fine. Myself and I think we’re all happy about your opinions about the matter. You have a lot of very important information for my own and other projects. I will try some different nozzle sizes.
Did some of you ever try to print on foam? I’ve seen some older systems printing on construction foam.
Could work for bigger prints. But I never tried it before.
I just put my first bltouch knock off on my corexy this weekend because it’s a pain to level (not at eyeball height, and no lights in the enclosure). I’m gonna put one on everything from now on.
I don’t think any one said it wasn’t possible, just not advisable. the longer your print the more time for something to go wrong. plus while there may be a few select people that have done very long prints (like 11 days) those are few and far between, so it still relatively untested as far as how different boards firmware react to running for that long. theoretically there is no limit to print time, but it becomes less tested the longer you run it. the less tested it is the more likely you are to have a failure. and a failure after 8 days of printing an 11 day print hurts. that is unless you have a YouTube channel and are getting all your filament for free and getting paid by viewers just to try
Yeah, it’s totally possible… but look at his failure rate!
If I’m not mistaken, he had around 50% of failures, and even one of the successful prints had a layer shift, which is a significant defect.
I’m not saying at all that it is not possible, you could even print for two months and get a good print, but the chances of that happening are low.
I have a BLtouch that I am going to install, so far I have used the touch plate to do the Z polling, and it has worked well, but when I use a large print area I will need something more accurate.
I think I had mentioned it, I continue with the Ramps 1.4 electronics, but I needed an extra driver for the extruder, as it occupied the five with the axes, so I used a very cheap expansion board (2€), and it has been a success.
I have several profiles preconfigured in Cura, for different nozzle diameters, 0.4, 0.6 and 0.8. (I will also buy 1.0 and 1.2). I’m looking forward to testing them.


 ).
).