OK, I got the new parts designed and added to the Printables listing, for hiding the Y-min (rail side) belt!
Note: As of October 12, 2023 - the “Y1 Drive Mount NEW (print 1)” now prints without supports. Supports are still needed on the original (Y2) mount.
Download link: LowRider 3 CNC: HIDDEN BELTS MOD! Hide/protect either/both Y axis belts inside metal strut / unistrut / superstrut (v1.0) by Doug Joseph (design8studio) | Download free STL model | Printables.com
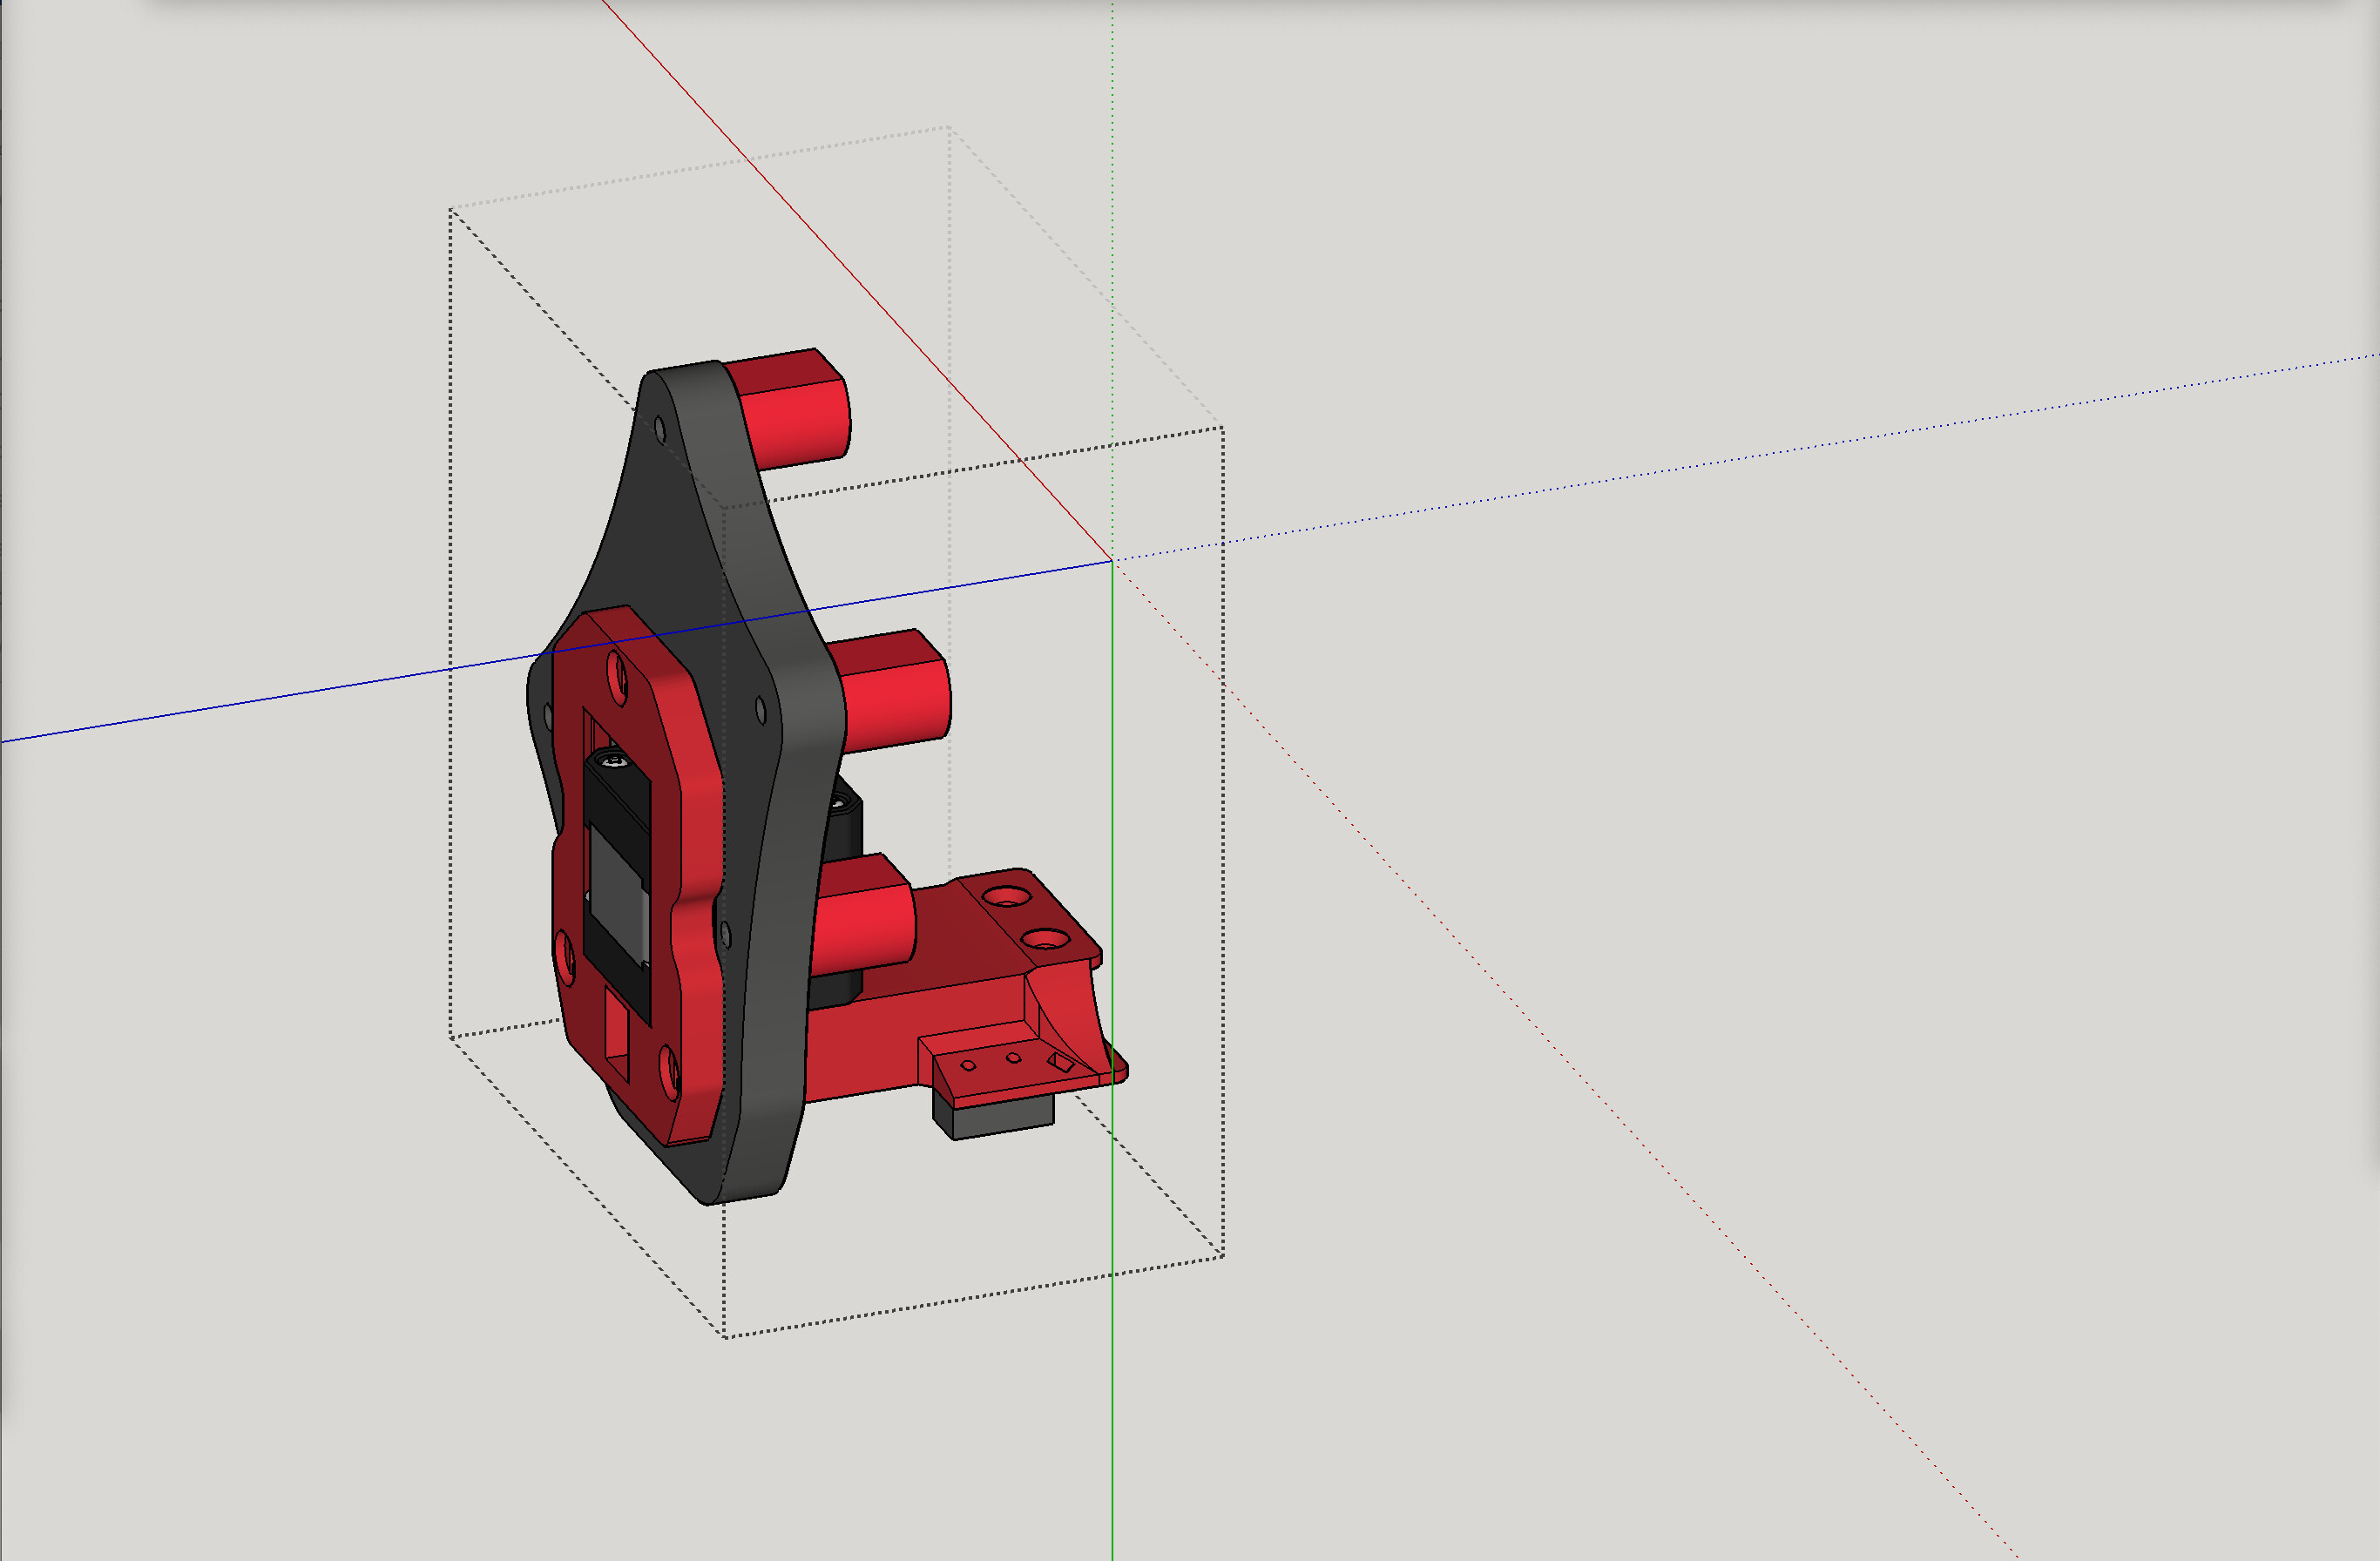
The new Y-min side has shorter spacer-couplers, but it is longer on the Y1 stepper mount’s distance between drive pulley and roller pulleys, by an additional 31 mm, if memory serves.
I plan to print and install this for testing. In the meantime I went ahead and made the files available for download in case you or someone else
The following is copied and pasted from the updated Printables listing:
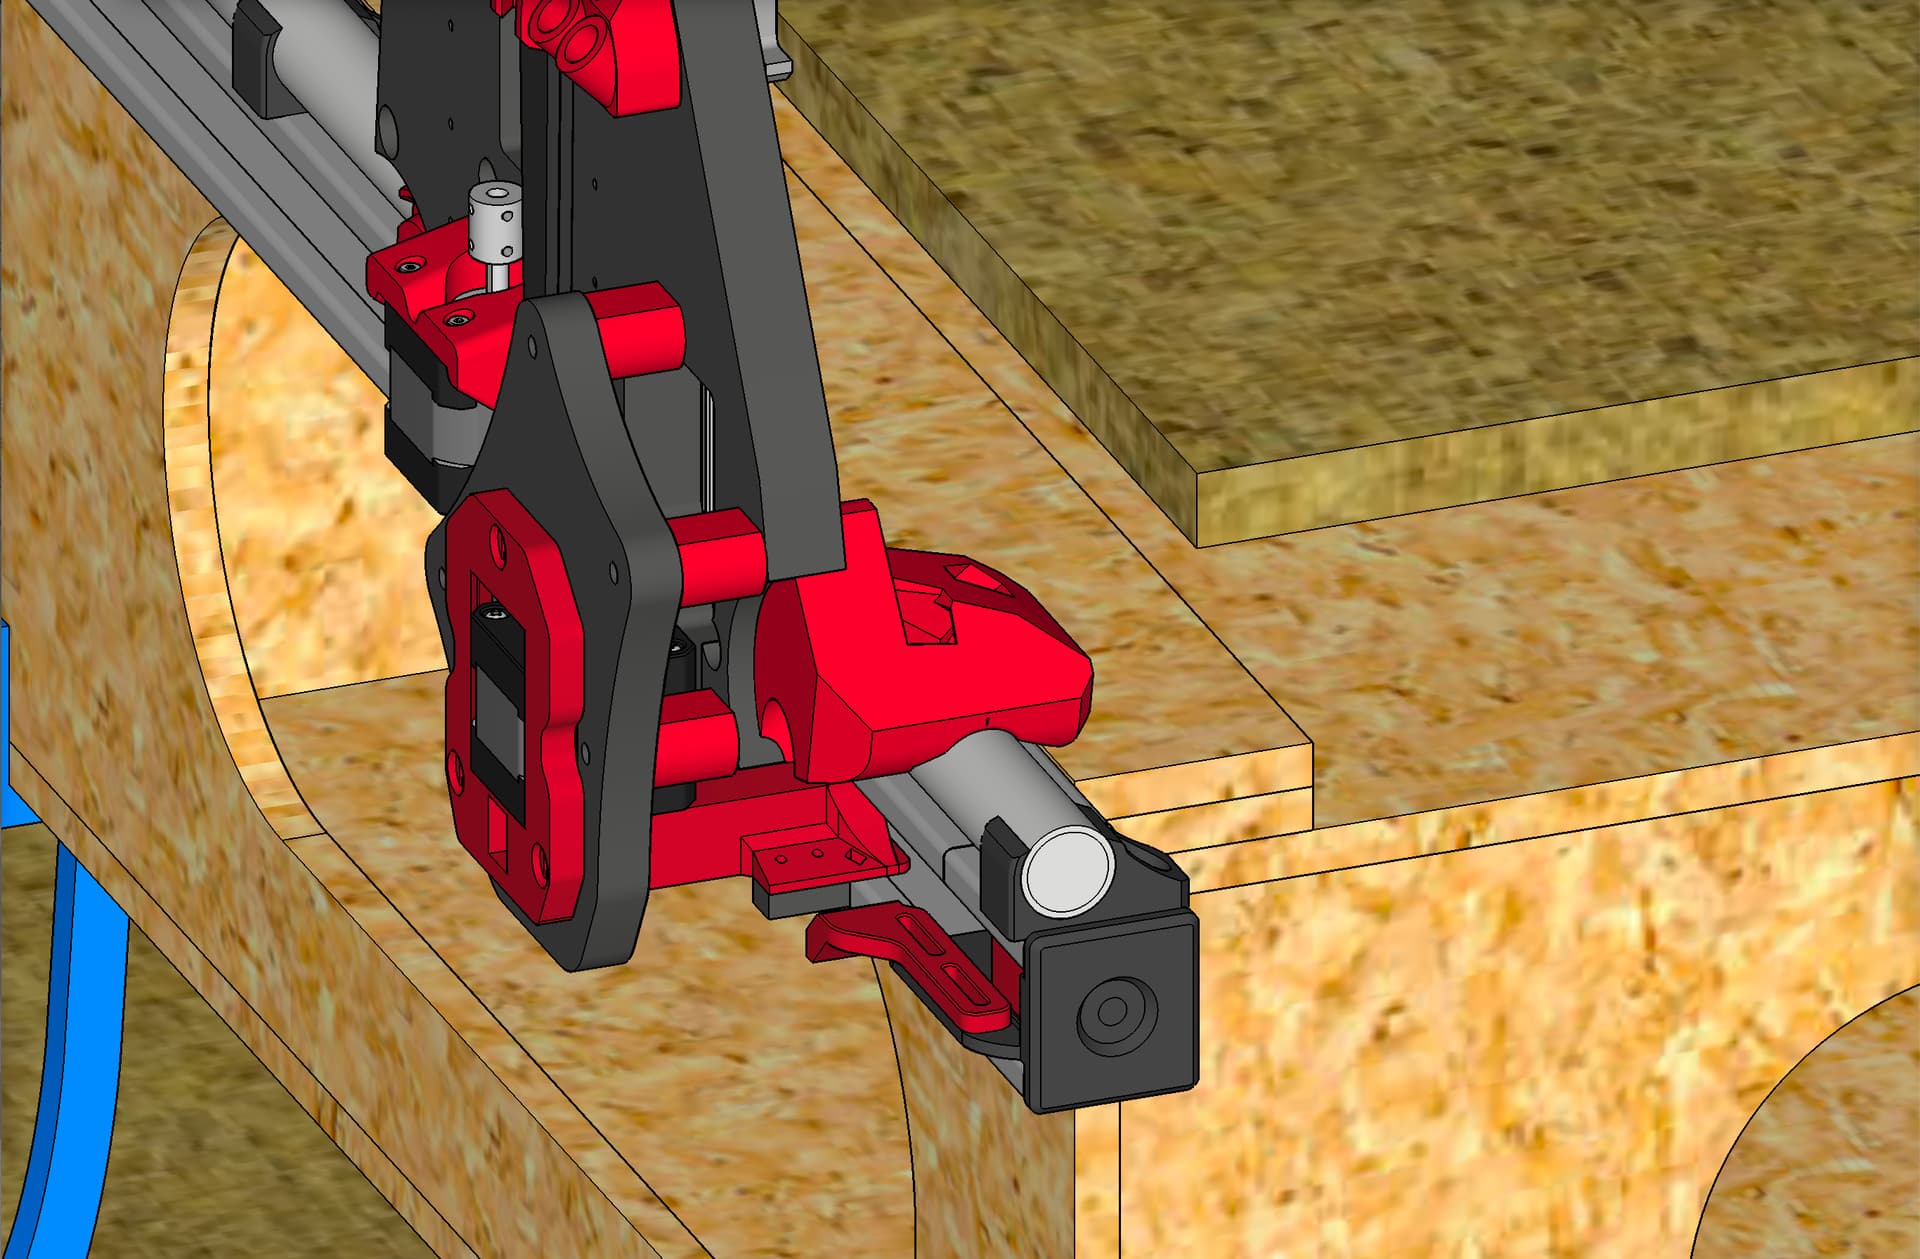
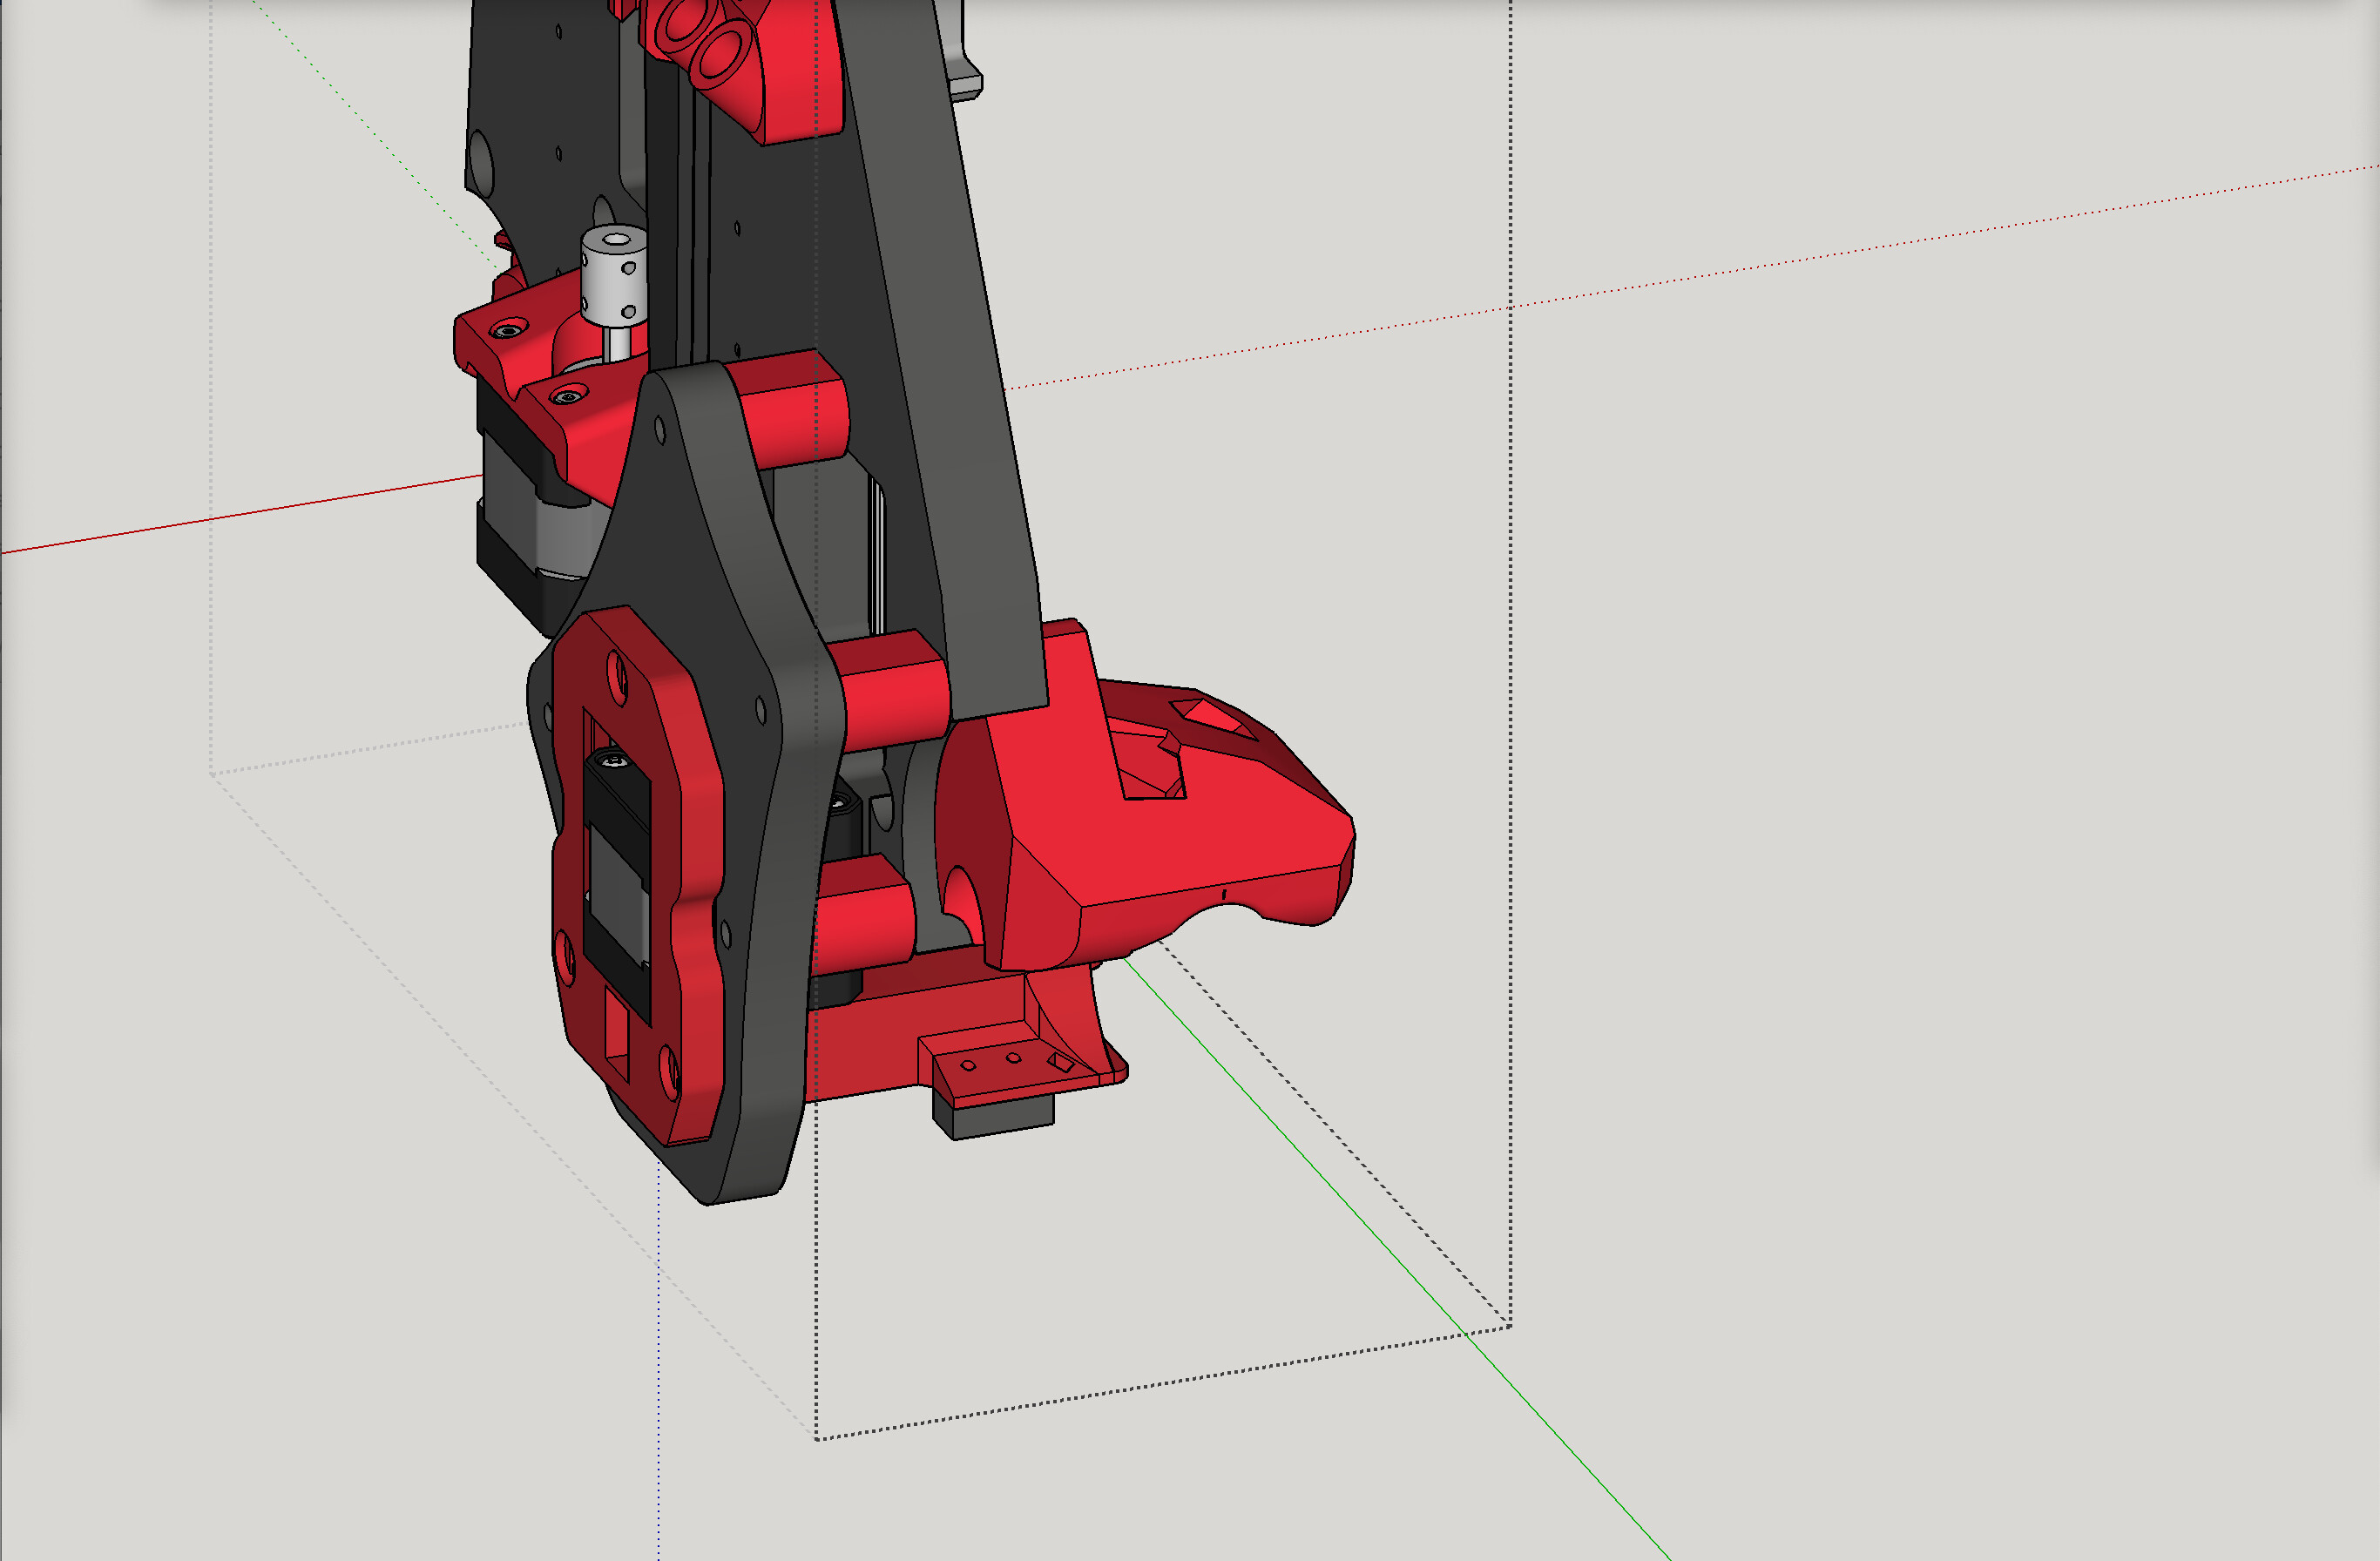
LowRider 3 CNC mod: HIDE / PROTECT either of the Y AXIS BELTS inside metal strut / unistrut / superstrut) (v1.0)
NEW as of October 6, 2023: now either or both Y belts can be hidden.
Initially I only hid the Y-max belt (non-rail side) as that’s the one I really needed protected and out of the way. Due to various requests, I finally worked up hiding the Y-min belt (rail side) as well. Note: I’m going to use the new parts to hide my Y-min belt, but as of this date, these new parts are not yet printed/tested. I will update here once printed, and if any changes are needed, I will add them then. The process to hide the other belt (Y-min side) is exactly like on the Y-max side, with the only differences being the “spacer couplers” are shorter and the new “Y1 motor mount” is longer.
ALSO NOTE: If you have plenty of width in your X-axis, and can afford to mount the Y rail with the rail blocks turned around, so the Y rail’s inside edge lines up with the inside edge of your metal strut (which will cost you about 20.5-21.0 mm of lost width on your X axis, you would then be able to use the Y2 motor mount print (provided here) for both sides of the table, as both Y1 and Y2 mount. The new Y1 motor mount is about 21 mm longer than the new Y2 motor mount — longer by about exactly the swing offset difference of turning the Y rail blocks the opposite direction (if my measuring and math are correct).
Note: I renamed the parts a bit, so if the instructions below don’t exactly match, let me know if you catch it.