When I jog I zoom in on the controls. Each bottom is the size of my finger.
2 Likes
Mine wasn’t a jogging problem… I had it sitting on my cable chain while I had the core apart changing the mounts. I bumped it and it rolled and landed bit first 
4 Likes
I did almost the same thing except it hit the stepper wires first and severed then the broke the end mill
2 Likes
Well, I did some more projects screwups learning today
Rule #27 in the CNC club pre-project checklist… Make sure your collet is tight enough… 
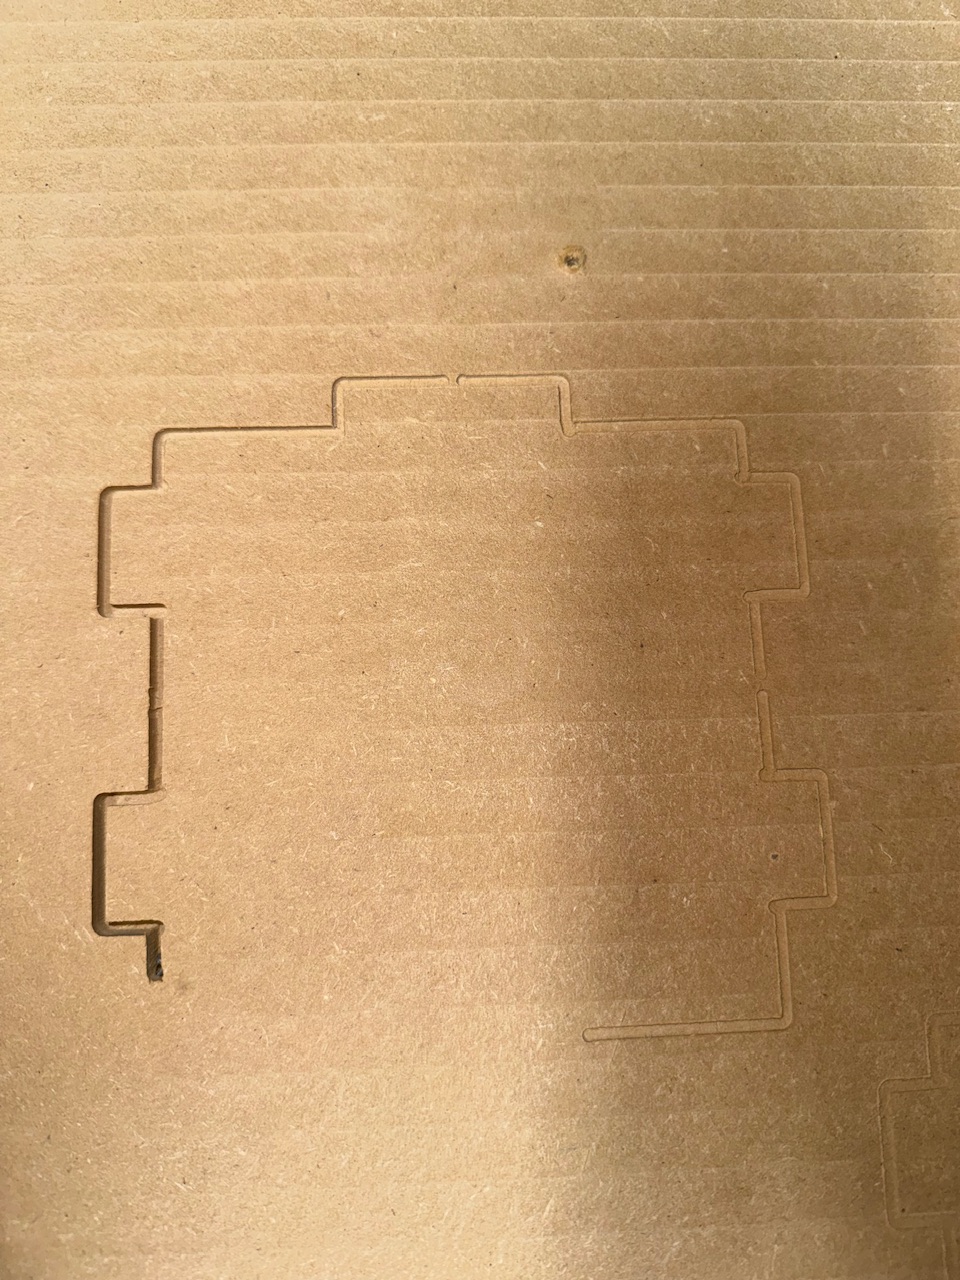
I also joined the “I made some sparks fly” CNC club.
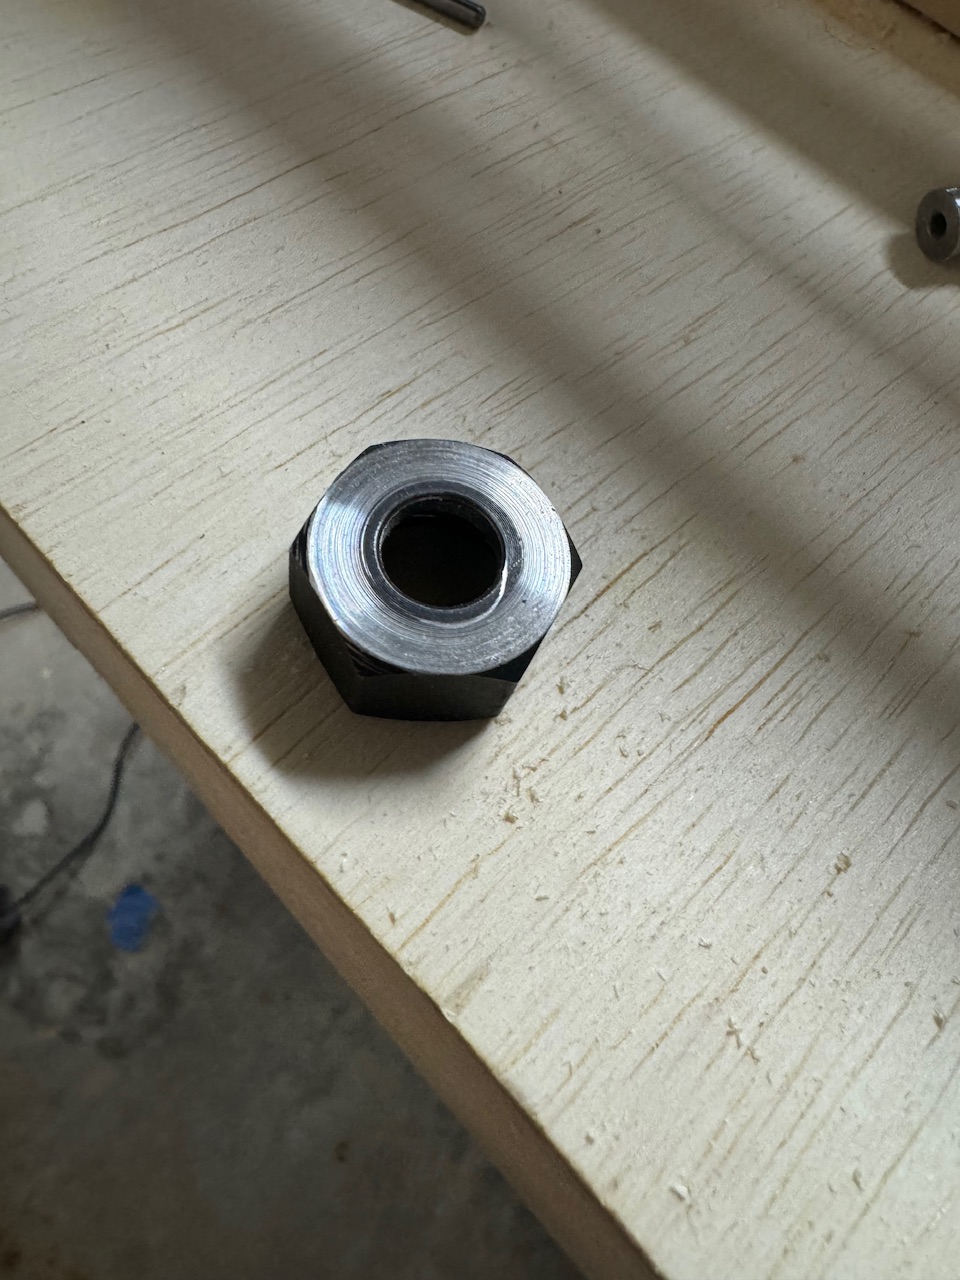
That was the 4th one of those pieces I cut, so about 12 minutes of cutting was the right amount for the bit to work loose. Kinda crazy that is was loose enough to work it’s way south, but still grabbing tight enough to cut that far. Once it got low enough, it jammed in the hole, threw some sparks, gave my collet a polishing, then snapped the bit in 2. Good times…
Once I remembered I had another bit, I got started again.
Rule #28 in the CNC club pre-project checklist… Make sure your hold down screws are not in the cut path. Luckily, I noticed this one about 3 minutes before the bit got there.
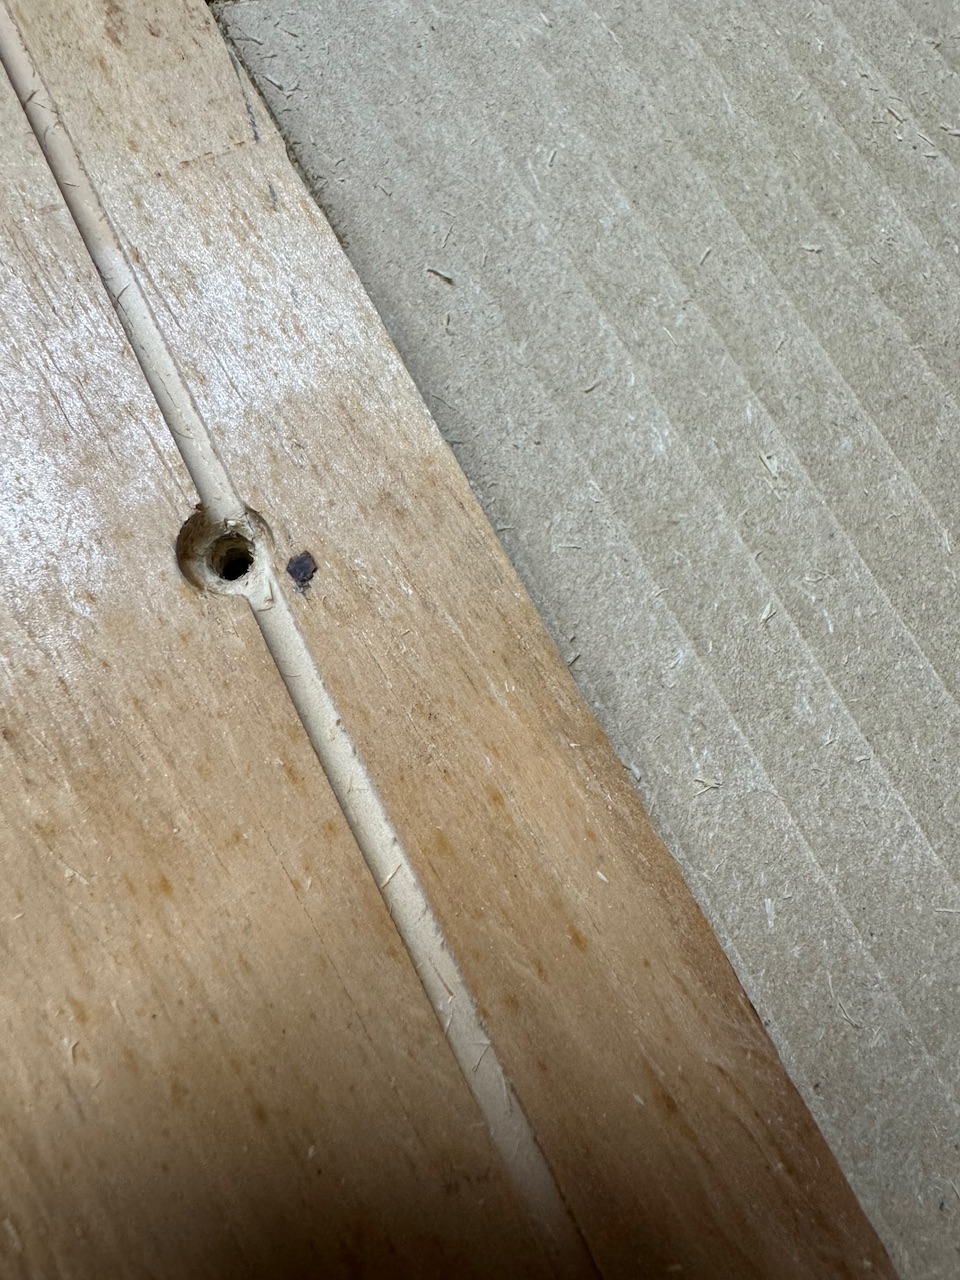
Unluckily… When I set my drill down, I wasn’t thinking, and I left it in the way of the machine, so when it tried to go to the bottom of the piece, the gantry got pinned on it, and it twisted the machine out of square mid cut…
So I got to start that one all over, and that piece has some war wounds that will live in my shop forever as a warning…
No doubt I could have built this shelf faster without the CNC, but it was an exercise in execution on something that didn’t need to be perfect. (because I had a feeling it wouldn’t be)
Also lesson learned…don’t CAD/CAM in the middle CFB Saturday…mistakes were made there too 
6 Likes
Man there is only one thing in your post that i haven’t had happen to me multiple times. Never had a bit come loose in the collet… so far anyways. Im sure it will happen now that I’ve said that. All the others, been there done that too many times to count. I have a bunch of 3/4" phillips head screws that i use to hold things down. I bet half of them have a cut mark in the head LOL. I tend to live too close to the edge sometimes.
I said all this to say this… Don’t worry about it. Your making chips and having fun with your machine. Thats what counts!
1 Like
Oh yeah… not meant to sound defeated at all.
I know mistakes are going to be made, and I’m good with that.
I just wanted to put it out there for all the people who maybe can be saved some mistakes later.
And so people know that it’s going to happen, even if you try a lot harder than I did to stop them.
$5 is definitely not the most expensive mistake I ever made lol
5 Likes
I had an endmill come loose when cutting aluminium at the very beginnings of the Primo and it did impressively show me how deep it can cut without slowing down… 
I managed to run over my vac-hose before attaching it on an arm as well, screwing my planing run as well.
I have knocked over my drill at least twice.
I set the LowRider down without taking the endmill out of the collet.
I didn’t screw a small workpiece down well enough and sent it flying at the core, which made the endstop trigger.
I think that was the best-of.
5 Likes
I’ve seen some very impressive “CNC fails” even from the professionals, so I don’t feel too bad about anything stupid I do
5 Likes
I was edge-rounding a quite expensive piece of timber yesterday and for the first time in my life, hadn’t tightened the collet sufficiently on the trim router! I am always worried that one of those micro lapses of concentration will happen in front of the table saw!!
It’s a good day when the finger count at the end of it is the same as at the beginning, no matter what the cost in hardware or ancillary stock!

2 Likes
Well, finally got my router switched from the Makita to the Kobalt.
Also got some dust collection hooked up and back up and running.
-
Using this machine is soooooo much nicer with dust collection lol
-
Holy crap what a huge difference in temperature between my Kobalt and my Makita. I ran a 30 minute job and the body was still cool to the touch. I couldn’t barely change my bit after 5 minutes with the Makita. It’s enough of an improvement that I can even forgive it for messing up my color scheme…
One thing I notice with the Kobalt is that changing speeds is not smooth like the Makita. There’s like a little pause in the speed when moving between the different speed notches. This kinda makes me nervous changing speeds while it’s moving.
Anyway, got my first cut done with the Kobalt.
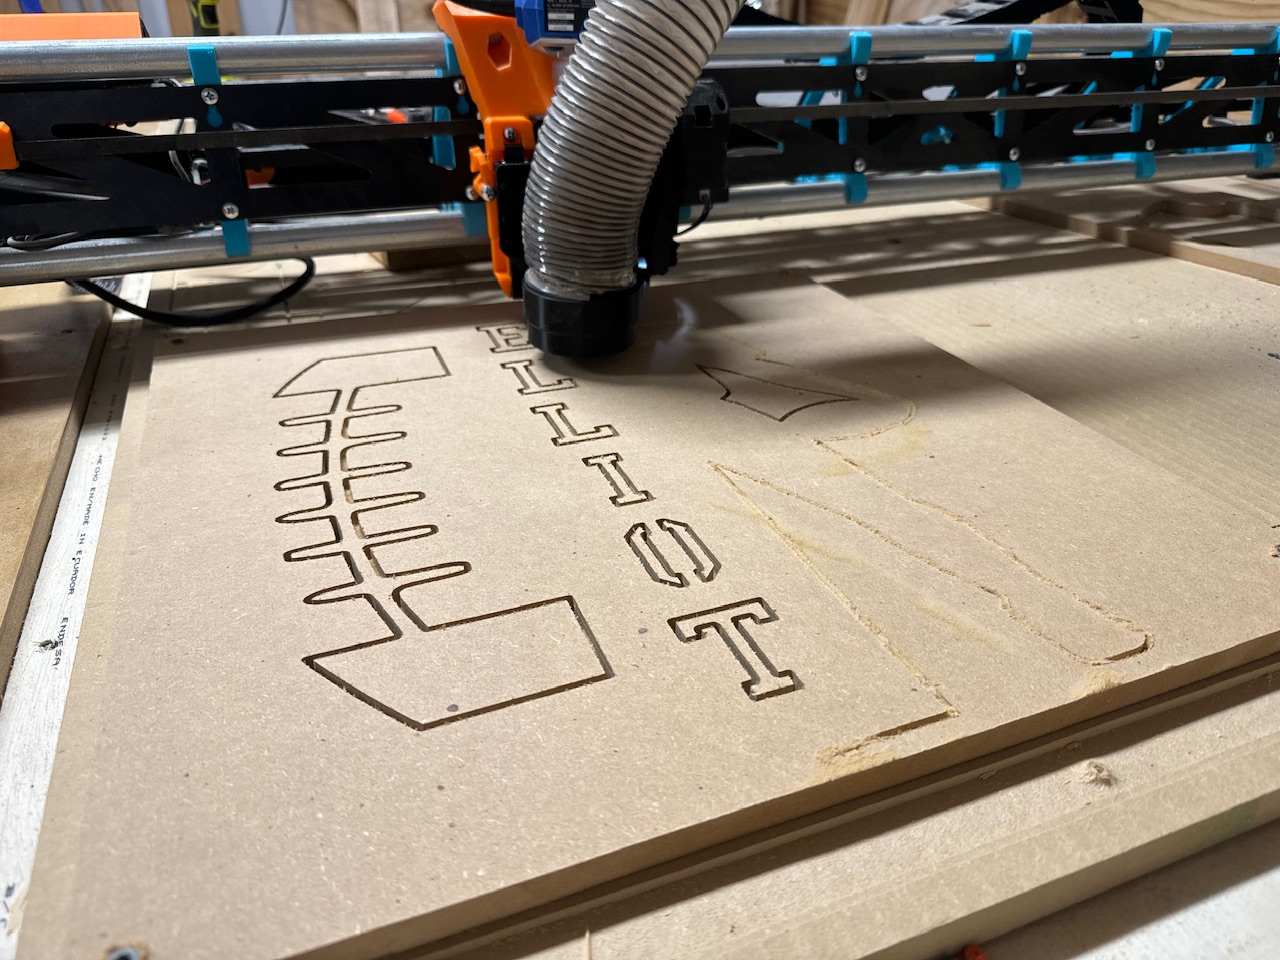
Looks like I’ll finally be able to join the “Things you’ve made” club soon
10 Likes
Cool!
Hey @Michael_Melancon,
How do you feel about your decision to not make the CNC work area be 4’x8’ - I’m having a dilemma here. Did you end up using locating pins to cut larger stuff? I wonder if that turned out to be practical.
I have not yet had to cut any large parts.
The projects where I thought I might need that ability haven’t happened yet.
My table is long enough that when I buy a full sheet, I can place the full sheet on without having to cut it down smaller. I then just use the front side as efficiently as I can, cut off the waste, then slide it forward to address the rest of it.
1 Like
I guess it’s time to announce the death of my LR3….
Here’s what’s left of it…
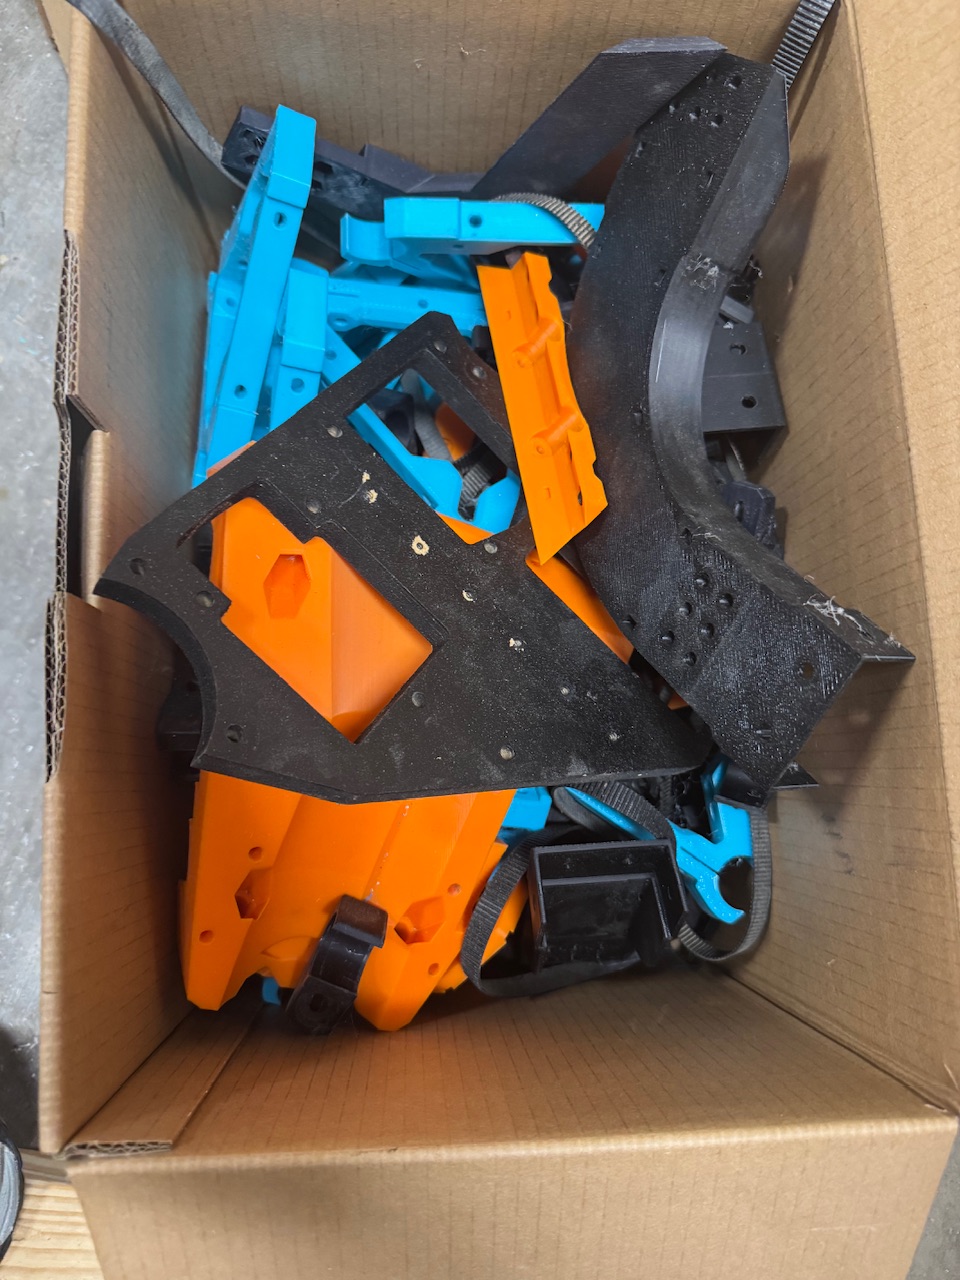
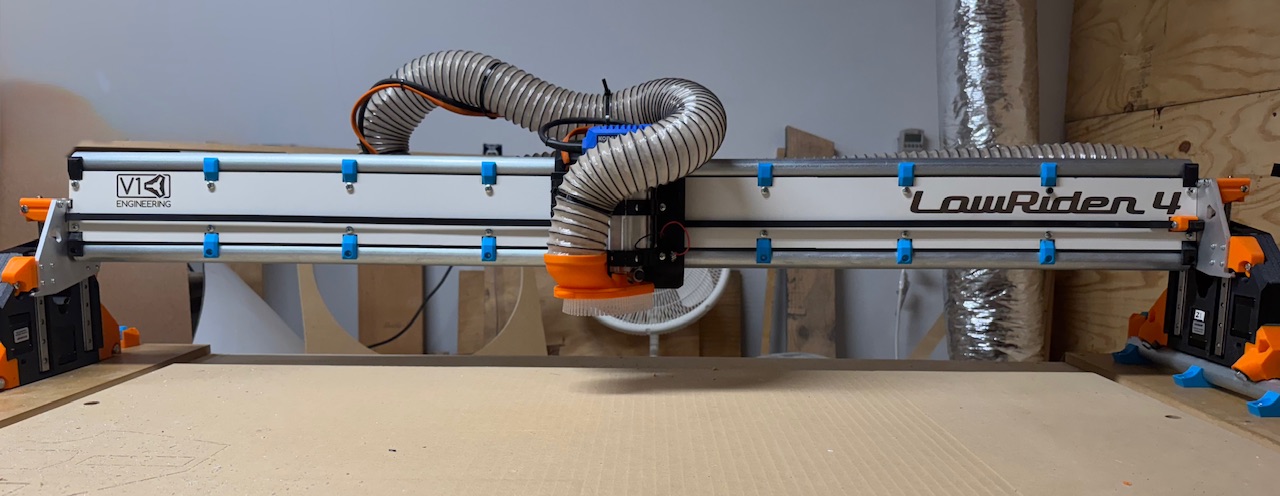
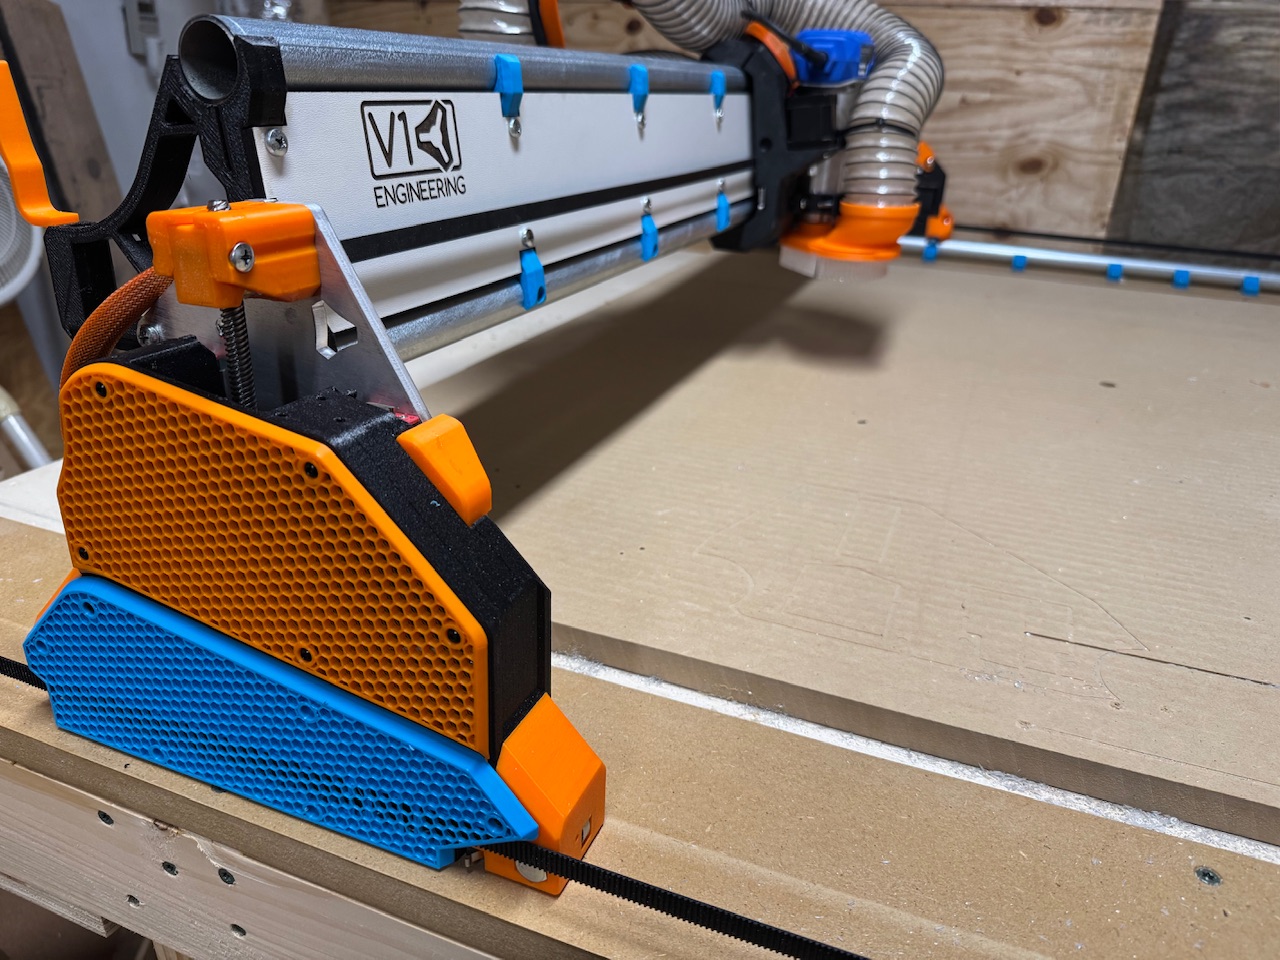
It was hinted in another thread, but in its place, is a shiny new LR4
8 Likes
That is a freakin’ good looking machine!
What are the details? Controller? Size? Anything you learned in the process?
1 Like
Excited!
All the same parts re-used from my LR3.
Purchased the LR3 to LR4 upgrade kit from the shop along with the clear TPU bristles
Original Jackpot v1.0 with V1 ESP32
4’ x 5’ on the same table.
Overall, to me, it felt like an easier build to get right than the LR3, but I also know waaaaay more about this stuff than I did when I built the 3, so maybe take that with a grain of salt.
Getting the Y belts laid out right definitely felt easier than the 3.
Same table, I gained 1" of X cut space. probably could have been slightly more, but I left a little space from the edge on both sides.
A few gotchas in there for people upgrading:
- I put my Jackpot case in the 2nd bay from the end, and one of my endstops didn’t reach…so check that before you mount it
- Make sure you measure where your cut area is. Lining my Y rail blocks up based on the 3, my 1" of space was all on the max size. So get it built and place it on the table before setting your rail positions so you can make sure your bit travels where you want it
Other than that, just take it slow and make sure to pay close attention to orientation and details in the pictures.
Machine feels very sturdy, but I haven’t actually used it yet. Will start squaring, etc. tomorrow.
3 Likes
OHHH… @bitingmidge … where them V1 EMT plugs at??? 
1 Like
Nice build @Michael_Melancon !
Already seen Jamie’s EMT/Conduit end plug/caps? From https://forum.v1e.com/t/update-or-new-version/40835/2733