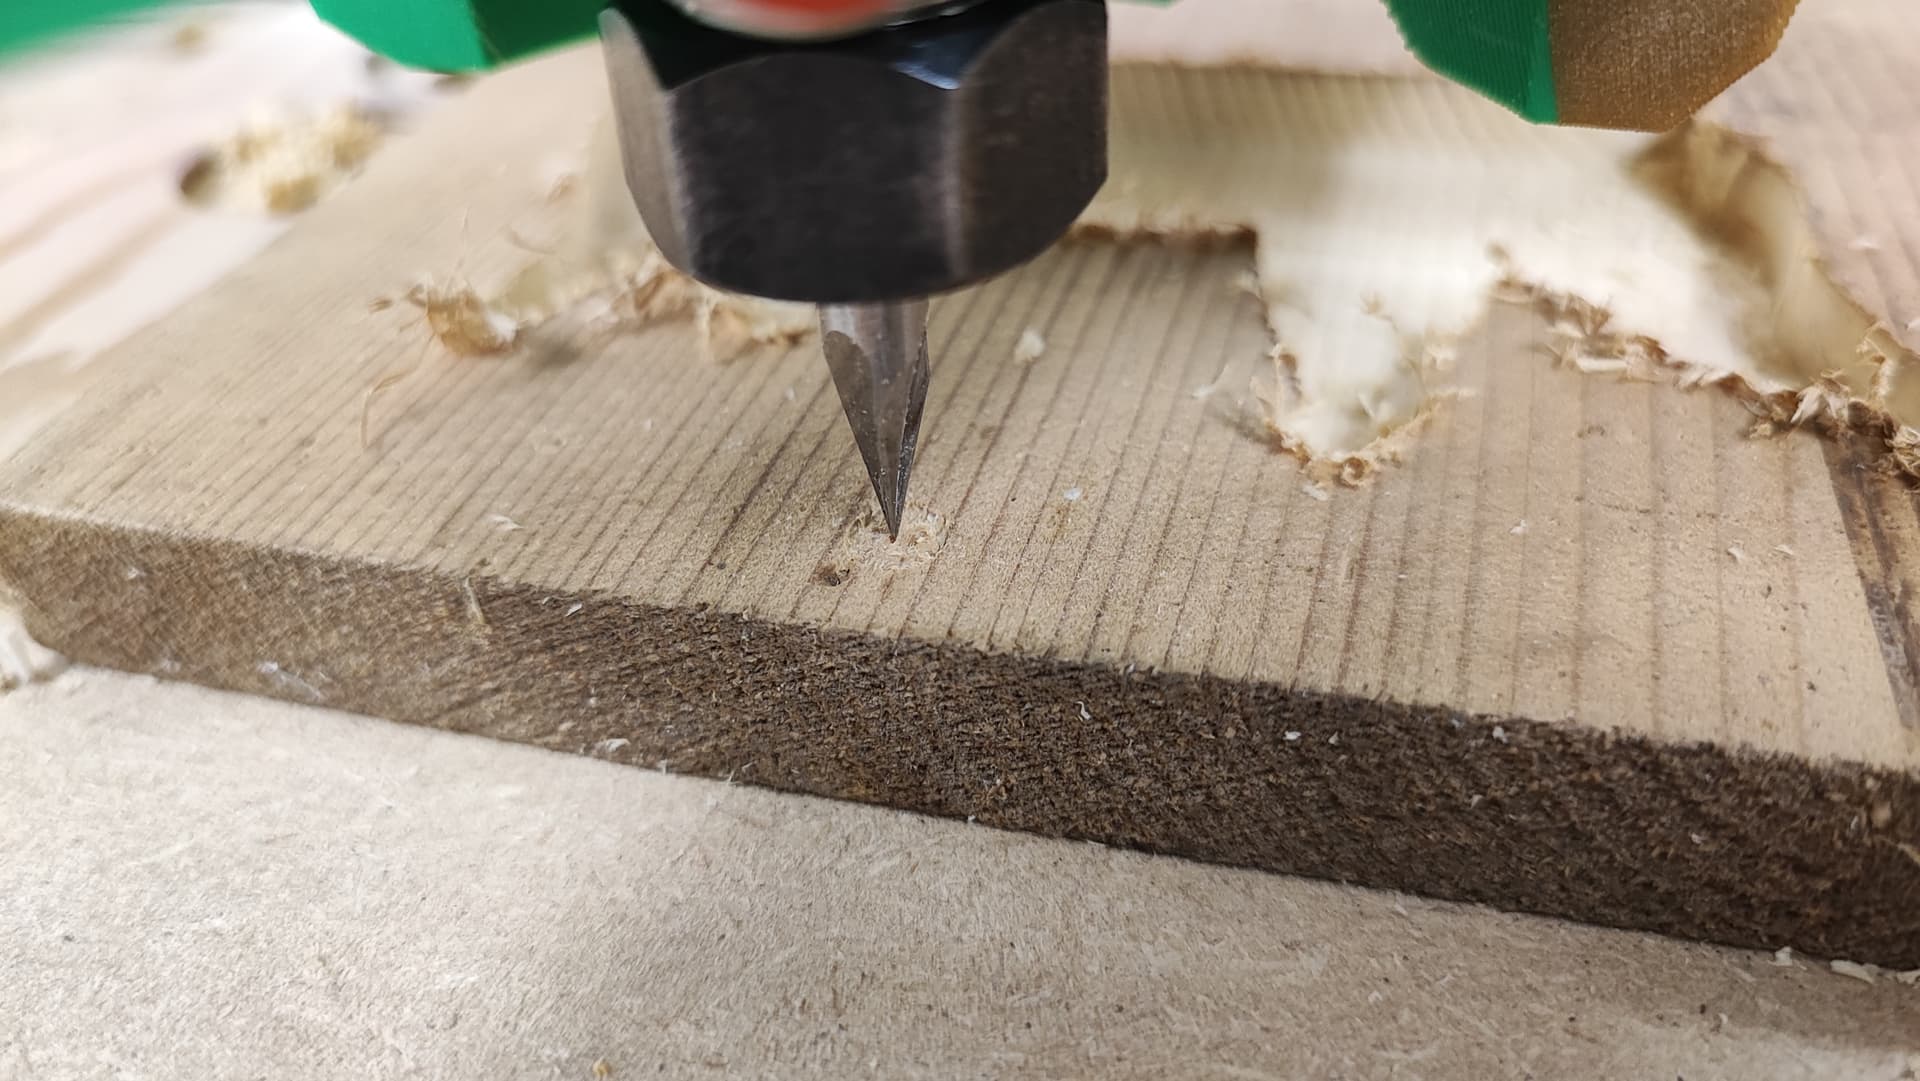
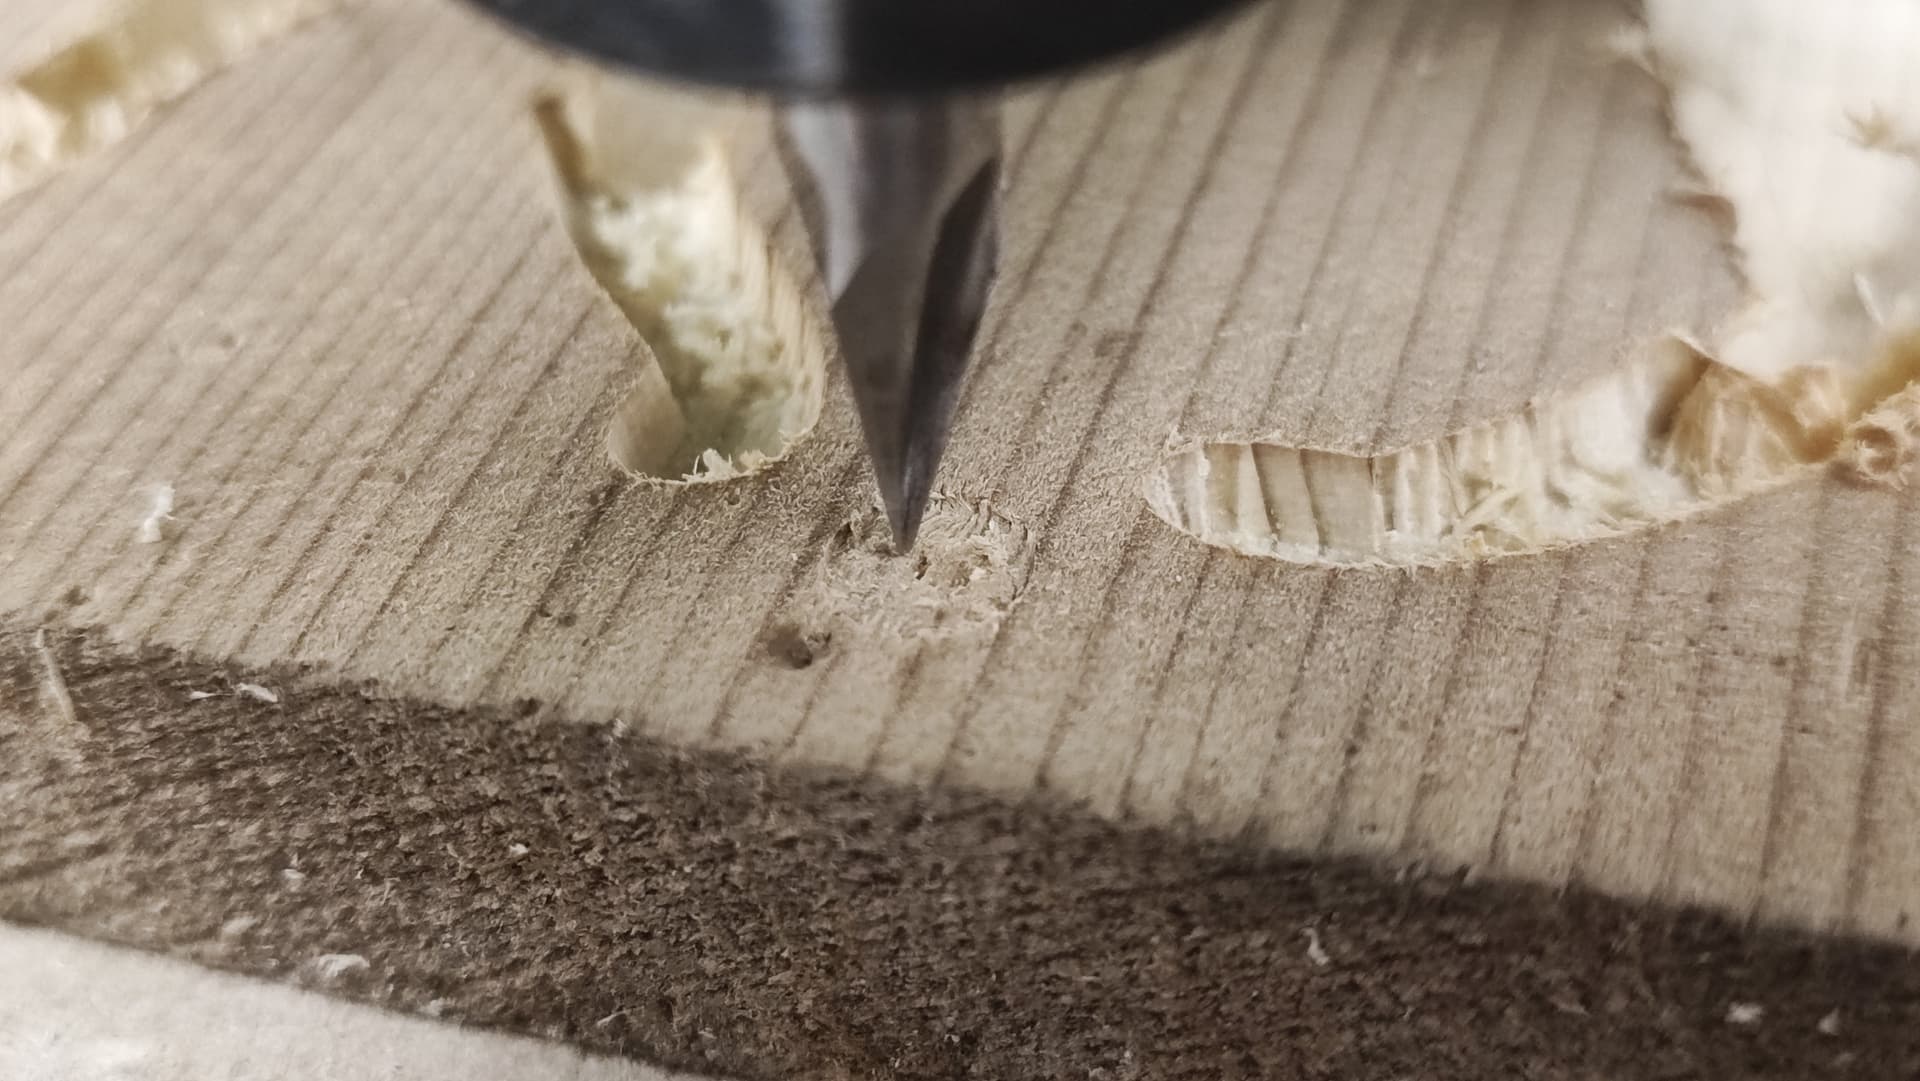
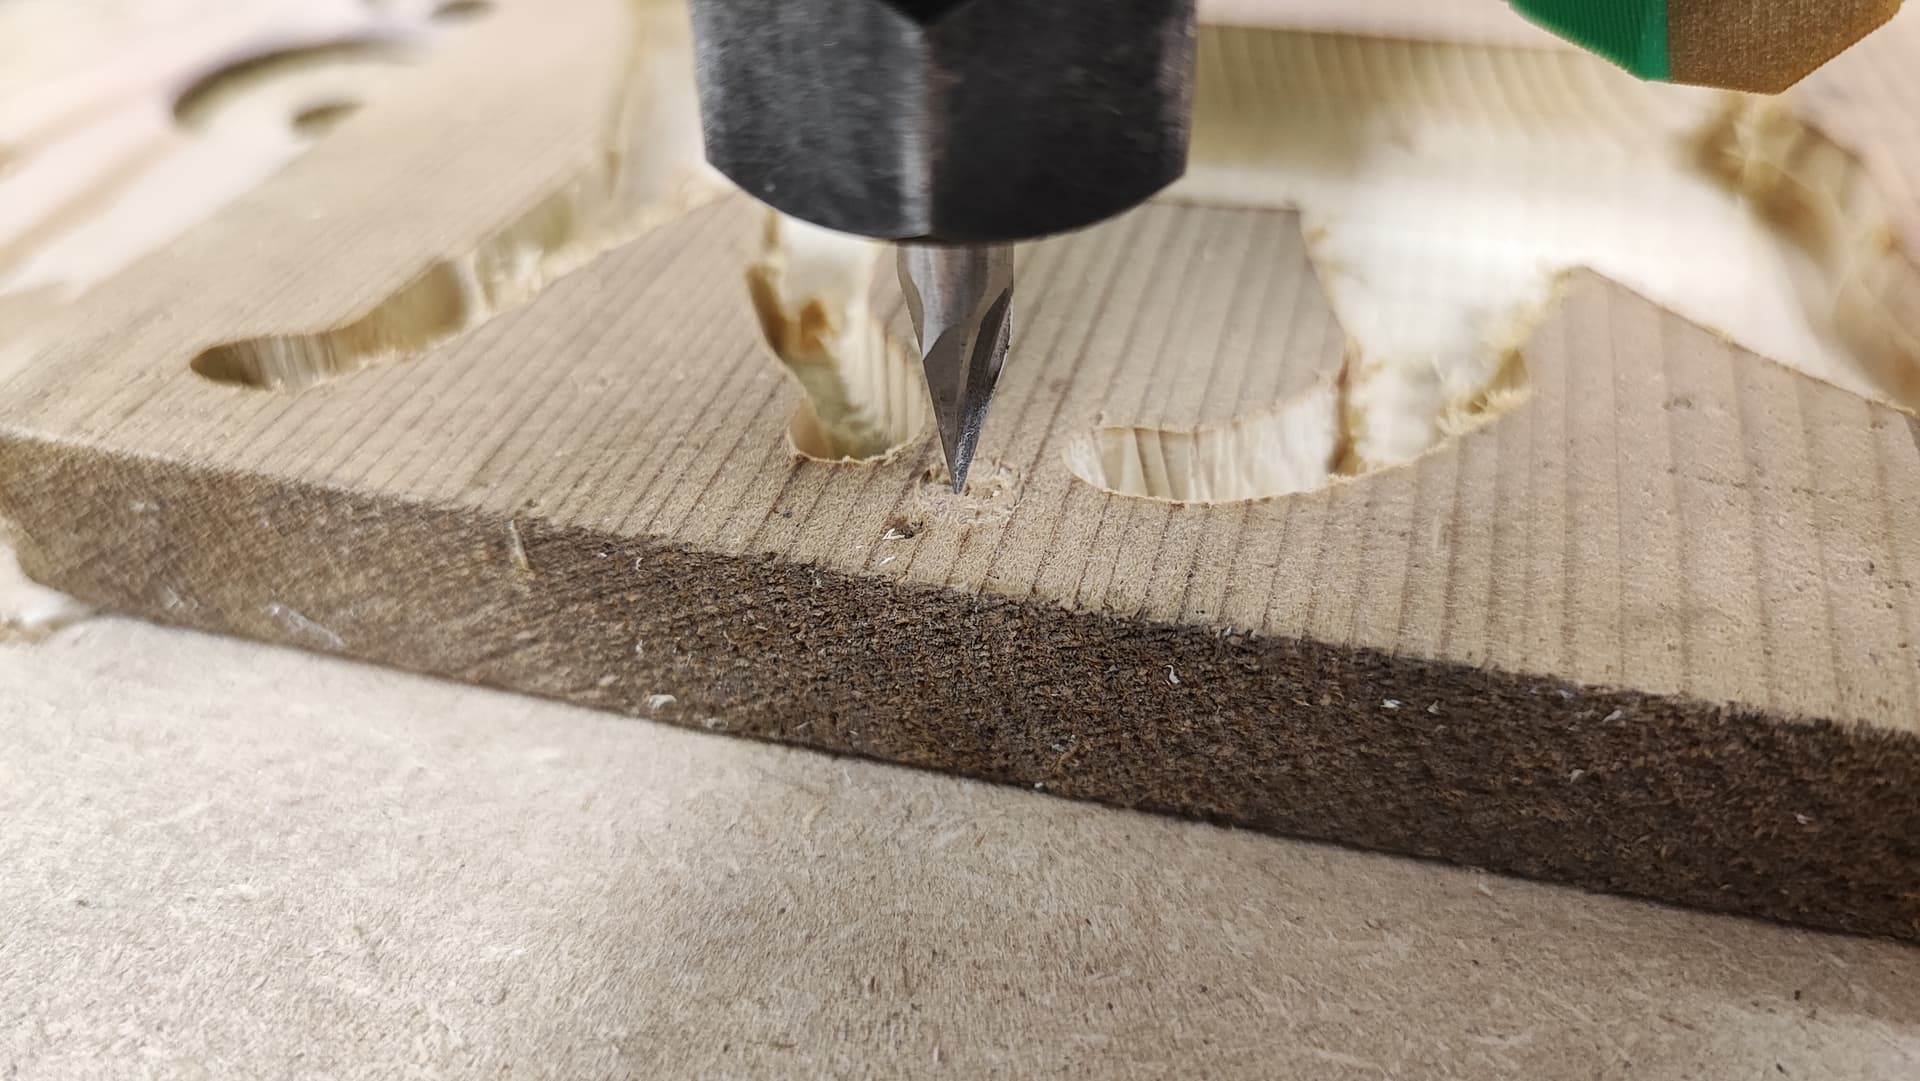
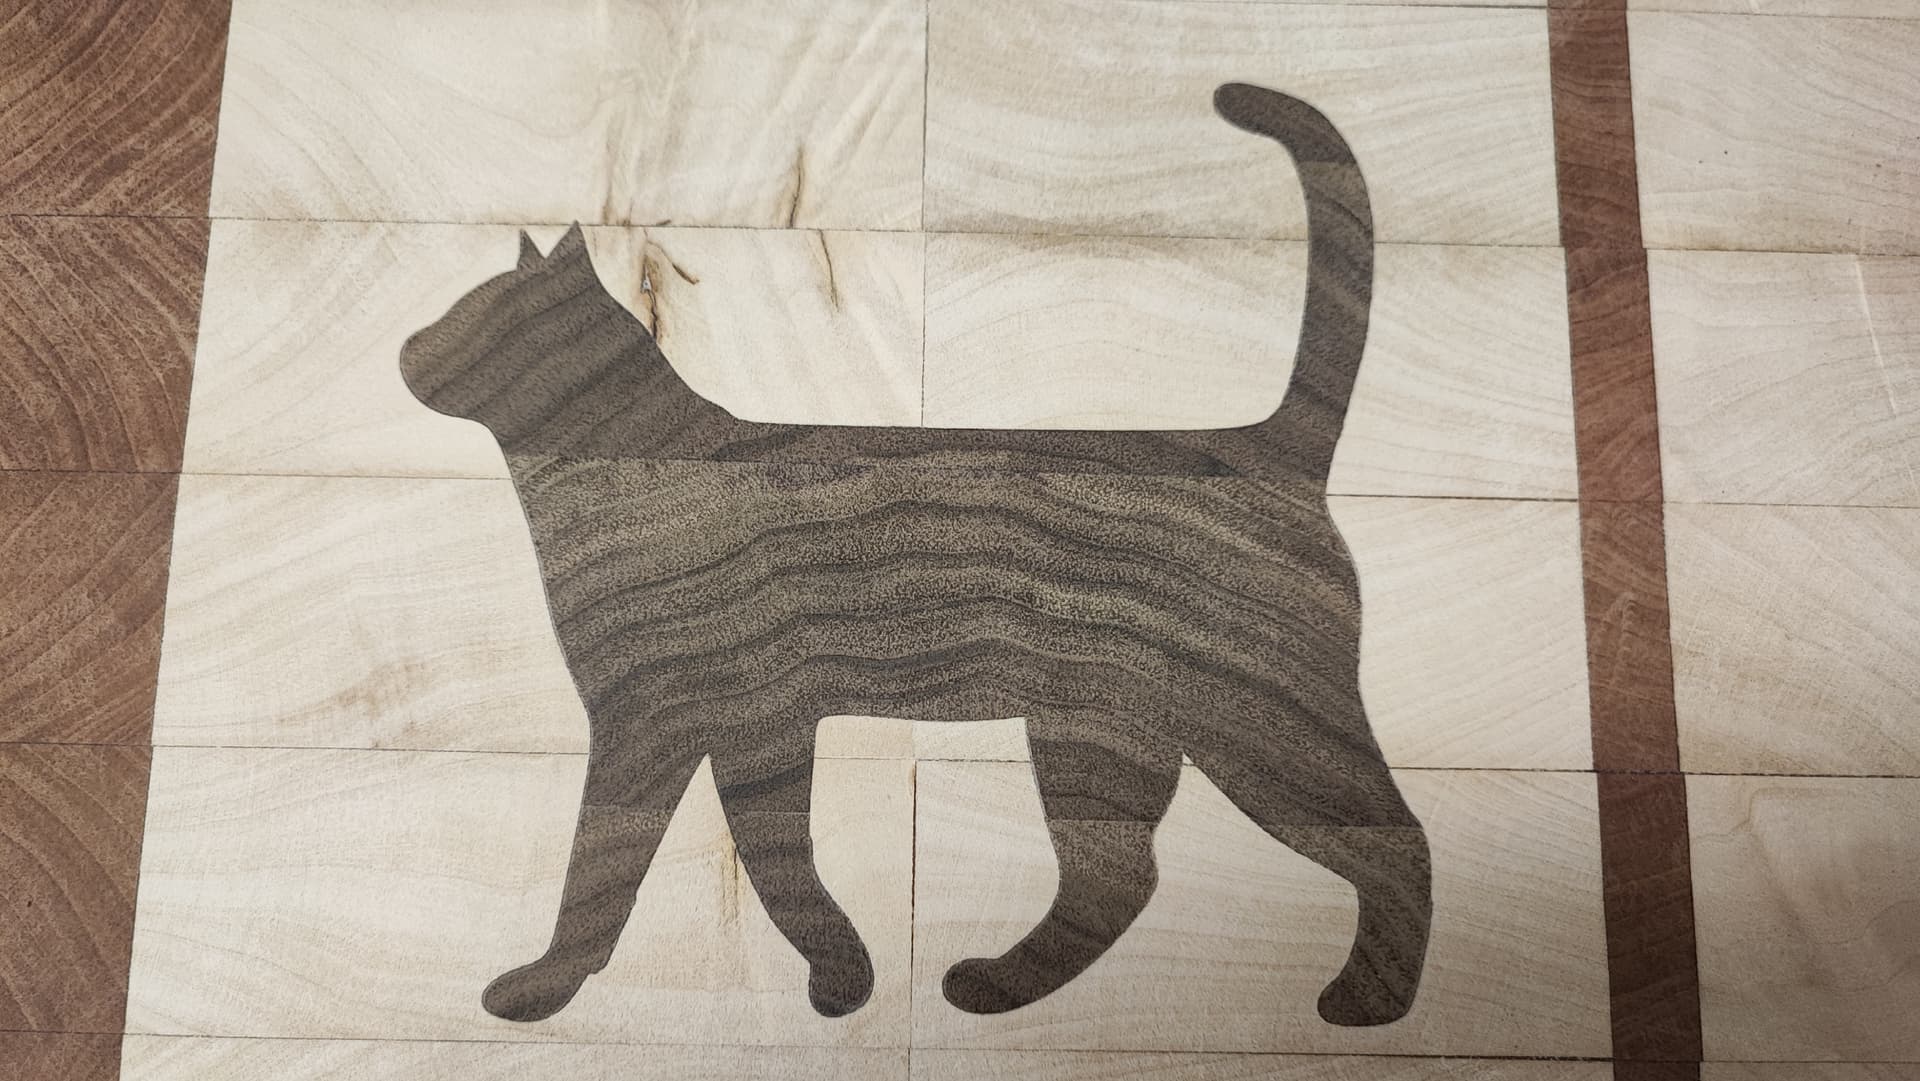
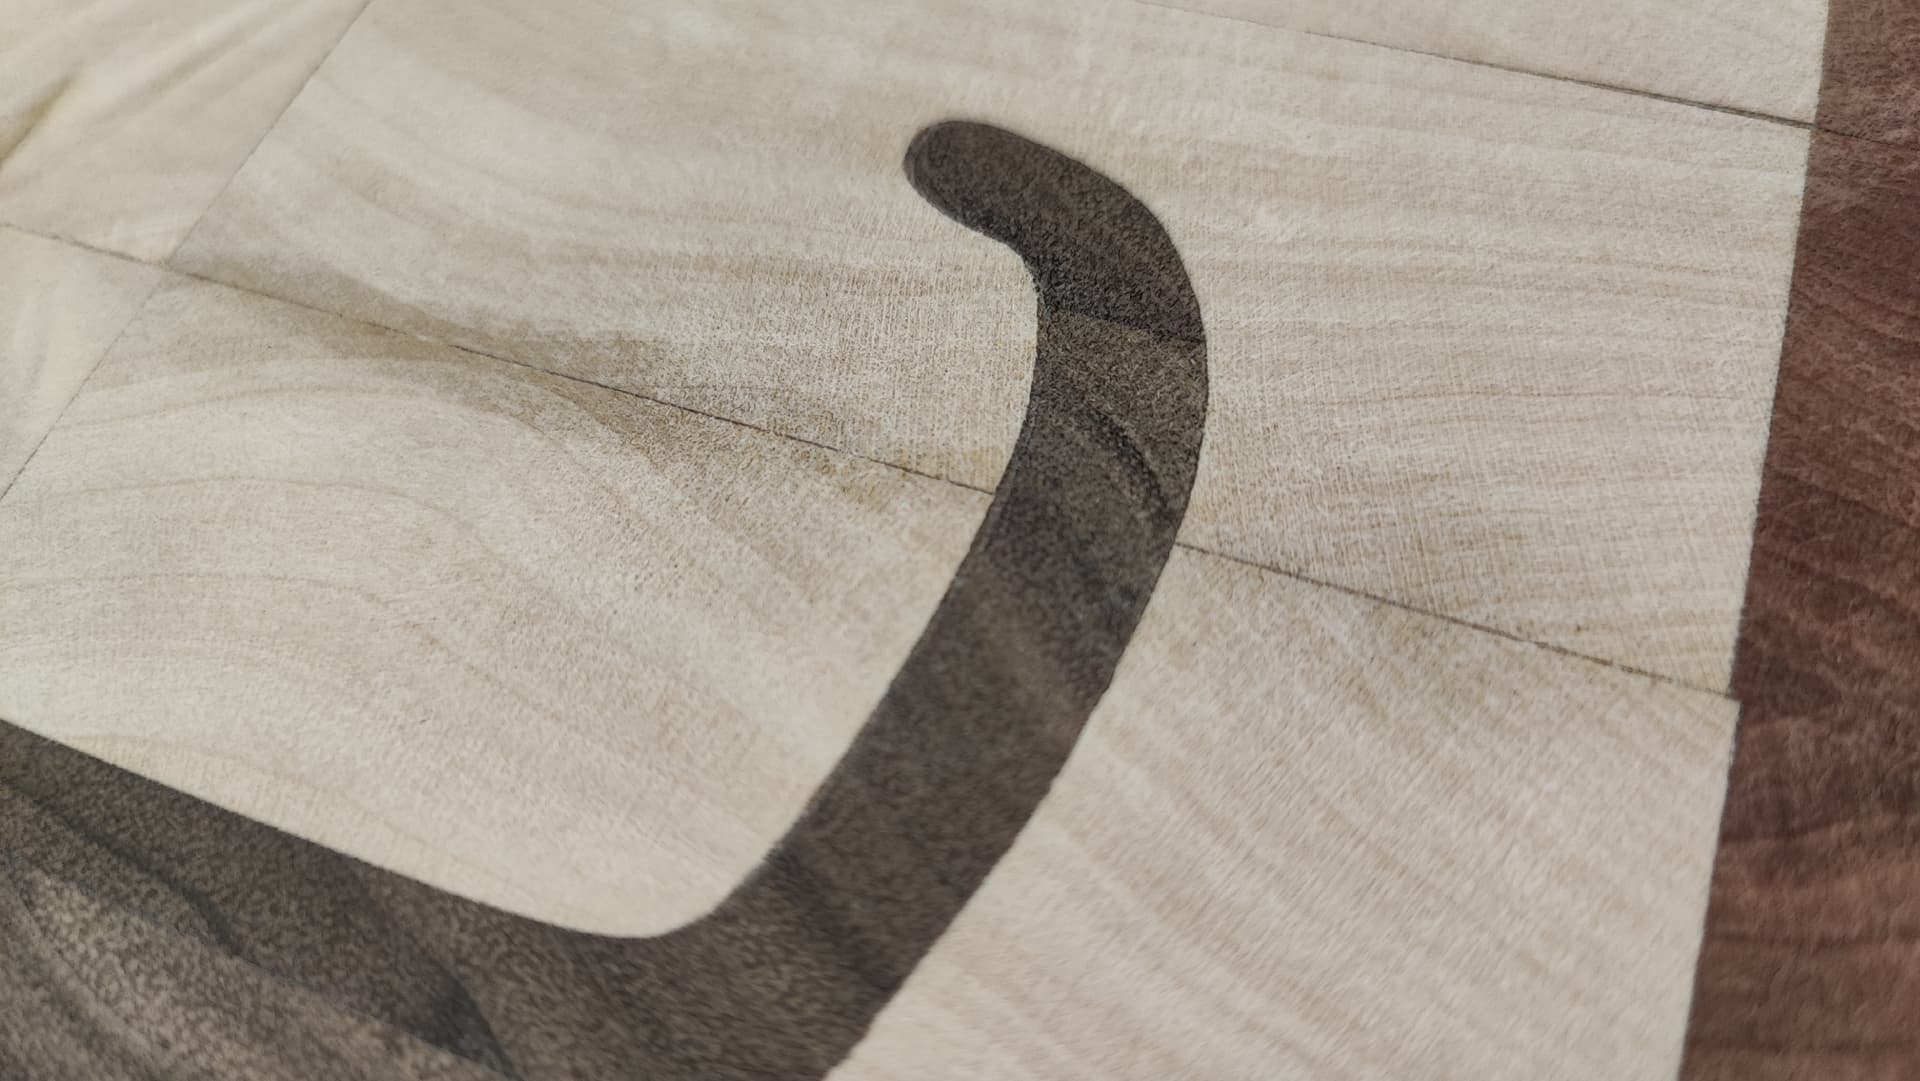
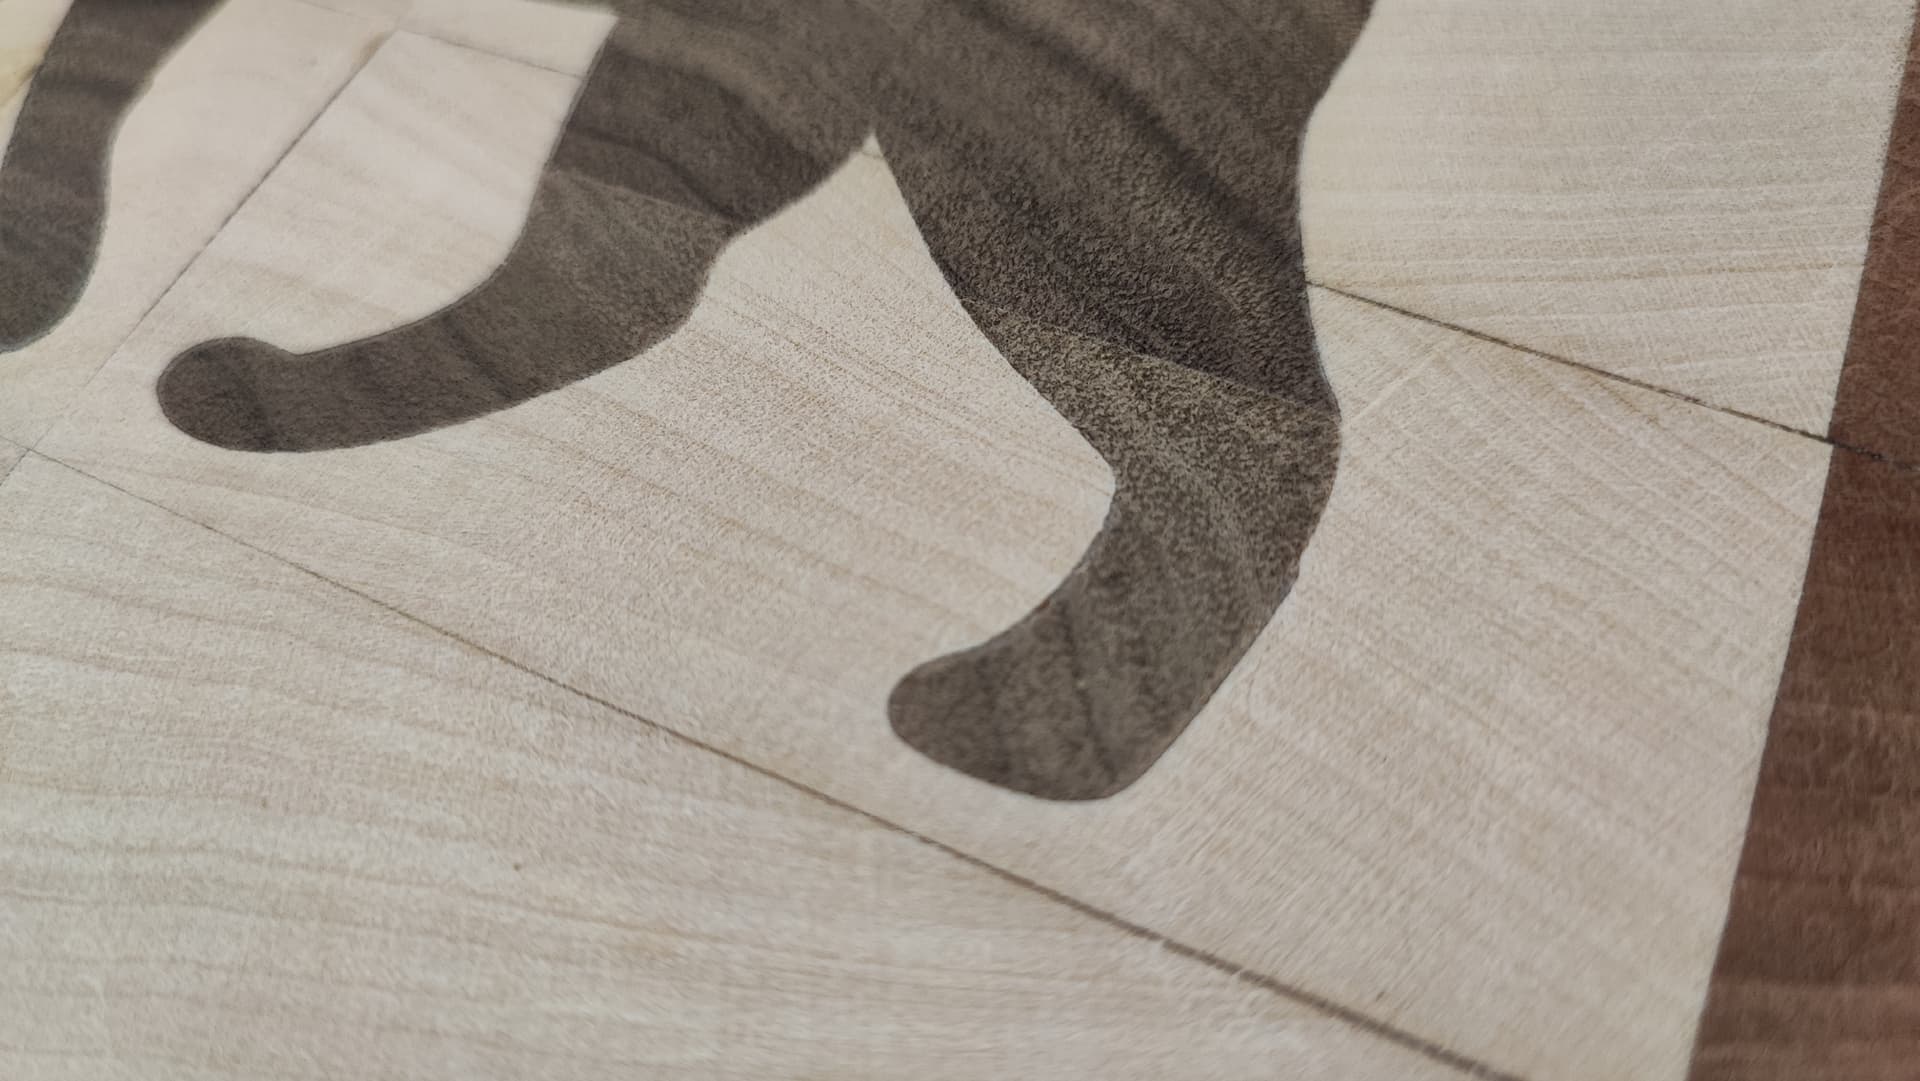
Cheers all, the title says it all. I am losing steps on my X-axis when clearing with a V-bit because of the rapid movements from left to right. The Axis is wandering to the left, around 0.8mm in a very short time,
which is disastrous for an inlay. Kind of.
I am now considering setting inertia (Trägheit) to 95% on X so it slows down more when doing inlays in addition to going down to 800mm/min. That should fix it, I am also taking other suggestions though.
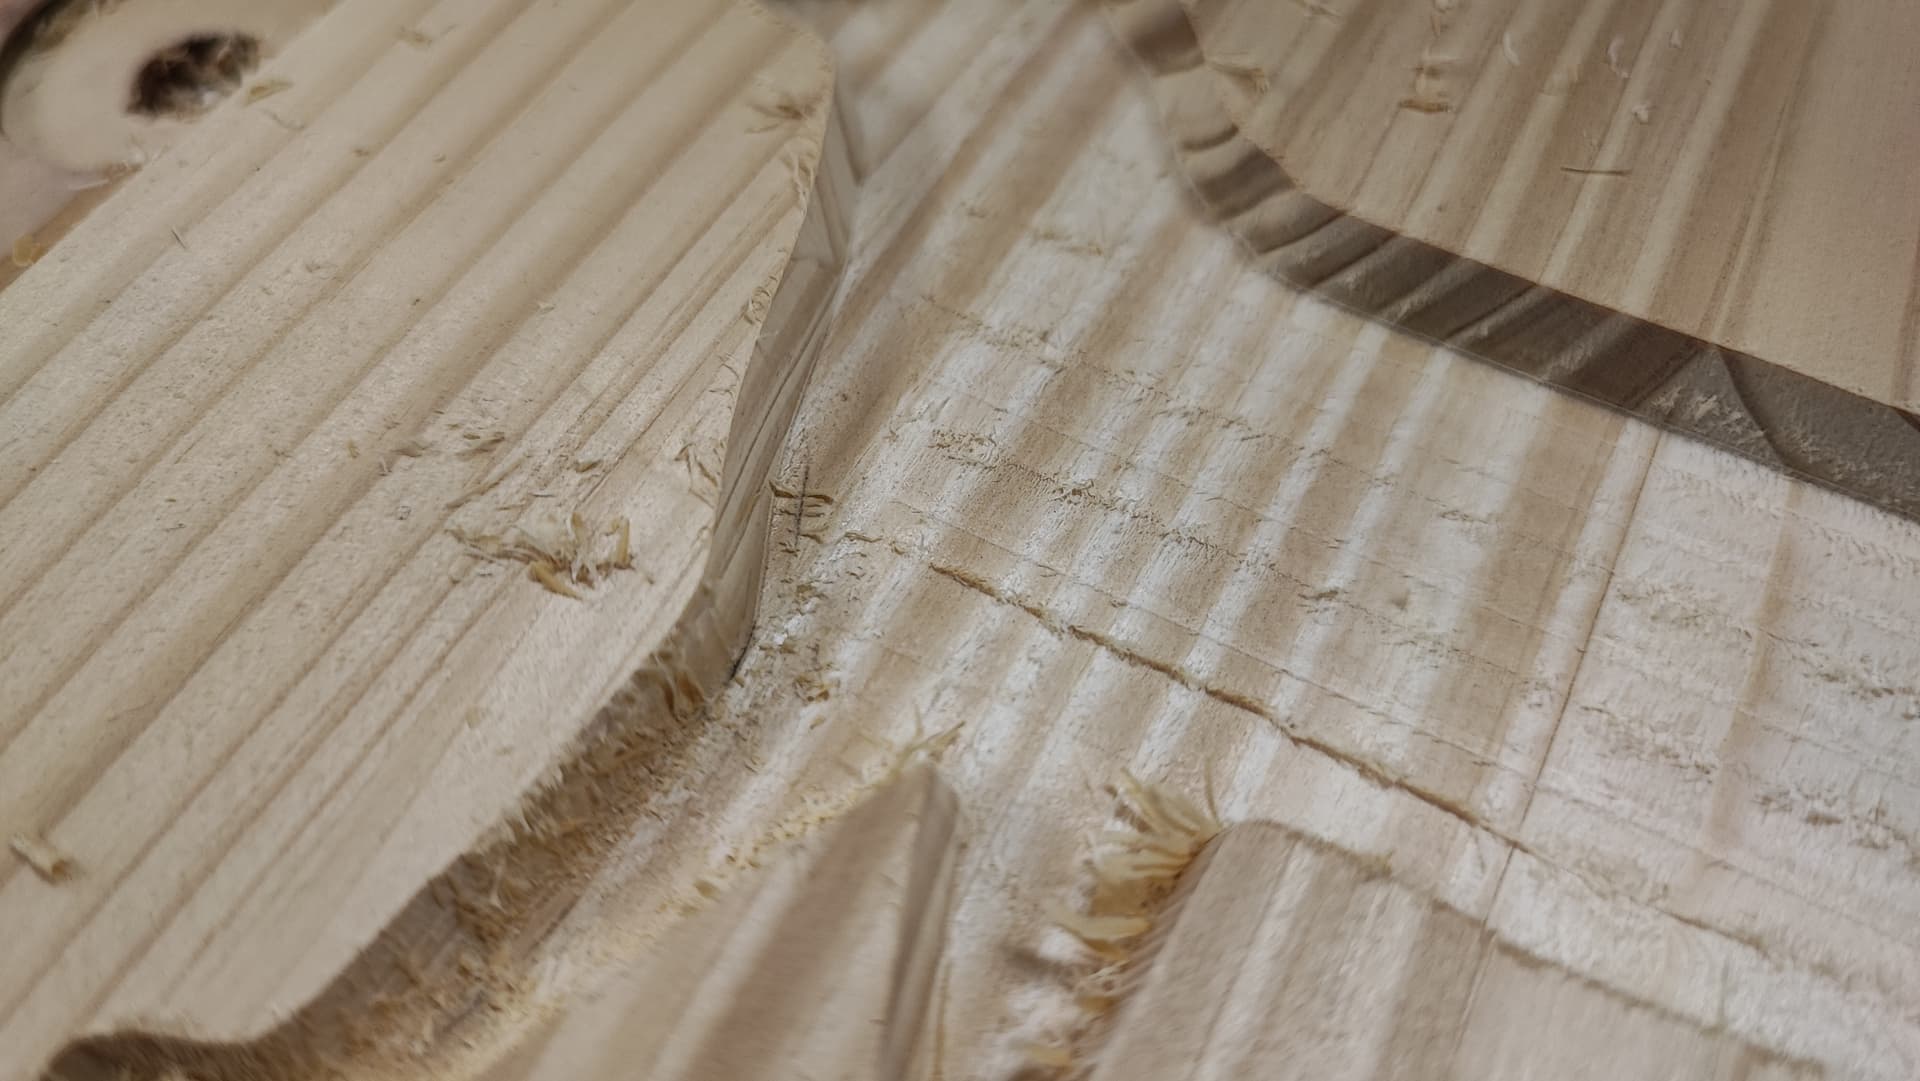
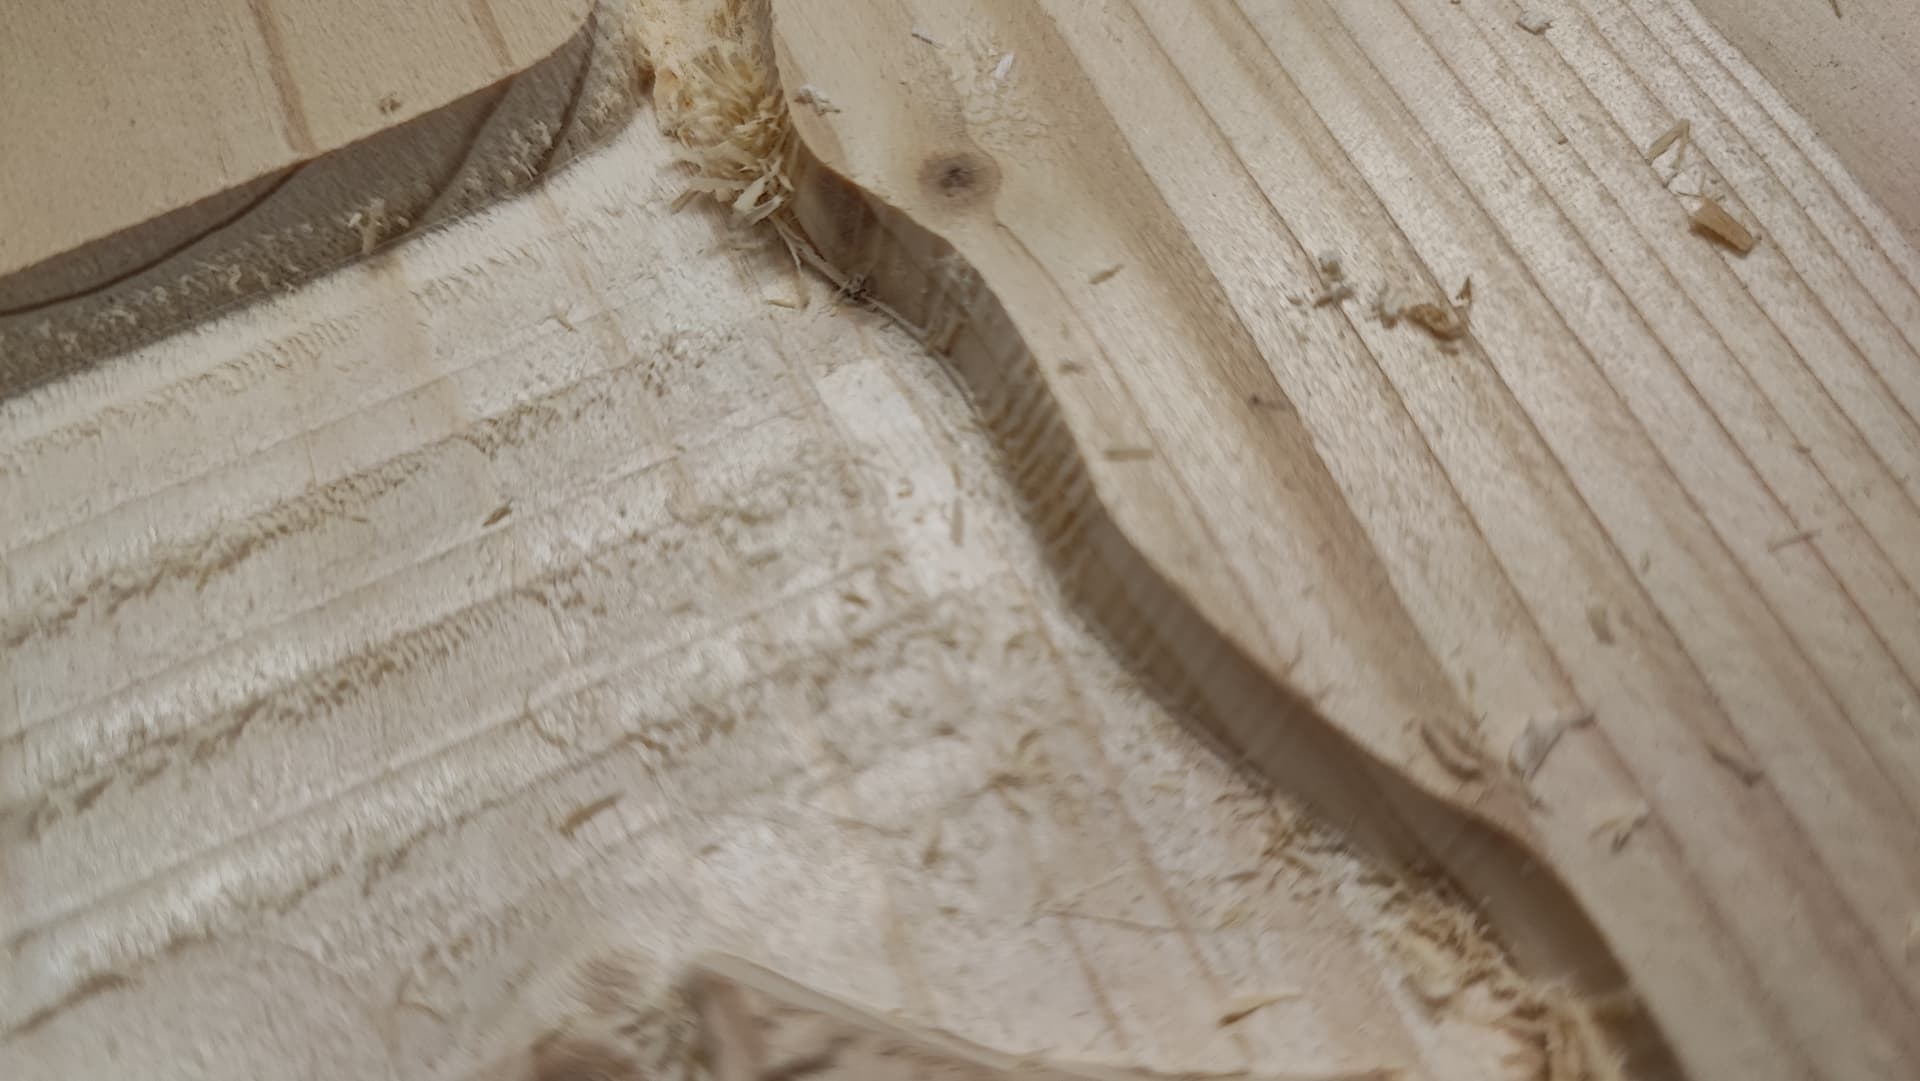
As usual I have already been cutting four cats to test my theories. Will update you as soon as I’ve got the solution.
Of course because there is only one motor on the X axis, it is weaker. I bumped up the current on my X motor a little. You have to be careful of the motor getting too hot, but it should be able to run a little more current than the firmware default.
Slower will also be more accurate, which is a good thing for inlay type work, too.
Same happened now with clearing and a normal bit. The left/right on X, together with one motor (as you said) seem to do that. I did see that with the Primo as well but never thought about it, I always thought it was me moving the core a bit when changing tools (it was, I checked the old pictures, see below). I reduced my rapid speed, now I have to reduce the inertia as well I guess (I didn’t do it because I thought going slower would be fine). I have to check whether I can increase the current, I am running TB6600s. Thanks for the input!
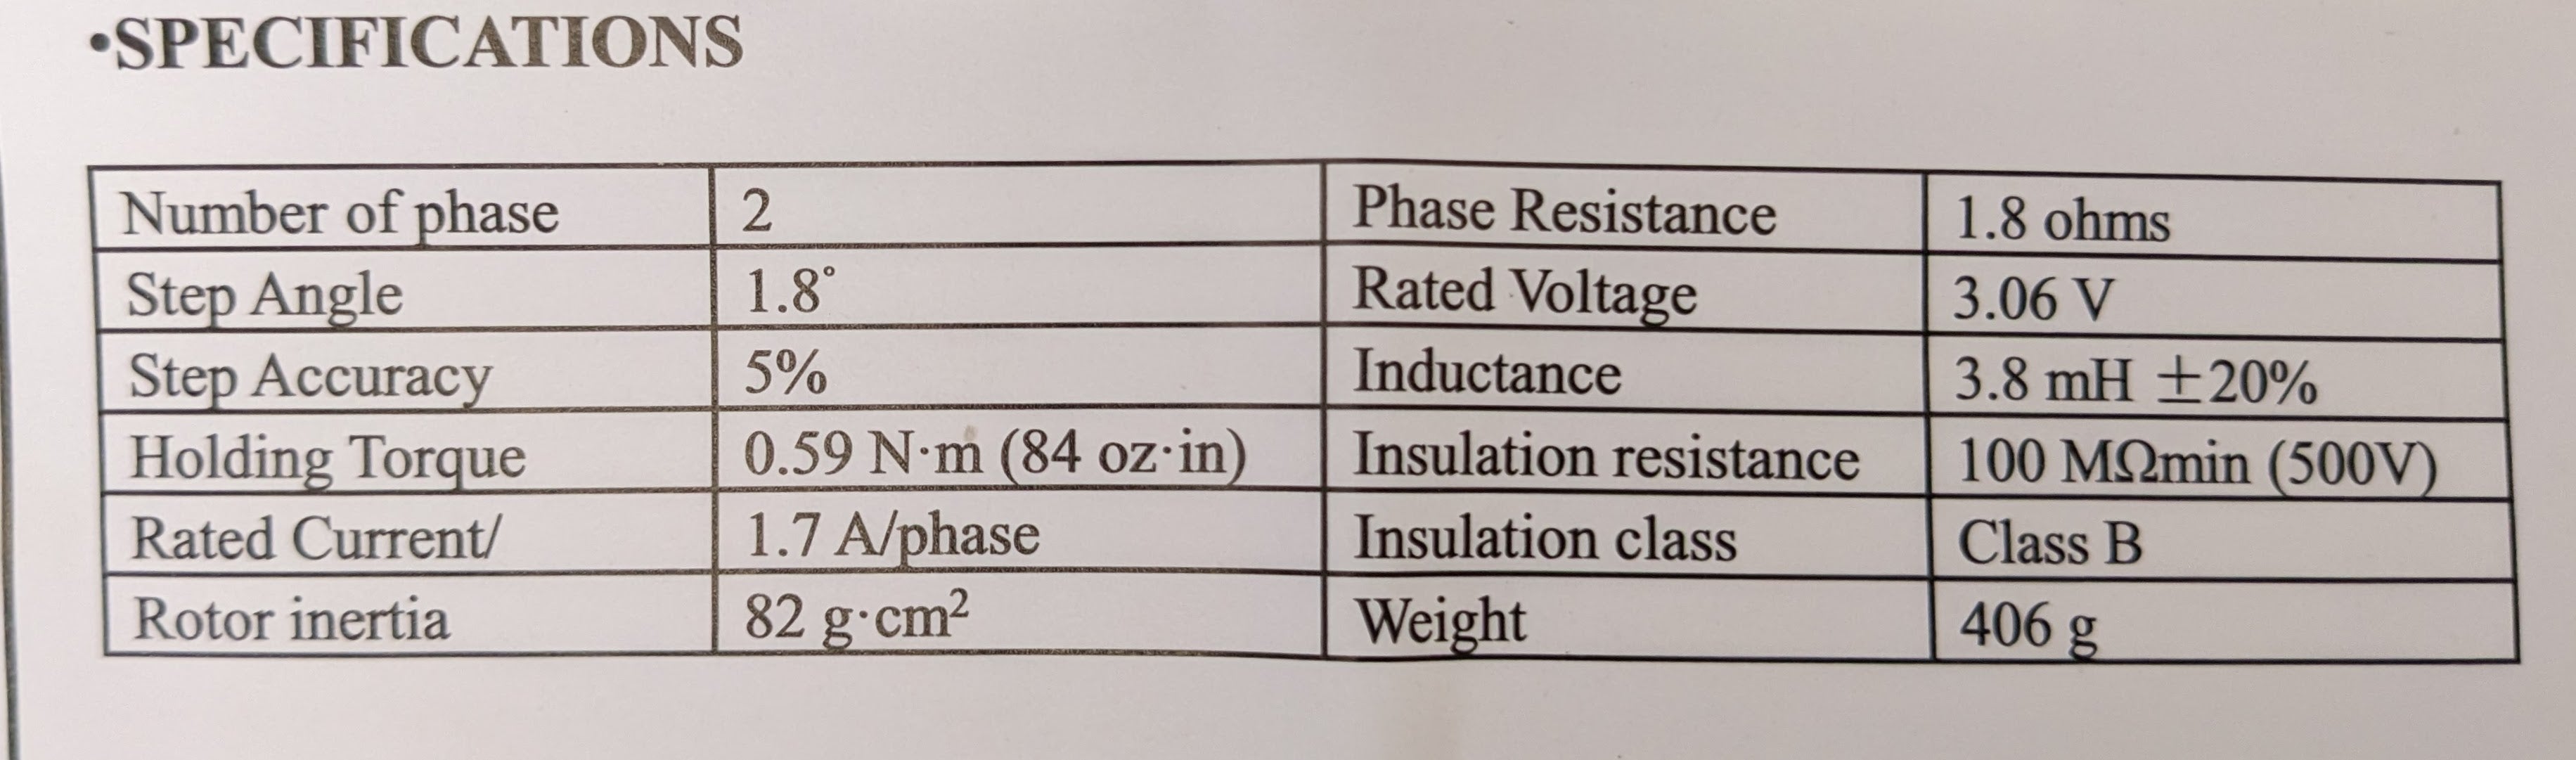
/edit: I am running the steppers with 1.5A now from the drivers. I could increase it to 2A, but I don’t know whether the steppers like that, since they are only rated for 1.5A.
All those work because it is not a repeated wiggle from left to right. I will do those again, but normal cuts are have not been a problem (apart from my whole ordeal with the wrong endmill, that does not count, that was user stupidity), just the left right left right from clearing carvings. It should not be a problem though. I also do not understand why it is only wandering towards the left of X, never to the right.
I now checked all my old pictures and with the Primo it did not happen, only when I wasn’t careful when changing endmills. The speeds were also faster, inertia was set lower as well. So it must have something to do with having only one motor for those rapid changes of direction. That would finally be the first negative about the LR (but maybe I am at fault here as well for not considering that one motor might behave differently).
MVPOWER 5 PCs Schrittmotor Stepper Motor Nema 17 Bipolar 1.5A 2 Phase-4 Draht Stepping Motor Printer 1.8° für 3D Drucker/DIY CNC
Stepperonline were sold out when I built my Primo a few years back I think Ryan’s are rated 1.8A, I think I could have put 2A on those, but a third more than the specs say is quite a lot.
Gantry EMT/Pipes clean and lubed? That helped with max speed for my Rapids.
Edit: @Tokoloshe, how’s your Core bearing tension? Got consistent rolling resistance/friction as the Core moves along X axis over braced and non-braced sections. Do you observe extra stiffness near a brace that could be causing those lost steps? Asking after I read…
We run our steppers (1.7A) at about 0.8A, 1A would melt the plastic, are you sure you don’t have the switches upside down? What temp are your steppers? 45-50C is as high as I would go, 40-45C is a pretty good indicator of a good current setting.
As for the actual issue, what are your accelerations, and rapids set at. Combined with your feedrate and Material Removal Rate will tell us a lot.
For example I did a lot of acceleration and max speed tests in one of my youtube videos, you can go pretty much as fast as you want if you turn down the accelerations a lot. It is a dance though, too low Accels and you will never hit the max speed. Too fast of accels and a back and forth motion will skip steps.
That sounds an awful lot like a grub screw distance.
Skipped steps. I would be surprised it would be this small. A single skipped step would be 0.64mm (depending on your setup). I would be surprised that you would get one or two so consistently. It also makes a crunching noise. You would notice exactly when it happened.
Grub screw is slipping. This could be any distance. But if it us losing grip, it will go from ok to terrible pretty soon. Triple check them anyway.
EMI. I hate blaming EMI. It is a good catch all for stuff we don’t understand. But if there was sometimes enough noise that the STEP pin missed or gained an edge, you would get super tiny movements in either direction and the error would be random and small and proportional to the length of the cut.
Wood movement. If the workpiece moves in the clamps, you can get errors.
Belt slack/tension. This was more common with large zip ties. I would expect it to be back at zero at the end.
Flex. I would expect this to be back at zero at the end too.
What am I missing?
Have you tried an air cut (with the router on)? If you still get the error, that means it has nothing to do with load.
Yes, because upside down would be ~3A. Steven Potter uses the same settings on his Primo posted in the bamboo thread and I have been using those settings for three years as well without any problems.
Also, my steps would be way off.
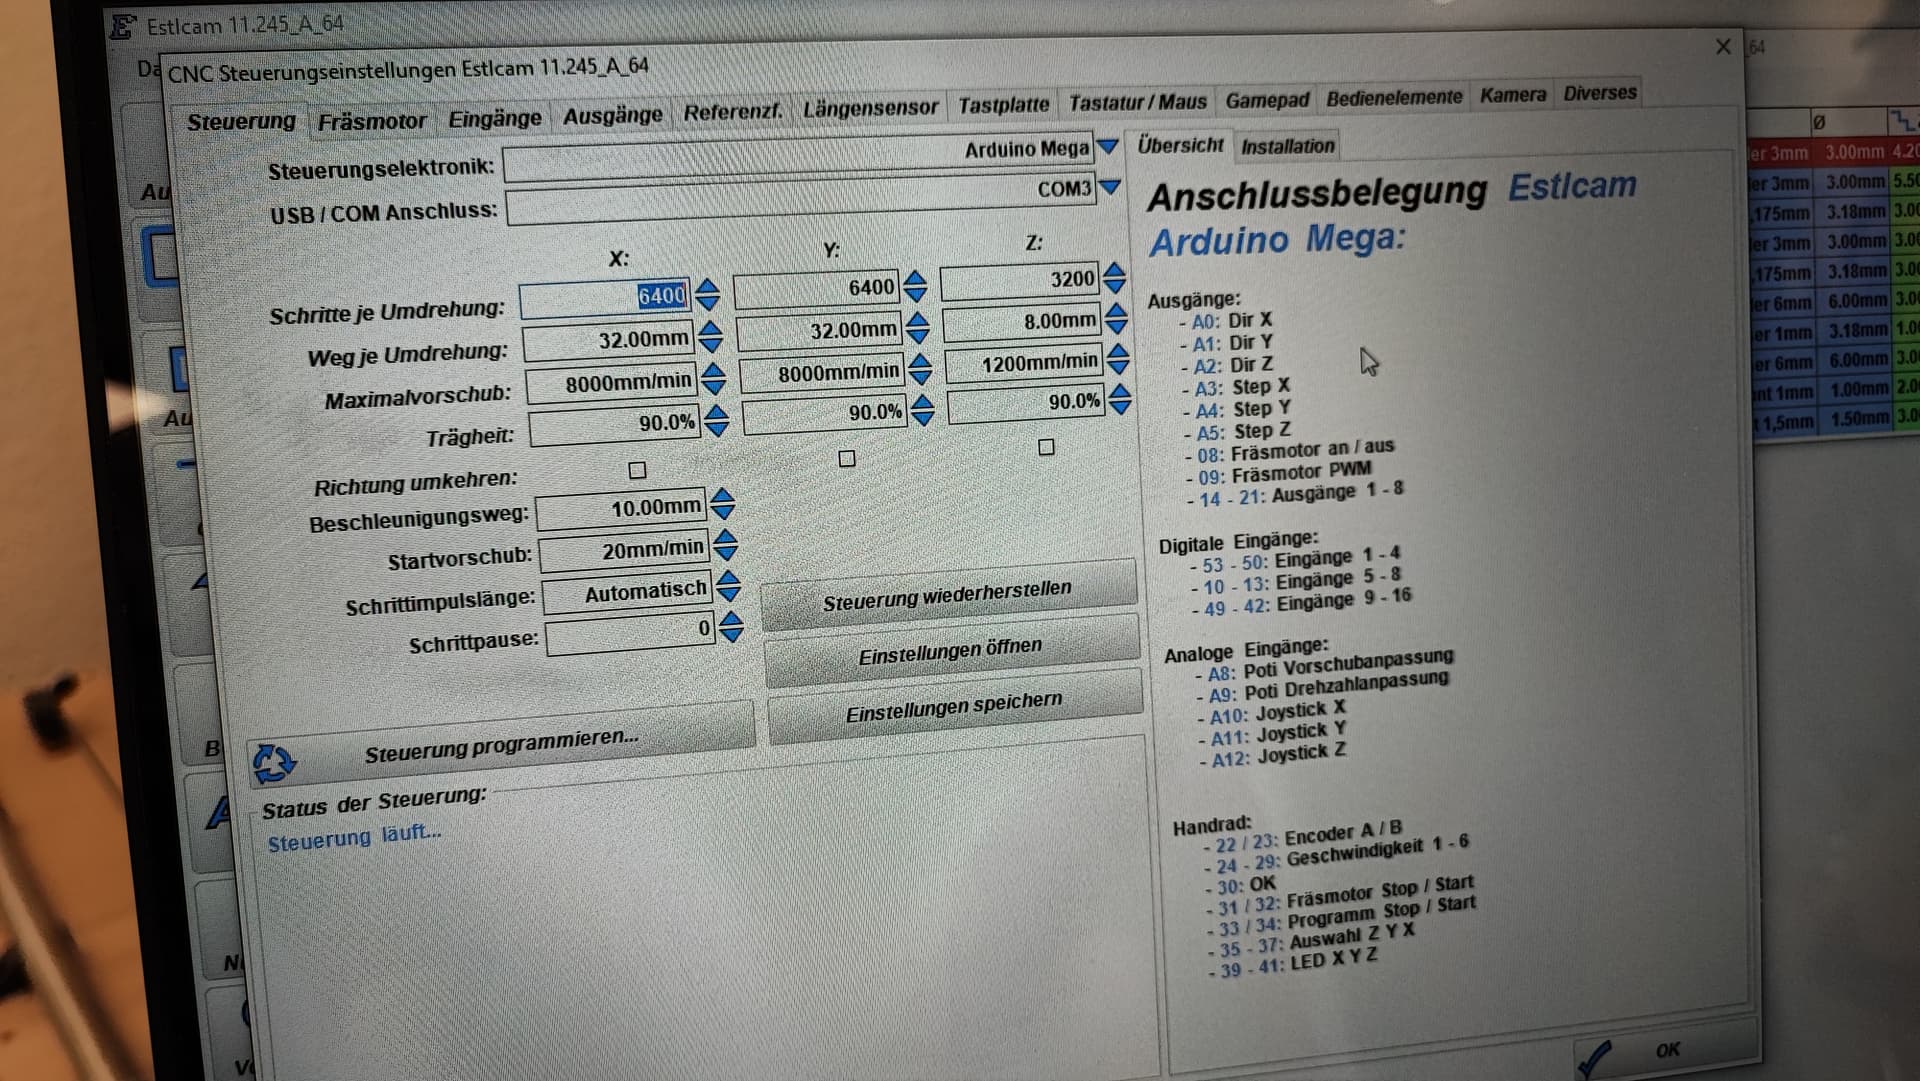
Rapids were at 8000, look at the screenshot above. I used pretty conservative acceleration, but I think it might have been the problem. Set rapids to 3000 and upped inertia. Have to test again.
1, 2 and 4 definitely not. EMI is the ghost haunting us, but it is reproducable. It might be belt, don’t think it’s flex.
It also happens on an air cut.
I am going to try with reduced rapids (though that hasn’t been a problem before) and reduced inertia. After playing with the acceleration I had the feeling that even though the values were the same (see screenshot above) it acted differently, really sluggish, so it might not have used the values before.Very wird.
Christian Knüll recommends a pretty fast acceleration to max when carving (0.5mm) and set max speed and rapids lower to save time.
Just occurred to me you are using estlcam firmware. He discontinued the ramps support a while ago. be careful, we might be chasing a bug.
If the highlighted number is microsteps and you are trying to run at 133mm/s you are probably outrunning the 8bit mega chip. The processor should just slow down but sometimes they do not.
I am not using your board, I am using the Open CNC Shield. I just really like the ease of access of Estlcam and cutting with it as well, changing speeds on the fly, having the XYZ touchplate, really easy toolchanges etc.
The 6400 are microsteps. If that was the problem I would have had it with the Primo as well, also on the other axis’, but it’s only on X, only to the left. Did at least 10 cuts/air cuts to verify this.
The acceleration is at the Bottom, “Beschleunigungsweg”, so how many mm it takes to reach max speed (had it to 10mm, which wasn’t enough, more makes the machine sluggish though) and “Startvorschub” that says how fast it is going to start until it reaches top speed after, in this case, 10mm. Acceleration is also not a straight line but a curve, according to Christian Knüll.
“Trägheit”, so inertia, tells the CNC how much it has to break before changing direction. So if I went 100mm/min, inertia to 80% would slow it down to 20mm/min before a change. So 90% slowdown from 8000 is still really fast. Which wasn’t the problem tough.
I think it might have been the cuts (1000mm/min) with 90% inertia (slowdown) that made movements too rapid. It didn’t do that with the primo though, maybe it’s really the difference of the one motor.
I didn’t have the chance to test it again, but I am going to slow down the cuts to around 800mm/min, leave inertia to 95% on X and see how that goes. Also, slowed down rapids to 3000. That’s basically the only setting that I did changed compared to the Primo.
Thanks for all your input and ideas. I am pretty sure I will find that pesky mistake any day.
I think I might be bad at explaining. The explanations in Estlcam are better I guess. If you wanted, you could check them with a mouseover. Thanks again for all the help. Will update after I actually tested again.