Hello! Finally assembling the LR4, it’s very fun id say and I’m enjoying it.
However I have come to a hiccup when being 90% done with the sides.
I followed the instructions word by word. One side went perfectly, the other one not.
Screwed in just below the surface, put the plate on, move it up and down, screw them in a bit more, continue to move the plate up and down, continue to screw them a bit in more starting from the middle. Then snuggled them so they bottom out, undid them a quarter turn, moved the plate up and down again and made them snug one final time. And one side went perfectly. The other one is annoying me quite a lot and I’m pretty sure I did my best to screw then in as straight as possible so no screw head could be off center too much.
I have no idea what’s causing it or if it’s even an issue, how smooth should these bearings slide up and down?
I made a video but I see I can’t upload it here, I don’t know if a picture would be of any use
I tried screwing them in a criss cross pattern, then I tried one rail at a time, then I tried unscrewing them and putting them back on again but no variation seems to change the outcome.
I had a similar experience. There is some play in the screws on the plates. I loosened them and moved it up and down several times letting it adjust itself. Then I carefully tightened them back up. The bearings should slide up and down without any binding or jerking.
Aha I see, the bolts on the plate itself, I’ve fiddled with them now for a bit, but I still can’t seem to get it right like the other side. It slides with more friction, it doesn’t bind up and stop now, however I feel resistance…
EDIT: The resistance can almost be explained as gritty, but the bearings and rails are clean. I’m guessing the metal balls in the bearing give off that sensation as it’s pushing through friction.
I had an issue recently with mine where the rails were jerky while lowering the Z axis. I removed the carriages and cleaned them with alcohol and lubed them with WD-40 dry lube. Now they glide perfectly. If yours are doing that even without the plate, they are dirty and need lubed.
I have no idea if this is a good practice or outright dumb, but here’s what I did for installing, aligning, and tightening those screws:
I started all the screws and seated them just until they seated (no torque). Then I backed them off 1/8 of a turn so they were all loose. I moved the plate back and forth couple of times to be sure there wasn’t any binding.
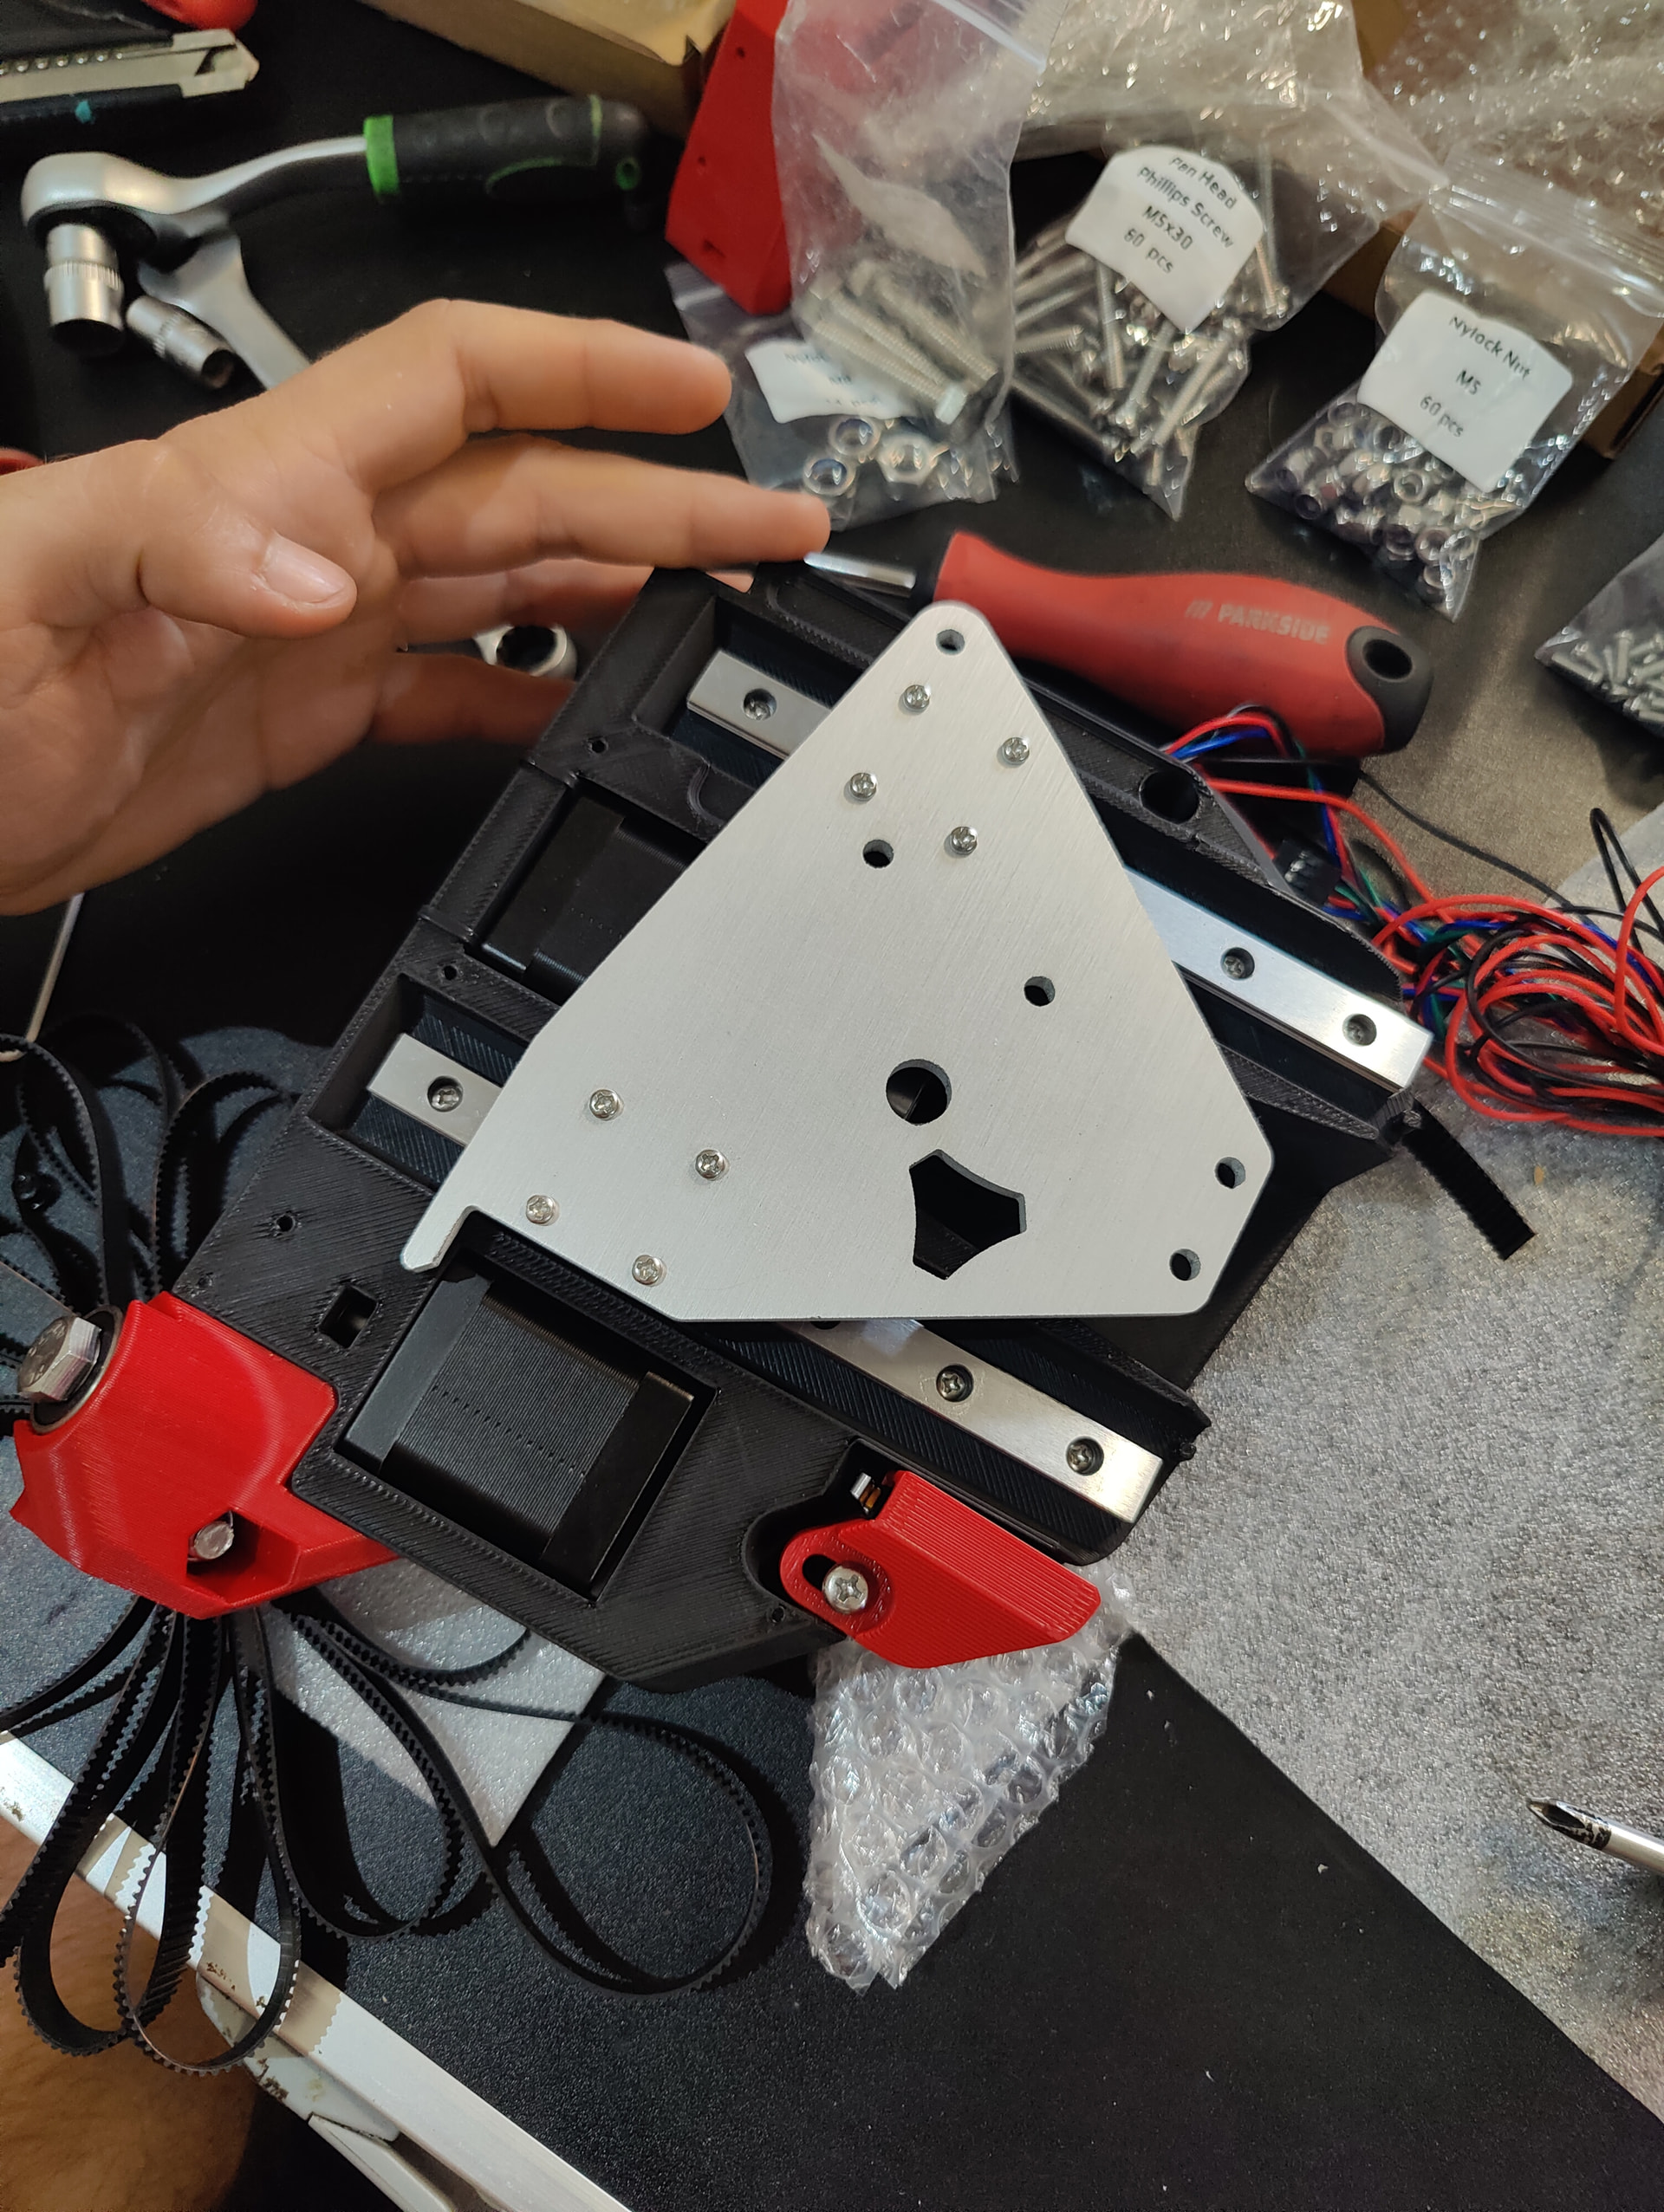
Using your picture as a reference, I moved the XZ plate all the way to the left, and then tightened the upper left screw in the upper truck.
I then moved the XZ plate all the way to the right, and tightened the lower right screw in the lower truck.
I then repeated that process walking around the trucks. E.g. move the XZ plate all the way to the left, adjust the Top right screw on the top truck.
Then go all the way to the right with the XZ plate and tighten the lower left screw on the lower truck.
You keep walking it back and forth, slowly aligning and tightening as far opposite as you can, to slowly co-align everything.
For one of my builds, I had to then as a final step repeat the process using just the lower truck screws (e.g. leave the upper truck screws alone, loosen the lower truck screws, and then tighten them one at a time while moving between opposite range of motion)
Welp, I’ve been at it for hours now. I’m borderline loosing my mind. Doing the same thing over and over and expecting a different outcome. I’ve no idea what to do anymore, at this point I’m just leaving it as it is and hoping the cnc doesn’t care. I loosened everything, including the plate, it moves freely up and down, however the rails move side to side of course because they are correcting themselves. I start slowly screwing things down and it just gets so tight and moves when I apply pressure only, while the other one, by just slightly tilting it from horizontal position it slides left and right on it’s own weight.
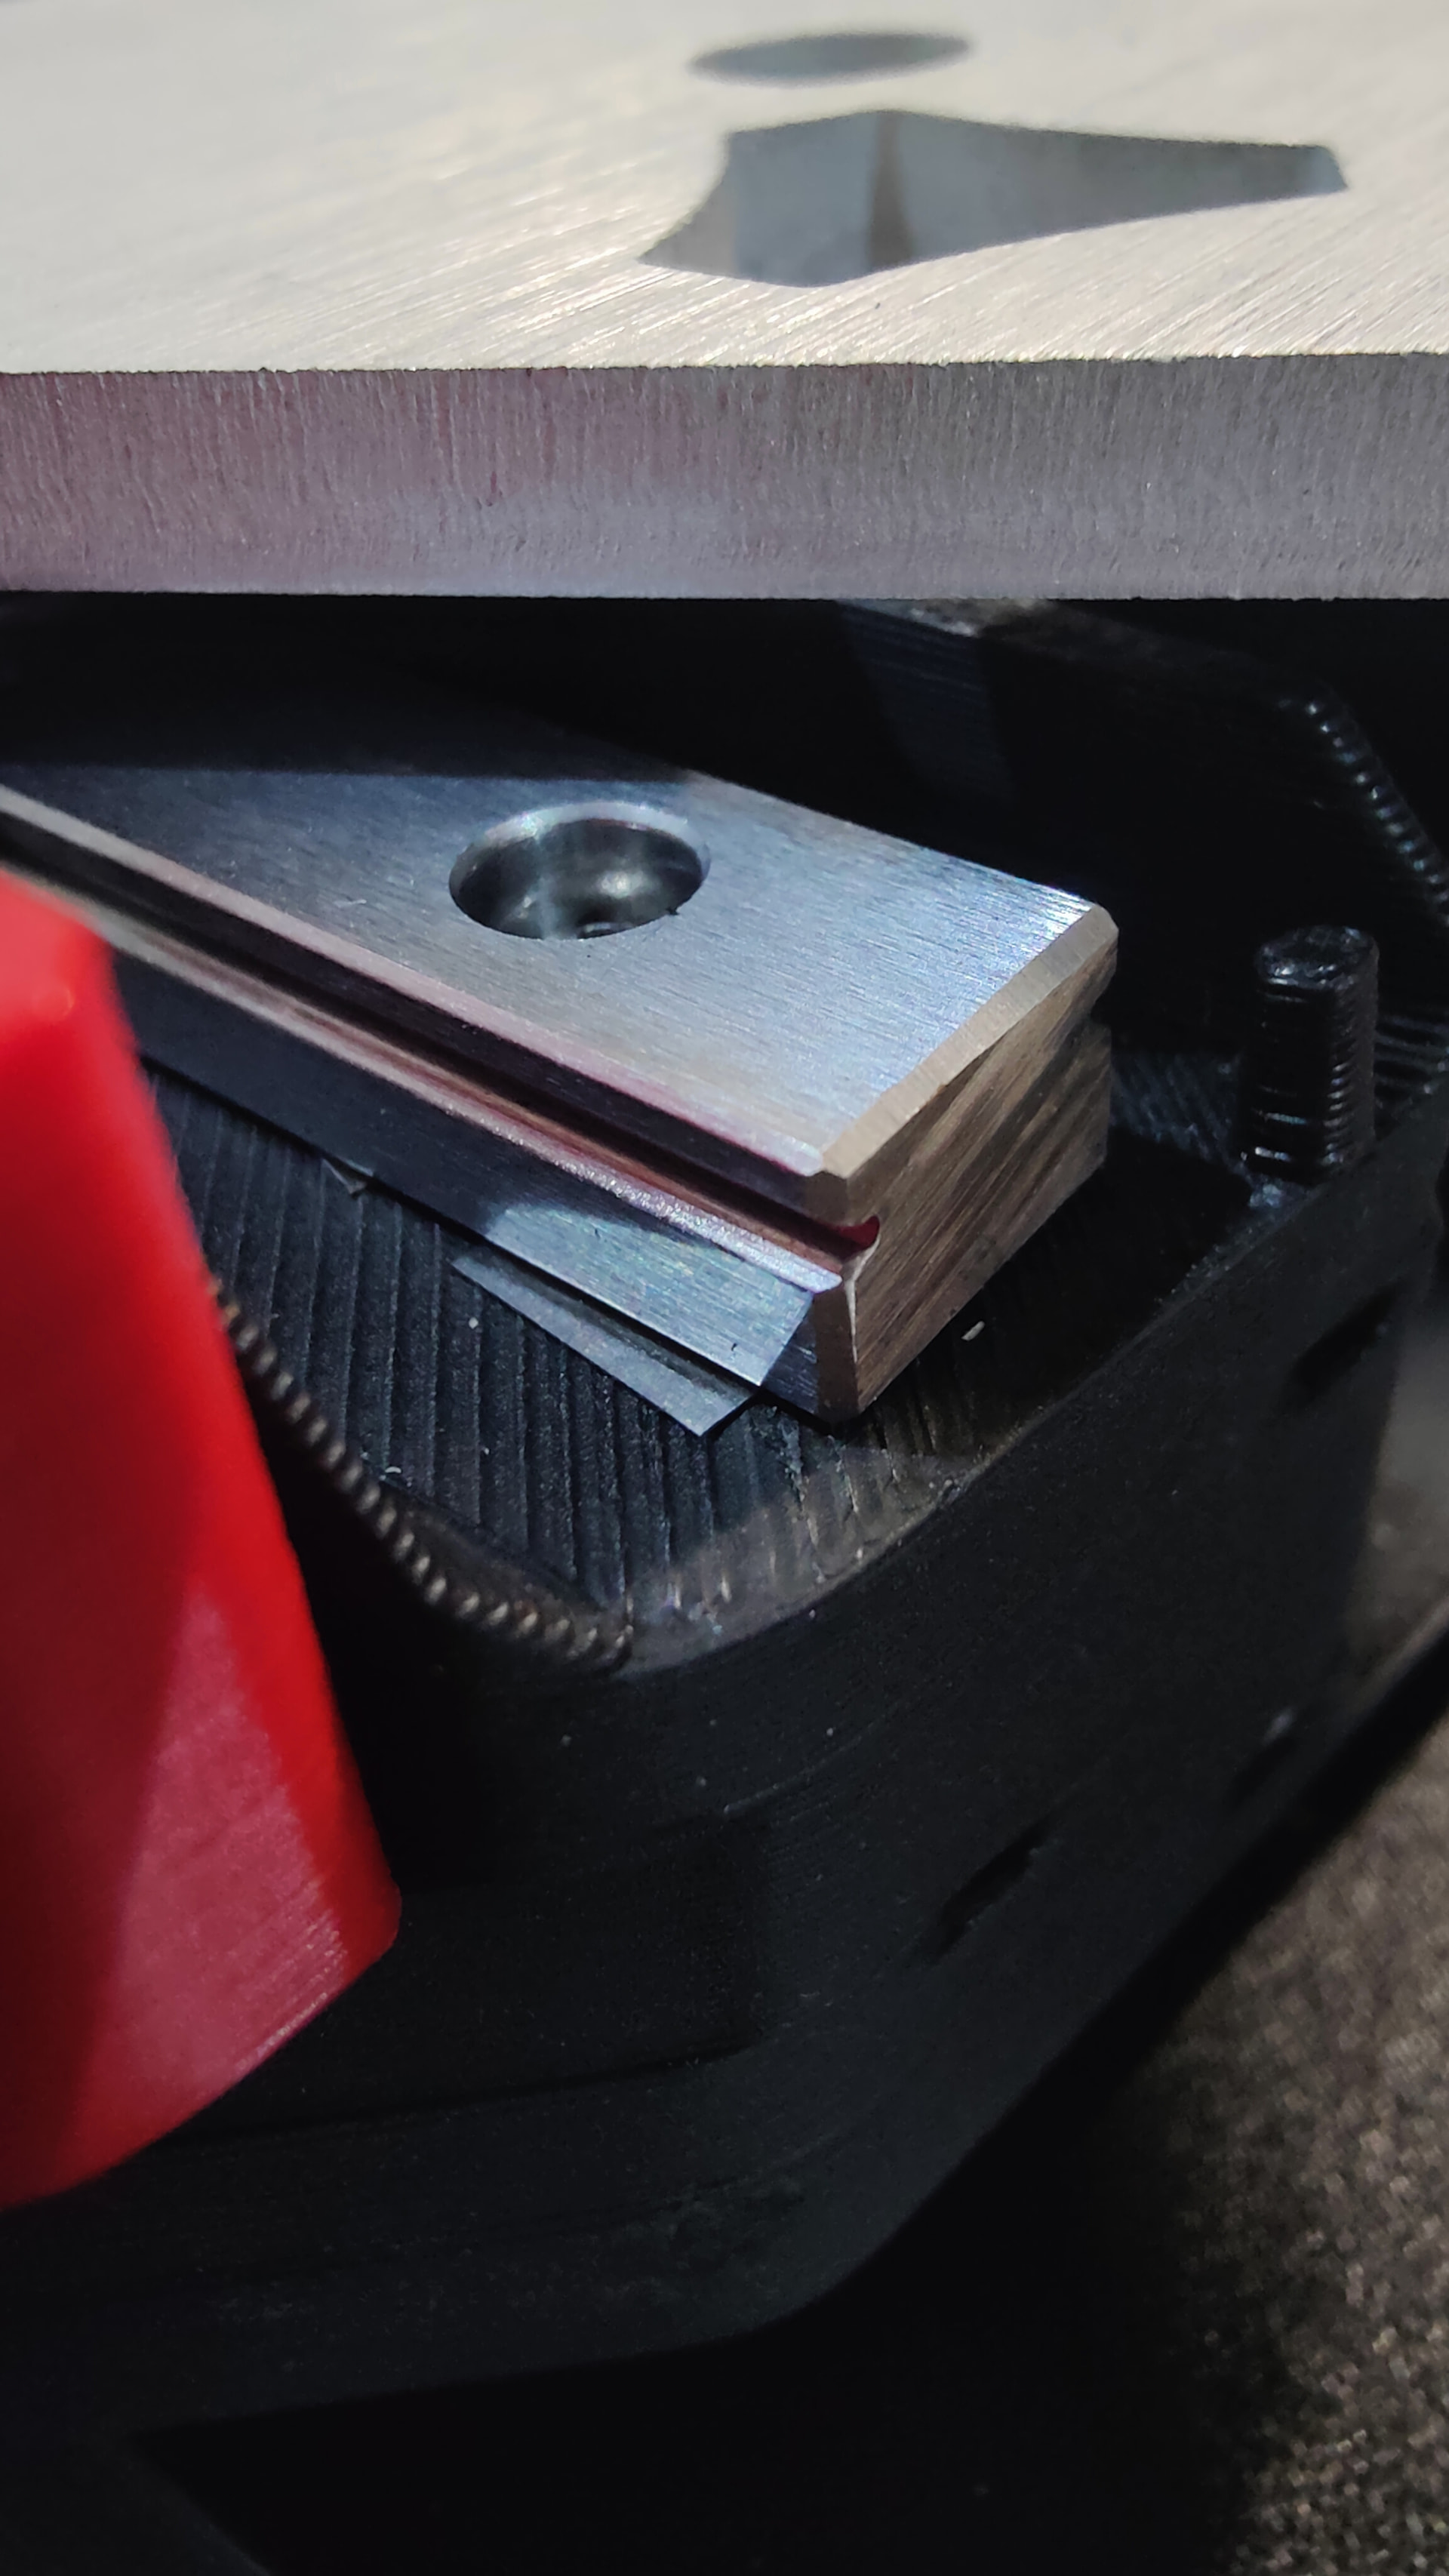
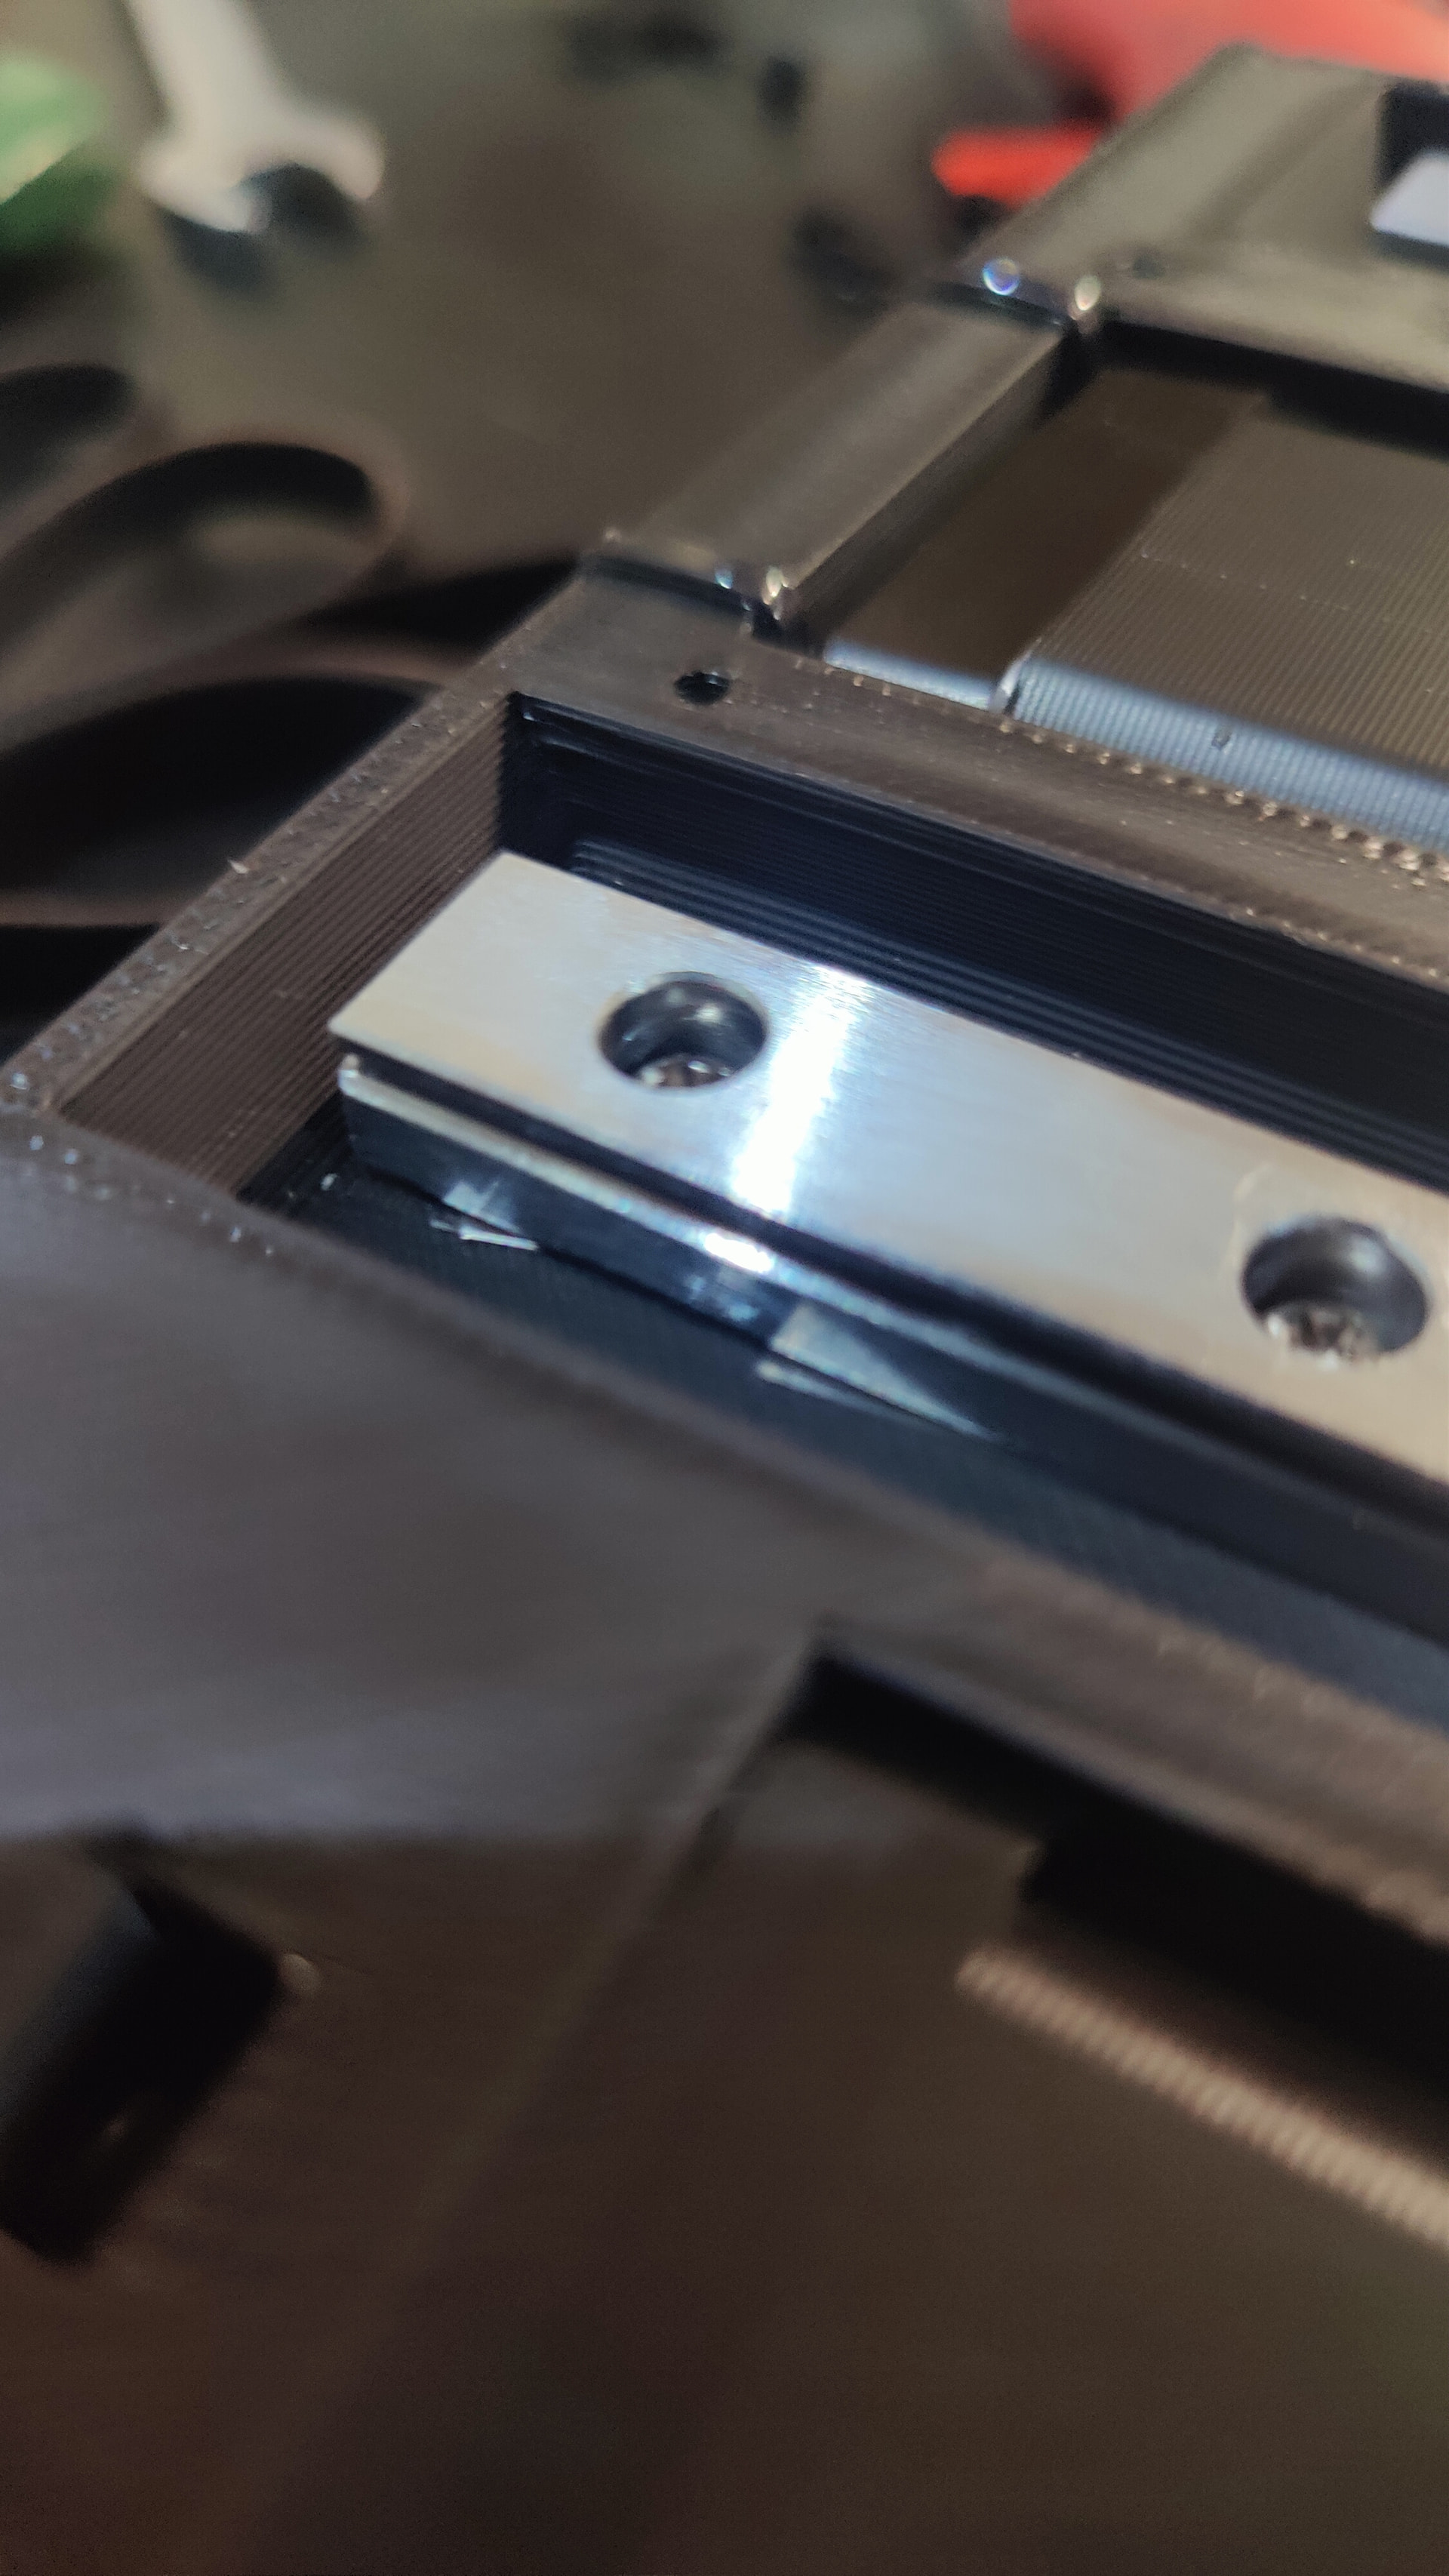
After some more diddling. It’s not about them rails being parallel. The issue comes as soon as I try to tighten one bolt on the rail (snug up so it touches the bottom, so the rail doesn’t move) it seems the rail sinks too low and starts pulling DOWN, not side to side. Even without bolting anything to the rail, all the bolts out, only bolted the plate to the bearing, the rail does not move side to side at all. It stays perfectly parallel.
You may need to take one step back. Are the MGN rails properly secured into the plastic YZ plates? If those can walk around, you’ll never get it happy.
Yes, here lies the issue, once I secure them fully down, they start pulling down and creating tons of resistance. I tried as explained in the guide over 10 times. I tried even different methods, some questionable, but my right forearm and shoulder are about to give out from so many attempts and making it work. I’m not even talking about tight tight, I so quarter turn until the rail stops sliding around, and once it does it’s already too tight down and pulling. Everything is parallel.
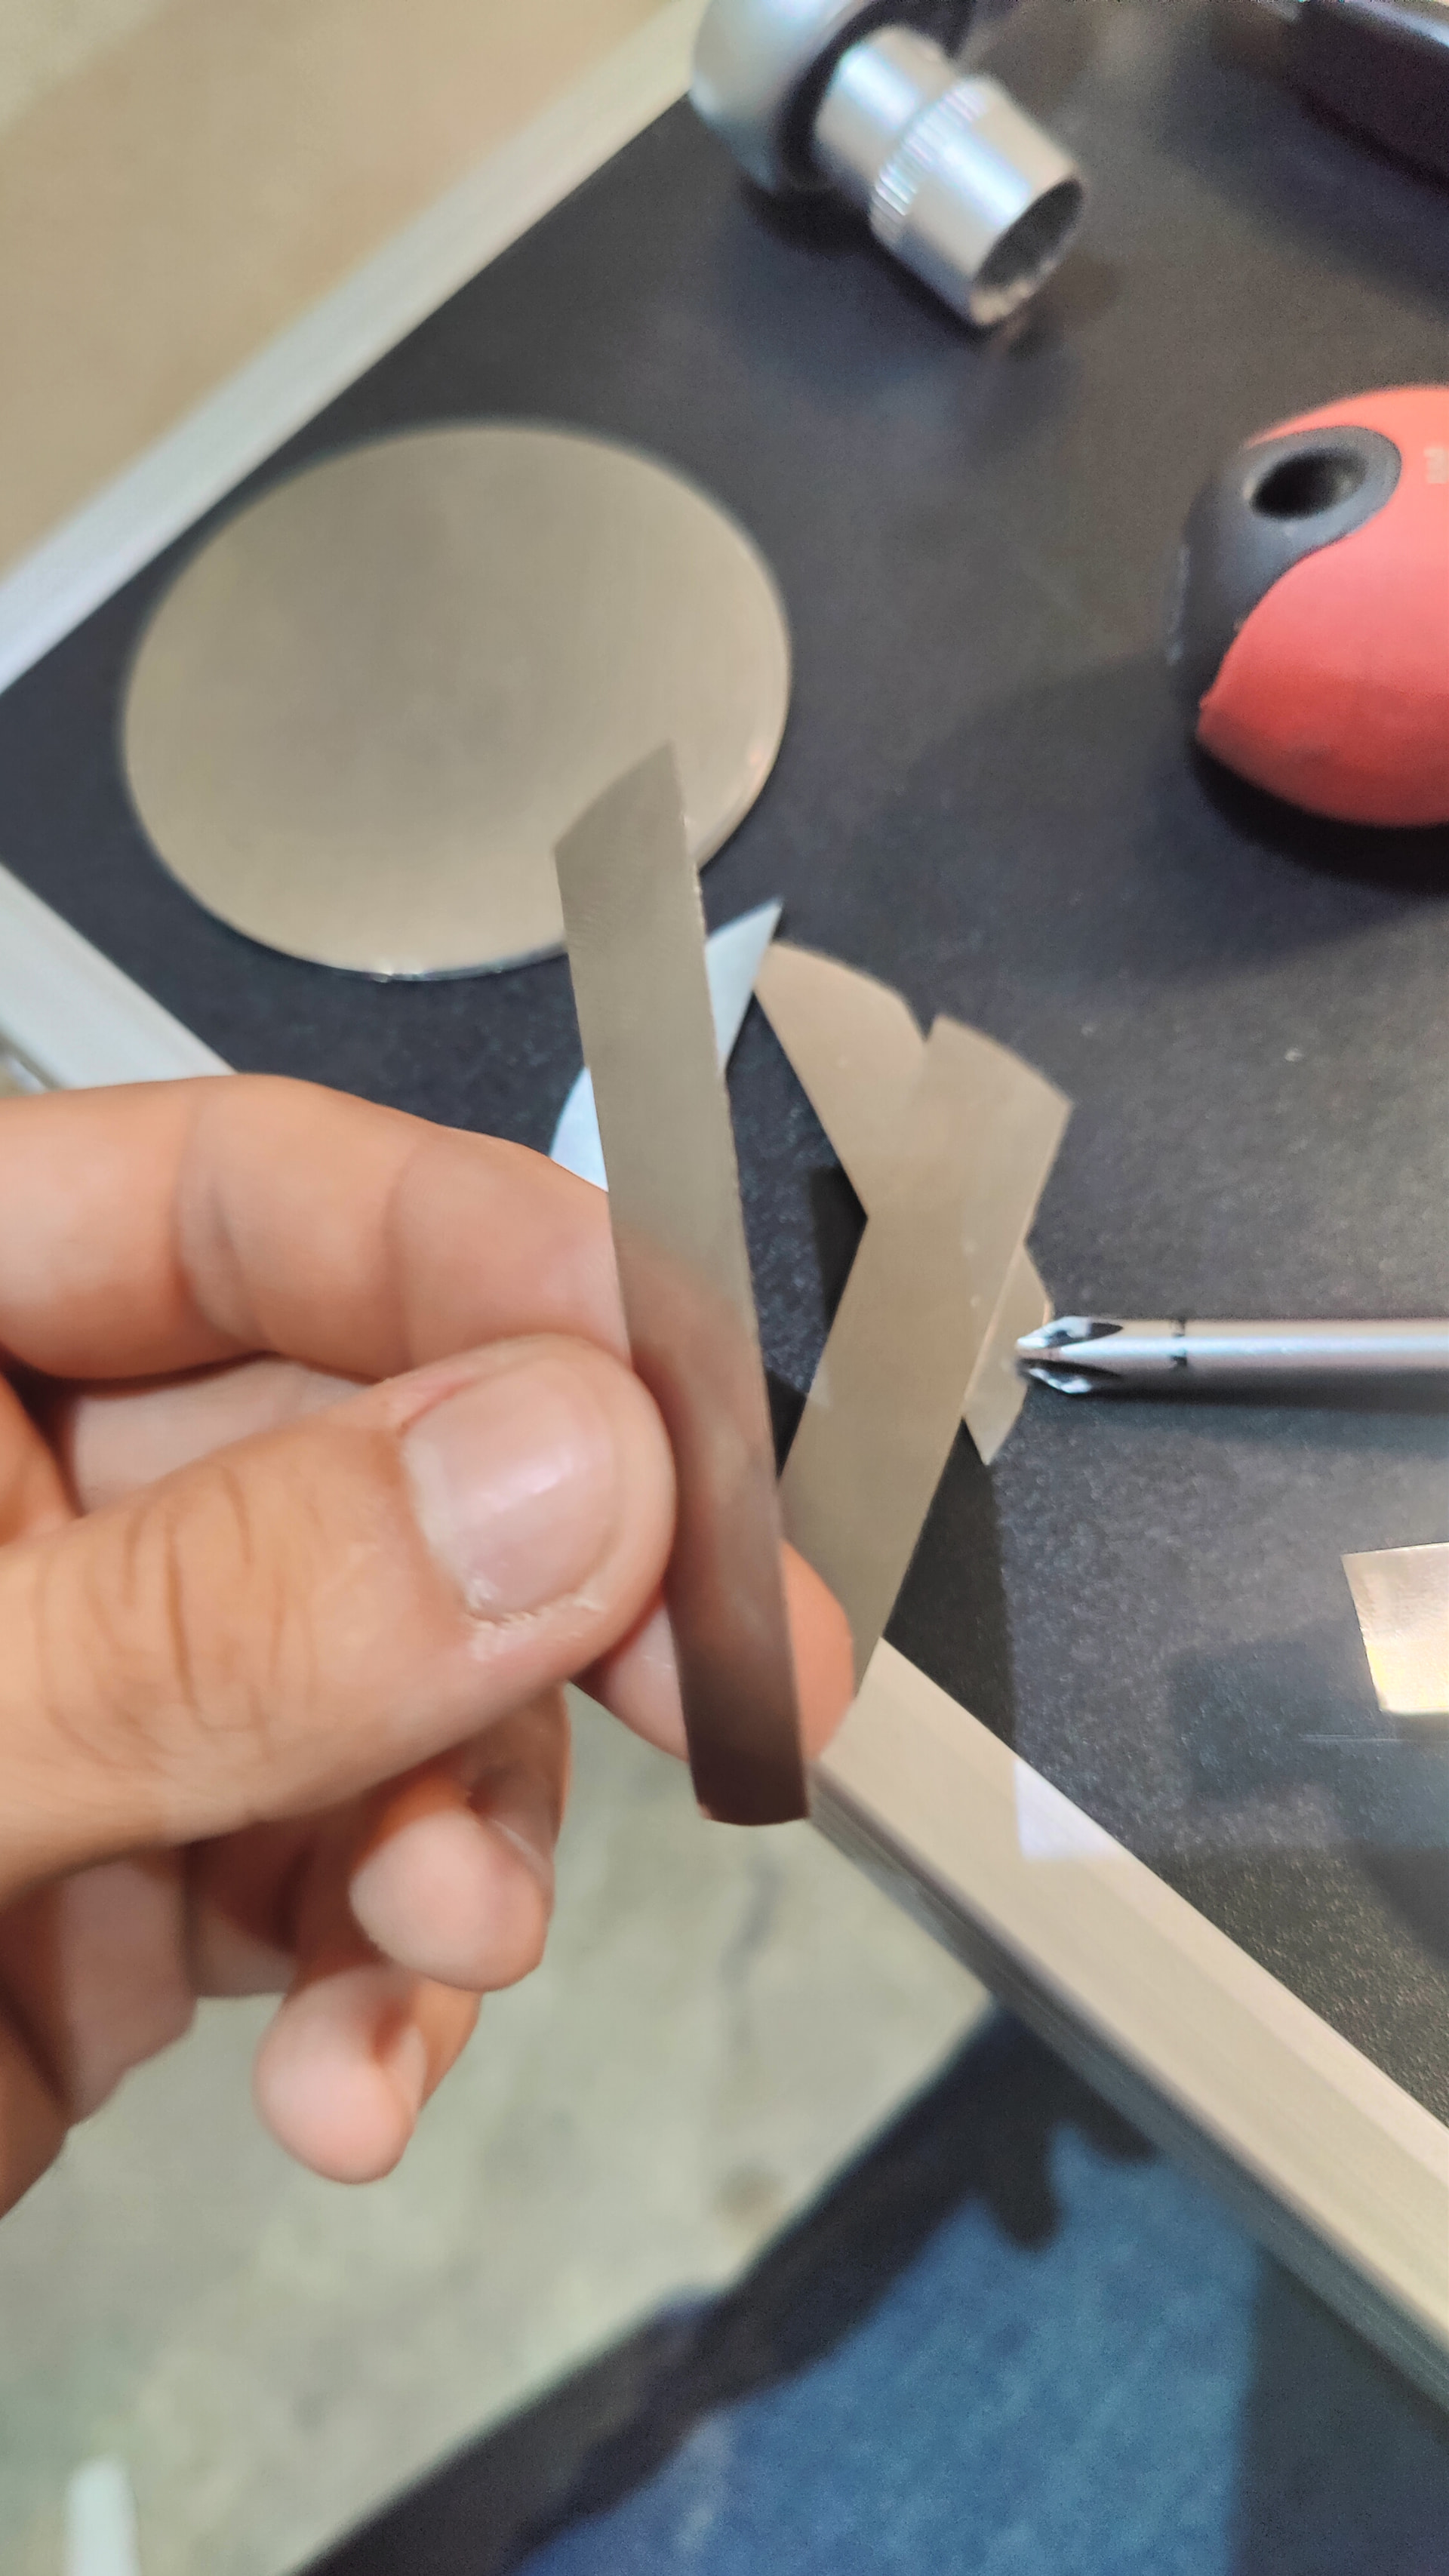
I will try buying shims, or something very thin as a spacing gasket underneath the rail. Needs around 0,3/4mm after measuring how lower one rail sits. Will let you know how it goes.
The 3D printed parts can only warp when over 65°C, otherwise it won’t happen. You can hold the printed plate with the back (with the logo) to a window or mirror, it should be flush. I am checking them before sending.
Got back home from work, after a 48 hour shift at the ball crushing factory. So I got myself some 0.152…mm shims and cut small squares.
I’ve only put one layer under the rail and it already slides almost as good as the other rail.
I will now turn a quarter back off each bolt and check one by one which one let’s the carriage slide better and shim under it another layer.
I’ve no idea if the peace warped, if the linear rail is defective or I unno anymore, what’s important is that this seems to be the solution. Shims. Maybe the aluminum piece is warped? Honestly I don’t won’t to disassemble it and check as it’s finally moving smoothly
I stripped one rail bolt as I undid them more than 50 times each, but hey, at least it glides like an oiled up stripper now.
LAST EDIT: I’ve shimmed once the whole rail and twice both ends. Now it runs as smooth as if I haven’t tightened a single bolt. Checked, I did tighten them so it’s good, this was the solution for me.
I haven’t searched for replacements. I wrote above that I got shims and played around with them and shimming in a couple if spots fixed it. Just did my first jog test runs with the machine few hours ago

 Sorry about that, I hope you can resolve it.