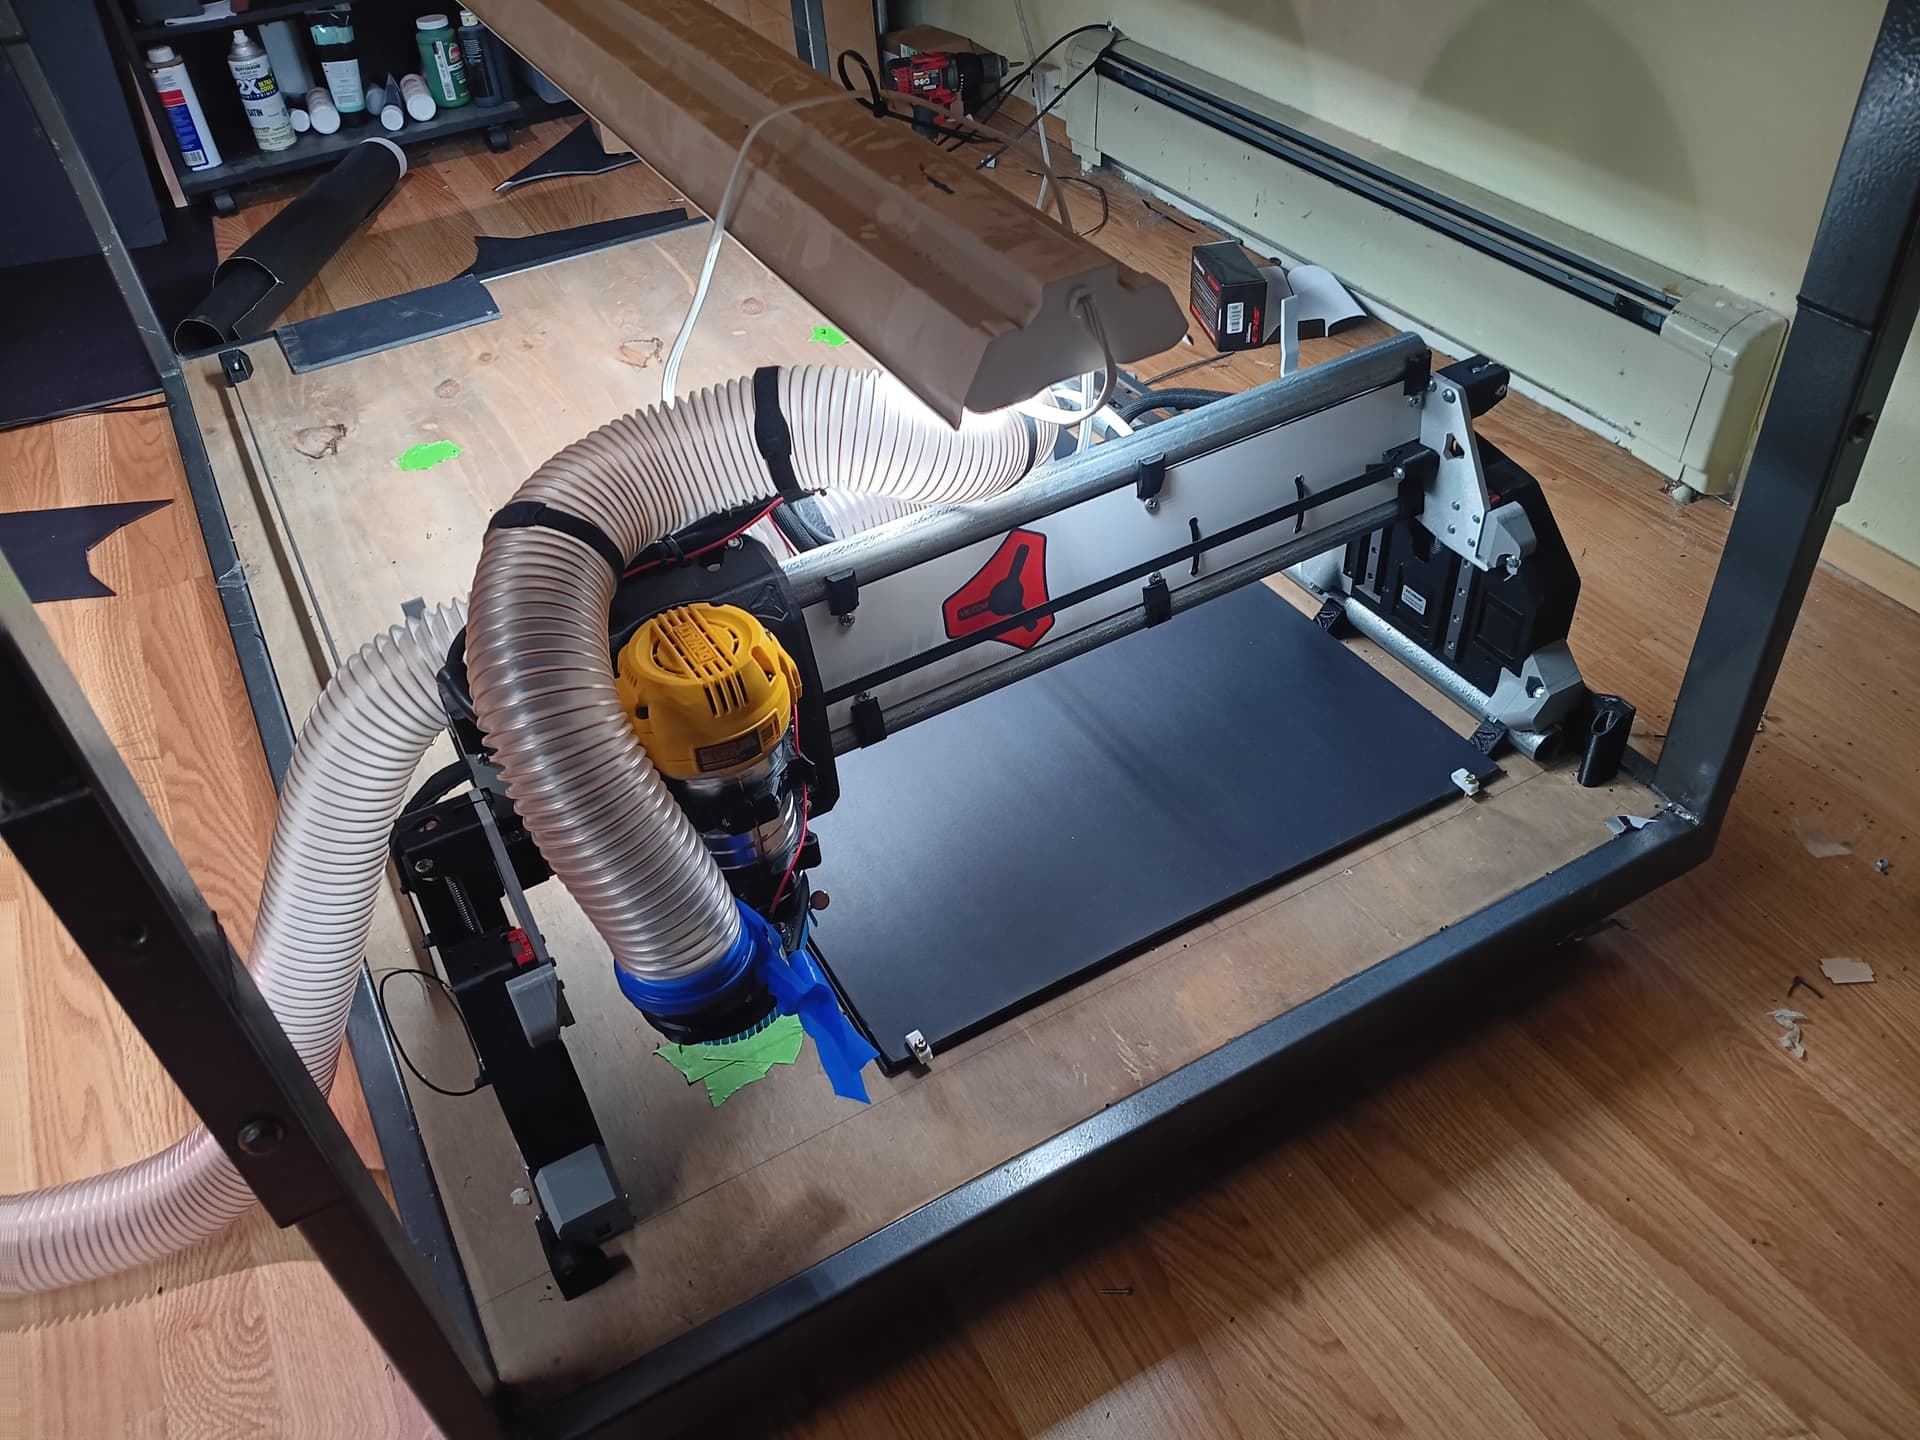
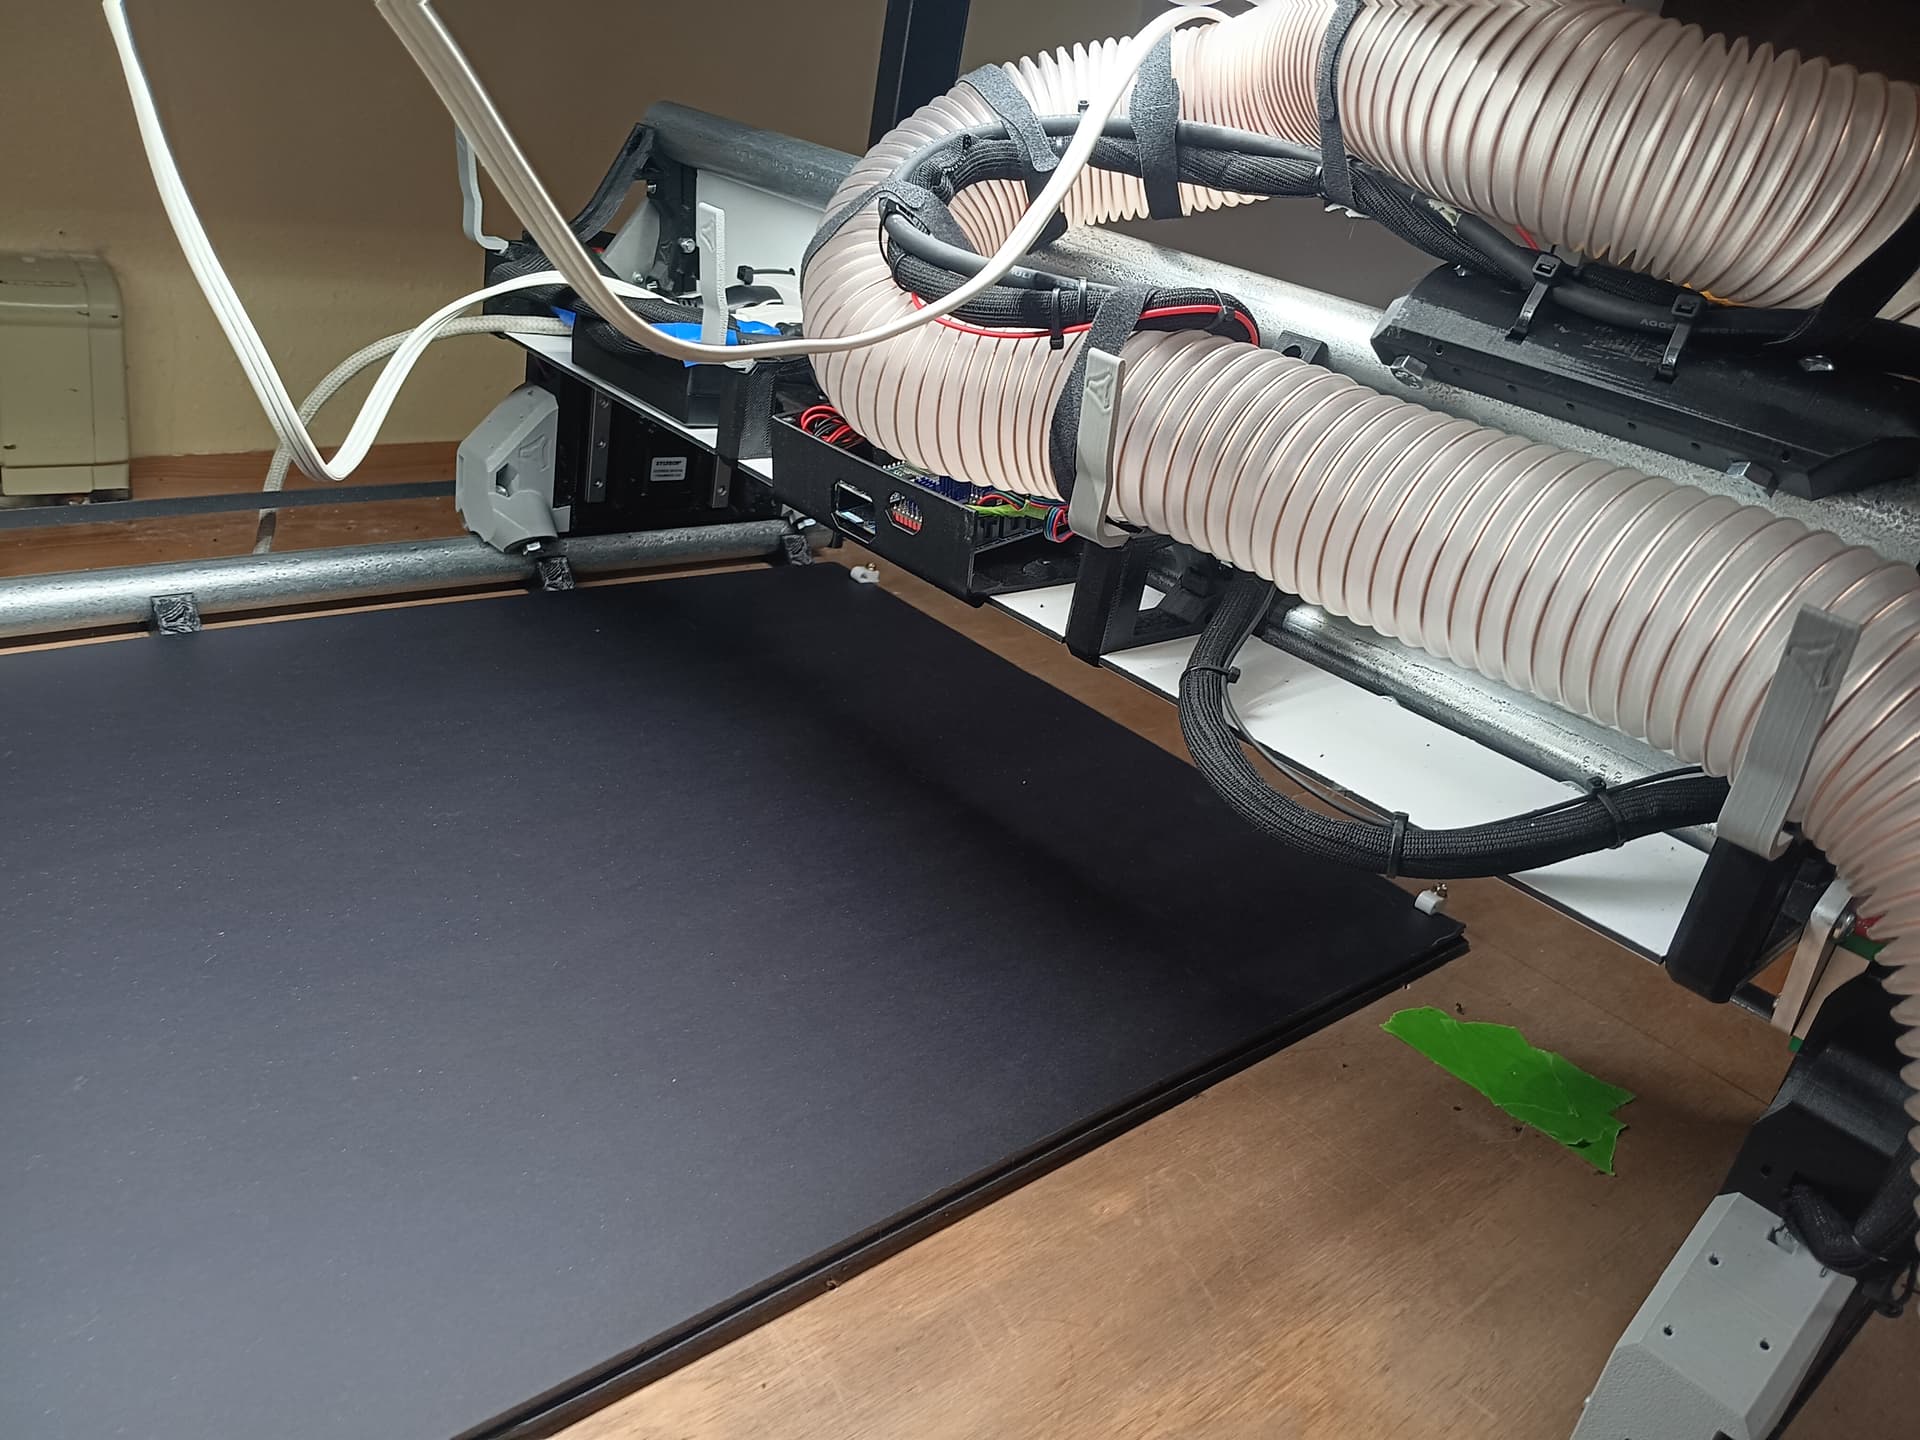
hey everyone, so i snapped a few pictures of my build and thought id give a rundown of what ive got, and ask for some help.
my machine has a workabble area of 500mm x 900mm. everything is finally back to square after installing permanent struts. now that im ready to start cutting out my own designs i am having a really hard time understanding the relationship between autodesk, repeteir host, estl cam, and fluidnc.
ive been messing around and i think i have a file ready to go sort of but when i put it into repetier host i cant see anything. i mostly just want to use repetier host because i want to position the cutting area closer to my y-rail for support. i can generate g code files on autodesk but i dont know if i can just plop those into fluidnc and start cutting. i know this is sort of a simple process but for some reason it just wont click and i could use some help understanding.
also on a more hardware related topic my machine makes a fair amount of noise when traversing. is that fairly normal. i can post a video in a bit if you guys are interested enough to see.
This page from the docs covers it well but here’s a quick explanation:
Autodesk (I’m assuming you are referring to Fusion) is CAD software for designing models. CAM software is what is used to convert the CAD model (typically exported as a DXF file) into gcode. Fusion can do CAM as well, but around here Estlcam is very common and simpler than Fusion. Repetier Host is a GCode sender to literally send that gcode to the controller. FluidNC is the firmware that runs on the controller (assuming you have a Jackpot) that takes that gcode and turns that into motion along with other functions.
I would skip repetier host. It’s unnecessary. That’s not to say you can’t use it but you don’t need it to position the cutting area.
Your workflow is going to look something like this:
Design the part in Fusion or other CAD software.
Either generate gcode with the CAM function in Fusion, or export to DXF from Fusion and use that to generate gcode using Estlcam.
Connect to the FluidNC WebUI and upload the gcode to the SD card.
Use the WebUI to jog to the starting position you want.
Run the gcode file from the WebUI.
Note that there are different flavors of gcode. FluidNC is GRBL based. This means that there are certain commands that need to be configured in CAM software. With Fusion, I believe you also need to setup a post processor.
You should also review the Milling Basics page.
It does make some noise. I’d need to see (hear?) a video to know if it’s normal.
thank you, i know that all seems really obvious but to someone with absolutely no experience it wasn’t ill see if i can get a cut going tonight and drop a video so you can see what kind of noise im talking about.
No problem. We’ve all been there and that was only a little over a year ago for me. There’s a bit of a learning curve but there’s a good community here to help you when needed. It’s a fun journey.
@jeyeager gave you good info. The only thing I’d add is that once you jog to the starting position you want, you have to “zero” your X and Y axes at that location, and you’d need to get the tip of the cutting blade (the bit) “zeroed” at the top of the material. The latter can be done either manually or by a probe with a probe script.
Think of your cuttable area as a sheet of paper, and your gcode file as a drawing, and the drawing can be smaller than the whole sheet, and can be moved around to anywhere it can fit. The material needs to be larger than your gcode “drawing” (and typically needs to be smaller than your cuttable area, but there are ways to “tile” a job onto large material).
There are some control interfaces for FluidNC, that allow you to move (jog) to where you want, and zero at that location. The normal way for a Jackpot control board, is by using a wifi enabled device, either a laptop, phone, or tablet, and using its browser to connect to a web-page-based user interface called the WebUI, which is “served” from the Jackpot to the browser, and enables you to control the machine (move it around), and allows you to upload / download files, and those files can be cut-job files (G-Code) or macros (also G-Code) or configuration file called config.yaml. The macros and config.yaml get stored on the flash memory of the Jackpot, while the cut job files get stored on an SD card installed in the Jackpot.