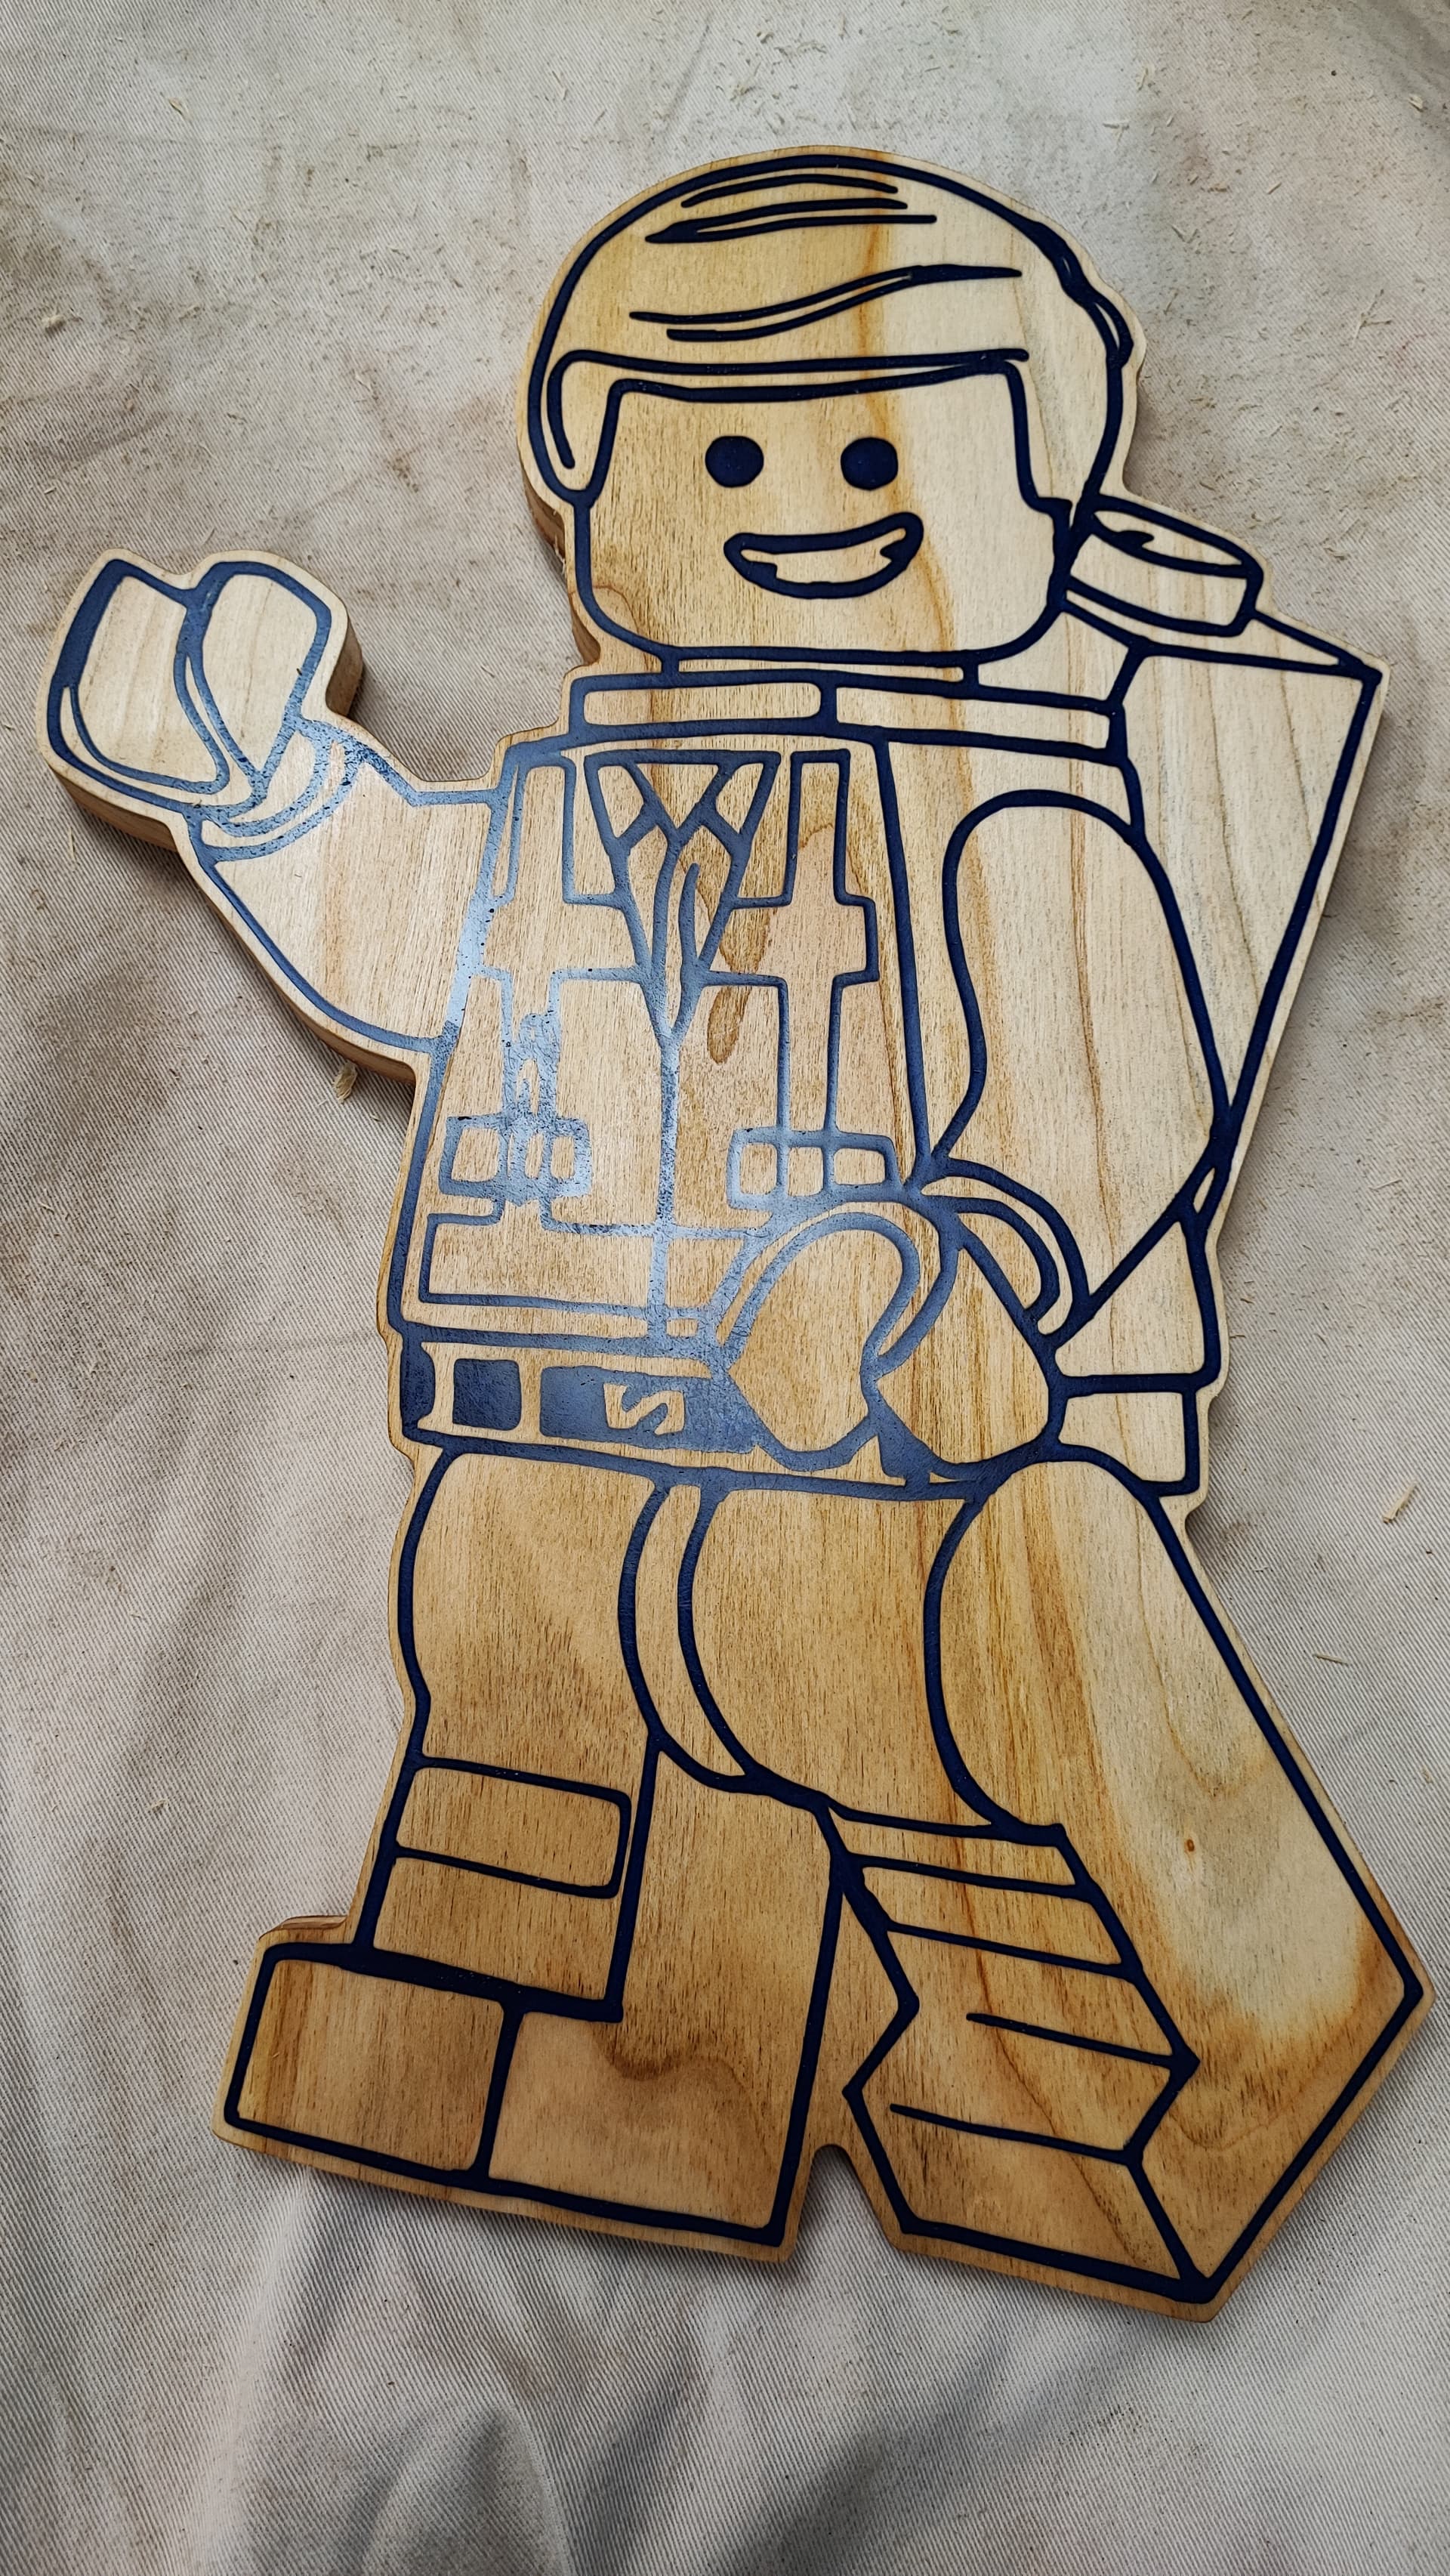
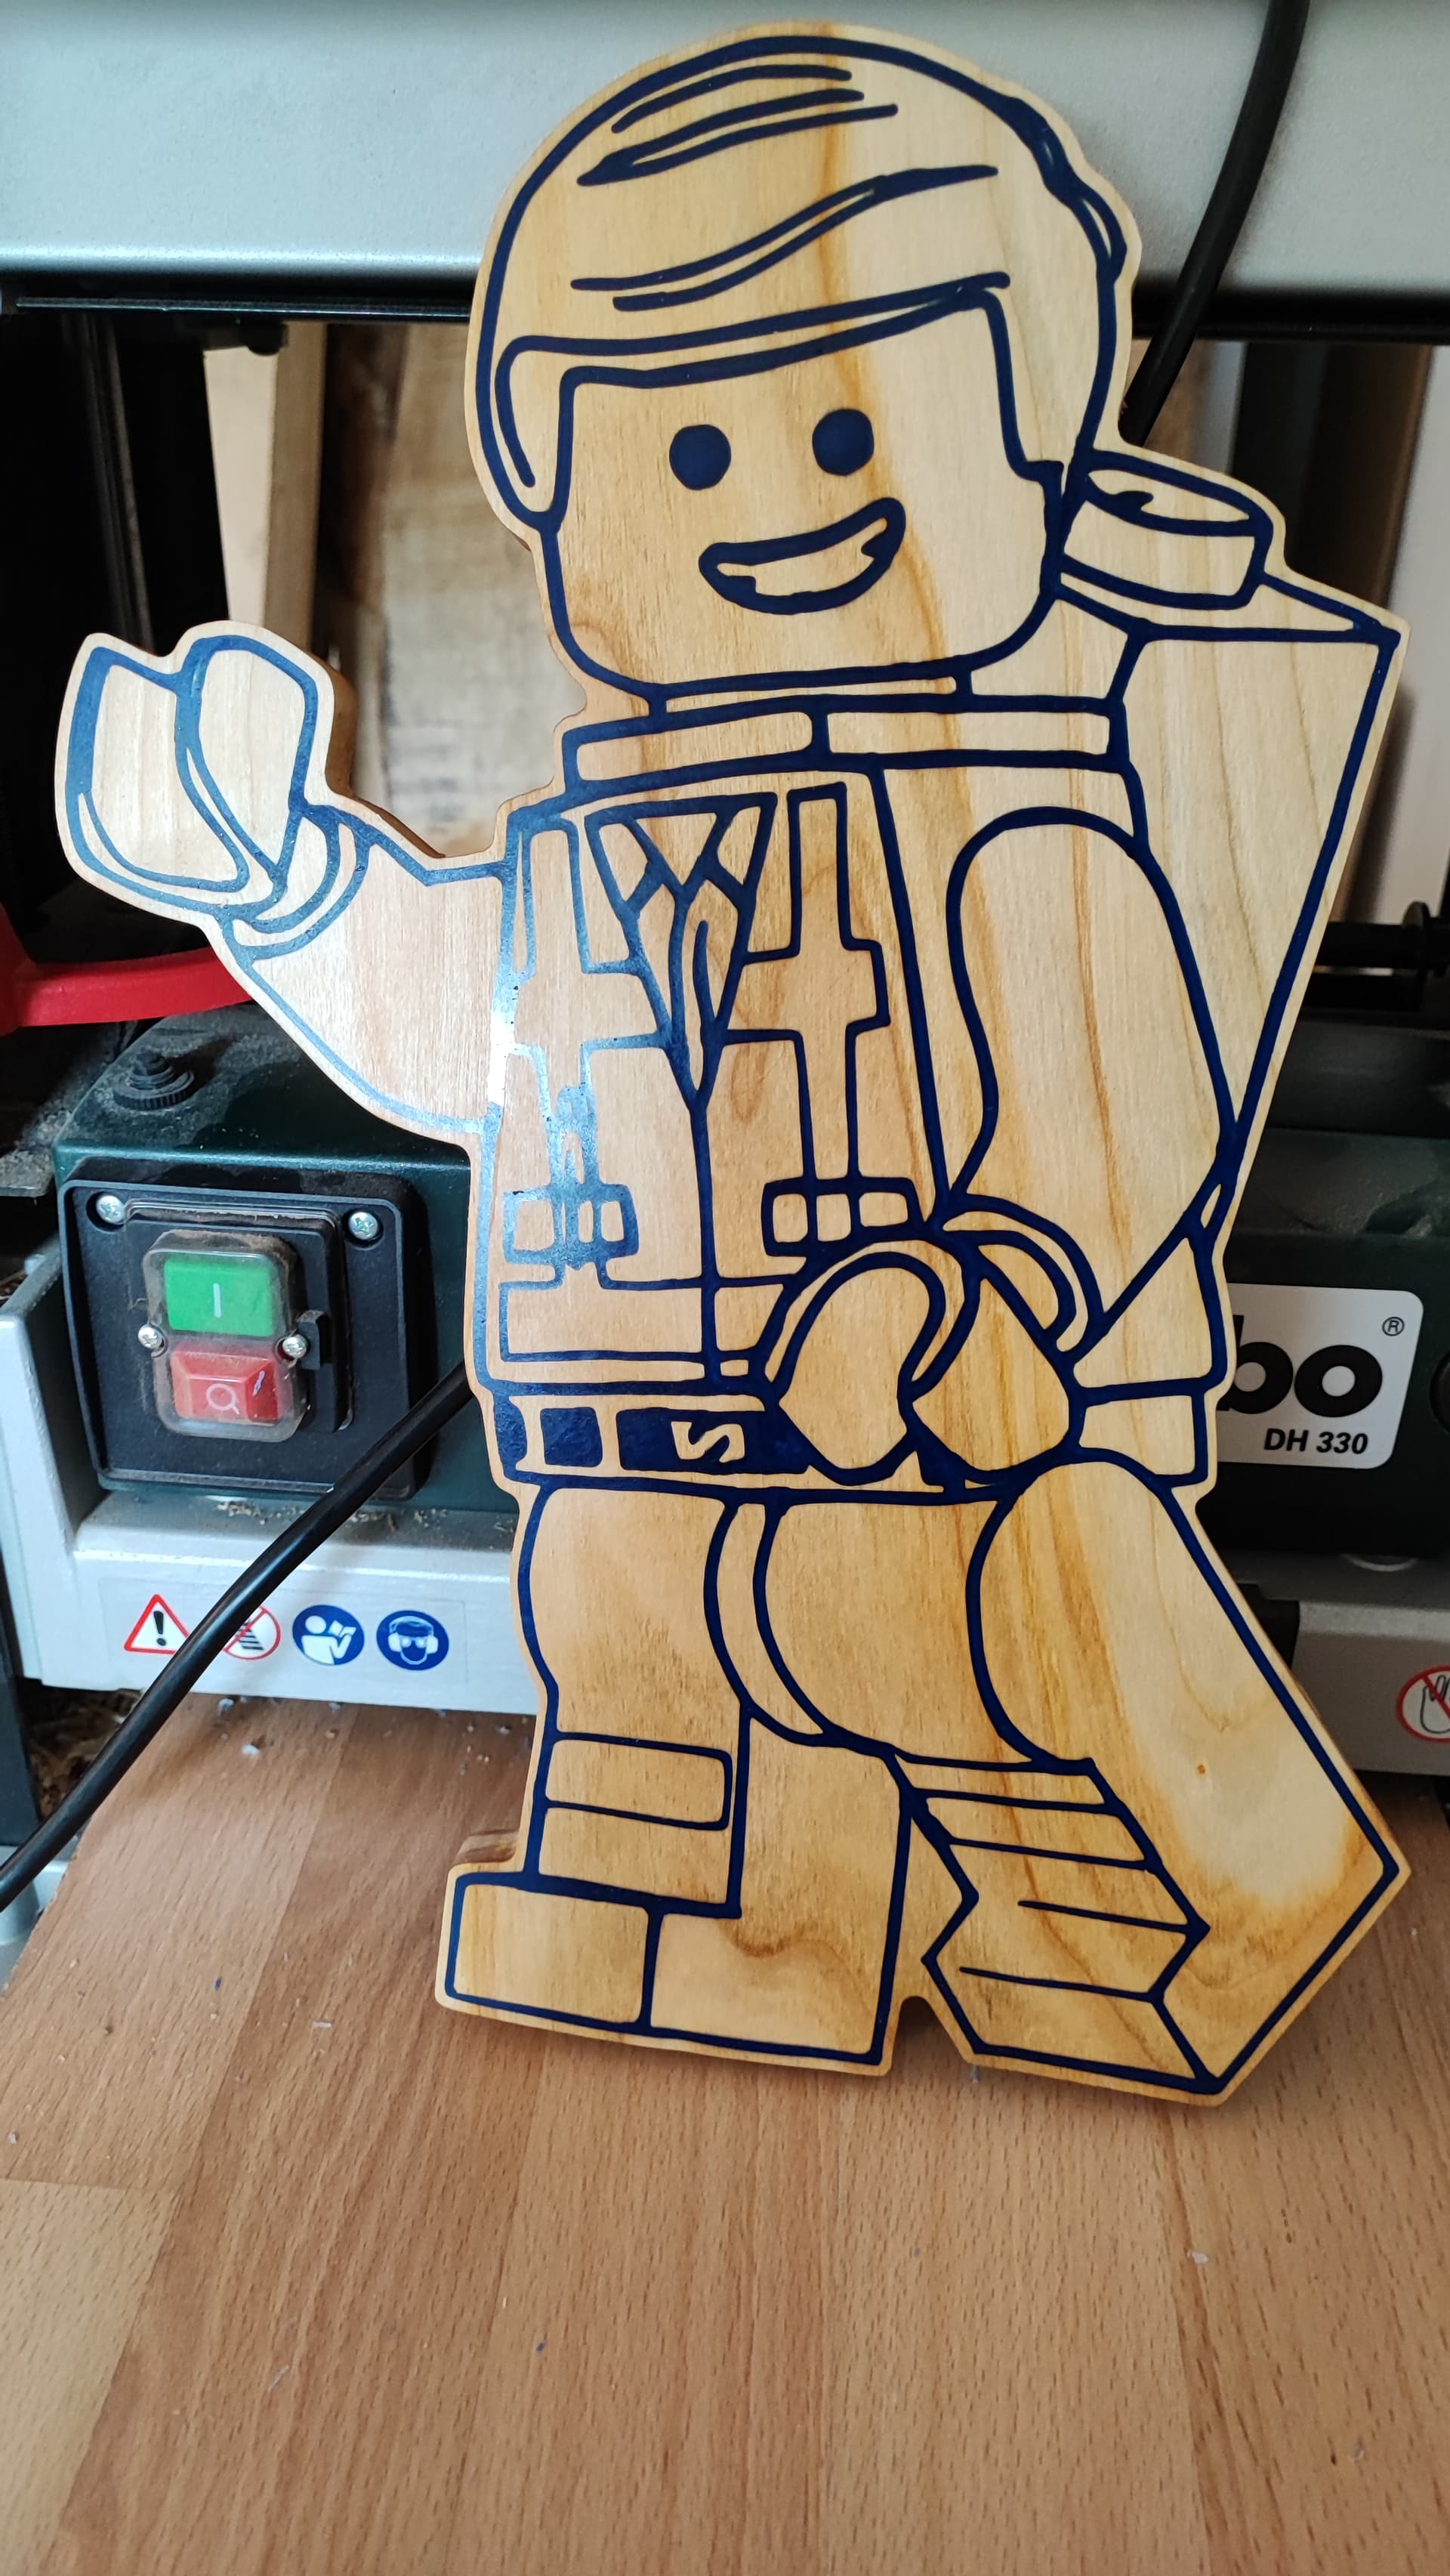
A colleague of mine pitched me the idea to cut out a Lego Guy for her nephew that she then wanted to draw on with her plotter and fit LEDs behind it as an indirect lamp.
I said: no. Not going to happen. I am going to engrave it, fill it with epoxy and oil and wax it. We are not going to plot on my nice cherry wood!
So that’s what I did. She now only has to add the indirect lights.
Question for you. After you engraved and filled with epoxy did you put it back on the CNC to surface it back flat?
I ask because I have done just a few epoxy items and that seems to be the only way I have found to do it. I do my engraving about 4mm deep then pour epoxy making sure to slightly overfill, then once hard I surface back flat. I have tried sanding it and I just dont have that level of patients lol. That epoxy gets HARD lol.
I started the engraving at -1mm (as to have 1mm to plane away) and ran in through the planer after it had cured. I’ve got the same problem you have: Sanding takes ages.
Somewhere on here someone mentioned the smart idea of taking a spare router or the router out of the CNC, tape 2 blocks of 1 in ish thick blocks to the baseplate, and set the router depth just shy of the depth of the blocks. You’re basically surfacing the material but only the sections you need and by hand so you can go way faster. I’ve tried it a few times and it’s really convenient if you have a second router
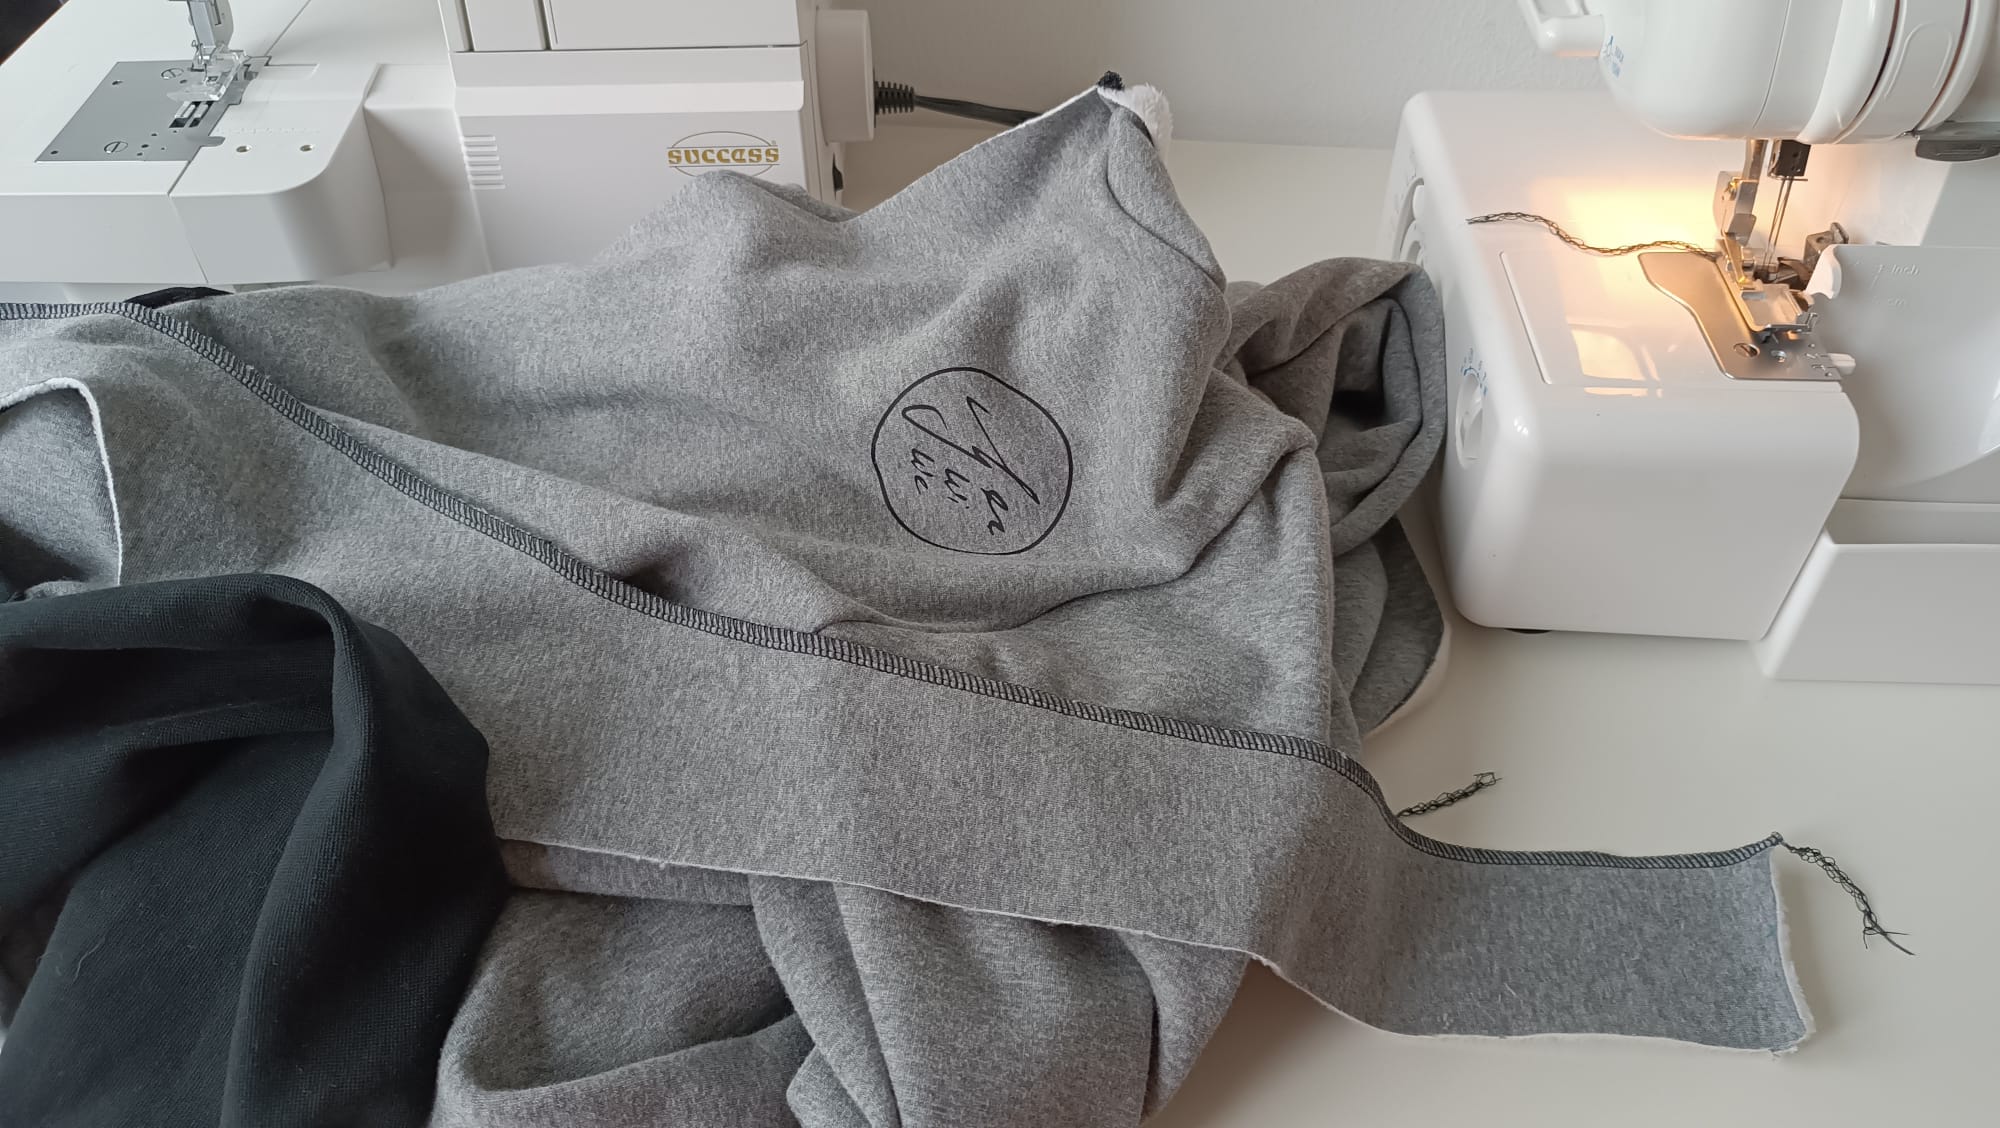
The colleague I made it for was so happy she not only gave me a little bit of money but sewed me a jacket with my workshop’s logo! This is so awesome!!