Hello,
Lowrider2 has been doing hard work and it is a great machine, i looked in the forums for advice on laser builds for lowrider 2 and found some great stuff, concerning my build, lowrider is controlled by a minirambo and table is 2500mm x 1420mm.
What i fear about laser mounting on the machine is all about the wires… all lasers either on alliexpress on amazon have really short length wires, so question is … if the wires coming with the laser are too short, what kind of wire should i buy to make it longer?
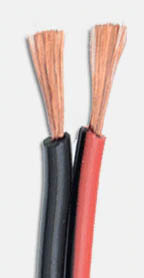
Note that the signal line only draws a tiny fraction of the current of the laser unit, so that wire could be smaller. Usually for connecting things I try to use multi-conductor, color coded wire to keep things neat and simple. If you are going to use a higher power laser with a longer run, a cheaper and tougher solution might be to buy a MAINS 3-conductor power cord and clip off the ends.
There’s no way a 2.5W diode needs a power cord though. It is about the same order of magnitude as the steppers, so I would guess about 24ga would be fine for up to 20’. It will work fine at 10V.
The more powerful laser modules (advertised as 5.5 watts of optical output) indicate they pull 2 - 2.75A. Given the size of his table, he could have up to 15’ of wire between the 12V power supply and the laser module. The loss with 24ga wire with this setup is near 18%. I try to keep my DC wire runs under 5% loss since I don’t know how lower voltage will impact my electronics. That would be 18ga in this scenario.
Of course he may be using a much lower power laser module, and/or mount the power supply to reduce the wire run. Or perhaps there is no impact to laser output when using 10V vs 11.5V and I’m just too cautious.
The term ‘ga’ stands for ‘gauge’ and is sometimes called ‘AWG’ which stands for American Wire Gage. Most any wire you buy will use one of these three terms. Note that the larger the number for gauge, the smaller the wire. So a 24 gauge wire is significantly smaller than 18 gauge wire. Wire gauge is defined by the number of operations that historically were used to produce the wire. The smaller the wire, the more operations that were needed to produce it.
Stranded wire just means that inside the insulation there are many strands that make up the wire. If a wire is put in place and not moved, then it is often solid core wire like the wiring in your home or the wiring between the door bell button and the bell, or the wires between your thermostat and your furnace. Any time the wire has the potential to move, stranded wire is a better choice. It can be fatigued much more before it begins to break, so in a CNC machine where the wires are moving, stranded is called for. Fortunately a overwhelming majority of hookup wire sold is stranded. Example: .
As for gauge/AWG/ga, the laser you indicated has a low current draw…only 0.3 A, So 24 gauge will work just fine even if you need 5 meters of wire. Even 26 or 28 gauge will work fine given this low current.
The laser you indicate appears to use a JST connector, but there is a difference between the various pictures. Some pictures have 4-pin JST connectors, and some pictures have 6-pin JST connectors, so I’m not sure which is used on this module. On the other end of you cable, you are going to need to connect two wires to your power supply. No power supply comes with this laser, but, given the low current draw, you can probably just run it off the 12 power supply for your MPCNC. The third (signal) wire will need to go to your board and likely will need a female Dupont connector. In the indicated module, there is a fourth wire used for temperature, but I’ve never seen that wire used on an MPCNC.
If it were me, I buy a spool (5 - 10 meter) of 3-conductor wire. Wherever you want to buy the wire from, search for ‘3 conductor wire’ or ‘3 pin wire’. Any gauge wire 28 and below (smaller number bigger wire) will work. You will probably find a lot of 22 gauge wire since it is common for led lighting. I’d cut the short cable they send with the laser module solder in my wire to get the length I need.
A couple of things I noticed about the indicated laser module:
Lasers modules have two power ratings…the number of watts they draw from the power supply and the output power which is sometimes called optical power. The input power tends to be much larger than the output power. The 3500MW is the input power. The output power for this module is likely 500MW. This is enough for engraving but will struggle/fail with most cutting tasks. Places like AliExpress tend to rank their laser models by input power since it makes them seem larger.
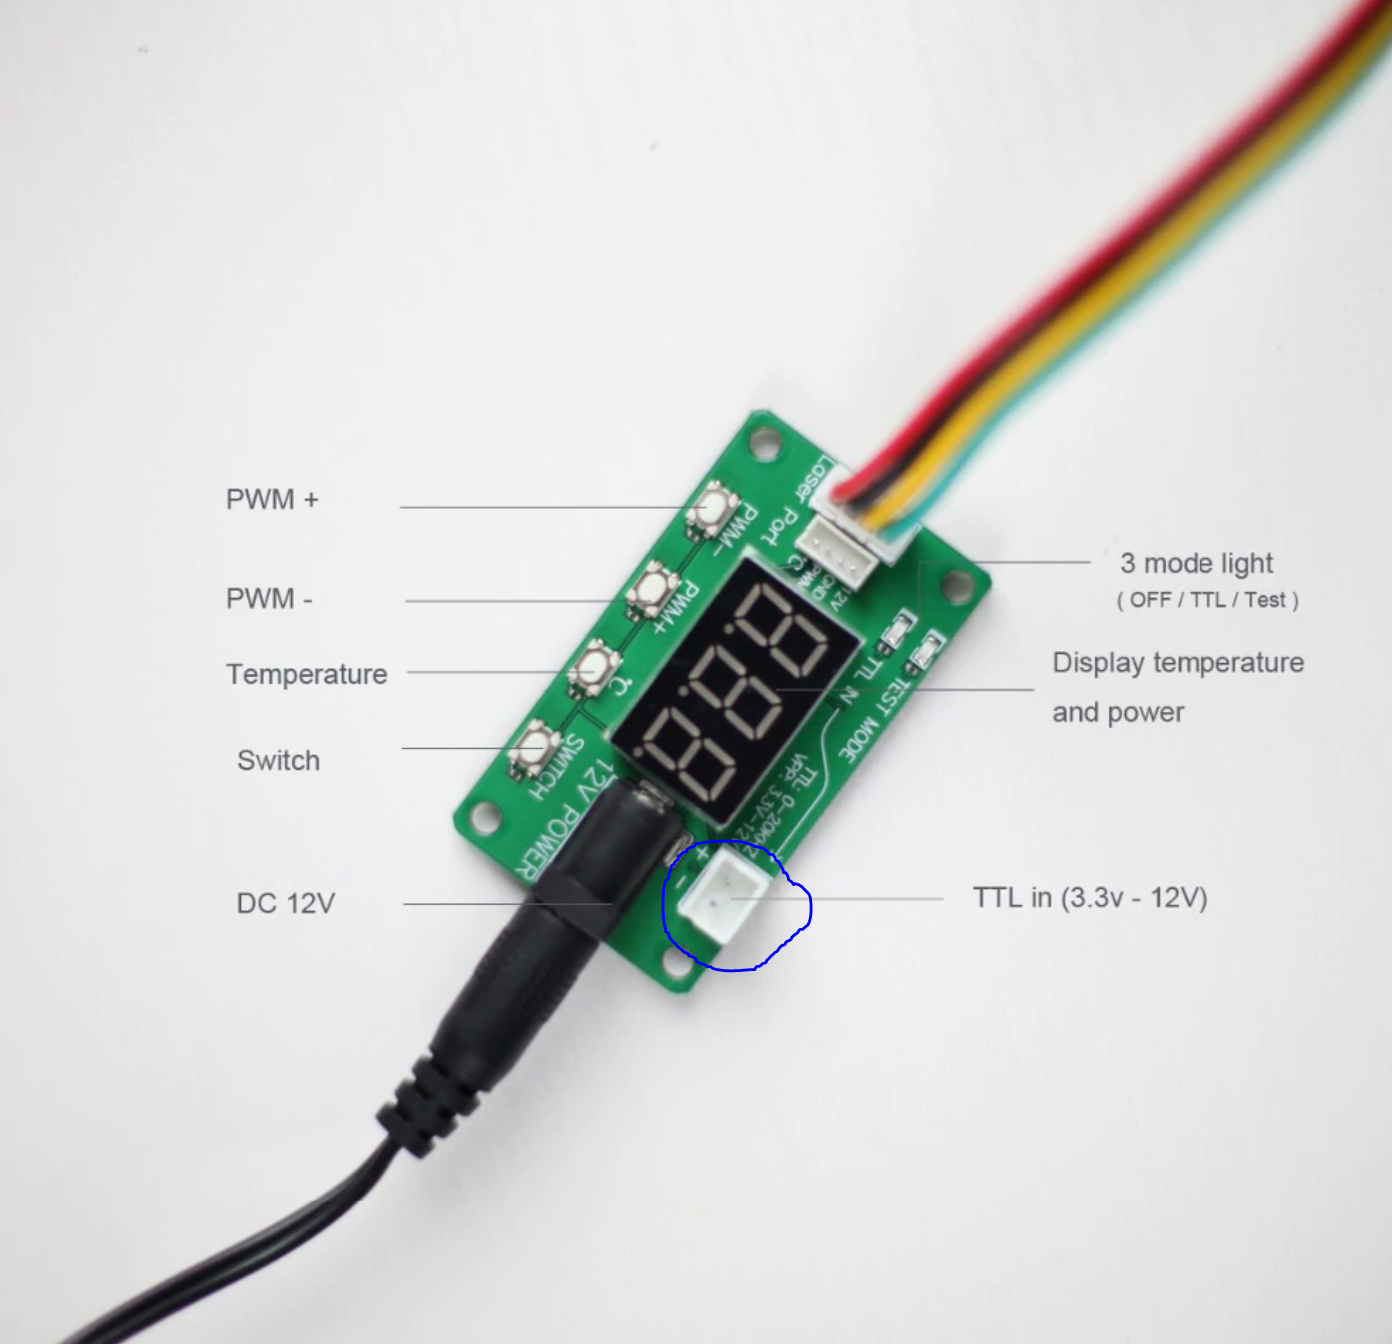
When I switch the language of the page for the indicated laser module to English, some additional information is presented. In particular this is important to know about whatever module you buy: PWM/TTL Input: DC3.3V-12V.
This particular range is very nice and means you might not have to update the firmware.
Many thanks Robert it is all clear in my head now.
if i resume, it might be a good idea to look at lasers coming with their own power supply and just use the extra wire i buy for the mini rambo control plug.
in this case i wouldn’t have to update the firmware ? ( lowrider components were bought from the site in july).
I’d wire the power to the laser at the output of the power supply for your MPCNC and not try to wire it to the Rambo board, but that is a personal choice.
The issue with firmware is the TTL/PWM input. The pathway that I see used to control the lasers is the fan pins which are 12V by default. So this particular module which allows 12V PWM makes that connection easy. If you had 5V only input, you’d have to redefine a fan pin to use 5V pin in the firmware.
First, the laser you link to this time is much more powerful. The previous laser had a 0.3A draw. This one has a 2A draw. Personally, assuming a 5 meters of cable, I’d use 20 gauge or 18 gauge wire for the power wires to keep the voltage drop low. Jeff, who is knowledgeable and very active on this forum indicated in his post that a more substantial voltage drop was okay for these lasers and smaller wire would work just fine. As a hobbyist, I tend to be cautious since I don’t know the implications of more aggressive choices. Also the temperature and TTL wires can be small since they draw very little current.
As for this module, it is clean and convenient. It gives you a readout of temperature and power which you don’t get with a direct connection, and it eliminates any wiring associated with providing 12v to the laser unit. The only cost is an extra wire (for the temperature) from the laser to this module. You will still need a pair of F/F Dupont wires to jumper between your board and this module. Personally I like the idea of being able to see the temperature, but practically I don’t think it provides a lot of benefit beyond making the initial wiring easier.
i would then plug my extra wire directly from the laser controler to mini rambo fan pin ?

 .
.