Laser Flare Ups

Have any of you with a Neje 40W cut thick ply before? If so what parameters seem to work best? Also, are there any “avoid doing this” items for laser flareups?

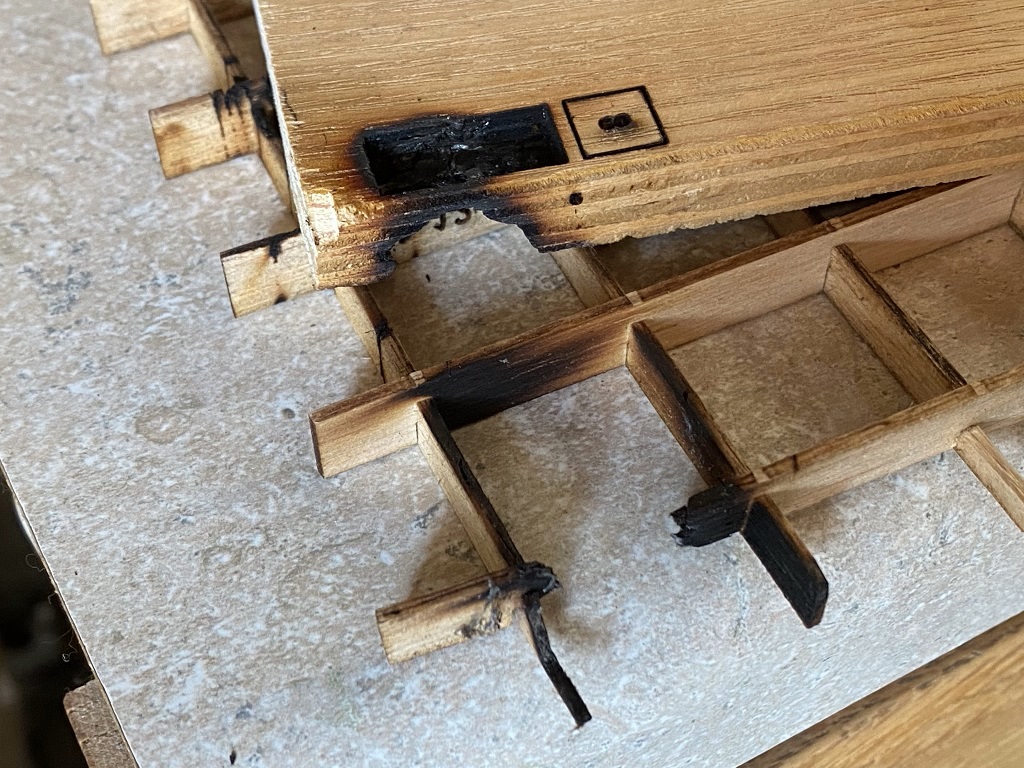
I had a flare up today running test pattern to see what was a good feed rate and pass count for cutting 1/2" oak ply. The result has me and my garage smelling like bbq! Nothing major was damaged… just the scrap of ply I was testing on, the corner of my balsa cutting rack, and the air assist nozzle.

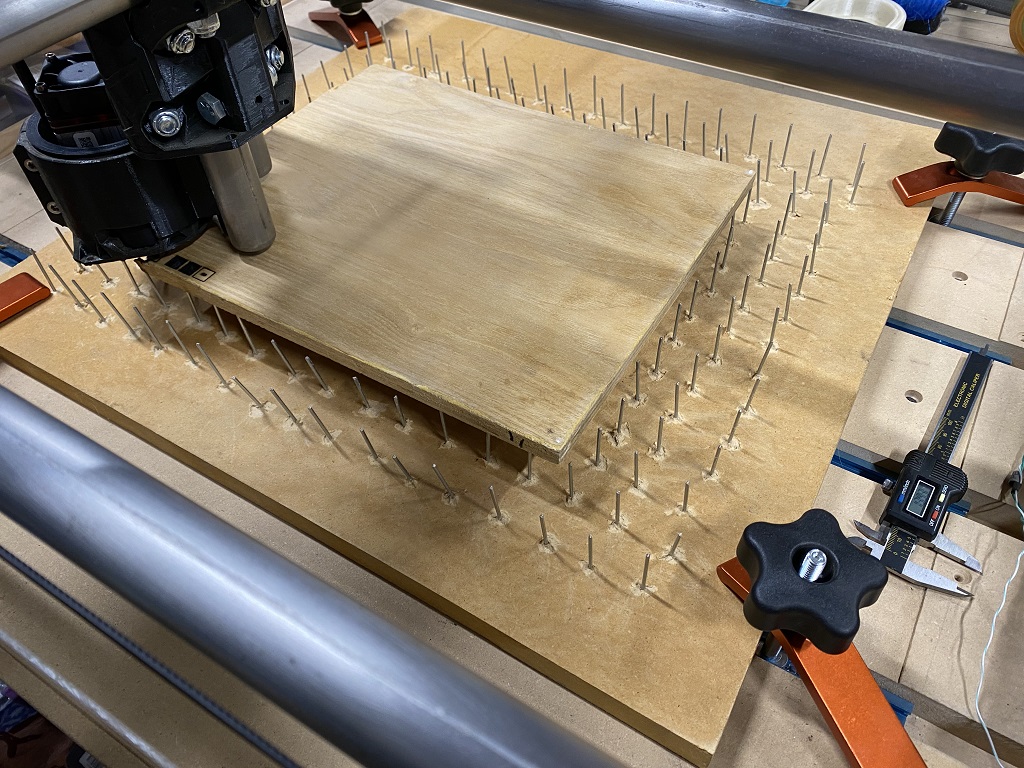
I was watching closely the whole time, saw a small flame (size of a cigarette lighter or so) under the ply, and a couple of seconds later, just as I was having hesitance over hitting the e-stop, the flame exploded into an intense 4" diameter plume that resembled a hydrogen torch (very orange and no smoke… and sounded like my plumbers torch). I instantly hit e-stop, and as soon as the air assist stopped I was able to blow out the flame with my first breath. I quickly slid out the smoldering bits from under the laser and took them outside to quench a damp rag. Then I ran back inside to blow any smoke that may have remained around my laser module (which is mounted inside a Bosch Colt adapter, so it is pretty stagnant without fan/air assist).

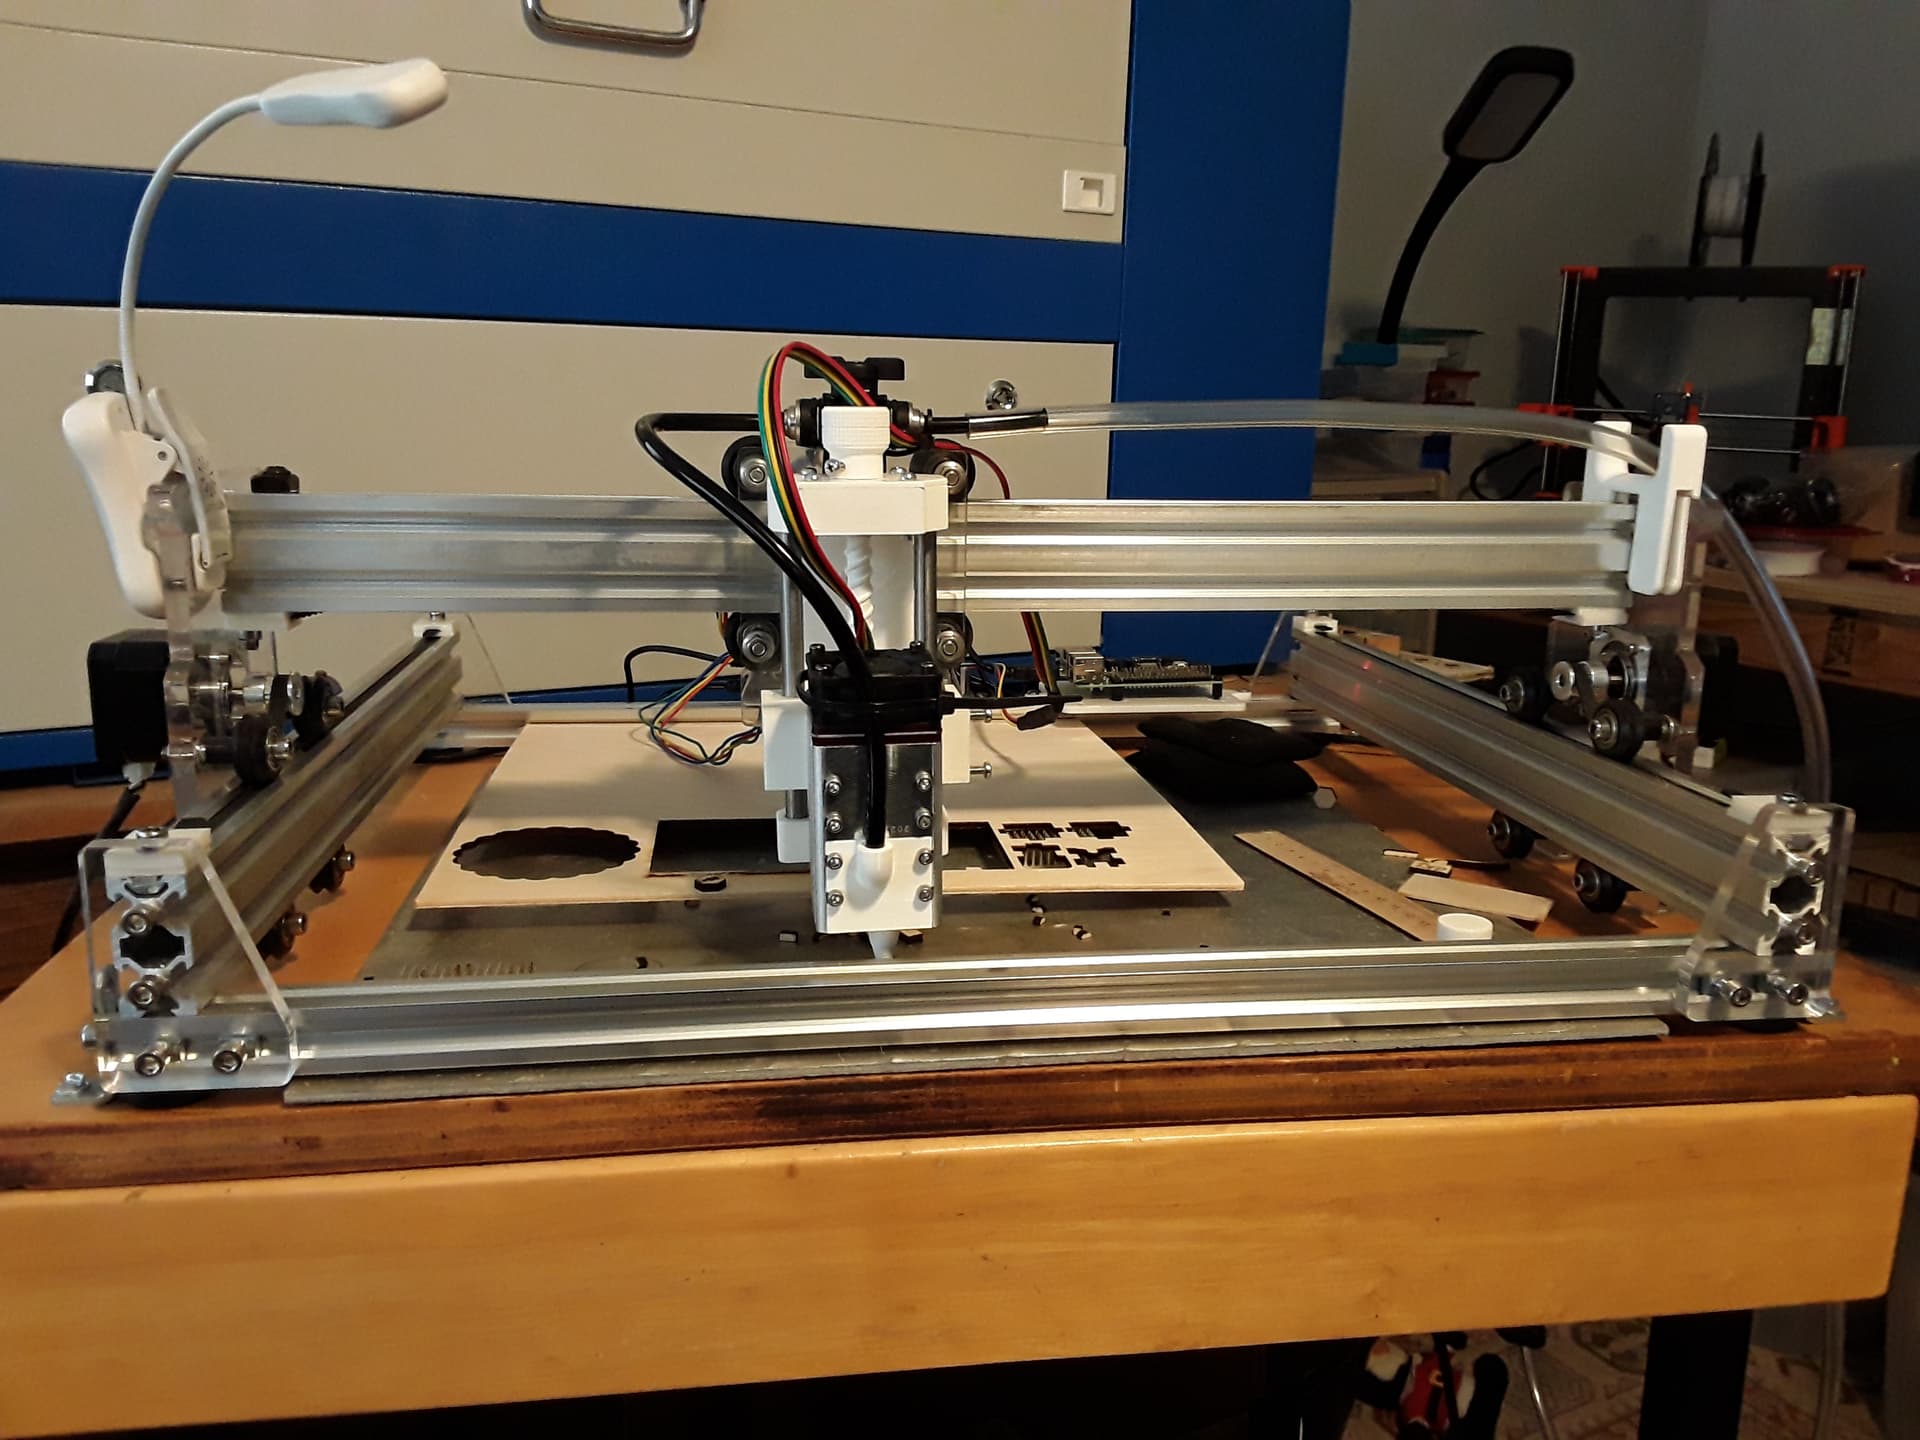
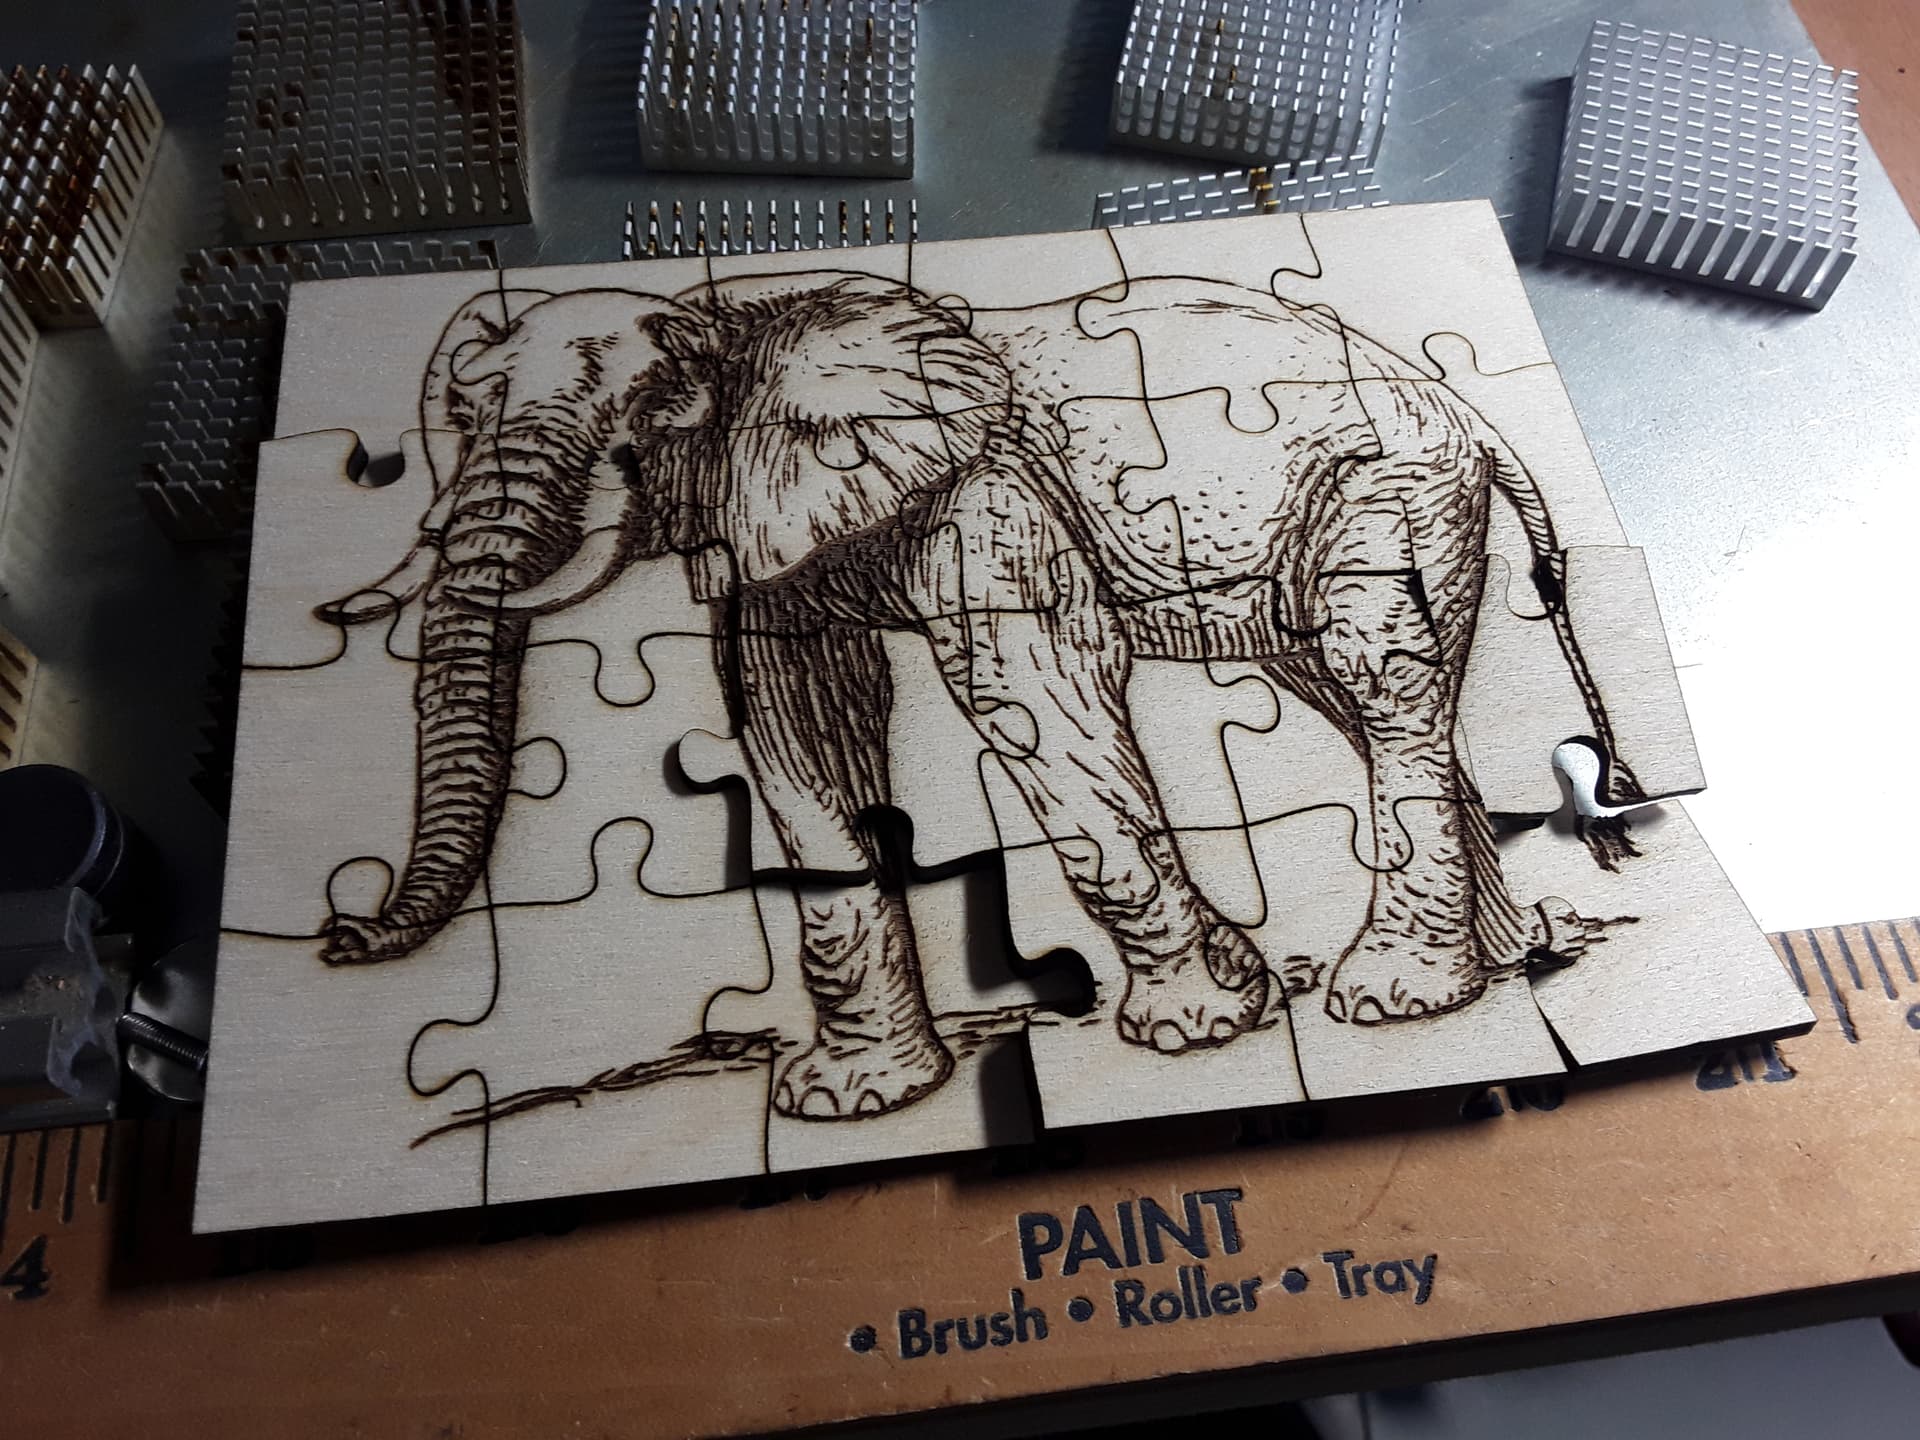
The parameters for the cut were varied as it was a cut test file. There were 3 squares to cut, each with etched feedrates on them… 120mm/min, 90mm/min, then 60mm/min. The first pass from what I could see from the side went about 1/2 to 3/4 of the way through, but no dropped squares (I cut about 1/8 from the edge of material so could see the laser shining through). The feedrate didn’t seem to make much a difference from the little I could see (plus it’s ply… lots of uncontrolled variables between each square). The flare up did not happen until it started the 90mm/min square on the second pass. From underneath, it did appear like the second pass of 120 didn’t fully cut, but 90 was getting a full cut before the flareup.

The results don’t appear dramatic, but it was very brief… I can assure you the flame intensity, before I hit e-stop which killed air assist, was very scary!


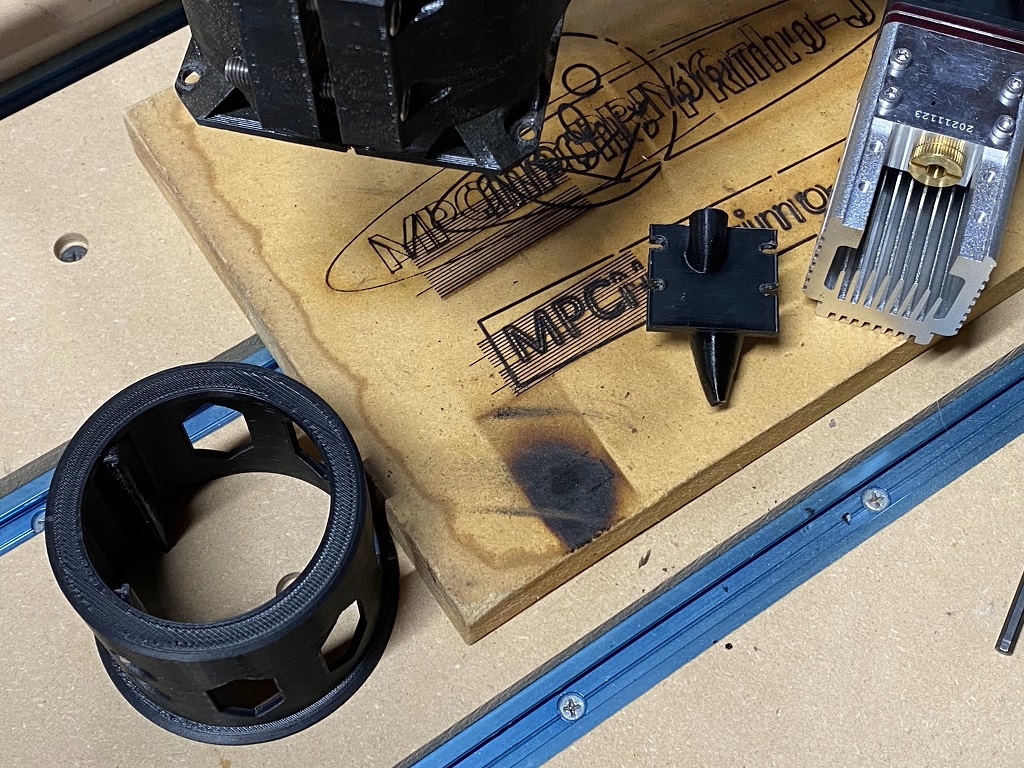
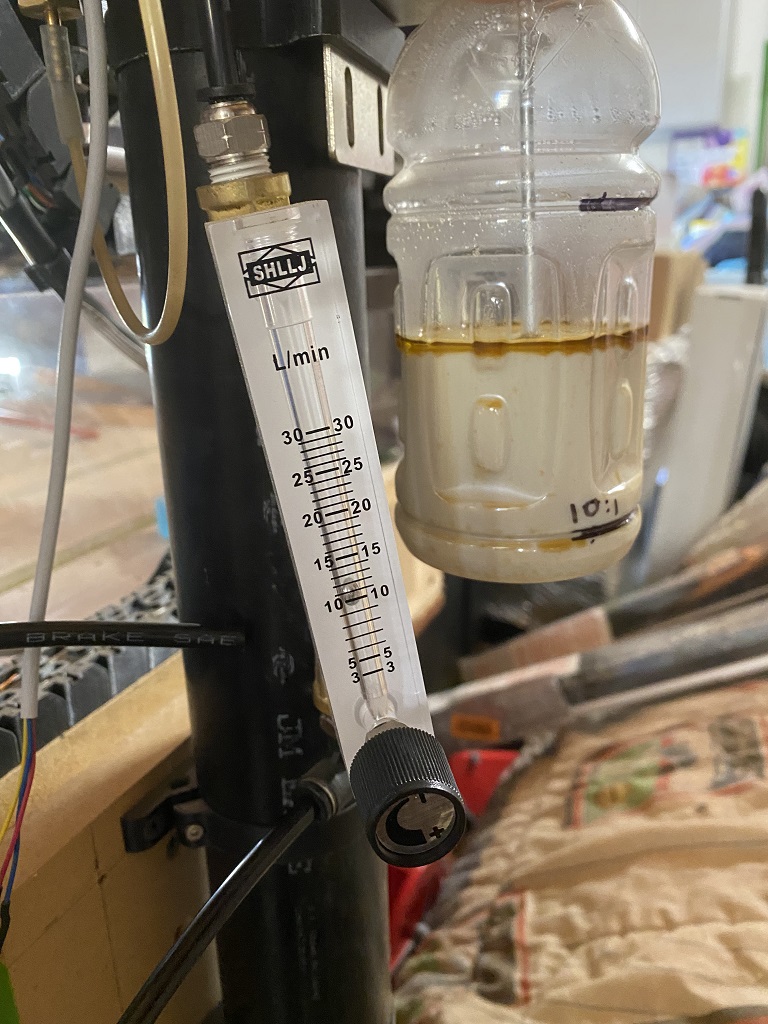
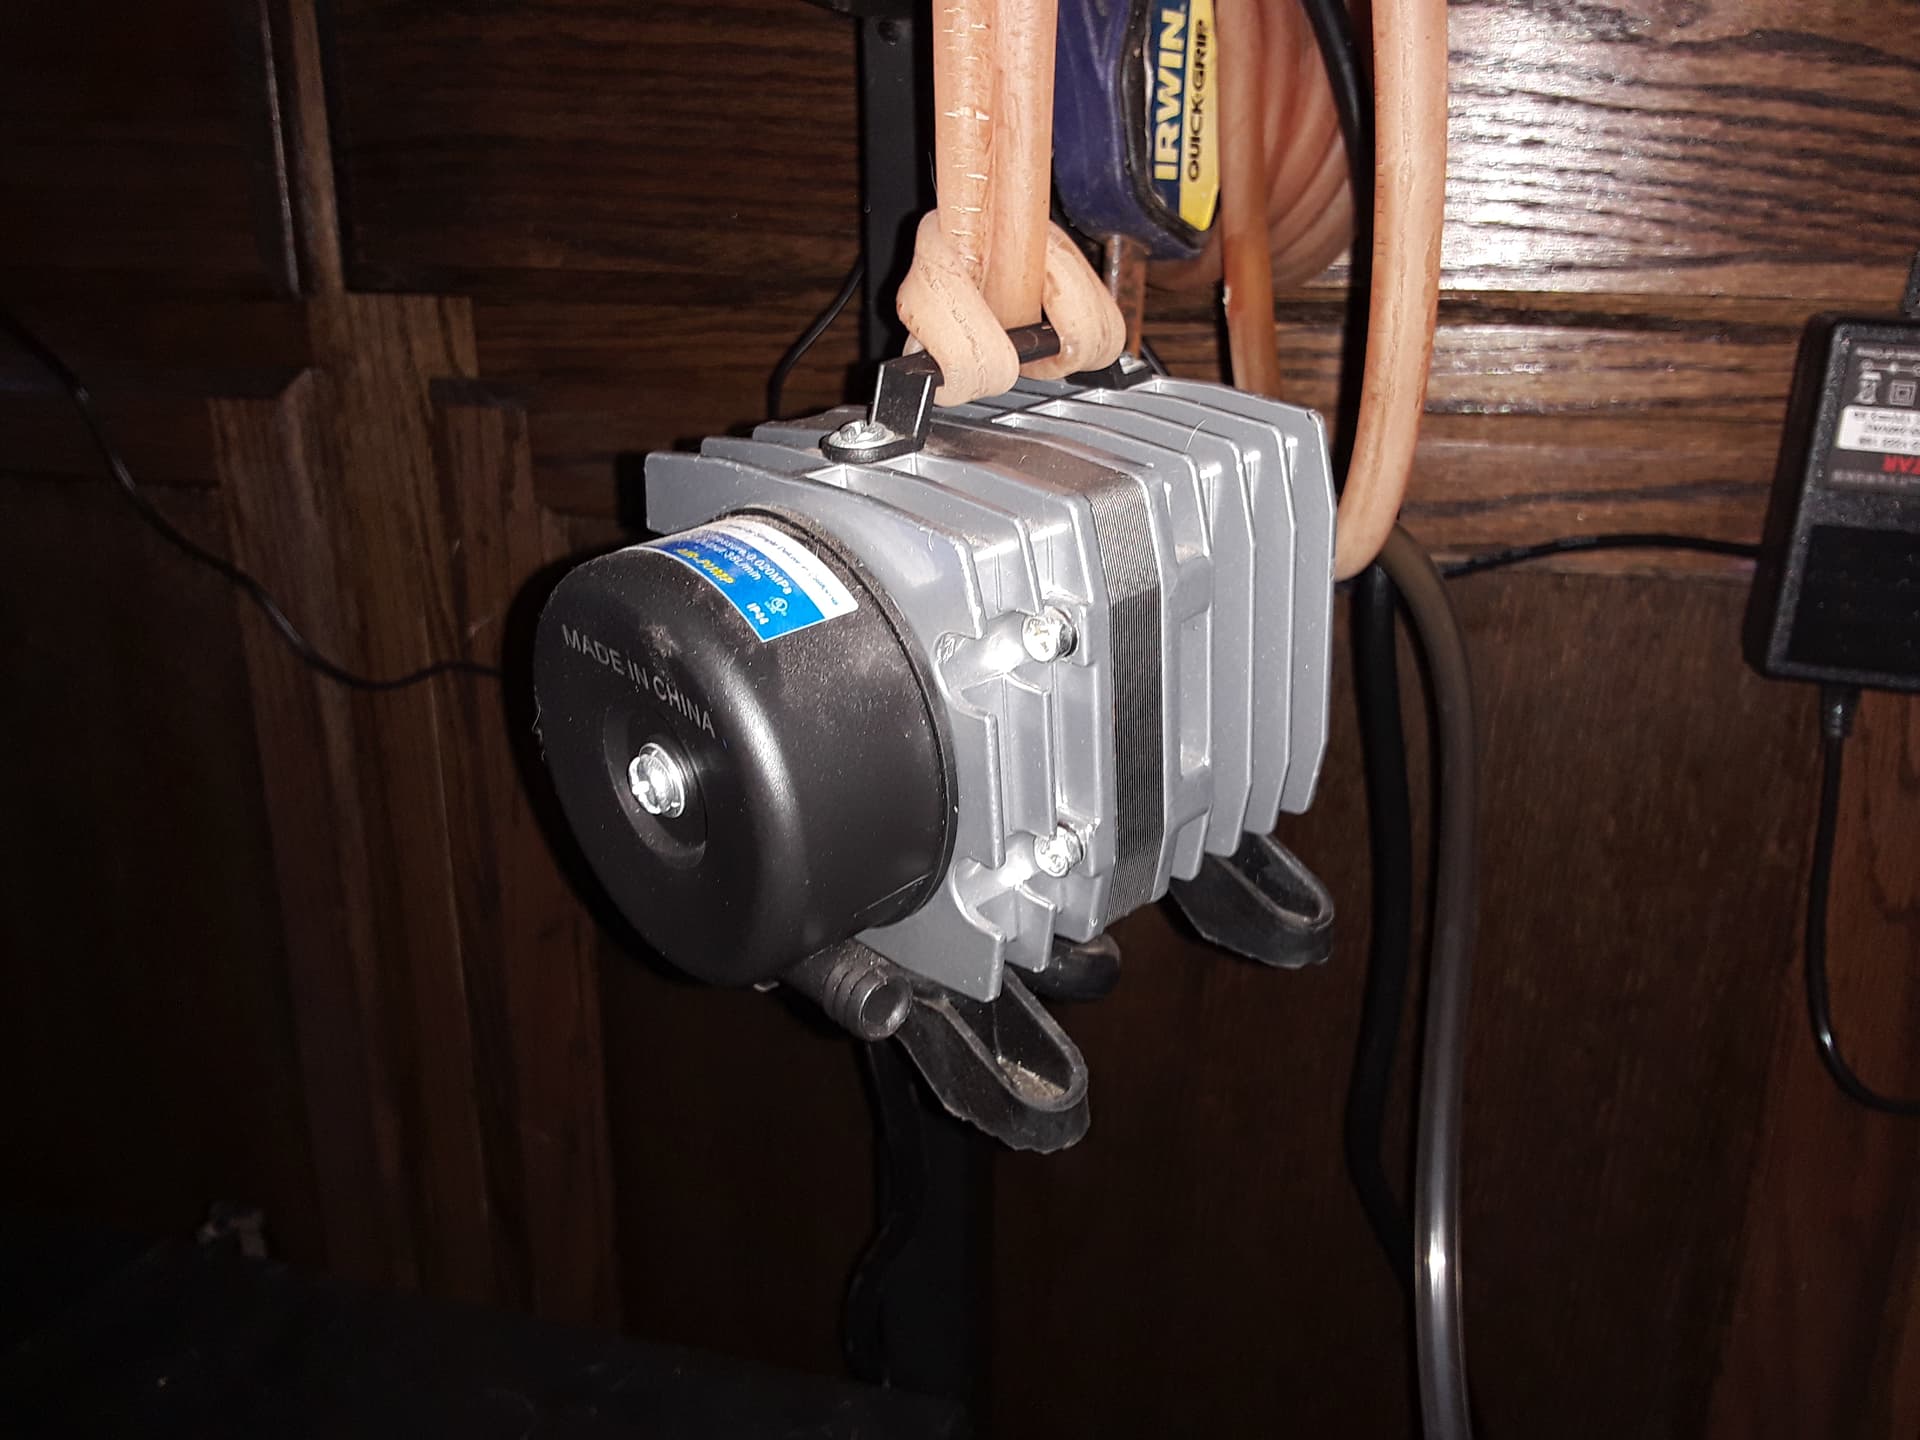
Besides posting the story/photos as a cautionary tale about cutting with lasers, I’m also interested in a reliable way to cut 1/2" ply and similar materials with this laser. I think the powerful air assist may have offered up too much oxygen when cutting through, and combined with the large laser/wood interface when cutting such thick stuff, there was probably just too much glowing wood and air in the crack. I’m using dkj4linux’s nozzle at 20 L/min… about 3mm from the wood surface for the deeper cuts. However, the parts of the cut that remained intact sure looked good. I’m suspecting that I just need to keep it above like 120mm/min, or maybe even faster. I did see a small bit of lingering orange in the crack on that second pass of 120, which to I think is a key indicator of flareup danger… if any embers are left then need to extinguish instantly, or the air assist will cause issues.

I think 20L/min could be the problem, low air flow could not be enough to avoid flame.
Worse, at low cut feedrate it could just only help to get flames
You need your air assist to be able to blow down any flame.
I don’t have any problem with 80L/min and you could read on several forum that minimum recommended airflow is 60L/min.
When i pass a finger under my air assist my peel is clearly pushed down with force.

Now you could first and also check for airflow deperditions like sealing issue, tube to long or tube huge angle… but i fear you should better upgrade your pump for cutting.

Also i would absolutly avoid a burnable sub support with that laser, if no other choice do not use soft wood as you do.

1 Like

Excellent reply… so looks like 20l/m is probably just not enough for the more powerful laser. Volume won’t be a problem as I am using the smaller of my 2 portable compressors, and even the small one can deliver 60lpm. I have a needle valve and a flow meter that limit the flow, which has an input of 90psi on a 1/4” 10’ long hose. So I just need to get rid of the flow meter as it maxes out at 30lpm… and see if I also have to remove the needle valve and just regulate the pressure down.

I tried unrestricted 90psi, which should be in the 60-100lpm range. The flare up happened again on that 1/2 oak ply. I noted that the cuts that happened before the flare up didn’t seem to go as deep. I also noted this time the flare up started in my balsa cutting rack, although it quickly spread inside the stock. There also appeared to be a shiny soot near the cut.

My wife postulated that it could be the wood has too much glue; perhaps it’s giving the embers the fuel they need to light up easily. Looking at the ply from the side you can see very uneven lams, and lots of pink colored glue. So my wife grabbed some 10mm birch ply for the next test run, which had very even lams and minimal visible glue. The balsa cutting rack was badly damaged as well, and clearly indicated it would not hold up to the 40W laser for long. So I decided to cut some 3/4mdf, get out my trim nailer, and make a proper bed of nails for my 2x2 primo. Then we ran the same gcode with that thick birch ply on the bed of nails. Nothing close to a flare up occured, and it cut all 3 cubes loose even at the fastest speed tested!

So apparently it may have just been that particular piece of ply, or perhaps oak ply in general will behave like this unless it is very high quality (ie minimal glue). I would like to eventually grapple cutting thicker stock of a variety of woods. In my experiments, flammable glues and coatings will be something for me to watch out for. Now I’m on to actually making something with that thick birch ply. If I have any other flare ups, I’ll post any pertinent info here.

1 Like

I bought this for my laser bed:

Mike

1 Like

Nice, thanks for the tip! It’s a bit expensive I guess, but it looks pretty much ideal, and won’t look as threatening to bystanders while hanging on my garage wall, unlike what I’m using now…

[edit: FWIW, there’s 100’s of nails there… and this helped me put into perspective how many nails I fire/putty on a typical trim job. I only had to reload my gun like twice to complete this. It’s probably a good thing I don’t track how many nails I used before I start paint prep on a home, lol.]

1 Like

If you plan to cut small parts or very detailed ornaments you might even want to double or triple the nails :laughing:

2 Likes

Maybe just a 6" section with lots of nails.

I am using an old cookie sheet. I am not convinced it is ideal

I don’t want it too high, and I don’t want to spend $100 on it (if I can avoid it). I liked David’s suggestion of cheap heat sinks.

2 Likes

I only have a handful of those cheap heatsinks around… but they’d be good enough for smaller stuff. I like the honeycomb since it is of course big, and has 1/8" pitch to support some very detailed work on thin stock. I also like that honeycomb helps trap airflow which should reduce flare up, but at the same time I wonder if that could make the assist less effective as it would increase backpressure through the kerf. I suppose that could be fixed by lifting the honeycomb up so air can flow underneath it.

@mbamberg, are you somehow holding the honeycomb up away from the spoilboard, or do you just lay the honeycomb right on top?

Tripling the nails hehe… I bet the MDF would start to crumble to pieces. MDF gets pretty blown out when a nail is driven through; like the back 1/4" or so mushrooms out… put em closer together and at some point the mushrooms will start connect and run deeper, leaving no structurally intact material between the nails. For example, driving a nail square at 1/8" from the edge of mdf usually blows the edge out altogether.

Regardless, last night I did spend some moments brainstorming how to attach my nailgun to my primo… to get the nails perfectly placed, perfectly square, and closer together. LOL, maybe some day… this’ll work for cutting boxes etc that I have planned for now.

All,

Here’s some pictures of my (unfinished) laser bed.

This is the open area below the honeycomb. It’s a little bit more than 1/2 inch, the blocks in the middle are for center area support and after gluing down will have aluminum foil wrapped over the top.

This is the exhaust fitting, a Kirby vacuum piece. I’ll have a hose going to an exhaust fan to the outside. It’s designed to hang over the edge of the table .

I plan to put a bead of silicone caulk around the edge and a spot on each center support block, then drop the honeycomb into place. It should look like this when it’s done.

I’m open for any additional ideas or concerns about the build.

Mike

2 Likes

That looks like a great idea and should work very well. It’s definitely inspiration for my next steps, and I love the kirby attachment. I may hook up my low pressure blower to something like this.

Ideas… maybe some bent pieces of thin aluminum bar stock or bits of angle stock to replace the bits of mdf under the plate. The mdf blocks some cells from ventilation vs something with a sharper edge like bent thin alum bar or angle stock. At first I thought just miter cut the edge of the mdf strips, but that may not last long.

I imagine using something like a sheet of plastic to cover the unused parts of the grid would improve suction on the work piece. You might even see an improvement in the effectiveness of your air assist if you get lots of vacuum under the part.

Even without suction, it’s possible for flames to erupt under the grid. I worry with the suction you may not be able to see it before matters start getting worse. Making one of the sides transparent, and lining up the supports so the far side is visible would improve your chances of catching a flare up early. Plexiglass would work for that I think. Along the same lines, a temp probe placed at the intake of the suction could help make things safer… could program either marlin or a side arduino board to hit the kill switch if there is an abnormal jump in the intake temp.

“Hurt Teddy Bears”

{leans back in chair, opens notepad, puts finger to mouth}

Lets unpack that.

1 Like

I use the plastic grid material that they sell at hardware stores for florescent lights. It’s worked really well for me and one full sheet can be cut down to make multiple beds.

Based on that, I opened up my needle valve to peg my flowmeter well above the 30L/min mark, and my smallish silent compressor was getting overworked on longer cuts (~90% duty cycle). So I hook up my bigger compressor that is rated for 2.5scfm@90… and that kept up, but with the noise of an industrial pump. So to avoid problems with my neighbors, I decided to order one of those 60 lpm aquarium pumps everyone raves about for air assist… this one to be precise:

https://www.amazon.com/gp/product/B06XDKRYC6/ref=ppx_yo_dt_b_asin_title_o00_s01?ie=UTF8&th=1

It arrived today and I was very eager to play with it as soon as I got back from work. I hooked it up through my flowmeter expecting to see it pegged passed 30, but instead it held steady at about 10 lpm (no load just 4’ of 1/4" line)!!!

Look, the meter is even tilted to give it some help lol. There’s nothing apparently wrong with it, other than only putting out 16% of the air it was advertised to deliver (It’s going back… I don’t support that kind of BS marketing). It also doesn’t sound defective at all… sounds like it is running perfectly fine from my experience with diaphragm pumps. However sadly, even my small silent compressor can do 10lpm and stay well under 50% duty. It’s not as quiet as the crap pump, but I first need to find one being sold (truthfully) as a 10lpm pump.

After this I got to wondering… Olijouve, do you recall where were those folks getting their 60lpm number from? I hope it was not from an Amazon description, or written on the box of a cheapo chinese aquarium pump. :upside_down_face: Science FTW!

This kind of pump doesn’t have much PSI power(2.9 psi max, 1.5 psi recommended for a 60l/min). It’s meant to be use with very few constraint to deliver its airflow.

I don’t know exactly how much deperdition your flowmeter will create but it will, something like 0.18 PSI for the meter itself but it’s surely nothing compared to common other deperdition factors:

  • Tube length too much long

  • 90° angle, if you use that kind of tube connector just remove them and prefer curves.

  • The less connectors number the better

  • If tube or connectors Inside Diameter(ID) are smaller than your pump output ID then you will create resistance and you will not be able to get the best airflow as it will also create resistance on your pump.

Ideally i think you should use the same diameter than your output diameter from your pump to your air assist so reduction would happened only in the air assist.
I use OD 8mm 1/8" BSP connectors with ID 5mm/ OD 8mm tubing, it feet well with my pump output ID.
Depending how thin is your BSP connectors output, it could be usefull to carefully drill it to enlarge a bit the ID of the threaded part(very carefully)

What OD/ID tubes/BSP connectors and input/output flowmeter ID do you use ?

@dkj4linux use the same kind of pump than yours and i think he is quite satisfied with it so he might more helpfull than me on a good setup for it.

But otherwise what impression do you have on your pump airflow with nothing plugged in it, how do you feel if you just put a finger in front of its output ?
Have you tried to test it with your air assist and made a cut ? Maybe scientist reality of the airflow doesn’t matter that much if results are good :slight_smile:

2 Likes

My highly scientific method for setting up air-assist doesn’t depend on gph or lpm… just pressure against the end of my finger

I use the little $30 aquarium pump (I think it’s rated as 602 gph though I didn’t buy it for its rating) from Amazon. I use a ball-valve (pictured just above the Z-adjustment knob) to regulate the air-flow against the end of my finger… max for cutting, minimal (but not zero to protect the laser lens!) for engraving. I also found that using larger diameter tubing from the pump to the ball-valve helped greatly (vs. the smaller black 4mm ID tubing) – again, as judged by pressure against my finger tip – and the larger tubing nicely slip-fits over the smaller tubing just prior to the ball-valve. The air-pump is suspended in air with surgical tubing and is very quiet.

I think the idea is have the air-assist nozzle’s orifice (currently 3mm diameter) be the major restriction in the line. If I enlarge the orifice I get less pressure against my finger… when I decrease it I get more. Seems to work for me in 3mm ply…

– David

4 Likes

David, I probably should have witheld my last comment, as it indicated I was distempered about my decision to ‘upgrade to more airflow’… and probably made my flowmeter sound like some oracle of truth and science. I did not intend to make anyone feel defensive, just venting about how off the rating is on the pump I purchased (I mean, not even close). It’s on me to deal with my gripes about the false advertising of that pump, and has little to do with discussing cnc.

In fact your postings show results that have been the bulk of the motivation for me to setup my laser the way it is. I use your nozzle, same module, and all (pumps look like they were made at the same factory too). Perhaps the only part I’m doing much different is cutting the 1/2 to 3/4 ply. I actually had to remix your nozzle to be shorter (same orifice size) to allow for the deeper cuts, and it works great as is. I did consider reducing orifice size since I can run higher pressure, but without an evac table the neje creates so much smoke the extra volume is good. BTW, your finger test in some ways is more scientific than mine lol, because it’s pressure on the material that matters with air assist anyways… of course though 60lpm will put a much deeper dent in the skin vs 10lpm (given same flowpath etc). The reason is pressure is the force driving flow through the slit of a cut, and only then can shear and pressure remove the ashes etc. Considering the size of the cut itself, and only the pressure on that area matters, there is some latitude in optimizing the pressure, orifice size, shape, and distance to maximize stagnation pressure on the actual cut. I very much enjoy discussing flows… ae was my major in college… I want to put a pitot probe under the nozzle and do an x/y/z scan to measure flowfields, but… room empty yet? :wink:

I was not successful with oak ply, but tried higher flow and it seemed to help a tad, but still flamed up. Then I cut 1/2 birch ply no problem with higher flow. I now need to revisit that cut with 10lpm and see if there’s a diff. If not, then my idea of purchasing it to quiet down cuts would be fulfilled despite false advertising.

[edit: BTW, after seeing how you have your nozzle plumbed, I grabbed some similar 1/4ID hose I had laying around and installed it. Besides less pressure loss, it’s also a lot more supple and creates less tweaking as the gantry moves.]

1 Like

Kev,

No problem here… I didn’t mean to sound “defensive”. We’re good.

I was always a “seat-of-the-pants” engineer… even when I worked in industry. That’s probably because I was a electronics technician (trained in the Navy in the late 60’s) before I ever graduated with a EE degree. I was always one to hit the lab as soon as I had a grasp of what I wanted to do… no pencil-whipping problems beforehand for me. And back in the early 70’s I could get away with it… we all had these big books of “favorite circuits” that we could refer to and get some basic ideas and circuits to start playing with. Now of course, at my age, I don’t remember stuff… but I still have fingers so, in this case, I used it. Technically, I’m a dinosaur among thoroughbreds… and that’s okay. You guys run. I still get a kick out of watching real engineers doing their thing.

Anybody remember vacuum tubes?

– David

1 Like

I am just old enough to remember when tubes were cool, and not the same tubes that are cool today (yt). Engineering is just that, some knowledge we use to make our ideas/dreams a reality… seat of pants, napkin sketch, CATIA… doesn’t matter an engineer will use what works easiest. When I started work in industrial robotics, my comments about beam calcs and reducing frame size were always laughed at. The time money would take to complete my optimizations is better spent on just overkill tubing etc. It’s only in things that fly where that just doesn’t work well… but no need for everything to be rocket science that doesn’t need to be.

1 Like